Web Forms
Web Forms in Zoho Assist help you collect support requests directly from your website and guide customers into the right support flow. You can use them to gather issue details, let customers join a remote support session, and route incoming requests to the appropriate department.
A web form is a customizable form that you can embed on your website to help customers contact your support team more easily. Depending on how the form is configured, customers can:
Raise a support request - submit issue details directly from your website.
Join a remote support session - connect to an active session using a session ID.
Business Use Cases: Web forms are ideal for businesses that want to streamline customer support intake directly from their website. Support teams can collect structured issue details upfront, reducing back-and-forth before a session begins.
Organizations with multiple departments, such as Technical Support, Billing, or Sales can route form submissions to the right team automatically. Companies can also embed the Join Session module on their site, letting customers connect to remote support instantly without any additional coordination.
Creating a Web Form
To create a web form:
Log in to Zoho Assist and navigate to Settings > Remote Support > Self Service Portal.
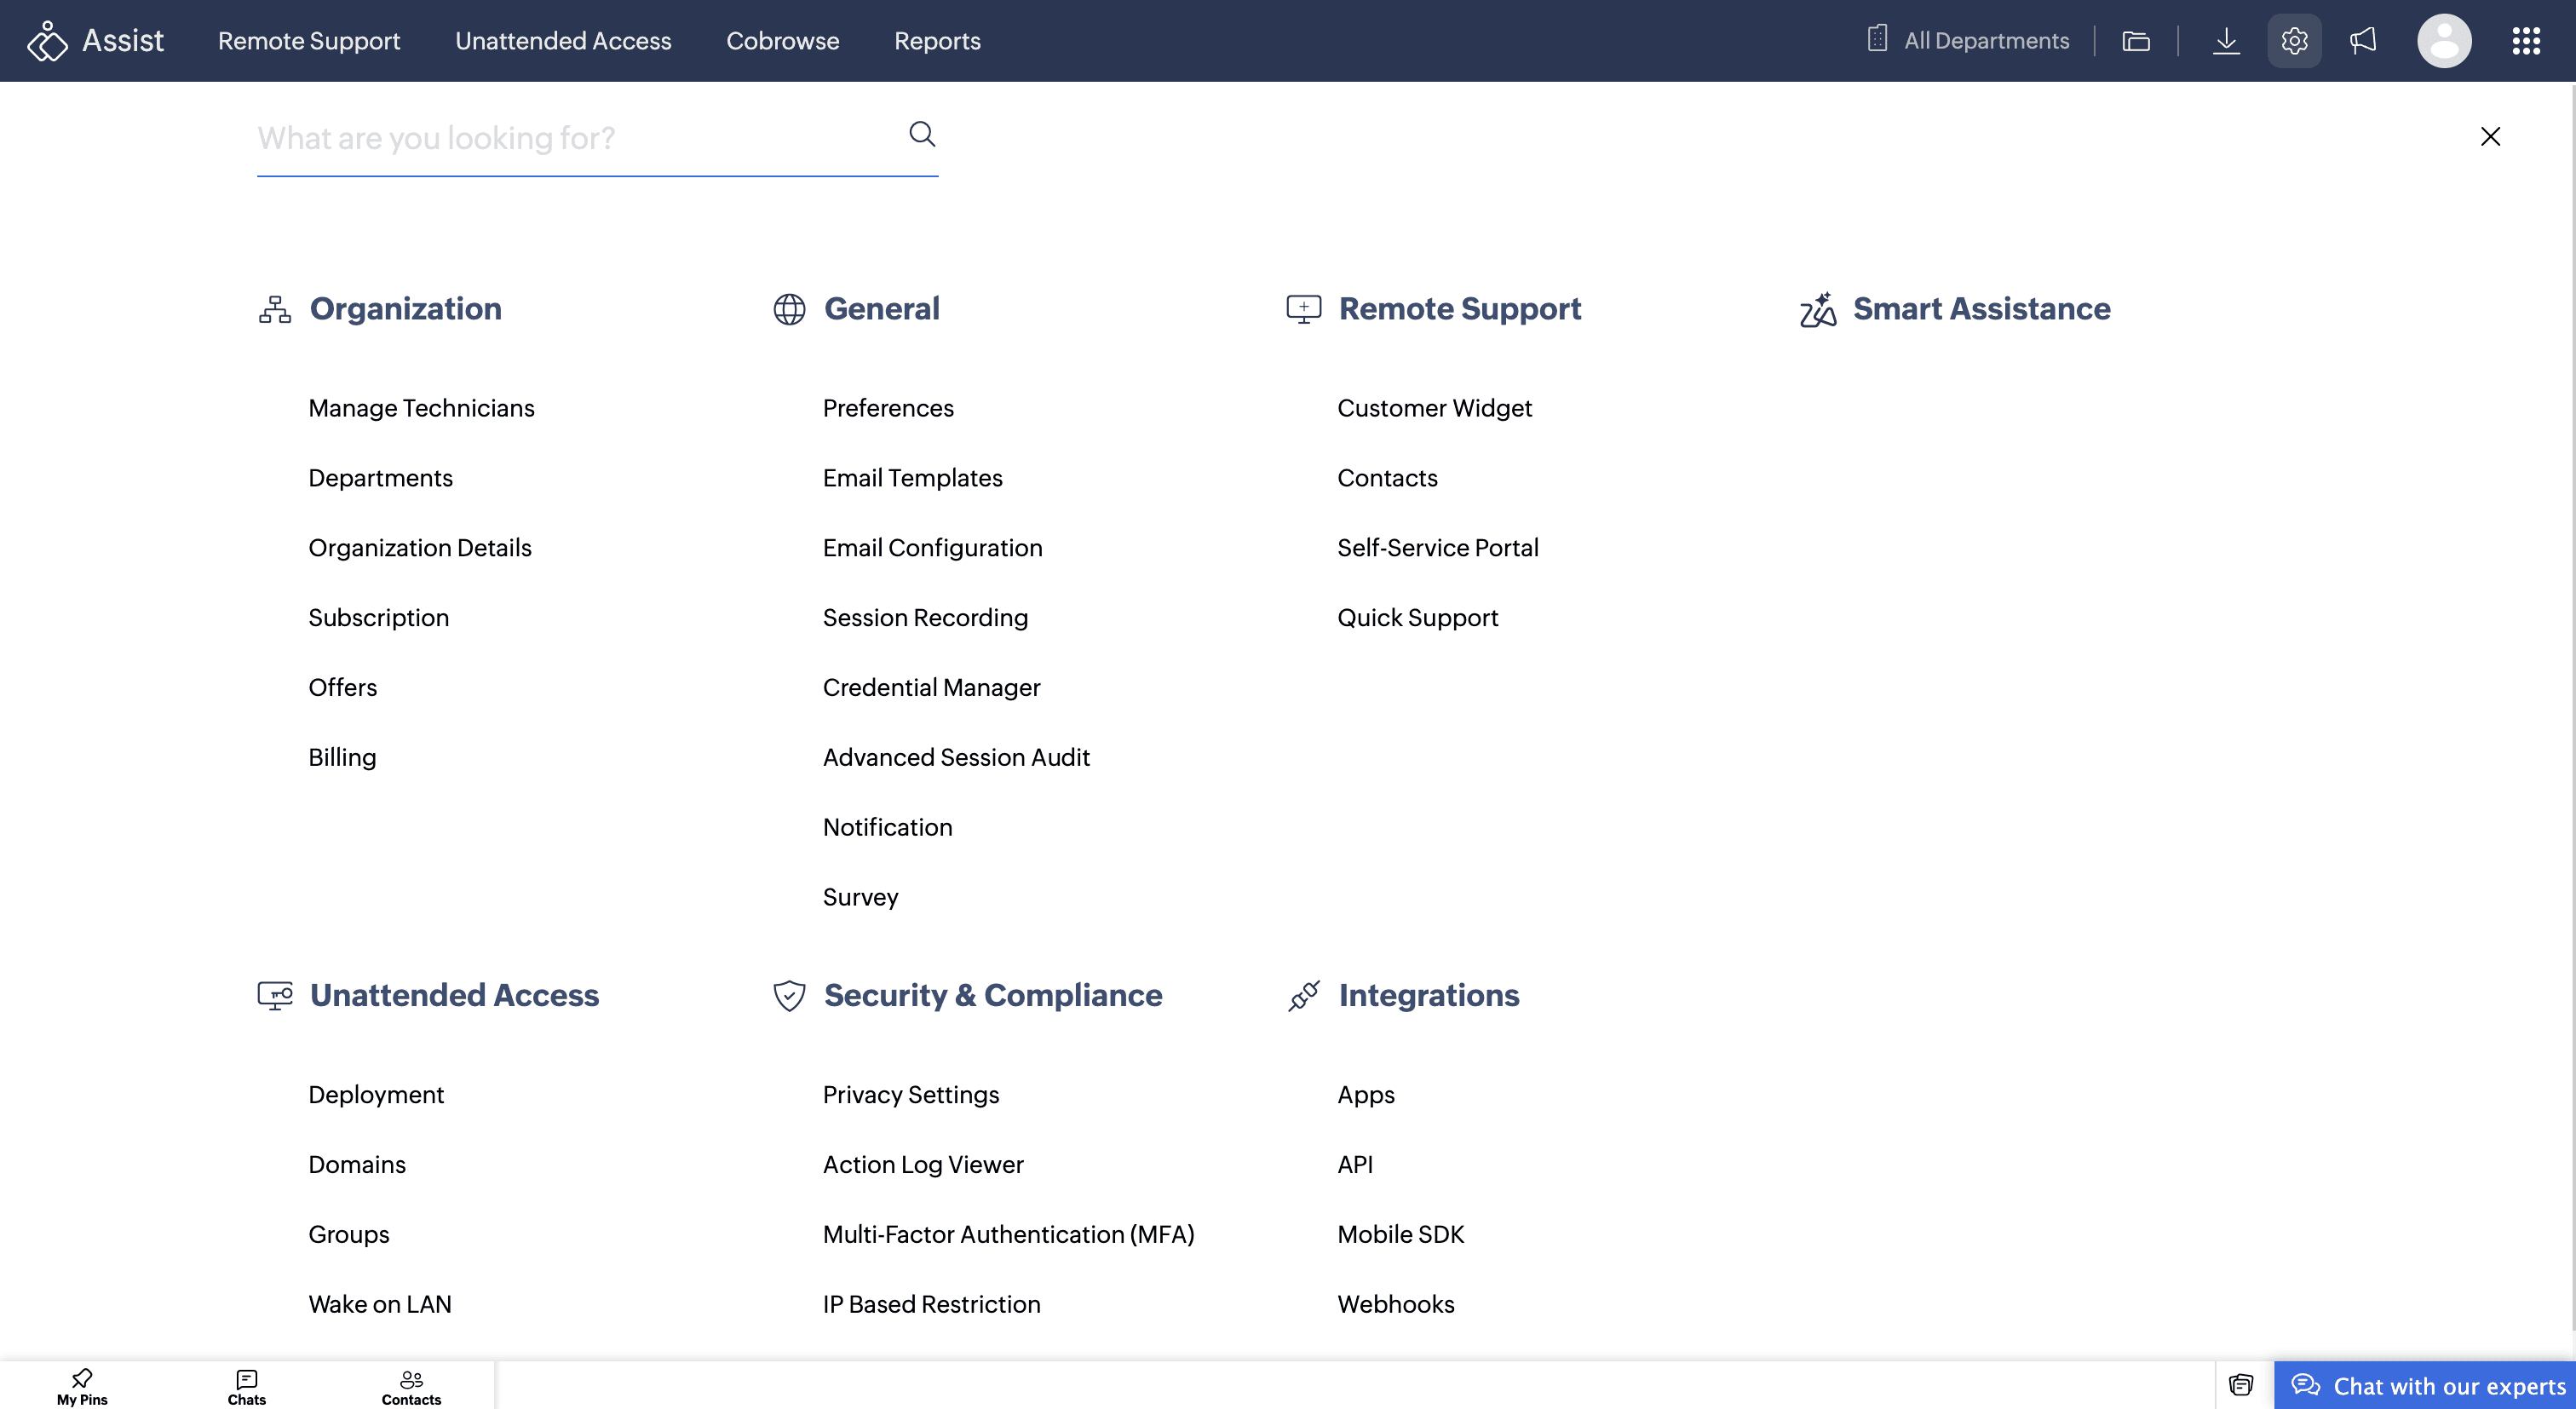
Click Create Web Form under Self Service Portal.
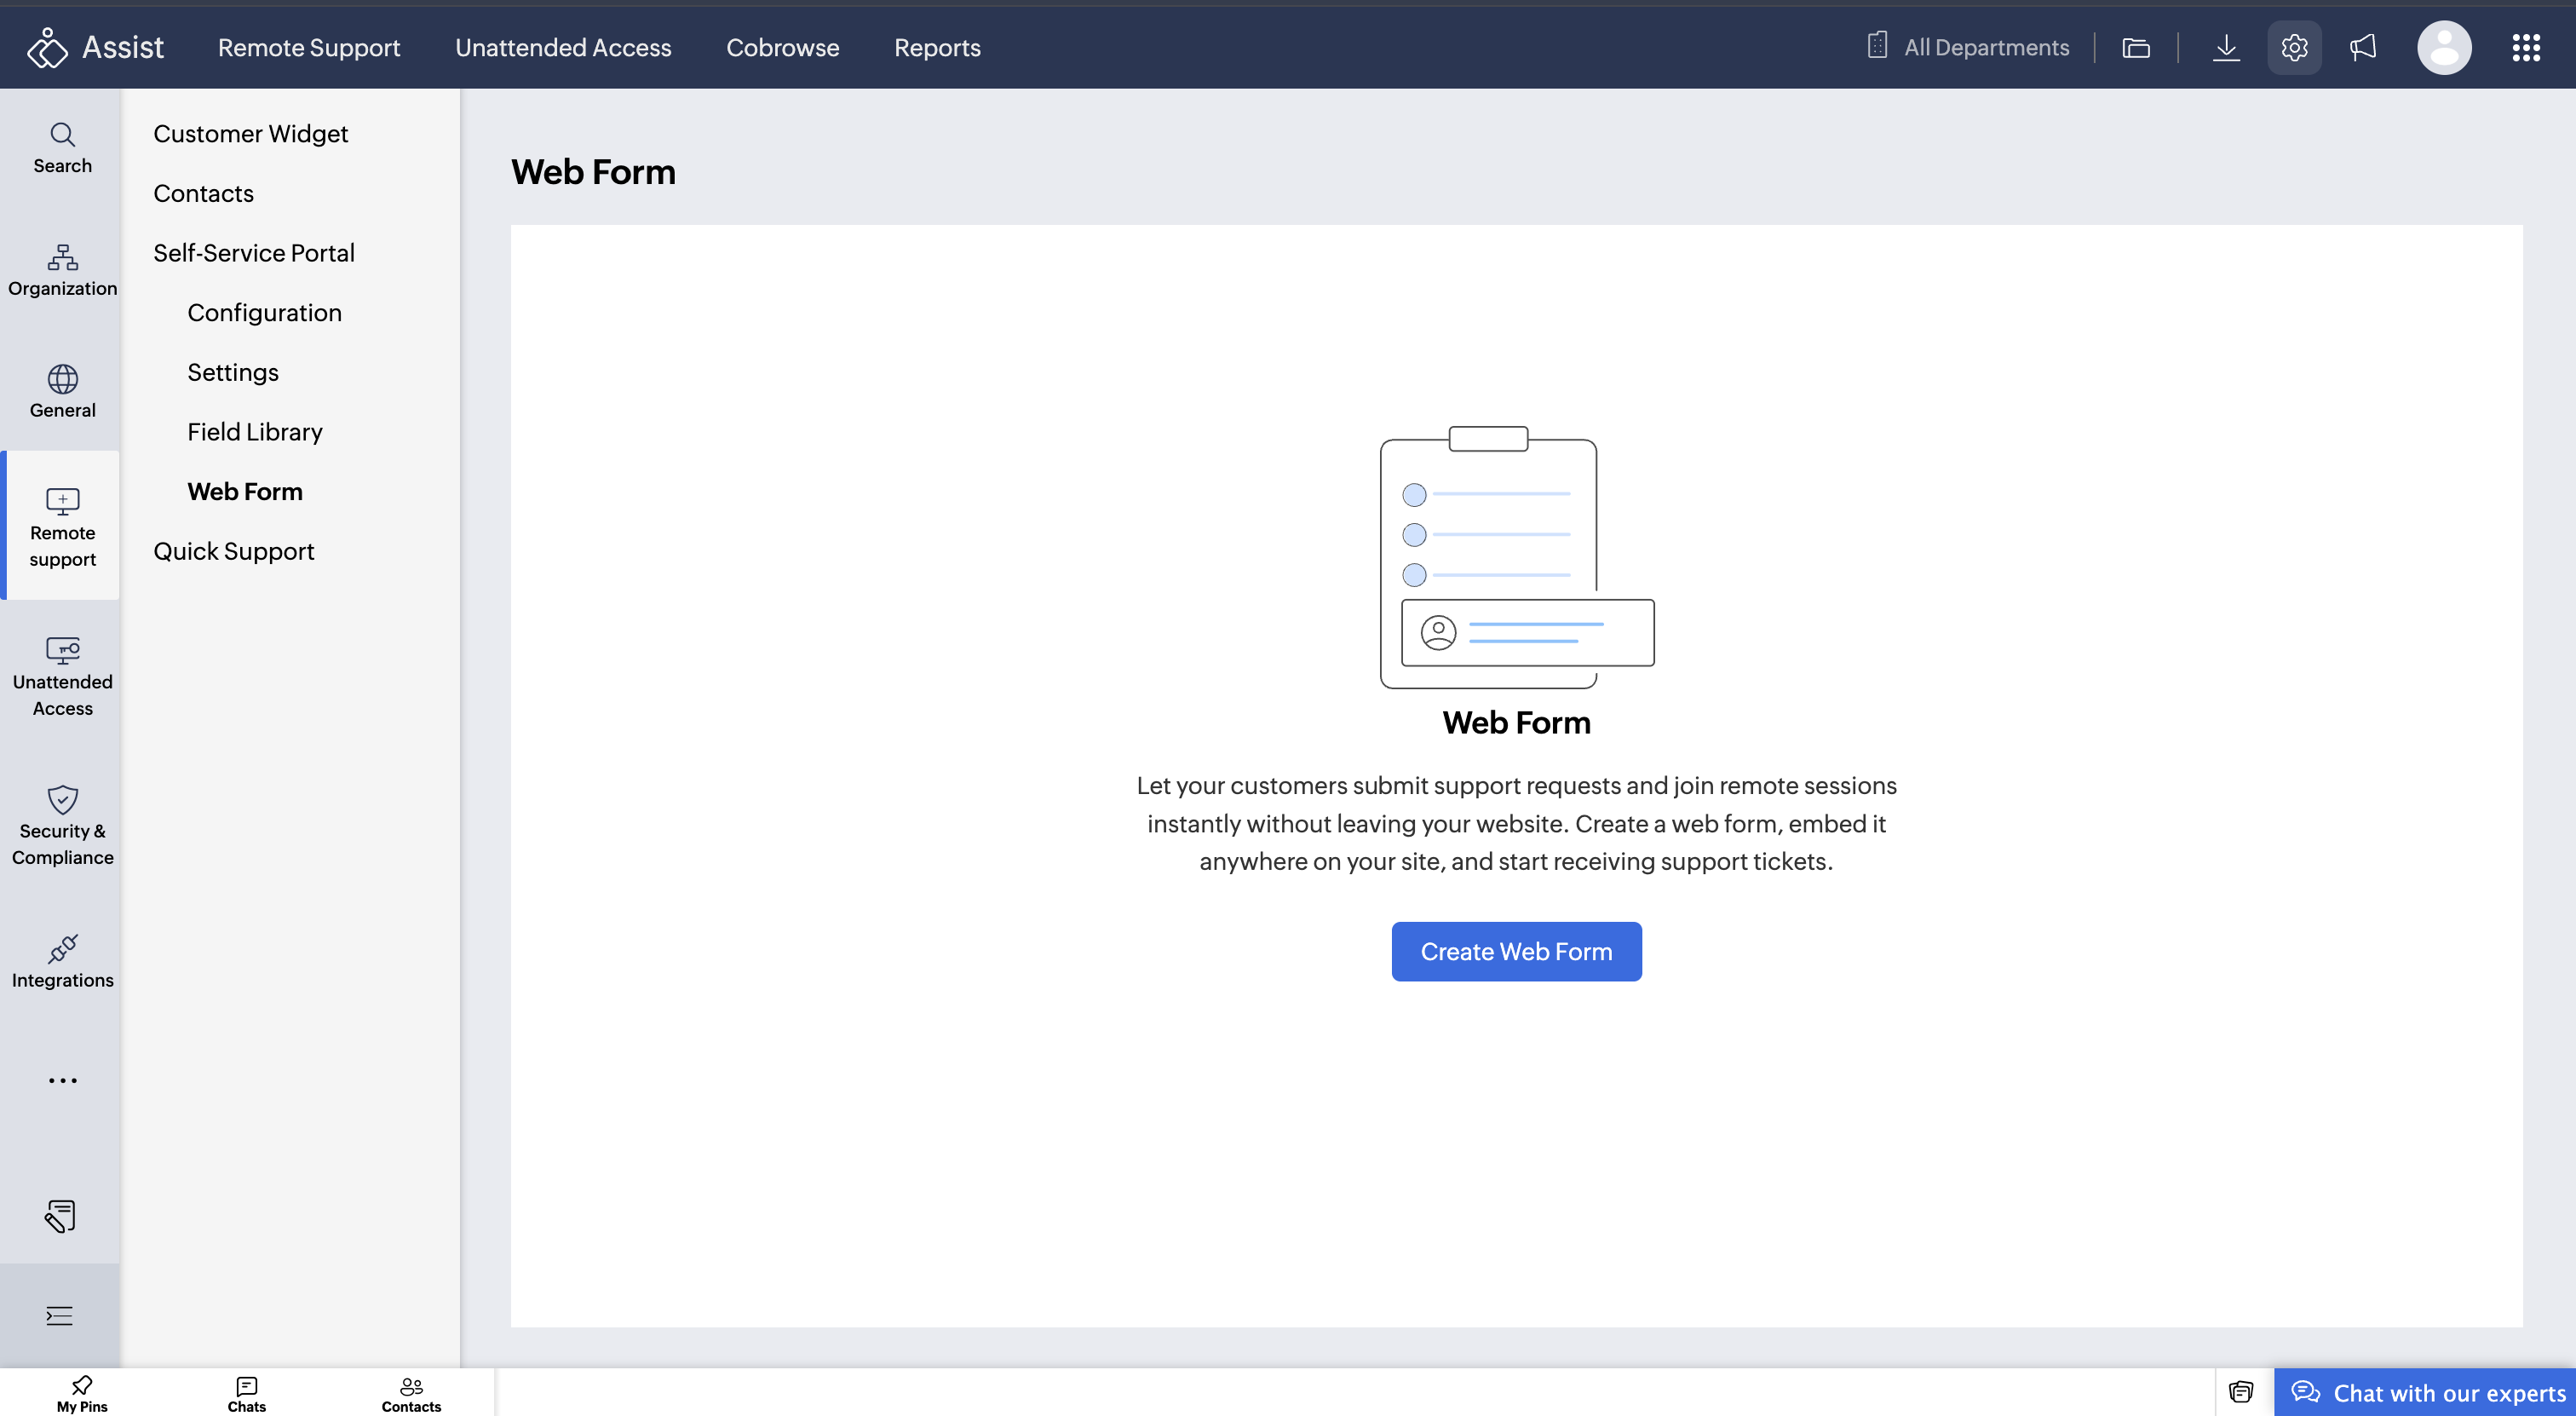
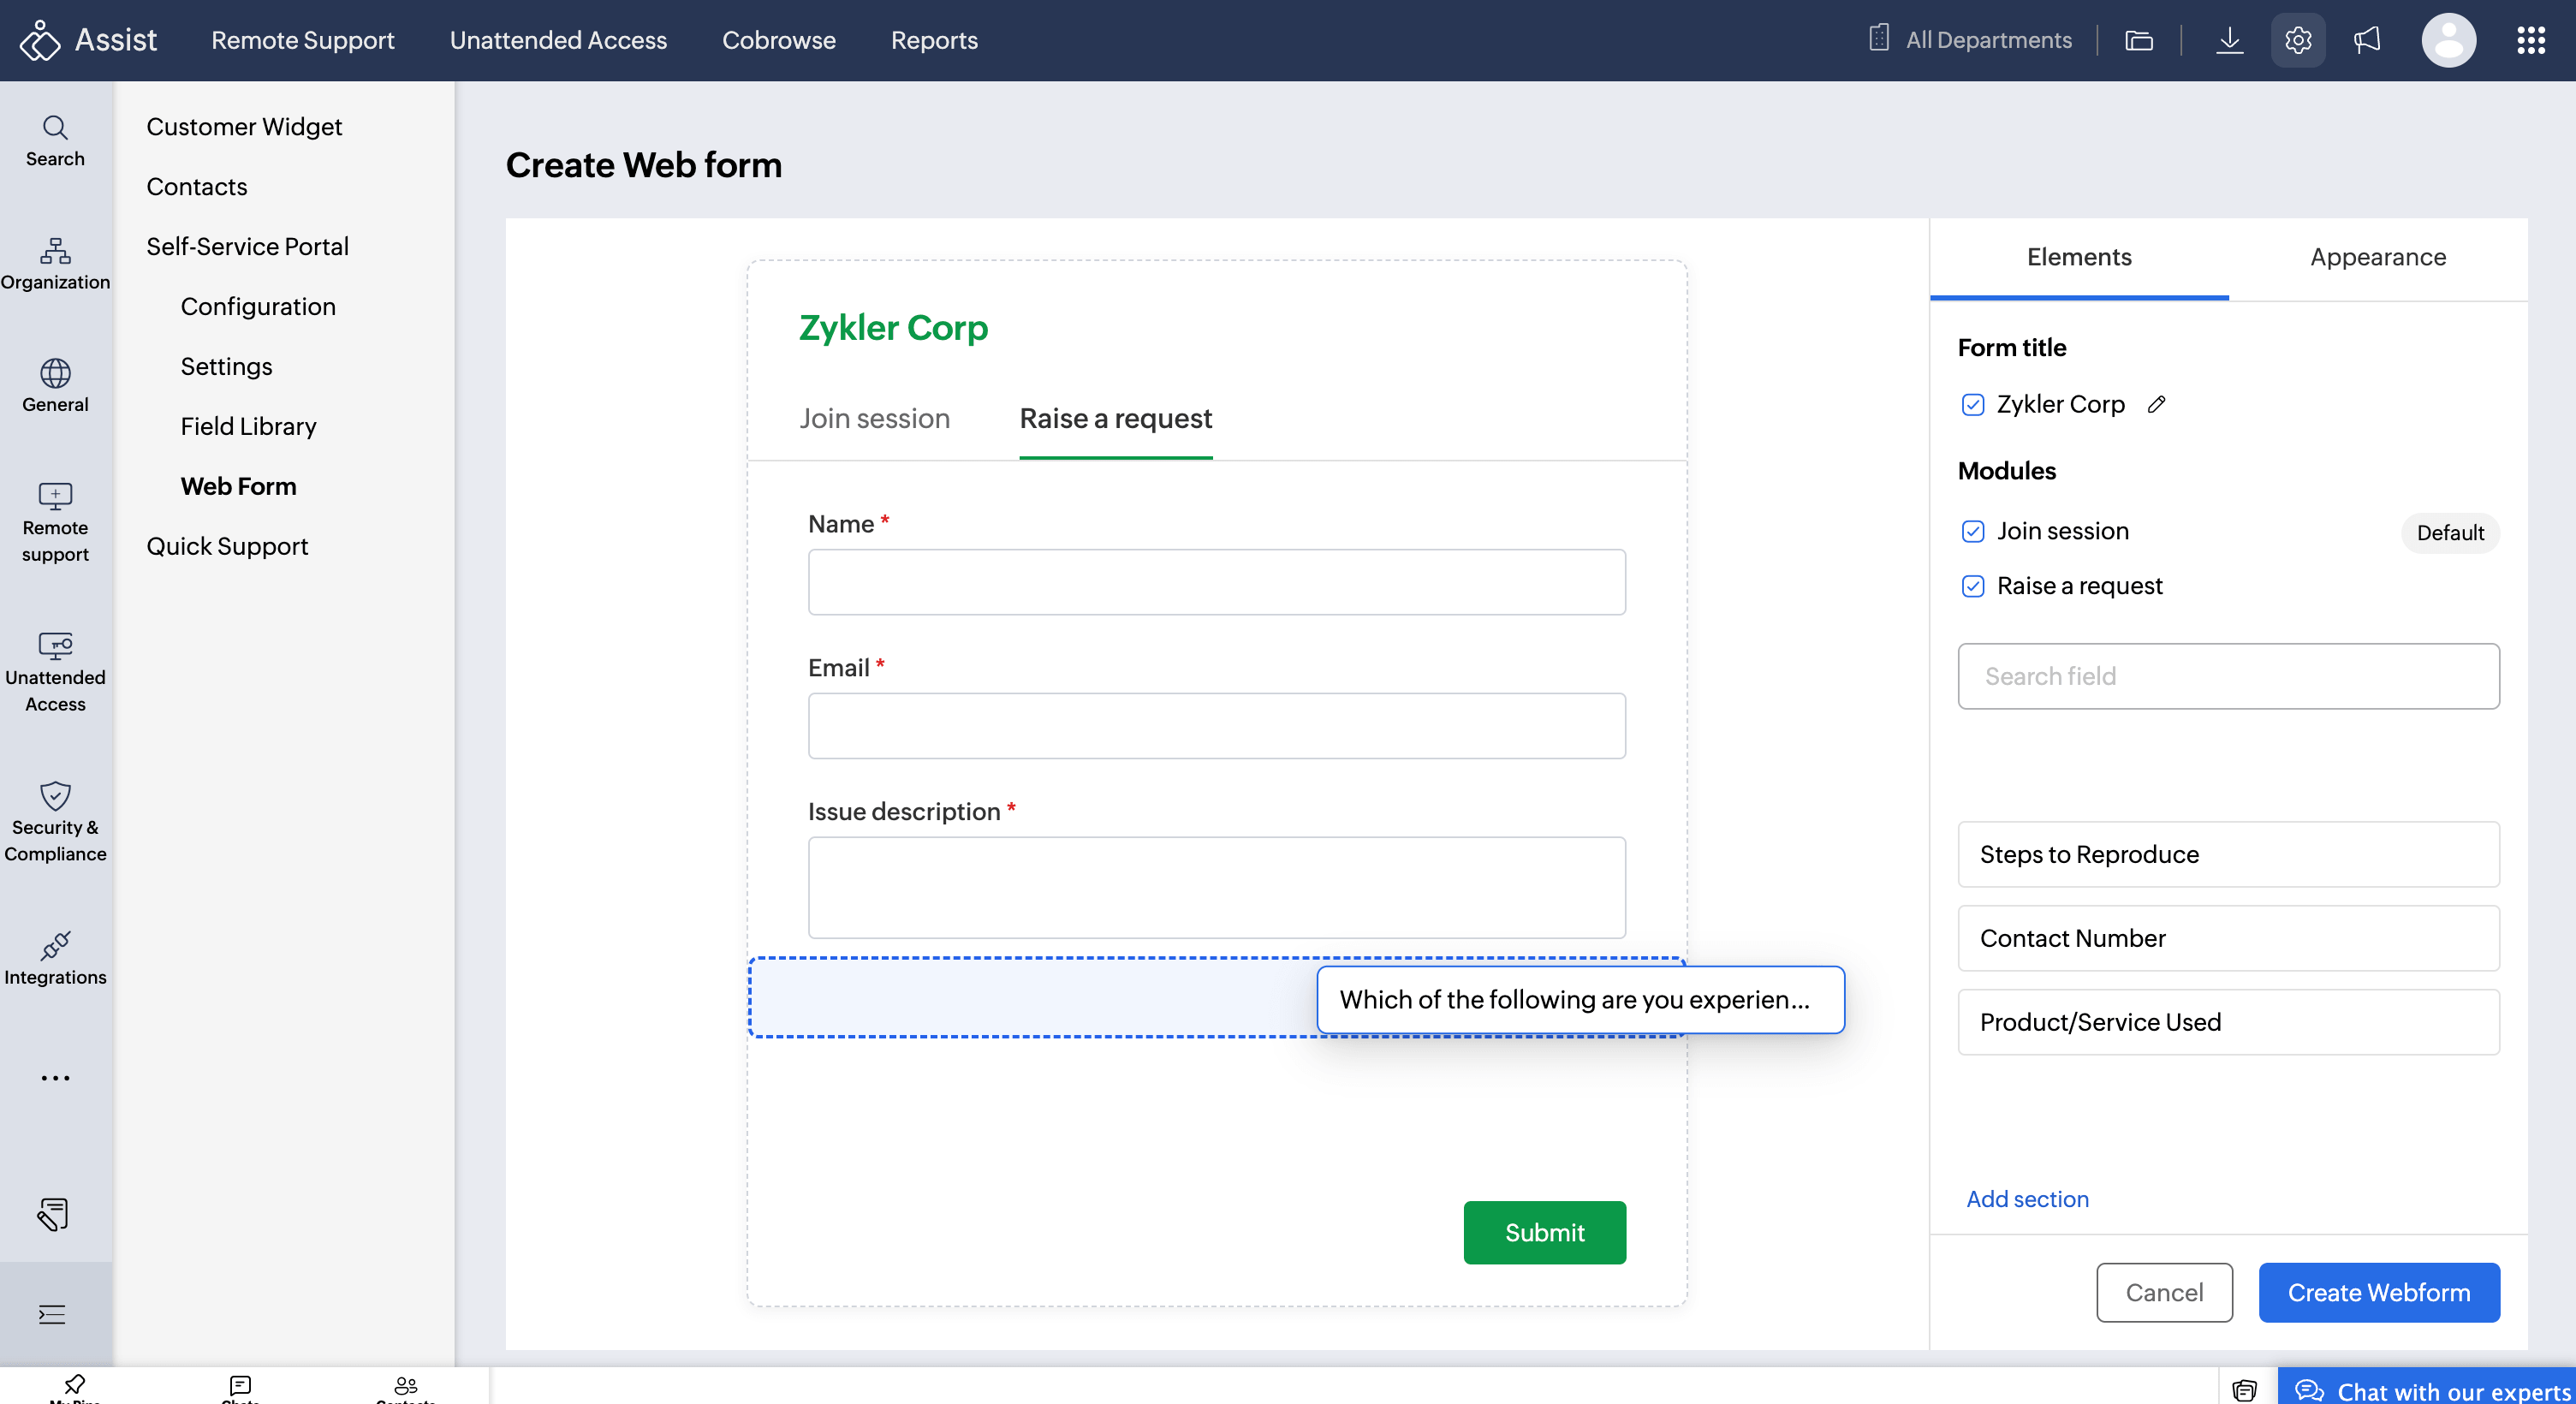
Configure the form using the Elements and Appearance tabs. The form preview updates as you build, so you can review the layout before saving.
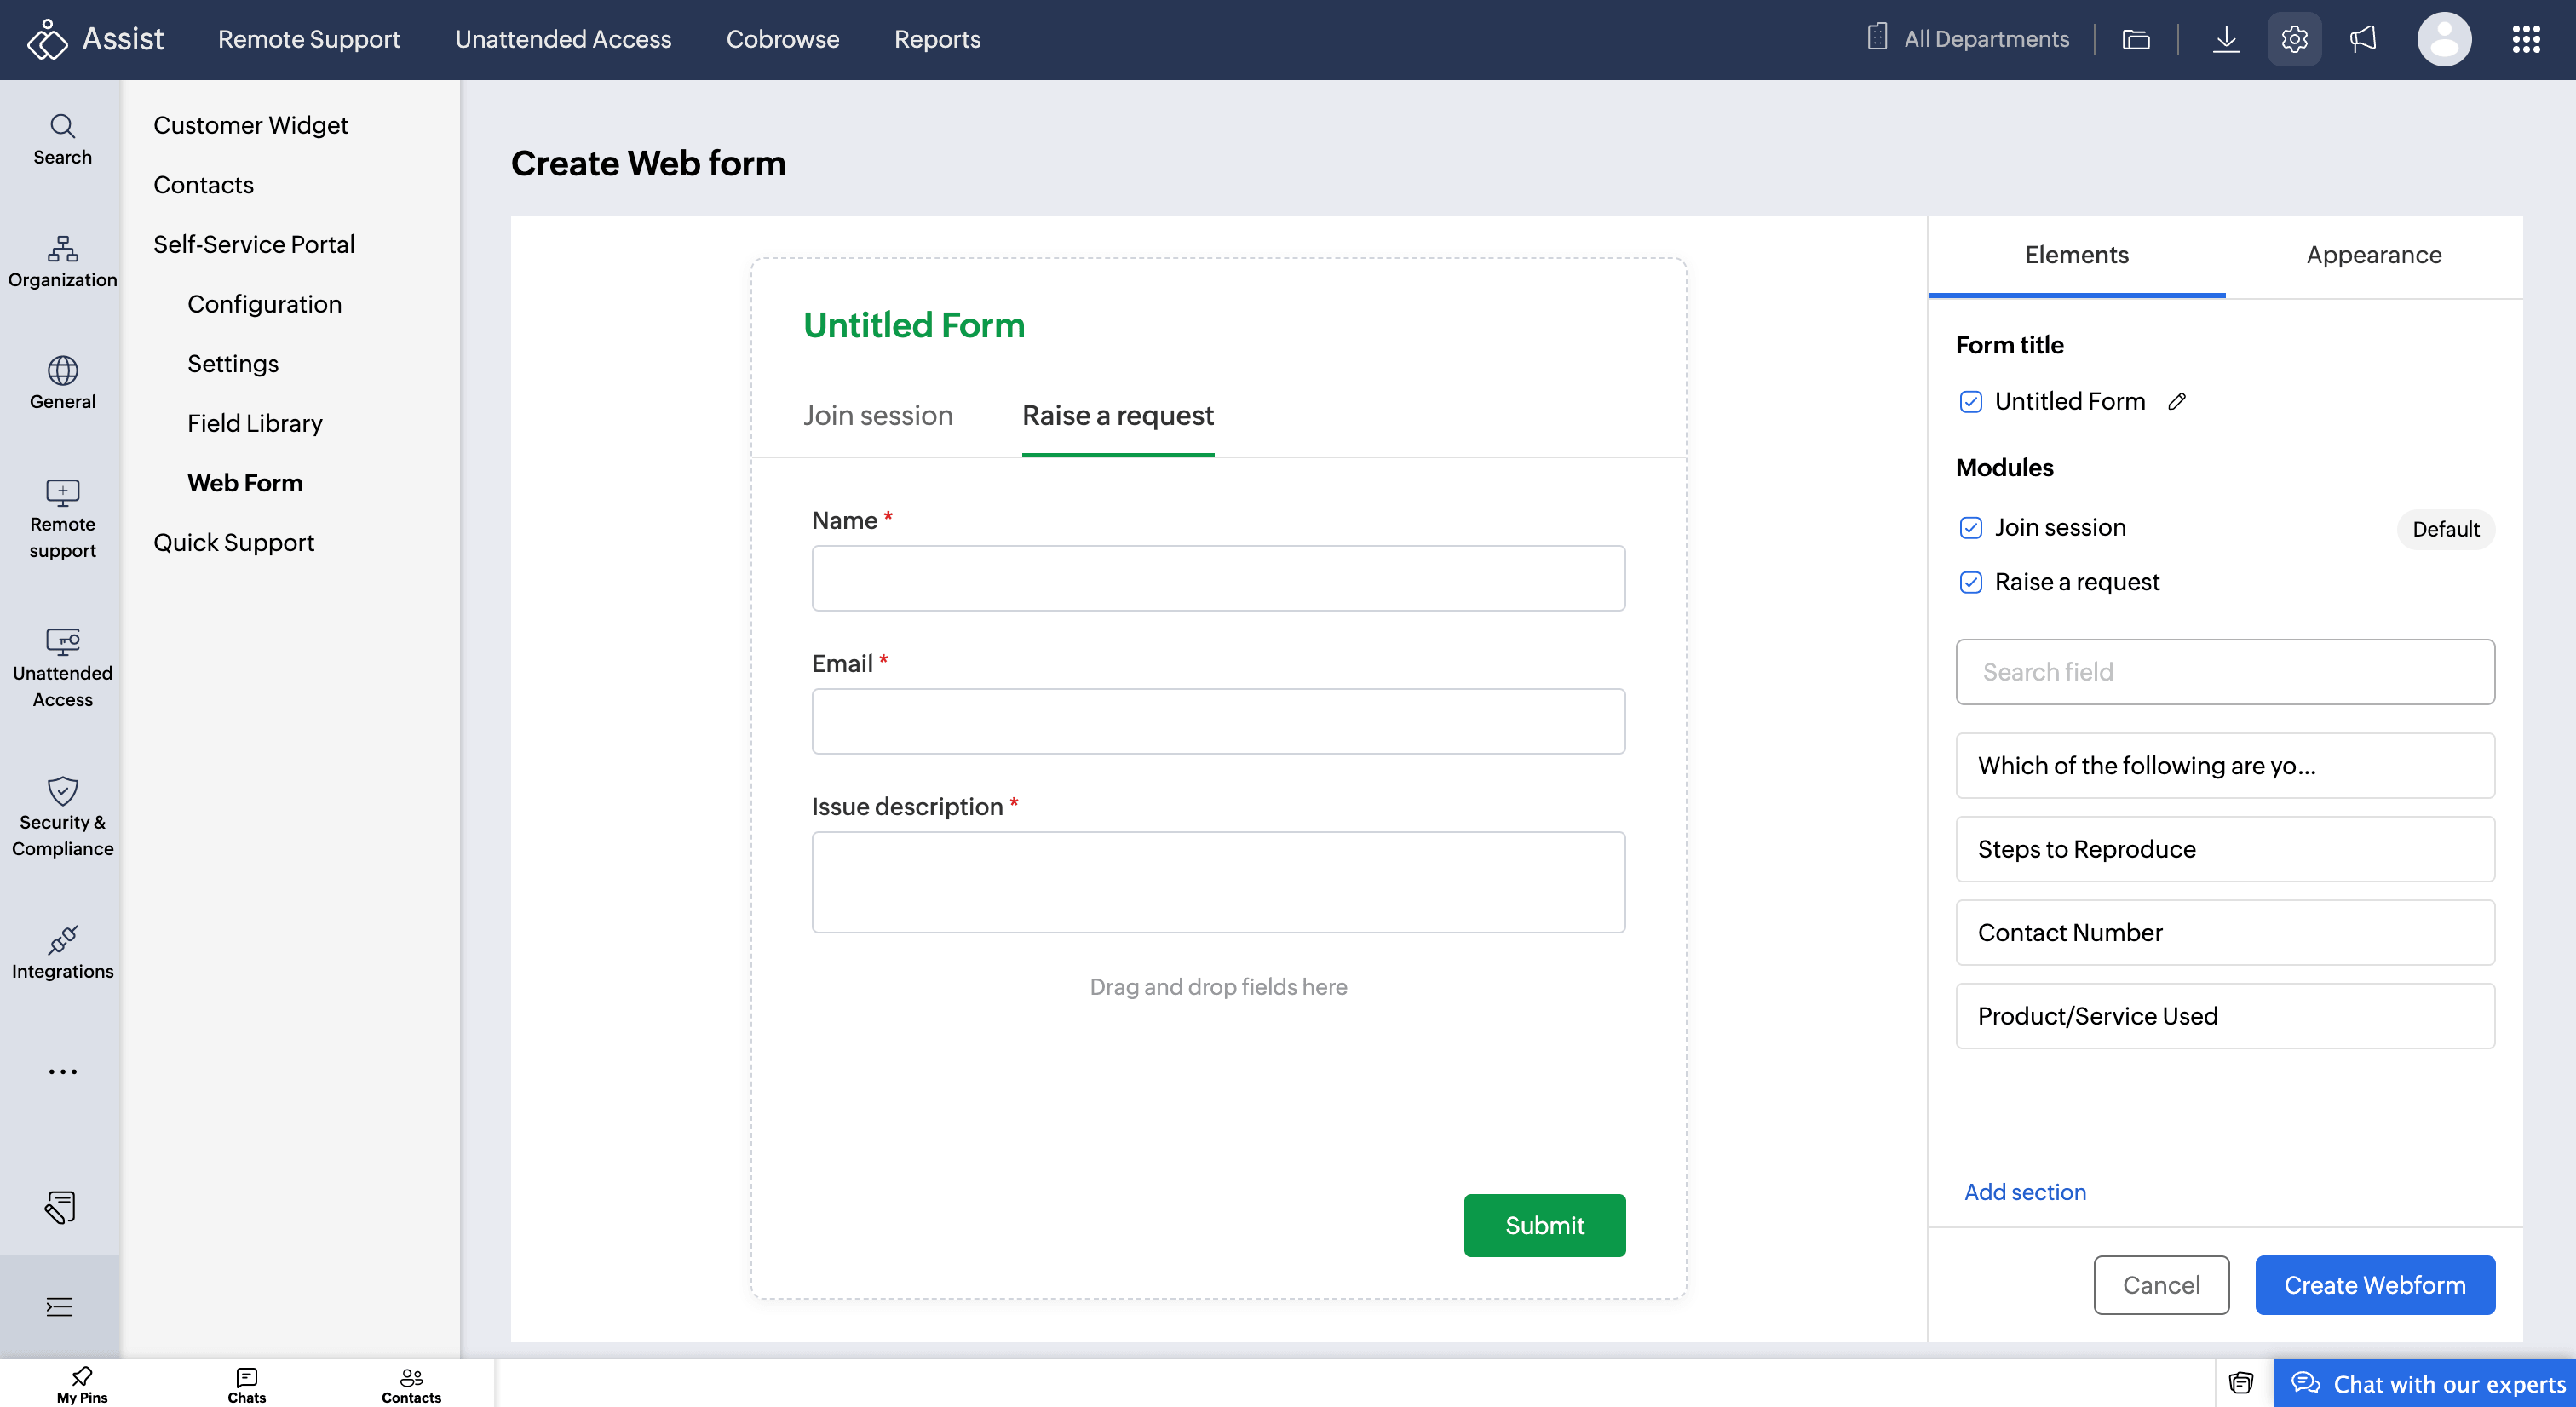
Configuring the Elements Tab
The Elements tab defines the structure and behavior of the form.
Form Title: Enter a custom title to display at the top of the form.
Modules: Choose which modules to enable. You can enable one or both depending on your support workflow:
Join Session: Lets customers join a remote support session directly using a session ID. Default fields include name and email.
Raise a Request: Lets customers submit support requests from your website. Default fields include name, email and description.
Fields: In addition to the default fields, you can add custom fields to the form. To add a field to the form, click the field from the list and drag it onto the form. Each field can be marked as mandatory or optional based on your requirement.
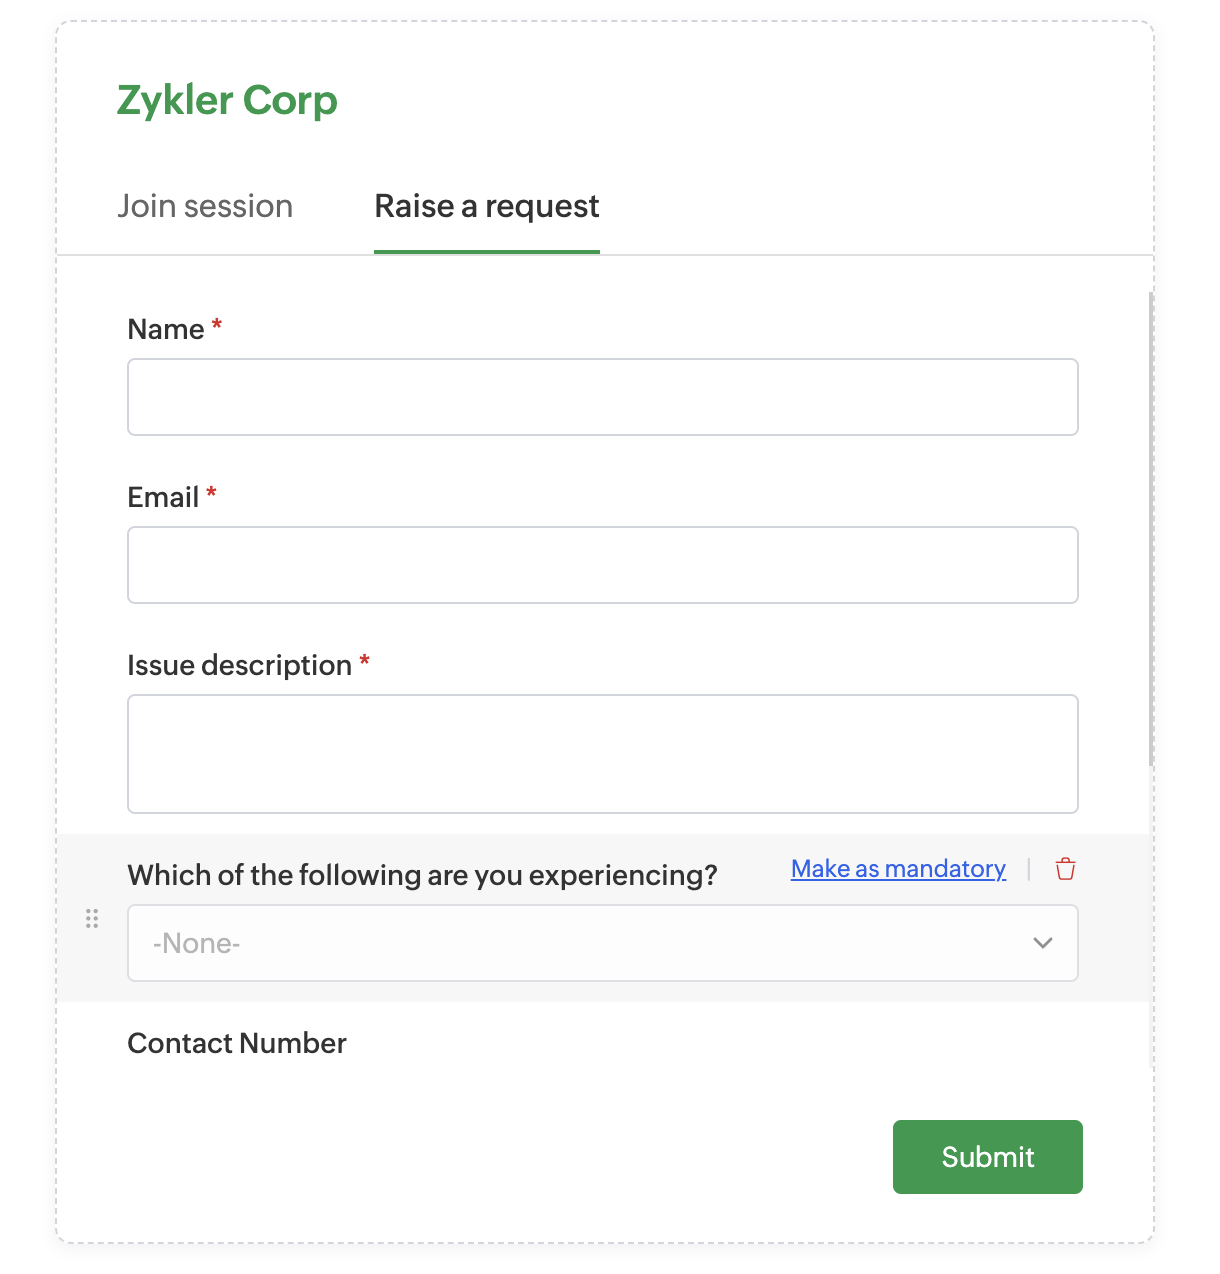
Note: Custom fields must be created in the Field Library before they can be added to a web form. Learn how to add fields to the Field Library
Sections: Sections help organize fields into meaningful groups and improve form readability. To add a section, click Add Section on the right panel, enter a section name, and click Add.
Customizing the Appearance
The Appearance tab lets you control how the form looks on your website. You can customize:
Theme color
Font style and font size
Form width and maximum height
These settings help align the form with your website's branding and layout.

Saving the Web Form
After configuring the form, click Create Web Form
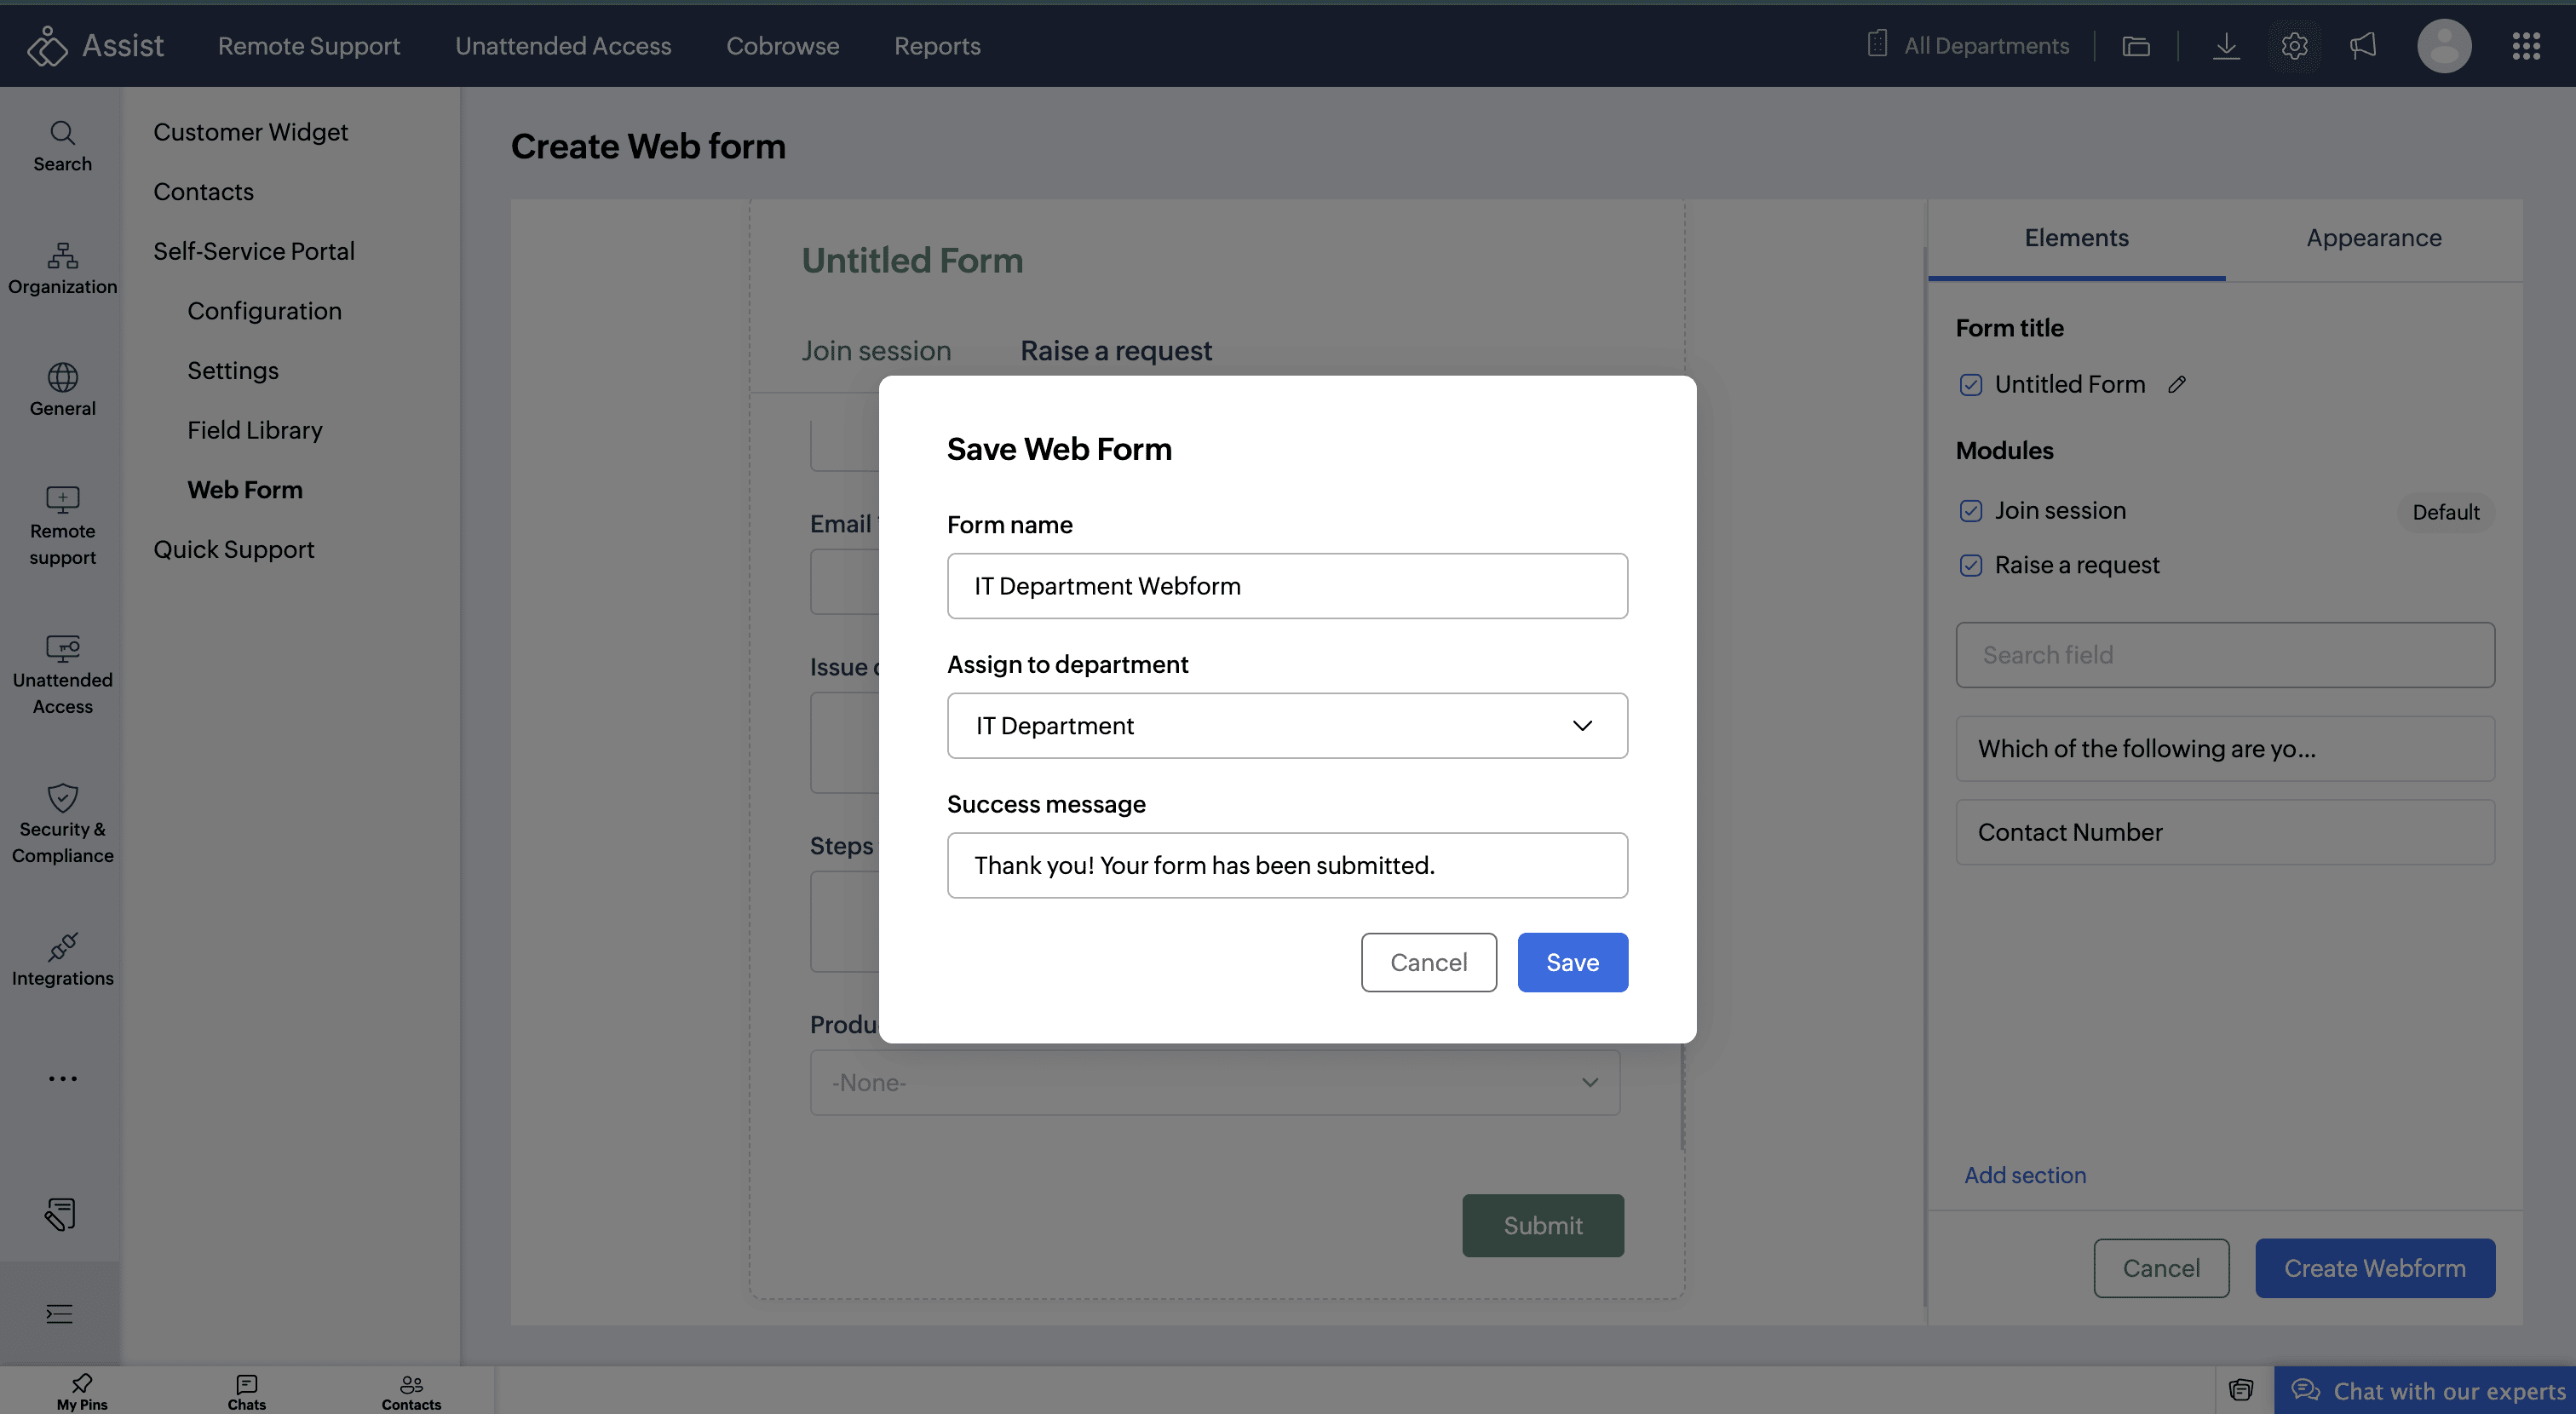
Enter the following details in the dialog that appears
Form name
Department: Routes incoming requests to the right team (e.g., Technical Support, Billing, Sales, Customer Service).
Success message: The message shown after a form is submitted (e.g., Thank you. Your request has been submitted successfully.).
Click Save.
Managing Web Forms
Once a web form is created, it will be listed on the Web Forms page. From here, you can view and manage all your forms. For each form, the following actions are available:
Preview - Review the form layout, field arrangement, enabled modules, and visual styling.

Click the More (three-dot) icon on any form to access the following actions:
Edit - Modify the form configuration, including elements and appearance settings.
Deactivate - Temporarily disables the form. The form may remain embedded on your website, but users will not be able to access or submit it until reactivated.
Delete - Permanently removes the form. It will no longer be accessible to users, including on any websites where it is currently embedded.

Embedding the Web Form
The created web form can be embedded on your website. To get the embed code:
On the Web Forms list page, click the Embed icon next to the form you want to embed.

Zoho Assist provides two options:
Embed code
iFrame code
Choose the method that best suits your website setup and copy the code into your web page.

How the Embedded Form Appears
Once embedded, the web form appears as a widget on your website. Customers can fill it out directly without leaving the page.

