Scheduled Report
Scheduled Reports allows you to automatically deliver report data to your recipients on a recurring basis without manual effort. You can refine exactly what data is included in each scheduled email so the information stays relevant to its audience. You can target report content precisely using:
- Views (for Custom Reports)
- Groups (for Manage Devices Reports)
- Service Queue
- Dial In
Note: Each scheduler is limited to a single report.
Creating a Scheduled Report
To set up a new scheduled report:
- Navigate to Reports > Scheduled Report.
- Click Create a new Scheduler.
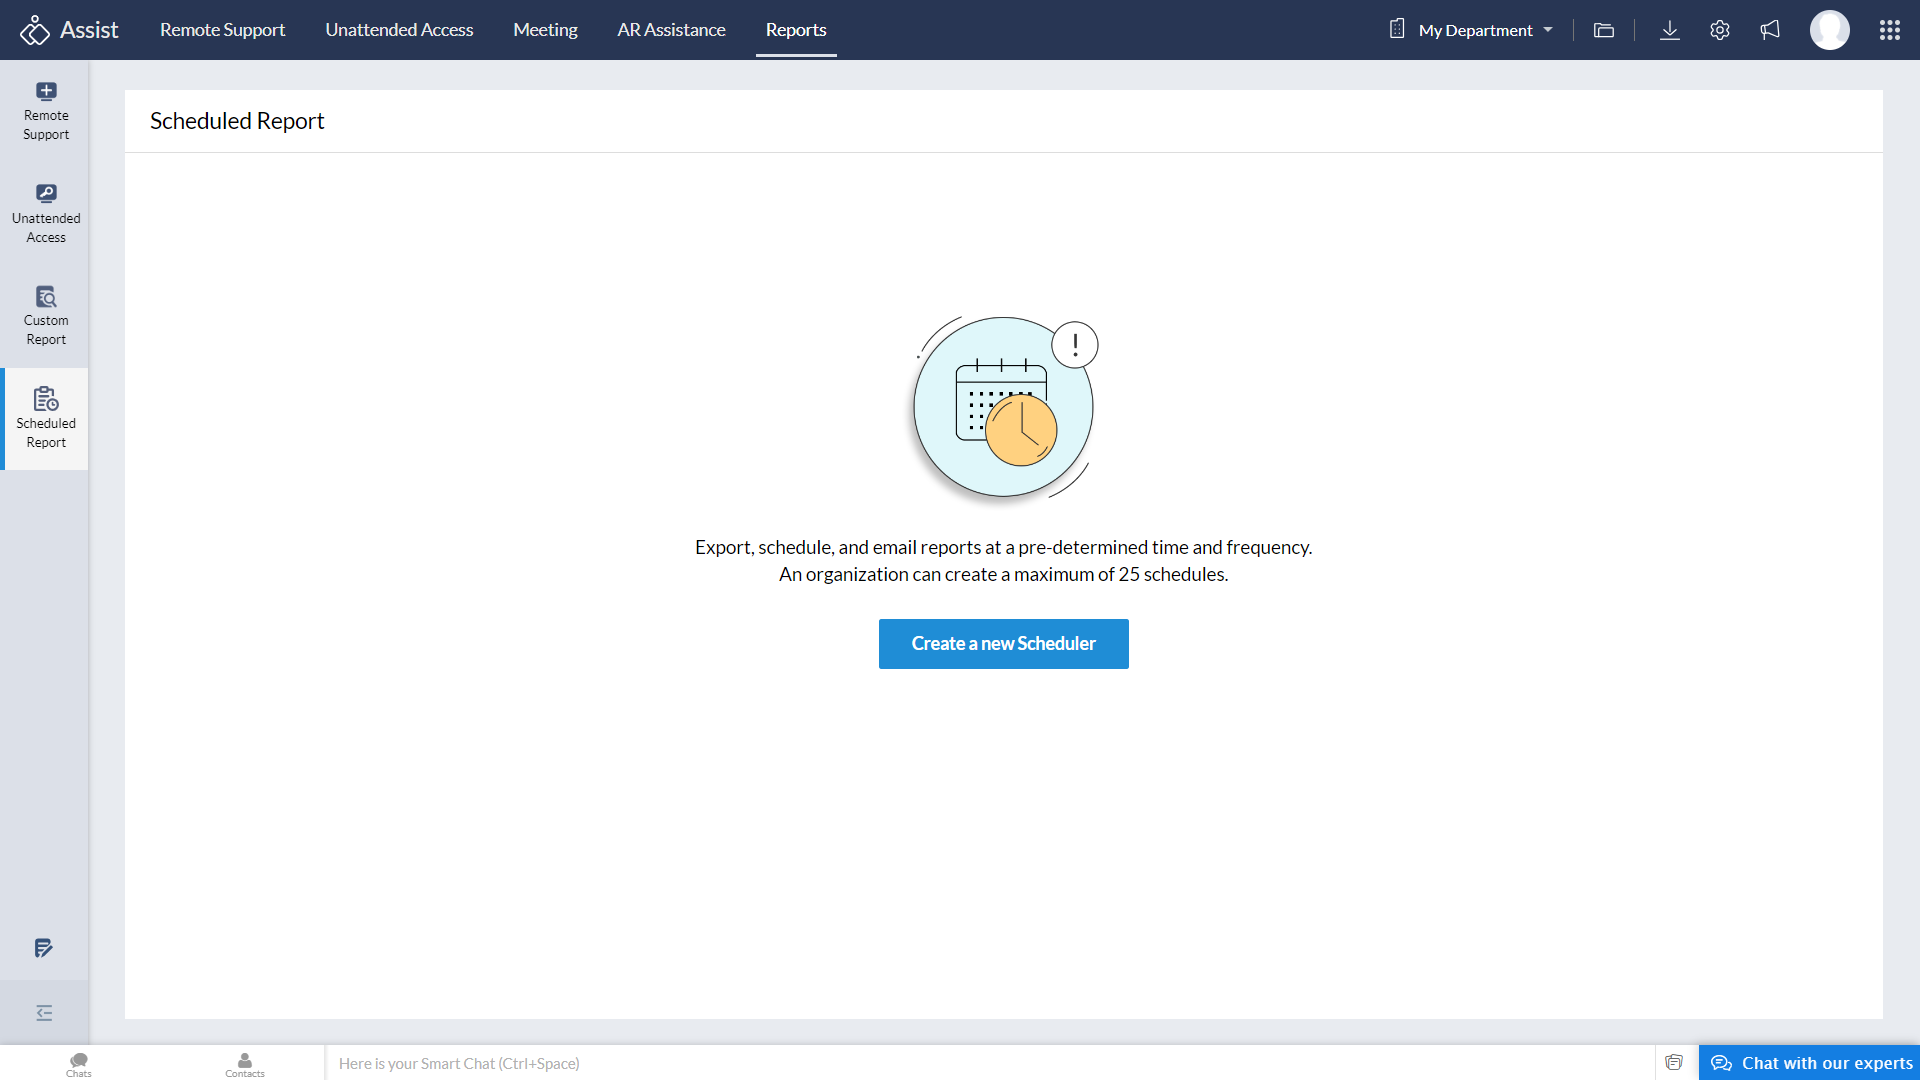
- In the Create a new Scheduler panel, enter the following details:
- Scheduler Name: Enter a name for the scheduler.
- Description: Provide a brief description of the schedule.
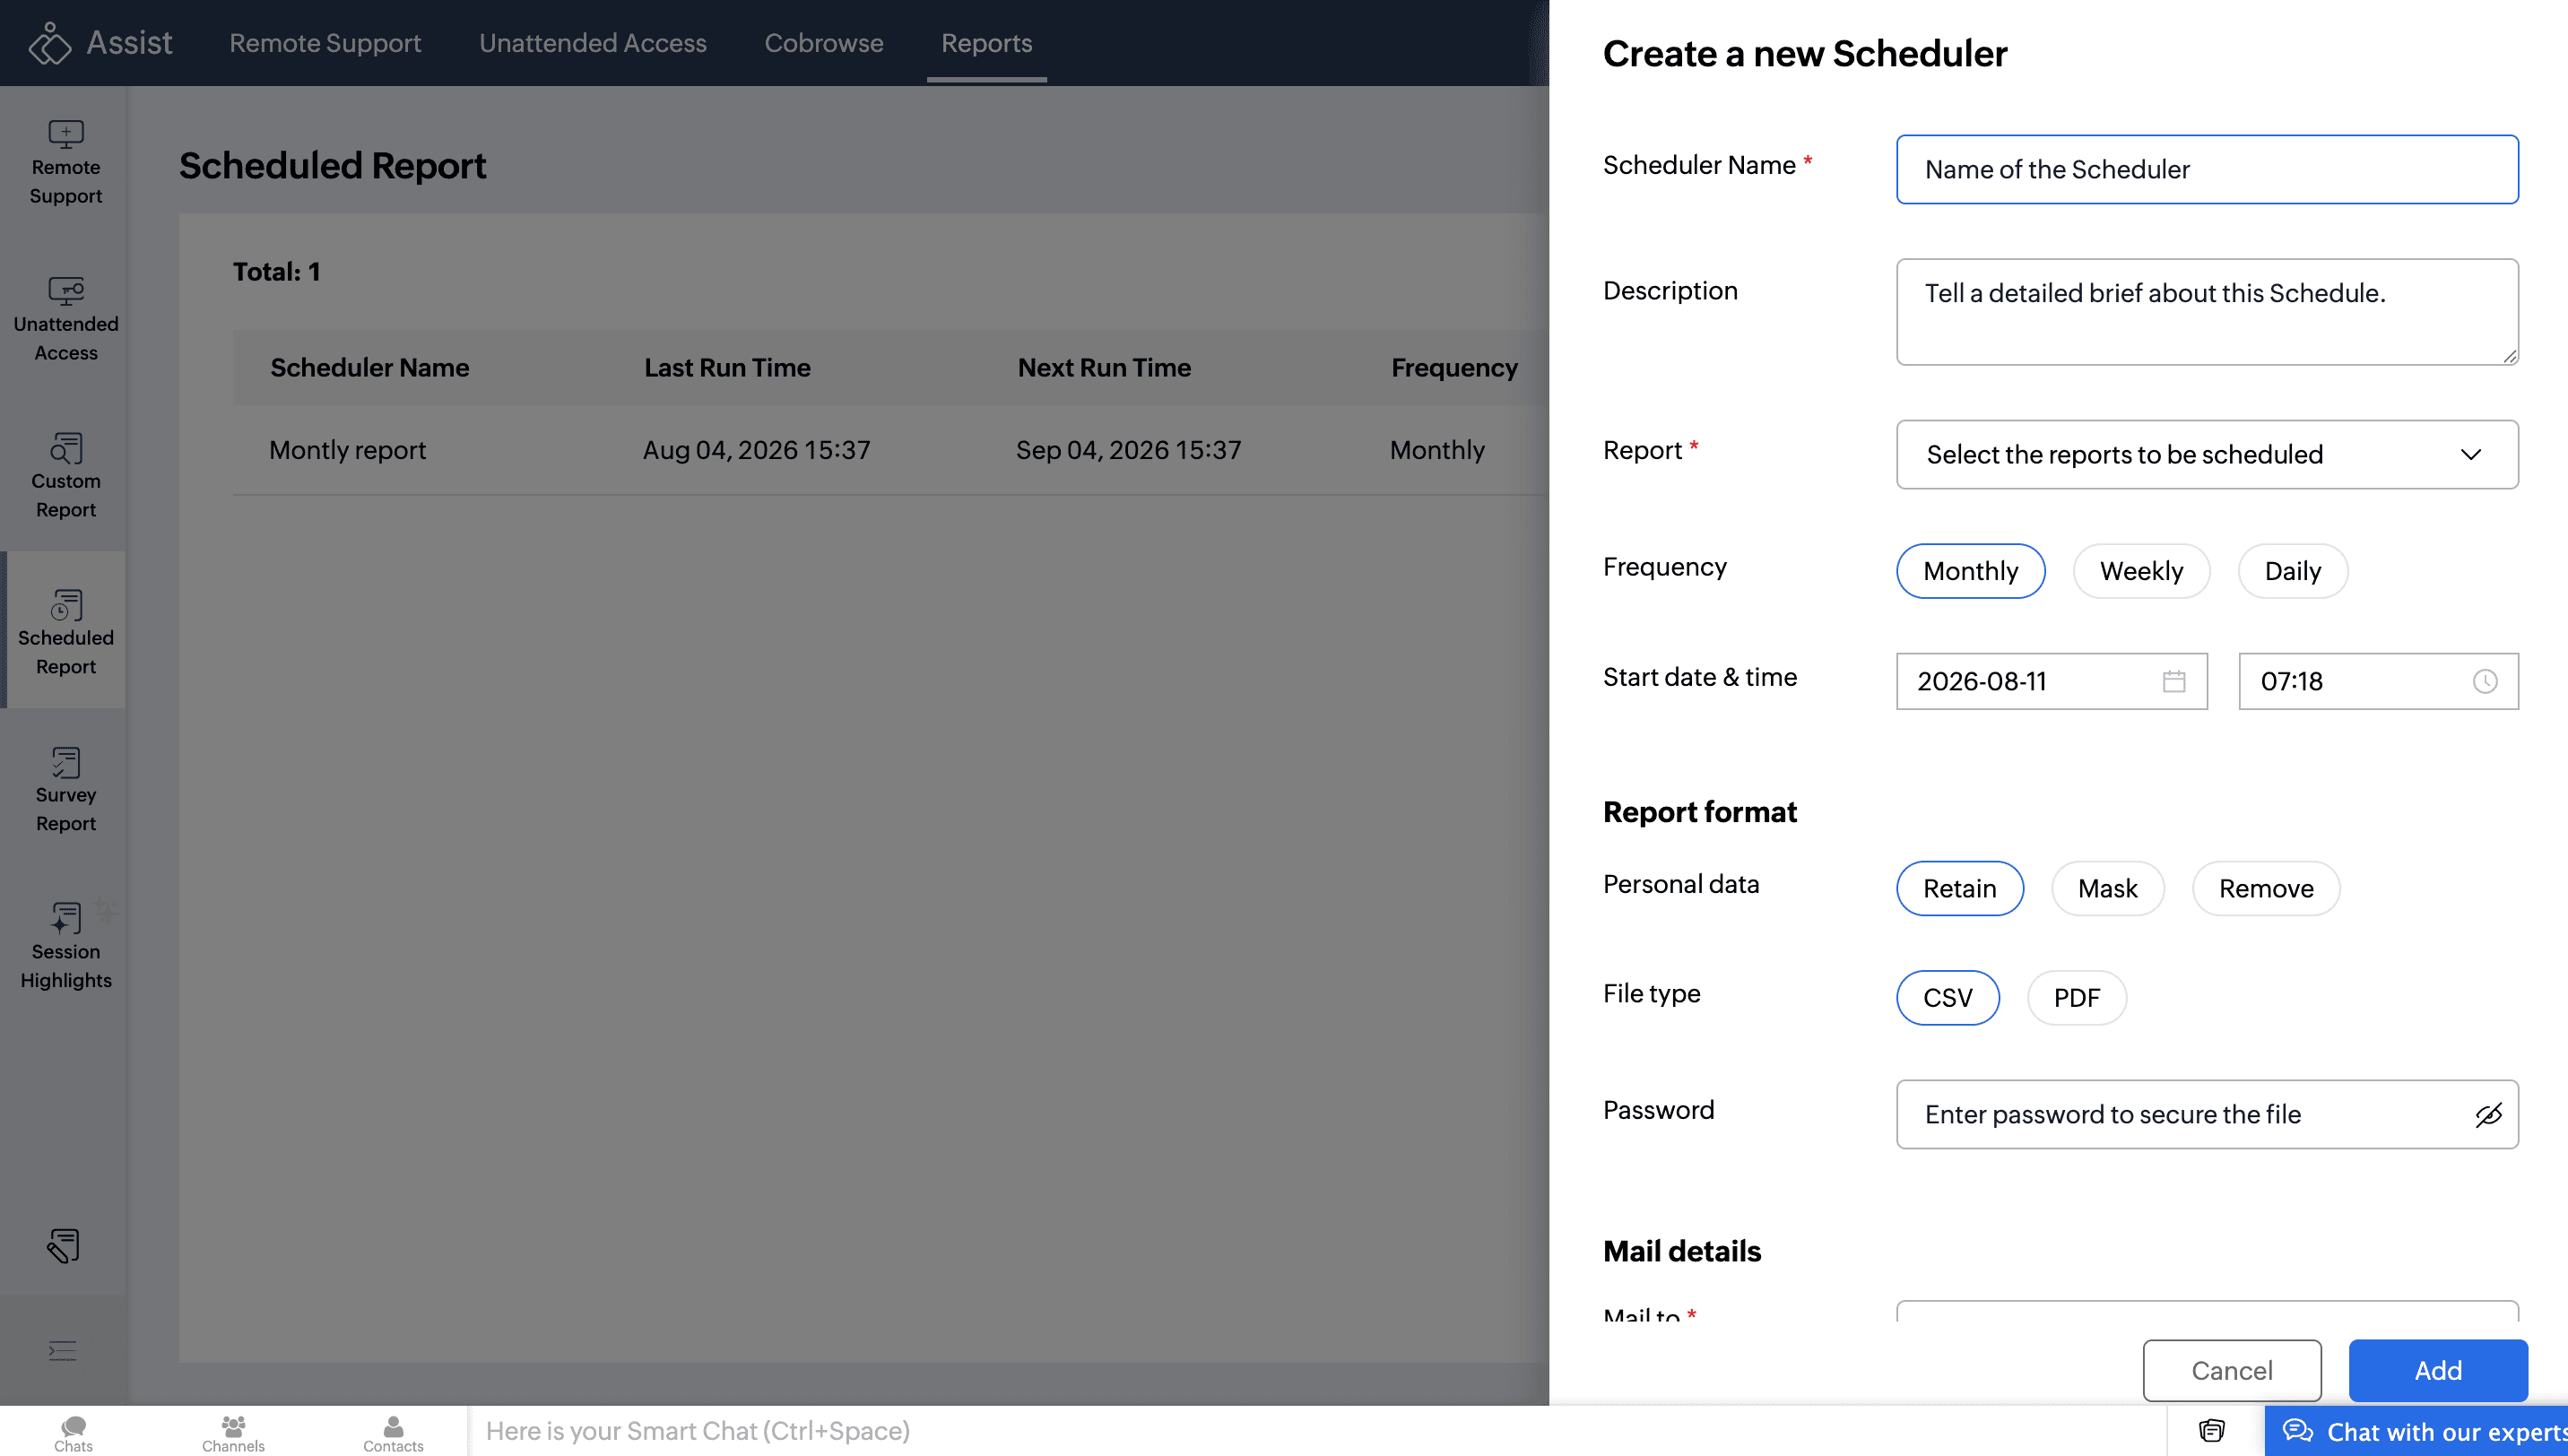
- Report: Select the report type to be scheduled: Custom, Service Queue, Dial In, or Manage Devices.
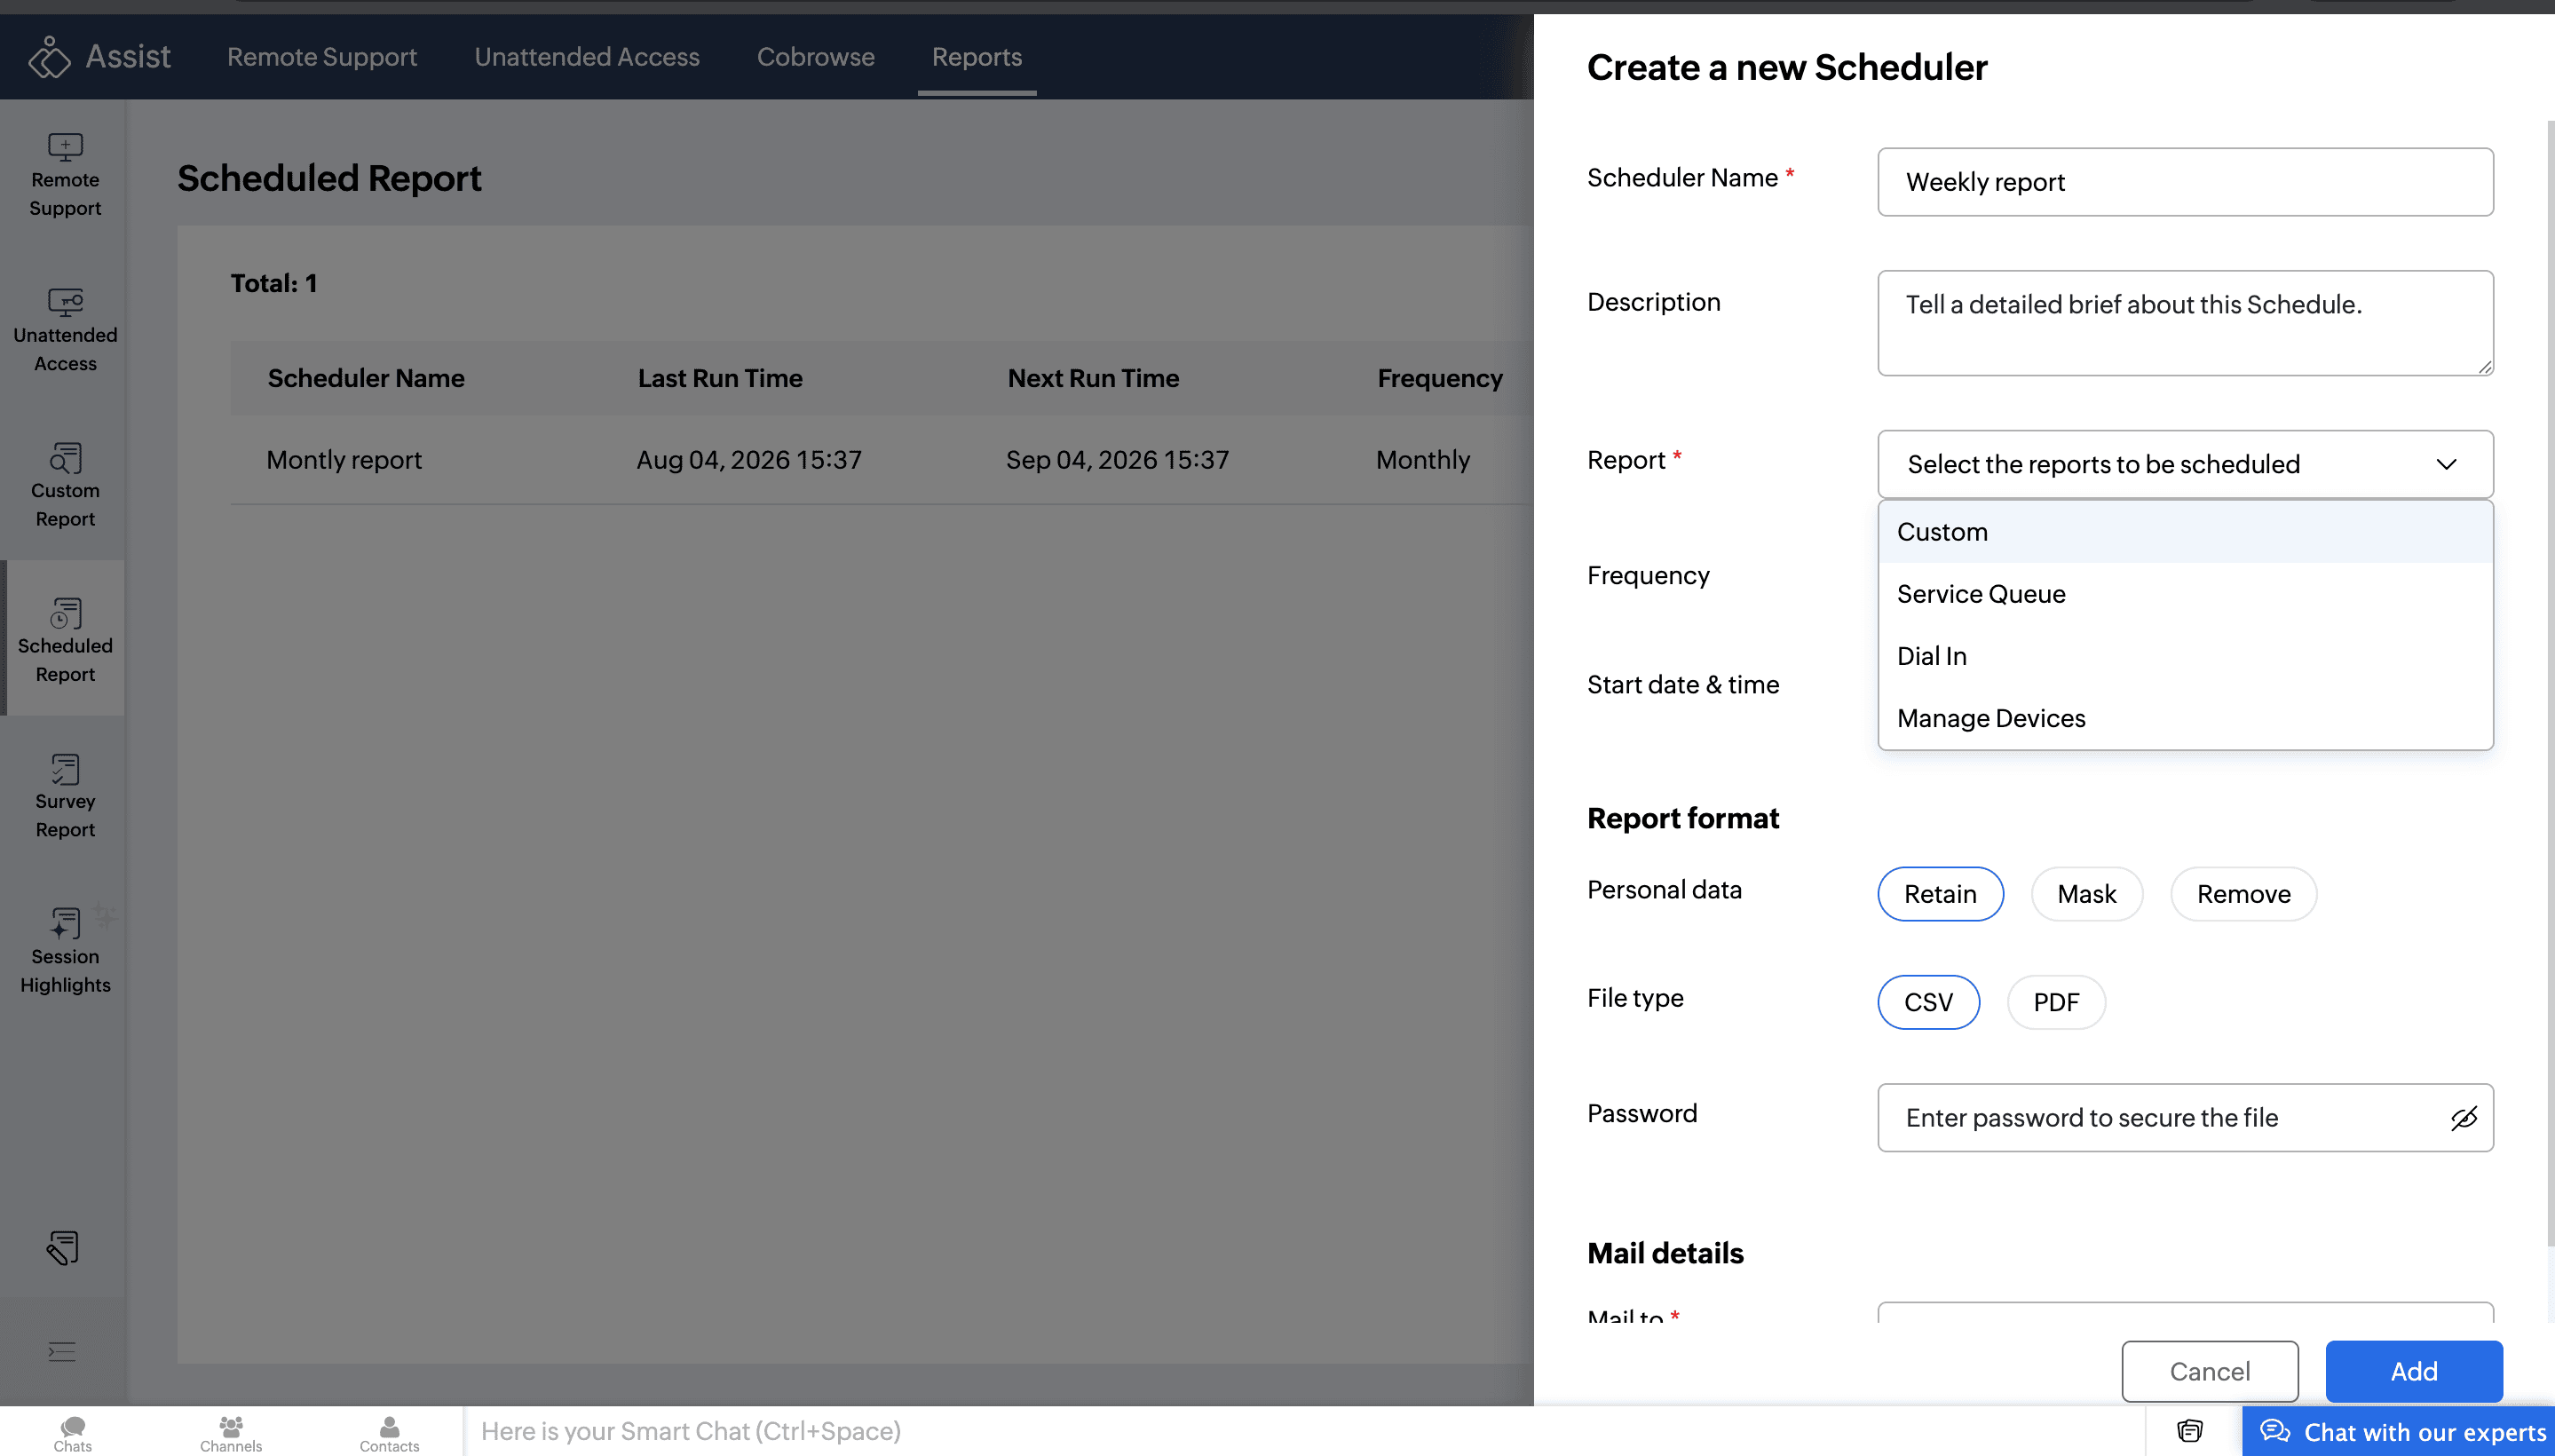
- Custom Report: Using Views
When scheduling a Custom Report, you can select a view (either the standard view or custom view) to control which filtered data subset is sent. Only data matching the View's saved filter criteria will be included in the scheduled email.
Note: Views are created and managed in Custom Report. To learn how to create a View, refer to Views in Custom Report. - Manage Devices Report : Using Groups
When scheduling a Manage Devices Report, you can select a Group to filter the devices included in the report. Only devices belonging to the selected Group will appear in the scheduled email.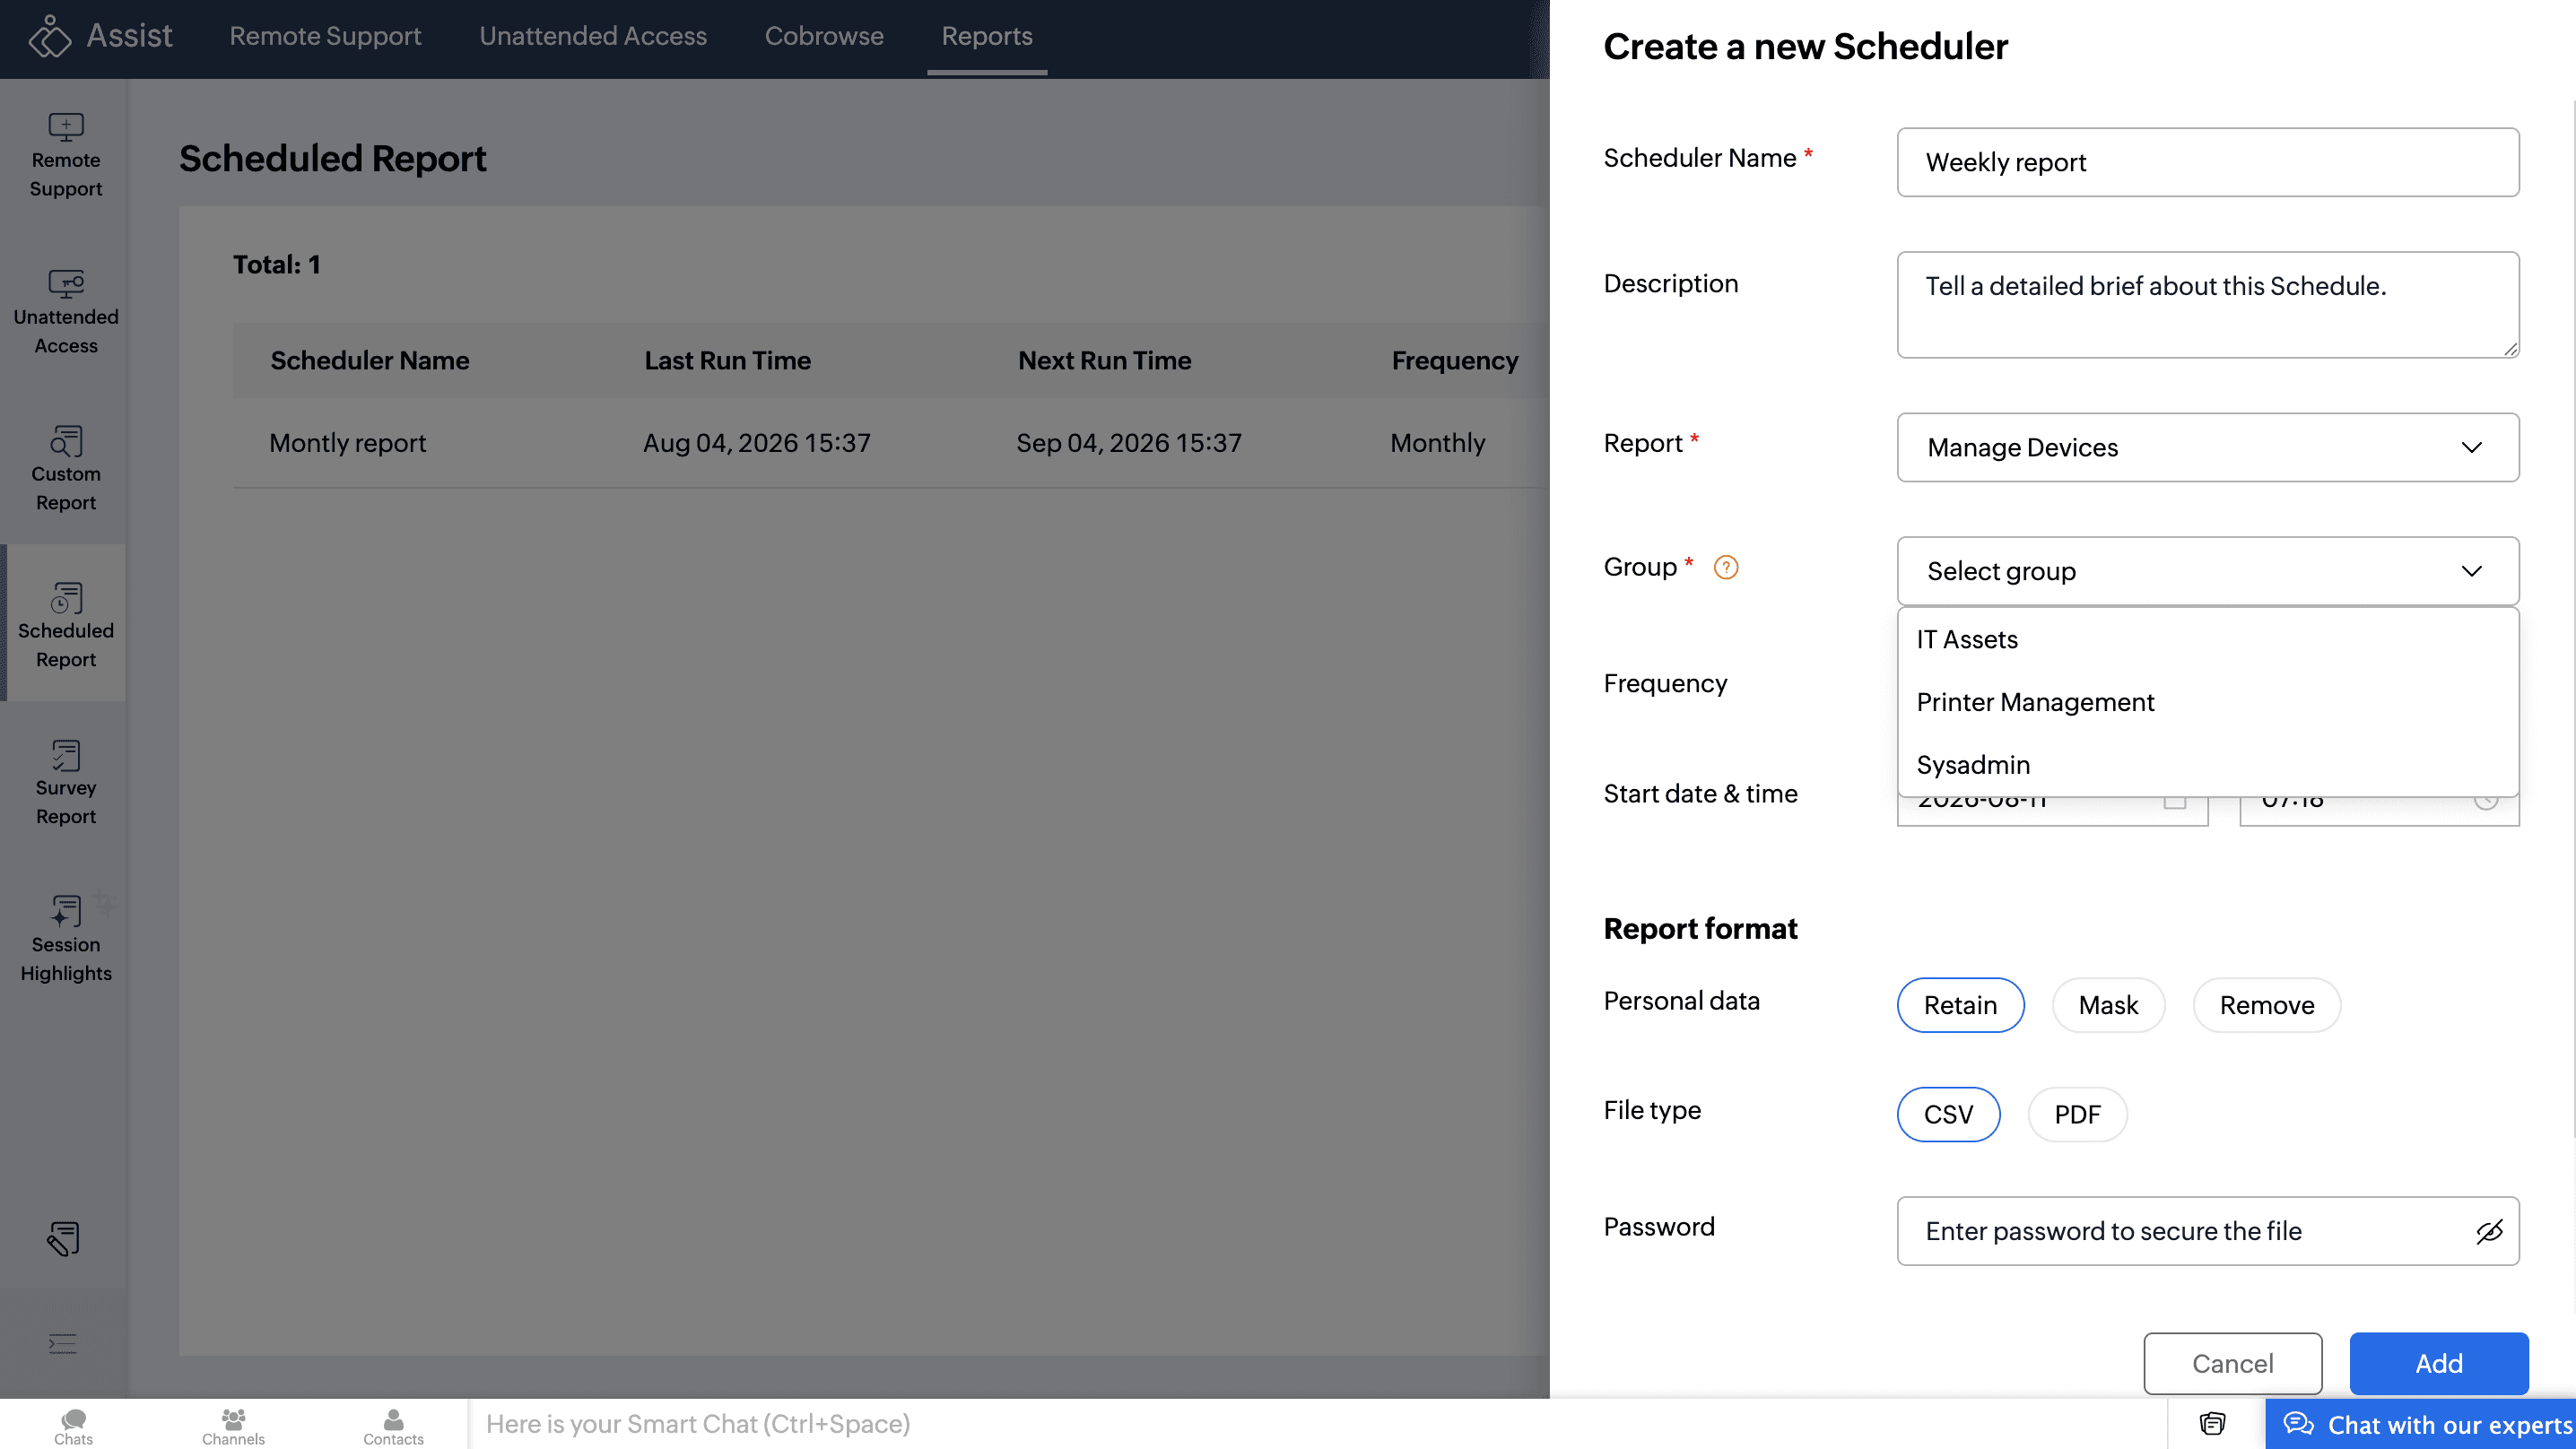
- Custom Report: Using Views
- Frequency: Choose how often the report should be sent: Monthly, Weekly, or Daily.
- Start Date and Time: Set when the scheduler should begin.
- Under Report Format, configure the following:
- Personal Data: Choose to Retain, Mask, or Remove personal data from the report.
- File Type: Select CSV or PDF.
- Password: Optionally set a password to secure the report file.
- Under Mail Details, enter the email addresses of the recipients (maximum 5).
- Click Add to save the scheduler.
Modifying a Scheduled Report
To modify an existing scheduler:
- Navigate to Reports > Scheduled Report.
- Click the three dot icon next to the scheduler and select Modify.
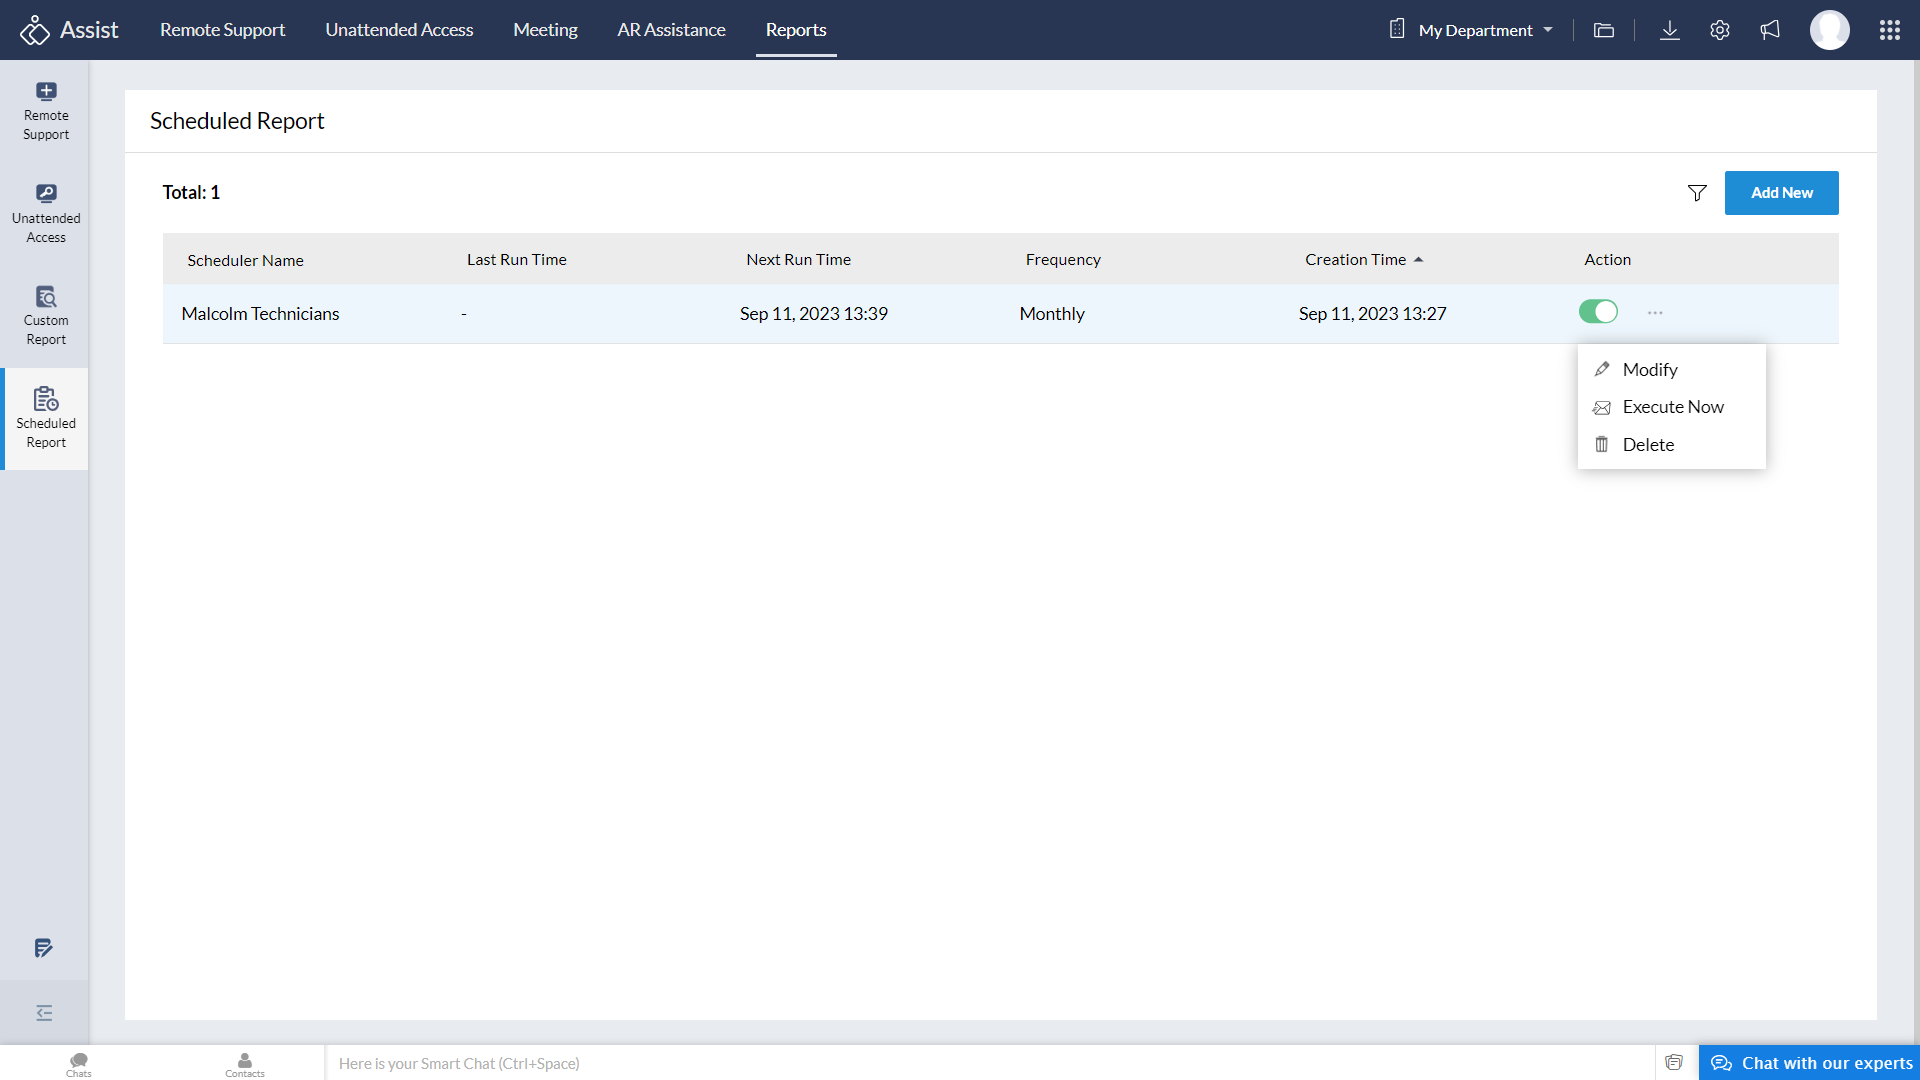
- Update the required details and save your changes.
Note: Schedulers created before Custom Views were introduced are available in view-only mode and cannot be edited. To make changes, create a new scheduler using the updated workflow.

Executing a Report Immediately
Execute Now allows you to instantly receive reports to the specified email addresses. This option is available only when the scheduler is active. Using Execute Now will not impact your upcoming scheduled report delivery time.
Even though reports run on a set schedule, you can trigger a report at any time.
- Click the three dot icon next to the scheduler.
- Select Execute Now.
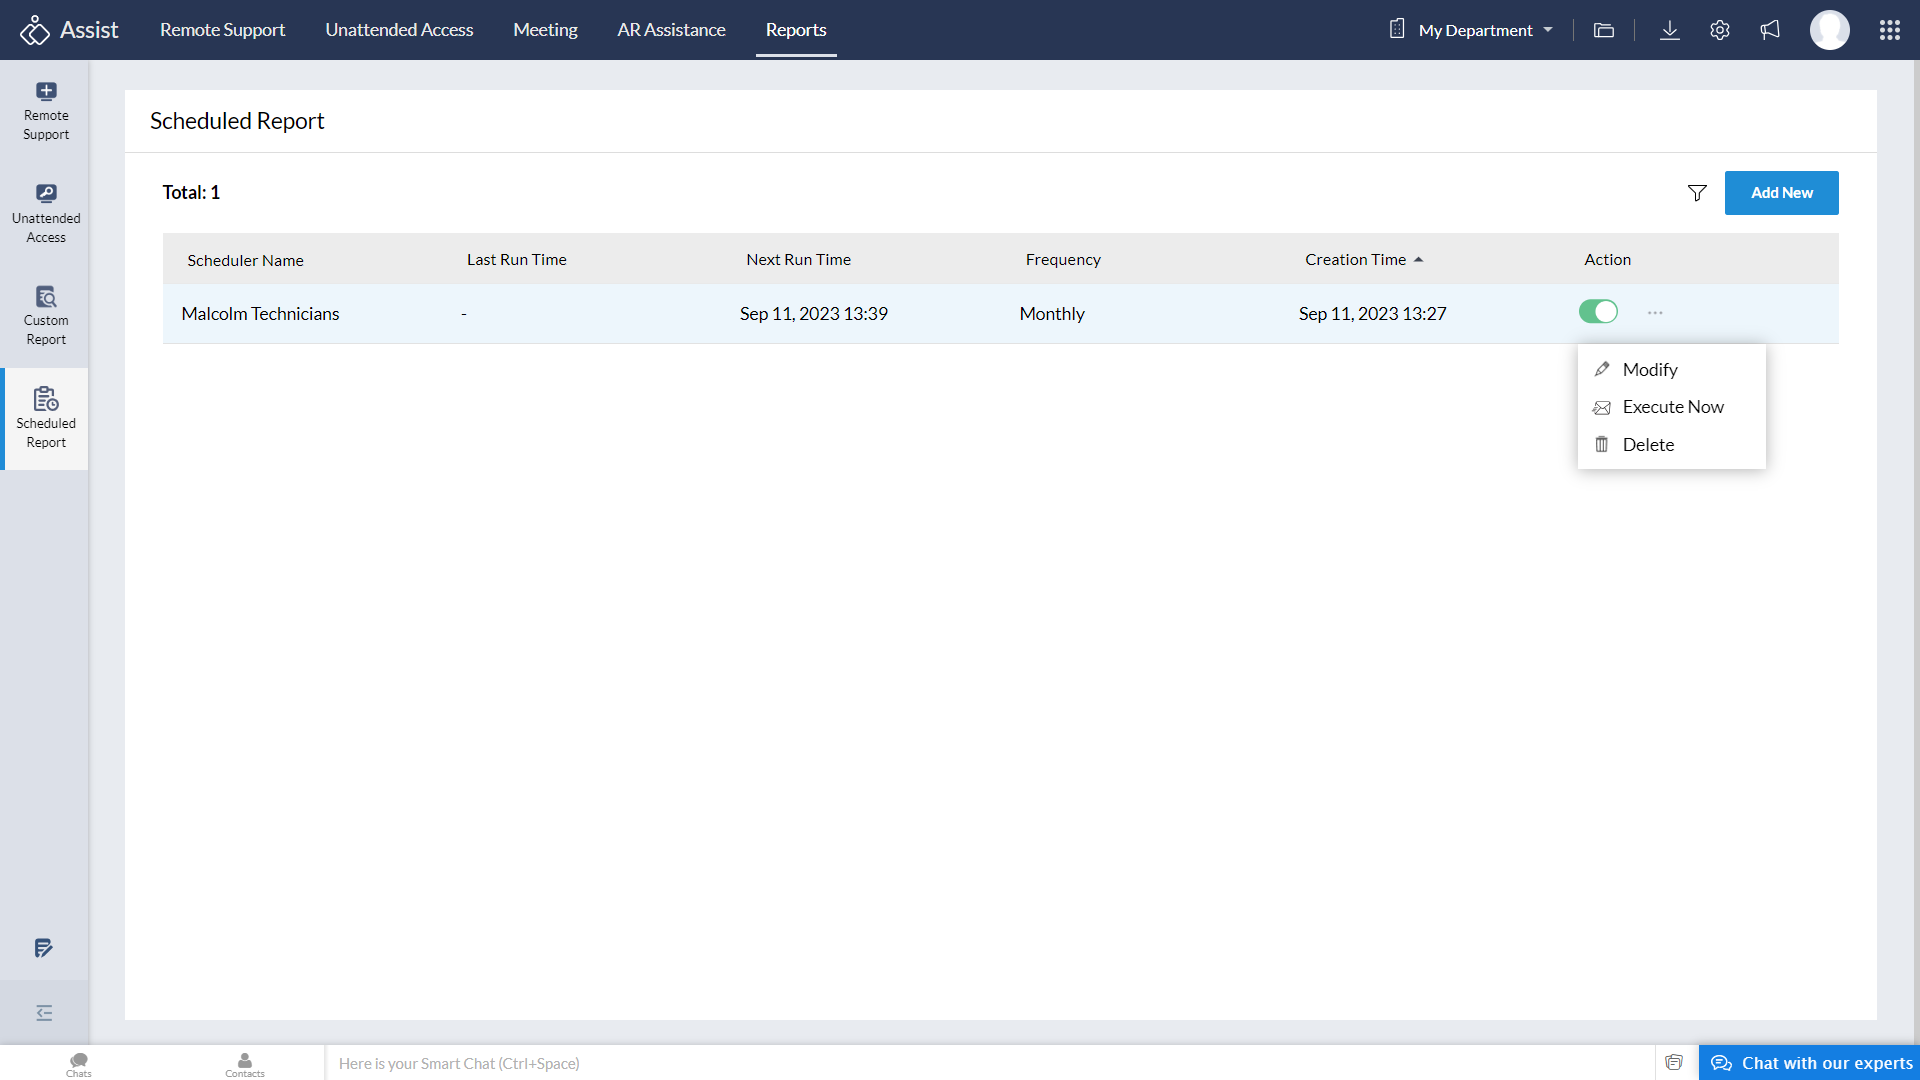
- A confirmation prompt will be shown as below. Click Execute now to proceed.
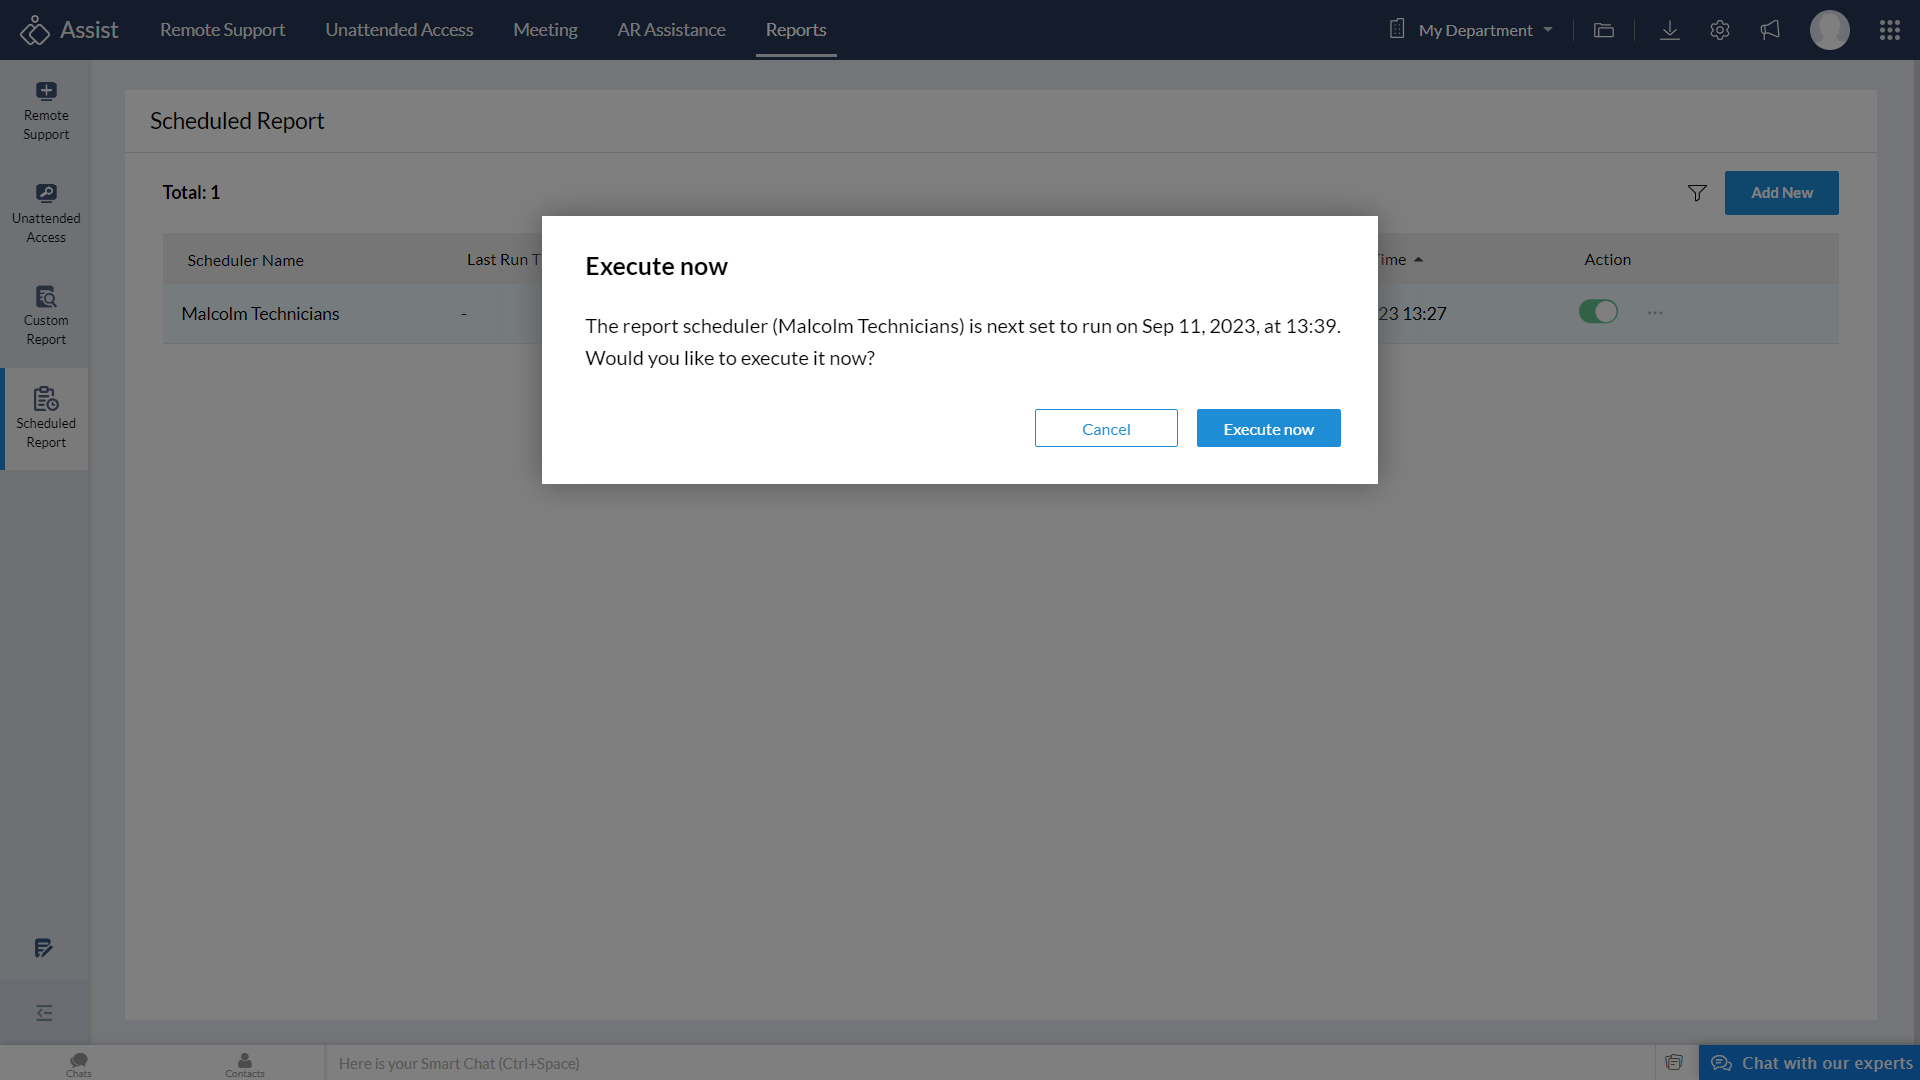
The report will be sent immediately to the configured recipients via email.
Deleting a Scheduled Report
To delete a scheduler:
- Click the three dot icon next to the scheduler.
- Select Delete.
- Confirm by clicking Delete Now in the confirmation dialog.
Note: Deleting a scheduler is permanent and will stop all future report emails from being sent.
Disabling a Scheduled Report
To temporarily pause a scheduler without deleting it, use the toggle in the Action column to disable it. You can re-enable it at any time.