Creating Portal
Portals serve as centralized hubs for all business information, providing a single source of truth. They simplify navigation and retrieval of critical information, eliminating BI silos and fostering a data-driven culture by democratizing data access. In Zoho Analytics, portals offer numerous benefits, such as enterprise-grade security features. They enable a unified portal that integrates reports from other BI applications. Additionally, portals can be designed for different form factors, including mobile and tablet, ensuring accessibility across various devices.
Create Portal
Users with an administrator profile can create and manage the portals in Zoho Analytics. Portals are available as an add-on in the Premium plan.
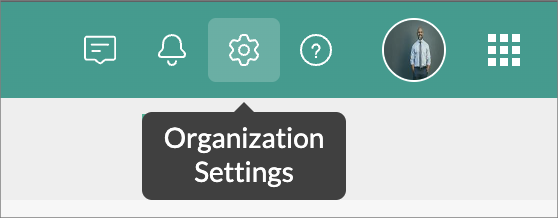
- Click the Organization Settings icon on the top right.
- The Settings page will open. Click Controls/Configurations > Portals.
- Click the Create New Portal button. A confirmation dialog to enable trial will open.
- Click Enable Trial. A 15-day trial for Analytics Portal will be enabled for your account.
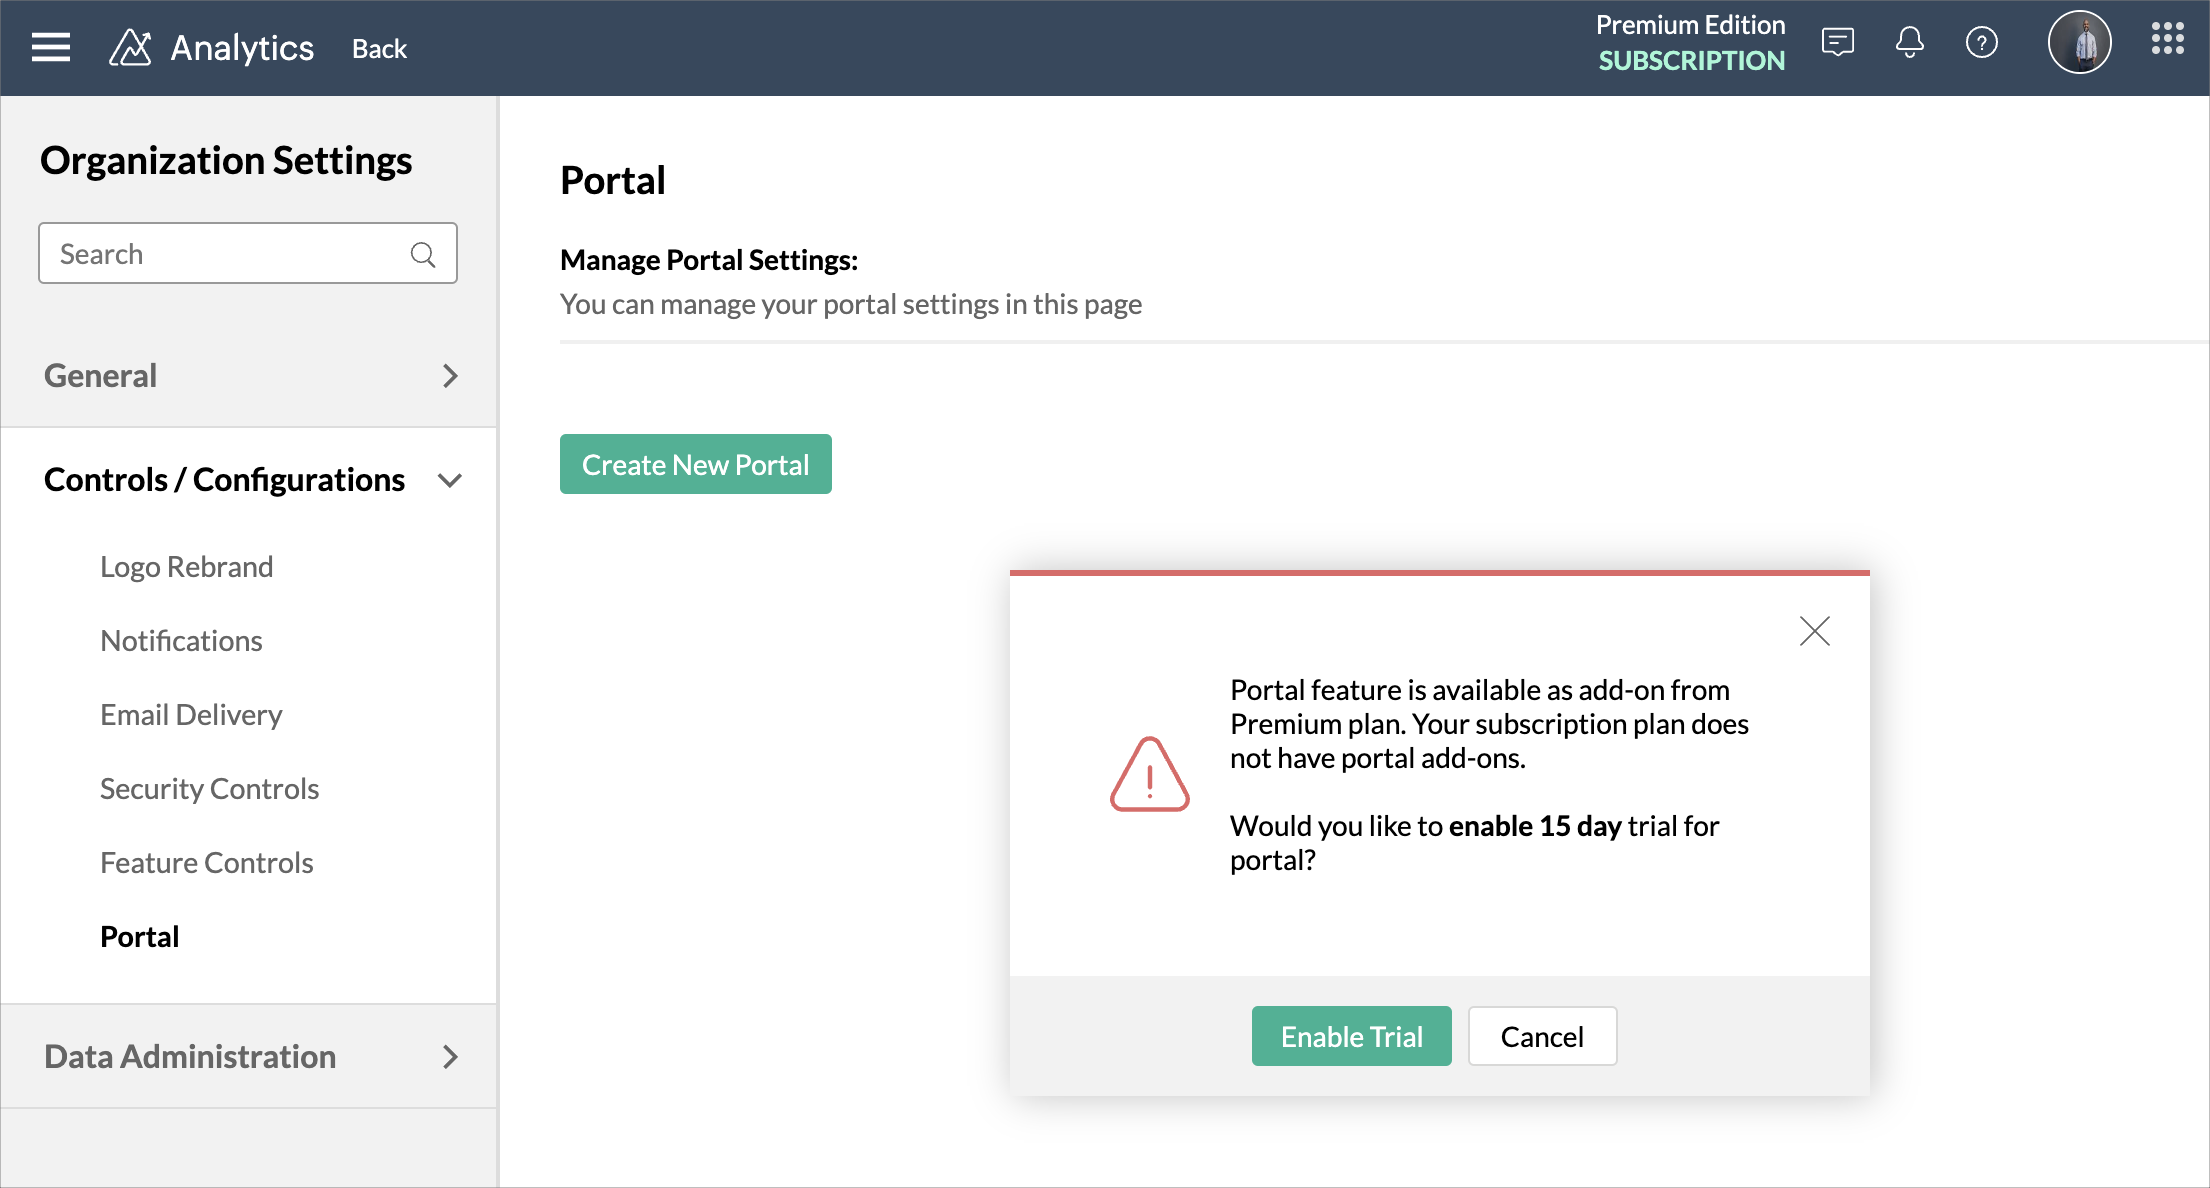
- Once you have enabled the trial, The Create New Portal dialog will open.
- Specify the Portal Name.
- Select the Add all Zoho Analytics users to this portal checkbox to add all the users in your organization into this portal.
Note: The added users will not be able to access any pages in the portal, until you grant permission for the portal.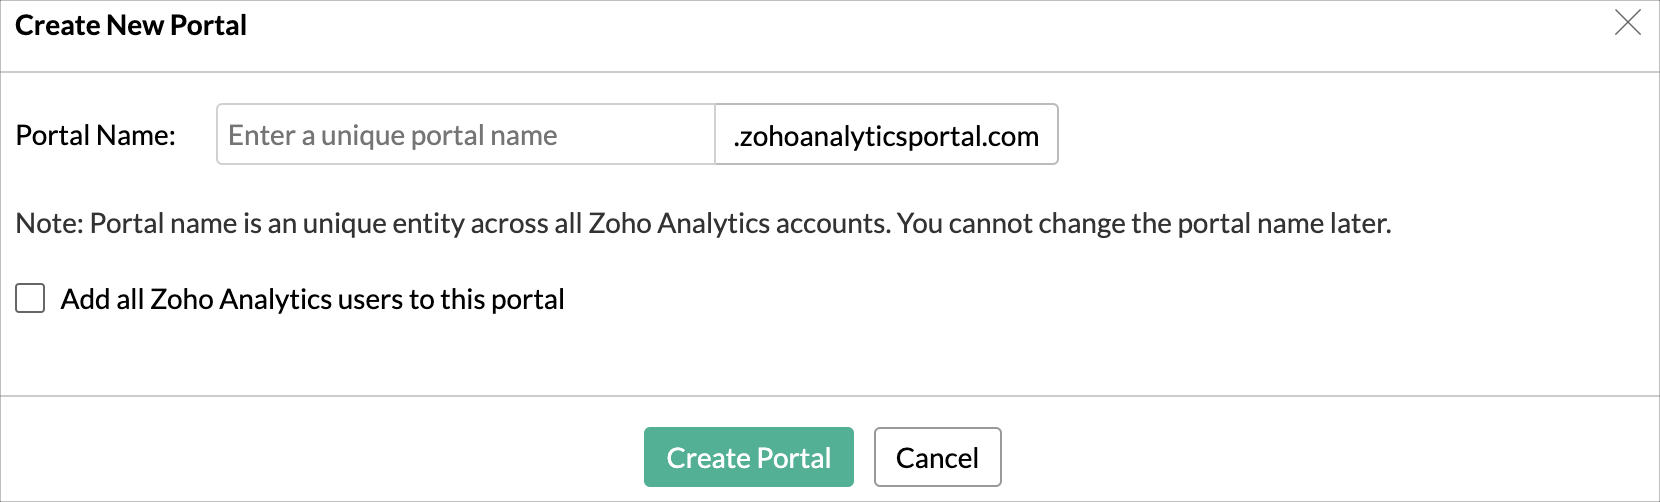
- Choose a Template for the portal and click Next.
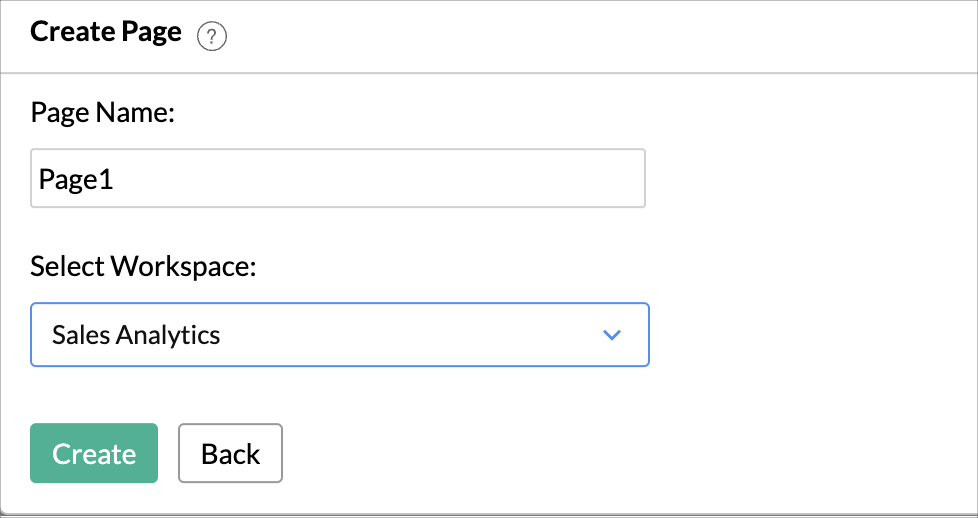
- The Create Page dialog will open. Specify the Page Name.


Components of the Portal Builder
Portal Builder offers various components for creating a fully customized portal tailored to your needs.
Drag and Drop Builder
The views associated with the chosen workspace will be listed on the Reports and Dashboards tab on the right navigation panel. Drag-and-drop the required reports into the portal designer area. Zoho Analytics allows you to add up to 10 reports to a single page. Each page in the portal is associated with a workspace in Zoho Analytics. Refer to the Adding Pages section for more details.

Customization Options
The Elements tab comprises Design and Multi media elements for customization of each aspect of the portals. Drag and drop the necessary components to the portal builder.

Text Components: This includes Heading and Paragraph components that can be used for conveying key insights of the report.
Image Components: This includes a variety of image-related components like Image, Image with text, and Image with Heading, which help in communicating the information effectively.
Divider Component: This element separates different sections of the portal, offering options ranging from a single divider to dividers with icons or text. These dividers help organize reports clearly, making it easier for users to navigate and distinguish between different sections of the portal.
Multimedia and Interactive elements: This helps include videos, Presentations, and also embed Google Maps to the portals.
Connecting Other BI Applications
Zoho Analytics helps create a unified portal by combining reports from other BI applications. Refer to BI Fabric - Unified Portals to learn more.
Pages
As portals are the center for data insights, pages help classify and group related information. Pages function like tabs, helping organize reports into different sections for easier data comprehension and navigation.
A BI portal in Zoho Analytics can have up to 30 pages, and each page is associated with a workspace.
Follow the below steps to add a page,
- Choose Pages on the side navigation panel.
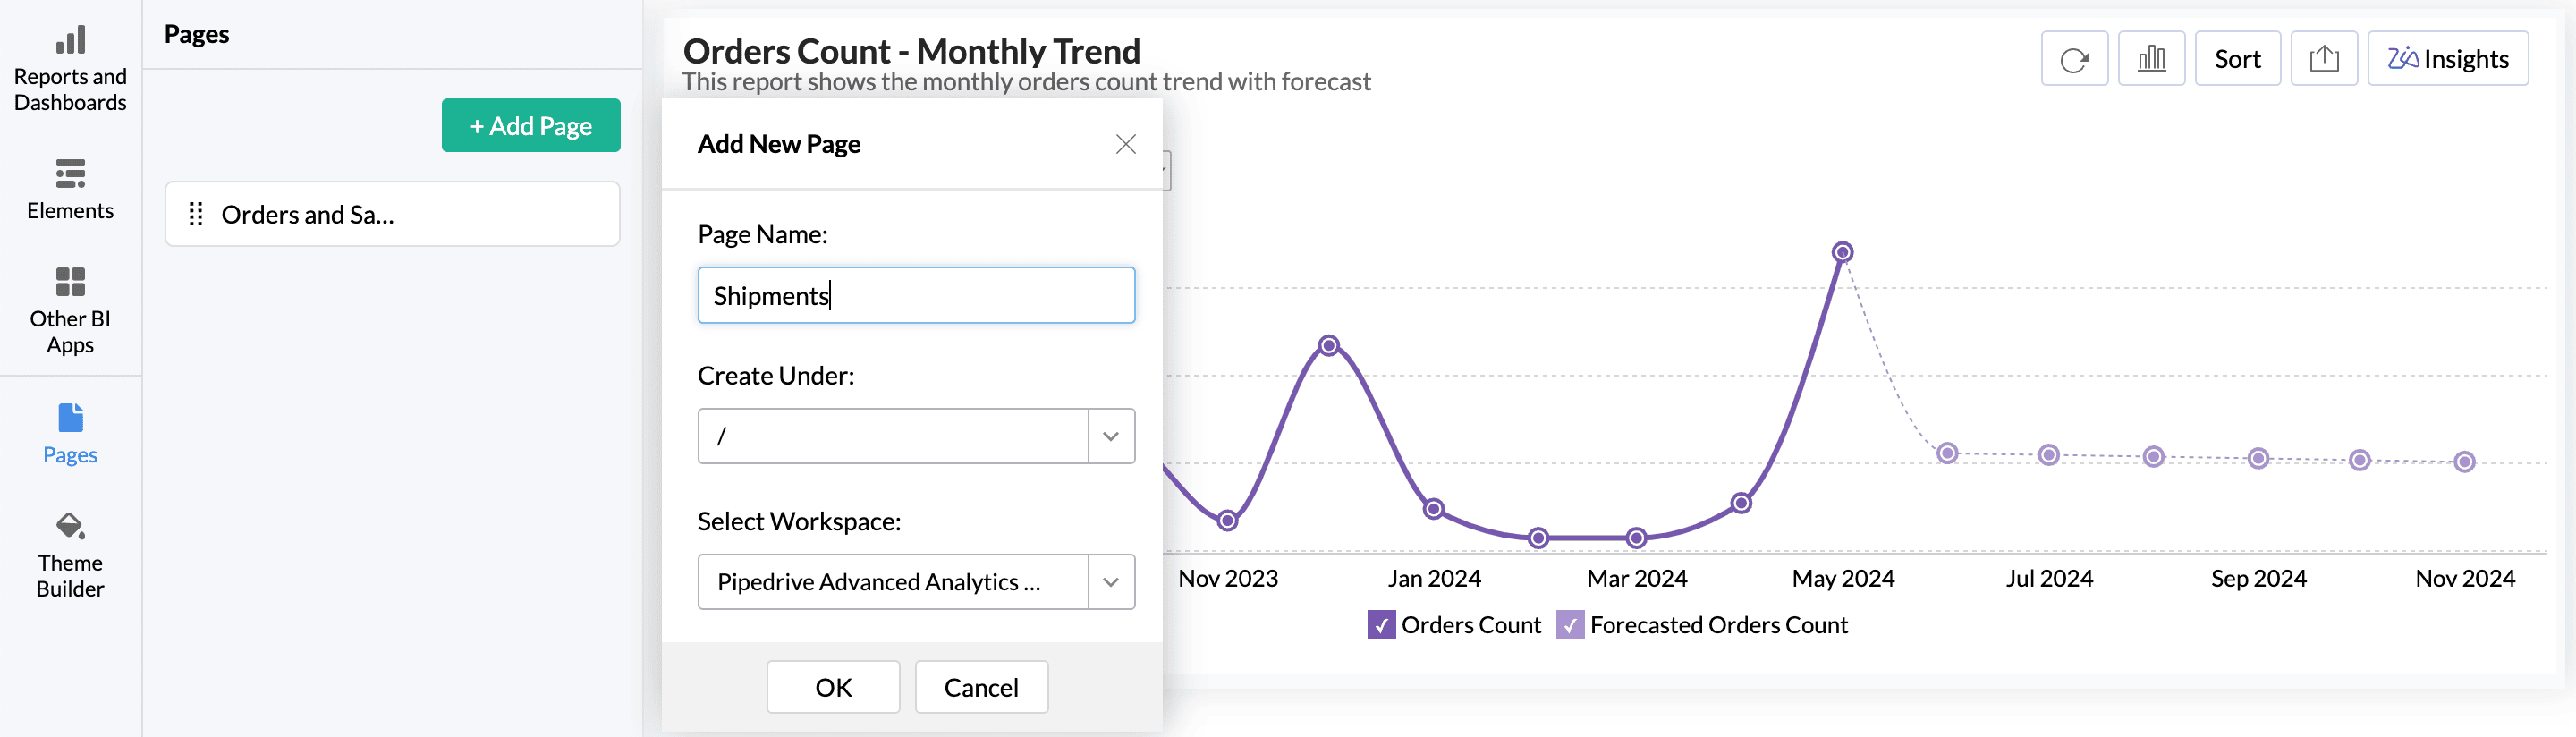
- Click Add Page. Give a suitable Page Name. By default, Pages are created as a section; the Create Under option helps decide if the page will be created as a main page or as a subpage under an existing page.
- Select the Workspace to be linked for this page and click Ok.
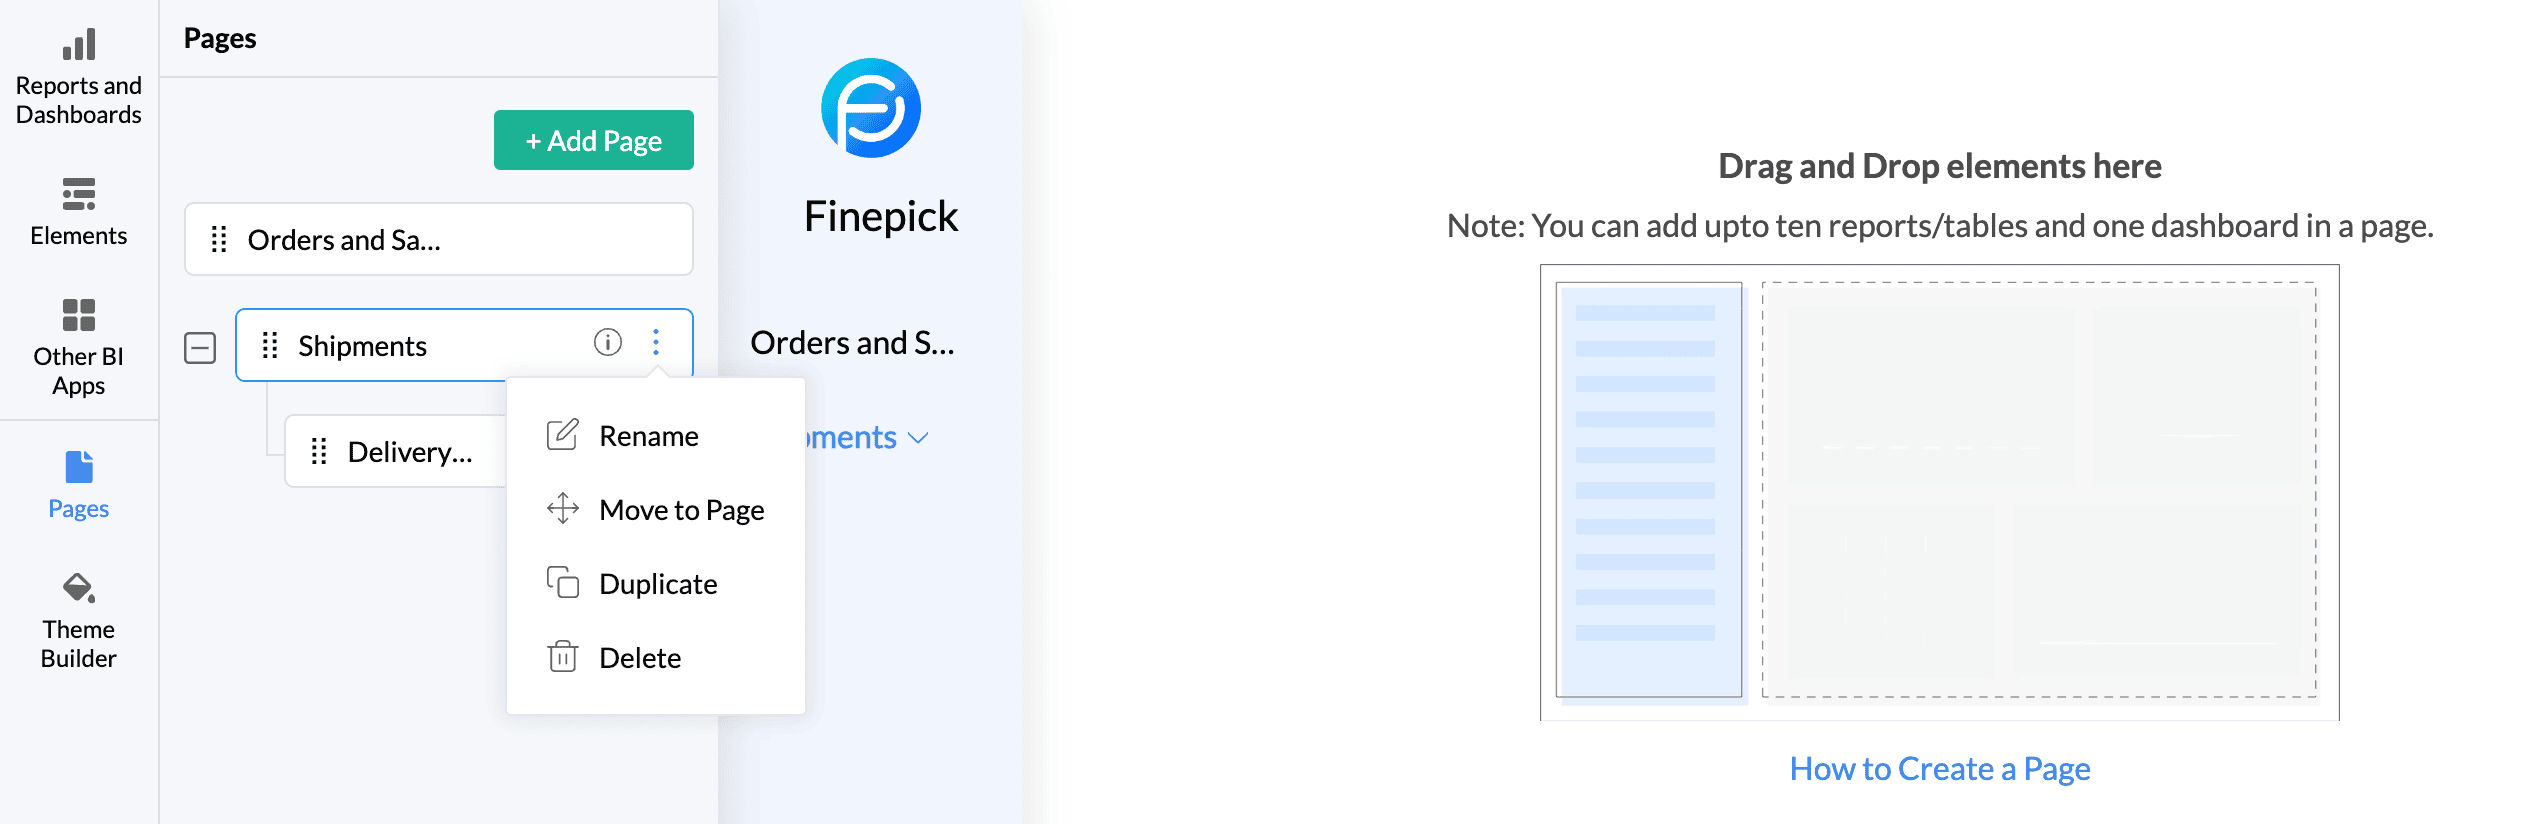
- Press and drag to reorder the page sequence. Click the Info icon to view details such as the associated workspace, admin who created the page, and modifications made.
- Click the More icon to Rename, Duplicate, or Delete.


Theme Builder
Themes enhance the visual appeal of portals by providing a polished and unified look. They can be customized to reflect the organization's branding, ensuring that colors, logos, and design elements align with the company’s identity.
Layout: Zoho Analytics provides two layout options: Top Pane and Left Pane. These layouts can be customized to suit your needs, offering flexibility in how information is displayed and accessed.

Themes and Text style: Choose from seven different color themes or create a custom palette to match your brand identity.
Text Style: Choose the preferred font style to be applied for the Heading and Paragraph Elements.

Navigation Bar: Customize the Navigation Bar Style and the Drop menu style to make it easier for users to find and access different sections of the portal.

Footer: Enable the toggle switch to add a footer to the portals. The footer can be customized to include navigation links, contact information, branding elements, and social media links.
