Installing on Azure
You can deploy Zoho Analytics On Premise on Azure easily. Follow the steps below to do this.
Step 1: In the download page, choose Azure from the Deploy on drop down, and click Deploy Now.

Step 2: Sign in to your Azure account, and click the Create button.

Step 3: Navigate to the Basics tab, and specify the required Resource group if needed.

Step 4: Provide the required instance details, and ensure you select the instance size from the recommended list. Specify an administrator account and proceed to the next step by clicking the Next: Disks > button.

Step 5: Modify the disk, network, management and advanced settings as needed from the respective sections, and navigate to the Tags section. Provide a name and value in the corresponding fields, and select the resources as needed. Click the Next: Review + Create > button to proceed.

Step 6: Review your specifications and click Create.

Step 7: It may take a few minutes for your instance to be deployed. Once the deployment is complete, access your virtual machine details by clicking the Go to resource button.

Step 8: In the page that appears, click the Configure button in the DNS name section to specify your instance DNS name if needed. Copy the Public IP address listed in this page, this can be used to access your Zoho Analytics application.

Step 9: You can access the application from a web-browser using the following URL.
https://<serverIP address>:8443 (Replace <server IP address> with the Public IP address copied from the previous step.)
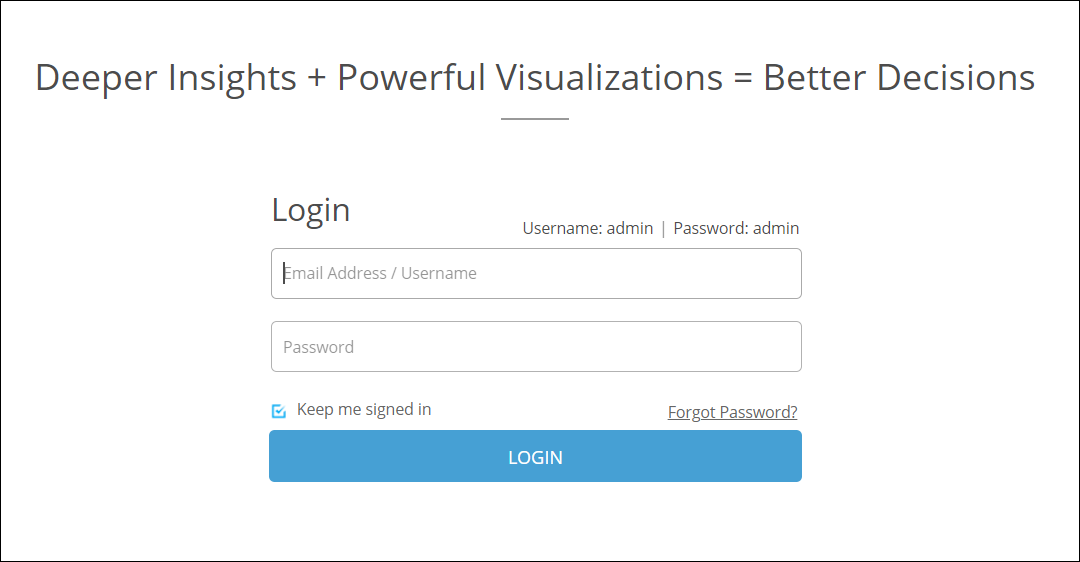
Use the following credentials in the screen that appears to login to Zoho Analytics On-Premise. Please change the default password upon login.
Username: admin
Password: admin