Activate and Synchronize Google Apps Contacts
Activate Google Contacts Integration
To activate Google Contacts from Zoho Workerly
- Log in to Zoho Workerly.
- Navigate to Setup > Extensions & APIs > Google
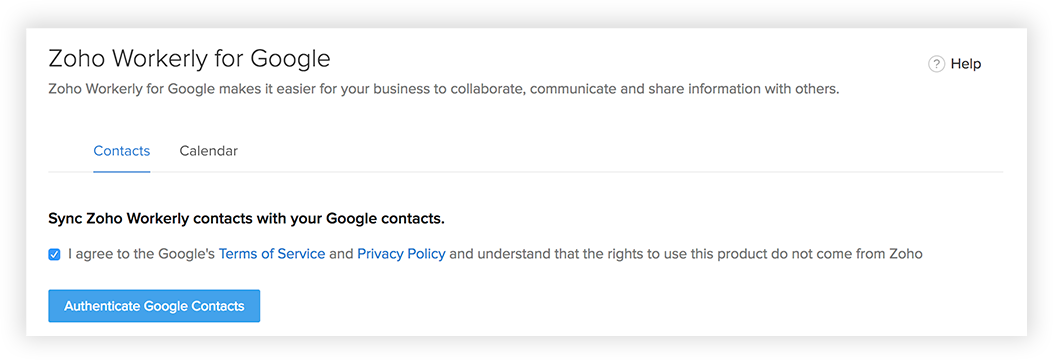
- In the Zoho Recruit for Google page, click Contacts tab, check the Terms of Service and Privacy Policy box.
- Click the Authenticate Google Contacts button.
- In the Google Accounts popup, enter your email address and password to your Google Account and Sign in.
- In the next popup, click the Allow.
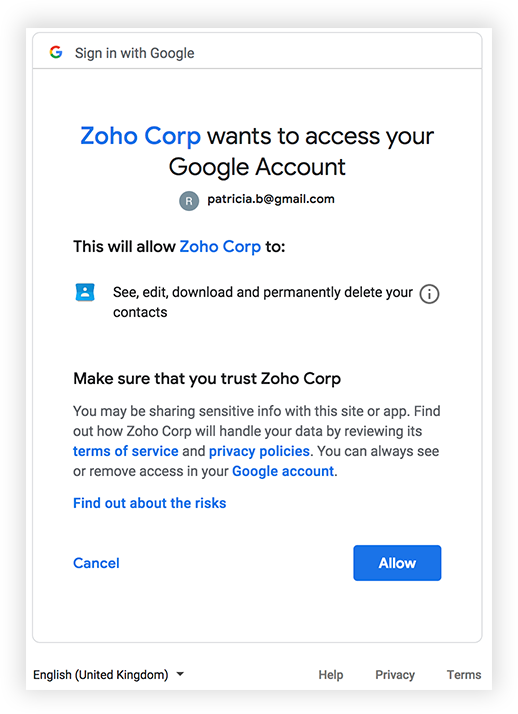
- The Zoho Workerly integration with Google Contacts will be activated.


Synchronizing the Google Apps Contacts
Keeping up-to-date contacts in both Zoho Workerly and Google Contacts is now made easy with the Contacts Synchronization feature. It helps you to configure one-way or two-way sync schedules that will automatically sync contact details. Also, you can specify the list to which the contacts should be transferred and map fields as required.
Please note that if you delete the sync configurations and again synchronize the contacts, then duplicate records will not be created based on the email address that is mapped.
Availability
![]() Profile Permission Required: All Zoho Workerly users can synchronize Calendar entries.
Profile Permission Required: All Zoho Workerly users can synchronize Calendar entries.
Note
- You should also have the profile permissions for Sync with Google Contacts and the Contacts tab, i.e. View, Create, Edit and Delete permissions.
To configure synchronization settings
- In Google Apps, click on
 (the Apps icon).
 - Click More > Zoho Workerly.
You will be redirected to Zoho Workerly. - In Zoho Recruit, click Settings > Setup > Marketplace > Google > Contacts > Google Contacts Sync.
- In the Contacts Synchronization page, do the following:
- Choose the Google Contact list and the Zoho Workerly Contacts list from the drop-down.
The contacts from the selected lists will be synchronized. - Choose one of the Sync Options.
- 2 Way Sync
- 1-Way: Zoho Workerly Contacts to Google Contacts
- 1-Way: Google Contacts to Zoho Workerly Contacts
- Select one of the following options when there is a conflict in contacts in both the places.
- Zoho Workerly contact will overwrite the Google contact
- Google contacts will overwrite the Zoho Workerly contact
- Choose the synchronization Frequency from the drop-down list.
- Map the fields in Google and Zoho Workerly.
- Click the Map More Fields link, to add more field and map them.
- Click Save.
 (the Apps icon).
Note
- The synchronization of contacts from Zoho Workerly to Google and vice versa will take a while to complete based on the number of contacts. We request you to wait for a few minutes and then check if the contacts have been synchronized.
- Please note that if you delete the sync configurations and again synchronize the contacts, then duplicate records will not be created based on the email address that is mapped.
- Check the Last Sync Time in the Contacts Synchronization page to see if the sync was performed.
- Note that only the contacts of the selected Google Group and the selected Zoho Workerly Listview will be synchronized. The contacts from Workerly will be added in the specified Google Group.
- Based on the roles and access privileges, the contacts will be synchronized.
- The first time you can synchronize the maximum 10,000 contacts. For the consecutive syncs, maximum 500 contacts will be synchronized.
- The criteria to search duplicate records are based on the Email field value (primary email field in contacts) in Zoho Workerly and Email (Work) field value in Google Contacts.