How to Integrate Zoho Analytics with Zoho Voice
On your Zoho Analytics homepage, click the Import Your Data button.
Navigate to the Zoho Apps tab and select Zoho Voice from the available applications.
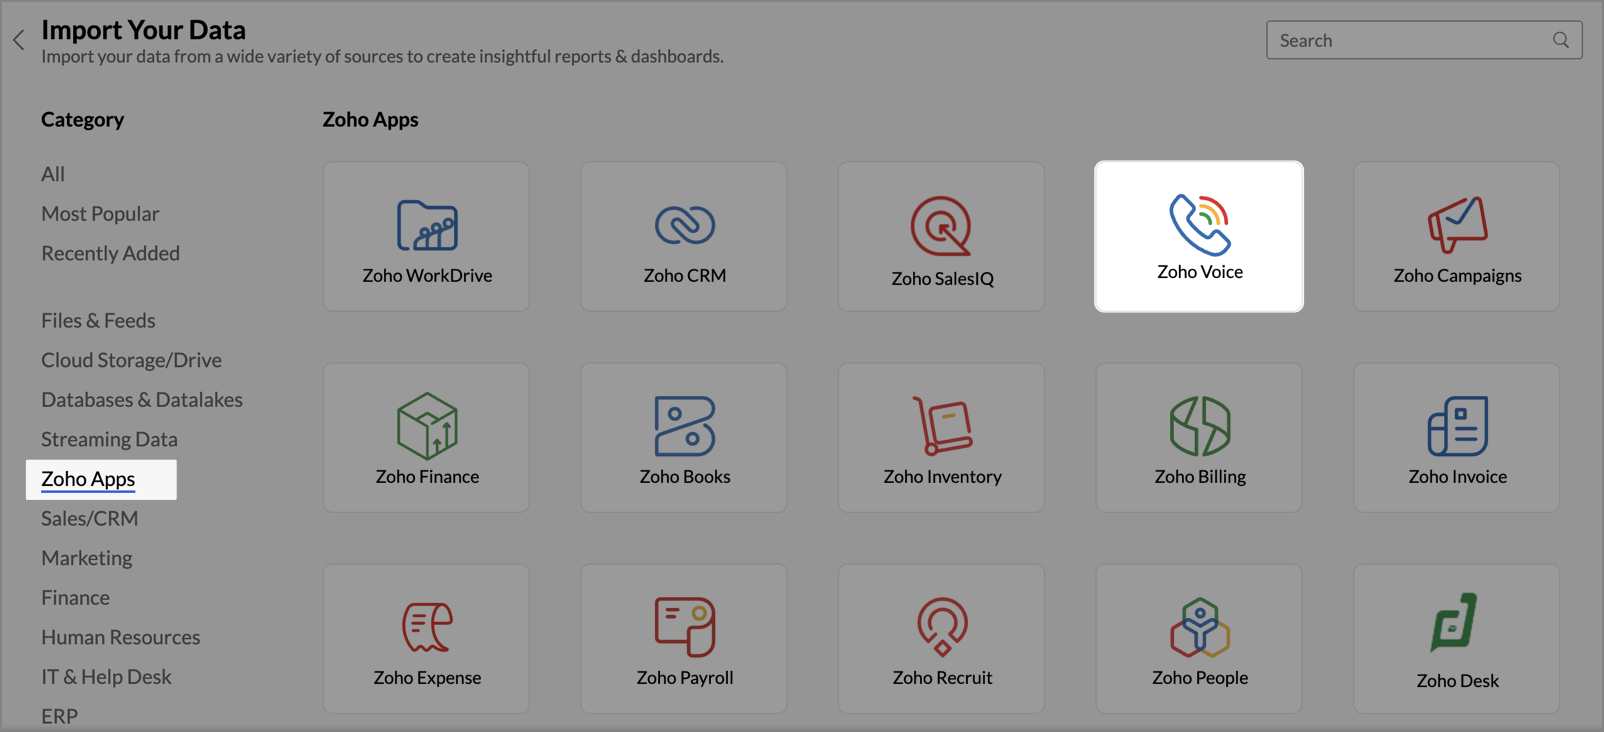

Click Next.
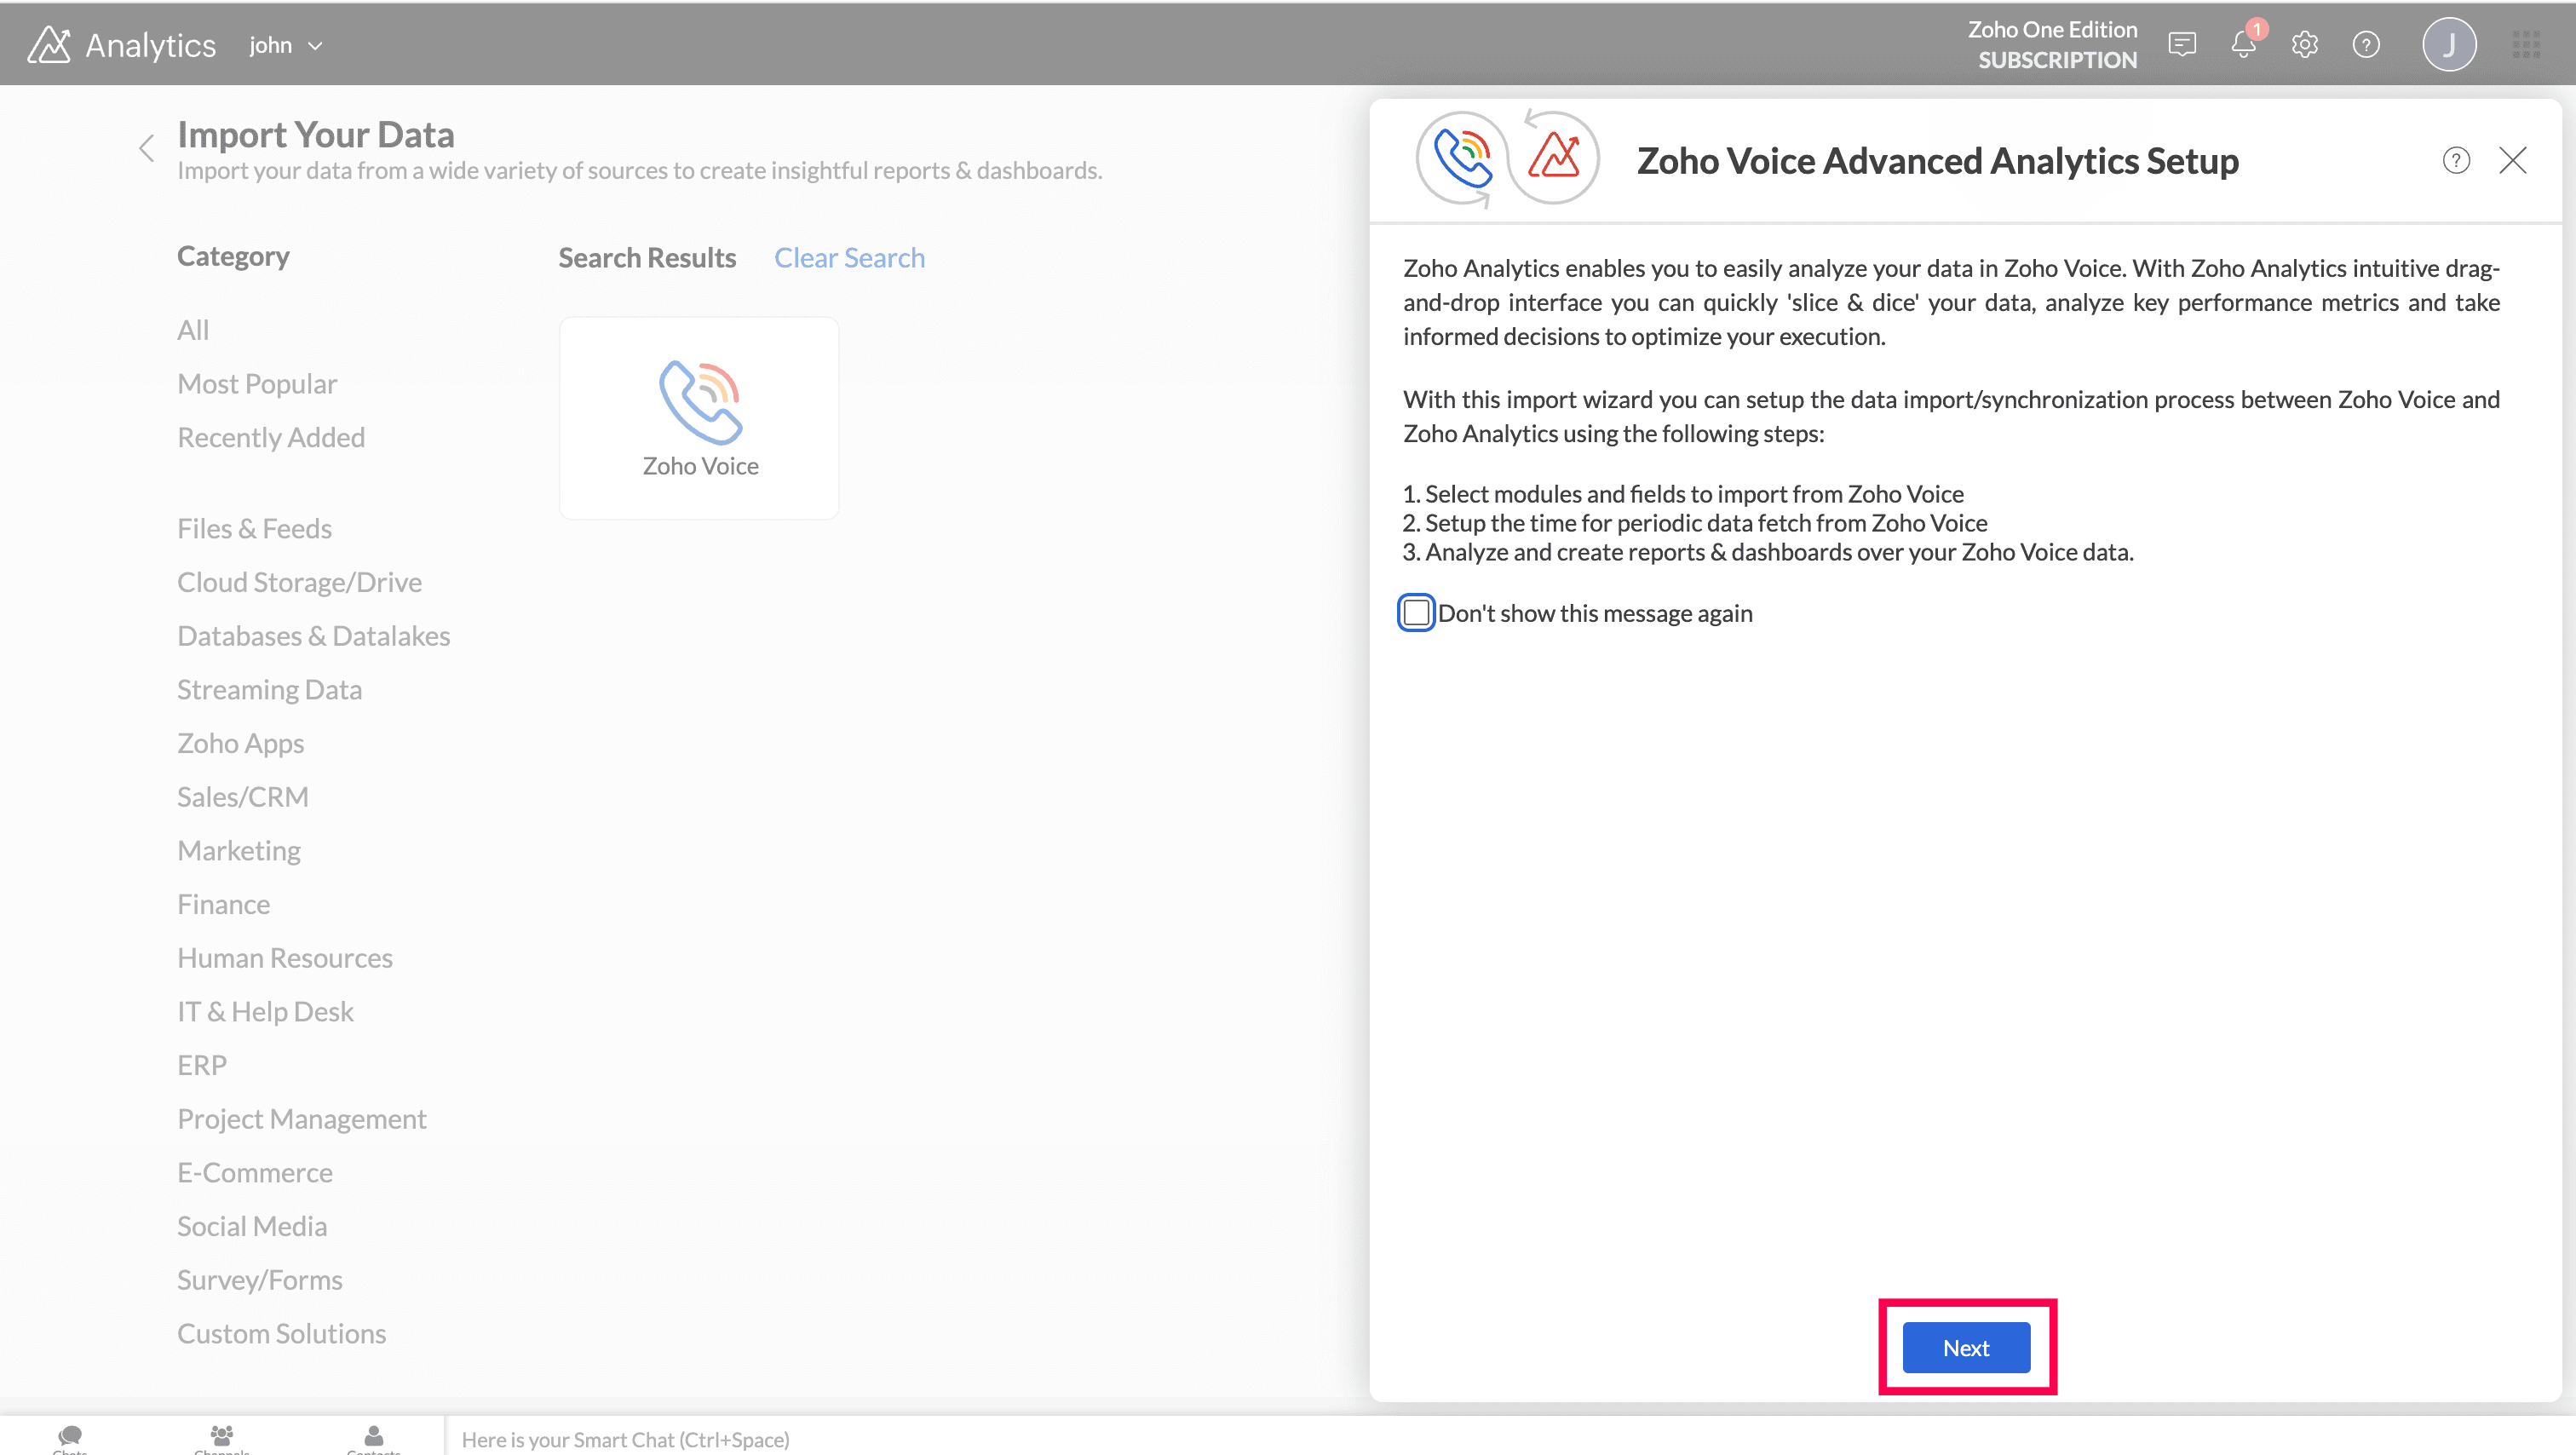

You’ll be taken to the setup page, where you can import your Zoho Voice data and create a dedicated workspace for analysis and reporting. Provide the following details:
Workspace Name: Enter a name for your workspace.
Workspace Description: Add a brief description to help identify the workspace. This is optional.
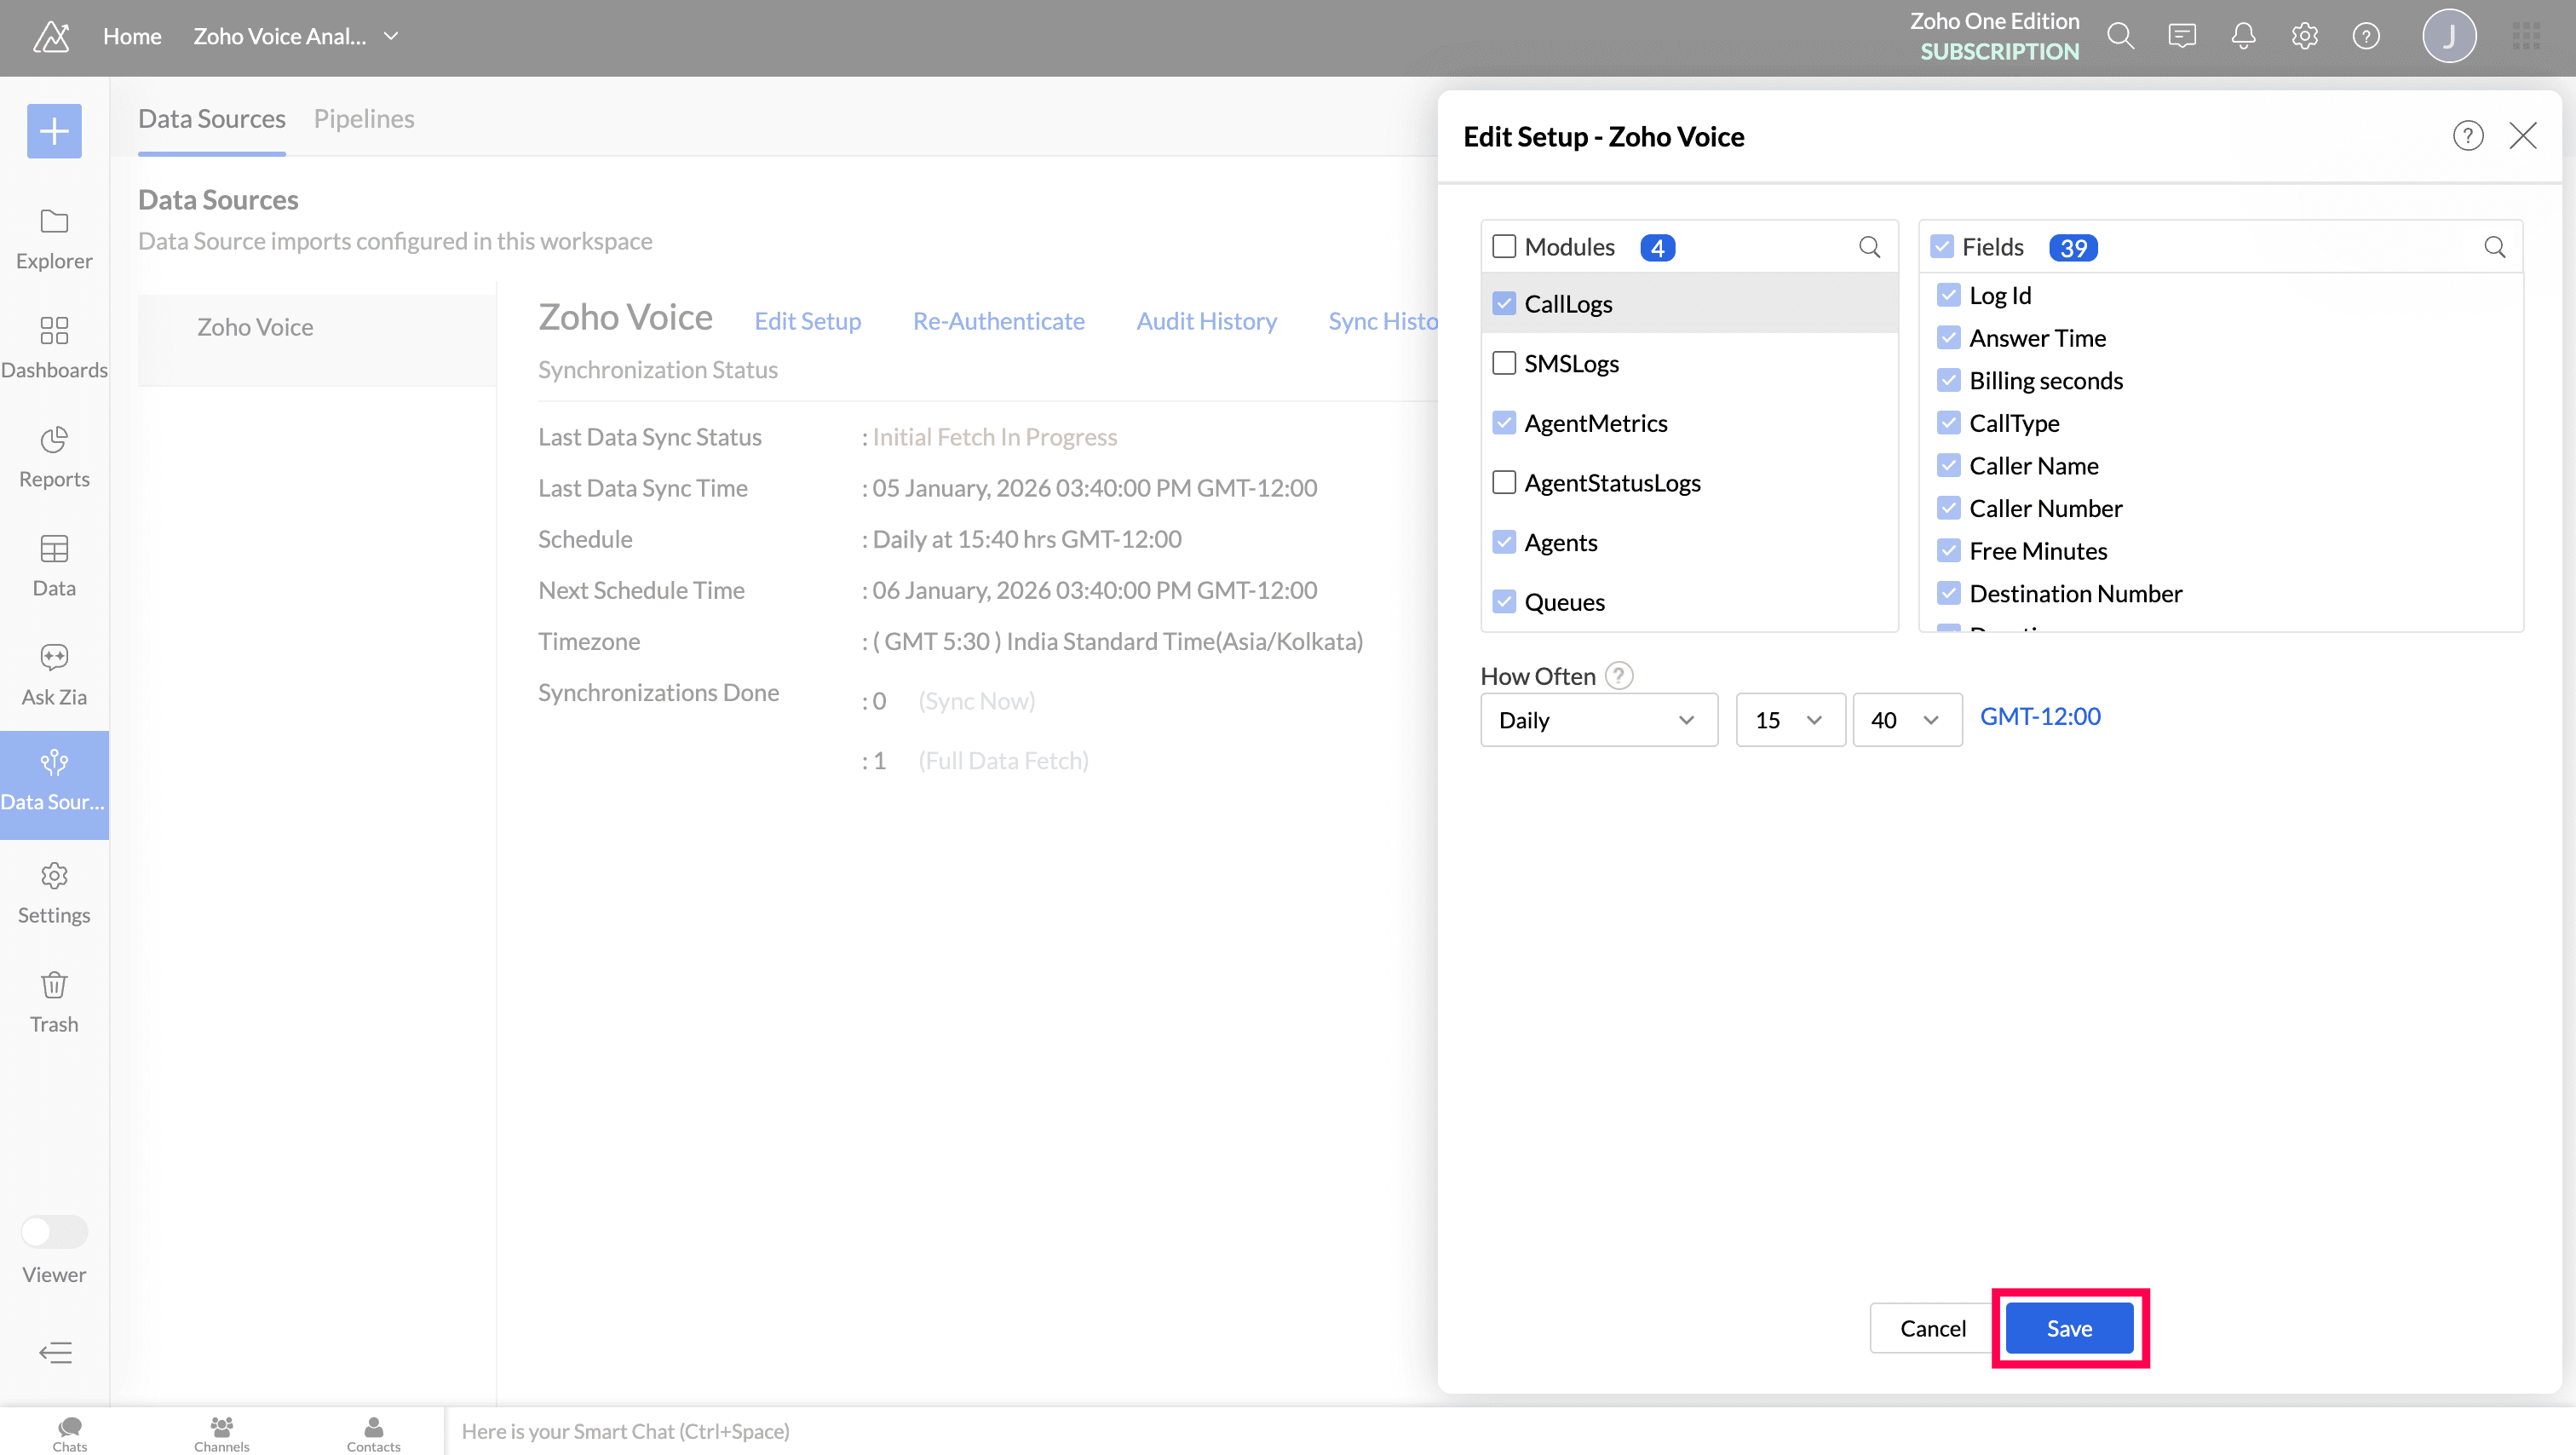
Modules: Four modules(call logs, agent metrics, agents and queues) are selected by default. You can choose additional modules if required.
Fields: By default all fields are auto-selected.
Cleanup: Choose how long the data should be retained. You can select data older than 3 or 6 months, or 1 or 2 years from the dropdown.
Data Time Zone: Select the time zone of your Zoho Voice data. All updates will follow this time zone.
How Often: Set the interval in which the data should be synced.
Note
During the initial sync, Zoho Analytics retrieves up to five years of data for all entities. For subsequent syncs, only new or updated records are fetched based on the selected sync frequency. For example, when the frequency is set to Daily, records created or updated in the last 24 hours are synced, and the same logic applies to Hourly syncs.

Click Create to complete the setup.

Note
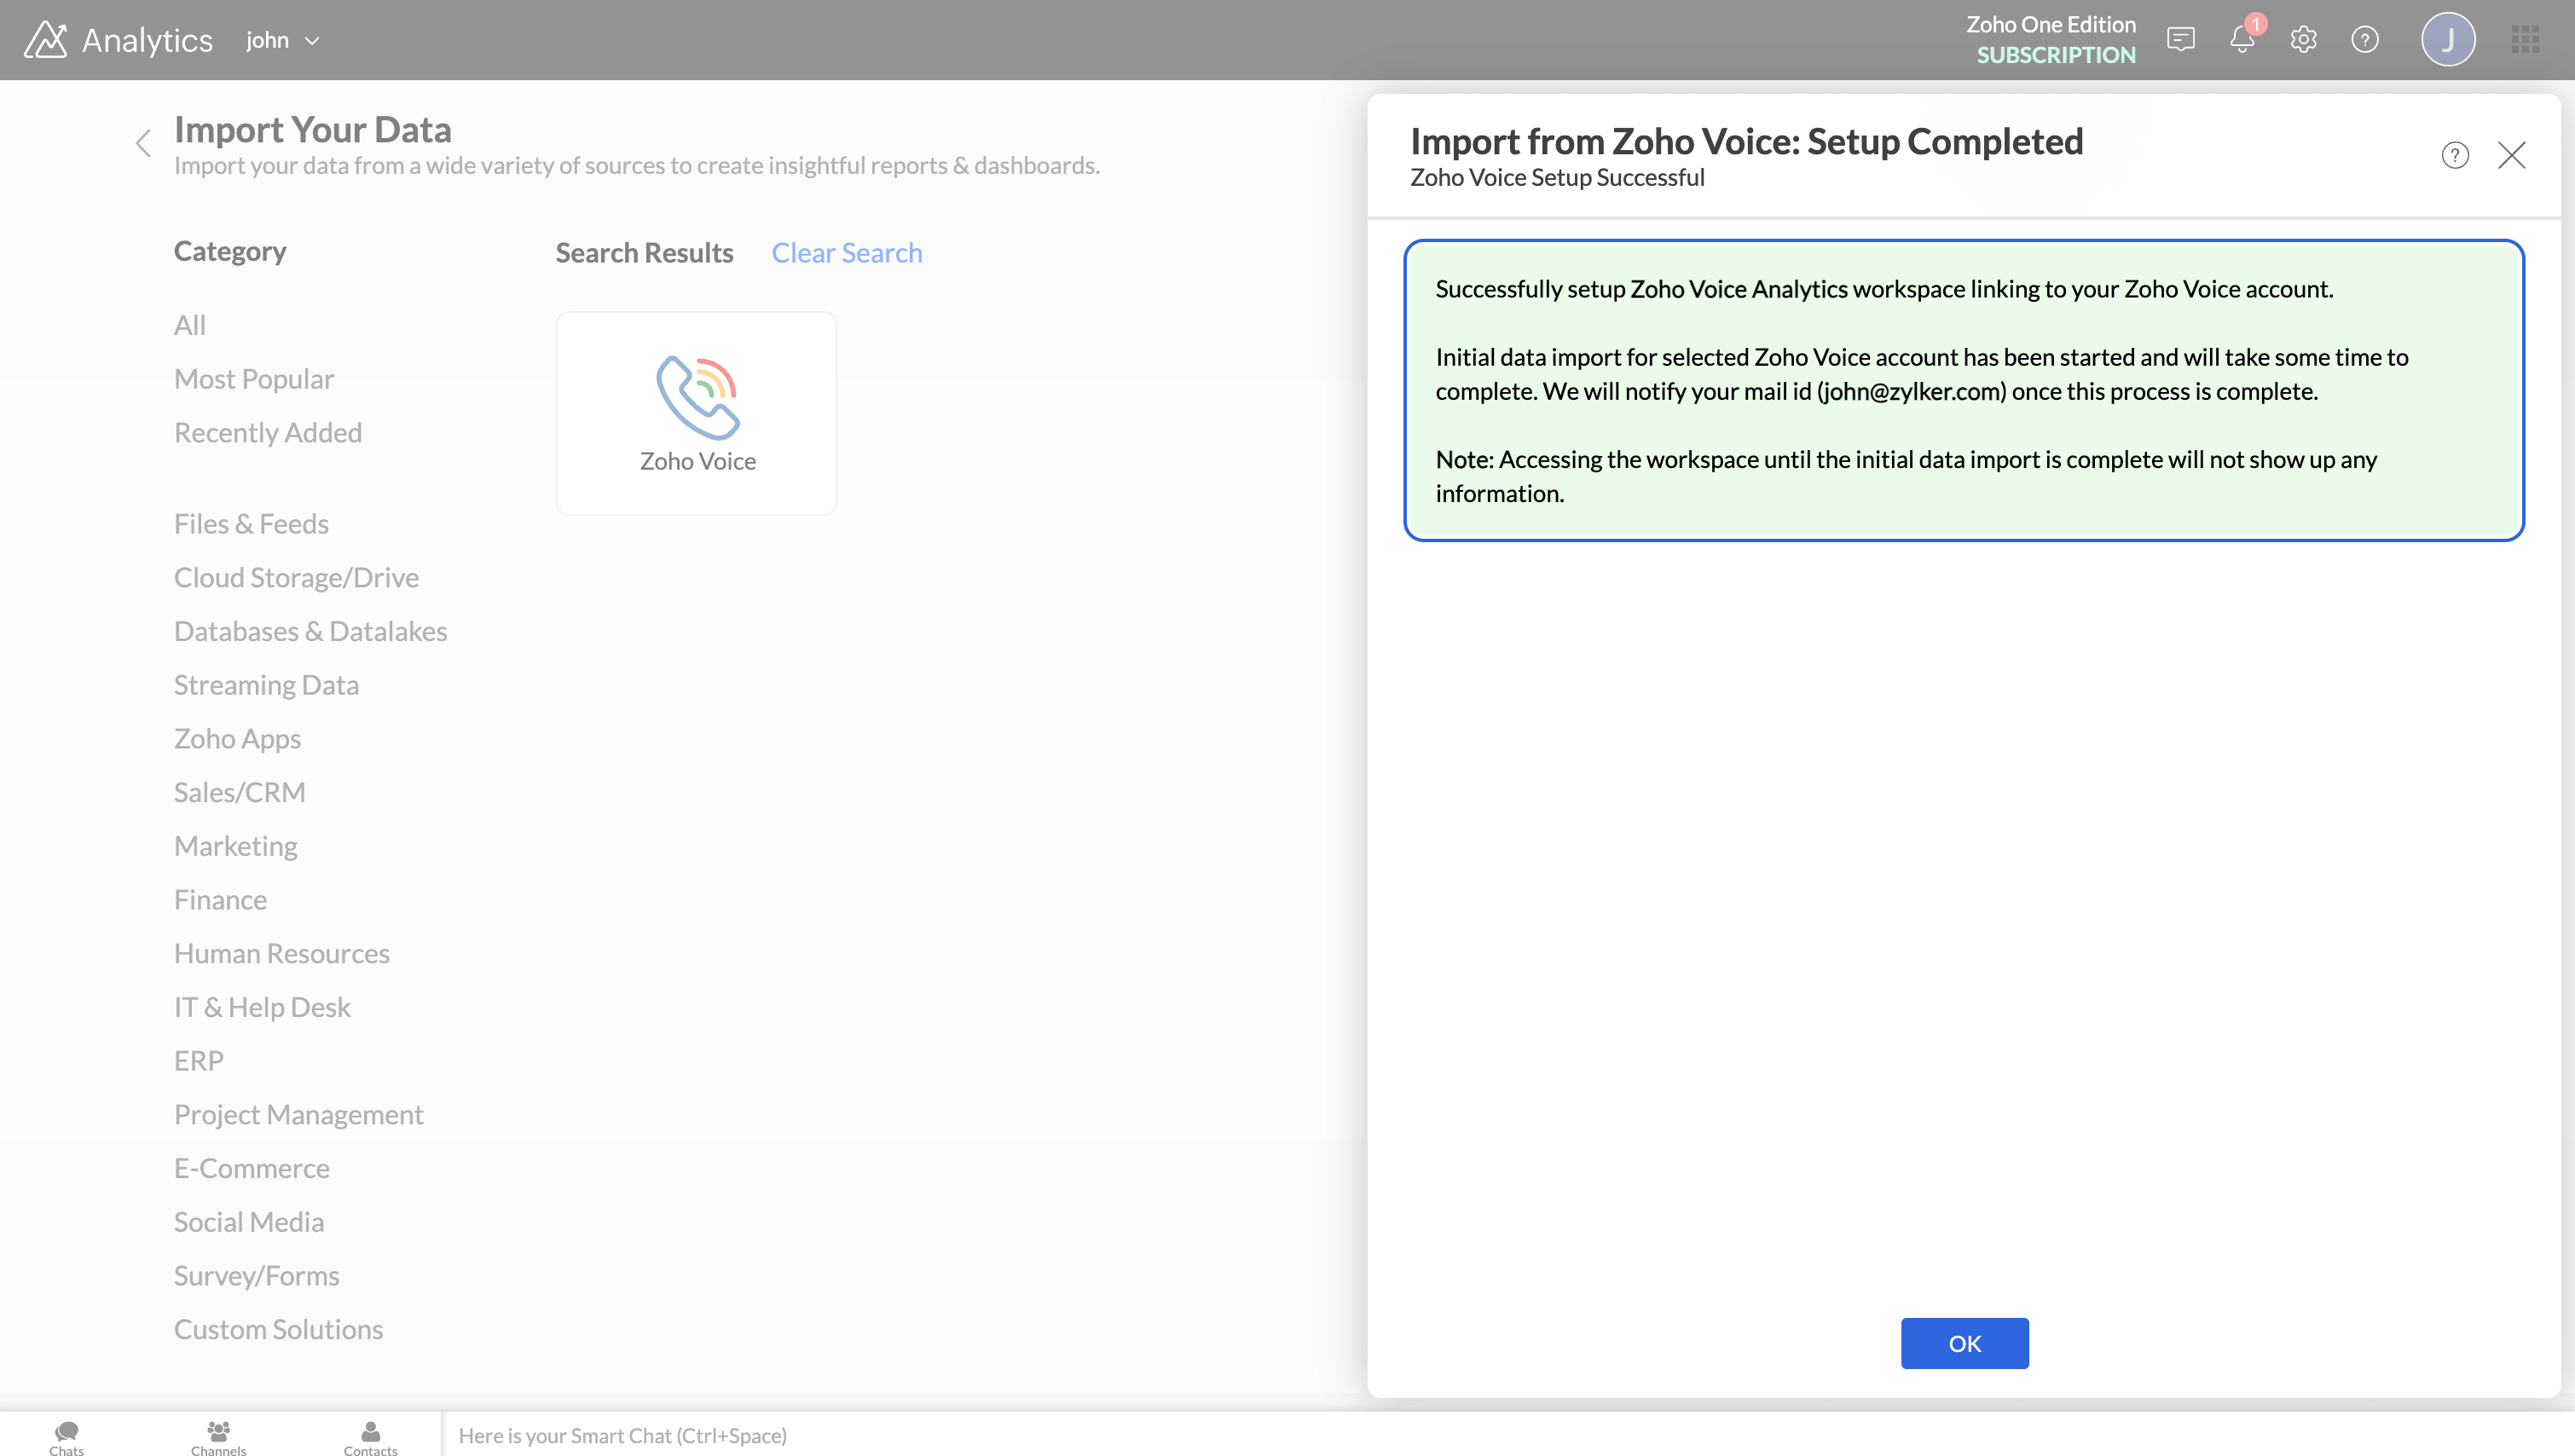
- The initial data import may take a few minutes, depending on the volume of data being imported. Once the initial fetch is complete, you will receive an email and an in-app notification.
- In some cases, the setup process may fail due to various reasons. If this happens, navigate to the Data Sources module and click Retry to import the data again. If the issue continues, contact us at support@zohovoice.com
Managing Data Source
Go to the Data Source module to monitor and manage the integration. This module shows key details related to the integration and its status.

Edit Setup
With Edit Setup, you can add or remove modules or fields, update the sync schedule, and adjust other settings related to the application.
To update the setup:
In the Data Source module, click Edit Setup.
On the Edit Setup - Zoho Voice page, make the required changes and click Save.

Re-Authenticate
Re-authentication is required when the API key or password is changed. When this happens, data syncing will be paused until an administrator(admin or super admin) re-authenticates to resume the sync.
To re-authenticate:
In Data Source module, click Re-Authenticate.
Click Authenticate Zoho Voice and enter the Zoho Voice credentials to complete the process.
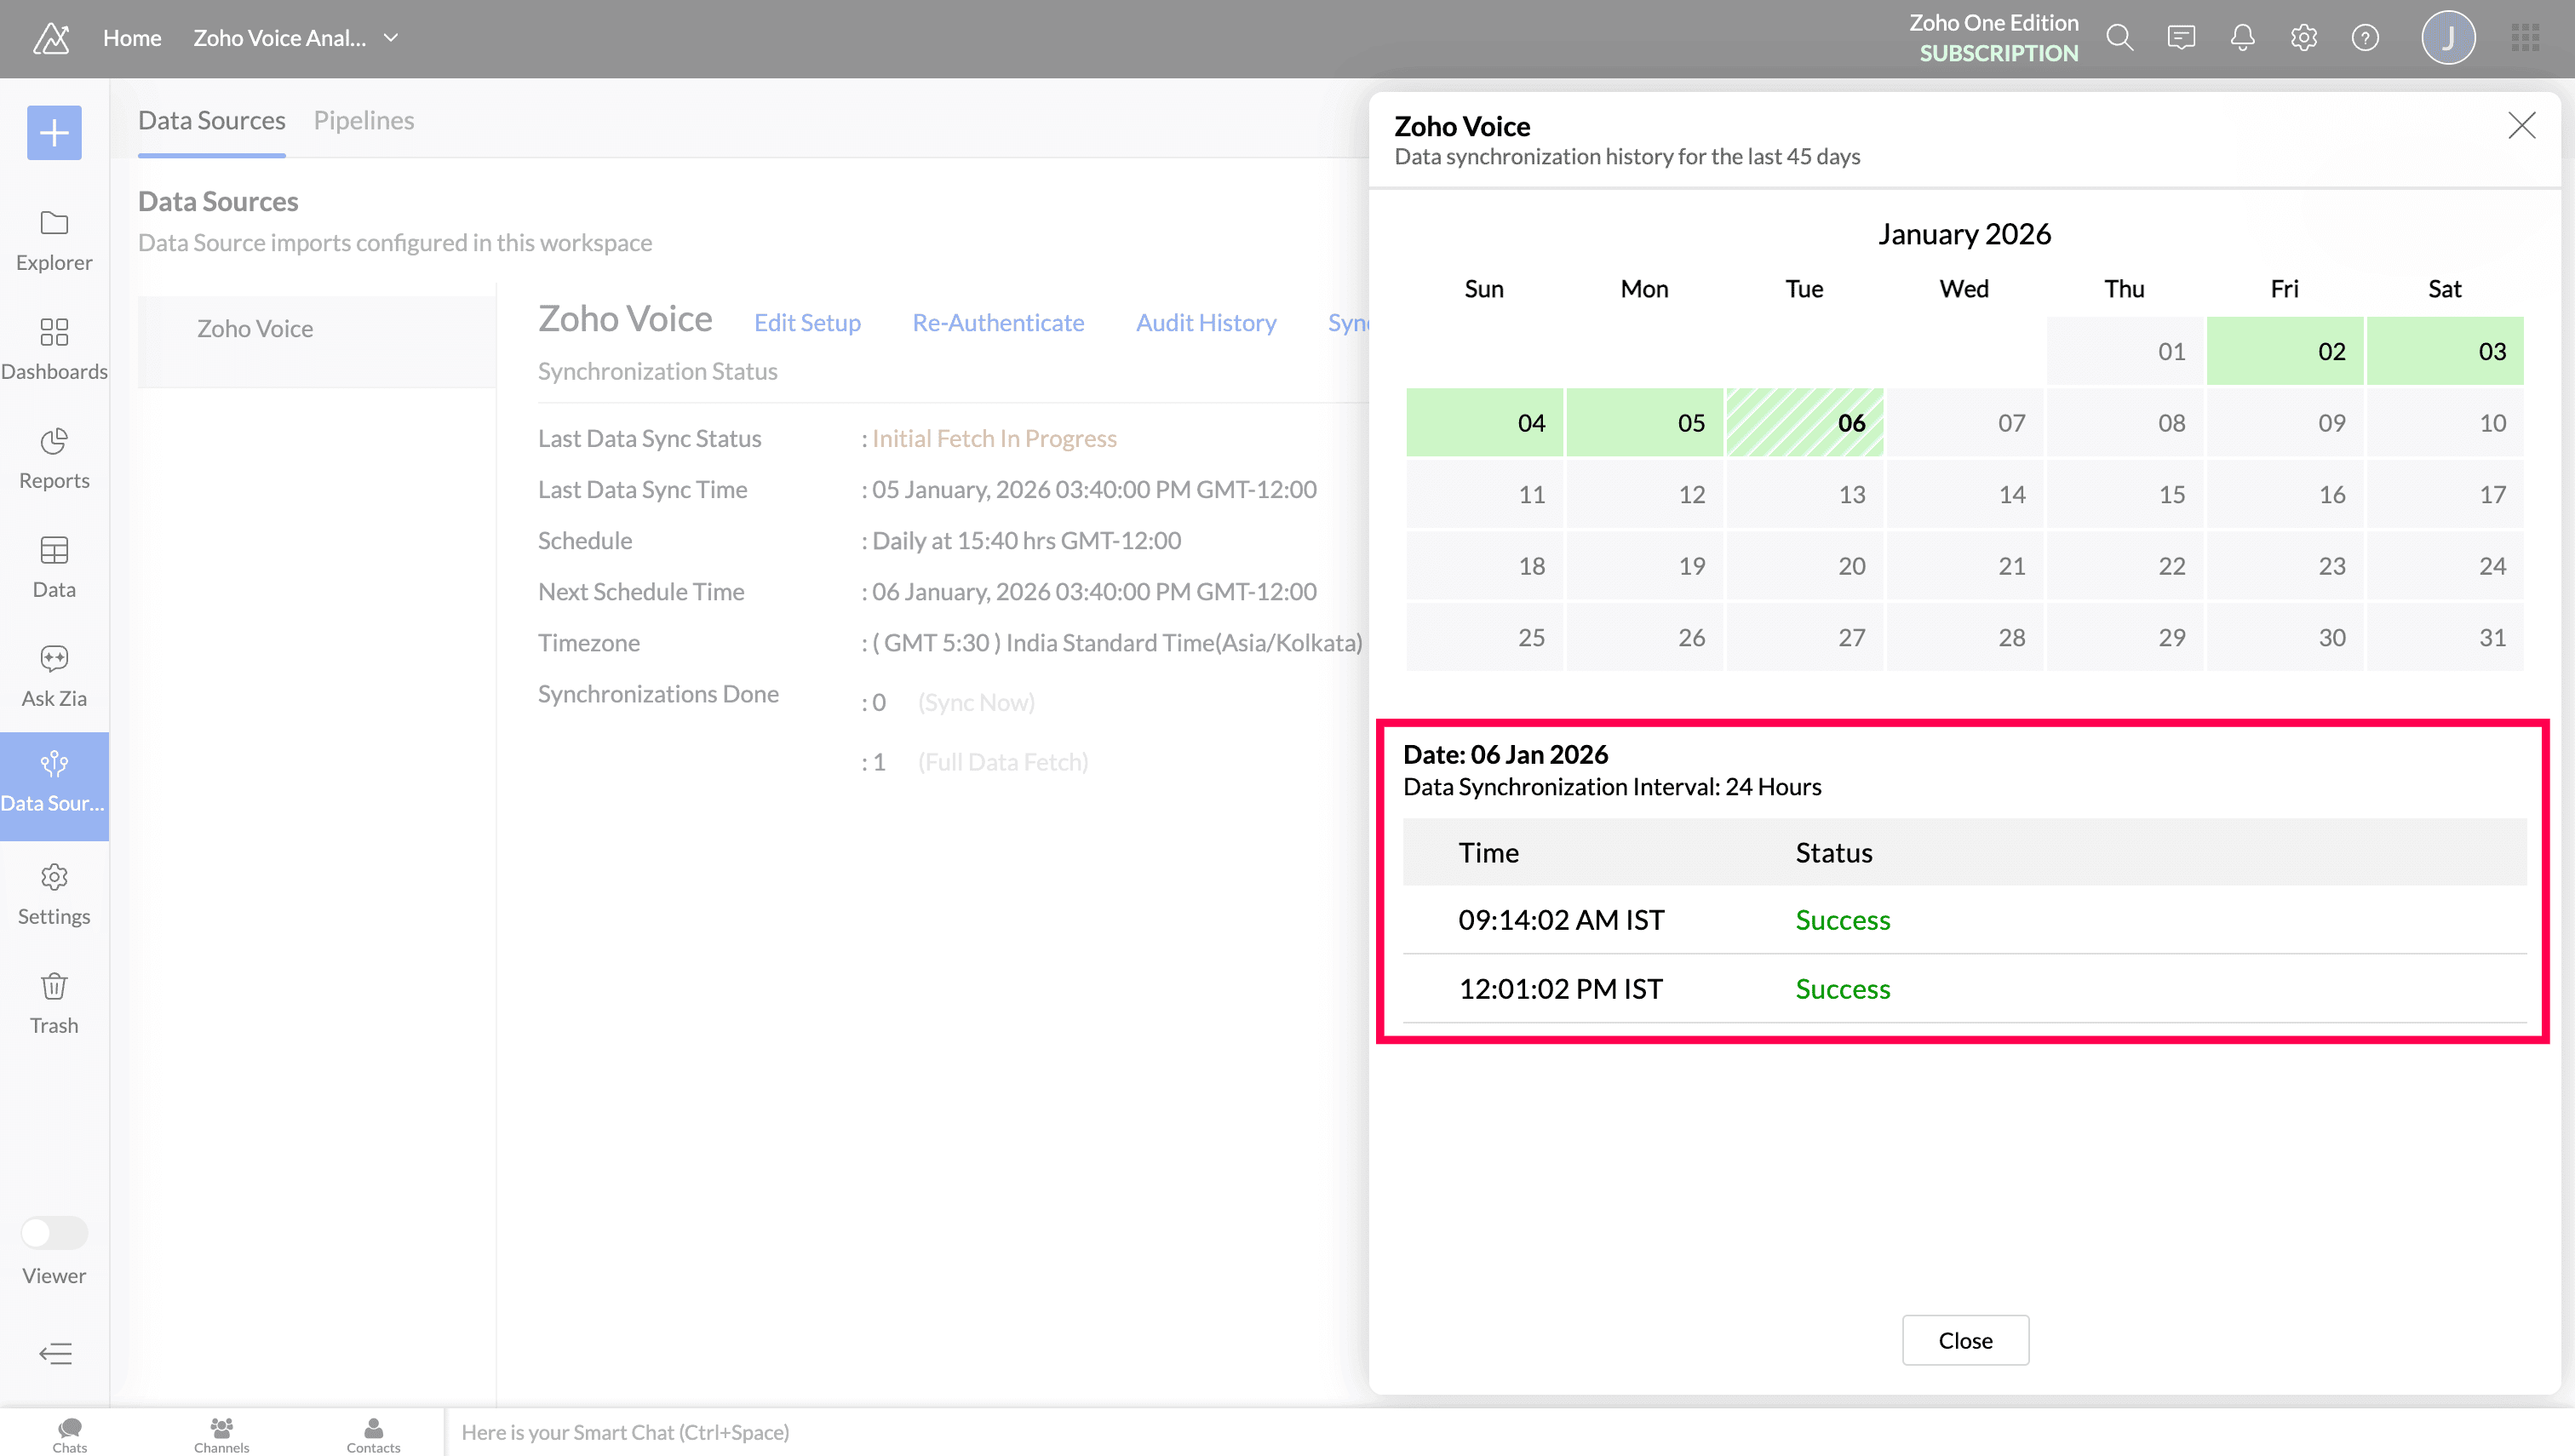
Sync History
The Sync History shows details of all data sync activities from the past 45 days. Successful syncs are highlighted in green, while failed syncs are shown in red.
To view the sync history:
In Data Source module, click Sync History.
A calendar displaying the last 45 days of sync activity will appear. Dates on which data was synced will be highlighted.
Hover over a date to see how many times the data was synced on that day.
Click a specific date to view detailed information:
Time: The time at which the data was synced.
Status: Whether the sync was successful or failed. If the sync failed, the reason will be shown. Refer to the Resolving Sync Failures article to learn how to fix the issue and prevent future failures.

Audit History
After this integration, all user activities and system events that take place within the Zoho Voice workspace is recorded in Zoho Analytics as well. This helps admins to track changes and understand who performed specific actions.

Learn more about the integration and its core functionalities