Experience the comfort of enterprise SSO
Say goodbye to cloud app login screens once for all. With our industry-standard, SAML-based, SSO solution, you no longer have to manually fill your login credentials. With a single click, you can directly log in to your business applications from Zoho Vault, skipping the login screens altogether.

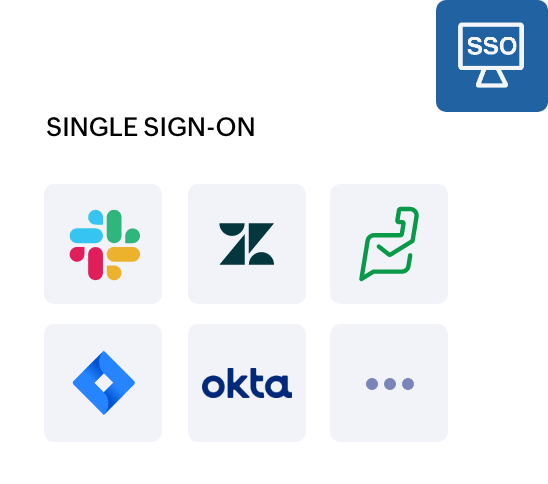
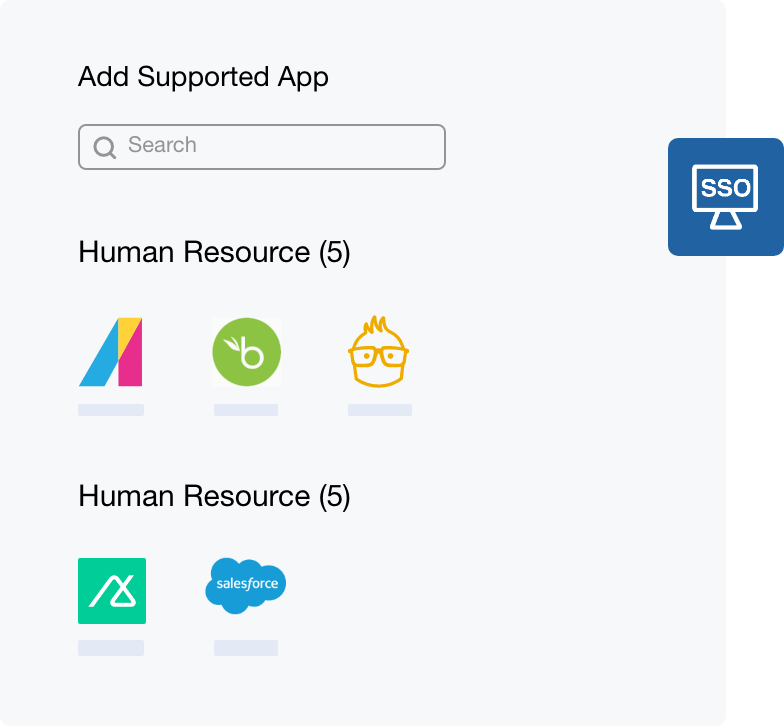
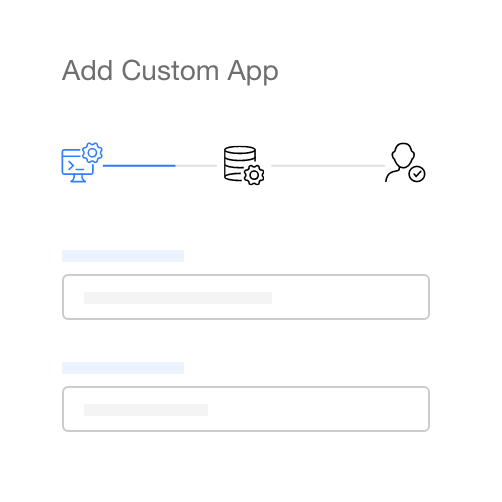
Easy to set up
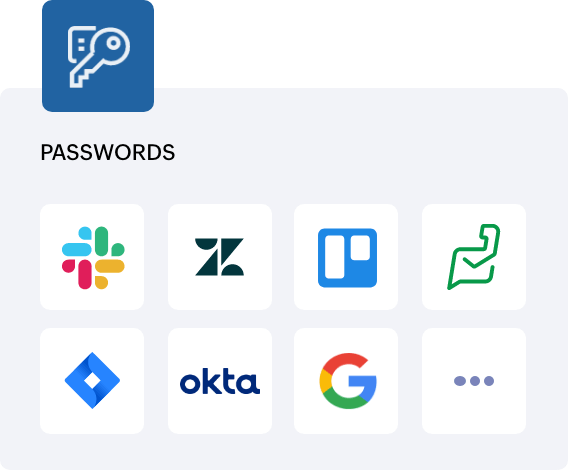
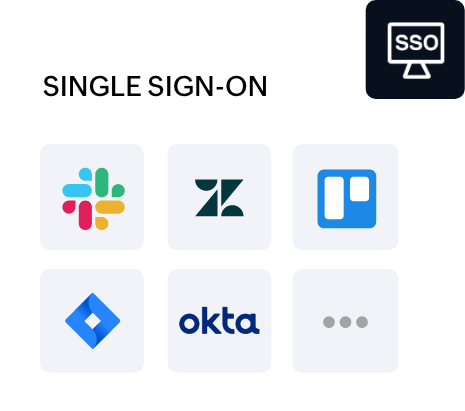
Set up SSO authentication for every business application you manage. Pick apps from Vault’s preconfigured templates, or set up custom integrations to enable SSO for other apps.
Unified login experience
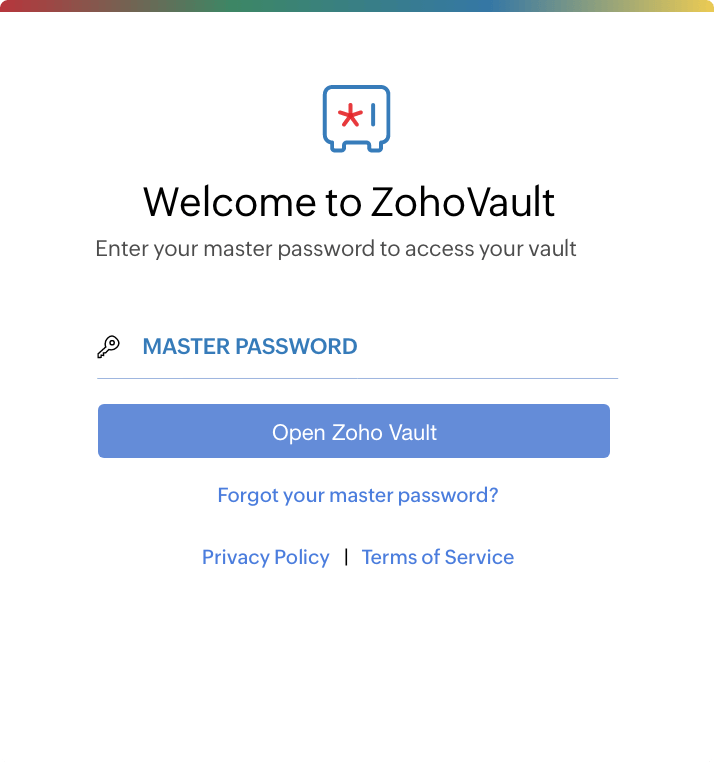
Log in to Zoho Vault with one master password and get access to all your websites and cloud apps from there. Rely on a single tool for all your access management needs.

“We like how Zoho Vault lives in the space between consumer password managers and high-end enterprise-level SSO federated login systems. Zoho Vault is something any small business or departmental administrator can run without the need for dedicated corporate or security professionals on staff.”
Affordable for every enterprise
Who said SSO was only for large-scale enterprises? With our affordable pricing and simplified interface, you don’t need a big budget and dedicated IT staff to deploy SSO for your company.


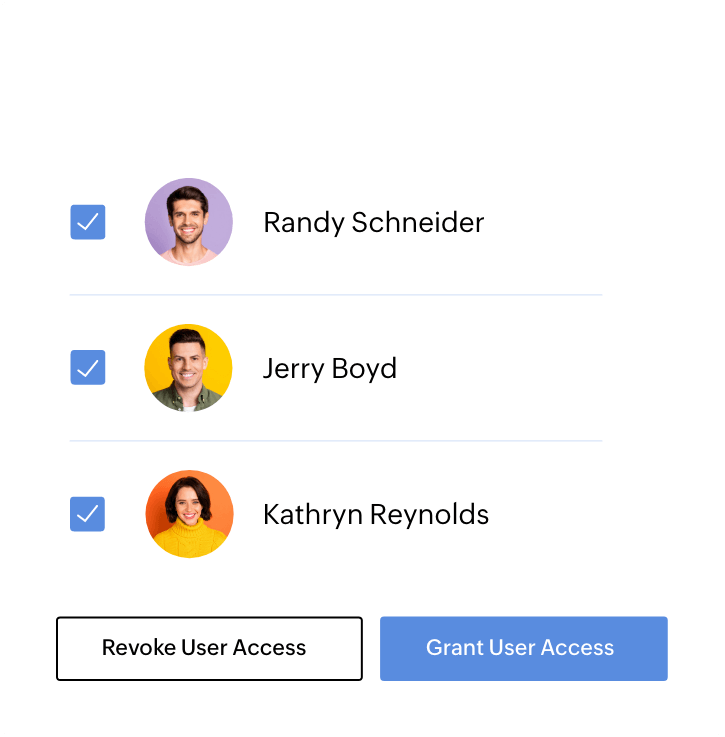
Centralized admin control
Help your IT team quickly onboard new users, map them with the required apps, and track their access activities in real time. Empower them to grant or revoke user access to apps whenever needed. Customized SSO authentication improves security, productivity, and the overall user experience across your enterprise.

One product two solutions
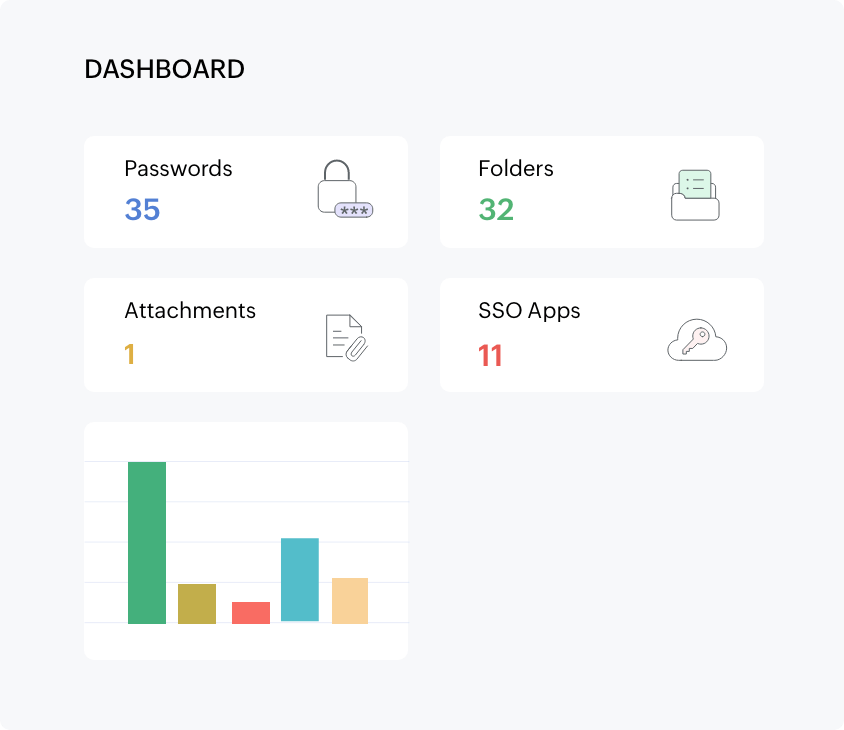
Zoho Vault offers you password vaulting and SSO in one package. Save big on your budget and improve security with 24/7 audit, two-factor authentication, and a powerful admin dashboard.
New to Zoho Vault?
Vault is a powerful password manager that also offers enterprise SSO. Check out all the enterprise feature we offer.
 Ian StirlingMD, Objectives Reached
“I tried three other programs before Zoho, and never really liked them. Zoho just works—and works well.”