
Functions in Bills
Let us have a look at some of the functions that can be performed on Bills in Zoho Expense.
Apply Credits to Bill
If you have recorded vendor credits for a particular vendor, you can apply these credits to their bills. Here’s how:
- Go to the Bills module in the left sidebar.
- Select a bill on which you wish to apply credits.
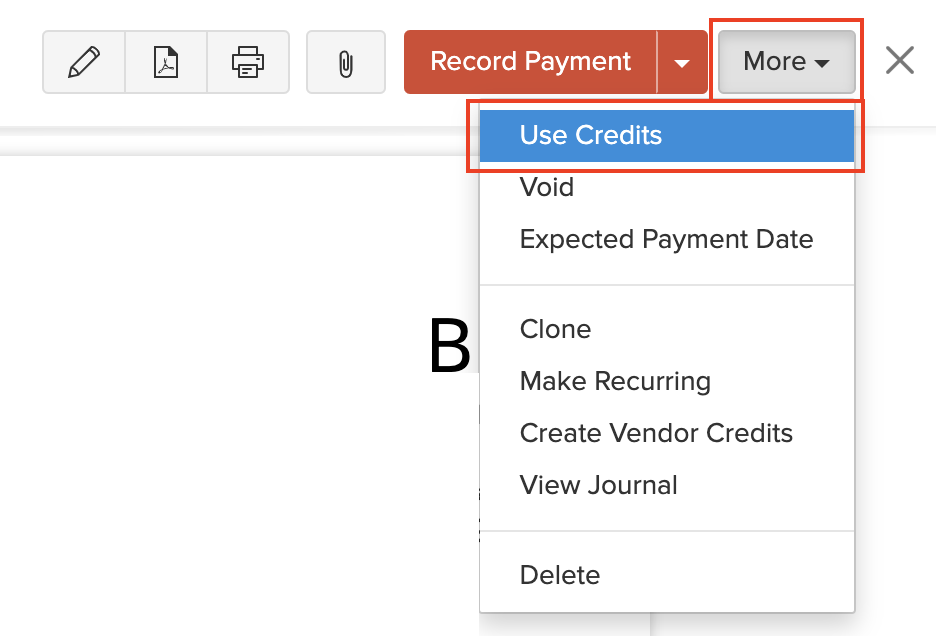
- Click More > Use Credits.
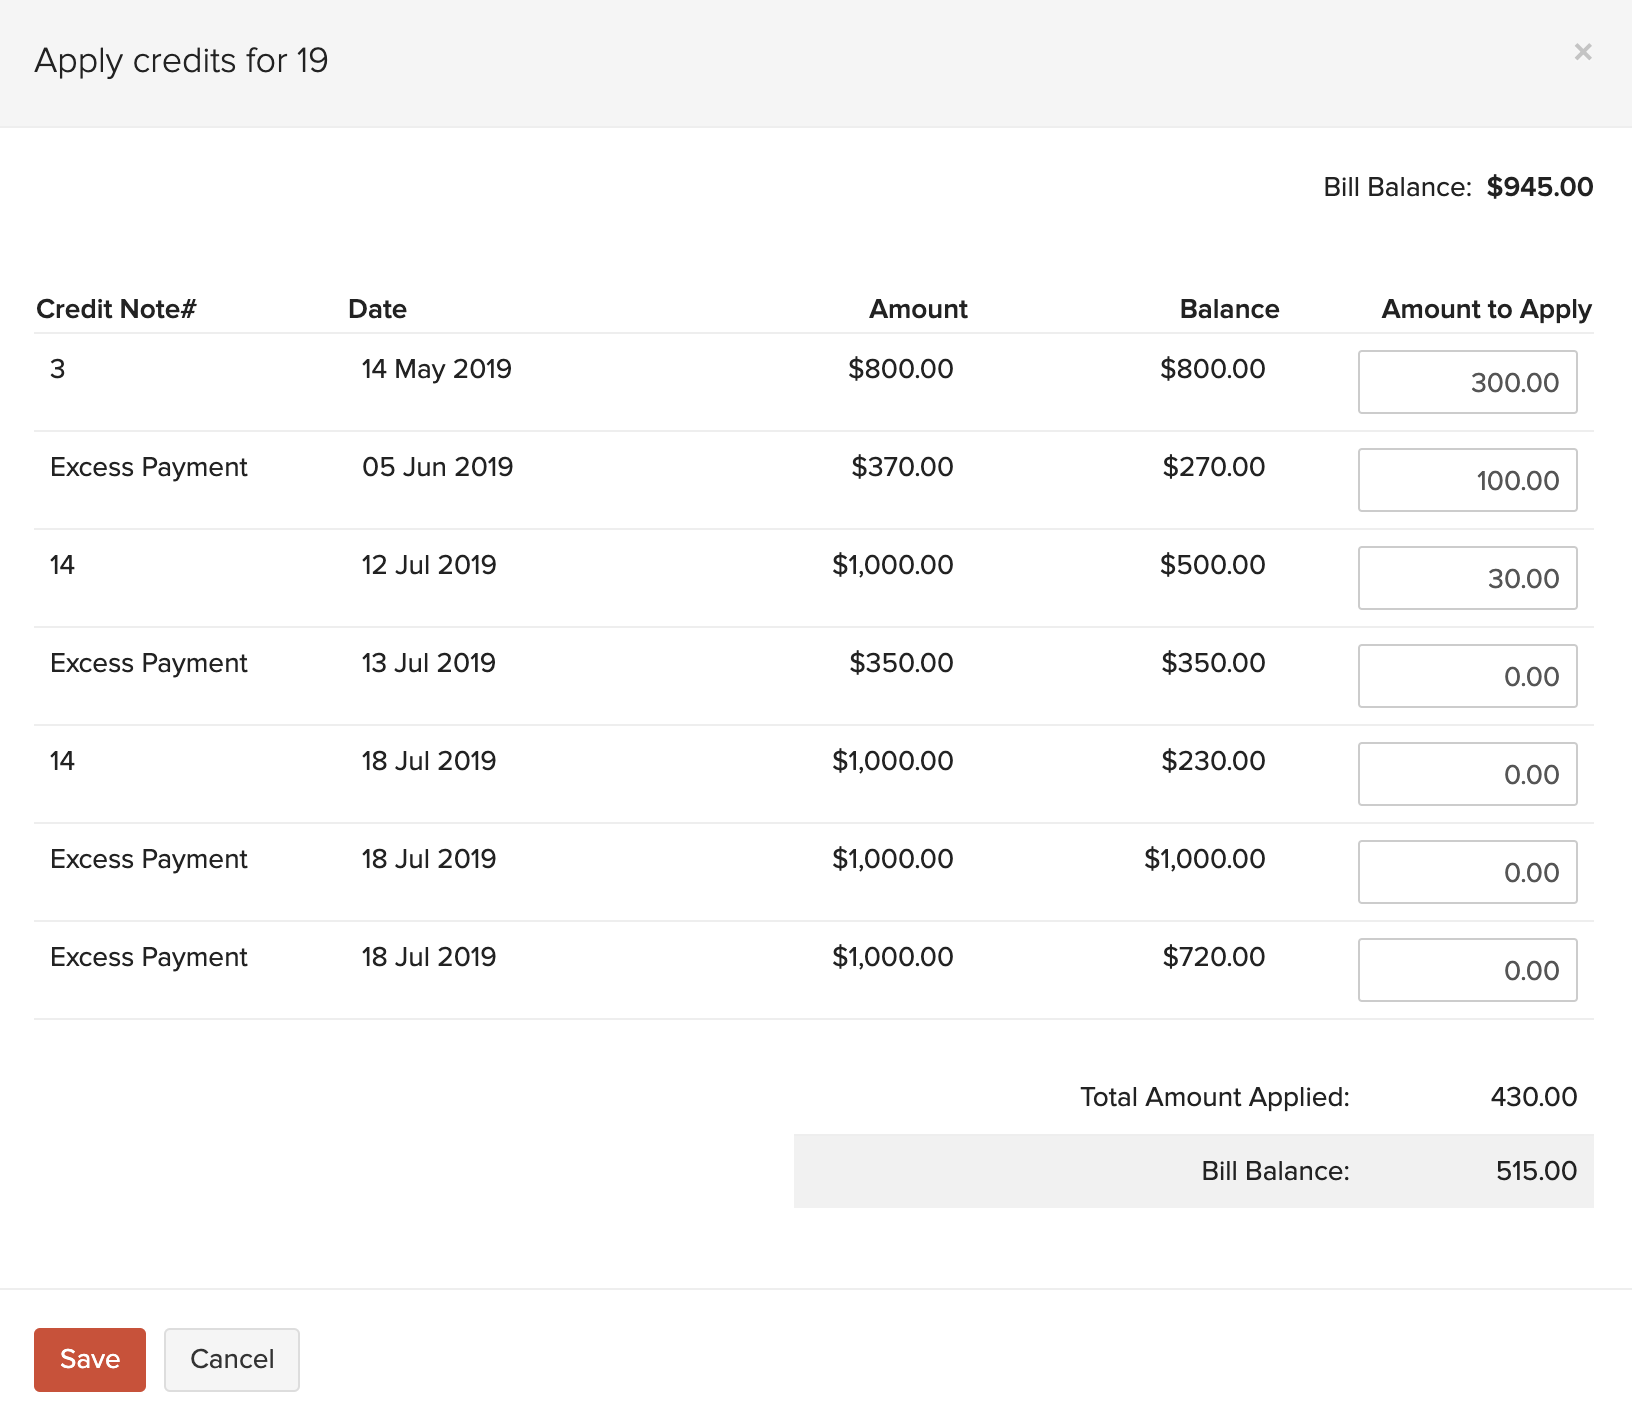
- Enter the amount to apply across the vendor’s various bills.
- Click Save.
If you have a line item in a bill that you’ve marked as billable to the customer, you can create an invoice for the bill with those billable items. Here’s how:
- Go to the Bills module in the left sidebar.
- Select the bill that has billable line items for which you want to create an invoice.
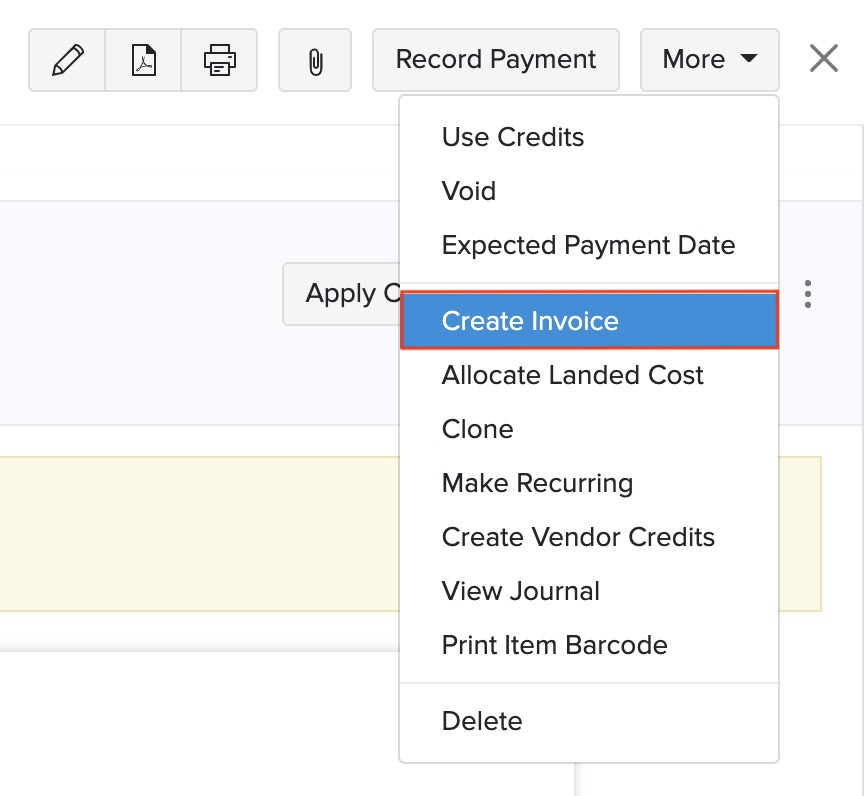
- Click the More dropdown and select Create Invoice. You will be redirected to the invoice creation page.
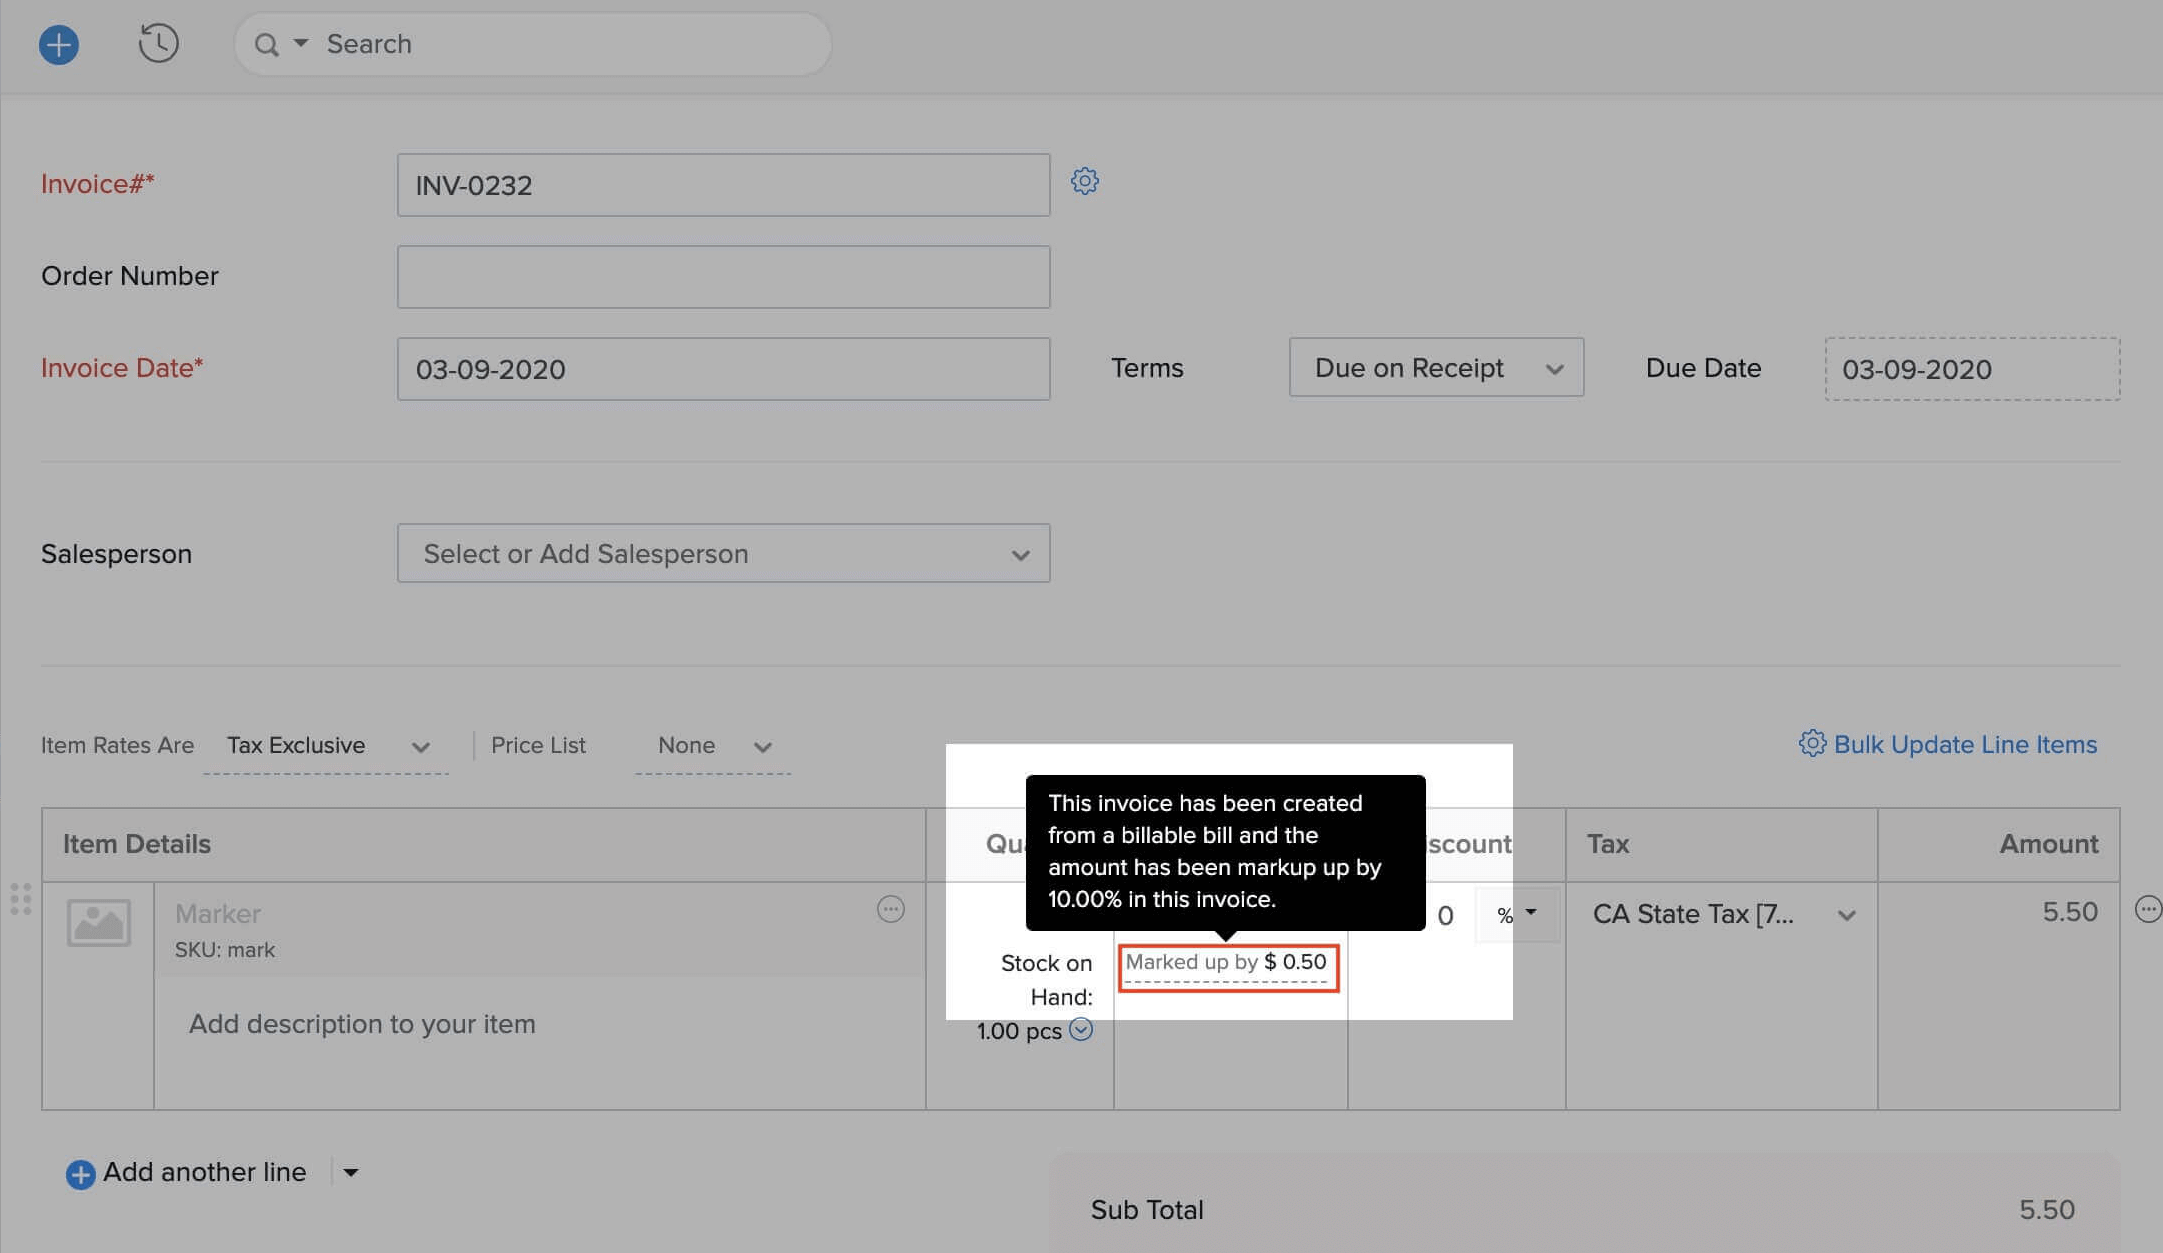
If you had given a markup percentage for the billable item in the bill, the marked up amount will be displayed along with the rate of the line item in the invoice.
- Click Save as Draft or Save and Send.
Delete Applied Credits
You can delete the credits that you have applied across the vendor’s various bills.
- Go to the Bills module in the left sidebar.
- Select the bill on which you have applied credits.
- Click the Credits Applied tab on top of the page.
- Hover over the credit you wish to delete.
- Click the Trash icon.
- Click OK to confirm

Set Expected Payment Date
You can enter an expected payment date by which you wish to make payment for your bill. Here’s how:
- Go to the Bills module in the left sidebar.
- Select the bill for which you wish to set the expected payment date.
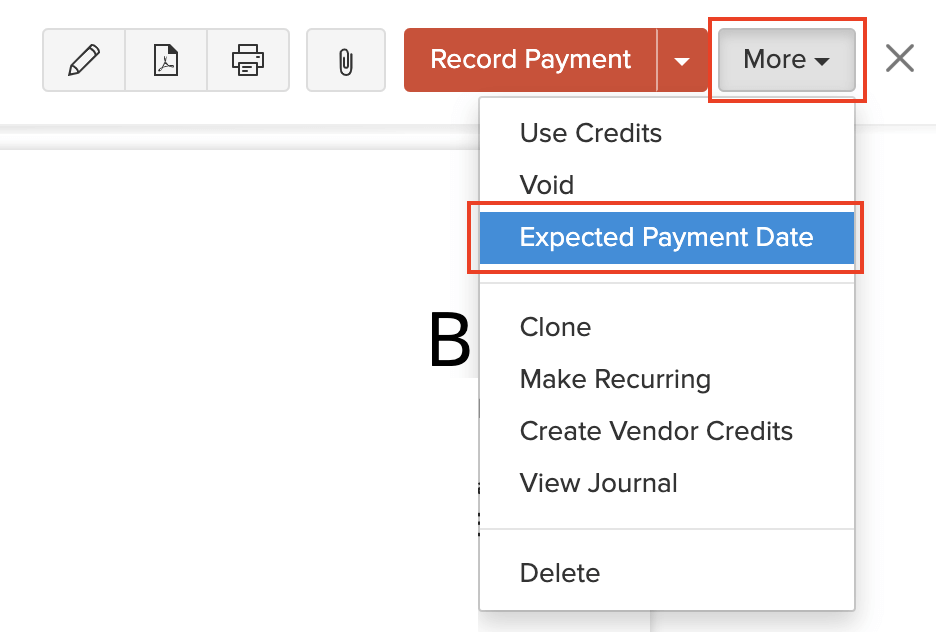
- Click More > Expected Payment Date.
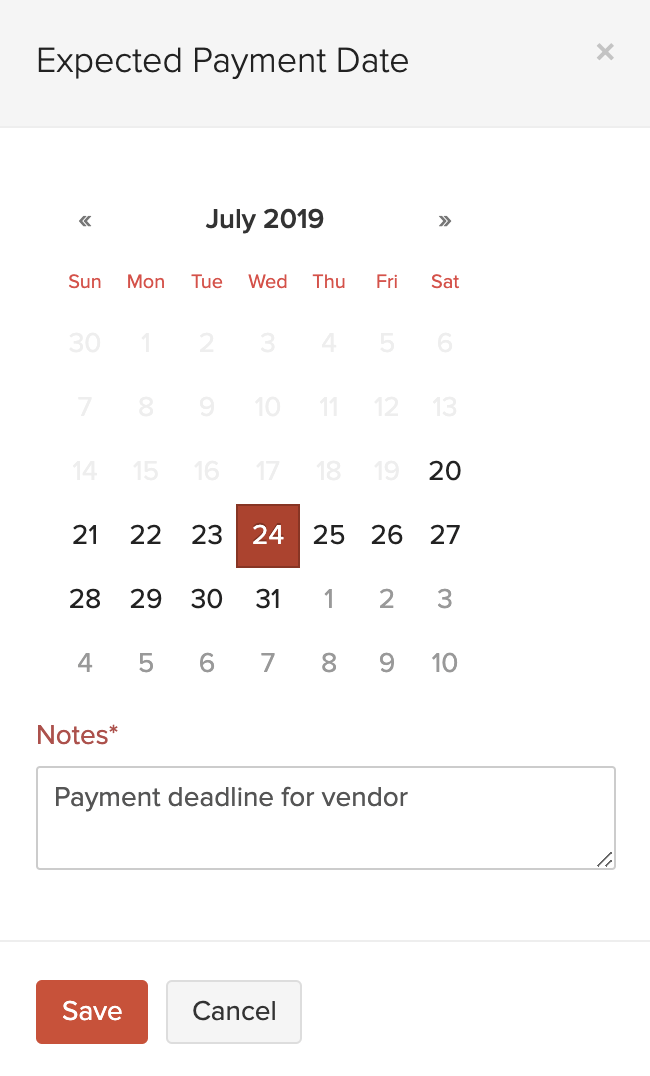
- Select a payment date and enter notes for it.
- Click Save.
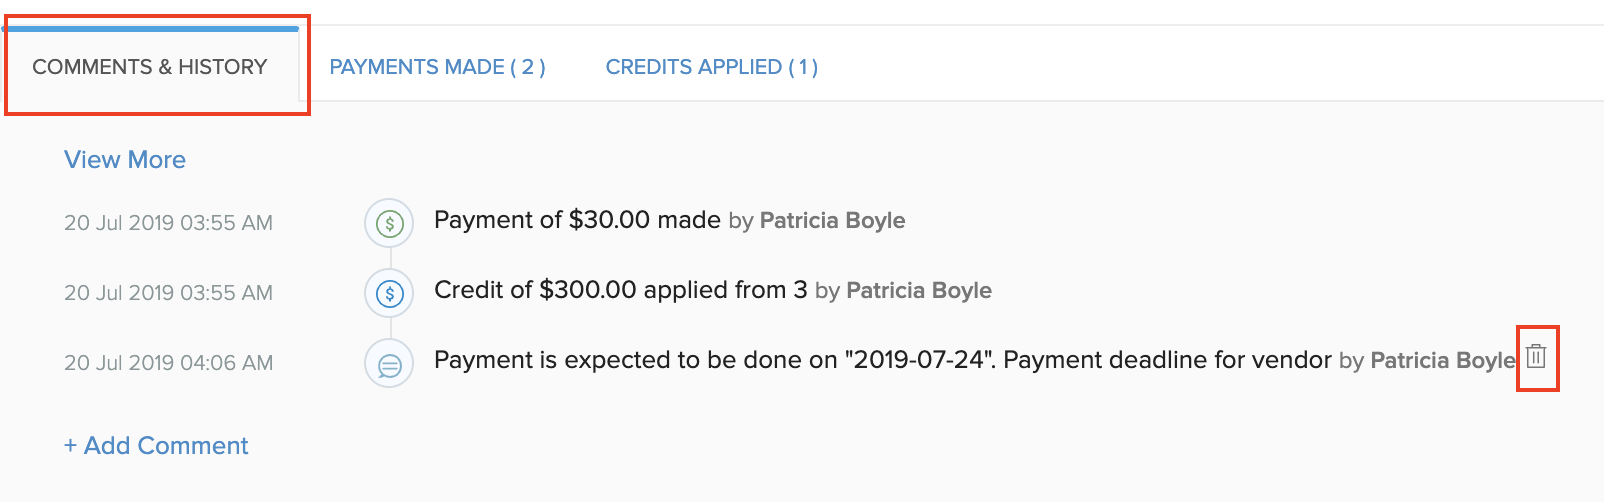
You can find the expected payment date in the Comments & History section of the bill. To delete this date:
- Click the Trash icon next to the activity.
- Select Delete to confirm.
Create Vendor Credits
You can create vendor credits for any bill. When you do so, all the items in the bill will be included in the vendor credit.
To create a vendor credit:
- Go to the Bills module in the left sidebar.
- Select the bill for which you wish to create vendor credits.
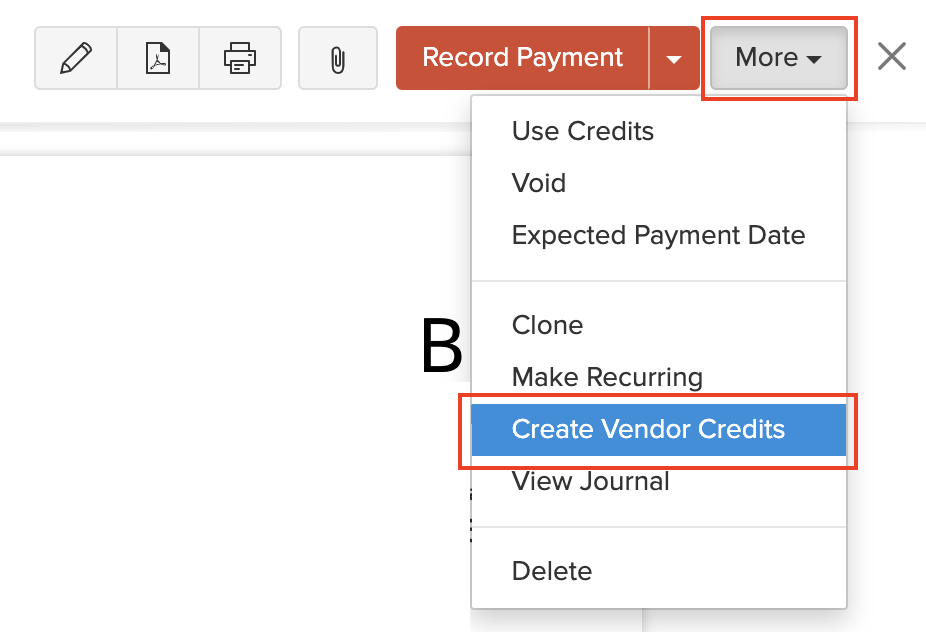
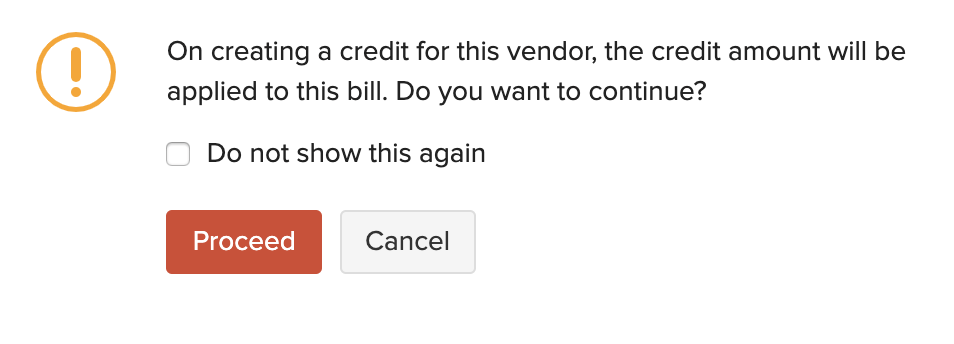
- Click More > Create Vendor Credits.
- Click Proceed.
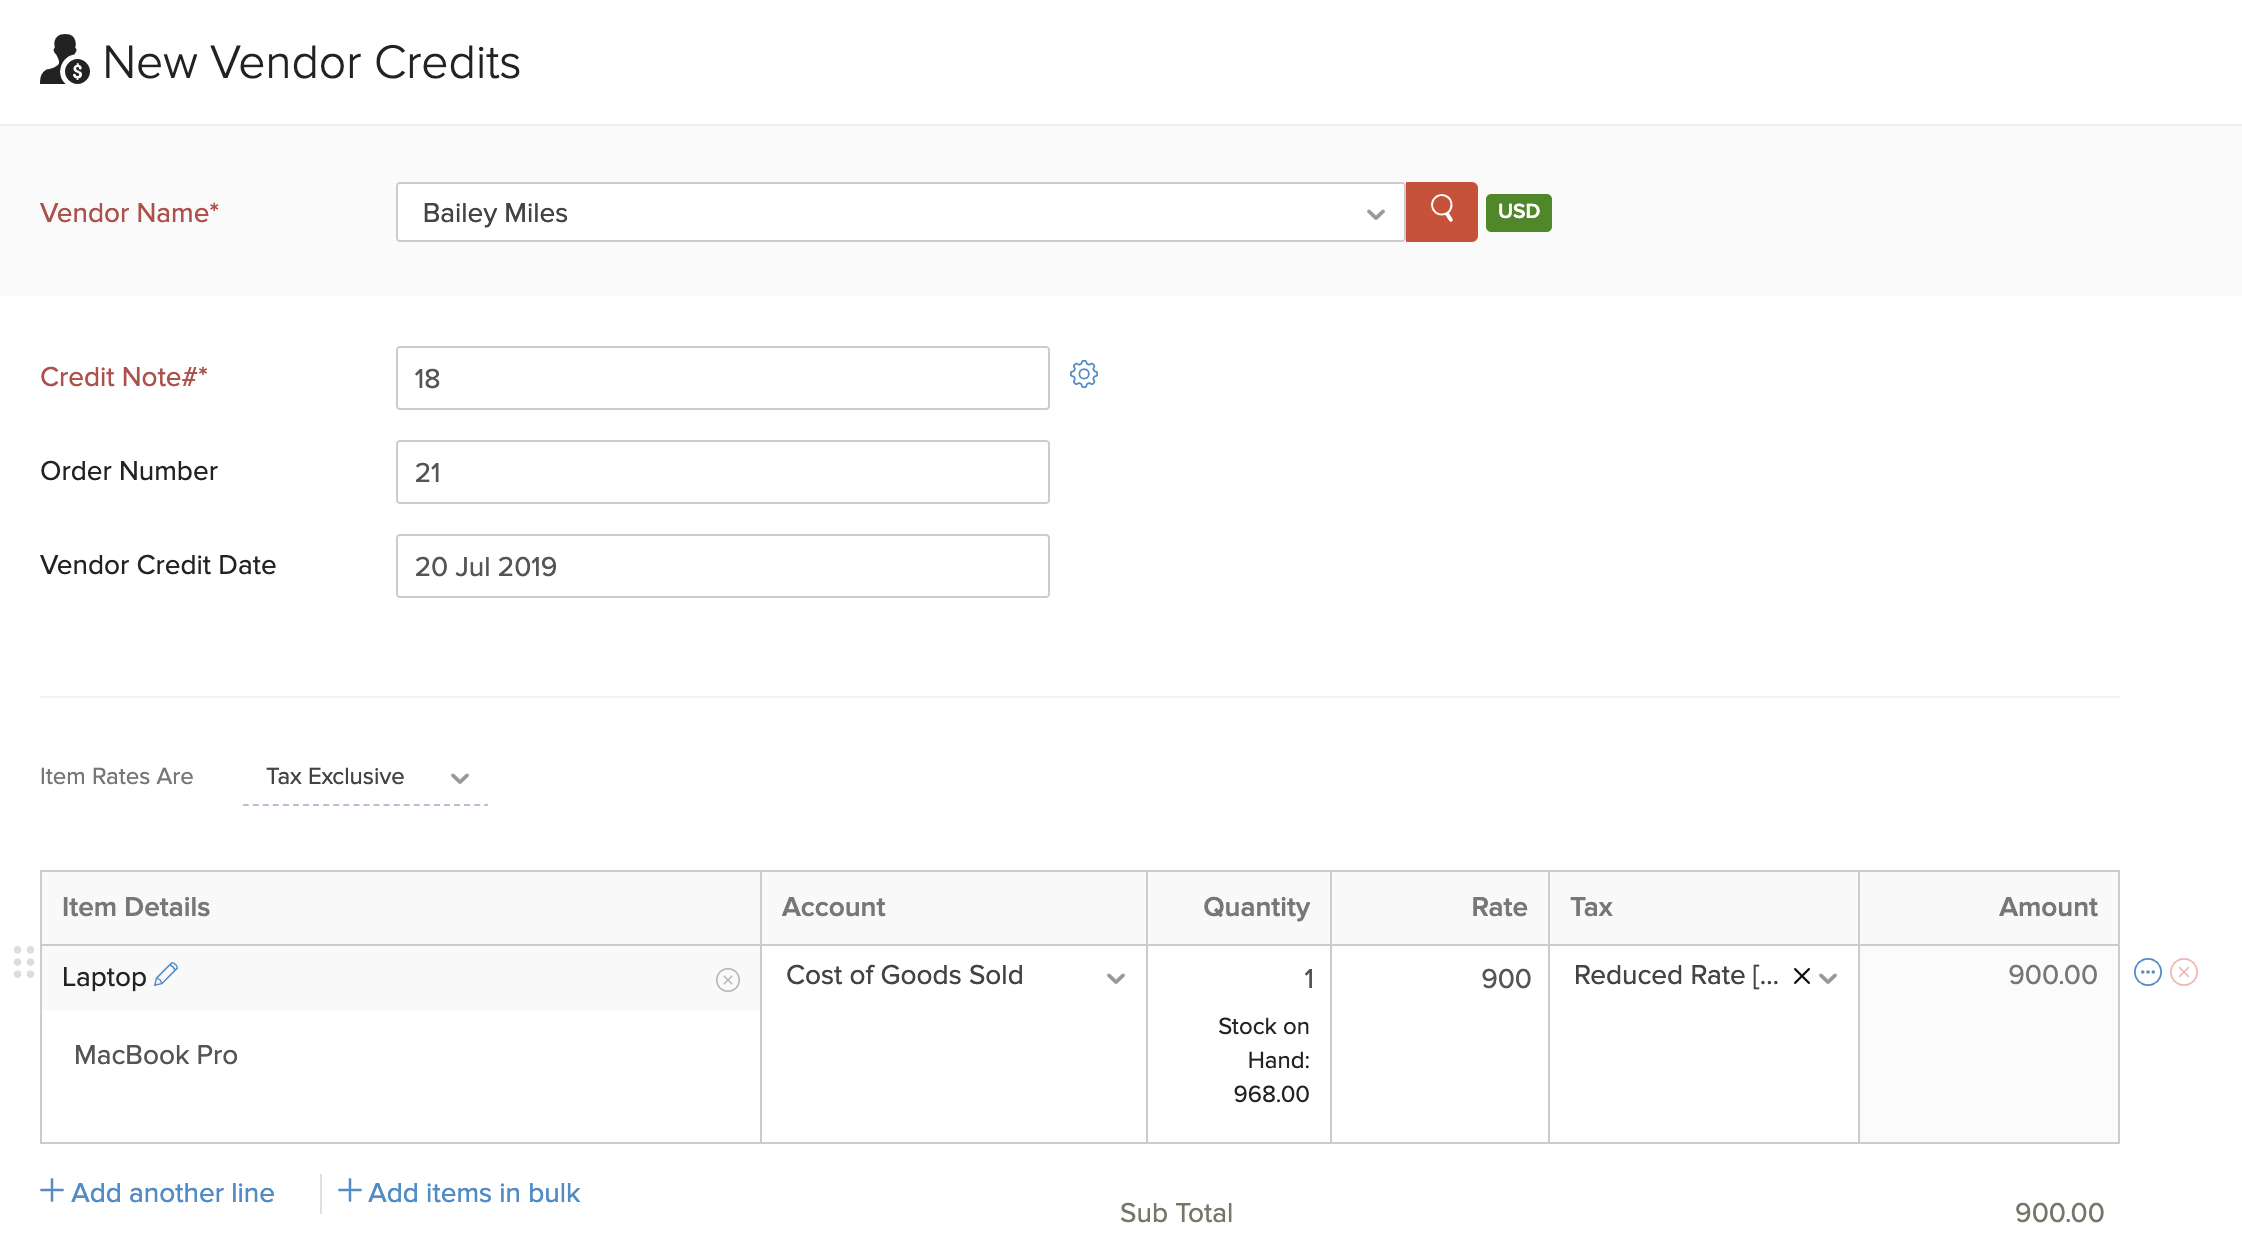
- Fill in the required details of the vendor credit and save it.
Insight: Once you create a vendor credit for the bill, it will automatically be applied to the bill, and the bill’s status will change to Paid. If the vendor credit amount exceeds the bill amount, then the entire payment for the bill will be recorded and the excess amount will be stored as the balance amount for the vendor credit.
Next >
Manage Bills
Related