
Automatic Mileage Tracking
Note:
- This feature is only available in the Zoho Expense mobile apps and not the web app.
- This feature is live for the US, CA, and UK editions of Zoho Expense, while it is available in early access for the other editions. To enable it for your organization, write to us at support@zohoexpense.com.
In Zoho Expense, you can record mileage using GPS. However, you need to tap Start and Stop from the Android app before and after each ride.
To help you track your rides more efficiently, we’ve introduced the Automatic Mileage Tracking feature. Your rides will be automatically tracked and recorded in Zoho Expense, provided you enable the necessary permissions. No manual inputs are required from you.
The Mileage Logs module will be added to the left sidebar. In this module, you can view all your rides. You can easily expense or exclude them.
Enable Automatic Mileage Tracking
Once Automatic Mileage Tracking is enabled for your organization, you need to enable it for your profile. A pop-up will appear the first time you open the Mileage Logs module. Tap Enable to provide the required permissions. The feature will be enabled once you do this.
The following are the required permissions:
| Permission | Reason |
|---|---|
| Location | Enabling Location permission to Allow all the time will allow Zoho Expense to accurately track your rides when you’re driving. To enable, tap Continue. You’ll be redirected to the App info page of Zoho Expense. Go to Permissions > Location and select Allow all the time. Additionally, ensure that Allow precise location is enabled. |
| Physical Activity | Enabling Physical Activity for Zoho Expense will let Zoho Expense automatically track your rides using GPS and accelerometer data. Tap the Physical Activity section. Tap Allow in the pop-up that appears. |
| Notifications | Enabling Notifications permission will allow Zoho Expense to send you updates about your rides. To enable, tap the Notifications section. Tap Grant in the pop-up that appears. You’ll be redirected to the Notification Permission page of Zoho Expense. Enable the toggle next to All Zoho Expense notifications. |
| Battery Saver | Disabling Battery Saver will allow Zoho Expense to track your rides accurately. Tap Grant in the pop-up that appears. |
| Battery Optimization | Disabling Battery Optimization will allow Zoho Expense to run in the background. Tap the Battery Optimization section. Tap Allow in the pop-up that appears. |
Note:
- Not providing any of the required permissions may result in the feature not working or being inaccurate in tracking your rides.
- You need not update a permission if the Tick icon is displayed next to it.
If you tapped Maybe Later on the pop-up, you need to provide the permissions manually. Here’s how:
- Open the Zoho Expense app on your device.
- Tap the Menu button in the top left corner.
- Tap Mileage Logs.
- Tap Enable.
- Provide the requested permissions.
Create Ride Classification Rules
Employees of an organization might use their personal or their company provided vehicle for multiple reasons. It’ll be difficult for them to classify the purpose of each ride.
This is where the Ride Classification Rules feature of Zoho Expense comes in. Using this feature, employees can classify rides based on their work schedules. Rides that fall under classification rules will be automatically added as unexpensed rides, whereas rides that do not fall under any classification rules will be added as excluded rides. Employees can now just expense the required rides.
To add a ride classification rule:
- Open the Zoho Expense app on your device.
- Tap the Menu icon in the top left corner.
- Tap My Settings.
- Tap Mileage Logs Preferences.
- Tap Ride Classification Rules.
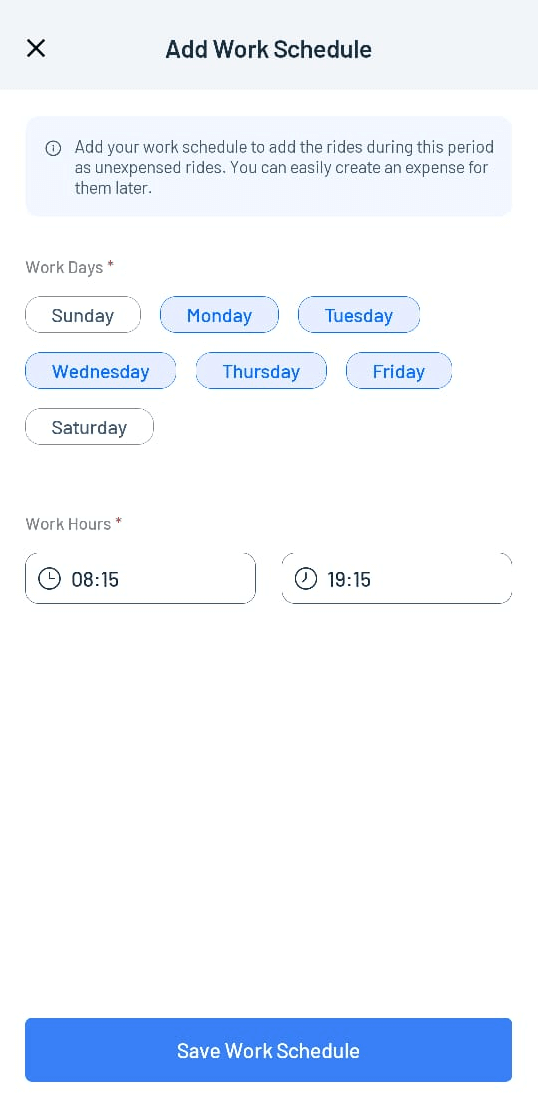
- Tap + New Rule.
- Select the Work Days and the Work Hours.
- Tap Save Work Schedule to create the work schedule.
The work schedule will be added to the Ride Classification Rules List page. You can edit or delete a rule by tapping it.
Create Expenses for Rides
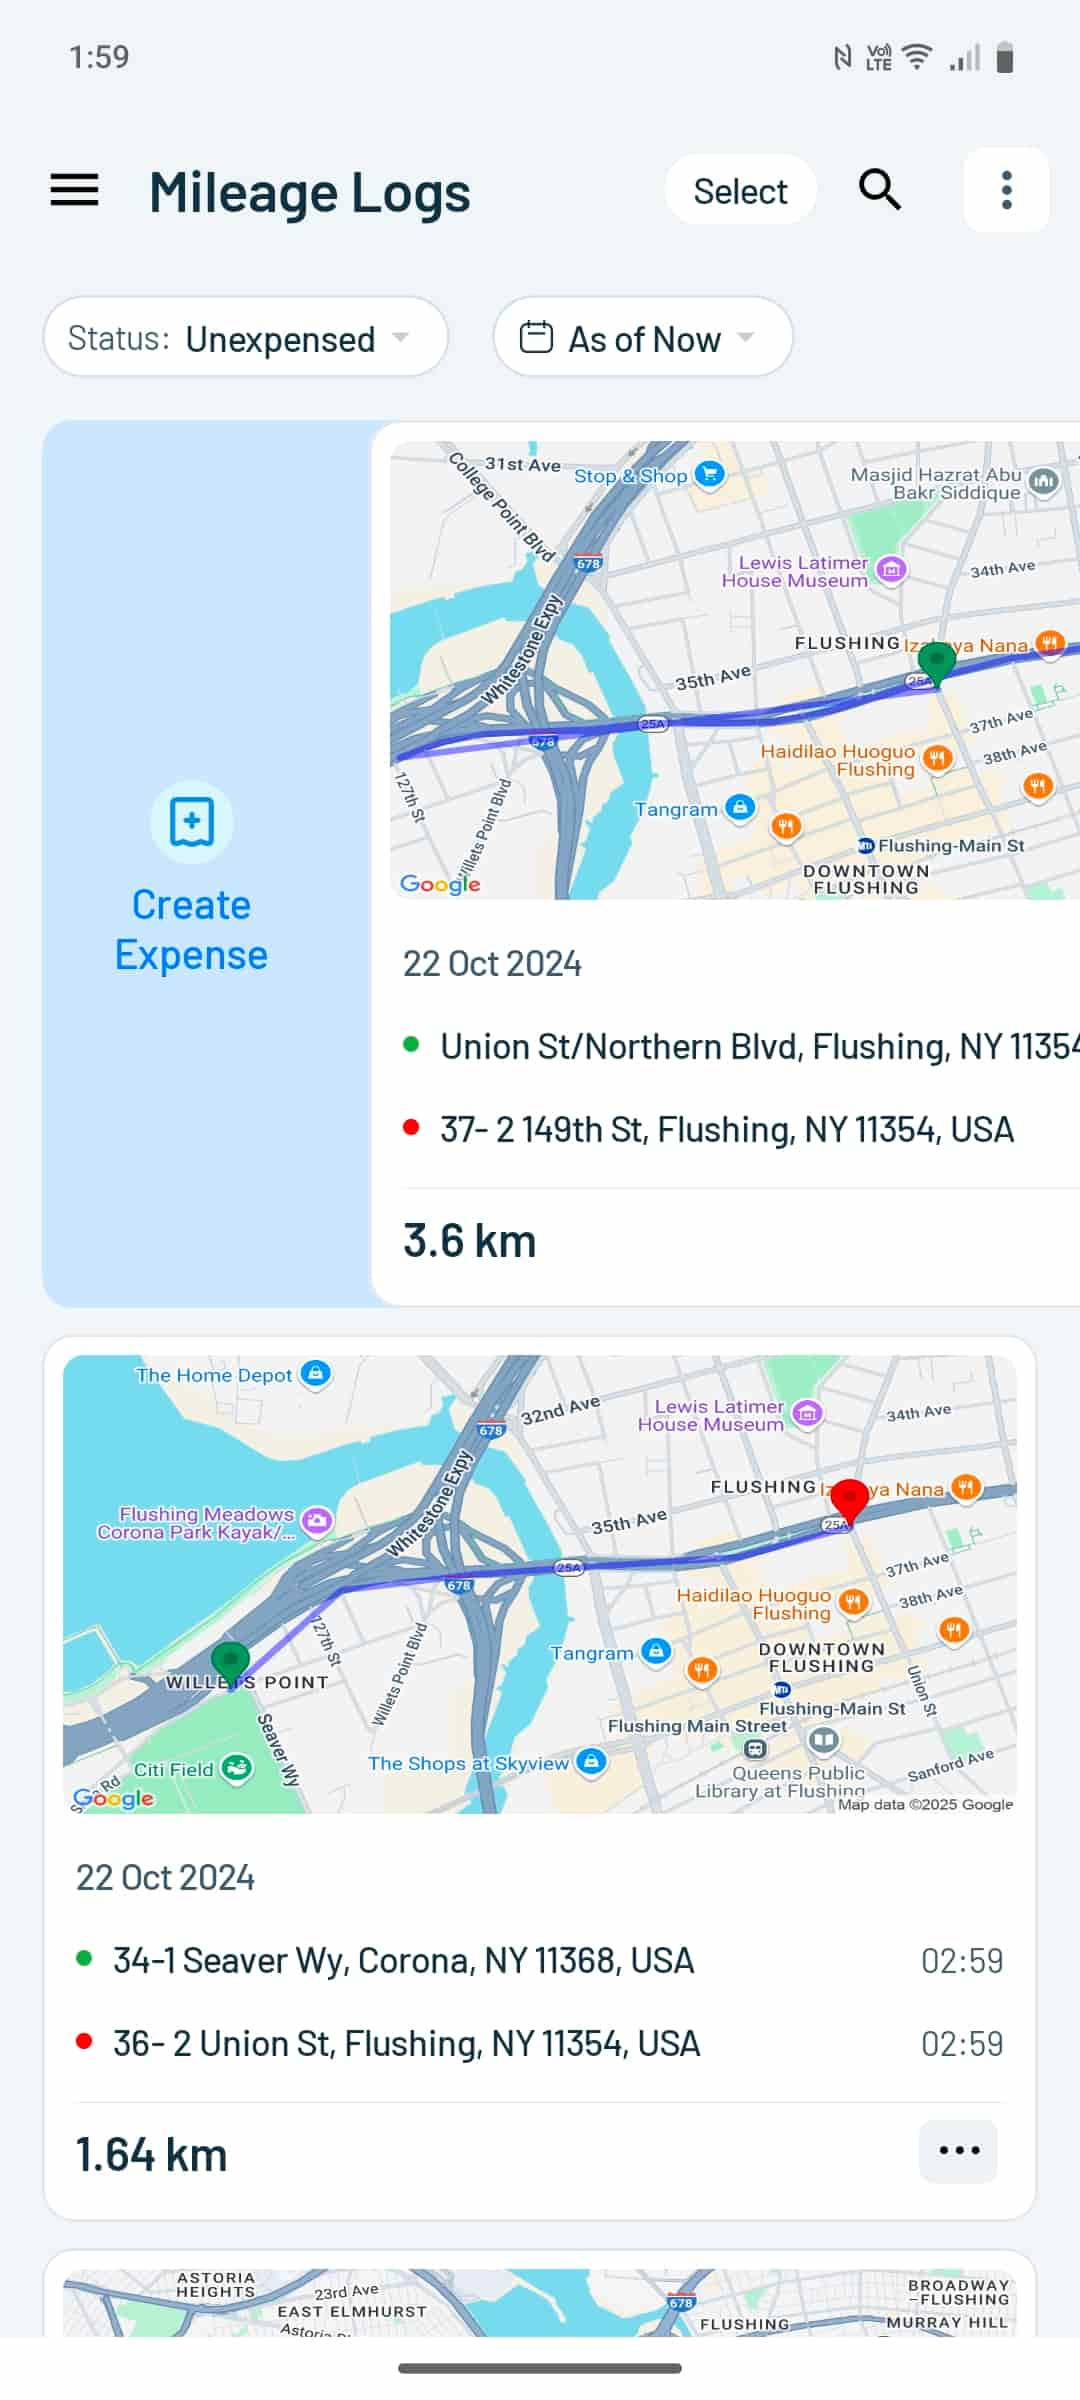
All the rides which fall under a classification rule will be added unexpensed rides in the Mileage Logs module. You have to convert them into expenses if you want to claim reimbursement for them. Here’s how:
- Tap the Menu icon in the top right corner of the page.
- Tap Mileage Logs on the left sidebar.
- Tap Status at the top and select Unexpensed.
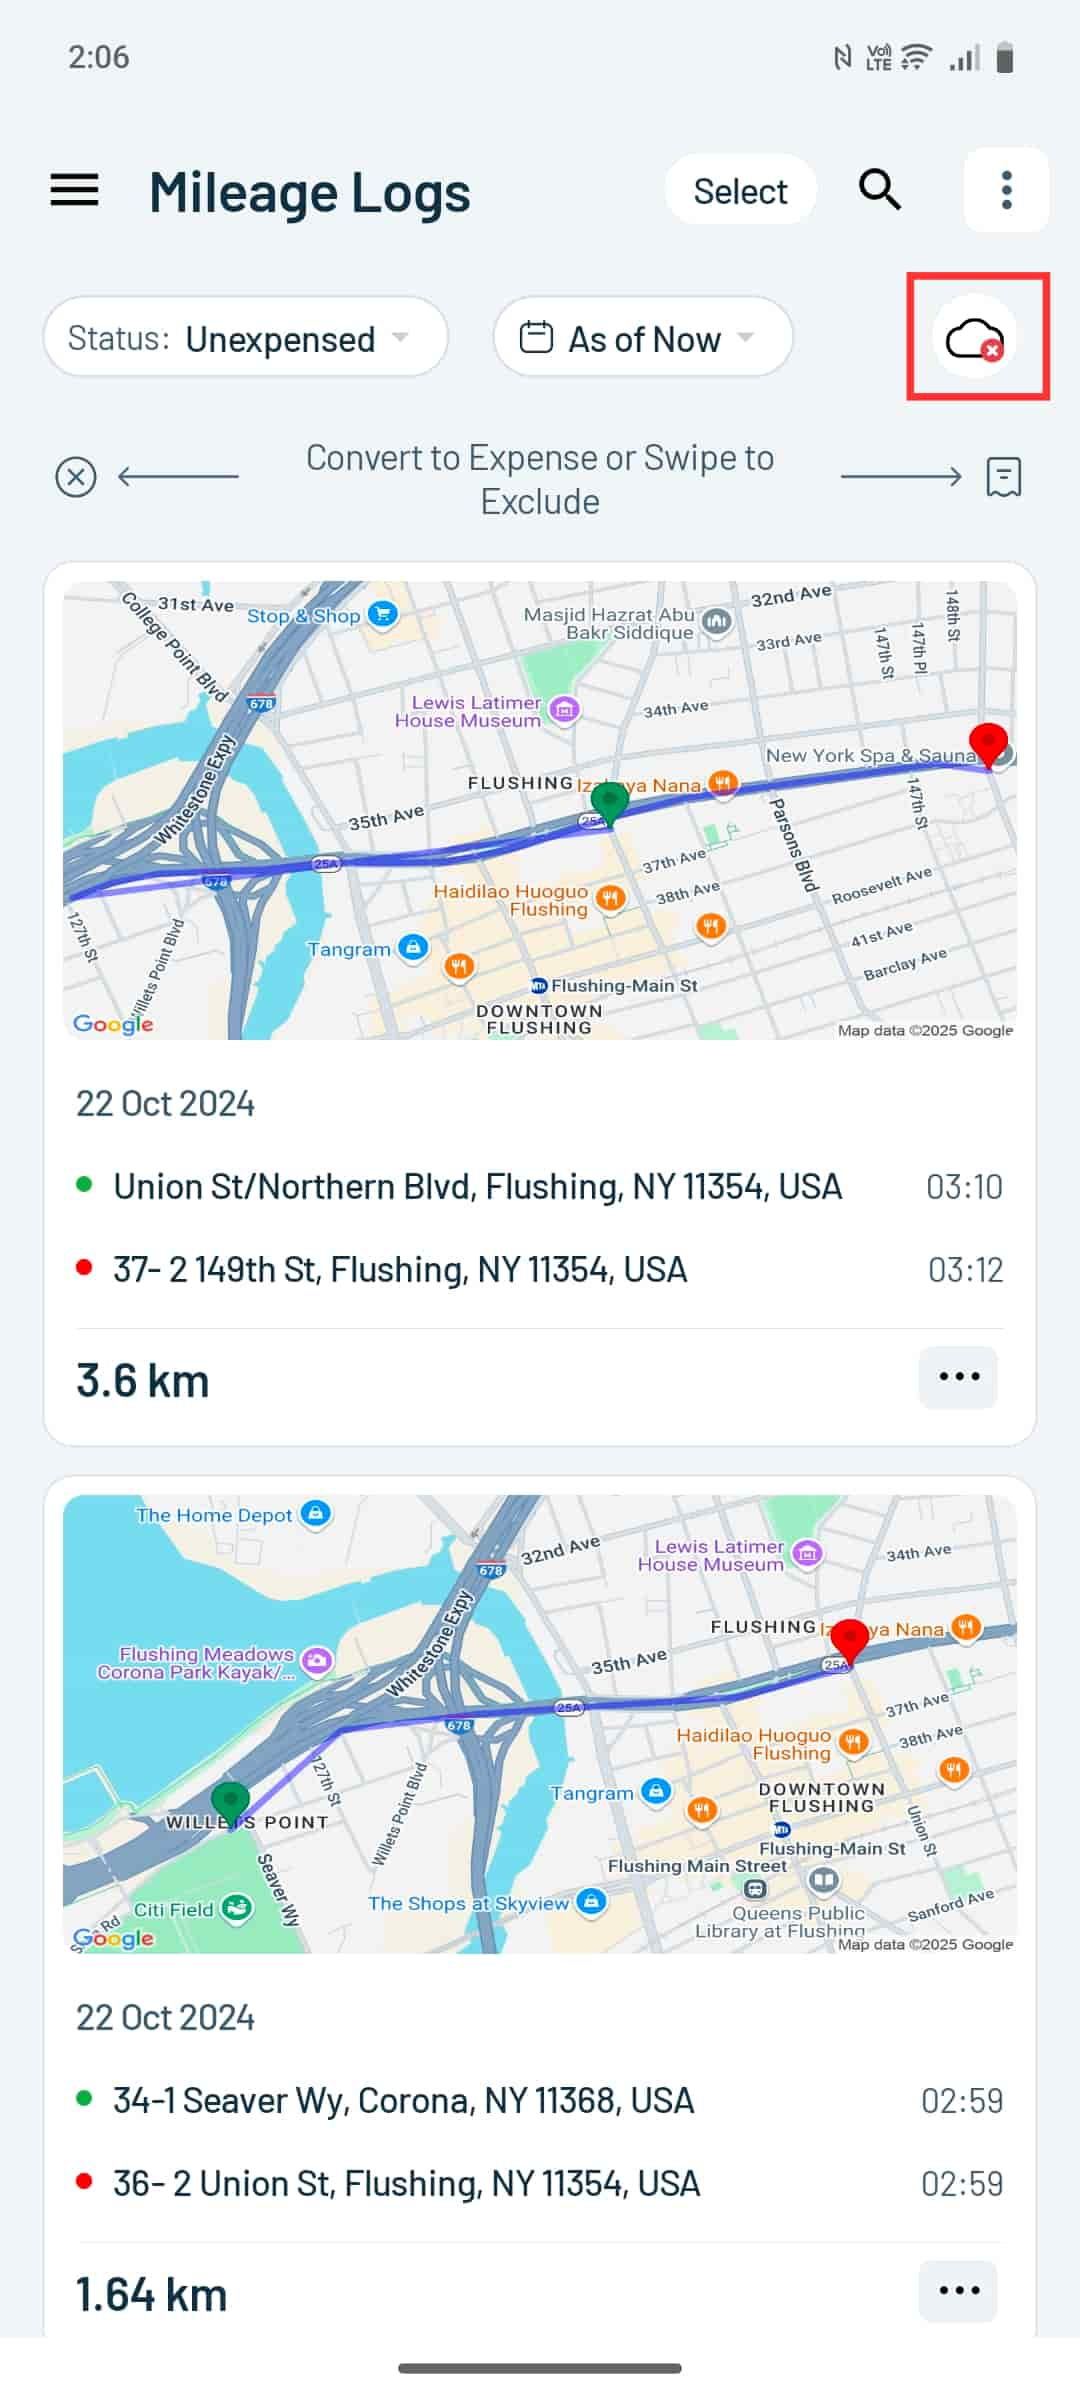
- Swipe right to expense a ride.
- Select rides to merge, exclude, or delete them.
Once you’ve created an expense, the details of the selected rides will be available in the expense.
Rides Not Synced
Some rides may not have synced due to varies reasons. To view these rides, tap the Cloud icon in the top right corner.
Tap the More button next to a ride and select Retry to sync it.
Disable Automatic Mileage Tracking
If you no longer want to use Automatic Mileage Tracking to track your rides, you can disable the feature. Here’s how:
- Open the Zoho Expense app on your device.
- Tap the Menu button in the top left corner.
- Tap My Settings.
- Tap Mileage Logs Preferences.
- Tap the toggle next to Automatic Mileage Tracking.