
Sales Tax Automation - Operations
Configure Address Preferences
When Sales Tax Automation is enabled in Zoho Books, it calculates sales tax using the customer’s billing address by default. You can change this to use the shipping address instead. Here’s how:
Go to Settings.
Select Taxes under Taxes & Compliance.
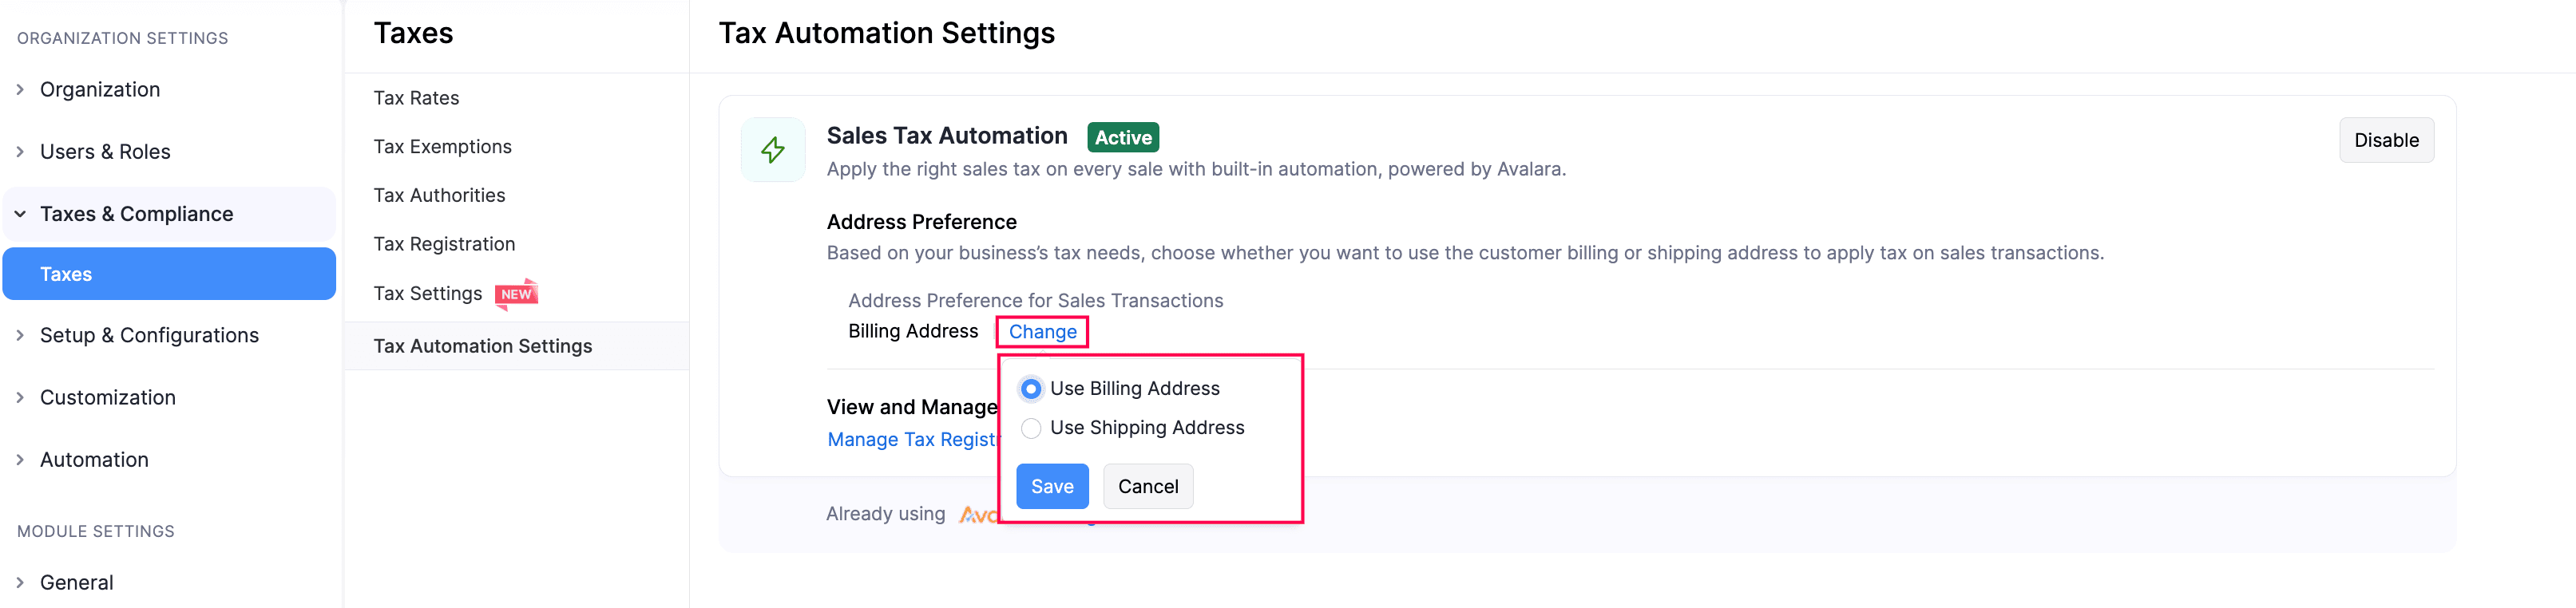
In the next page, click Tax Automation Settings in the Taxes pane.
In the next page, under Address Preference, click Change.
In the pop-up, choose Billing Address or Shipping Address, based on your preferences.
Click Save.
The address preference will now be applied automatically when calculating sales tax for all new transactions.
Edit Tax Registration Details
To edit the tax registration details:
Go to Settings.
Select Taxes under Taxes & Compliance.
In the next page, select Tax Registration in the Taxes pane.
In the Tax Registration page, hover over the required tax, click the dropdown icon next to it, and select Edit.

In the Edit Tax Registration Settings page, make the required changes.
Click Save.
The tax registration details will be updated.
Deregister Taxes
If you no longer conduct business in a state, or if you’re no longer required to collect taxes there, and have deregistered taxes there, you can mark it in Zoho Books. This prevents sales tax from being automatically calculated for your transactions in that state and its local jurisdictions. Here’s how:
Go to Settings.
Select Taxes under Taxes & Compliance.
In the Taxes pane, click Tax Registration.
Hover over the required tax registration, click the dropdown icon next to it, and select Edit.
In the Edit Tax Registration Settings page, click Mark as Deregistered in the top right corner.

- If you’ve added multiple local taxes under a state, click Deregister All in the top right corner.
In the Tax Deregistration pop-up, enter the Tax Deregistration Date, and click Deregister.
The tax deregistration will be recorded, and it will no longer be applied to your transactions.
Note:
When you deregister taxes at the state-level, the local taxes that you’ve added for that state will also be deregistered.
To mark a specific local tax as deregistered:
In the Edit Tax Registration Settings page, hover over the required local tax, and click Deregister.

In the Tax Deregistration pop-up, enter the Tax Deregistration Date, and click Deregister. Sales tax will not be applied to transactions created after this date.
The tax deregistration will be recorded. However, the state-level tax will still be applied to your transactions.
Undo Tax Deregistration
If you resume your business in a state again, or if you’re required to collect your taxes there, you can undo the deregistration to ensure that sales tax is calculated correctly. To do this:
Go to Settings.
Select Taxes under Taxes & Compliance.
In the Taxes pane, click Tax Registration.
Hover over the required tax registration, click the dropdown icon next to it, and select Edit.
In the Edit Tax Registration Settings page, click Undo Deregistration in the top right corner.

- If there are multiple local taxes under the state, click Undo All Deregistrations in the top right corner.
In the confirmation pop-up, click Undo Deregistration again.
The tax details will now be included in your transactions, and the sales tax will be calculated accordingly. Similary, you can also undo deregistration for a specific local tax.

Mark Tax Registrations as Inactive
If you want to temporarily prevent a specific tax registration from being applied to transactions, you can mark it as Inactive. Here’s how:
Go to Settings.
Select Taxes under Taxes & Compliance.
In the next page, select Tax Registration in the Taxes pane.
In the Tax Registrations page, hover over the required tax registration, click the dropdown icon next to it, and select Mark As Inactive.

In the confirmation pop-up, click Mark As Inactive again.
The tax registration will be marked as Inactive. To mark it active again:
- In the Tax Registrations page, hover over the inactive tax registration, click the dropdown icon next to it, and select Mark As Active.
- In the confirmation pop-up, click Mark As Active again.
The tax registration will be marked as Active.
Next >
 Yes
No
Yes
No
Thank you for your feedback!