
Integrate Zoho Billing with WordPress (WordPress Plugin)
This integration, which is in the form of a WordPress plugin, allows you to easily embed your hosted payment pages in your WordPress site, and offer your visitors a seamless signup/checkout experience.
Set up the Integration
To integrate your organization with WordPress, you must first install the Zoho Billing plugin from WordPress’ site and activate it. Here’s how:
- Log in to your WordPress account.
- Navigate to the Plugins section from the left sidebar.
- Execute a search for “Zoho Billing”.
- Click Install Now next to the Zoho Billing plugin.
- Wait for the installation to be completed and then click Activate.
Now the plugin has been activated and you can connect it to your Zoho Billing organization. To do this:
- Go to your WordPress account.
- Navigate to the Zoho Billing plugin from the left sidebar.
- Select the domain from which you access Zoho Billing.
- Enter the Connector Key from Zoho Billing.
Insight: You can find your domain and the Connector Key by going to Zoho Subscriptions > Settings > Integrations > Other Apps > WordPress Integration.
- Click Save.
Now, the setup has been completed and you can start embedding your hosted payment pages on WordPress.
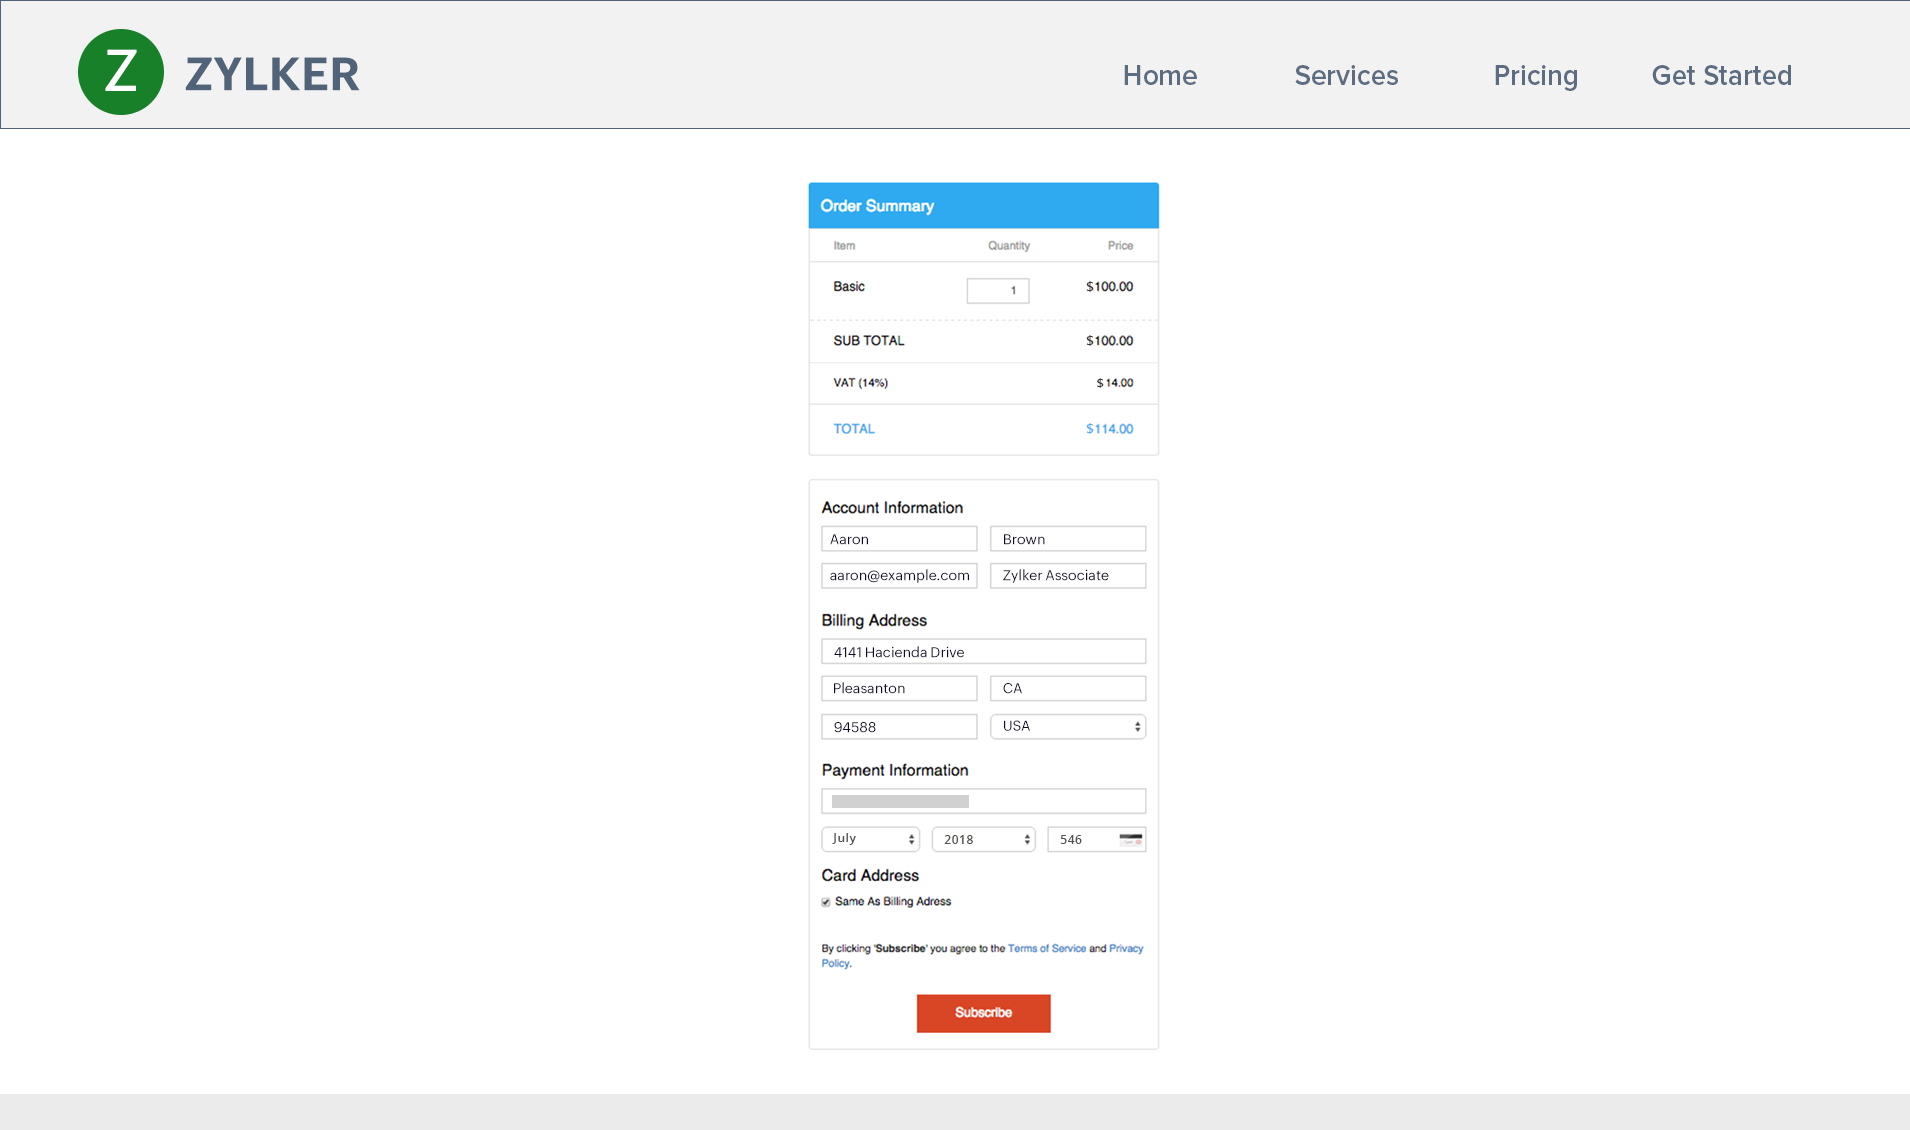
Embed Hosted Payment Pages
You can embed your hosted payment pages by including the following shortcode while drafting (or editing) a page/post in WordPress:
[zs plan_code=”Basic”]
Copy and paste the shortcode above in WordPress’ editor. Next, replace Basic in the shortcode with your plan’s Plan Code. You can see what your embedded hosted payment page looks like by previewing your page/post.
Insight: You can find your plan’s Plan Code by going to Zoho Billing > Products. Select a product and copy the Plan Code for the plan whose hosted payment page you’d like to embed.
You can adjust the width of your embedded hosted payment page by specifying a custom width in the shortcode above. Here’s how:
[zs plan_code=”Basic” width="600"]
Replace 600 in the shortcode above with your required width. If you do not include the “width” parameter, the default width will be set as 700.
Update/Delete the WordPress Plugin
It is recommended that you periodically check for updates to the Zoho Billing plugin on WordPress to ensure that you have all the latest functionality.
You can update the plugin by going to WordPress > Plugins. Find the Zoho Billing plugin and click Update, if an update is available.
You can also click Deactivate on the same screen, if you’d like to stop using this integration.
 Yes
No
Yes
No
Thank you for your feedback!