Webhook Configuration
Registering a Webhook
To integrate your platform with Form Controllers via Webhook, follow the steps:
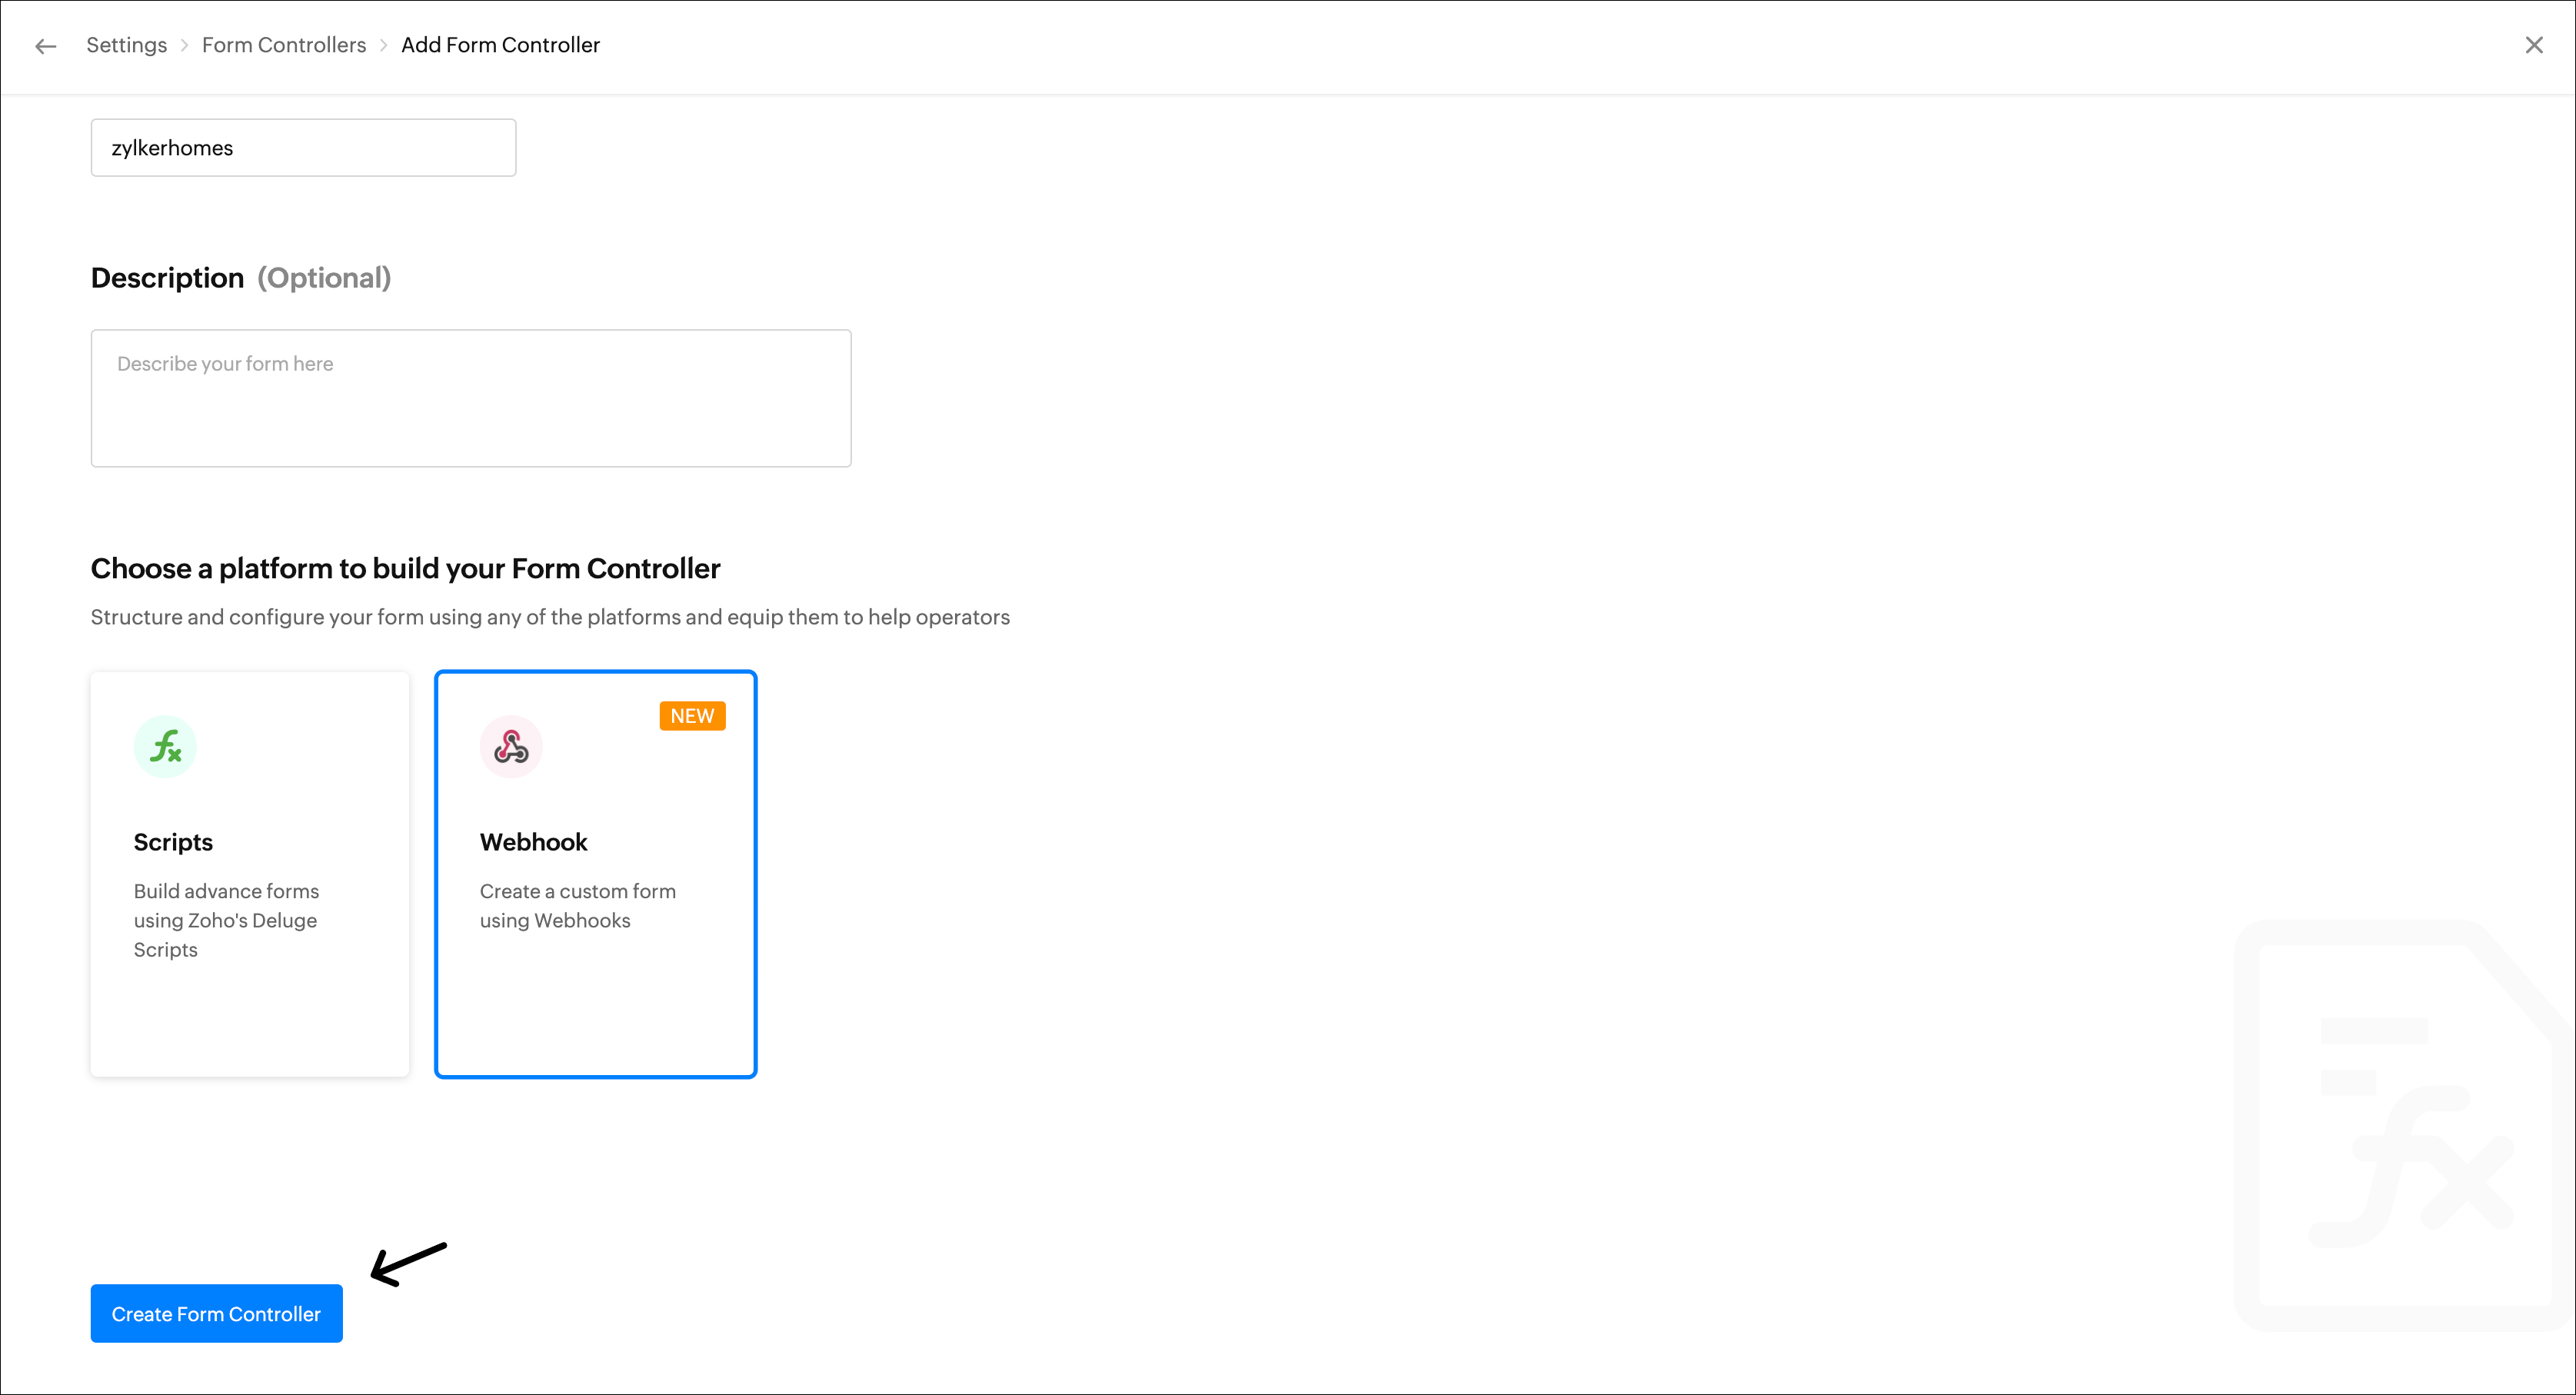
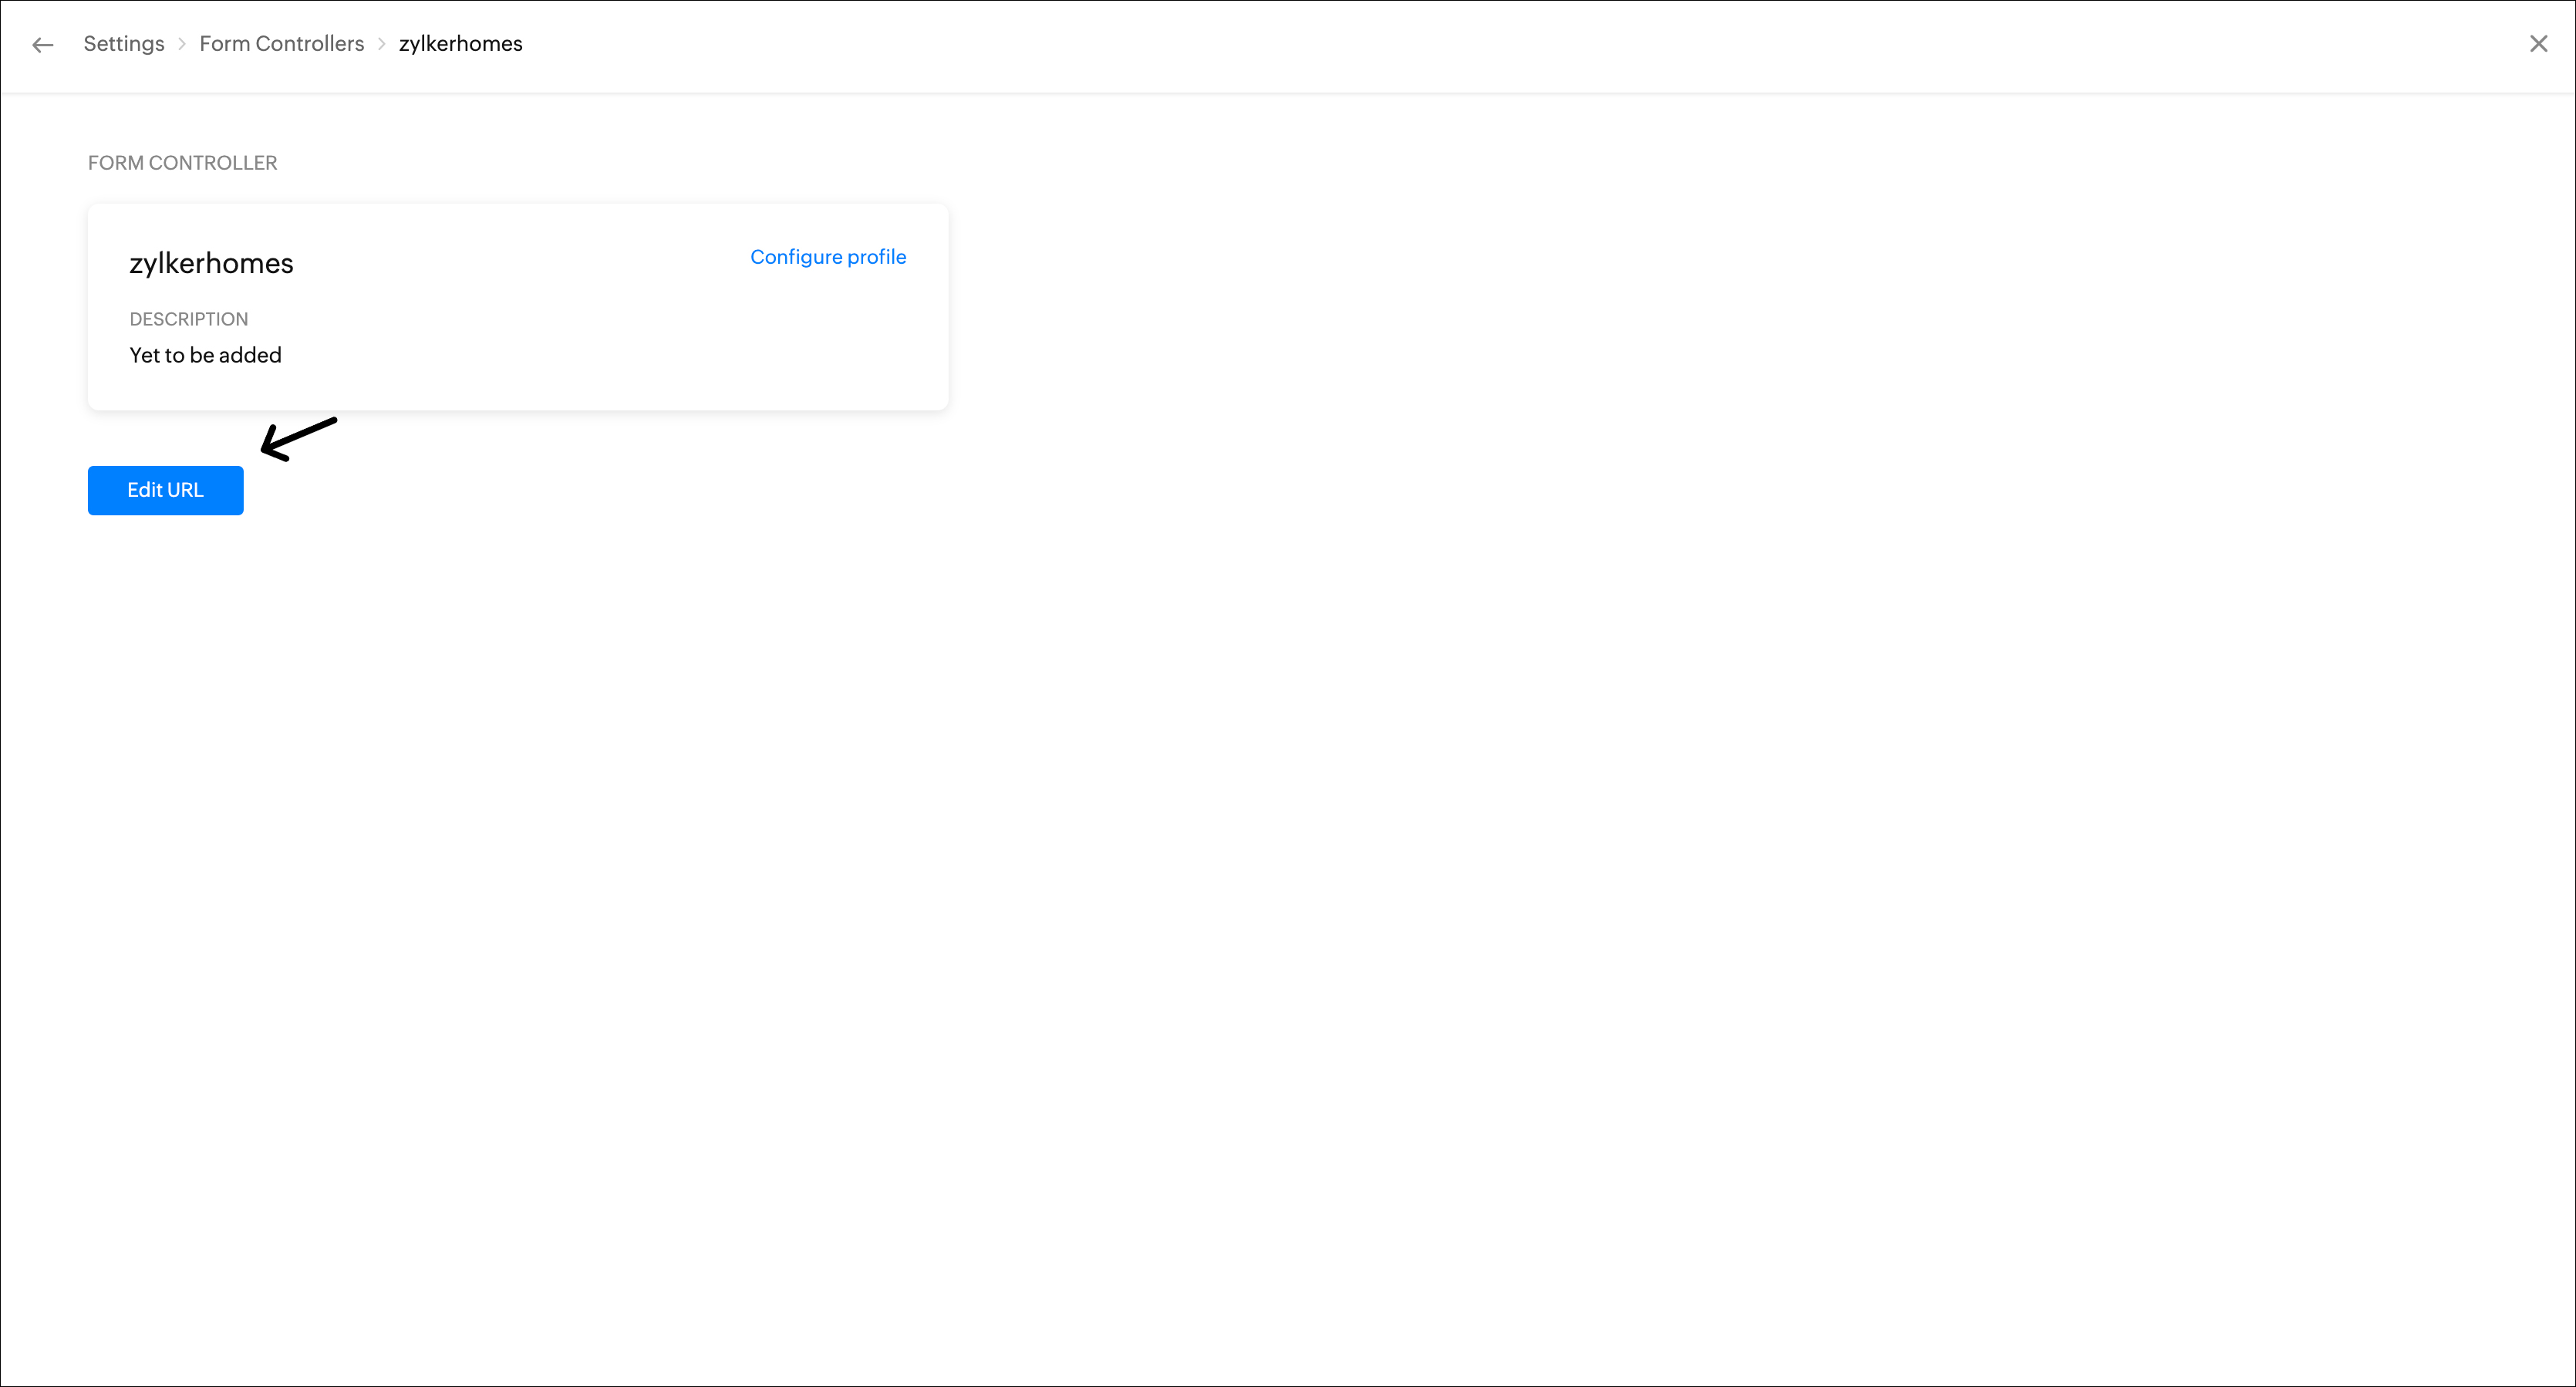
- Navigate to Settings > Form Controllers > Add and give a name for your form controller and choose the platform - Webhook.
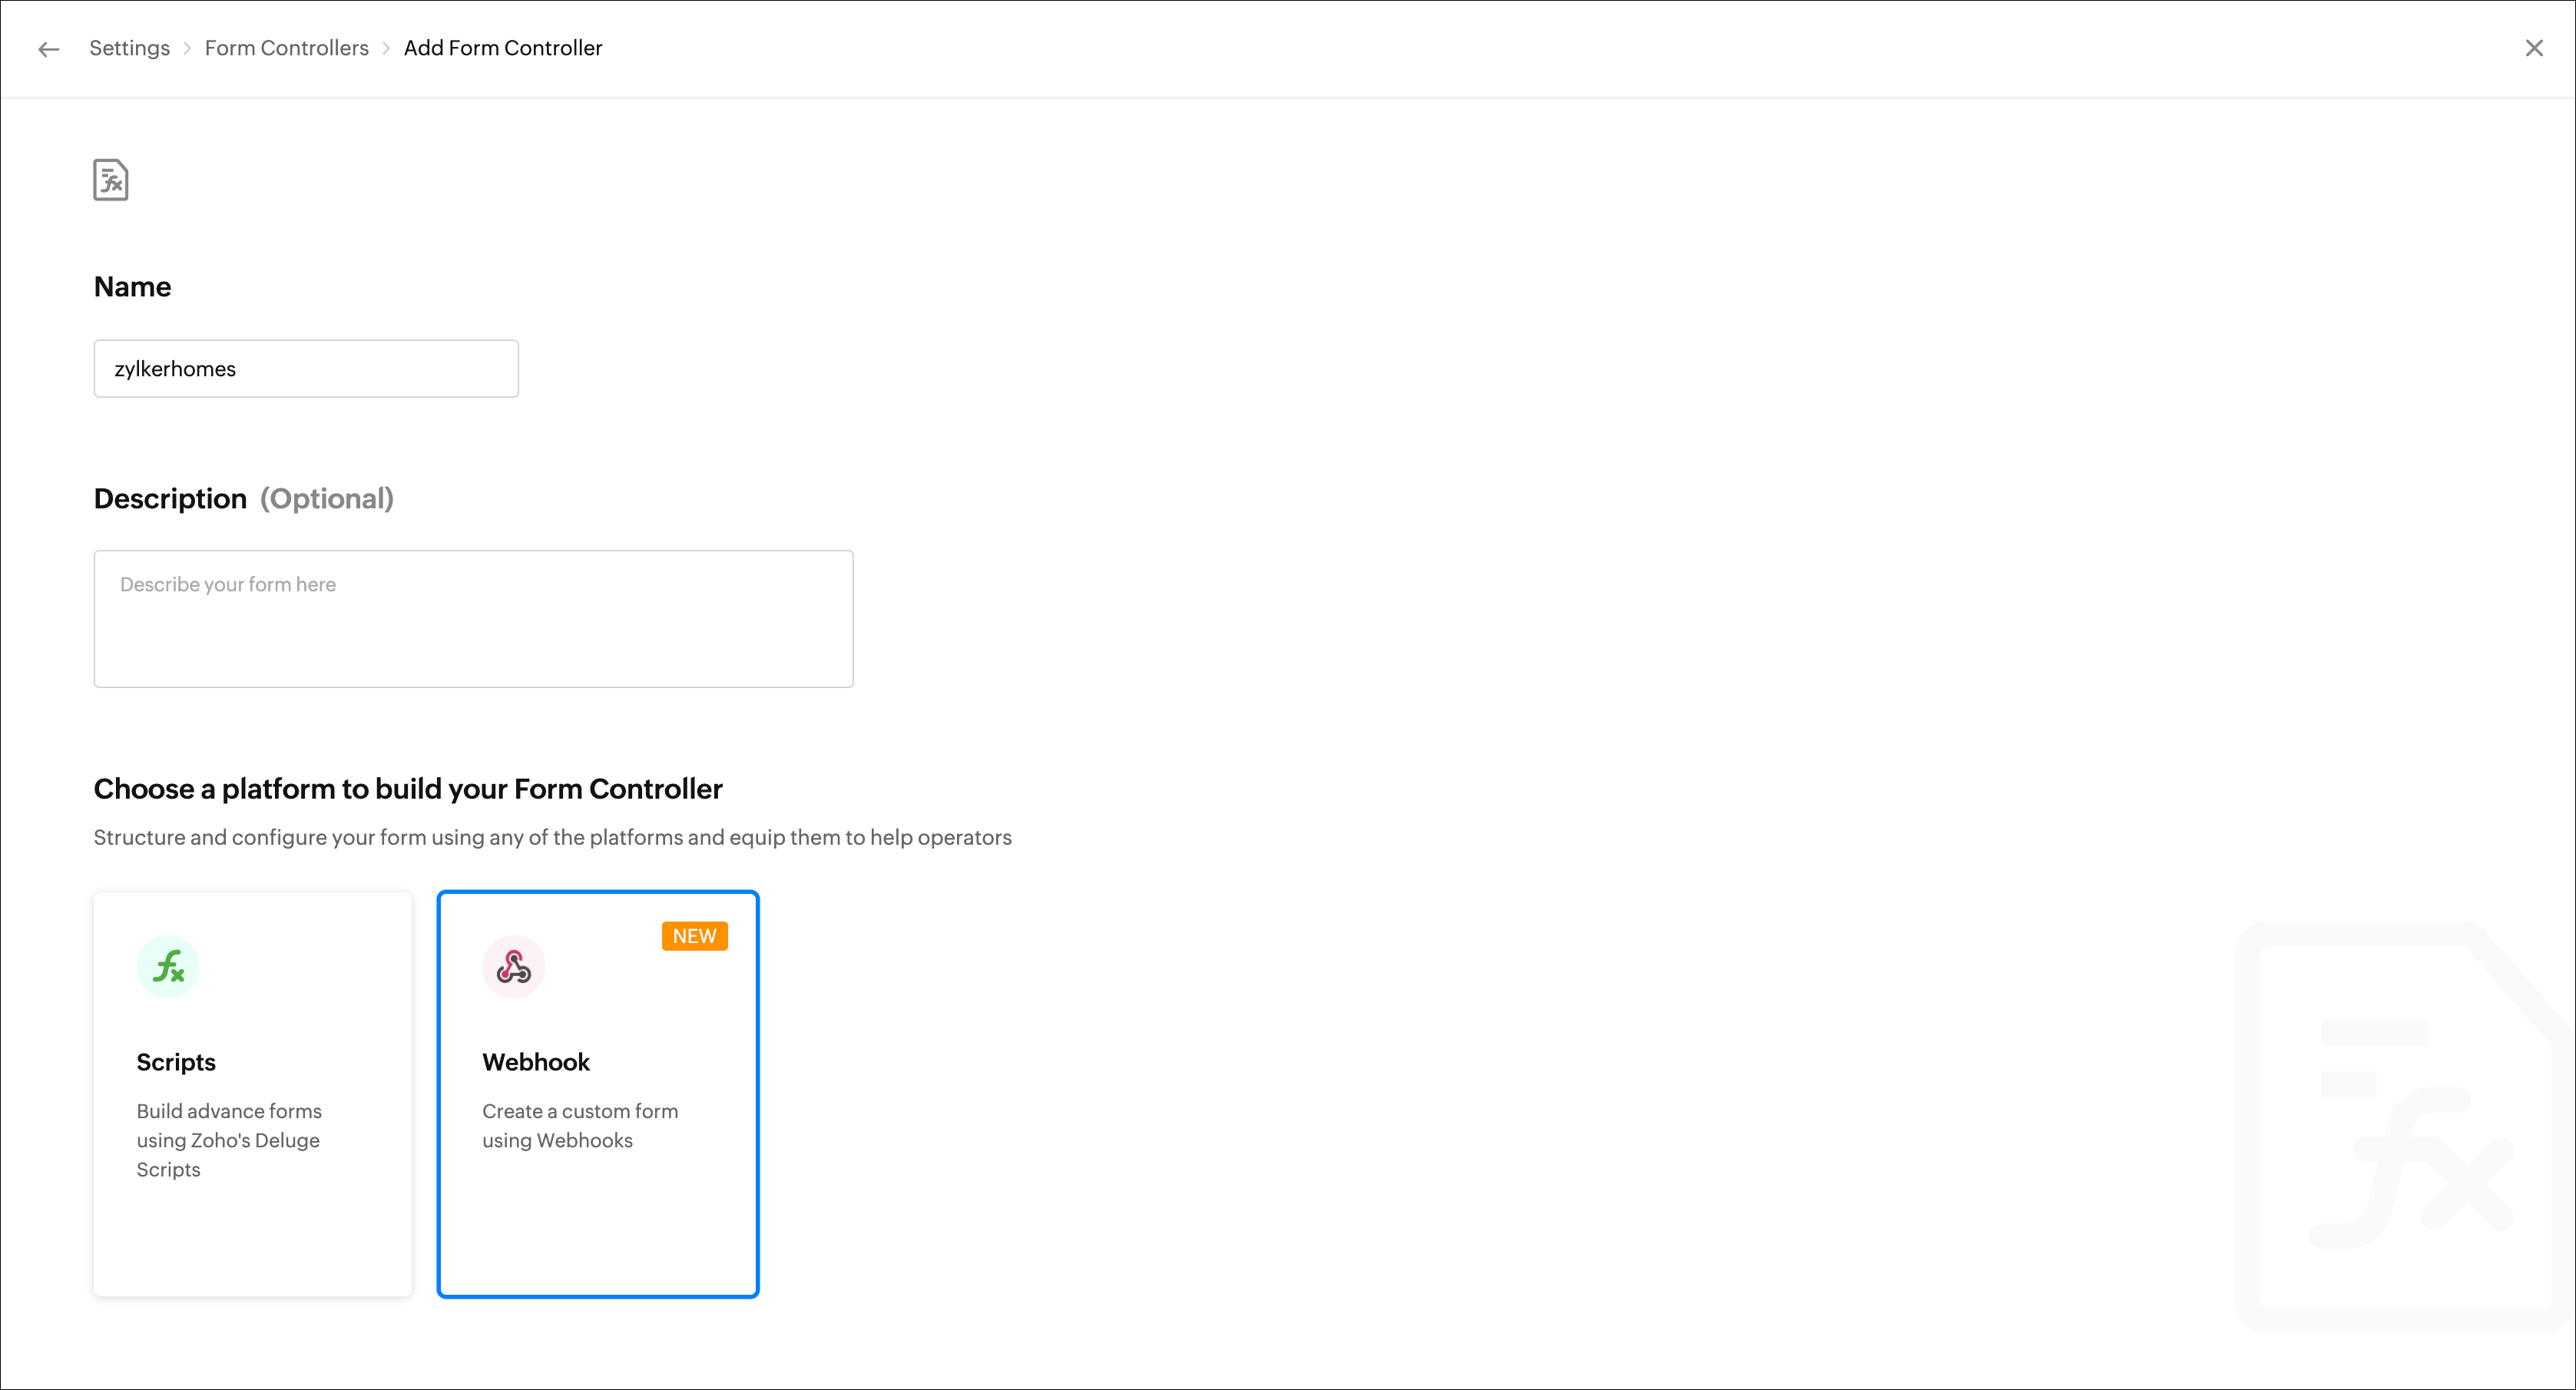
- Click Create Form Controller.
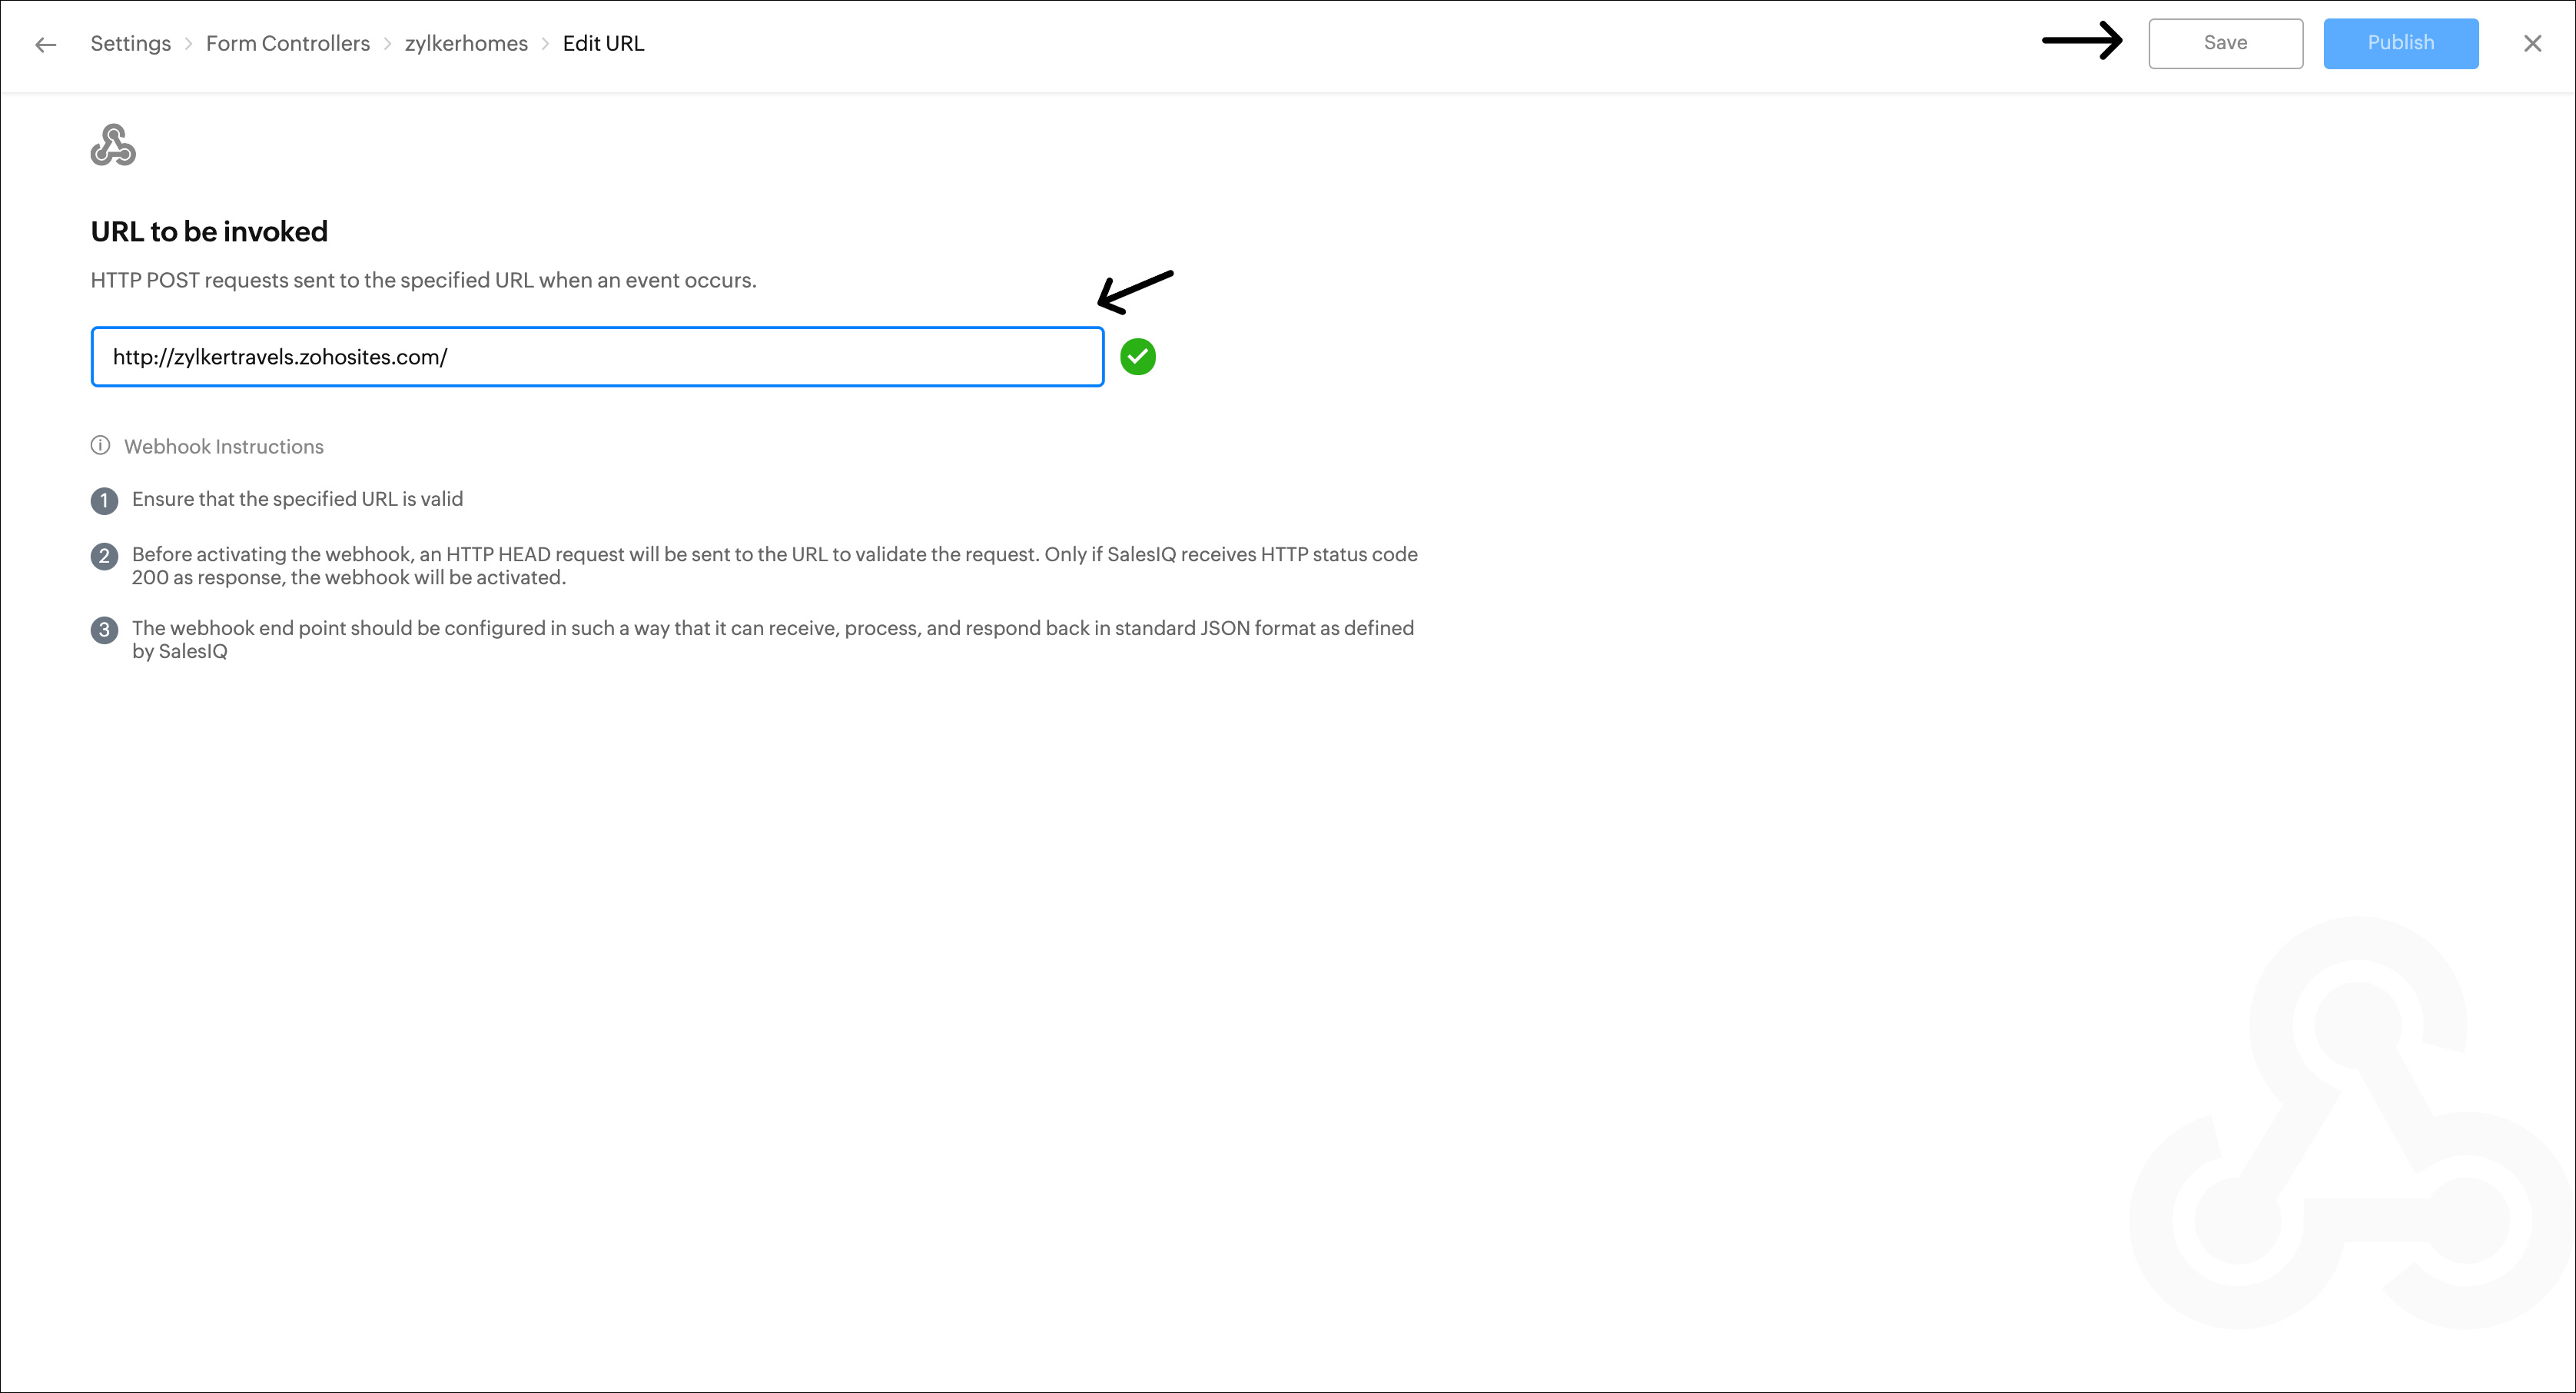
- The Webhooks configuration window appears. Provide the URL to be invoked for creating a connection.
Webhook Pre-requisites
- The "https" URL is recommended for security reasons.
- Our server can not connect with the URL with the port number.
- Make sure the URL can be accessed in public API clients such as Postman and Talend API Tester to be accessible in our server.
- Once the URL is provided, it will be pinged to get validated with the read time out of 5 seconds.
- If it is not reached within 5 seconds, an HTTP HEAD request gets triggered to the URL to check the status code 200.
- Ensure the webhook returns the response within 5 seconds. If not, the bot will not work.
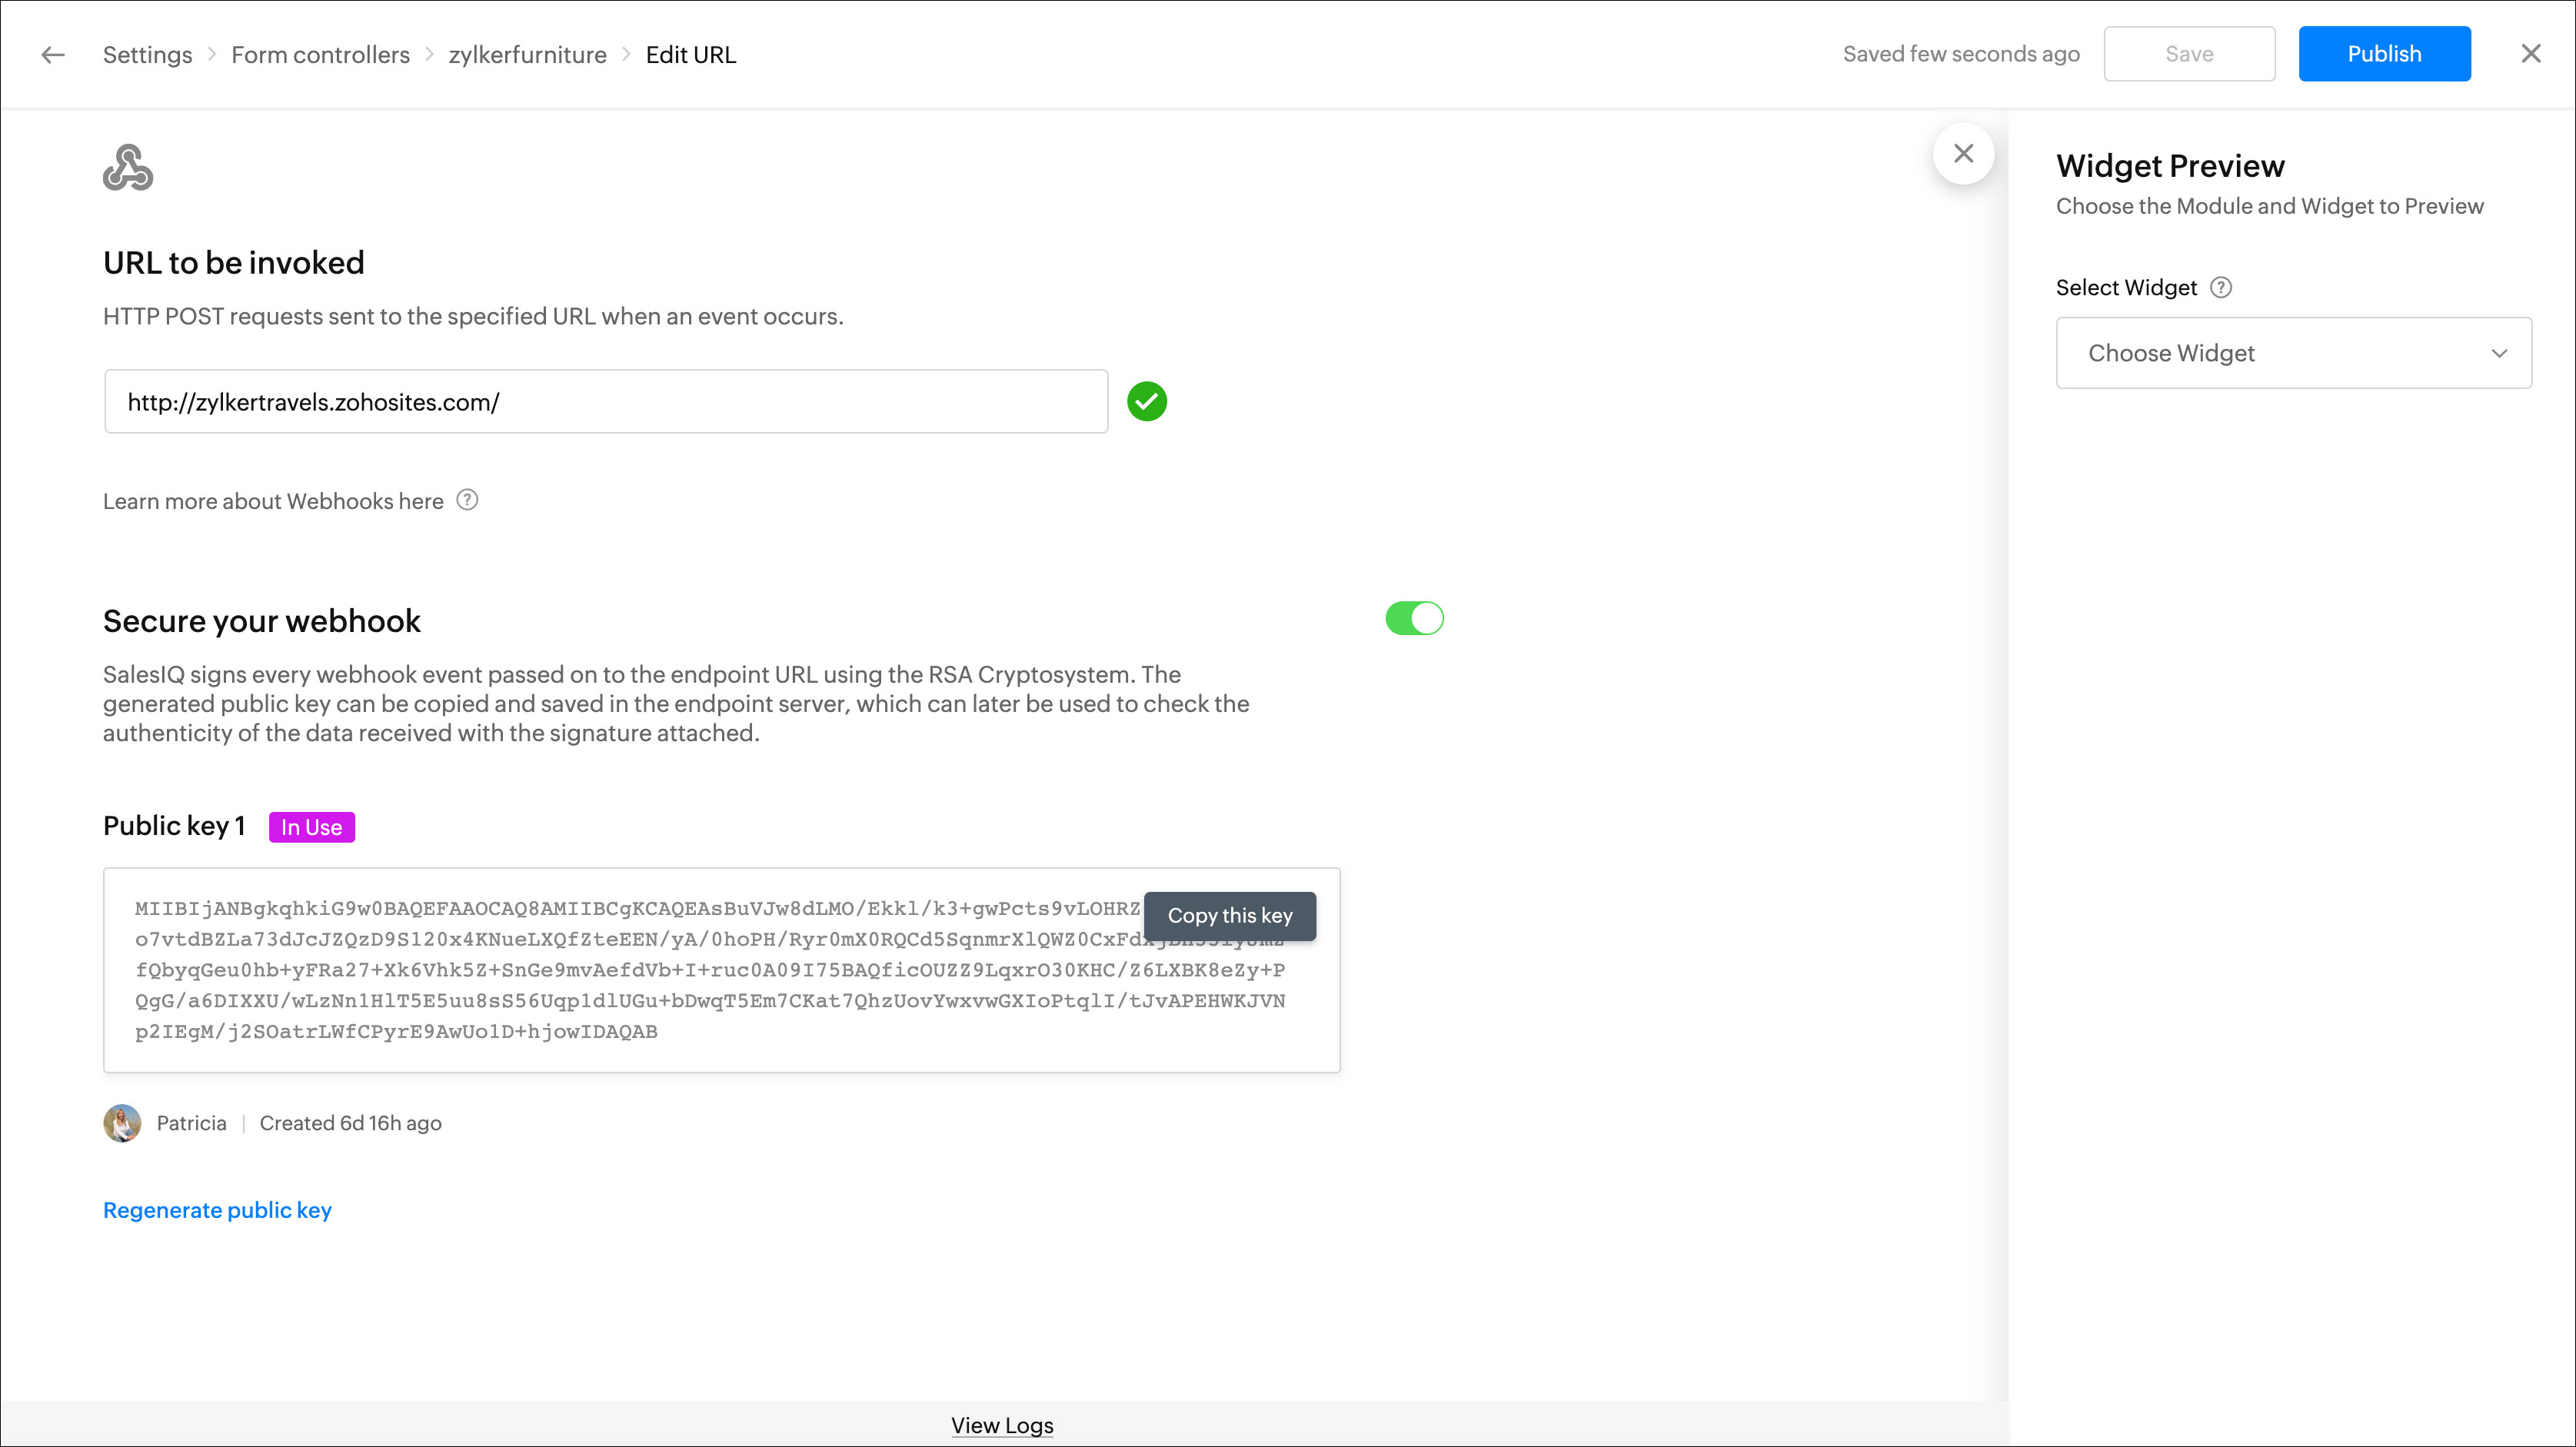
- Furthermore, generate a public key to secure your webhook.
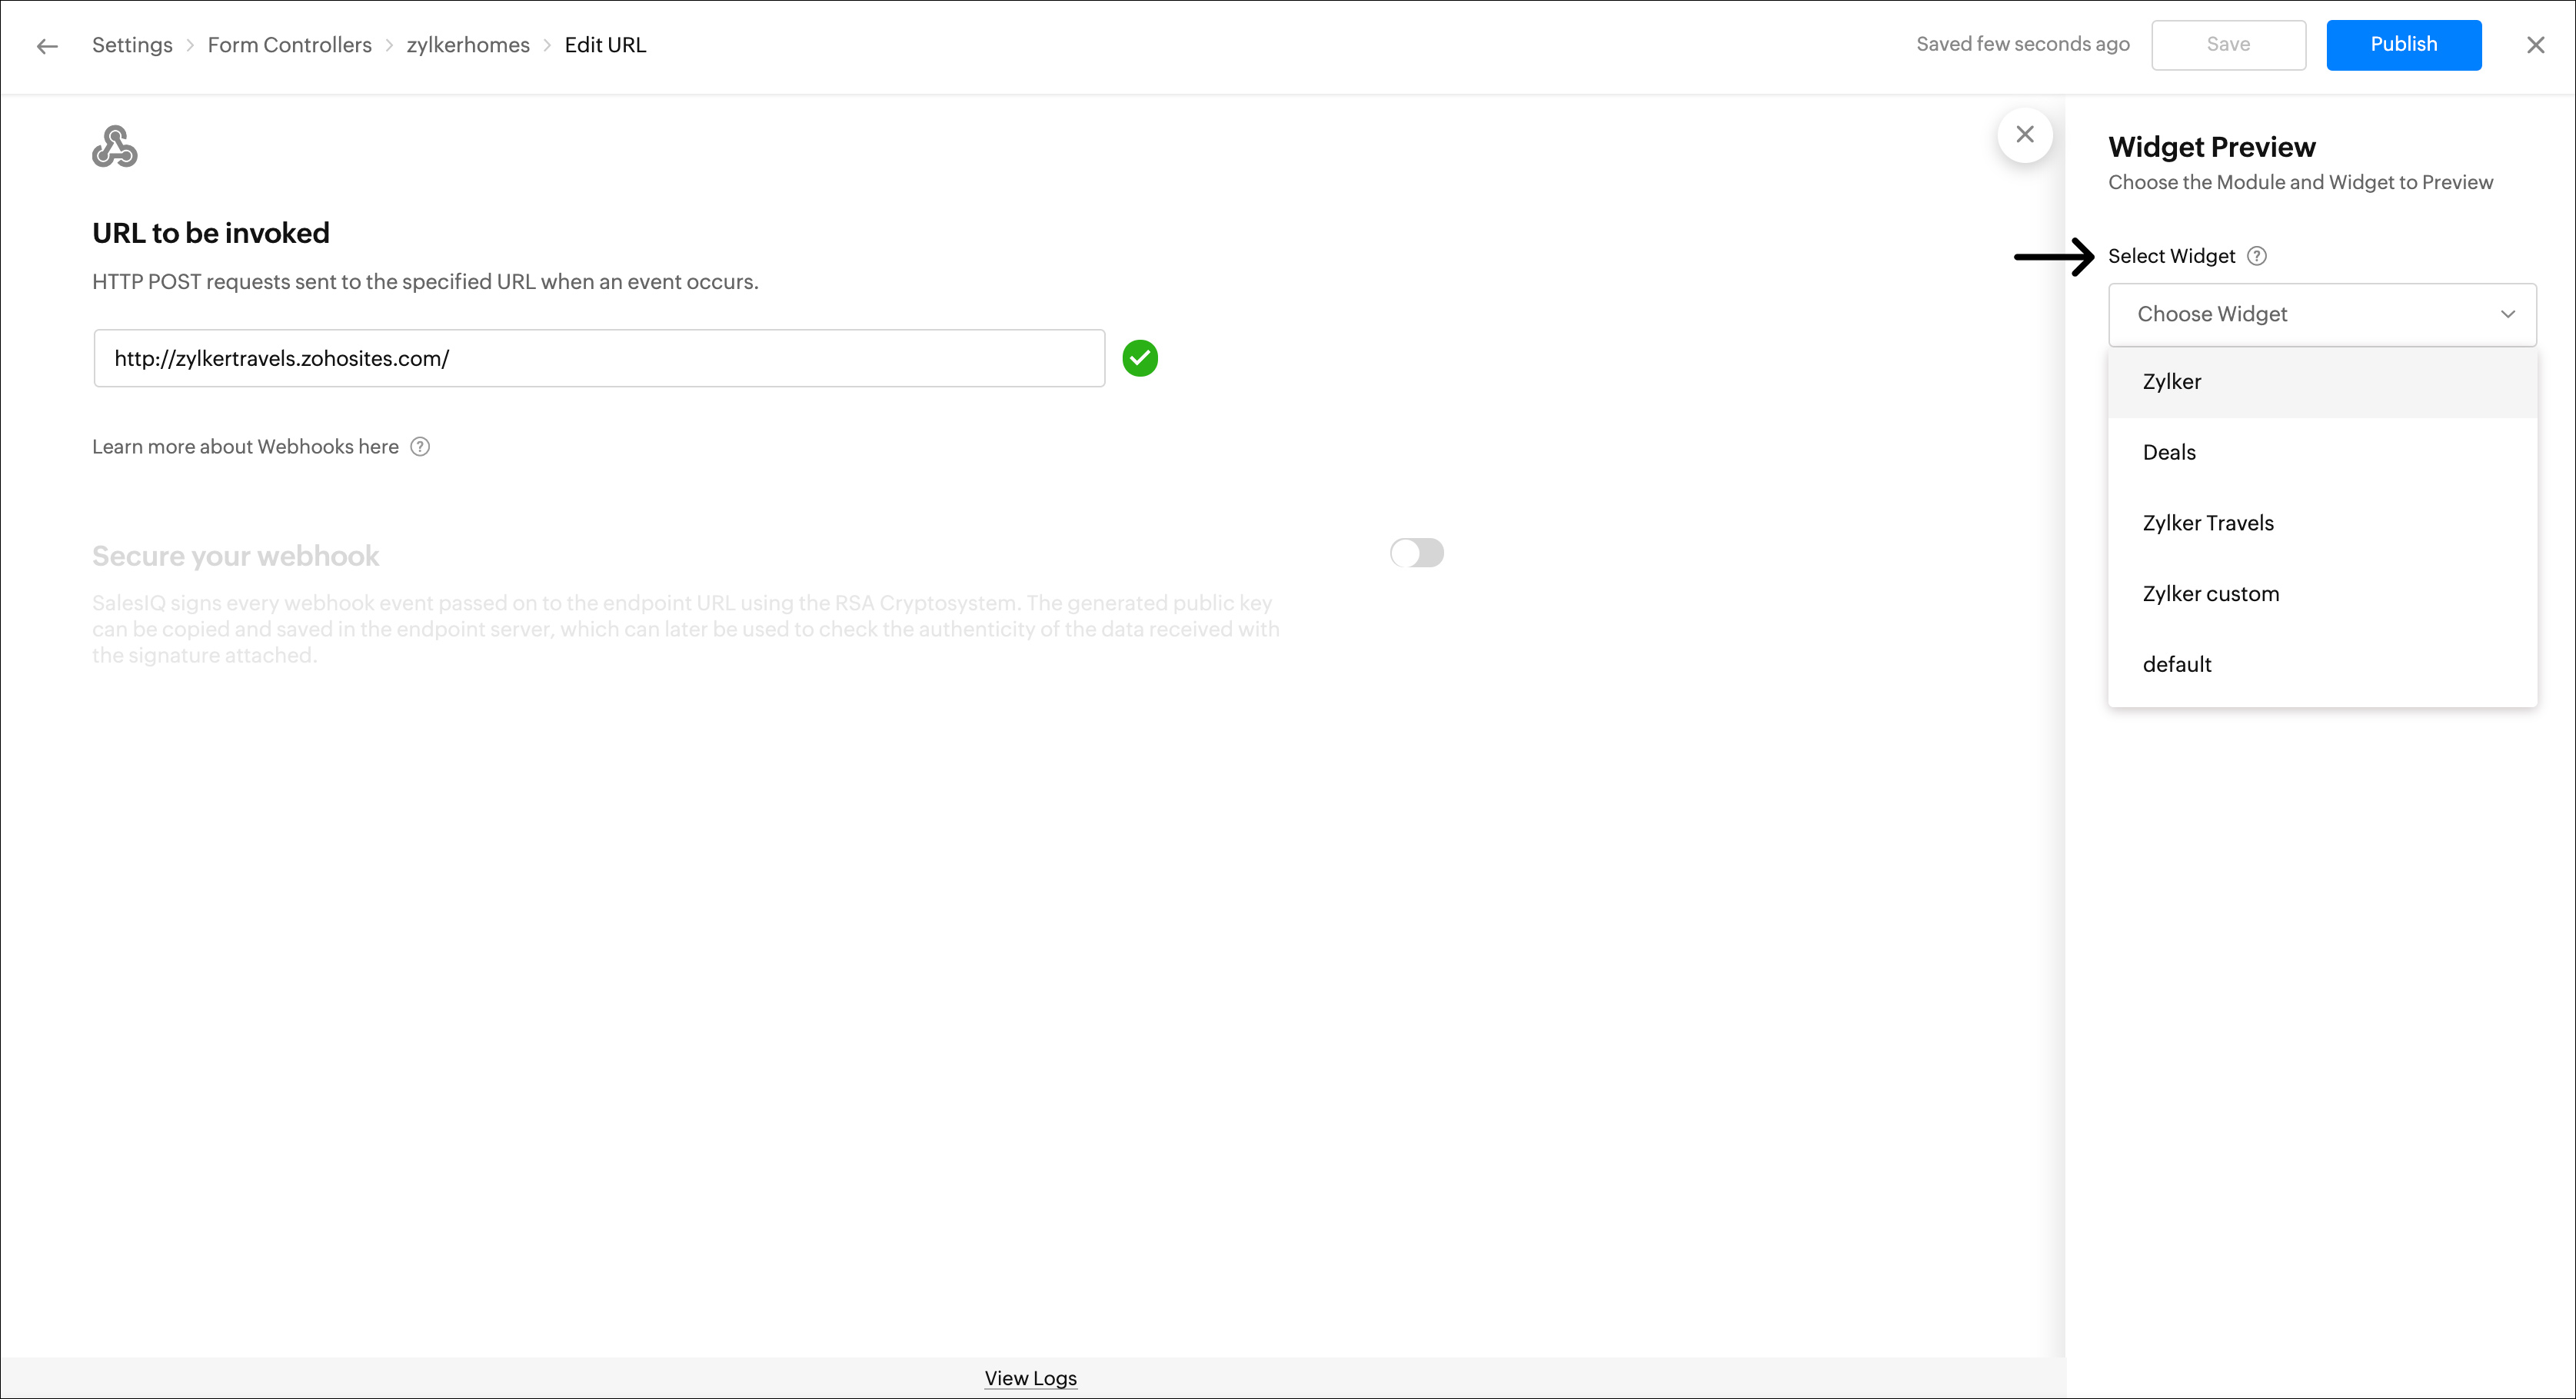
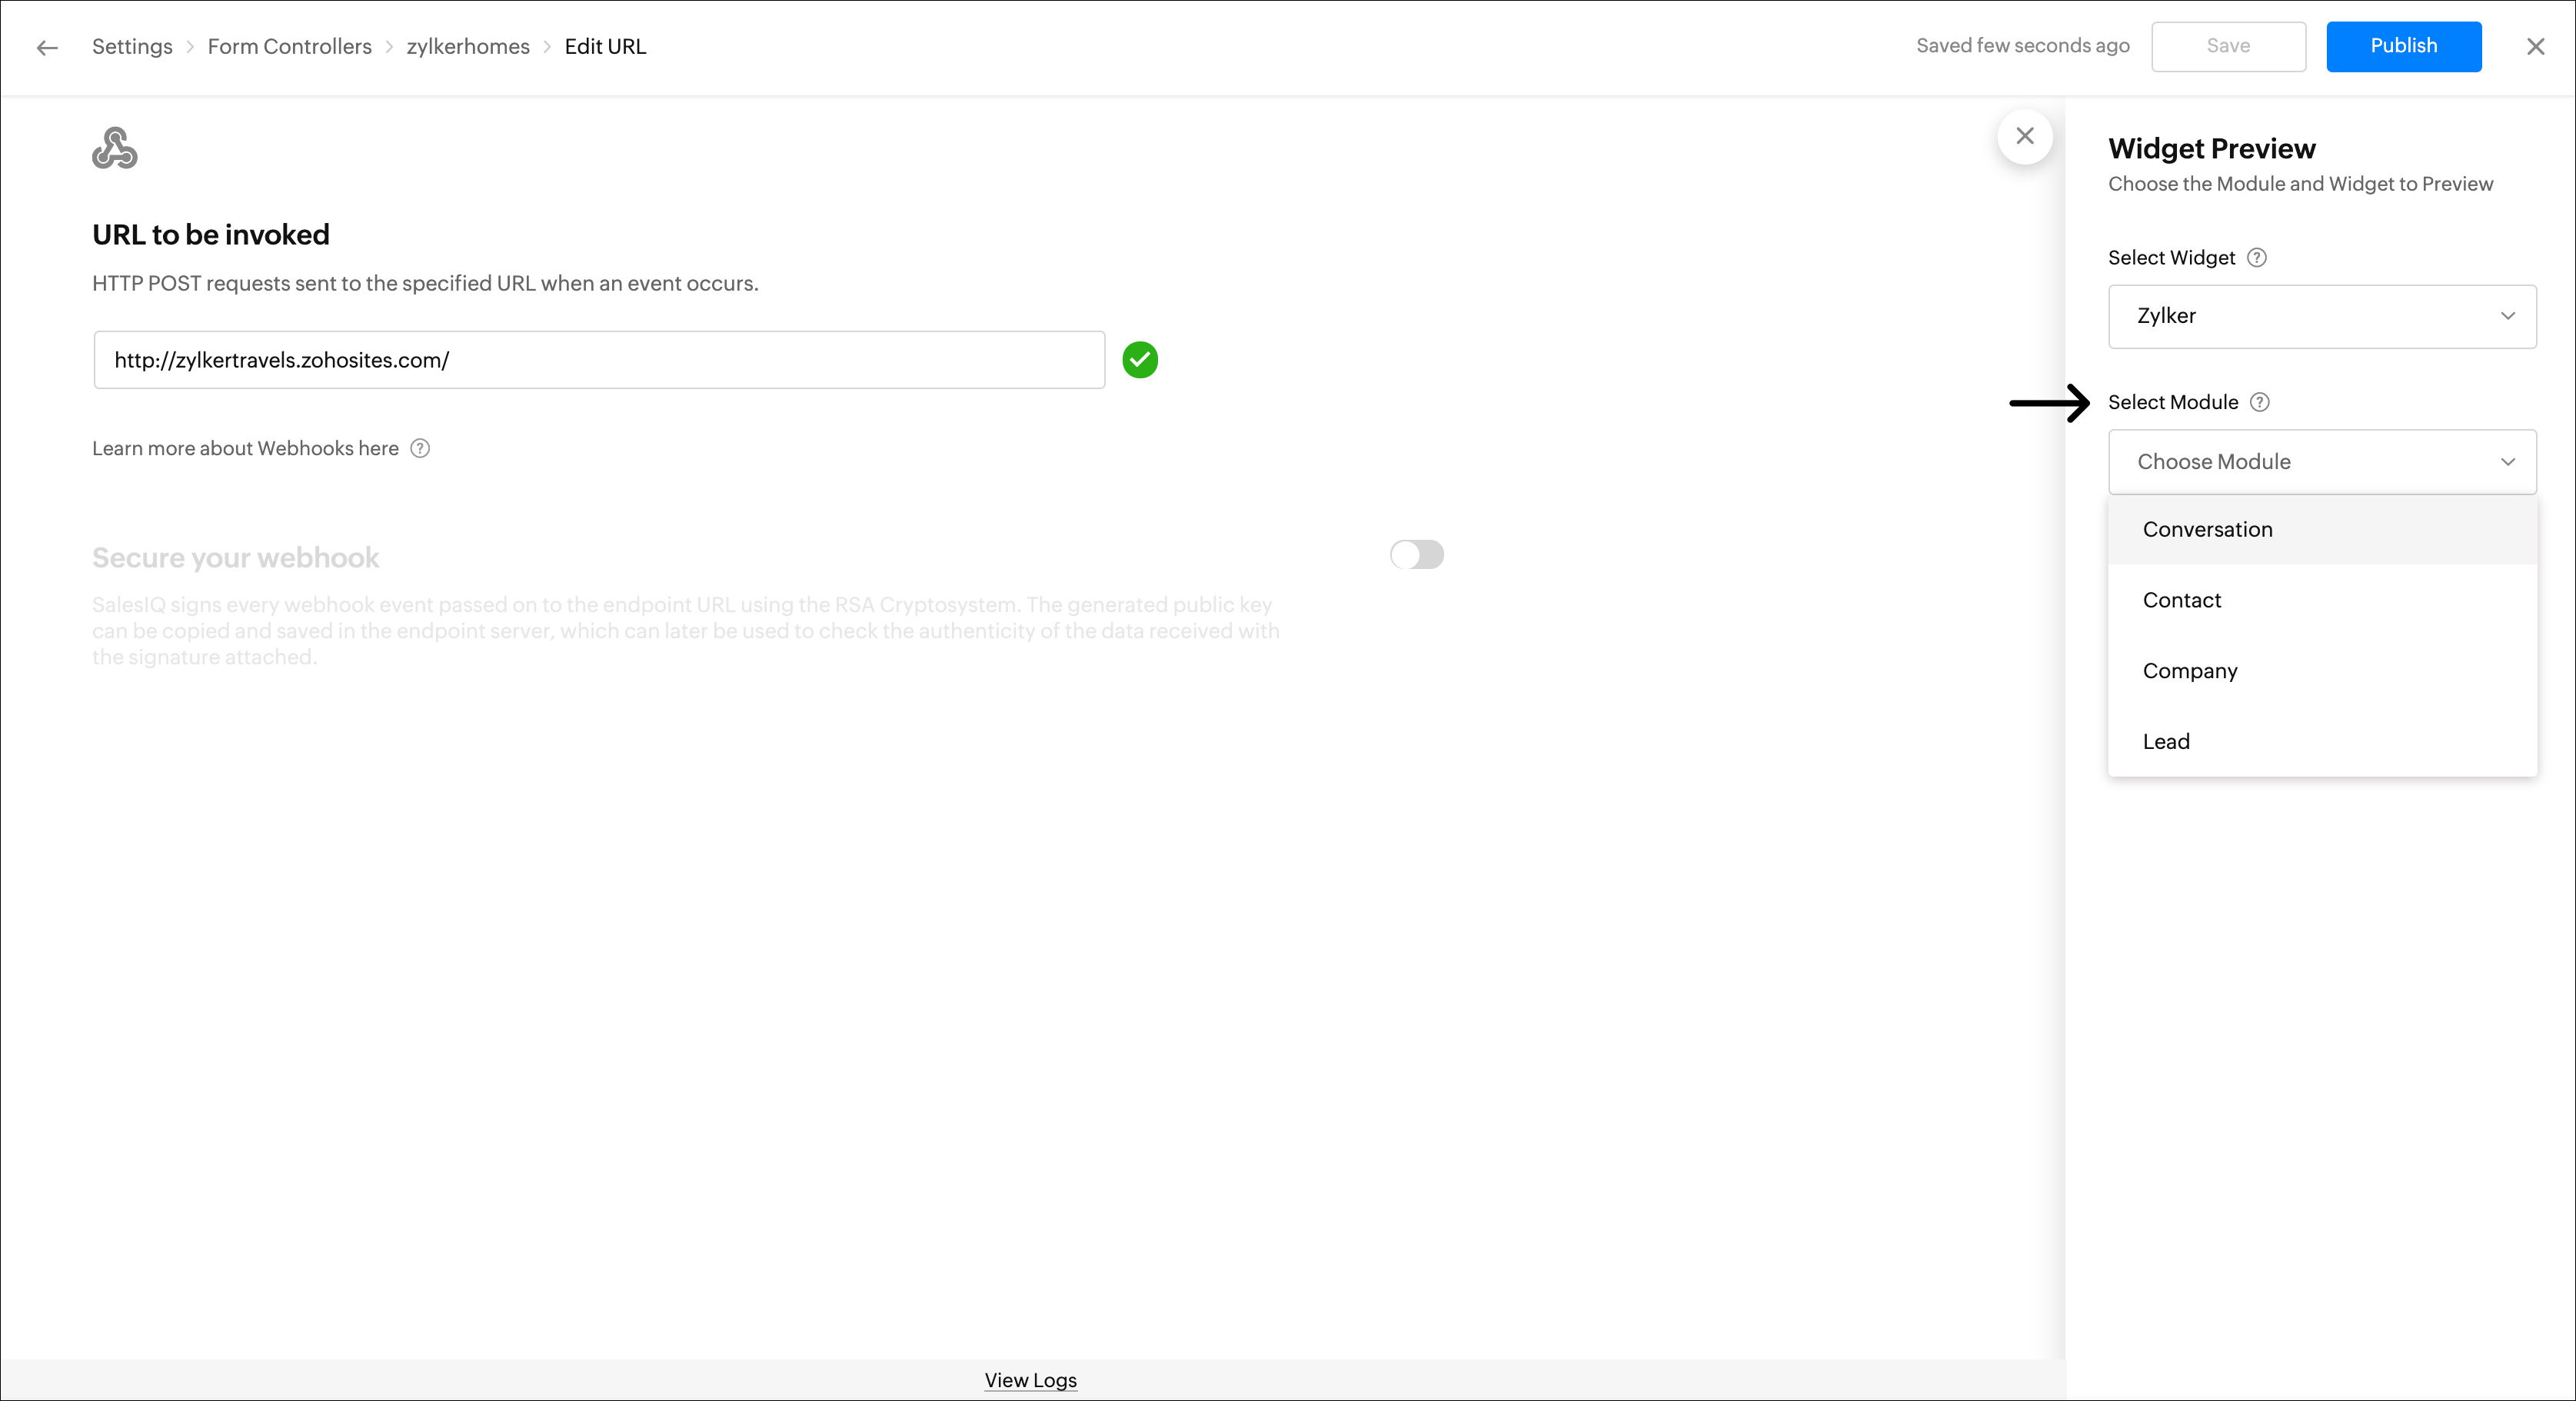
- Once you click Save, the Widget Preview window opens. Here, select a widget in which this form controller has been used.
- Then, select a module.
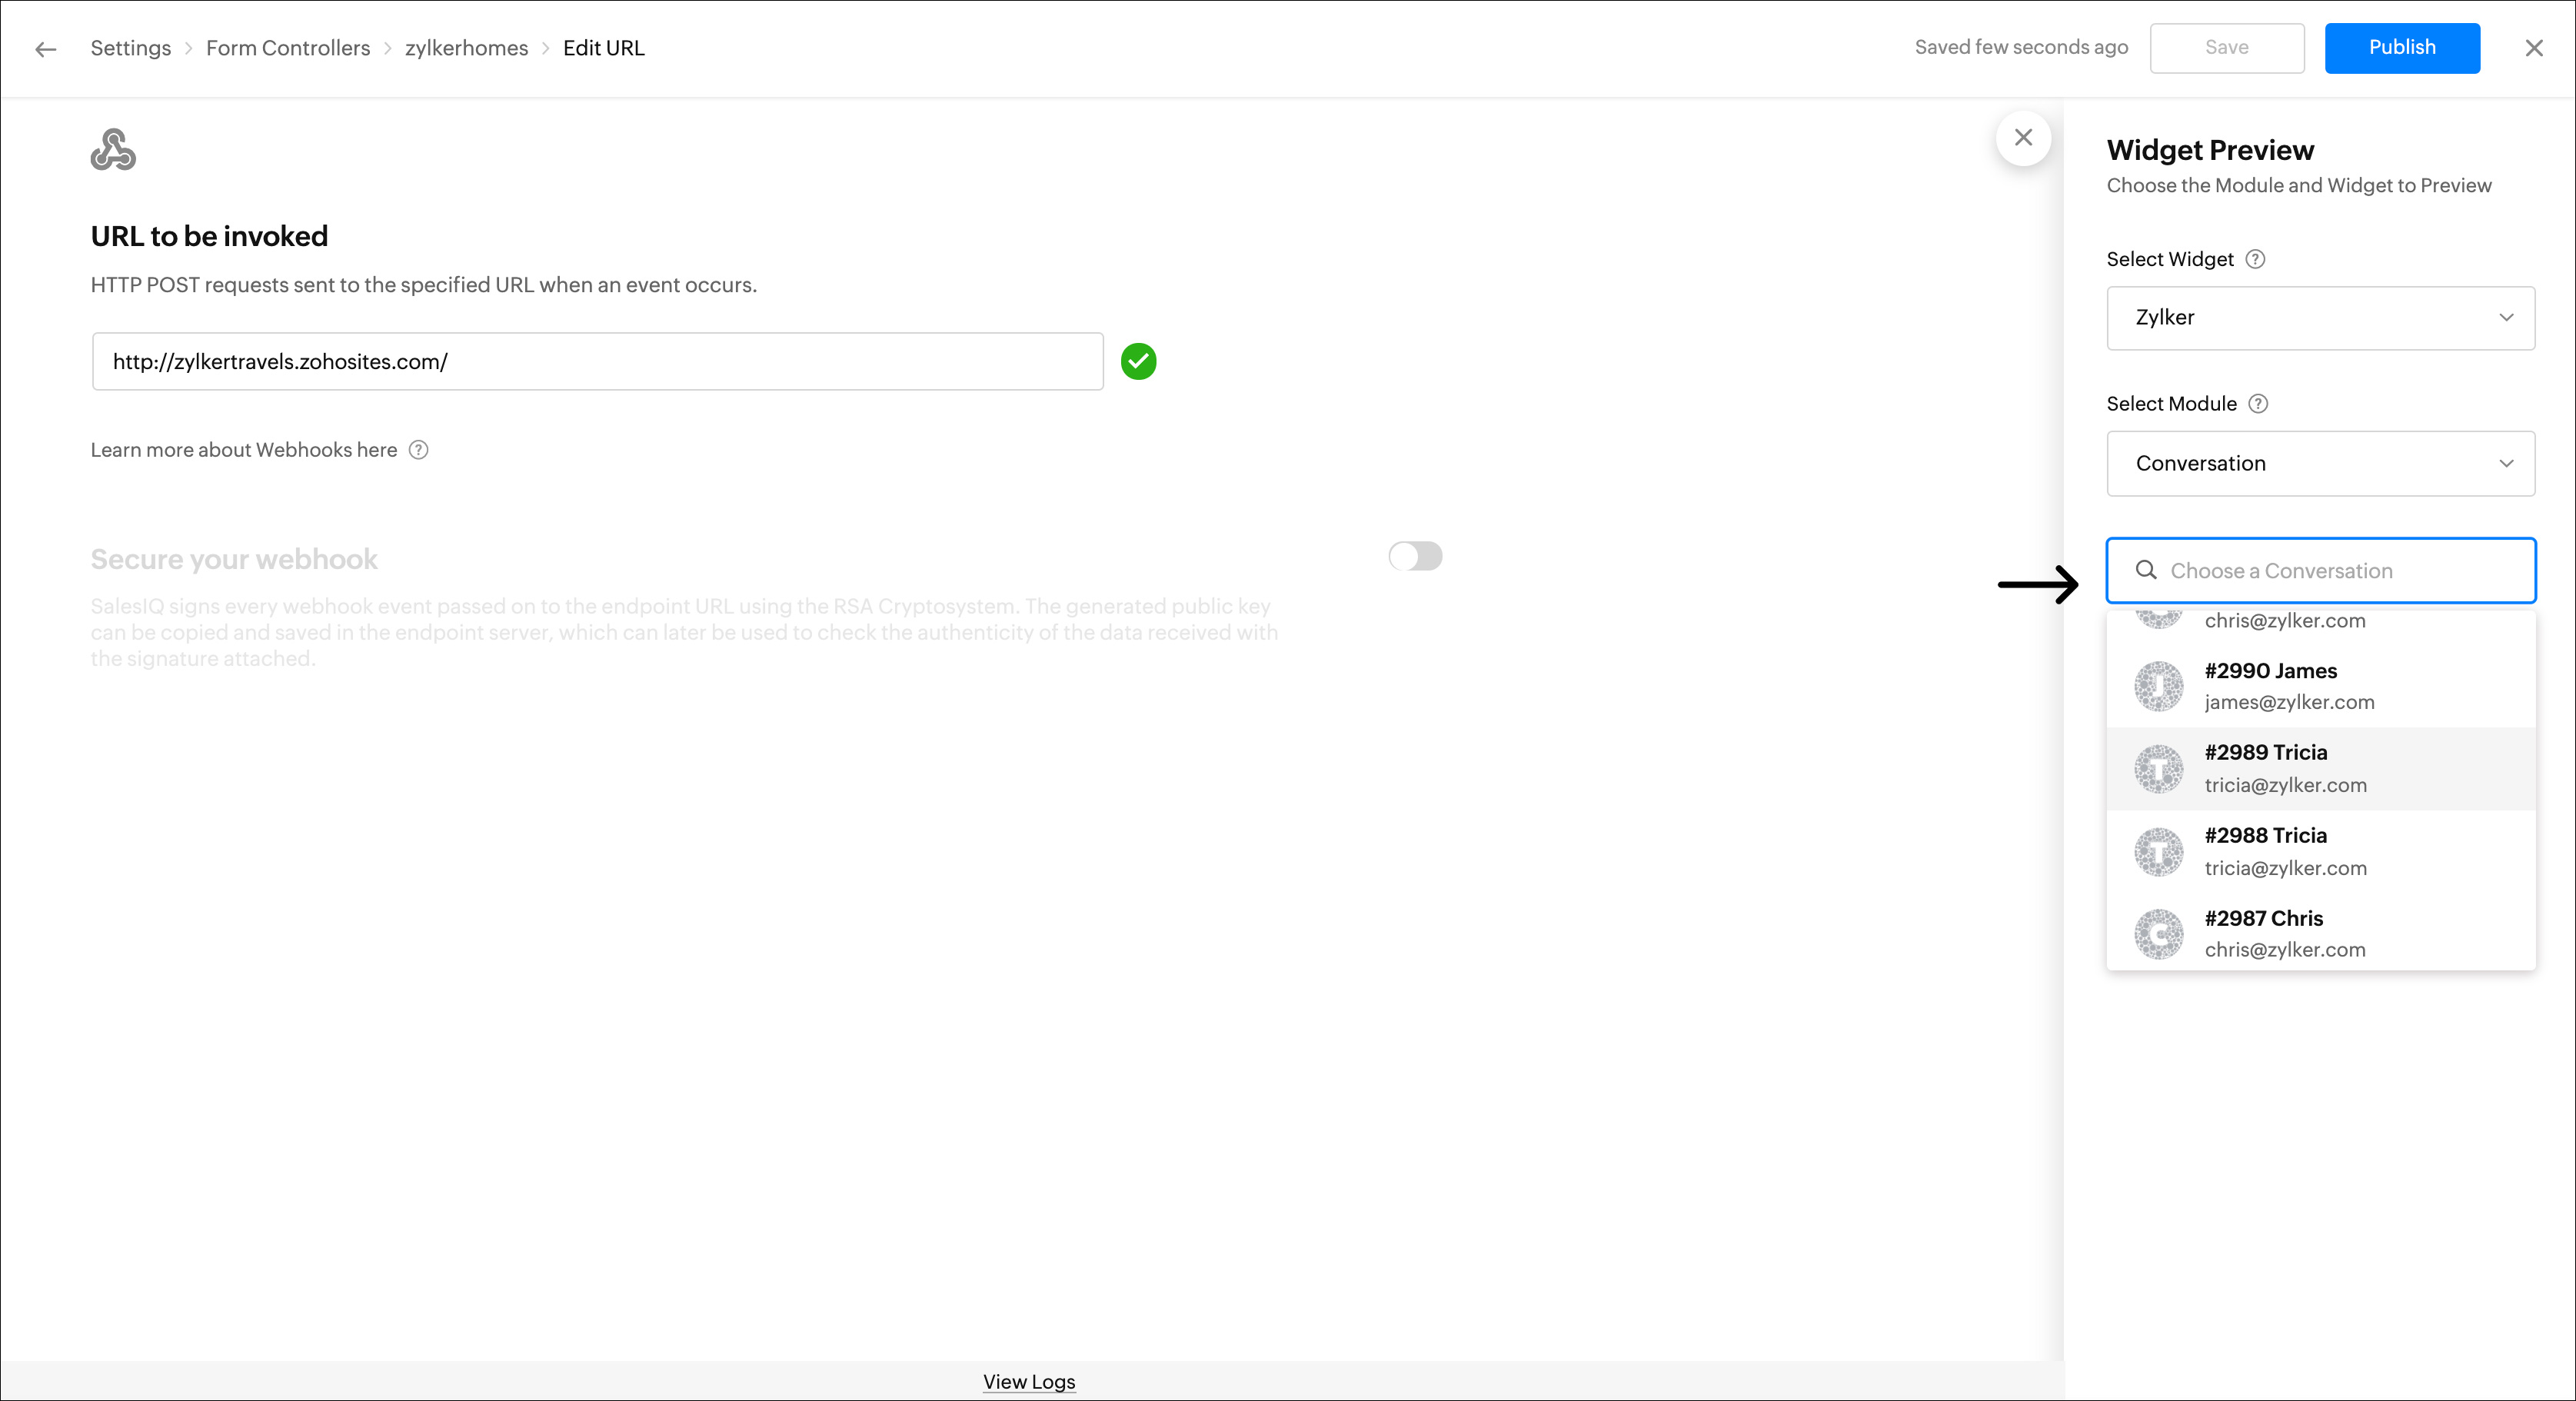
- Then, choose a conversation.
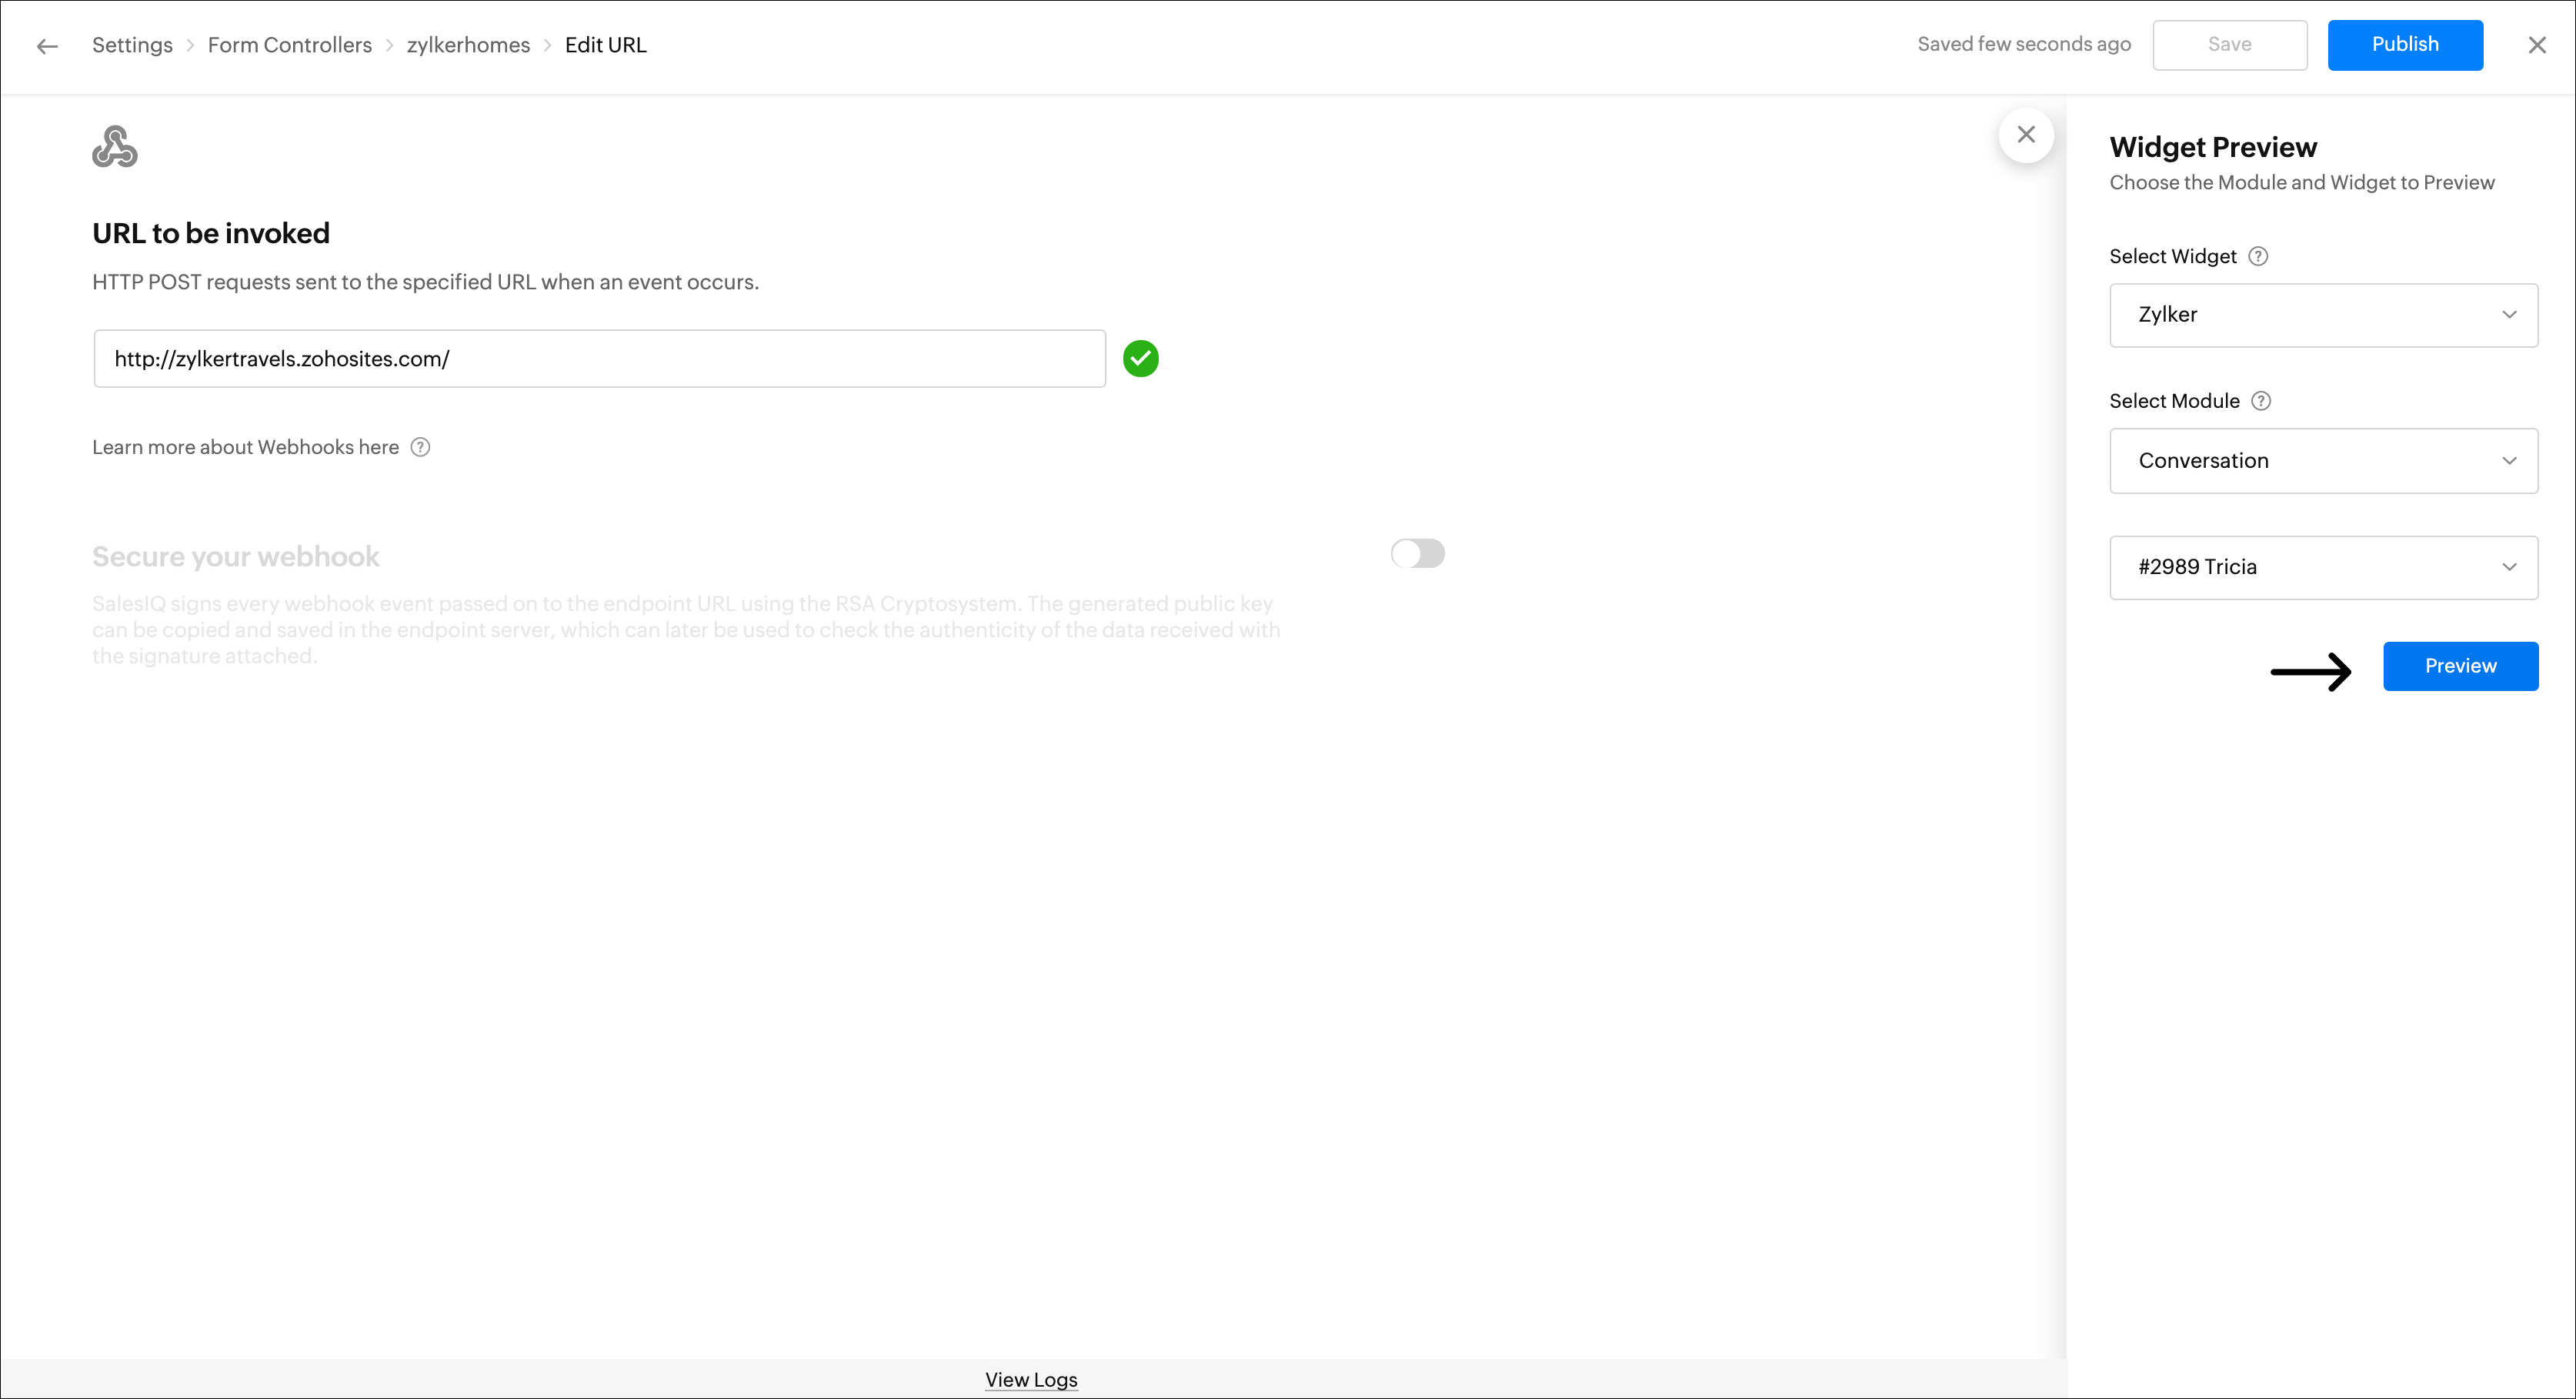
- Click Preview.
- You can preview your widget before you publish it in the Widget Preview window.
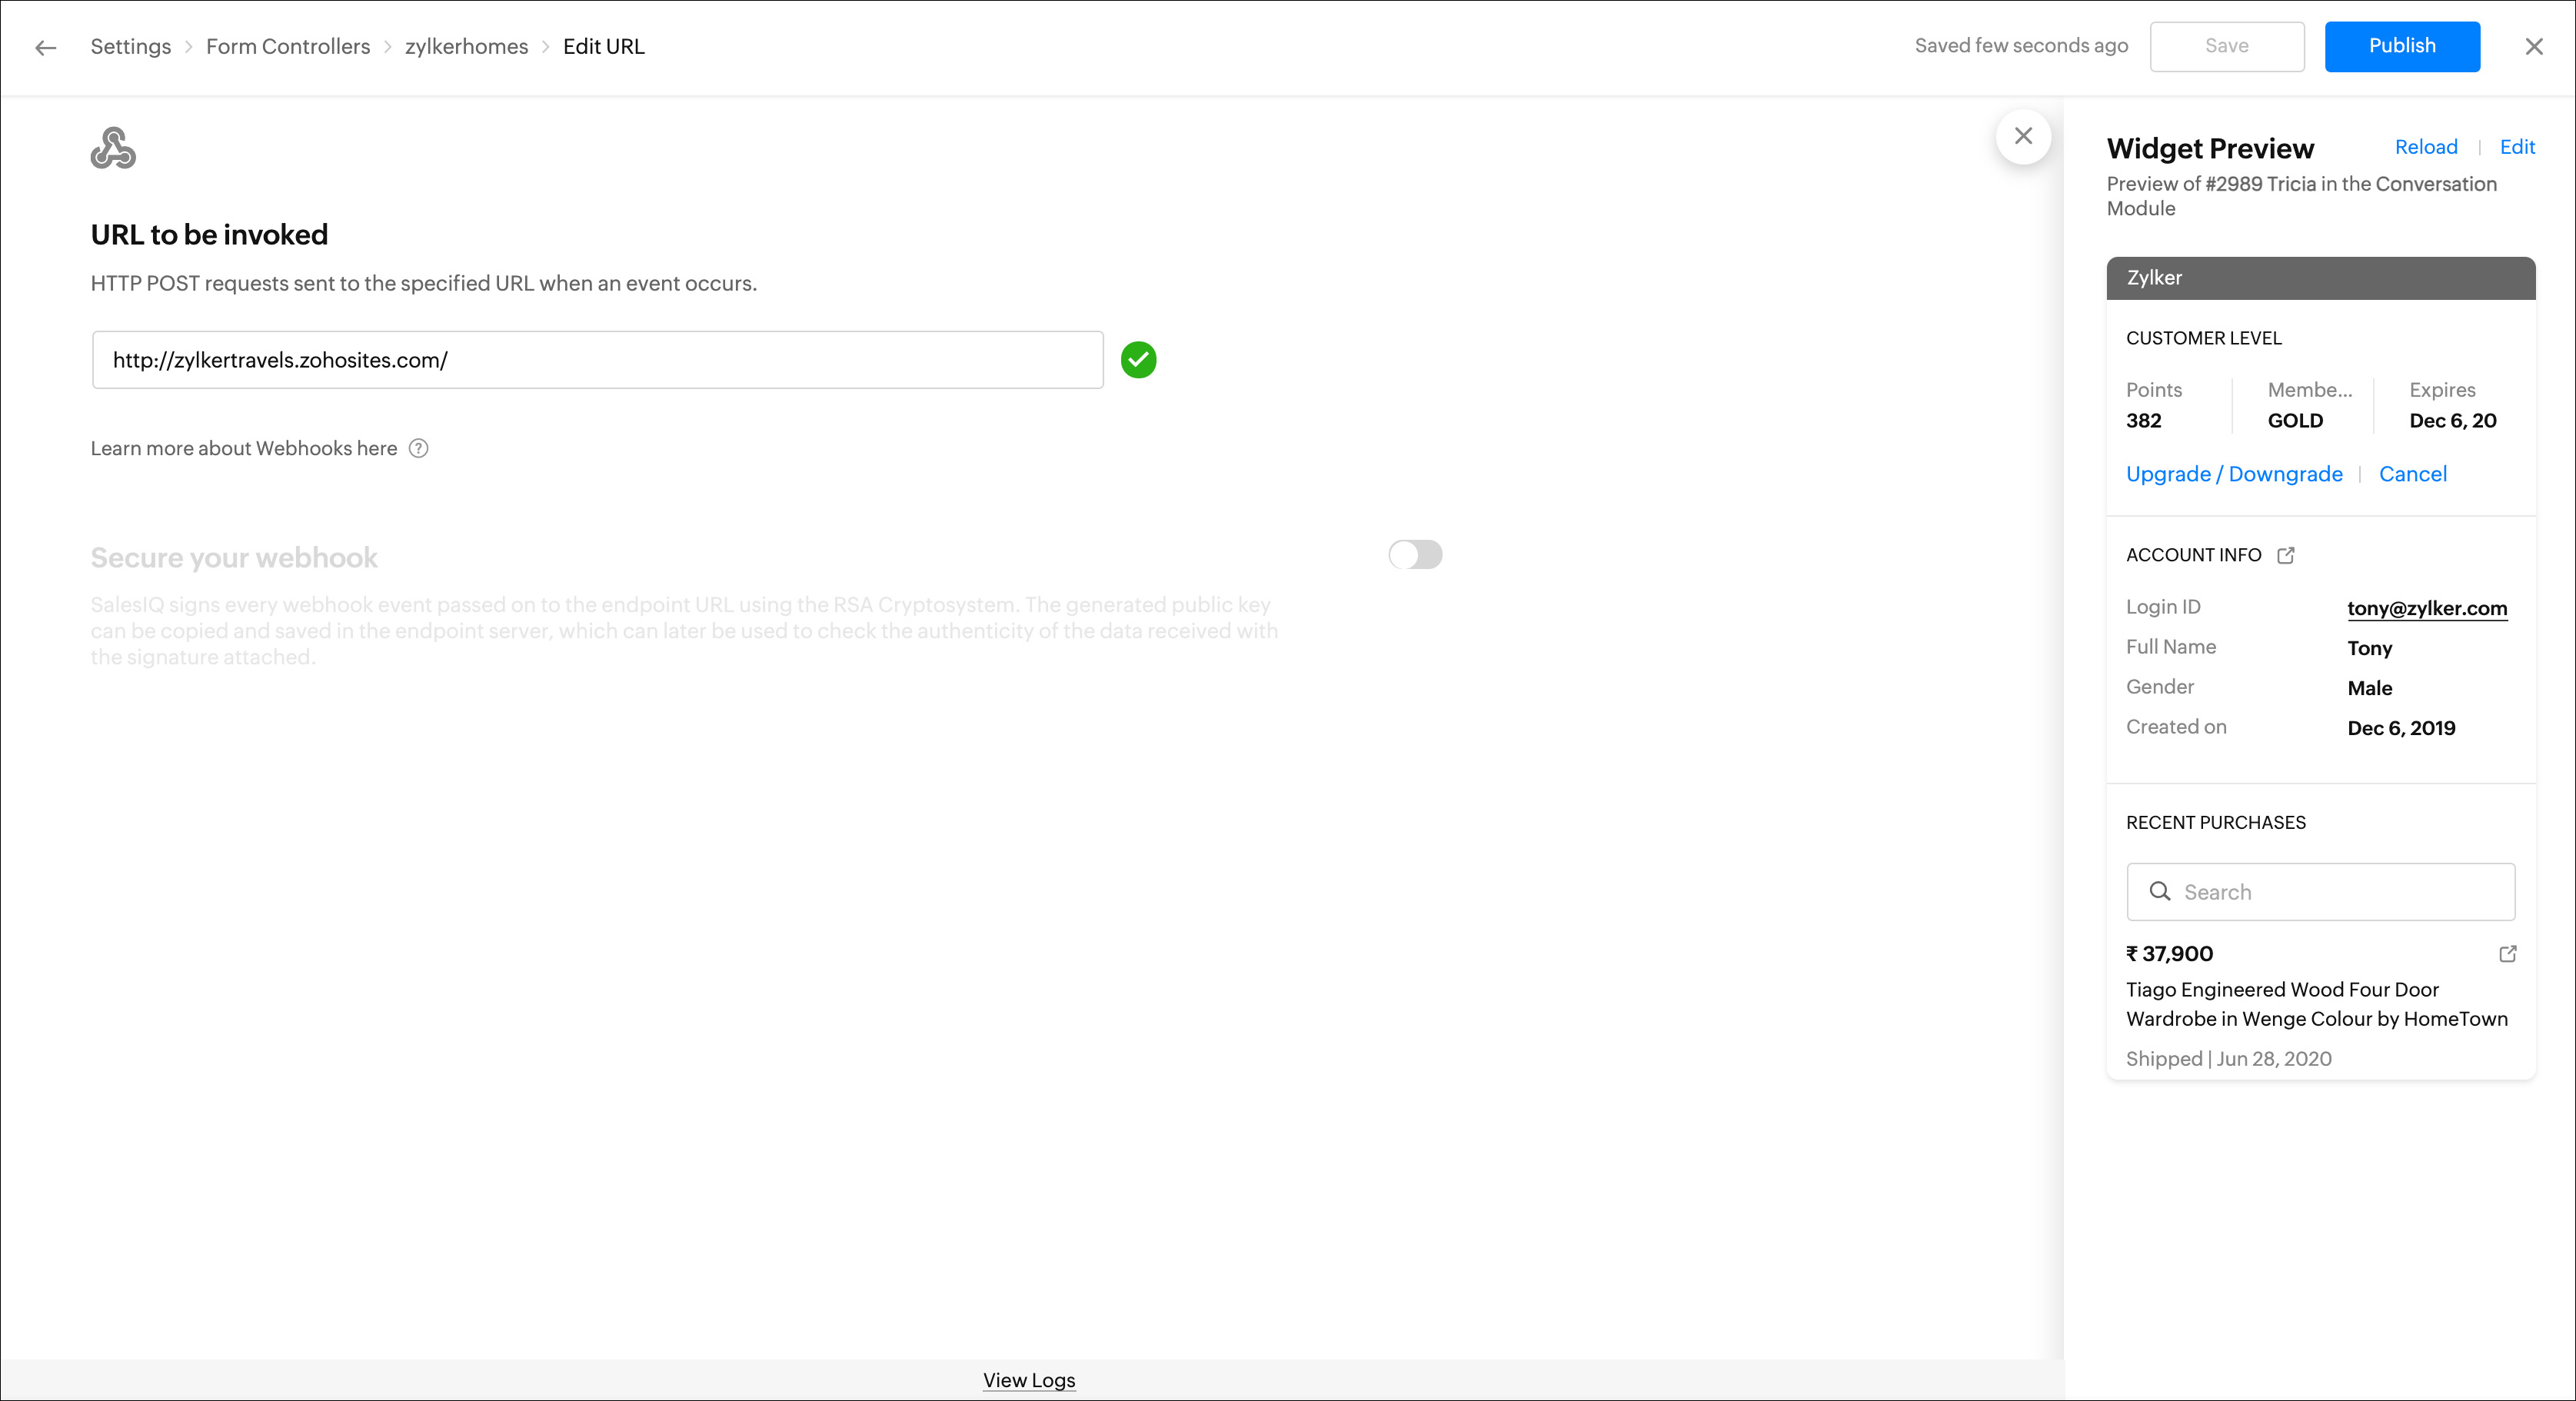
- Once you are done, click Publish.
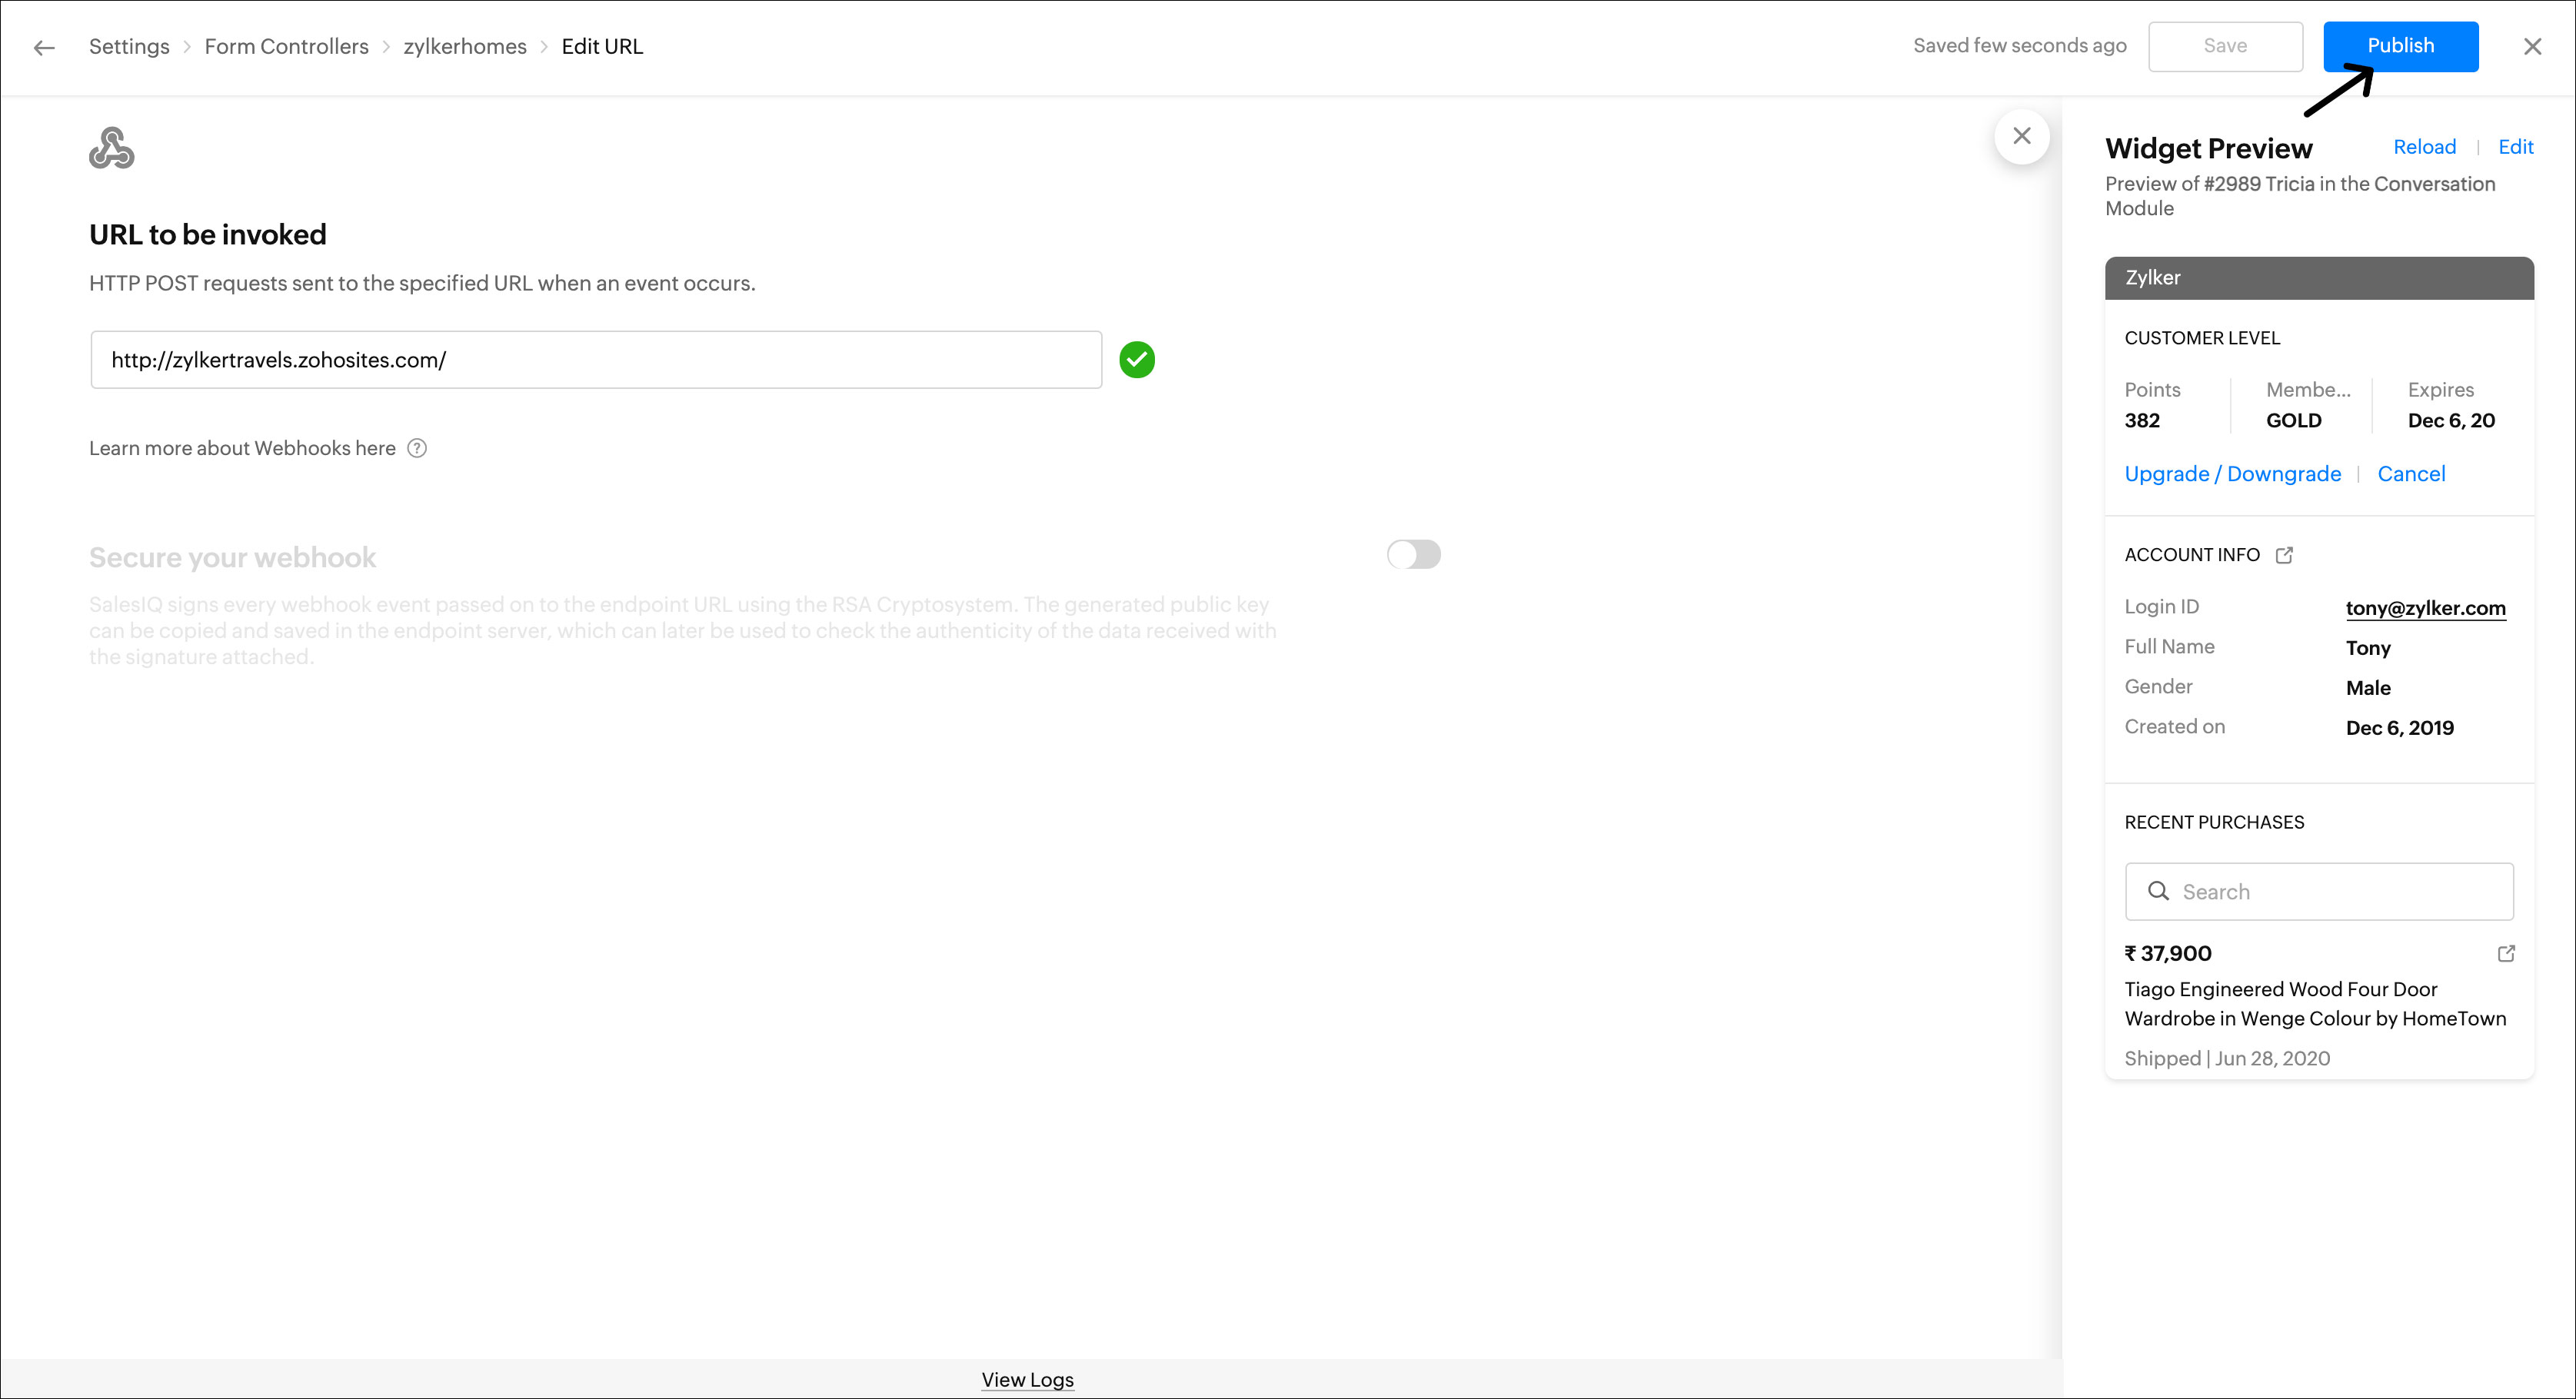
- You can also edit the URL if required.
- You can enable the Secure your webhook option to verify the data with a key pair validation. That is, if this option is enabled then while executing the Webhook we will create a signature for the payload data with the private key. The signature will be sent to the webhook server in the header name "x-siqsignature". The Webhook server should get the signature from the 'x-siqsignature' header, and verify it with the payload data received in their end and the public key using the same RSA Cryptosystem. If the verification fails, they can ensure that the data is tampered or not sent from SalesIQ.
- SalesIQ signs every webhook event passed on to the endpoint URL using RSA Cryptosystem. The generated Public key can be copied and saved in the endpoint server, which can later be used to check the authenticity of the data received with the signature attached. We will generate a public and a private key pair.
- Public Key: We display the public key in the UI, and the private key is hidden. The webhook server will store the public key. The public and the private keys are used for the security and verification purposes. This process ensures two layer security, they are:
- To ensure that the data is sent from the SalesIQ Server
- The data sent is not tampered.
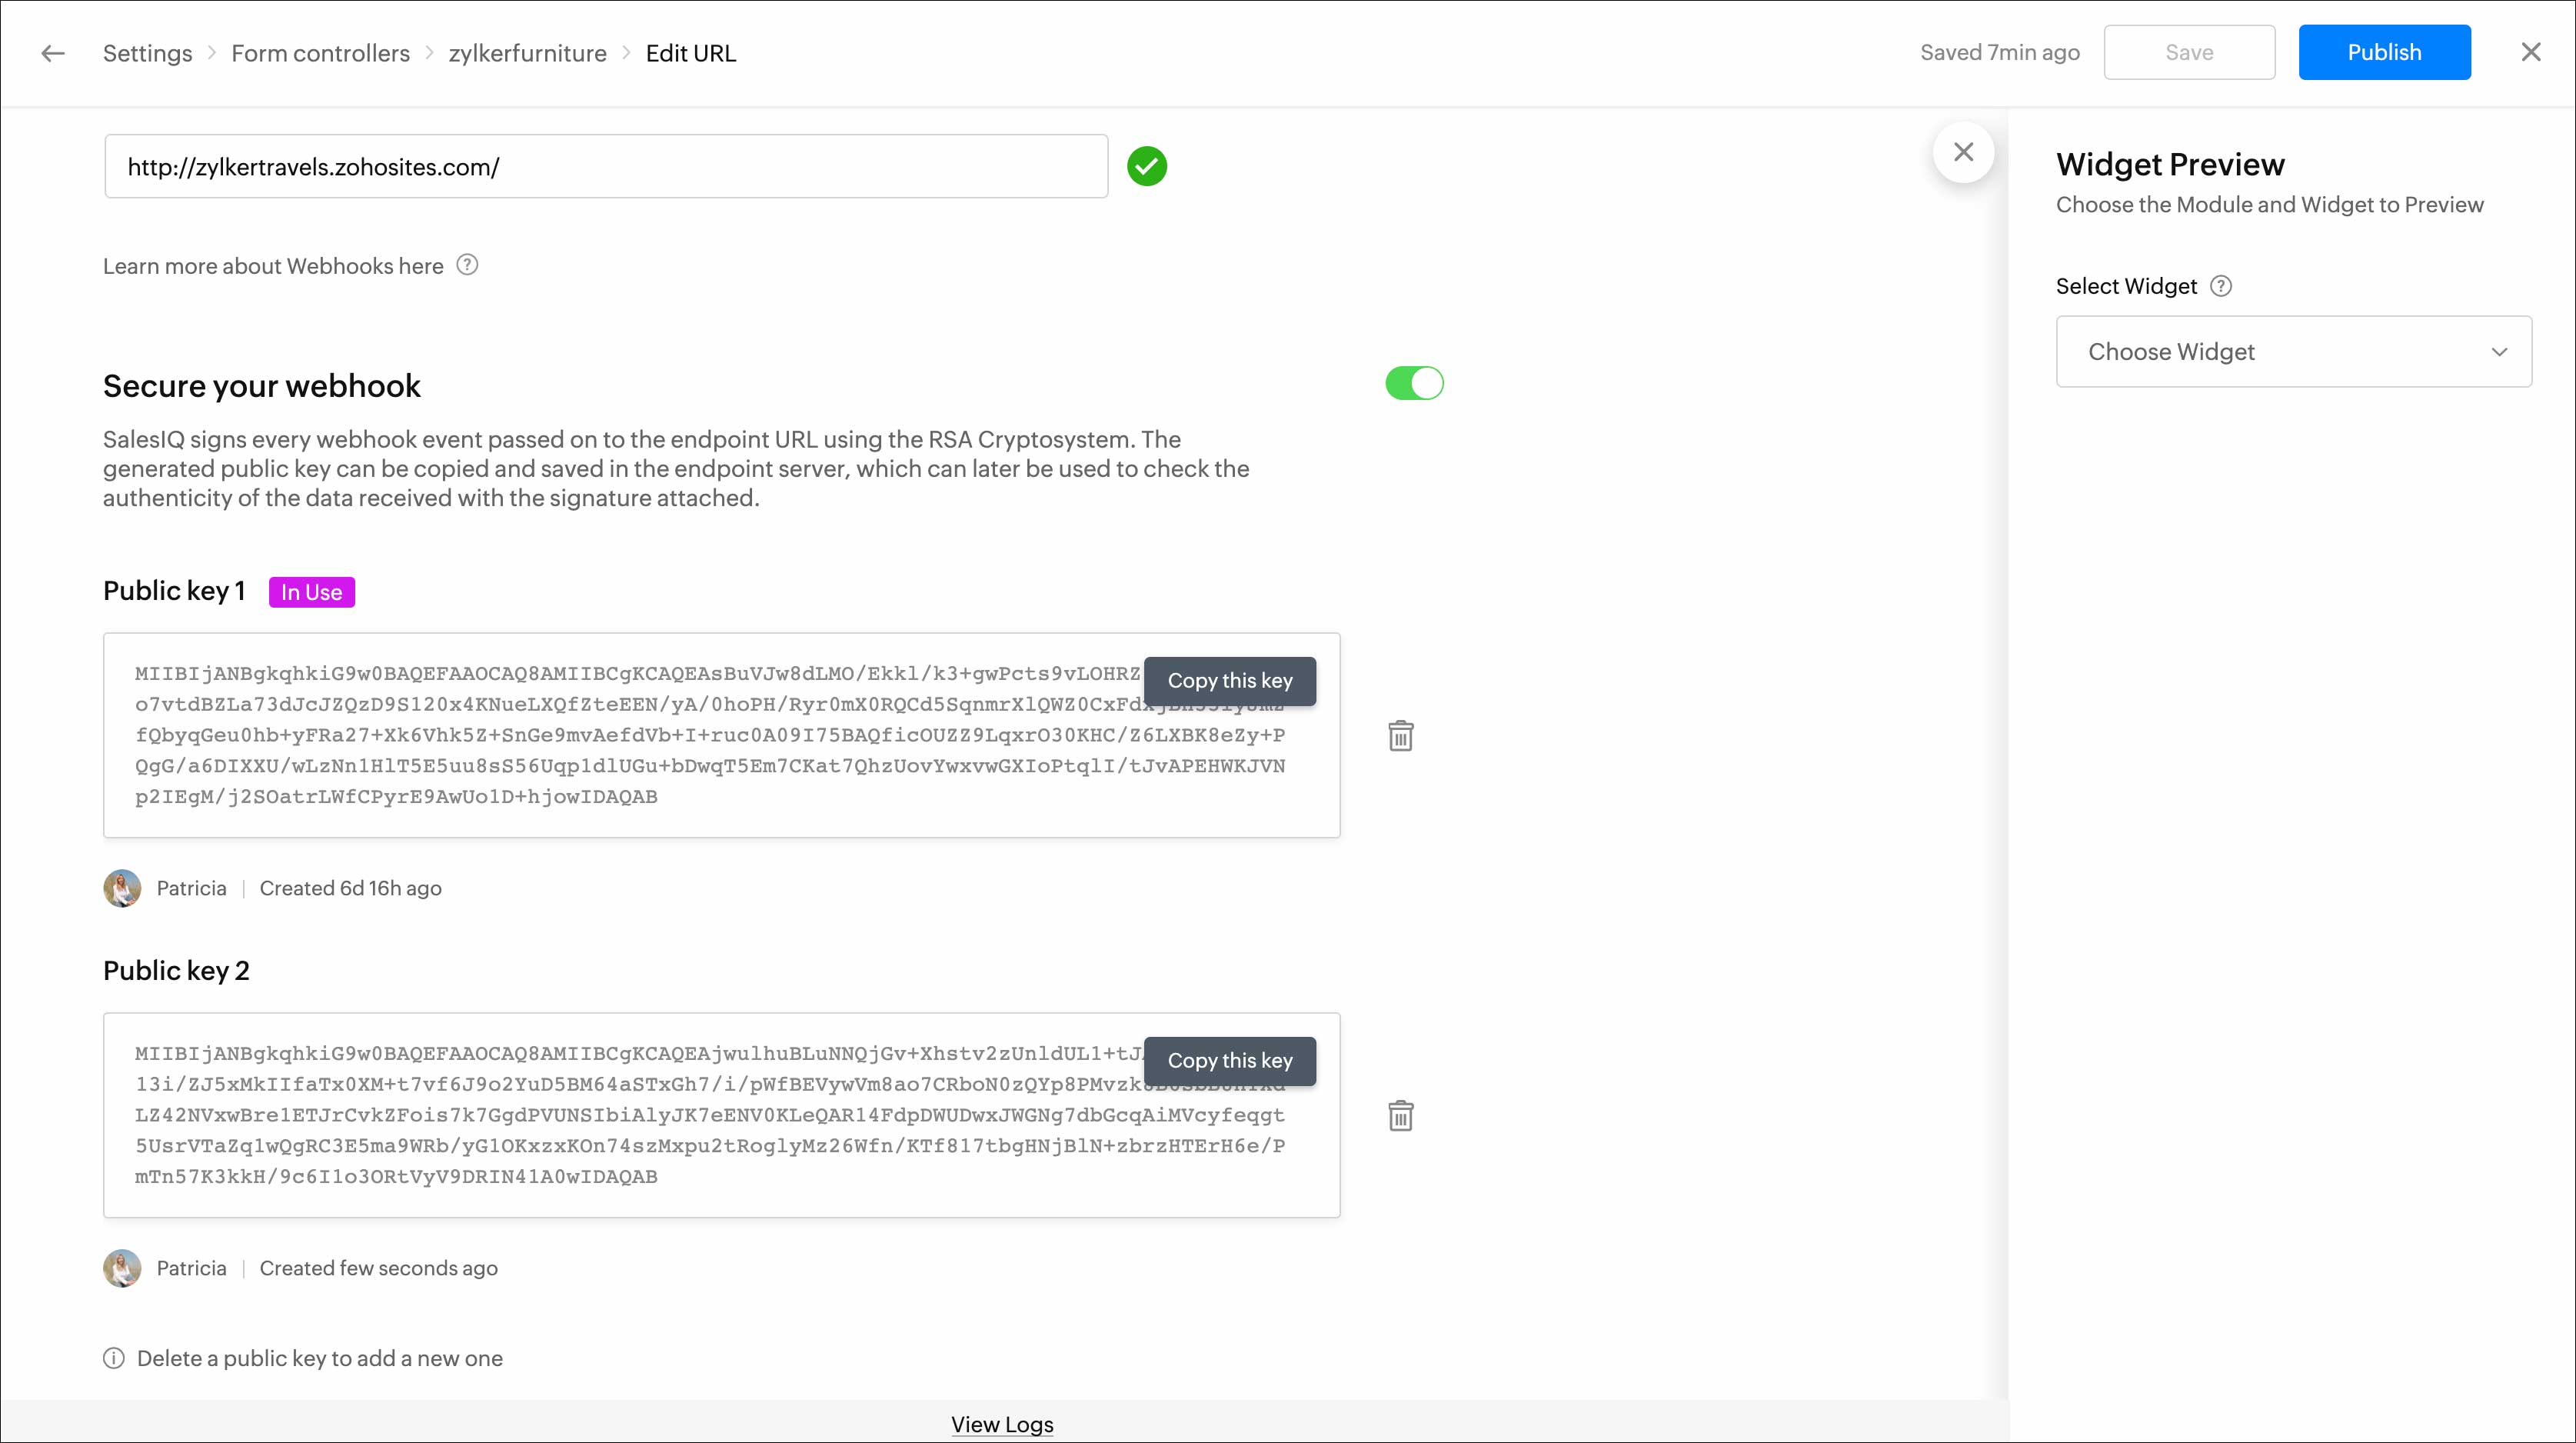
- A maximum of two public keys is allowed for a Webhook. If only one public key is available, the delete option will not appear. The Oldest key will be used during execution, the key used will be indicated by the [In use] label.
Webhook failure alerts
When the webhook continuously fails under the below instances, SalesIQ will send an email alert to both the bot creator/modifier and the portal owner.
- No emails will be triggered for the first failure.
- The first warning email will be sent after the second failure, with no success within the past hour.
- The second warning/alert will be sent following the third failure, with no success within an hour of the first warning email.
- Upon the fourth failure, with no success within an hour since the second warning email, the bot will be disabled, and a third
- warning/alert email will be sent.
410 Error: If the webhook returns a 410 error at any time, it will be instantly deactivated, and a warning/alert email will be sent.