
Basic Functions - Branches
Let’s take a look at how you can set up your branches in Zoho Books.
Enable Branches
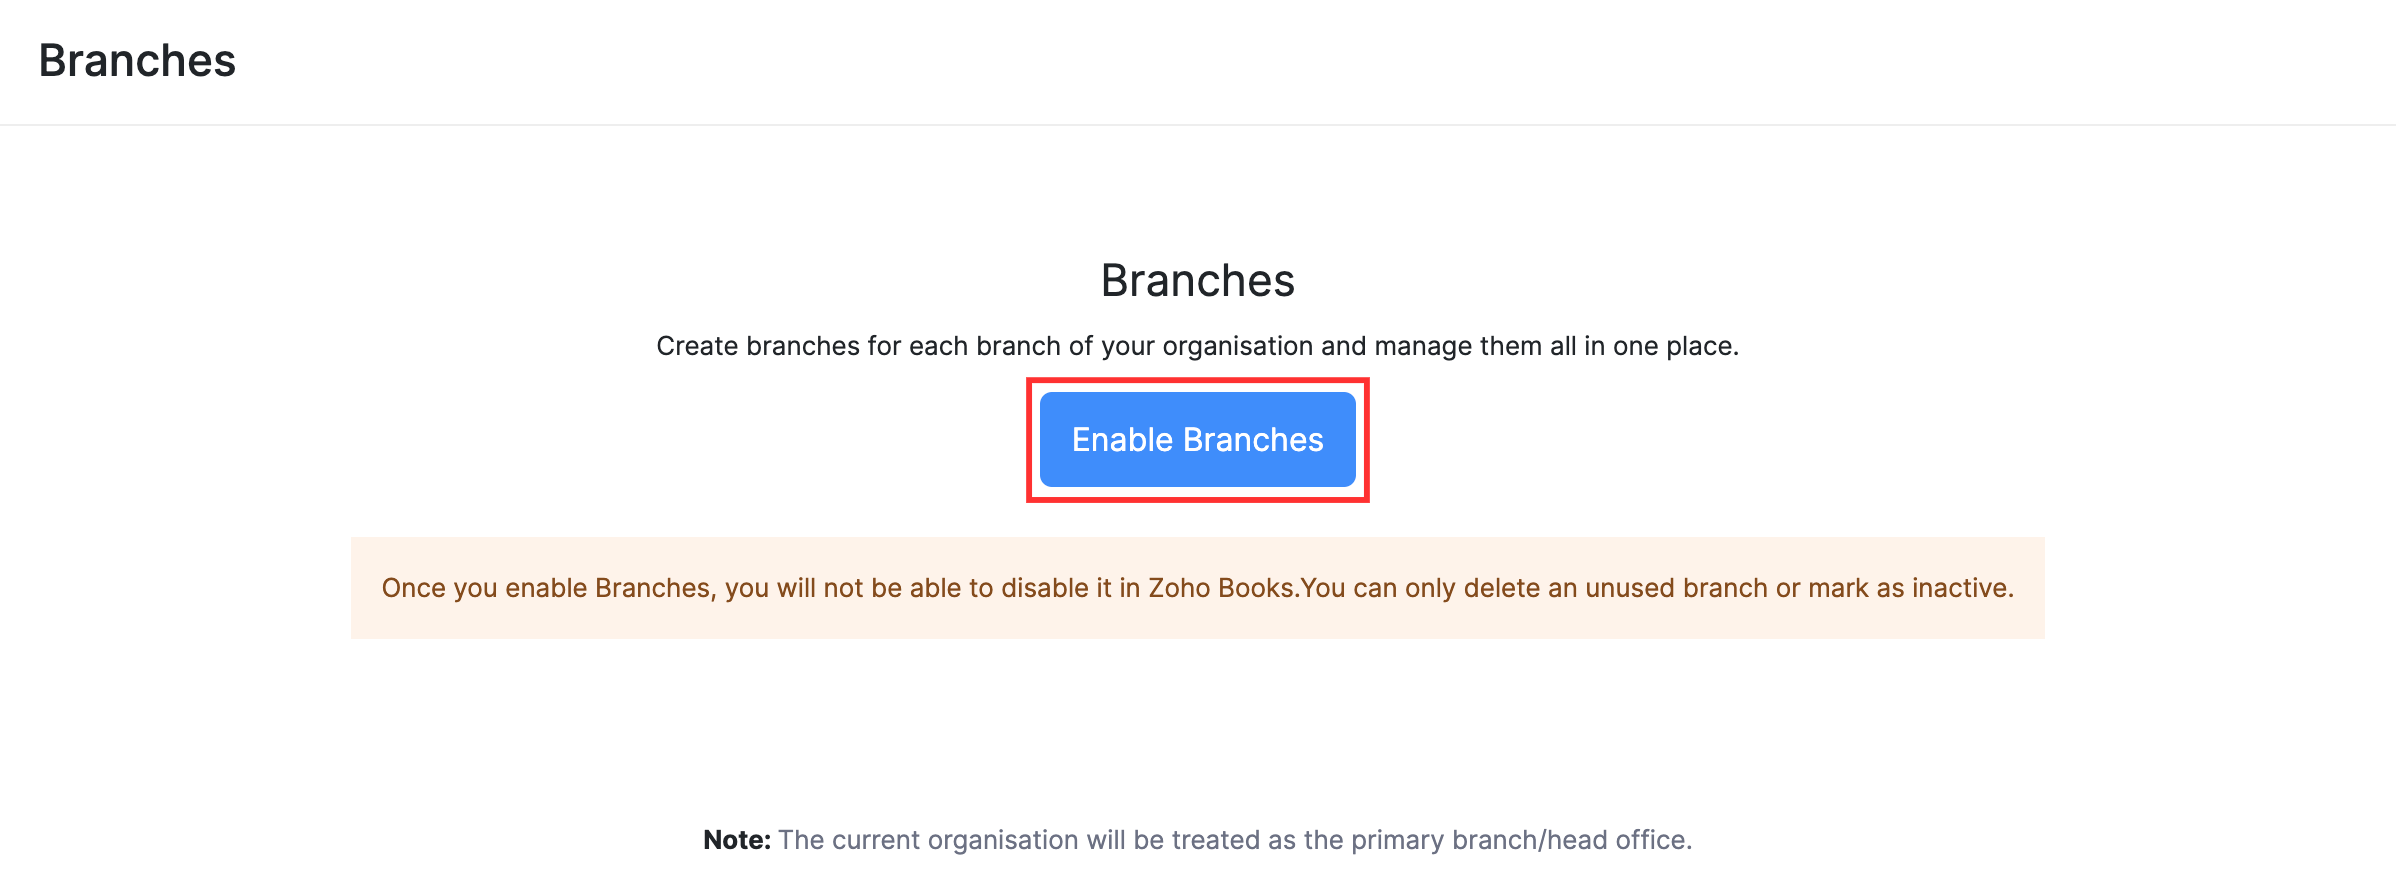
To get started with Branches in Zoho Books, you will have to enable it first. To do so:
- Go to Settings on the top right corner of the page.
- Select Branches under Organization.
- Click the Enable Branches button to enable the feature.
Insight: Only the admins of the organization can enable this feature in Zoho Books.
You will receive an in-app notification when the Branches feature has been enabled. The current organization will be considered as the Head Office or Primary Branch.
Warning: Once you enable Branches, you will not be able to disable it in Zoho Books. However, you can delete the branch or mark it inactive.
Create Branch
Once you’ve enabled the feature, here’s how you can create a new branch:
- Go to Settings on the top right corner of the page.
- Select Branches under Organization.
- Click Add Branch on the top right corner of the page.

- Enter the Branch Name and Address.
- Select a Primary Contact for the branch.
- Select the Transaction Series to track the transactions created for a specific branch. If you haven’t created any, click + New Transaction Series from the dropdown.
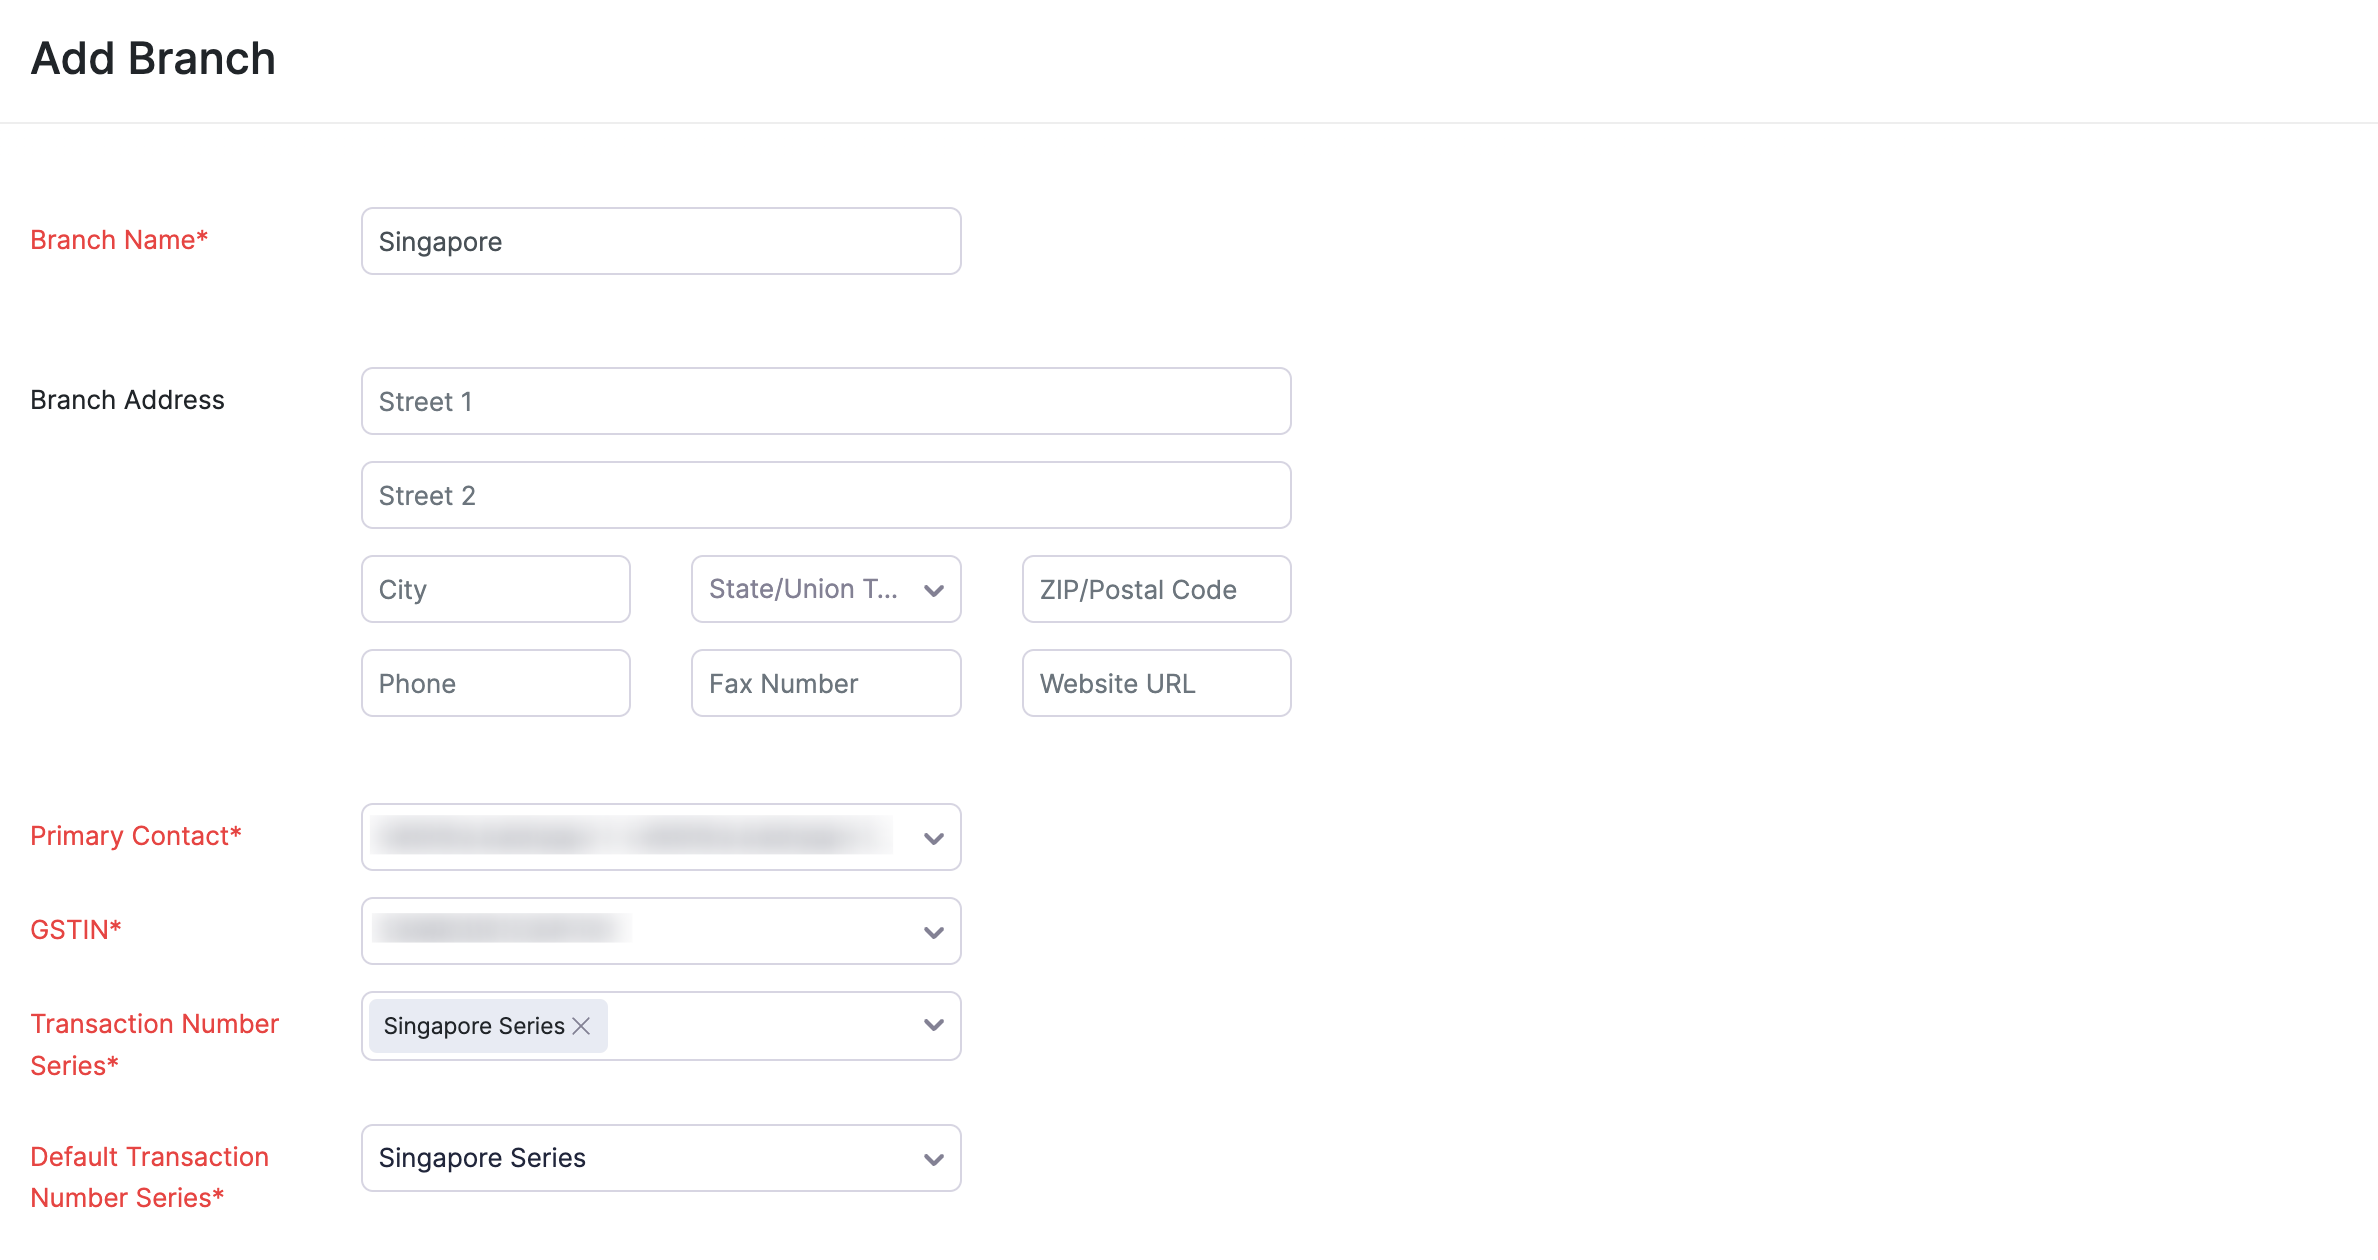
- Click Save.
Configure Transaction Series
Some organizations might want to set a different transaction series for each branch. Let’s say, you want the invoice numbers to be BR1 INV - 001 for a branch and BR2 INV - 001 for another, you can configure them.
To create a new transaction series:
- Go to Settings on the top right corner of the page.
- Select Branches under Organization.
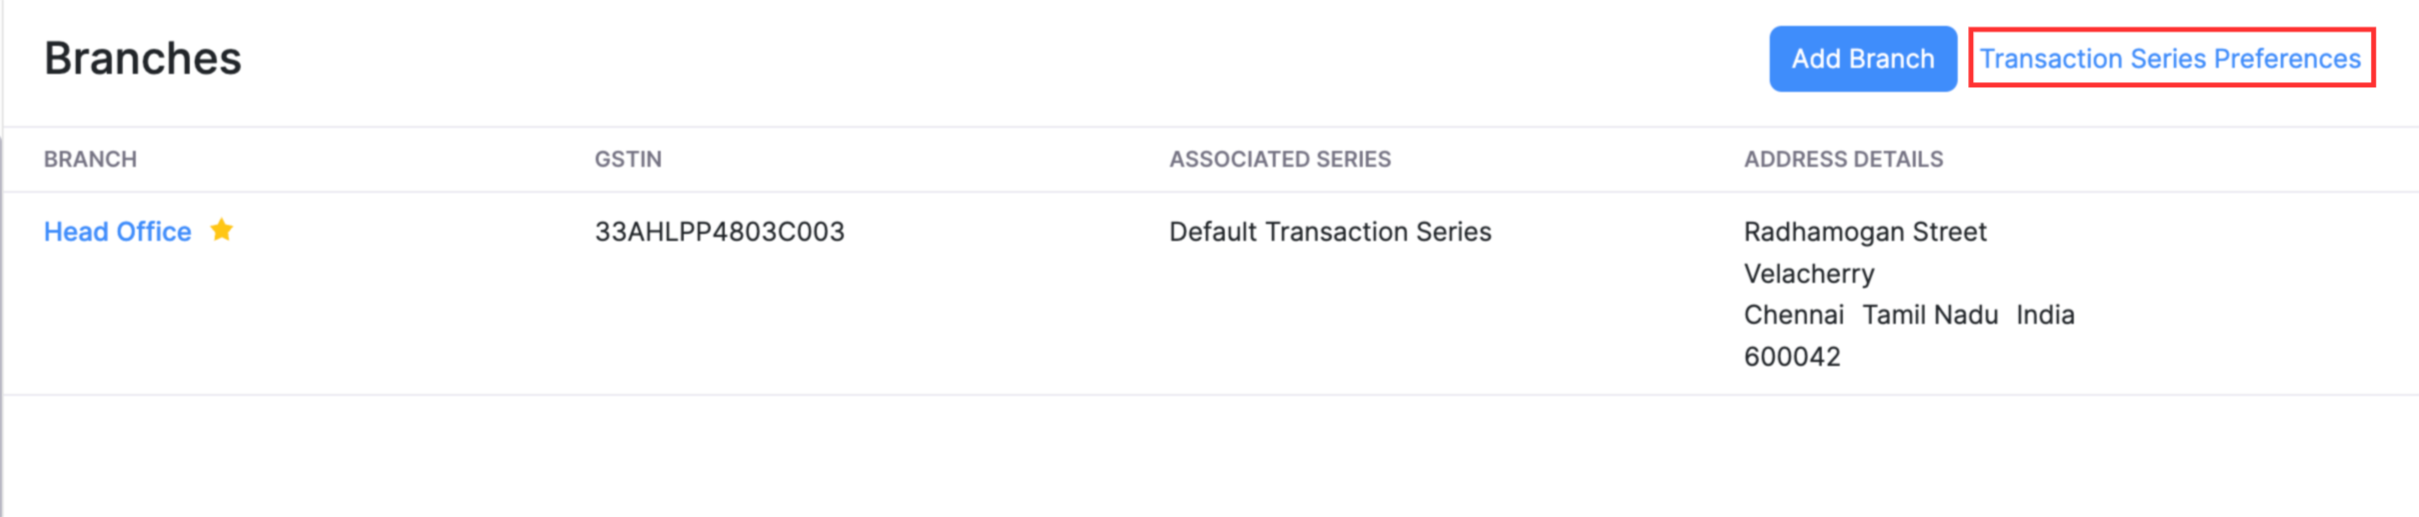
- Click Transaction Series Preferences on the top right corner of the page.
- Click Add Transaction Series on the top right corner of the page.
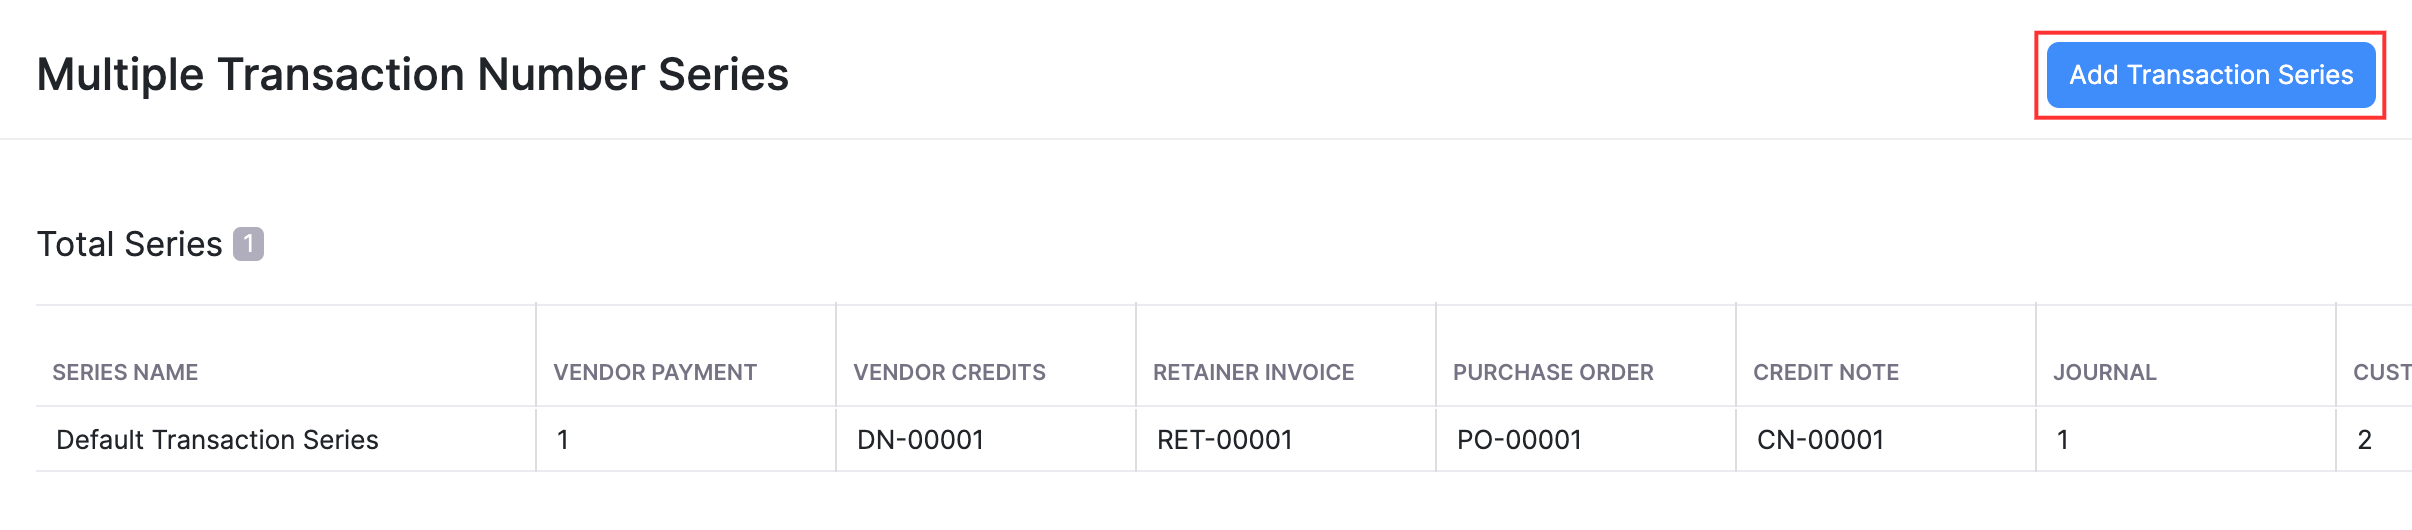
- Enter the Series Name . You can even provide the branch’s name.
- Select the Branch with which you would like to associate this series.
- Enter the Suffix and Prefix for all the modules.
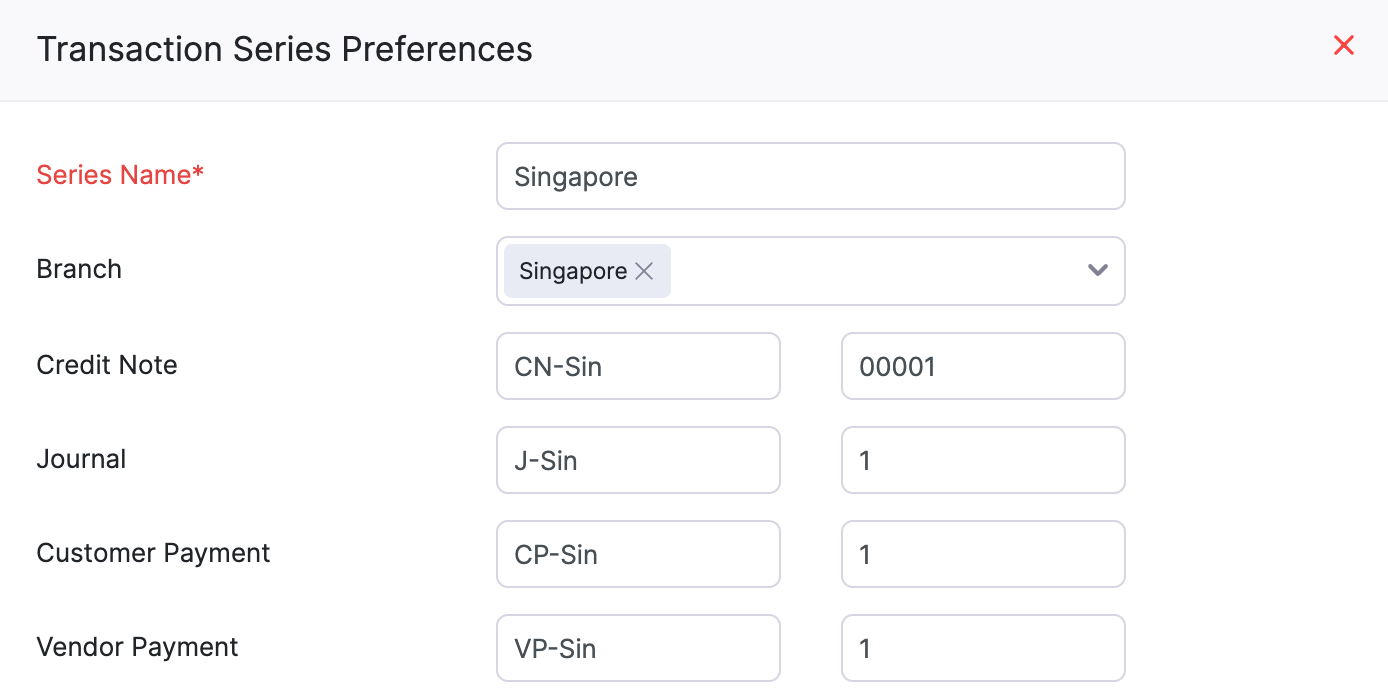
- Click Save.
You can also configure the default series and associate them with multiple branches as well.
Insight: The transaction series will be selected automatically based on the branch chosen in the transaction.
User Permissions
Only the Admin of an organization has the permission to enable branches in Zoho Books. Also, only they can create branches and access them as well. If you would like to extend these permissions to other users in your organization, here’s what you’ll have to do:
- Go to Settings on the top right corner of the page.
- Select Roles under Users & Roles.
- Click Edit next to a custom role.
- Scroll down and you will be able to find Branches.
- Mark the checkboxes near the permissions you would like to provide.
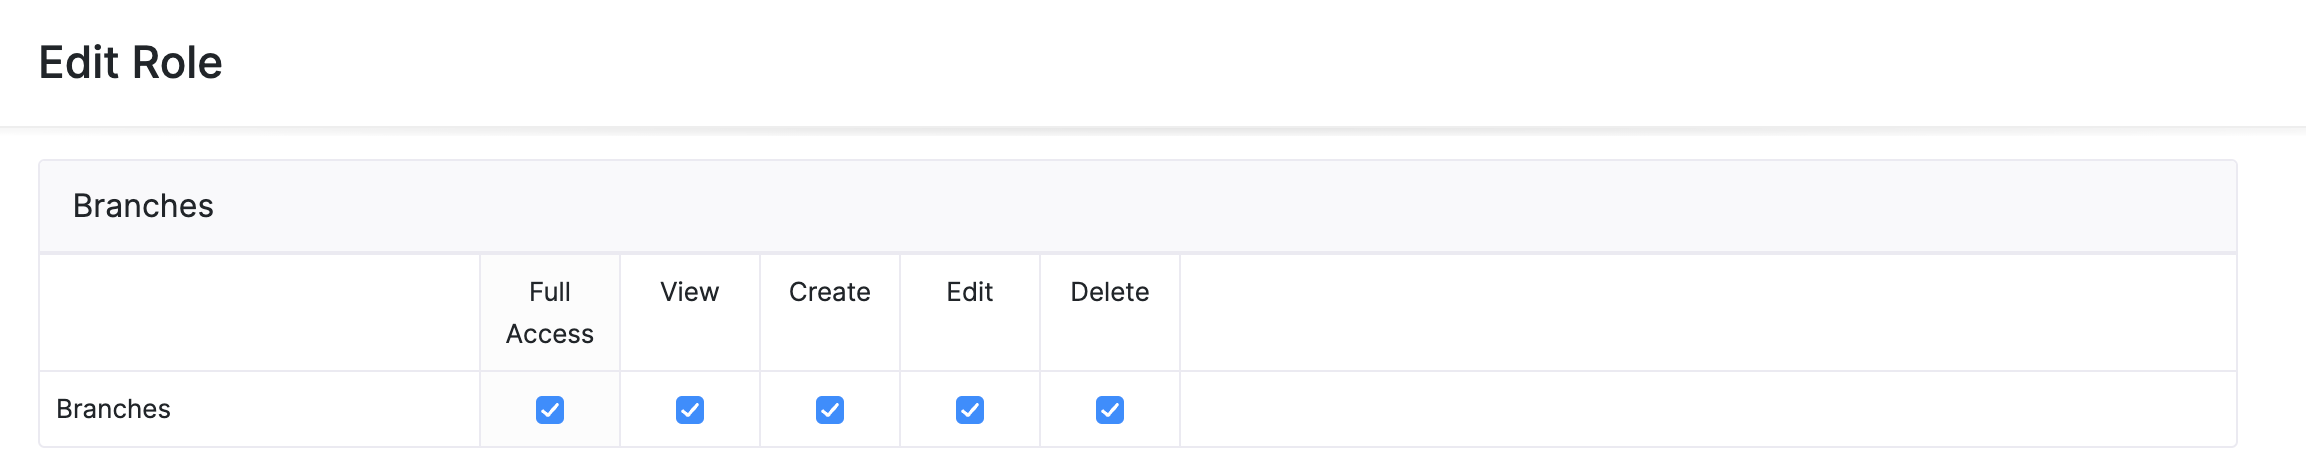
- Click Save.
Next >
 Yes
No
Yes
No
Thank you for your feedback!