Create Your First Widget
| Table of Contents |
|---|
| Widget Creation |
| Register Listeners |
Using the widgets feature, you can embed UI components in Zoho Recruit and use data form a third-party application to perform actions as per your requirements.
Creation of a Widget
Once the Zoho CLI is installed, you can create your own widget.
Step 1:
Once the CLI is installed, run this command to create a new project.
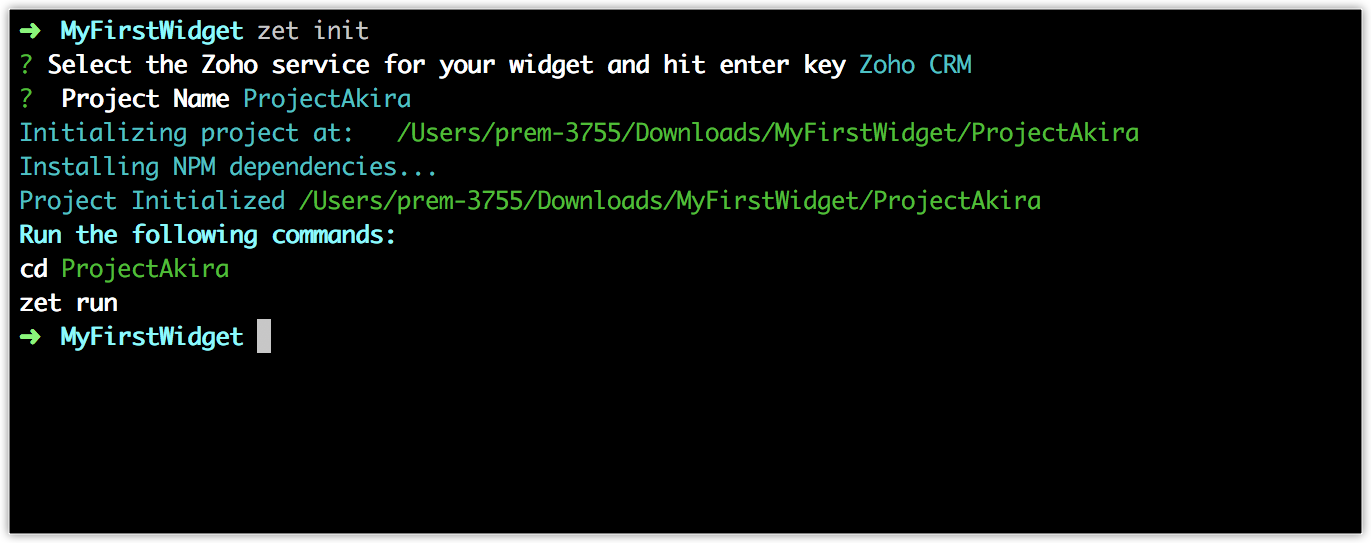
$ zet initStep 2:
Select a Zoho service and give a Name for the widget which you want to create. In this case, select Zoho Recruit as the service.The sample project will be created in the respective folder directory.
Step 3:
To open the sample project, run the following command:
cd {Project_name}Now, you can start desiging and including the UI components for the Widget.
Note:
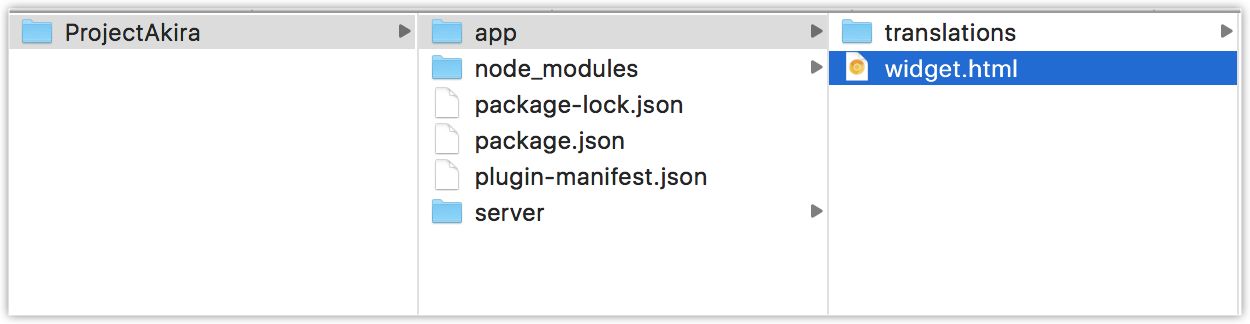
You can find the HTML file for the widget in the app folder, named "widget.html" by default.
Step 4:
The widget.html file contains the structure, design and components of the Widget. To use the Zoho Recruit APIs in the widget, you can use the API helpers provided in the JS SDK.

Note:
You can add additional designs and functionality to the Widget by creating the necessary files and stylesheets (optional).
Step 5:
Once you have created the widget, you can host the widget locally and test.
To host the widget locally:
$ zet runOnce you've tested the widget and find no problems with it, you can package the widget and host it internally or externally.
Register Listeners
And in some cases where contextual data should be passed to the widget, you need to register for the appropriate events. Registering an event means defining a function that will be executed when a certain event is triggered by your application. Event can be something that the browser does or something a user does. Following is an example of event.
- PageLoad - Triggered when ever an entity Page (Detail page) is loaded.
The sample code given below can be used to subscribe to a PageLoad event in your widget:
ZOHO.embeddedApp.on("PageLoad",function(data){
    console.log(data);
})
The below code snippet is used to initialize your widget and start listening to events in your Recruit application:
ZOHO.embeddedApp.init()ZOHO.RECRUIT.CONFIG.getCurrentUser() is the API that returns the user infomation such as name, Id, role, profile etc.The code to invoke an API is
ZOHO.RECRUIT.CONFIG.getCurrentUser().then(function(data){
    console.log(data);
});