Zen Desk Extension
Zoho Mail and Zendesk users can use the Zendesk extension in eWidget to view, edit, comment, reply, close and even create tickets in Zendesk.
You need to set up the Zendesk extension in Zoho Mail to access it from eWidget.
Setting up Zendesk Extension in Zoho Mail
- Log in to Zoho Mail
- Go to Settings >> Integrations card.
- Navigate to Zendesk and click on it.
- Enter your subdomain name in the given field and click Authenticate.
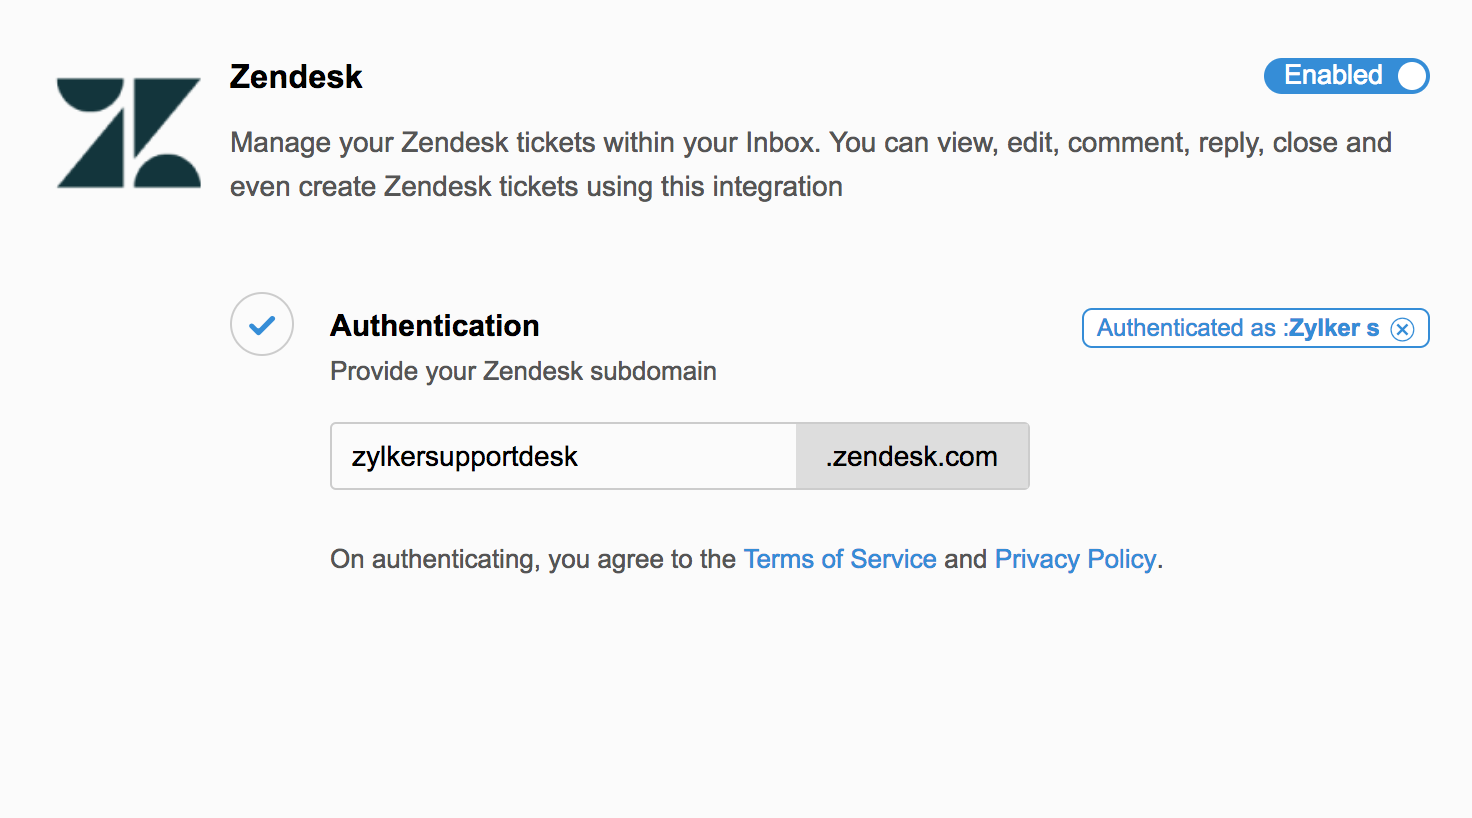
- You will be redirected to the authentication page in Zendesk.
- Enter your credentials and click Sign in
- Click Allow to continue the setup.
- The Zendesk extension will be enabled and listed in the app menu in eWidget.

Using Zendesk in eWidget
- Navigate to the eWidget icon on the right pane of your mailbox.
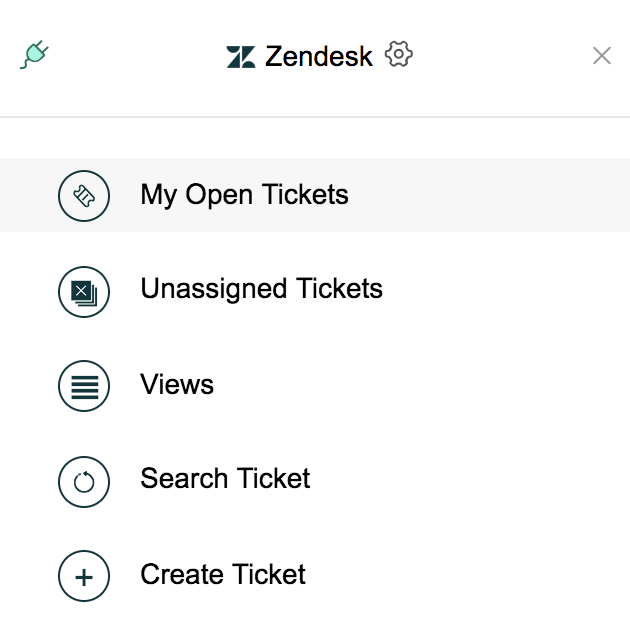
- Select Zendesk from the app menu.
- You will have options to open, view, edit, search, create, and access the tickets in that specific subdomain.

Use eWidget to populate the information from an email in the appropriate fields while creating a ticket in the Zendesk extension. You can also comment on the tickets as a public reply or internal note and assign the unassigned tickets.
My Open Tickets
View and comment on the tickets assigned to you in the subdomain. You can also use the filter options Status, Priority, and Type.
Unassigned Tickets
The Unassigned tickets in Zendesk are listed in this section and can be filtered according to the Status, Priority, and Type you’ve set in Zendesk.
View Tickets
View tickets section is set by default to Your unsolved tickets. You can choose the other options from the drop-down menu which has both the predefined and custom views created by you, if any, in it.
Search Tickets
You can use these three filter parameters in the Search Ticket section to effectively narrow down your search.
- Requester - User’s email address.
- Assignee - Person to whom the ticket was assigned to.
- Ticket ID - Ticket reference number.
Create Tickets
The tickets you create in the eWidget in Zoho Mail will directly be reflected in Zendesk.
- Select Zendesk from the app menu in the eWidget.
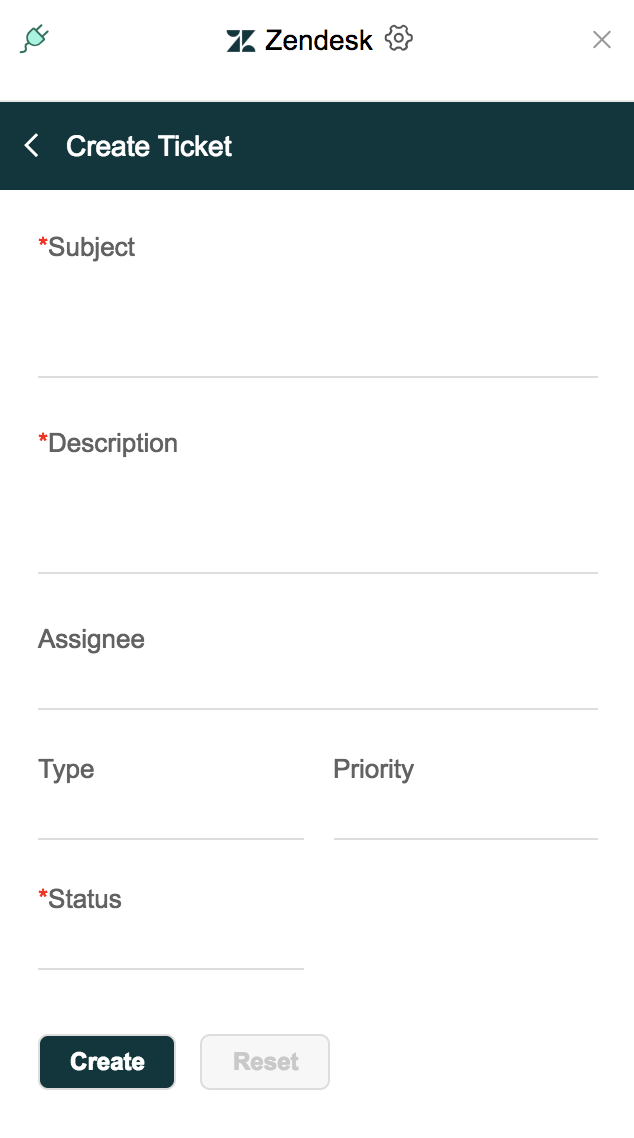
- Click Create ticket.
- Fill in all the necessary details in their respective fields.
- Assign the ticket to a person by entering their name or choosing from the drop-down list in the Assignee field and click Create.
You can convert an email into a ticket in Zendesk by selecting the Create ticket option. The details in the email will get populated in the appropriate fields for you to create a ticket with ease.