Steps to connect Zoho Mail MCP with VS Code
Table of Contents
Note:
The steps mentioned below are for free plan users on VS Code desktop application.
Prerequisite:
- You need to download VS Code desktop app to proceed.
- You must download GitHub Copilot and enable it in Visual Studio Code for Zoho MCP to function correctly.
Automatic configuration
- Login to Zoho MCP console and navigate to Connect > MCP Clients > VS Code tab.
- Select Add to VS Code button under Steps to automatic configuration section.

- Click Install once the VS Code application is launched with your intended Zoho MCP sever name.

- Select Allow and Open when the pop-up appears.
- You will be directed to the Zoho MCP authorization screen in your local host. Click Allow.

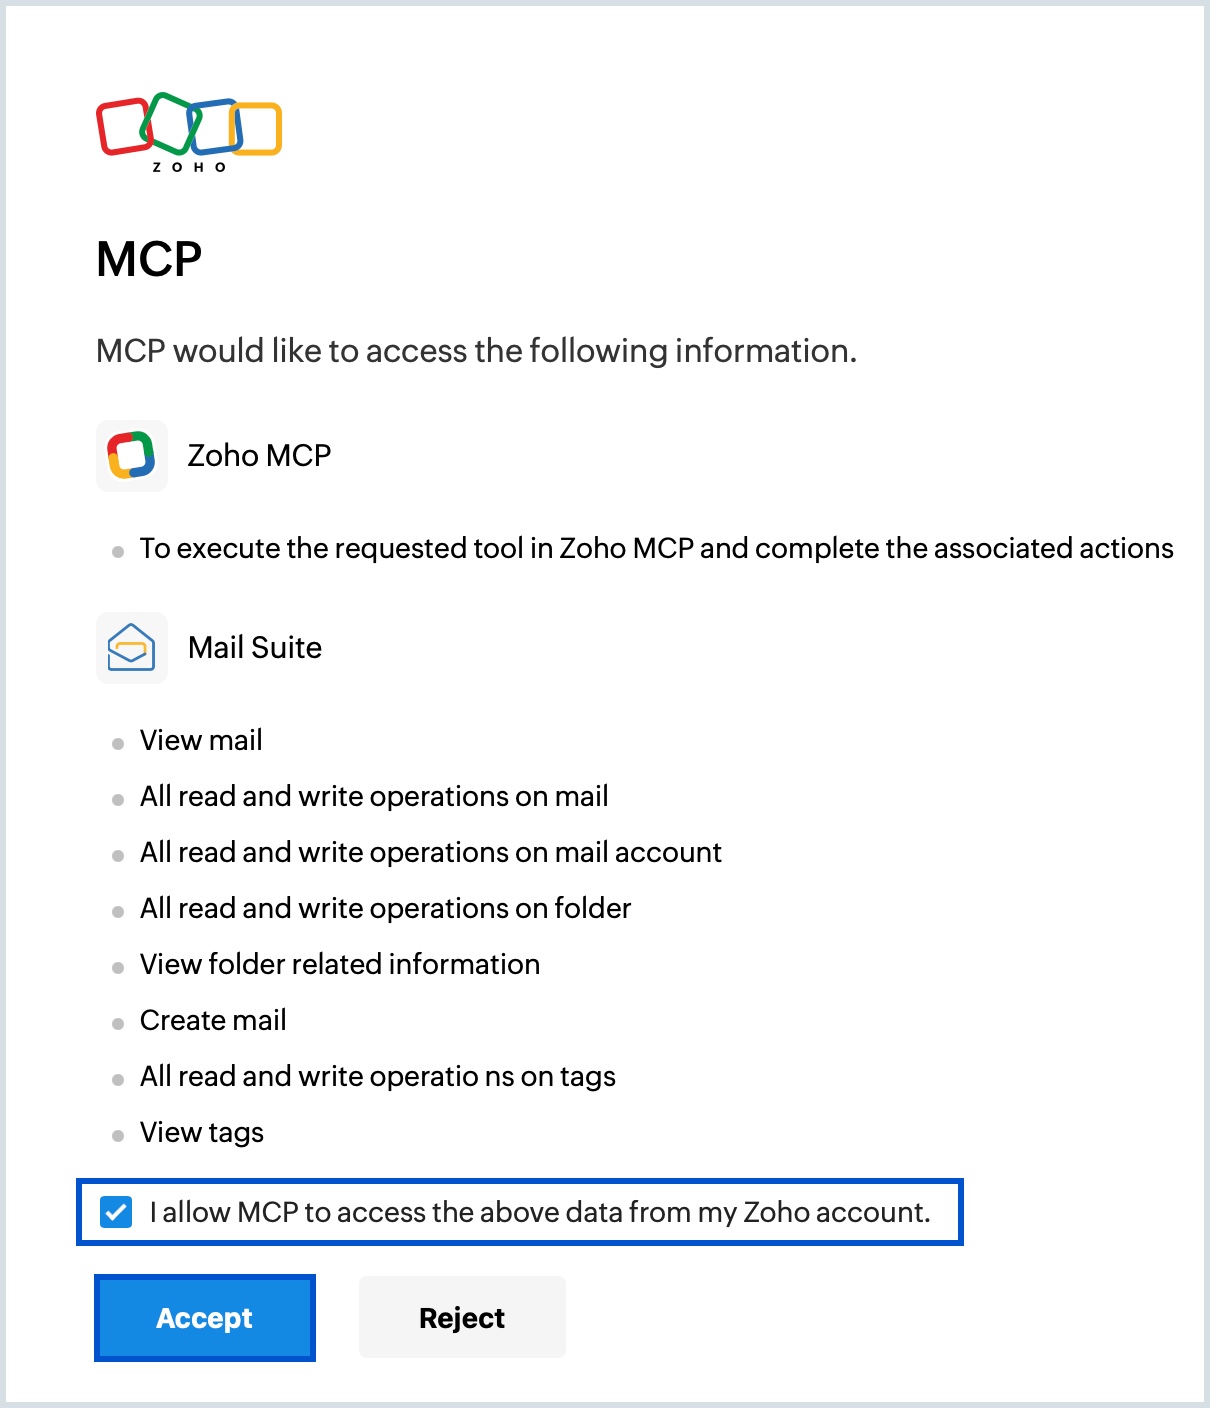
- Select the check box to grant permission and click Accept in the MCP authentication page and click Allow when prompted.


Now the authentication is successful and your configured Zoho MCP server is enabled in VS Code app along with the added tools.

Manual configuration
To configure your Zoho MCP to VS Code app manually, follow the below steps:
- Open the Visual Studio Code Command Palette.(⇧ + ⌘ + P on Mac, Ctrl + Shift + P on Windows)
- Type MCP and select MCP: Add Server value from the drop-down.

- Choose "HTTP (HTTP or Server-Sent Events)" and press Enter.

- Copy the MCP URL available from the Zoho MCP server consoleand paste it in the Enter Server URL field, then press Enter.

- Enter the desired server ID (server name) in the Enter Server ID field and press Enter.

- Click Allow when the authentication window pops up.

- You will be directed to the Zoho MCP authorization screen in your local host. Click Allow.
- Select the check box to grant permission and click Accept in the MCP authentication page and click Allow when prompted.


Now the authentication is successful and your configured Zoho MCP server is visible in the mcp.json file with the Running status.
