Steps to connect Zoho MCP server with Gemini
Gemini is Google's multimodal AI platform featuring structured and predefined plans for various uses. But, MCP is not tied to any of the subscription plans. It is supported in Gemini Code Assist and Gemini CLI. Gemini Code Assist is connected via VS Code, and Gemini CLI is used through the terminal.
Steps to install Gemini Code Assist
Note:
The steps mentioned below are for free plan users on VS Code desktop application.
Prerequisite:
- You need to download VS Code desktop app to proceed.
- Install Gemini Code Assist from the VS Code Extensions Marketplace and sign in with your Google account.
- You must download GitHub Copilot and enable it in Visual Studio Code for Zoho MCP to function correctly.
- Open your VS Code desktop application and navigate to the Extensions on the left pane.

- Search for Gemini Code Assist and click Install.

- Once installed, click the Gemini spark icon in the sidebar and sign in with your Google account.


Steps to configure Zoho MCP server with Gemini Code Assist
Select the Gemini Code Assist icon from the left pane and enable the Agent mode ON by sliding the Agent toggle button.
Note:
Agent mode is required for Gemini to invoke your MCP server tools. Without Agent mode, Gemini has no mechanism to communicate with your MCP server at all, even if it is correctly configured.
- Navigate to VS Code Explorer panel on the left pane and right-click your project root folder or select Open Folder.

- Click New Folder icon and name it .gemini and then press Enter.

- Right-click the .gemini folder and select New File.

- Name the file as settings.json and press Enter. The file will be displayed on the right pane.

- Copy the JSON configuration code snippet available under the Connect > MCP Clients > Cursor tab from the Zoho MCP server console.

- Now paste this copied code snippet to the settings.json file and click Save.

- Reload VS Code application to apply your configuration.
- Select the Gemini spark icon from the left pane and type /mcp command in the chat to verify your configuration.


The configured Zoho MCP will be listed along with their tools. This indicates that your Zoho MCP server is successfully connected with Gemini Code Assist.

Steps to configure Zoho MCP server with Gemini CLI
Prerequisite:
You need to follow the steps in Gemini CLI documentation to install and authenticate in your system.
After successful authentication, follow below steps to connect to Zoho Mail MCP server.
- Open the terminal and reach the settings.json file using the below command.
The complete file path will be displayed. This confirms that the file is present in the location.
Copiedls ~/.gemini/settings.json- Copy the JSON configuration code snippet available under the Connect > MCP Clients > Cursor tab from the Zoho MCP server console.
- Open the settings.json file in edit mode in terminal using the command.
Copiednano ~/.gemini/settings.json- Now paste this copied code snippet to the settings.json file. Then press Ctrl+O and Enter to save the changes to file.

- Restart the terminal.
- Provide the below command to find the mcp servers, and their connection status.

Copiedgemini mcp list
This indicates that Gemini CLI is successfully connected with Zoho Mail MCP server.
- Once the Zoho Mail MCP server is connected, initiate chat session using command
Copiedgemini chat
Now you can start to perform email related actions in CLI via prompts.
- The chat session gets opened and start providing the prompts with gemini prefixed to them. For instance,
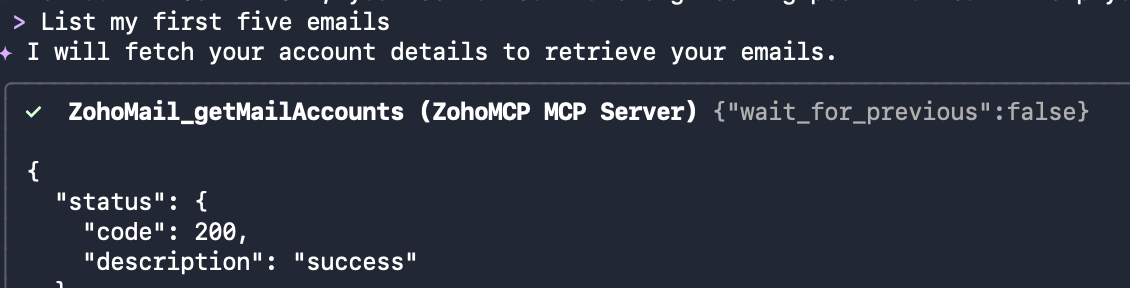
Copiedgemini "List my first five emails"It will ask for your permission to execute the tools. Select one of the options to allow access.
- The terminal displays the response of the executed action as in below images.