Steps to connect Zoho Mail MCP with Claude
Note:
The steps mentioned below are for free plan users on Claude desktop application.
As a prerequisite, please download Claude desktop app to proceed.
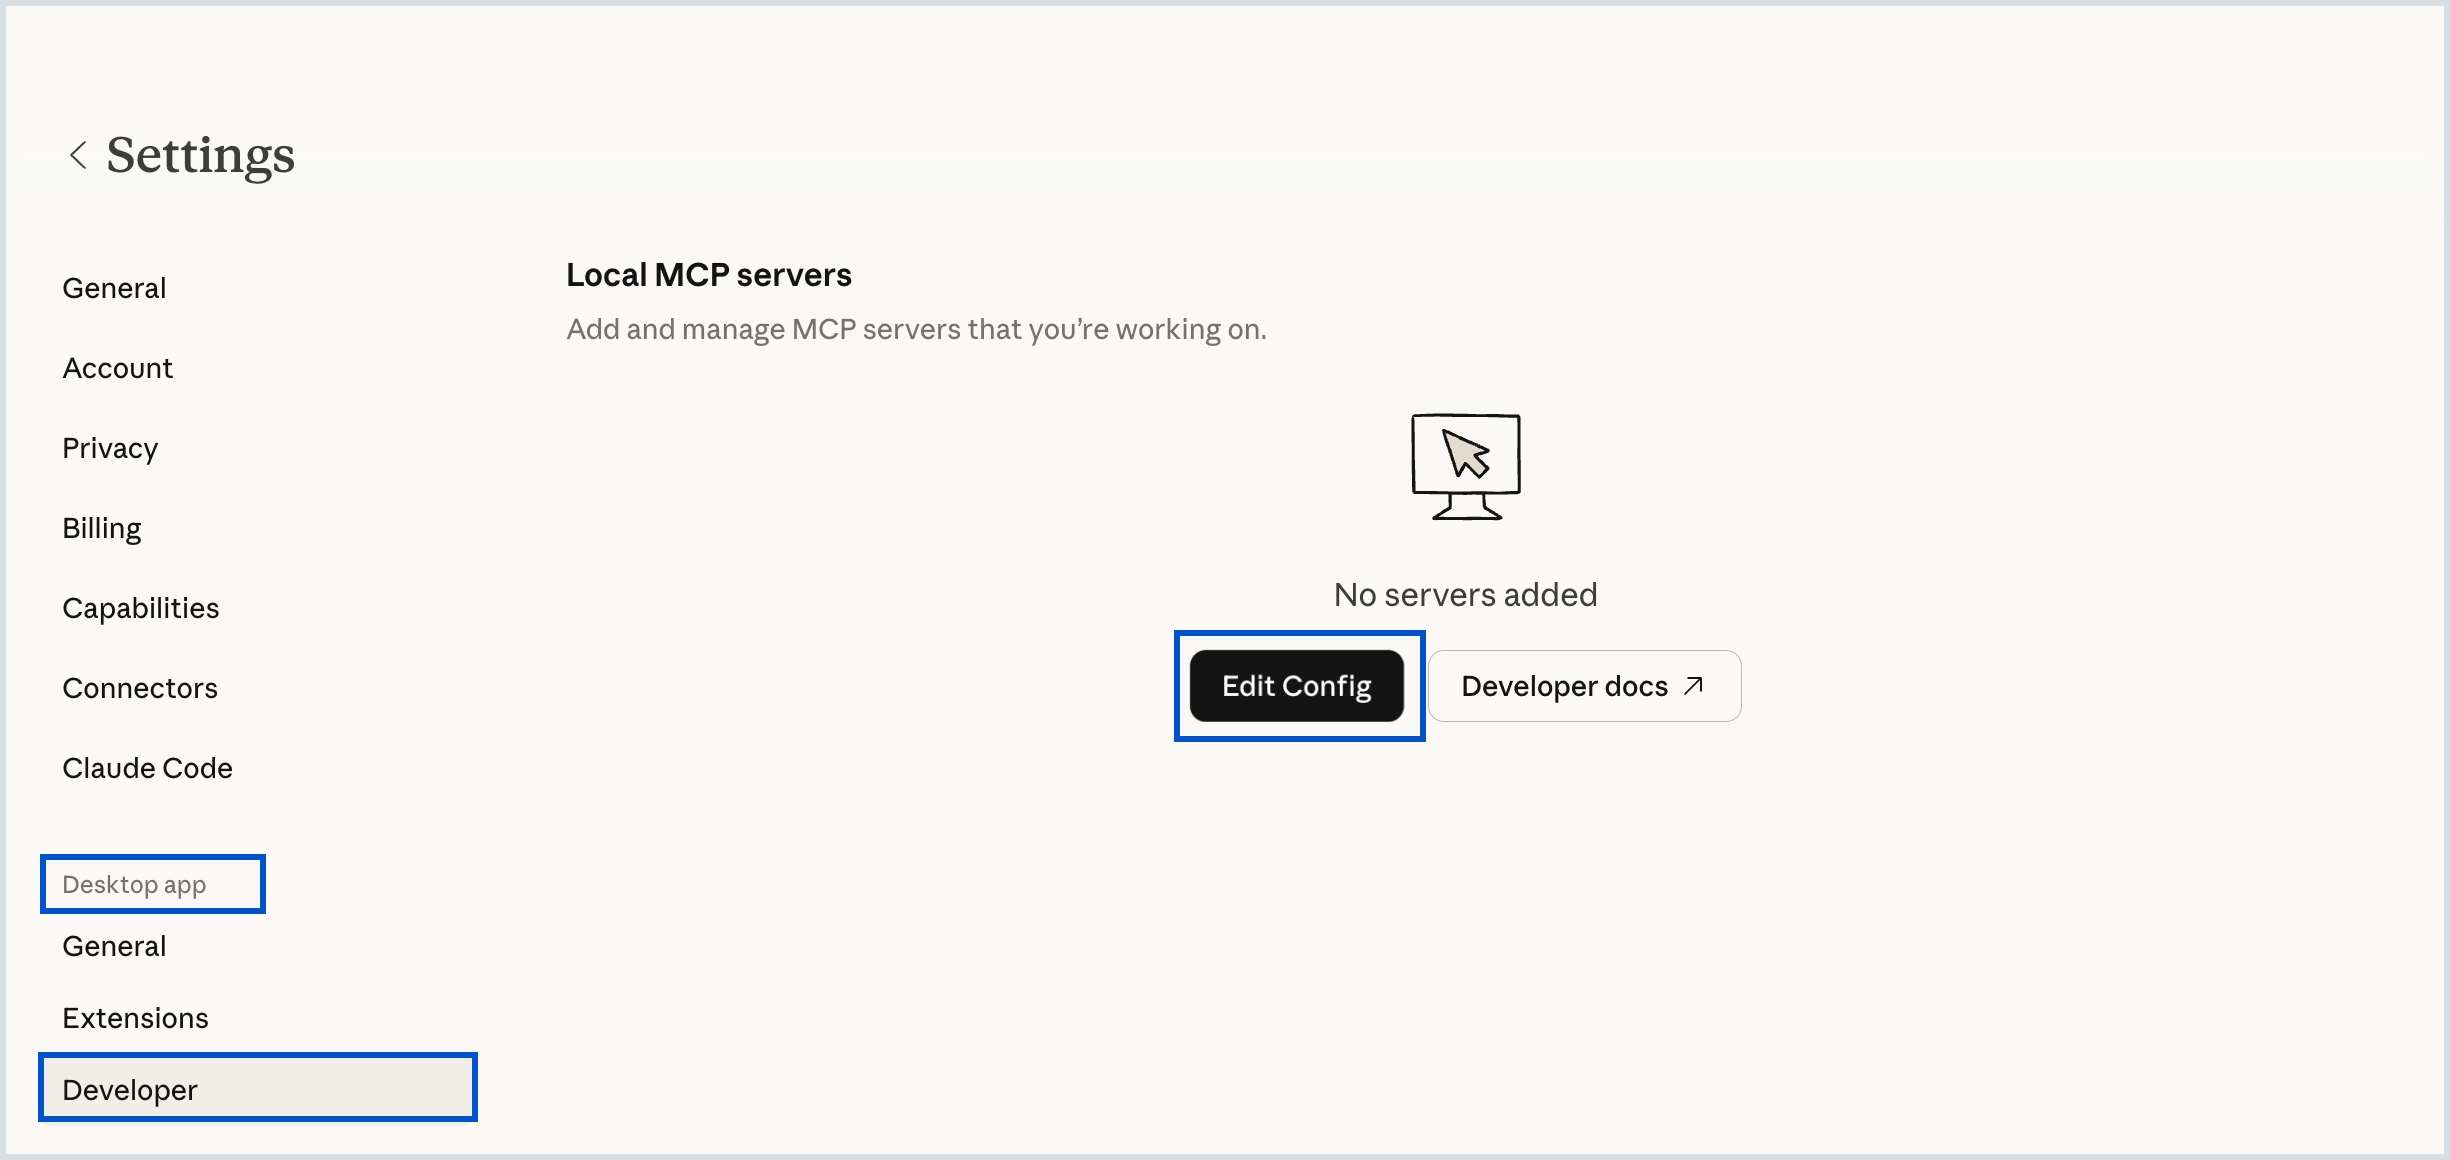
- Open Claude console and navigate to Settings section.

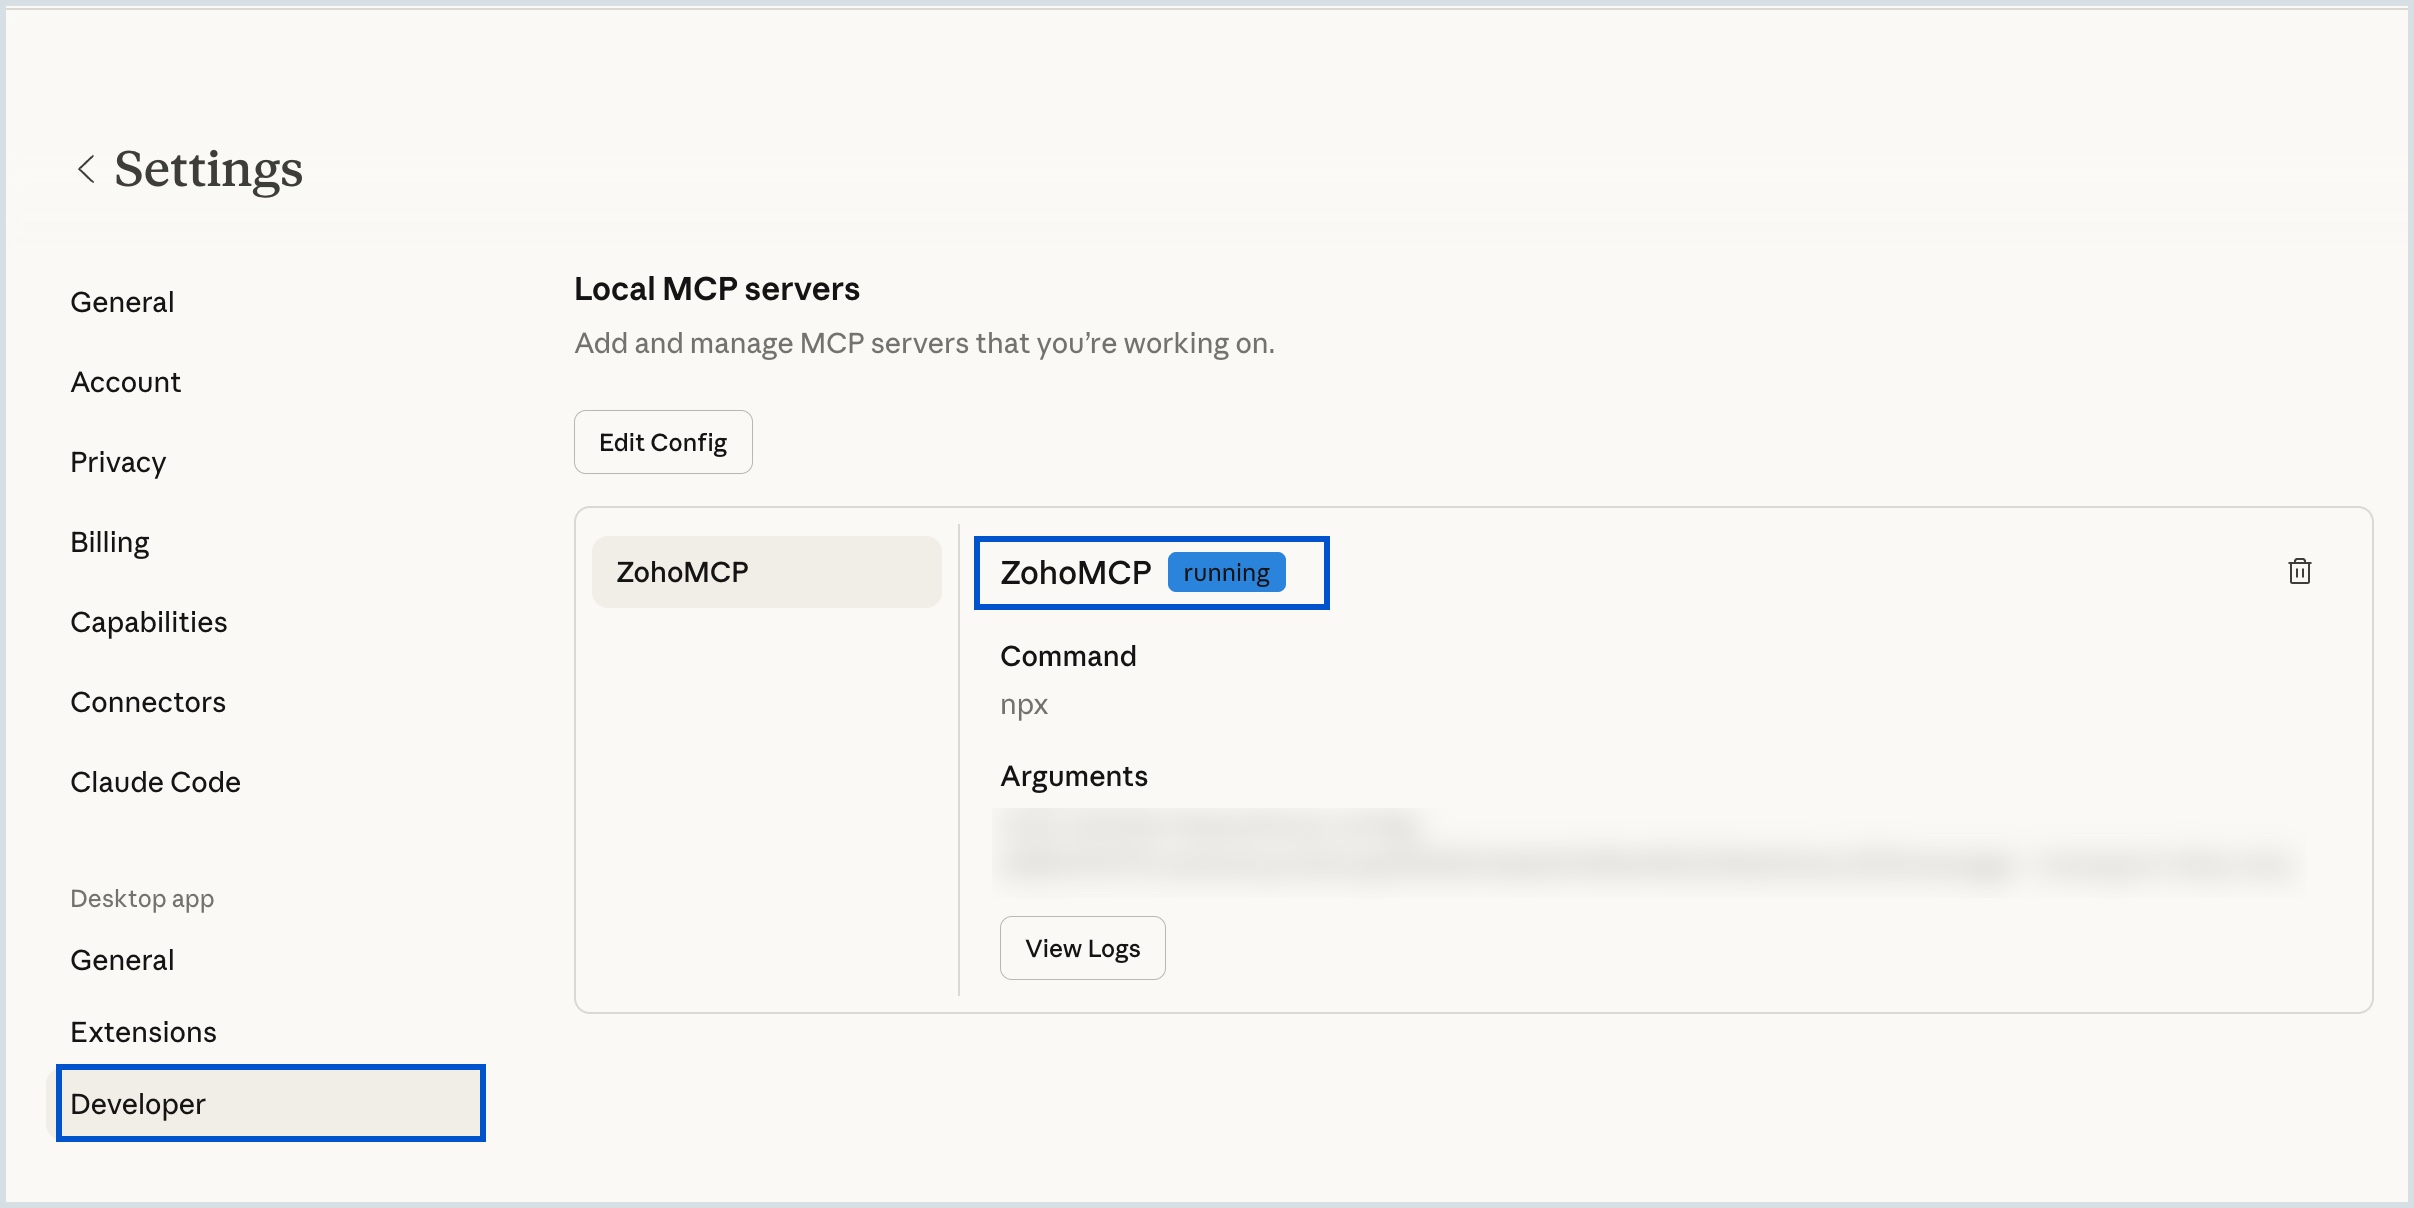
- Select Developer under Desktop app settings.
- Click Edit Config and the page redirects you to the claude_desktop_config.json file in your system.
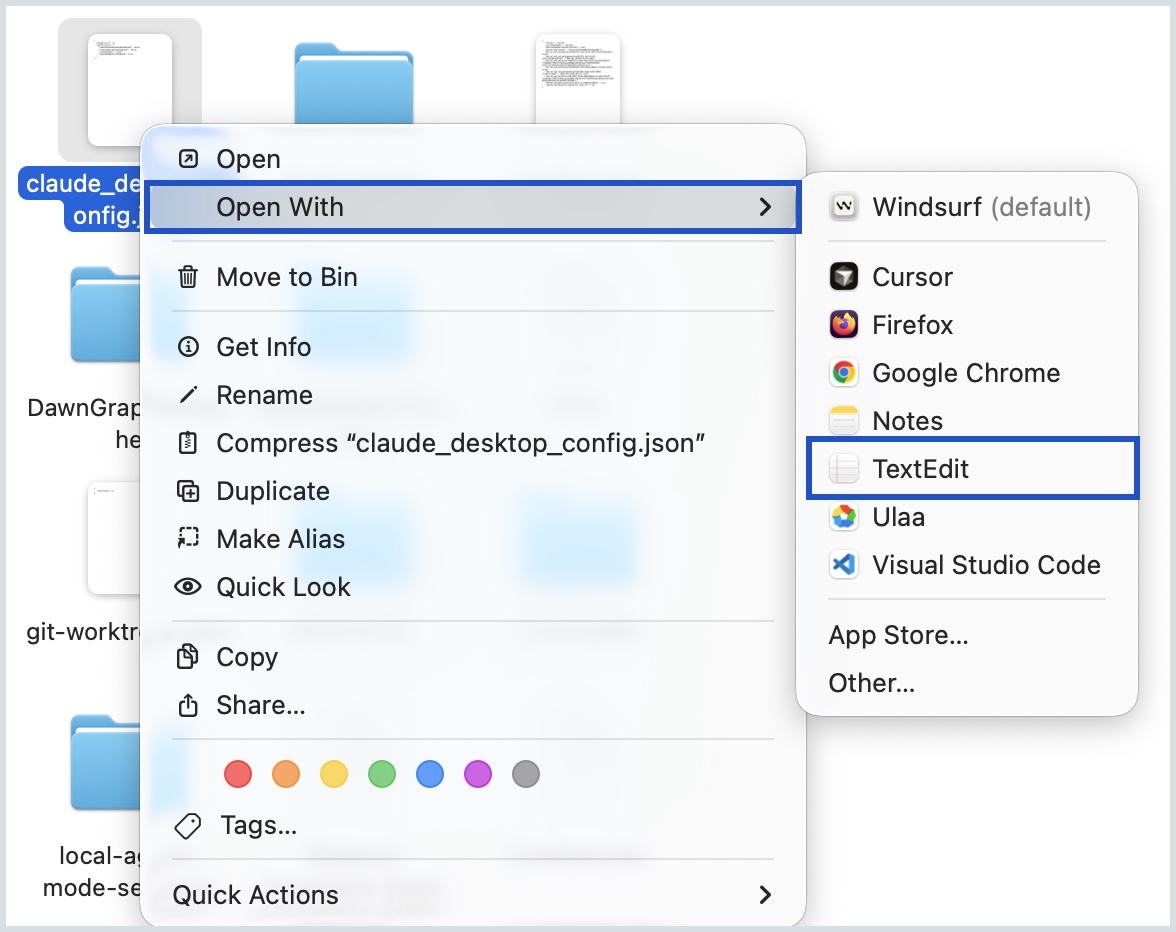
- Right-click the json file and select Open With TextEdit option.
- Copy the code snippet available under the Connect > MCP Clients > Cursor tab from the Zoho MCP server console.
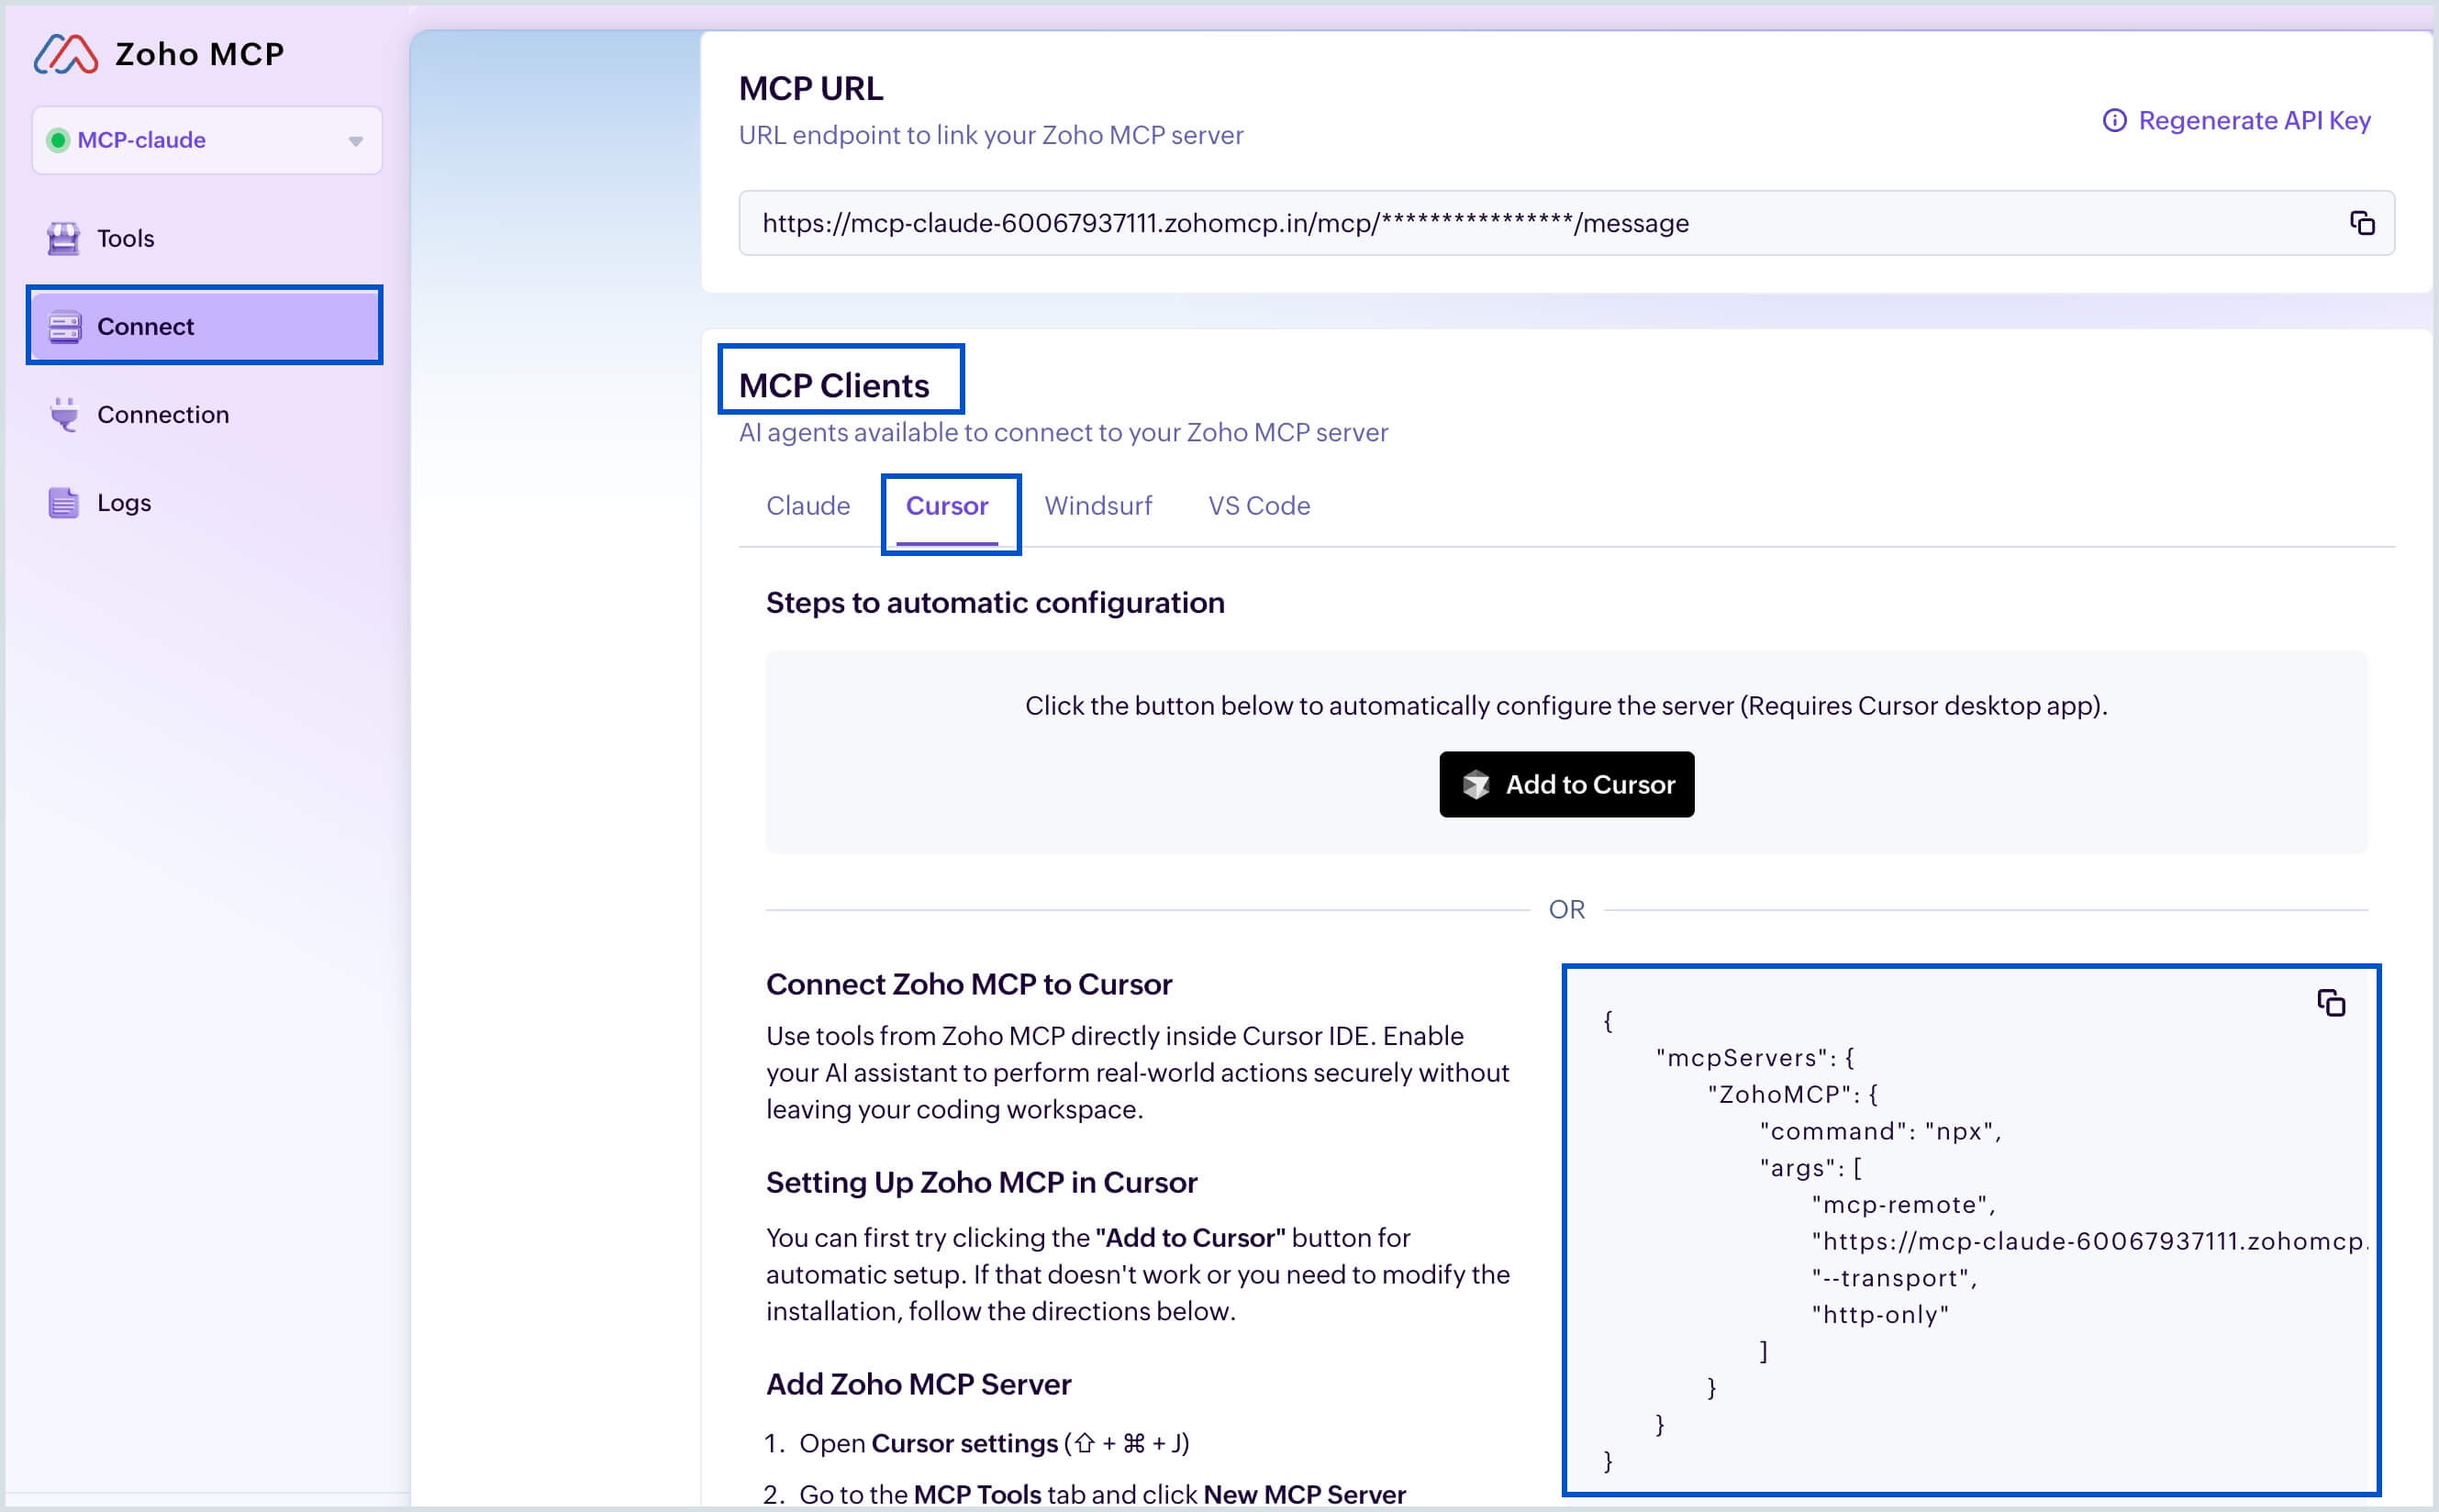
- Now paste this copied code in the claude_desktop_config.json file and click Save.
- Once you click Save, you will be directed to the Zoho MCP authorization screen in your local host. Click Allow.
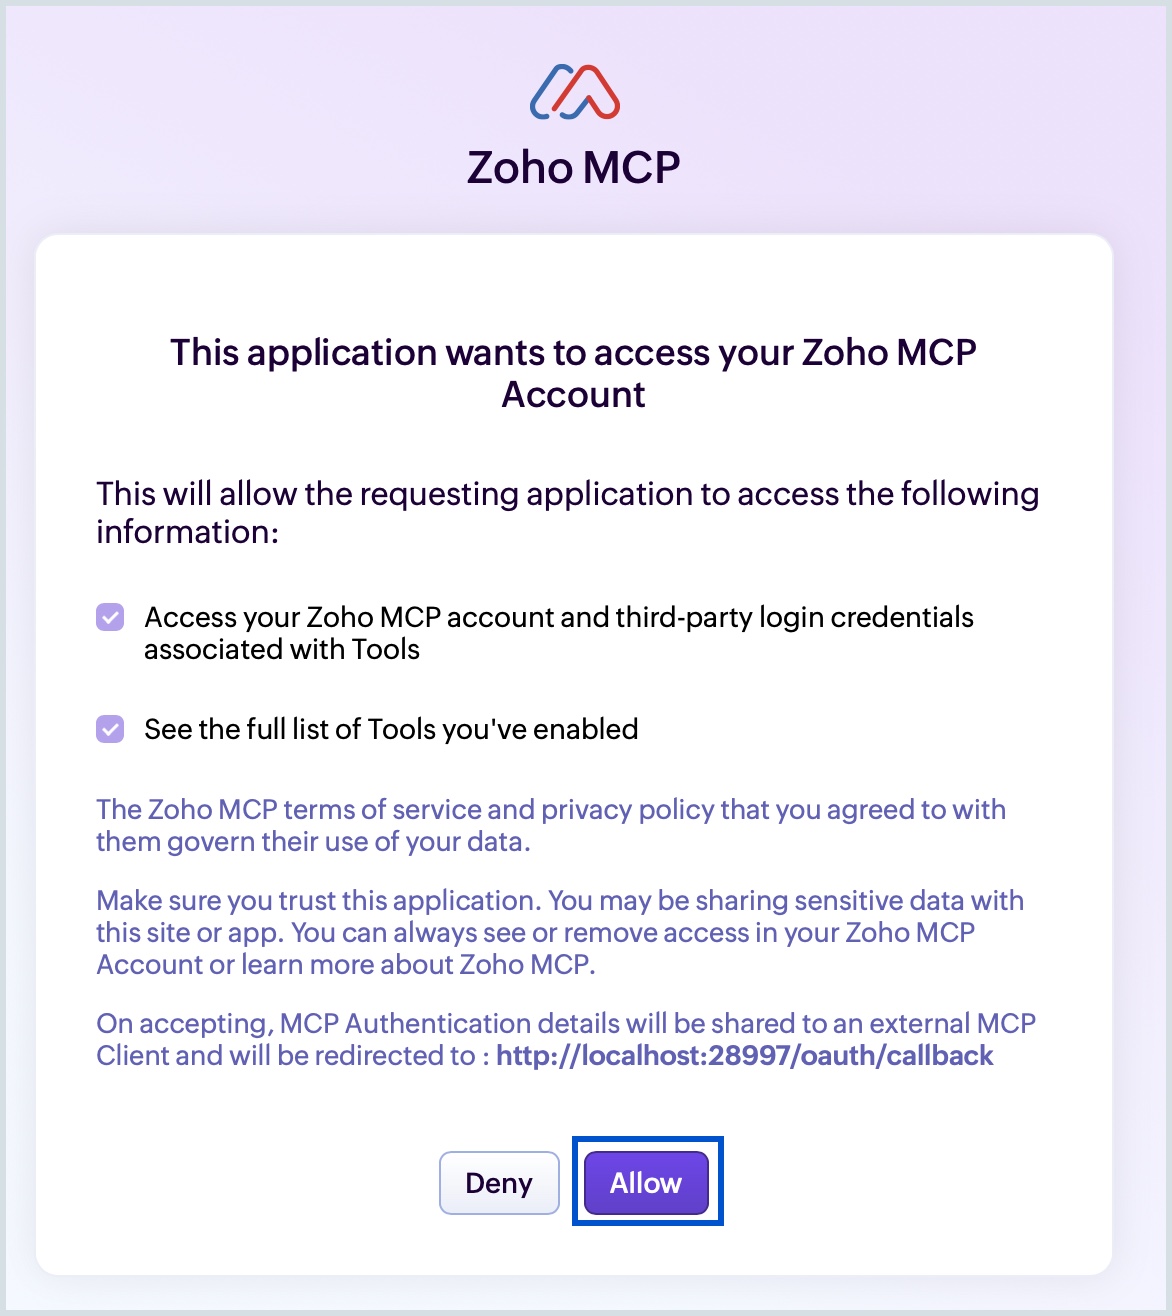
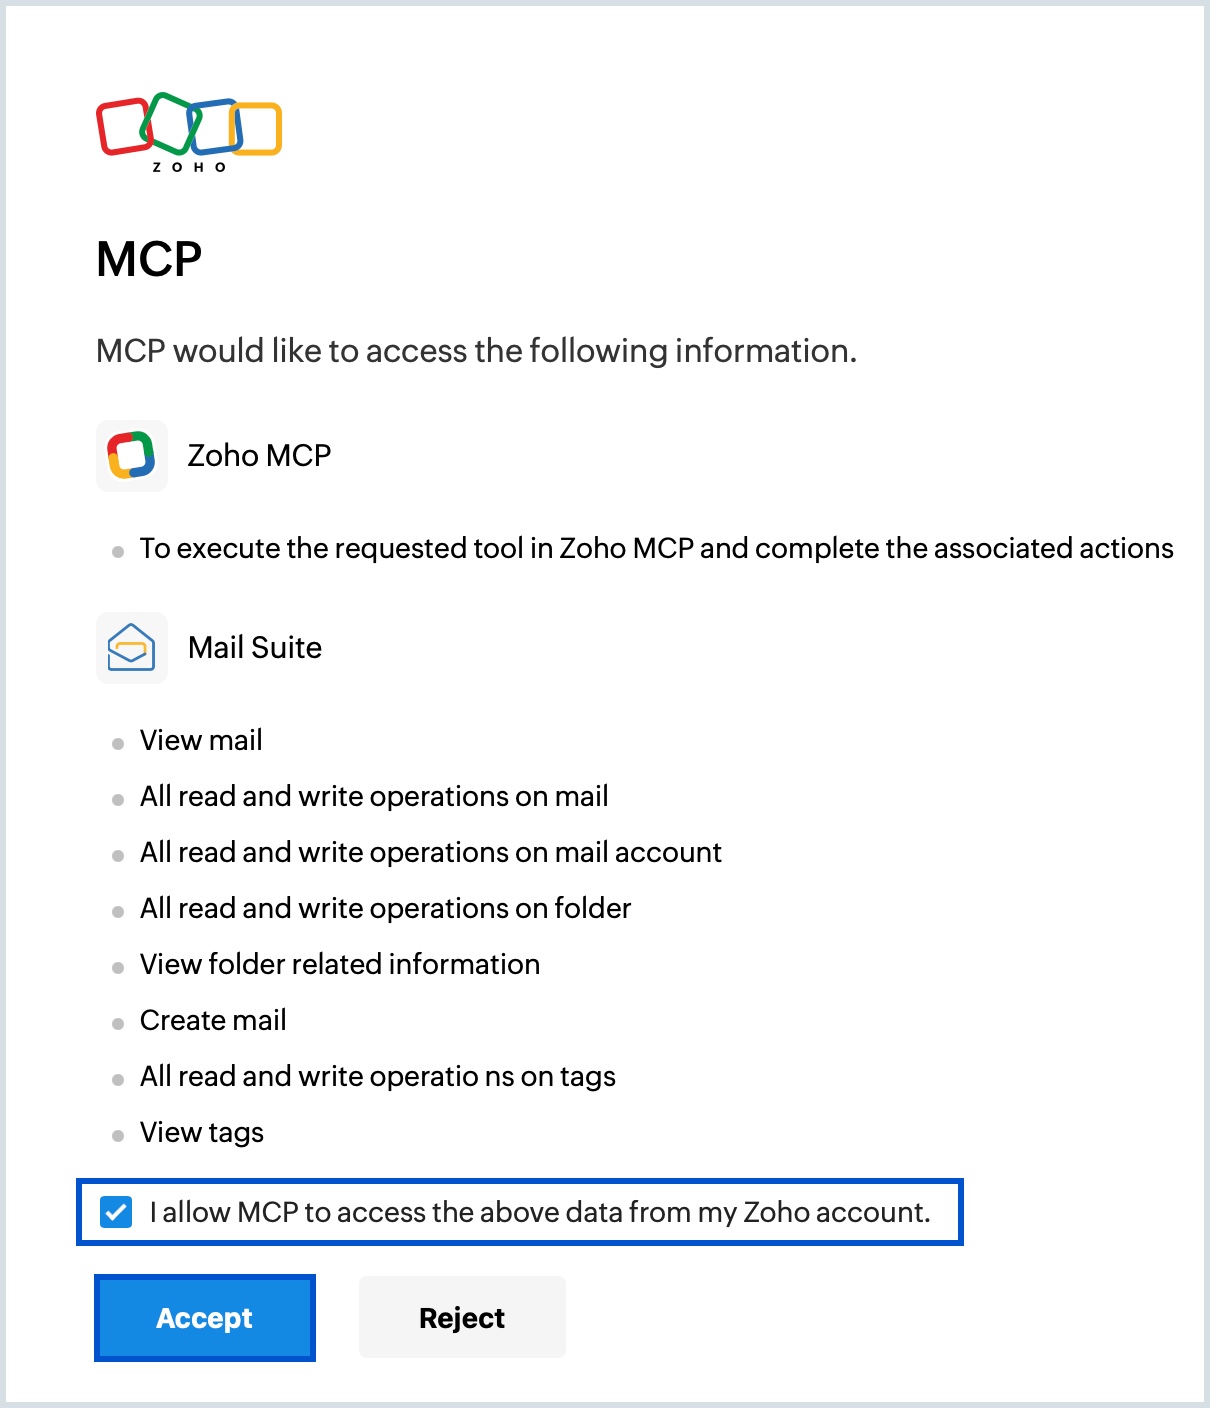
- Select the check box to grant permission and click Accept in the MCP authentication page.
- Quit and re-launch Claude to view the configured Zoho MCP from Claude console.


Now, you will be able to invoke your configured Zoho MCP server with Claude acting as the MCP client.