Email Sharing
Email Sharing allows you to easily manage discussion around emails, using comments, without multiple forwards and replies. It is a hassle-free way to share the information in an email with your colleagues/ people both within and outside your organization and get their opinion/ feedback/ advice about it.
Email Sharing
Email Sharing facilitates easy collaboration around emails, with your team members, colleagues, and friends.
Often we receive emails from a customer or other business contacts, which need to be sent around to a bunch of people in the same team or organization, debated upon, and discussed before a tangible response can be sent to that person. Such emails get forwarded and replied to endlessly, burying the original context of the email. Sometimes, it causes unnecessary delays in days, weeks, and even years. There also arises a lot of confusion, owing to which we might miss some critical piece of information shared by someone in one of the emails.
The email-sharing feature ensures that the context of the discussion is always centered upon the email. The collaborators share their feedback via comments, which gives contextual clarity to the response and makes sure that there are no unwanted delays or uncertainties in the response.
How Email Sharing works
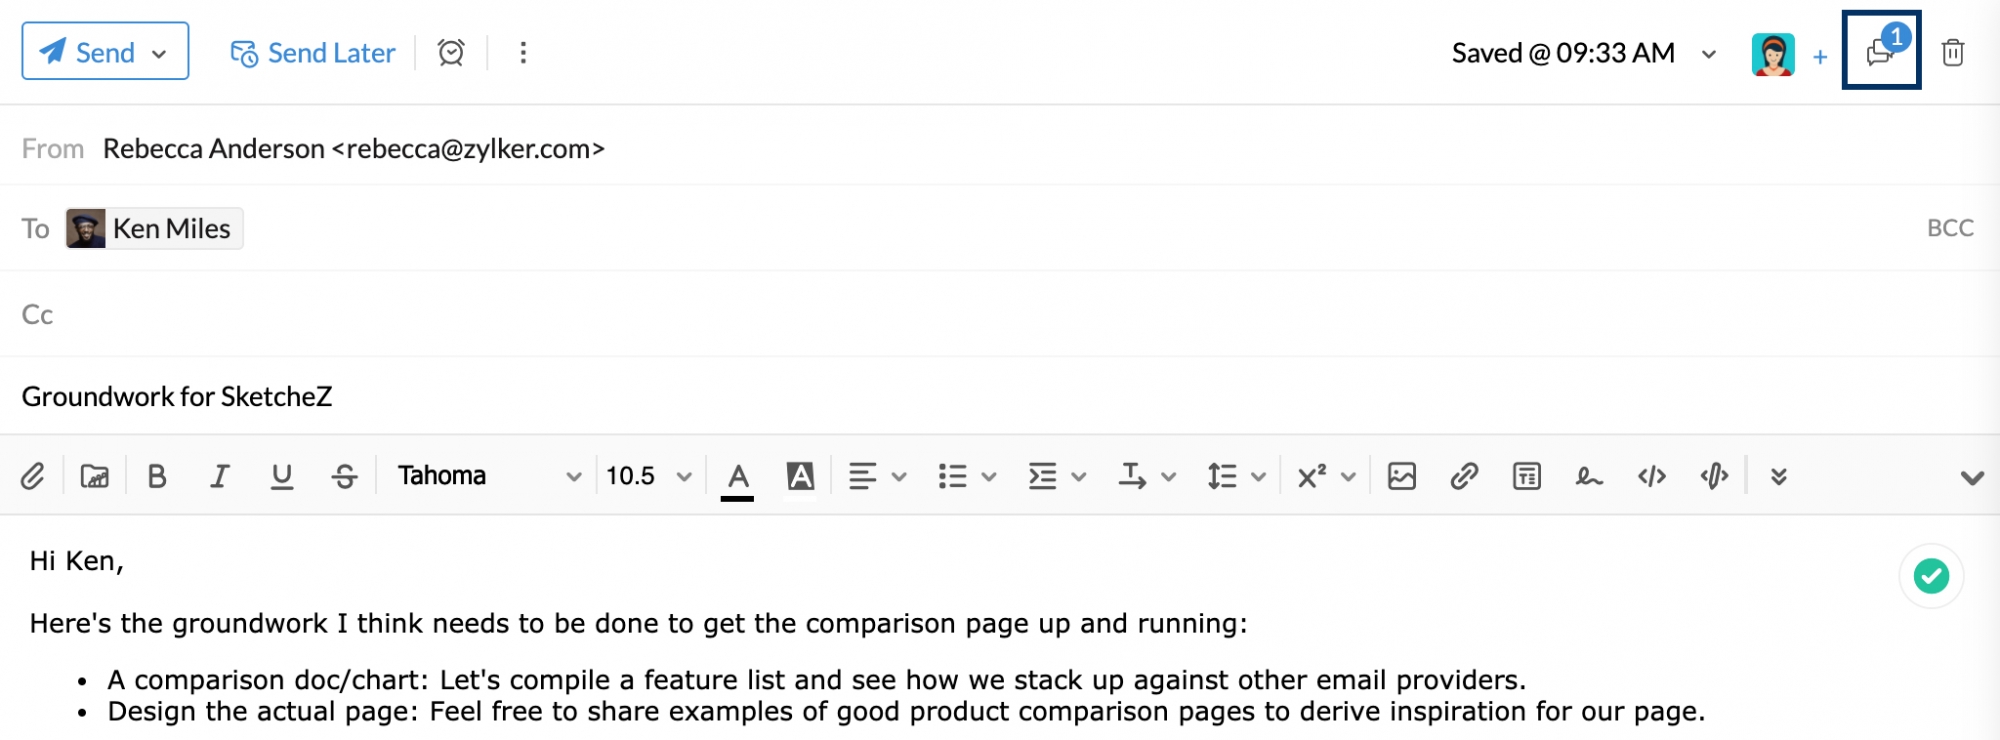
Every email you receive or send can be shared with anyone in the organization. You need to @mention the relevant people in the email instead of forwarding it to them. You can share it with individual users or even a Streams-enabled group. The users or the members of the group will receive a notification, about the shared email. They will be able to view the email conversation and add their feedback as comments on it.
- When you share an email, the entire conversation will get shared with the chosen users.
- Even if you share from the Search view, where the emails are listed as individual emails, the entire conversation will be shared with the selected users.
- The original sender of the email or the other recipients will not get notified of your comment or the shared email unless they're included in the comments.
- When you share an email with another user, they will not be able to invite a new person to view the email for security reasons.
- You can click the View all shares link, to view the list of members who are a part of the shared email and the related discussion.
Note:
You can also share a specific email or the complete email thread with people both within and outside of your organization using a permalink instead of forwarding the email/ email thread. Learn more.
Advantages of Email Sharing:
- The original email content cannot be tampered with or altered.
- The email threads are crispier, as the unwanted junk threads that form due to forwards are avoided.
- The same conversation can be shared with a new person, without having to forward multiple emails.
- Even a new person invited to the thread can easily understand the discussion and the flow of information.
Enable email auto-share
When you share an email with others, you can now enable automatic sharing of future messages in the conversation for users, by turning on 'Auto-Share' option. To turn on email auto-sharing, follow the steps listed below:
- Log into your Zoho Mail account.
- Open the email which you have shared with other users.
- Click on the comments box associated with the email.
- Click on the 'Auto-share future emails' checkbox to allow future email conversations to be automatically shared with other users.

Allow/Deny Invitees
While sharing the email, by default, the permission to add invitees will be granted to everyone you share the email with. You can also Disallow members from adding invitees to that email.
Before sharing the email with your organization members, click the Disallow members from adding invitees icon.
You can also change your preference to Allow members to add invitees after sharing the email, in case you change your mind later. 
 - This icon indicates that invitees cannot be added by anyone except the one who shared the email.
 - This icon indicates that invitees can be added by anyone with whom the email has been shared.
Streams and Email Sharing
Streams are mainly built to collaborate with a team of users using Status, Notes, Tasks, and Comments. Email Sharing is one of the unique features of Streams, which help the users to collaborate around emails.
When you share an email, the relevant members receive a notification about the share. The email can be read from the Streams page and commented upon by the users.
The emails shared by you with other groups or a set of users can be viewed from My Posts in the Home tab.
Selected Email Sharing
You can share selected emails from a conversation thread with another user. You can select the emails from the thread that you want to share by clicking on the  Share icon next to the respective emails. The comment box will display the number of emails selected for reference. Once you have selected the emails, you can @mention the relevant users in the comment box and click Share Emails.
To include or exclude from the shared emails, you can select/ unselect the emails from the conversation. It will be automatically updated.
Keep your group emails in a shared space and collaborate over them with your team in a transparent work environment with Zoho TeamInbox's shared inbox management.
Share mail as a link
You can use a permalink to share emails (both sent and received). The content of an email or an email thread will be included in the created permalink. This link can be shared both within and outside your organization. The permalink can be accessed by your colleagues as well as anyone outside your organization, depending on the access level you choose.
Note:
The option to share emails via permalink is available only for your primary account. It will not be available for other accounts added via POP/ IMAP, or delegated email accounts.
Follow the steps given below to generate a permalink for an email:
- Log in to Zoho Mail.
- Navigate to the folder from which you want to share the email and click on the email/ email thread from the email listing.
- In the email preview, click on the Permalink icon from the top of the email thread/ email (if the conversation view is turned off).

- If you want to share a particular email from an email thread, click the Permalink icon on the top-right corner of the email header.
- In the Link Permissions dialog box you'll have the options to change the access levels, set the expiry date, hide the email addresses available in the emails, and choose to generate a shortened URL for the permalink.

- Access levels - The access levels determine who can view the email via permalink. There are three levels of access available:
- No one, just me - The email content can be accessed only by you when you're logged in using your Zoho Mail account.
- Anyone in your organization with the link - The email content can be accessed by any logged-in users within your organization using the link.
- Anyone with the link - The email content can be accessed by anyone using the link.

- Set expiry date - Set an expiry date for the link, after which the content of the email can't be accessed using the link.
- Show all email addresses available in the emails - You can choose to show/ hide the email addresses in the header of the email content.
- Shortened URL - You can choose to generate a shortened URL for the permalink.

- Access levels - The access levels determine who can view the email via permalink. There are three levels of access available:
- Click Create once you choose the Link Permissions.
- To share the link, click Copy link and share the link with your colleagues and friends. You can also share the link via Zoho Cliq.


To edit the permissions, click on the link permission details given in the Permalink is ready to be shared pop-up and follow the same steps given above.
You can also choose to delete the link by clicking on the Delete link button. Upon deletion, the users will not have access to the email content. You need to generate a new link in order to share the email again using a permalink.
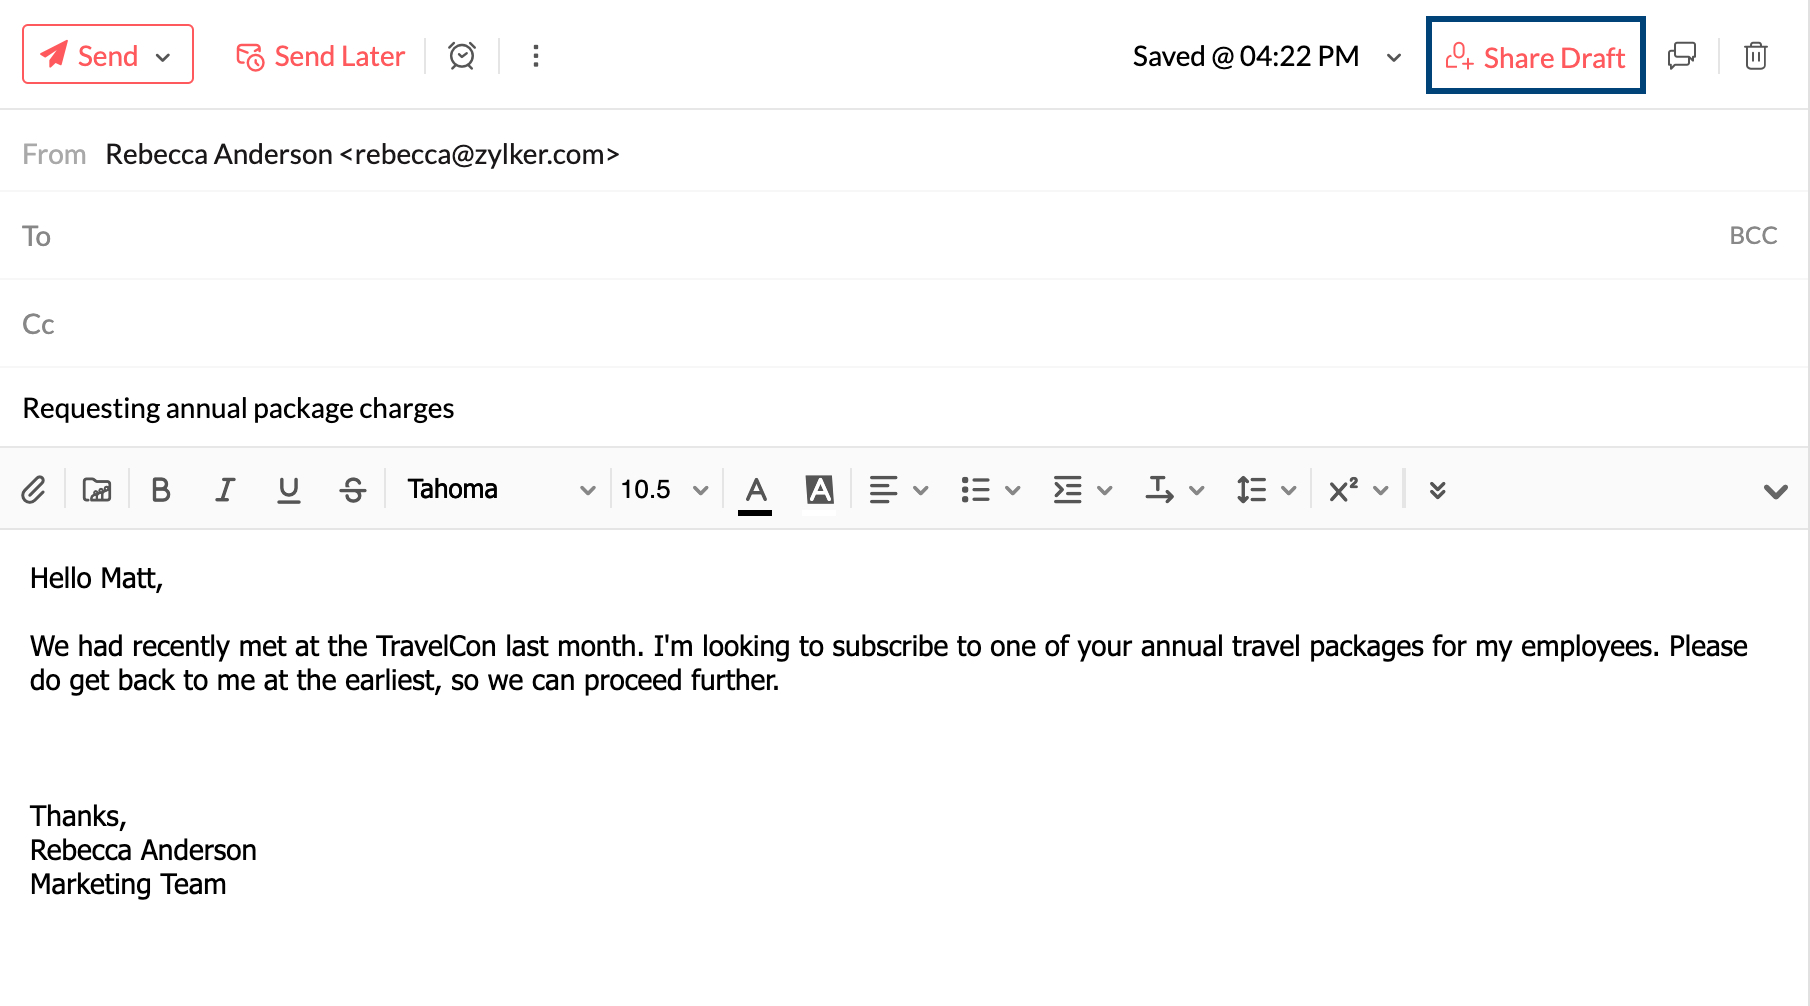
Share Drafts
You can use the Share Drafts feature in Zoho Mail to get your content reviewed by your teammates before you hit Send. You can get their inputs and suggestions in the form of Comments to get new ideas or make changes to your email draft.
- To share an email draft, click Share Draft. As soon as you click Share Draft, the email draft will get automatically saved.
- Select the users you want to share the draft with, from the drop-down list. You can also search for them using the search bar.
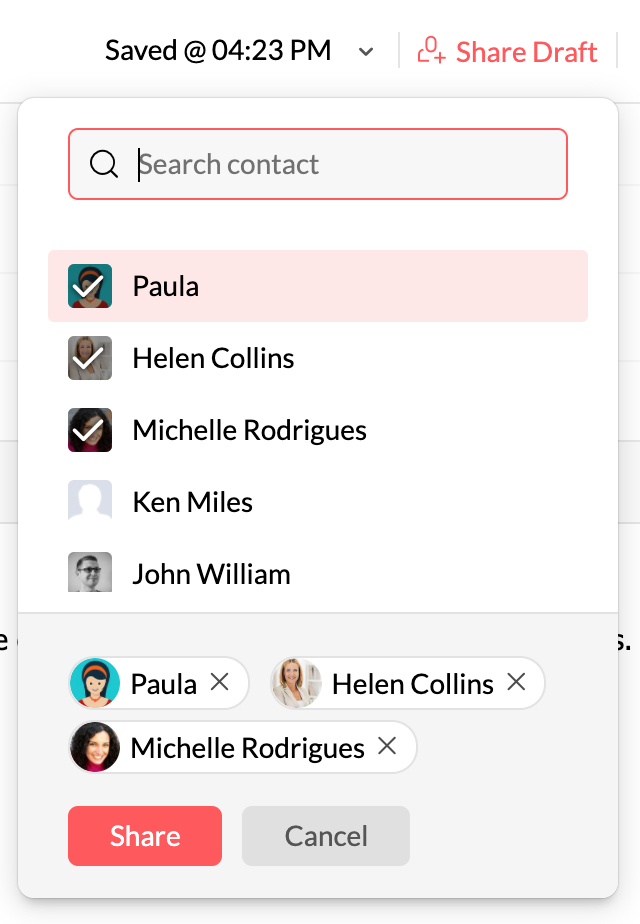
- Once done, click Share.


After clicking share, the invitees will receive a notification alerting them of the shared draft. The invitees can view the email draft by clicking on the notification.
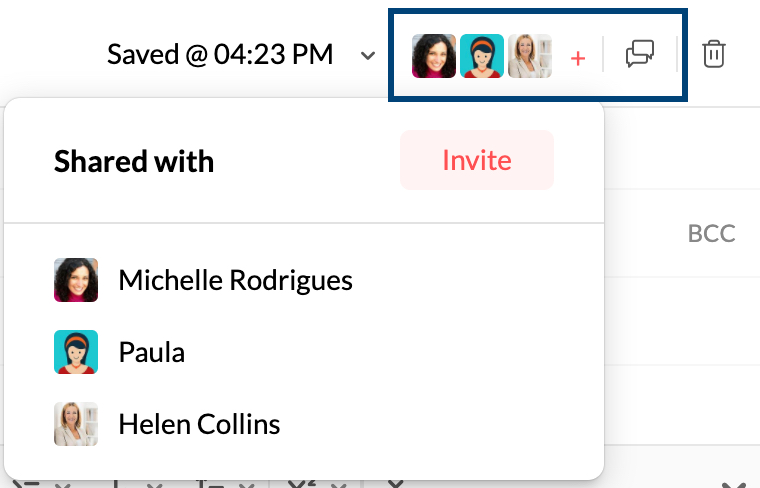
You can view the list of people you shared the draft with, by clicking on the any of invitee avatars of the list. You can also add new users by clicking the Invite button or the + icon.
You can continue making changes to the draft and any changes made will get reflected automatically and dynamically, when the email draft gets saved. Apart from the draft being autosaved consistently, you can also manually save an email draft by clicking the Saved button.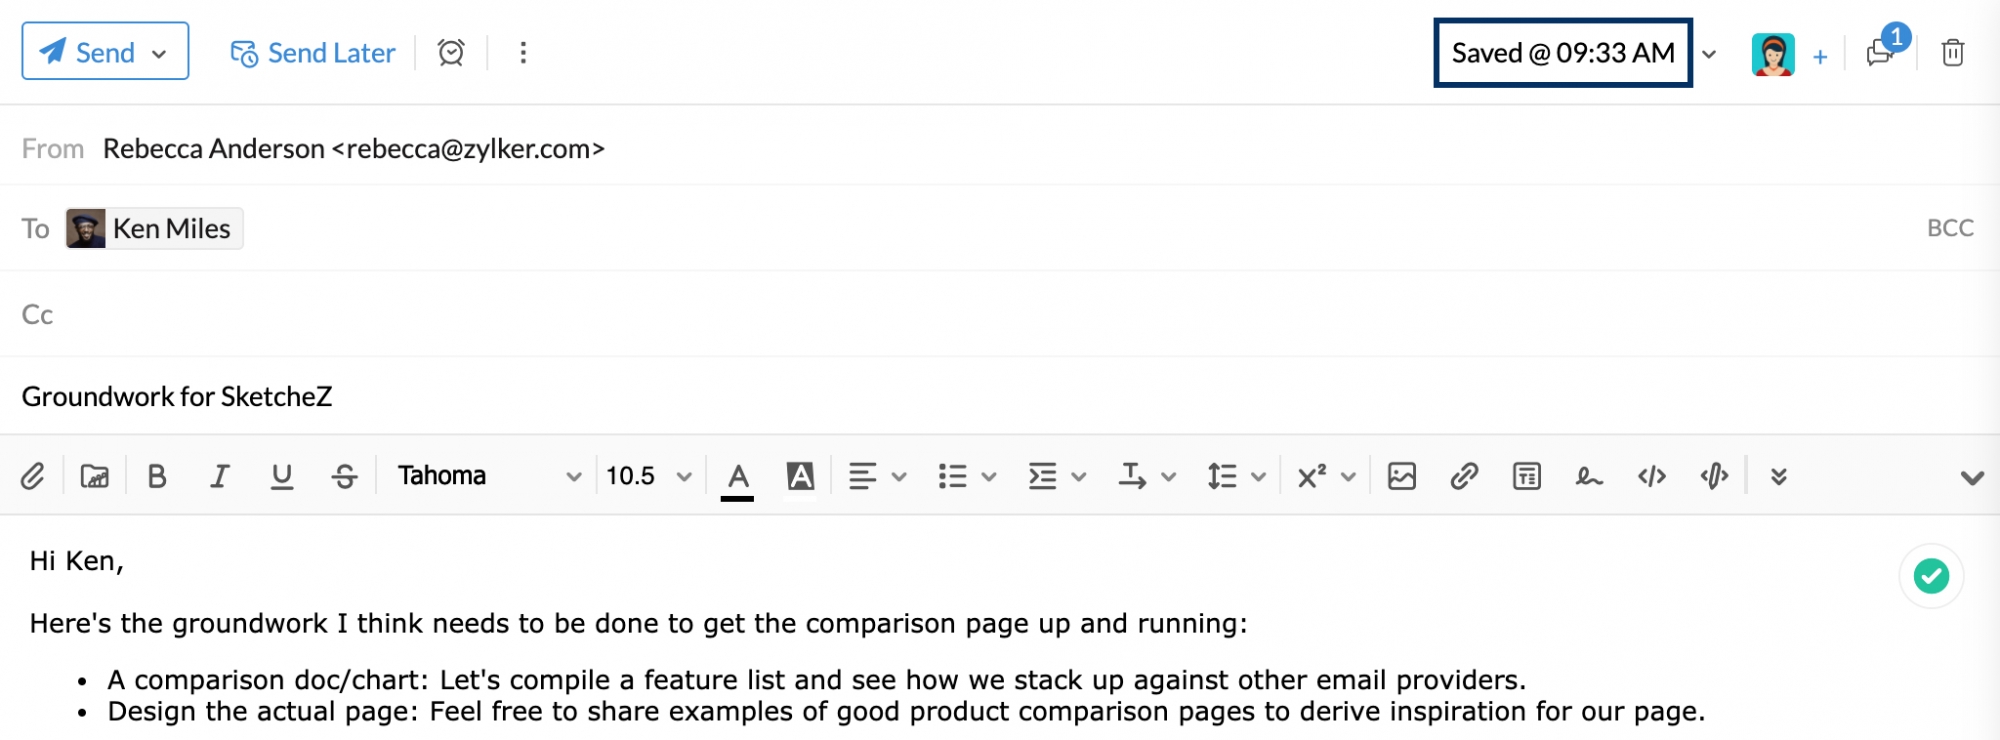
You can click the comment icon to show or hide the comments section. The number of comments will be displayed on the top right corner of the comment icon.