
Integrate Zoho Inventory with Shopify
Shopify is a professional online storefront that can be set up in minutes. When integrated with Zoho Inventory, it enables seamless order management, payment processing, and real-time stock updates, ensuring a smooth e-commerce workflow.
Integrate with Shopify
Note: Once the integration is complete, all orders from Shopify will automatically sync with Zoho Inventory.
To integrate your Shopify store with Zoho Inventory:
Go to Settings by clicking the Gear icon in the top right corner.
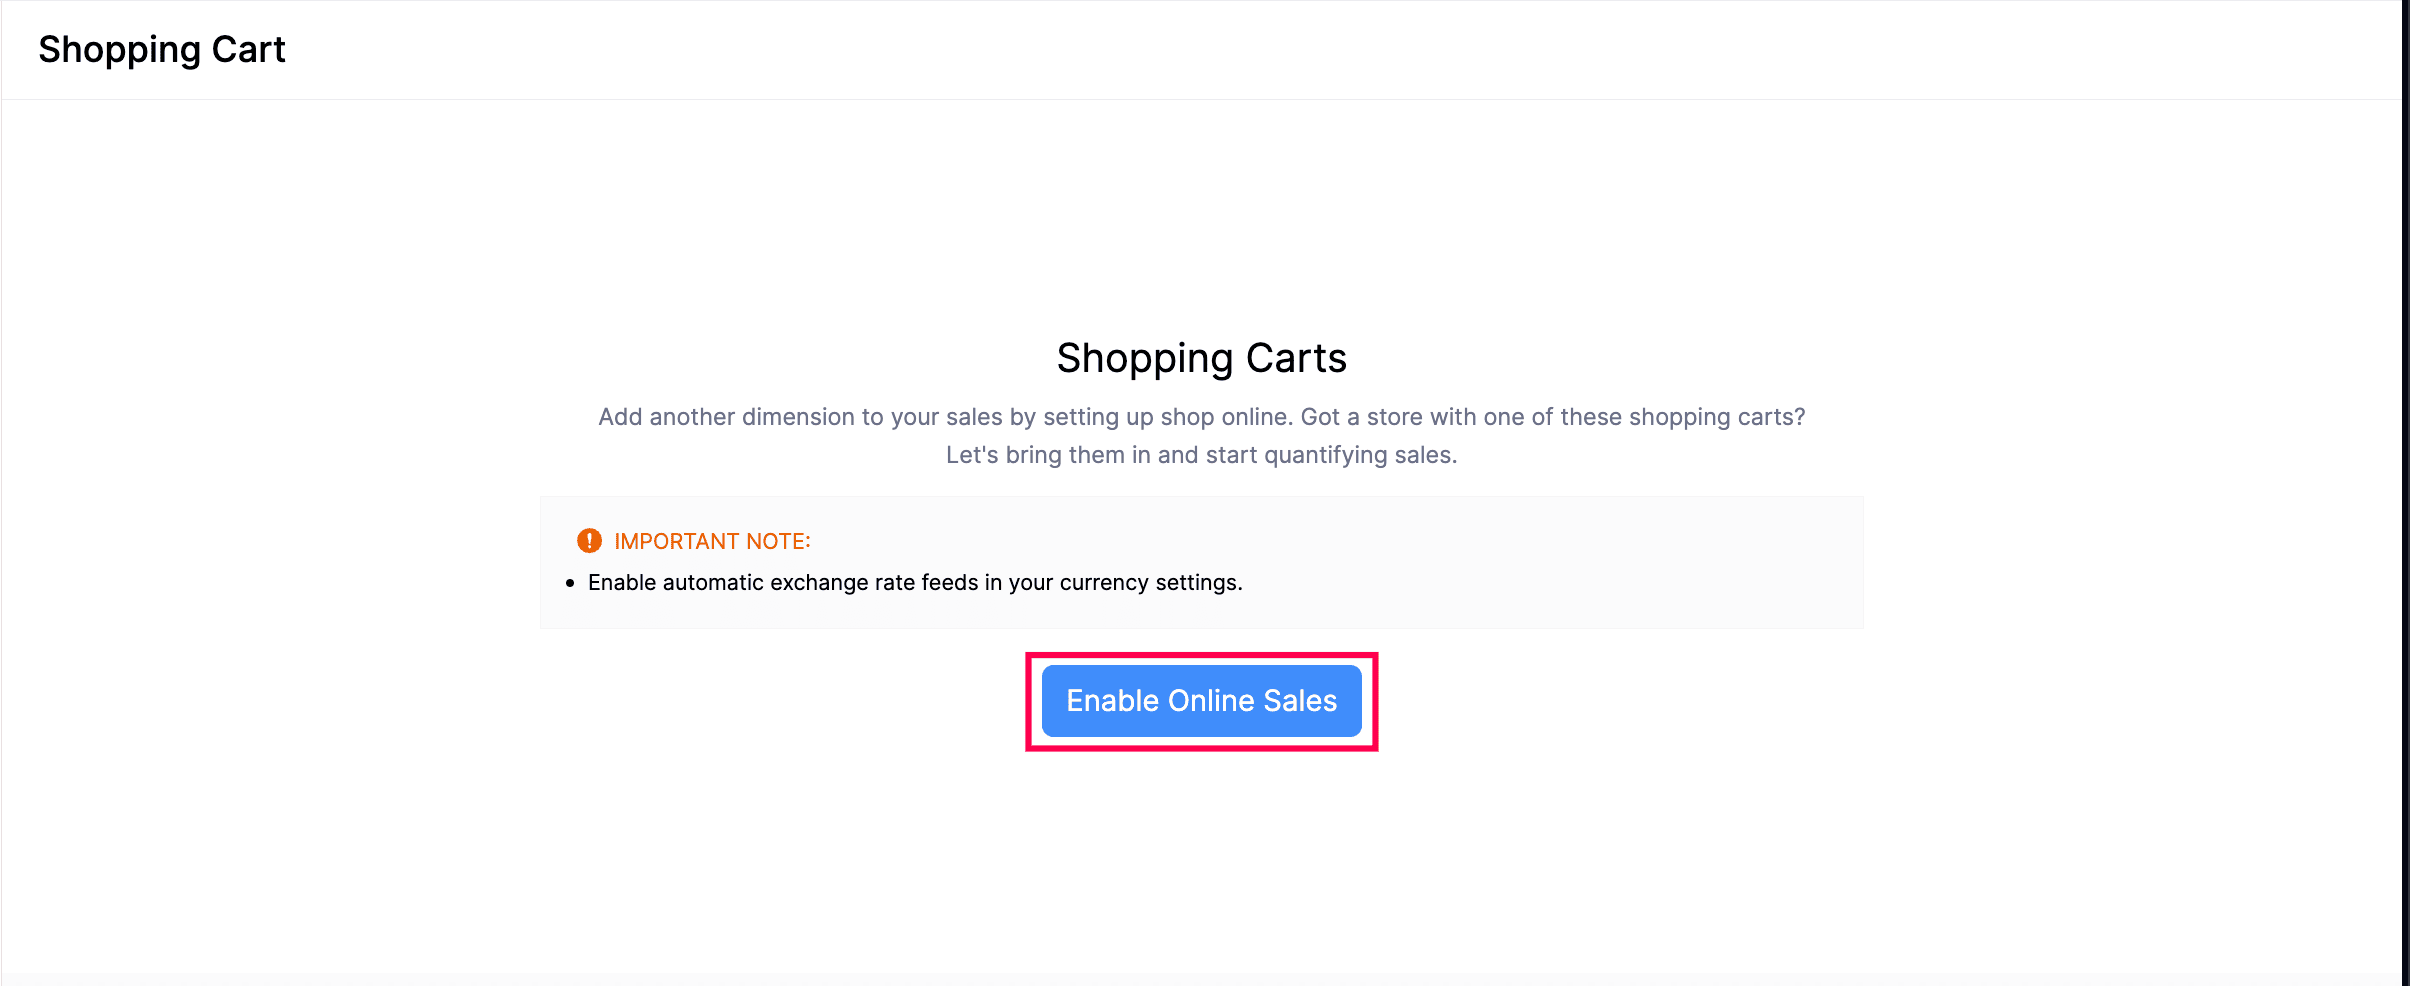
Select Shopping Cart under Integration & Marketplace.
Click Enable Online Sales to start accessing this feature.
Under Shopify, click Set Up Now. You’ll then be redirected to Shopify’s app store once you enter your store’s name.
Click Add App.
Select the store you want to link with your Inventory organization.
After you select your preferred store in Shopify, you’ll be redirected to Zoho Inventory’s connection page where you have to authorize the integration. Here’s how:
- On the connection page, click Connect Shopify.
- Then, click Connect Shopify next to the organization that you want to integrate with Shopify.
You’ve successfully integrated your Zoho Inventory organization with your Shopify store.
Configure Your Integration
Once you integrate your Shopify with Zoho Inventory, you can configure how and when you want the sync to happen
Go to Settings by clicking the Gear icon in the top right corner.
Select Shopping Cart under Integration & Marketplace.
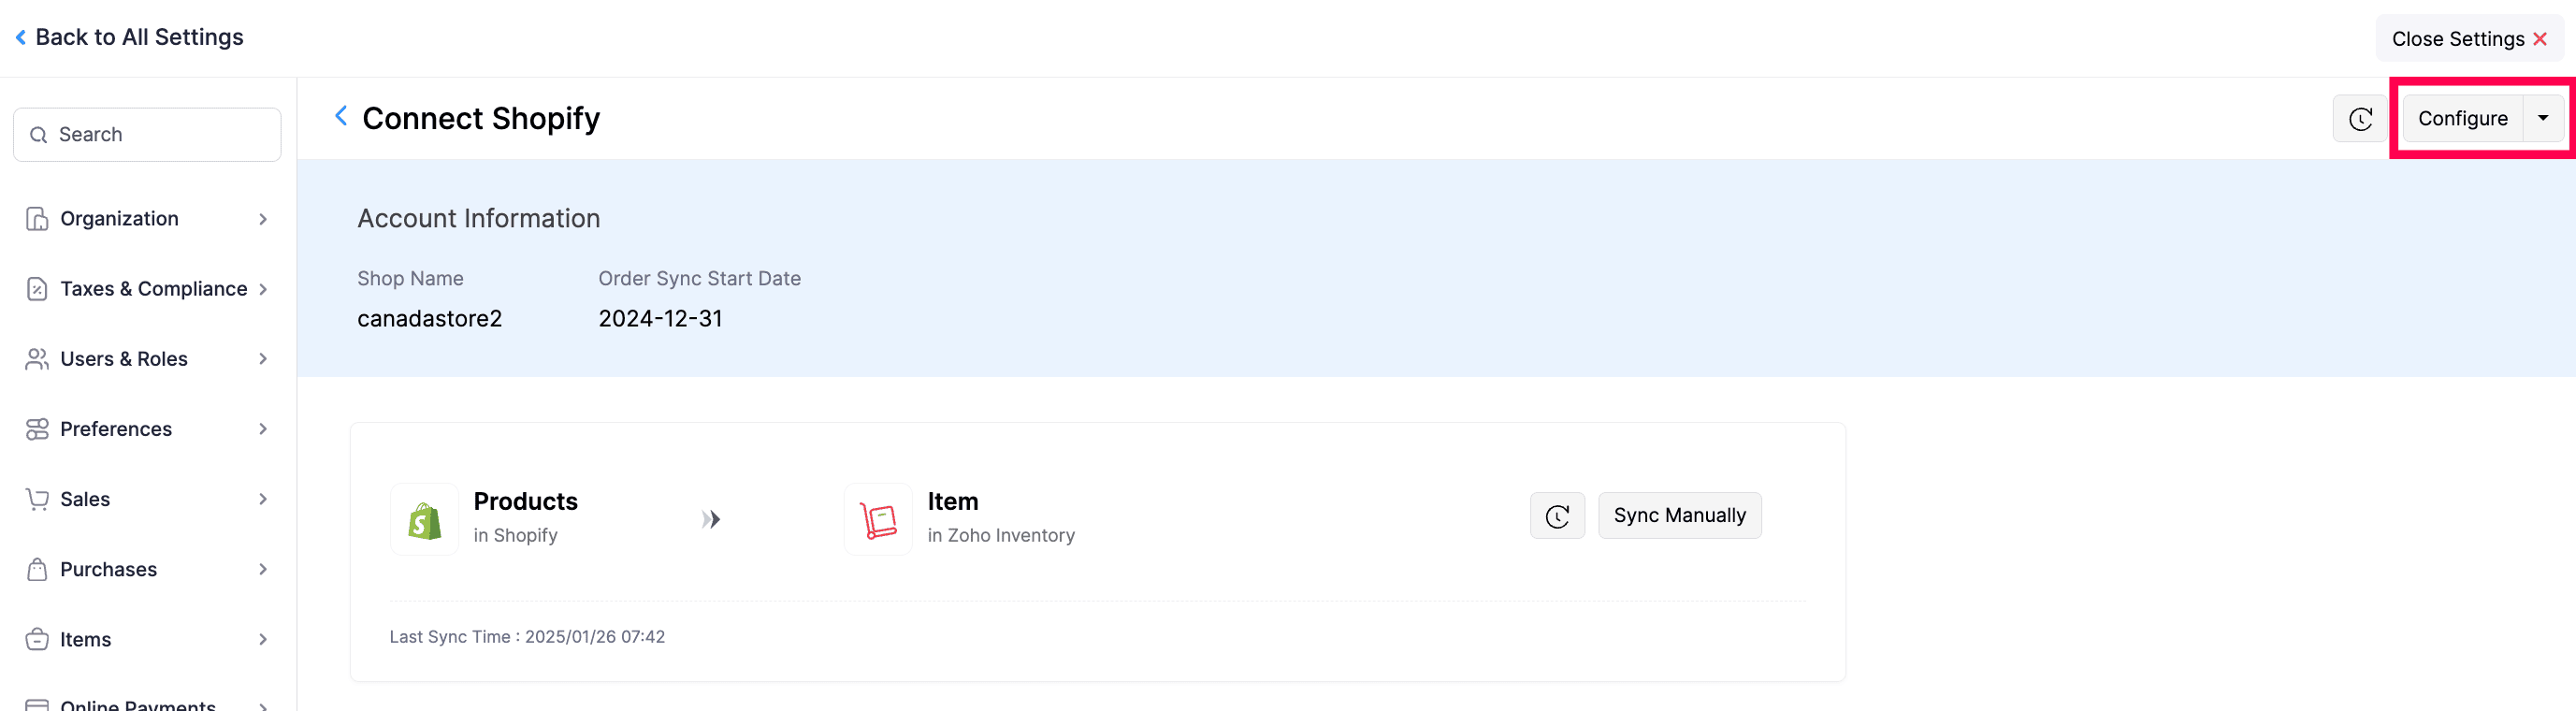
Under Shopify, click Show Details near the store you want to configure
Click Configure in the top right corner
Select the Map Items dropdown to choose how you want the items to be mapped in Zoho Inventory.
Select a Tax Exemption which will be automatically applied to all the non-taxable items fetched from Shopify.
Enable Sync Stock to ensure regular updates of stock changes from Zoho Inventory to Shopify.
Enable Fetch Stock Counts to update your Shopify stock levels with Zoho Inventory. Note that this occurs only once during the initial sync.
In the Import From field, select the preferred date for the import to begin.
Select the Sync Frequency to specify how often the synchronisation should occur.
Choose a Customer Mapping preference:
- Single Customer: All Shopify orders will be tracked under one customer name for easier tracking.
- Custom: You can customise how you want the mapping to take place from Shopify.
Choose a Warehouse Mapping preference:
Single Warehouse: All the items will be tracked under the selected primary warehouse
Multiple Warehouse: You can map Zoho Inventory warehouses with Shopify Locations.
Insight: By default, Shopify data maps to Zoho Inventory’s Primary Warehouse. Stock updates in Zoho Inventory combined across all warehouses and sync to Shopify as total available quantity. Example: If an item starts with 20 qty in the Primary Warehouse and later gets 10 qty in another warehouse, Shopify will show a combined total of 30 qty.
Connect Multiple Stores
To connect multiple stores with your Zoho Inventory organization:
- Go to Settings by clicking the Gear icon in the top right corner.
- Select Shopping Cart under Integration & Marketplace.
- Enter your store’s name, and you’ll be redirected to Shopify’s app store.
- Click Add App.
- Select the store you want to link with your Inventory organization.
After you select your preferred store in Shopify, you’ll be redirected to Zoho Inventory’s connection page where you have to authorize the integration. Here’s how:
- On the Connection page, click Connect Shopify.
- Then, click Connect Shopify next to the organization that you want to integrate with Shopify.
You’ve successfully integrated your Zoho Inventory organization with your Shopify store.
Disable/Delete Store Integration
To remove or disable a store from your Shopify integration:
- Go to Settings by clicking the Gear icon in the top right corner.
- Select Shopping Cart under Integration & Marketplace.
- Under Shopify, click the Show Details link next to the store name that you want to remove.
- To put the integration on hold temporarily, click Disable Integration. This will show an Inactive status and stops the syncing between your Shopify store and Zoho Inventory.
- To remove the store integration, click Delete Integration.
- To reactivate the integration, click the Enable Integration button on the same page.
Tune the Integration
On successfully integrating your Shopify seller account with Zoho Inventory, you can now start tracking your inventory for every sale you make in Shopify.
For additional control over your integration:
- Go to Settings by clicking the Gear icon in the top right corner.
- Select Shopping Cart under Integration & Marketplace.
- Click Sync Manually next to Add Store.
- Choose one of the options between Items or Sales orders in the dropdown.
Note: Using the manual sync in one marketplace will trigger a sync to the other integrated marketplaces as well.
Sync History
The sync history page logs the periodic syncing of items and sales orders from the respective sales channels into Zoho Inventory. For each timestamp, you can view the number of items and sales orders that were successfully synced or had failed to sync into Zoho Inventory.
To view the sync history of a store:
- Go to Settings by clicking the Gear icon in the top right corner.
- Select Shopping Cart under Integration & Marketplace.
- Click the Overall Sync History icon in the top right corner.
Insight: The successfully synced record histories that are older than a month and failed sync histories that are older than two months will be deleted automatically.
Re-Initiate a Sync
You can also re-initiate a sync to once again fetch the items and sales orders that was brought into Zoho Inventory on a particular timestamp. This is beneficial when:
- An item or sales order had failed to sync into Zoho Inventory. By re-initiating the sync, the items that had failed to sync will be fetched.
- You have incorrectly linked an item from a sales channel to an existing item in Zoho Inventory. In such cases, you can unlink the items, make the necessary modifications, and re-sync the incorrectly mapped items.
To re-sync a task in Zoho Inventory:
Go to Settings by clicking the Gear icon in the top right corner.
Select Shopping Cart under Integration & Marketplace.
Click the Show details button on the store you want to re-sync.
Click the Overall Sync History icon in the top right corner.
Place your cursor over the task that you want to re-sync and click Re-sync.

The items and sales orders that were synced on the particular timestamp will be fetched once again into Zoho Inventory.
Sync Orders and Items from a Custom Timeframe
You can also resync orders and items from a custom date range from Shopify. To do so:
- Go to Settings by clicking the Gear icon in the top right corner.
- Select Shopping Cart under Integration & Marketplace.
- Under Shopify integration, click the Sync Manually button.
- Choose whether you want to sync Items or Orders from the dropdown.
- Choose the Specific Period option from the ‘Fetch records from’ dropdown.
- Select the Start Date and the End Date.
- Click Initiate Sync to pull your orders or items from Shopify.
Export Sync History
To export sync history:
- Go to Settings by clicking the Gear icon in the top right corner.
- Select Shopping Cart under Integration & Marketplace.
- Click the Show details button on the store you want to export.
- Go to the Overall Sync History icon in the top right corner.
- Click Export in the top right corner
- Choose your preferred options and click Export.
Re-authenticate the Integration
In case you have de-activated the integration from your Shopify store by removing Zoho Inventory as an associated app, you can re-enable this integration using the re-authenticate feature.
To re-authenticate the integration,
- Go to Settings by clicking the Gear icon in the top right corner.
- Select Shopping Cart under Integration & Marketplace.
- Click the Show Details near the preferred Shopify store, if you’ve integrated many stores.
- Click the dropdown button at the top right corner and click Reauthenticate.
- Enter your Shopify store credentials in the login page.
After evaluating your credentials, the Shopify store will be successfully reconnected to your Zoho Inventory organization. You will henceforth be able to sync your items and orders between your Shopify store and Zoho Inventory.
Insight: The Reauthenticate option will only allow you to re-establish an integration with an existing account. This process will not allow you to change the account that is being integrated.