Documents
The Documents tab in Zoho Inventory allows you to upload files of any type and attach them to your contacts and transactions. You can also create folders to organize files for future use.
Highlights of the Documents feature:
- Upload files to your Documents Inbox directly by emailing them to a custom email address.
- Autoscan receipts and convert them into transactions.
- Attach files to transactions.
- Create folders to organize your files.
- Set access permissions.
Inbox
The Inbox is the primary folder within the Documents module that holds all documents uploaded or emailed by your contacts. Once the documents are uploaded, they will be autoscanned and data like date, amount, merchant name, etc from these documents will get captured and auto-populated while creating new transactions.
To enable Inbox in the Documents module:
- Go to the Documents module from the left sidebar.
- Click Inbox.
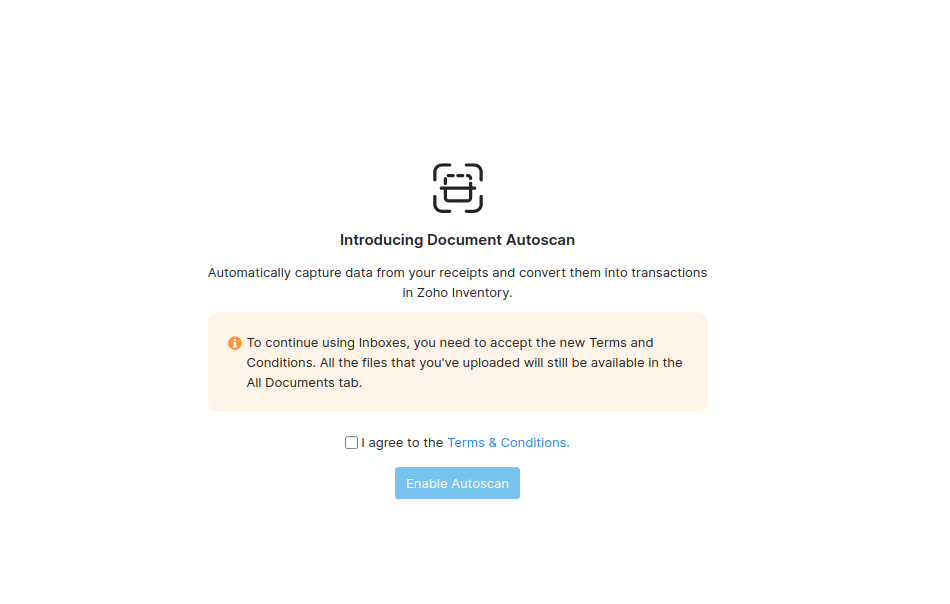
When you open the Inbox module for the first time, you will be asked to enable Autoscan by agreeing to the terms and conditions.
Uploading or Emailing Documents
You can upload files into your Zoho Inventory Documents by any of the options listed below :
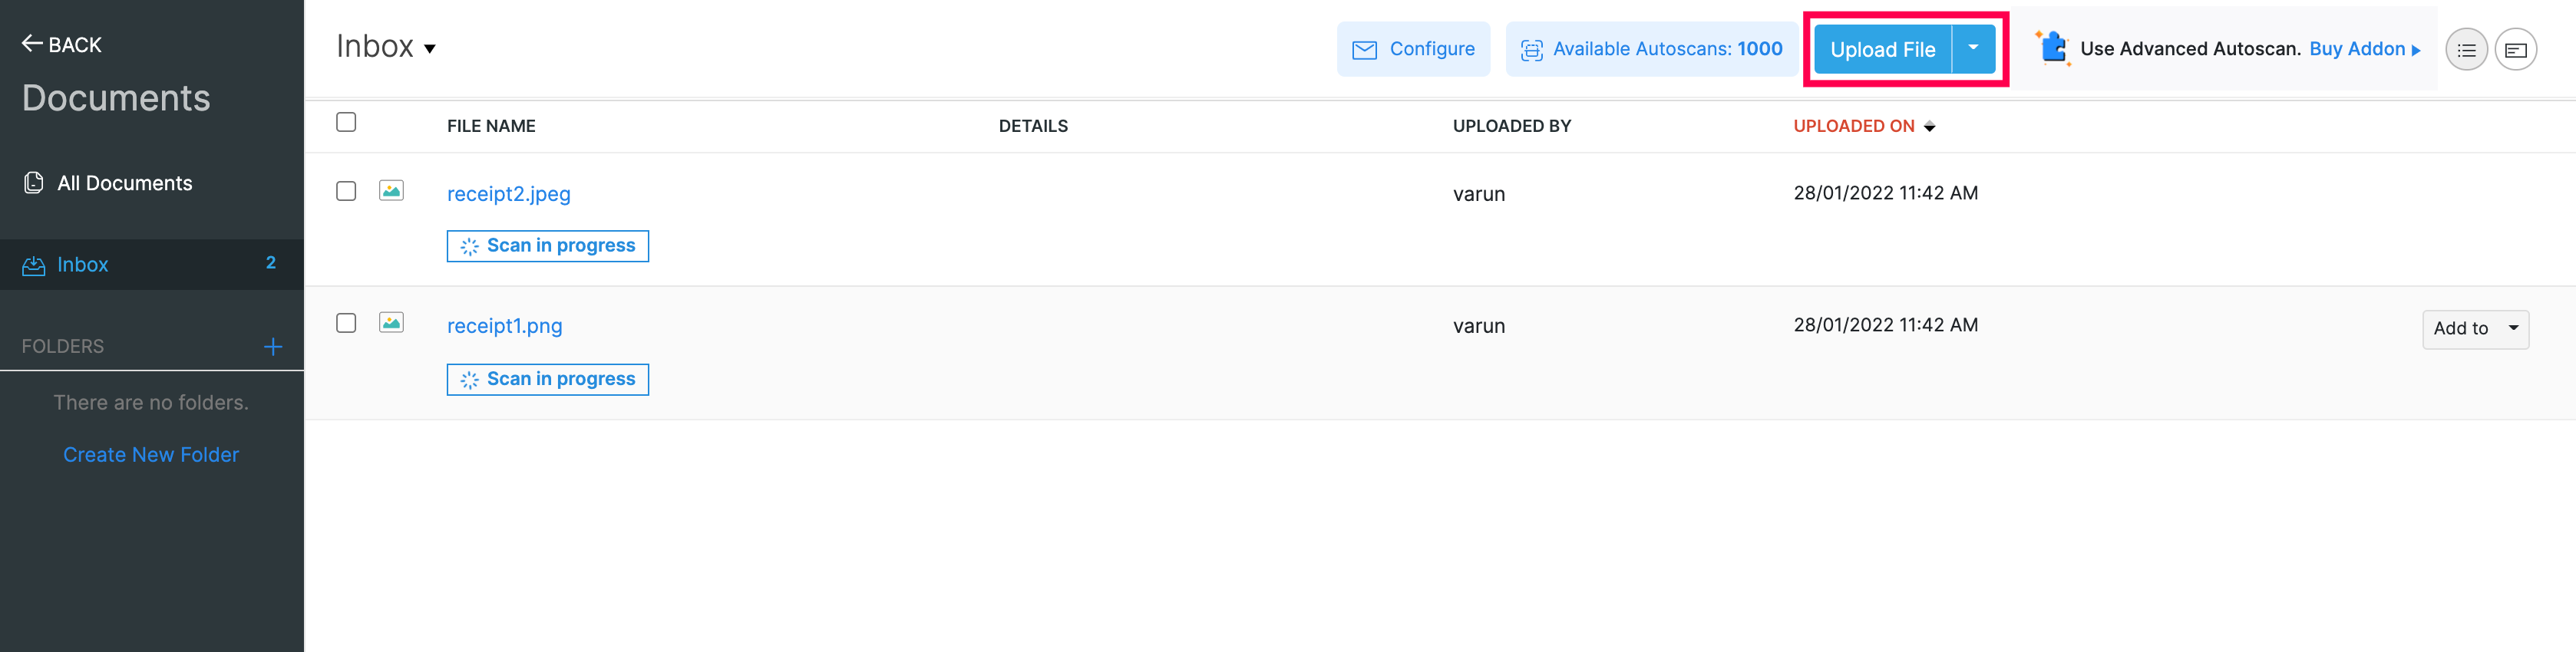
- Clicking the Upload File button in the top right corner or by dragging and droppping single or multiple files from your computer.
- Emailing documents to the unique email address of your organization.
Email files to the Inbox
Zoho Inventory generates a unique email address for your organisation that your customers, vendors and accountants can use to email documents directly to your Inbox. You can also directly forward the receipts or bills you receive from your vendors to this email address.
To generate a unique email address:
- Go to the Documents module.
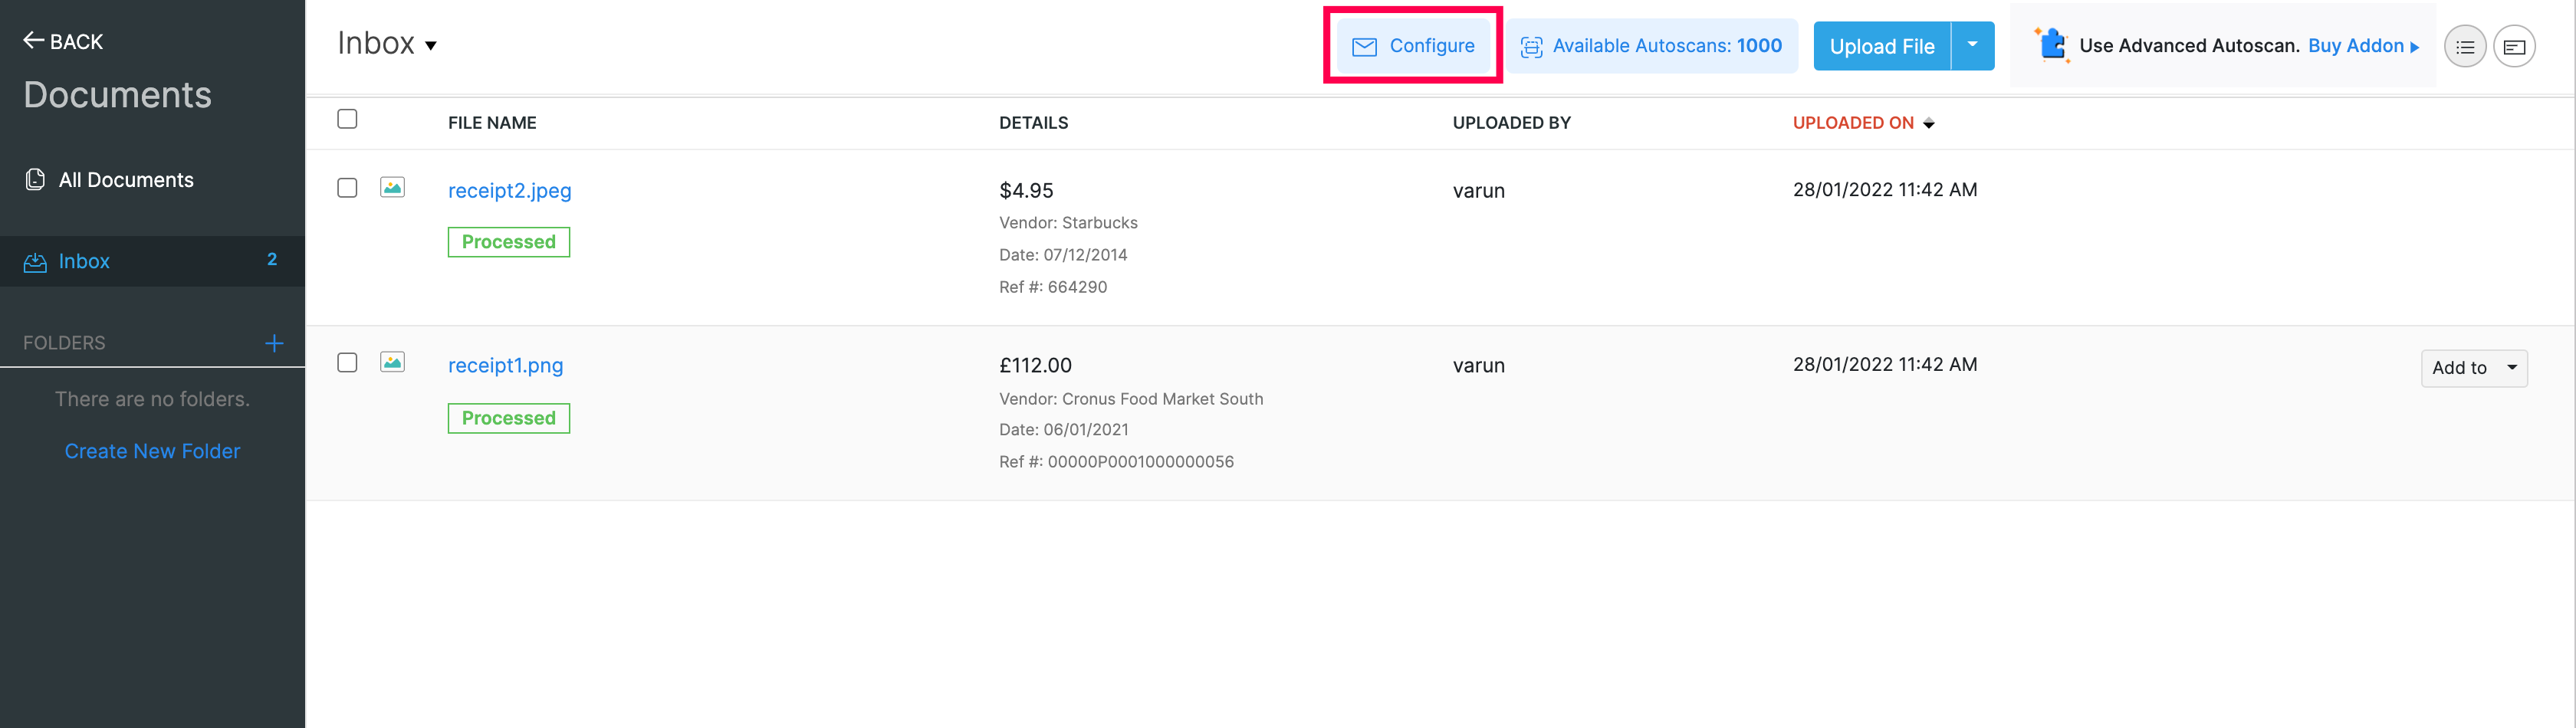
- Click Configure in the top right corner.
- You can either choose to use the system-generated email address or enter your own.
Once you’ve configured the unique email address for your organization, you or your contacts can email files to the address and it will land into your Inbox.
Autoscan
Autoscan is a process in which every document that has been emailed or uploaded, goes through automatic data capturing process. The documents in Zoho Inventory will be autoscanned accurately, and the line item details will be extracted quickly.
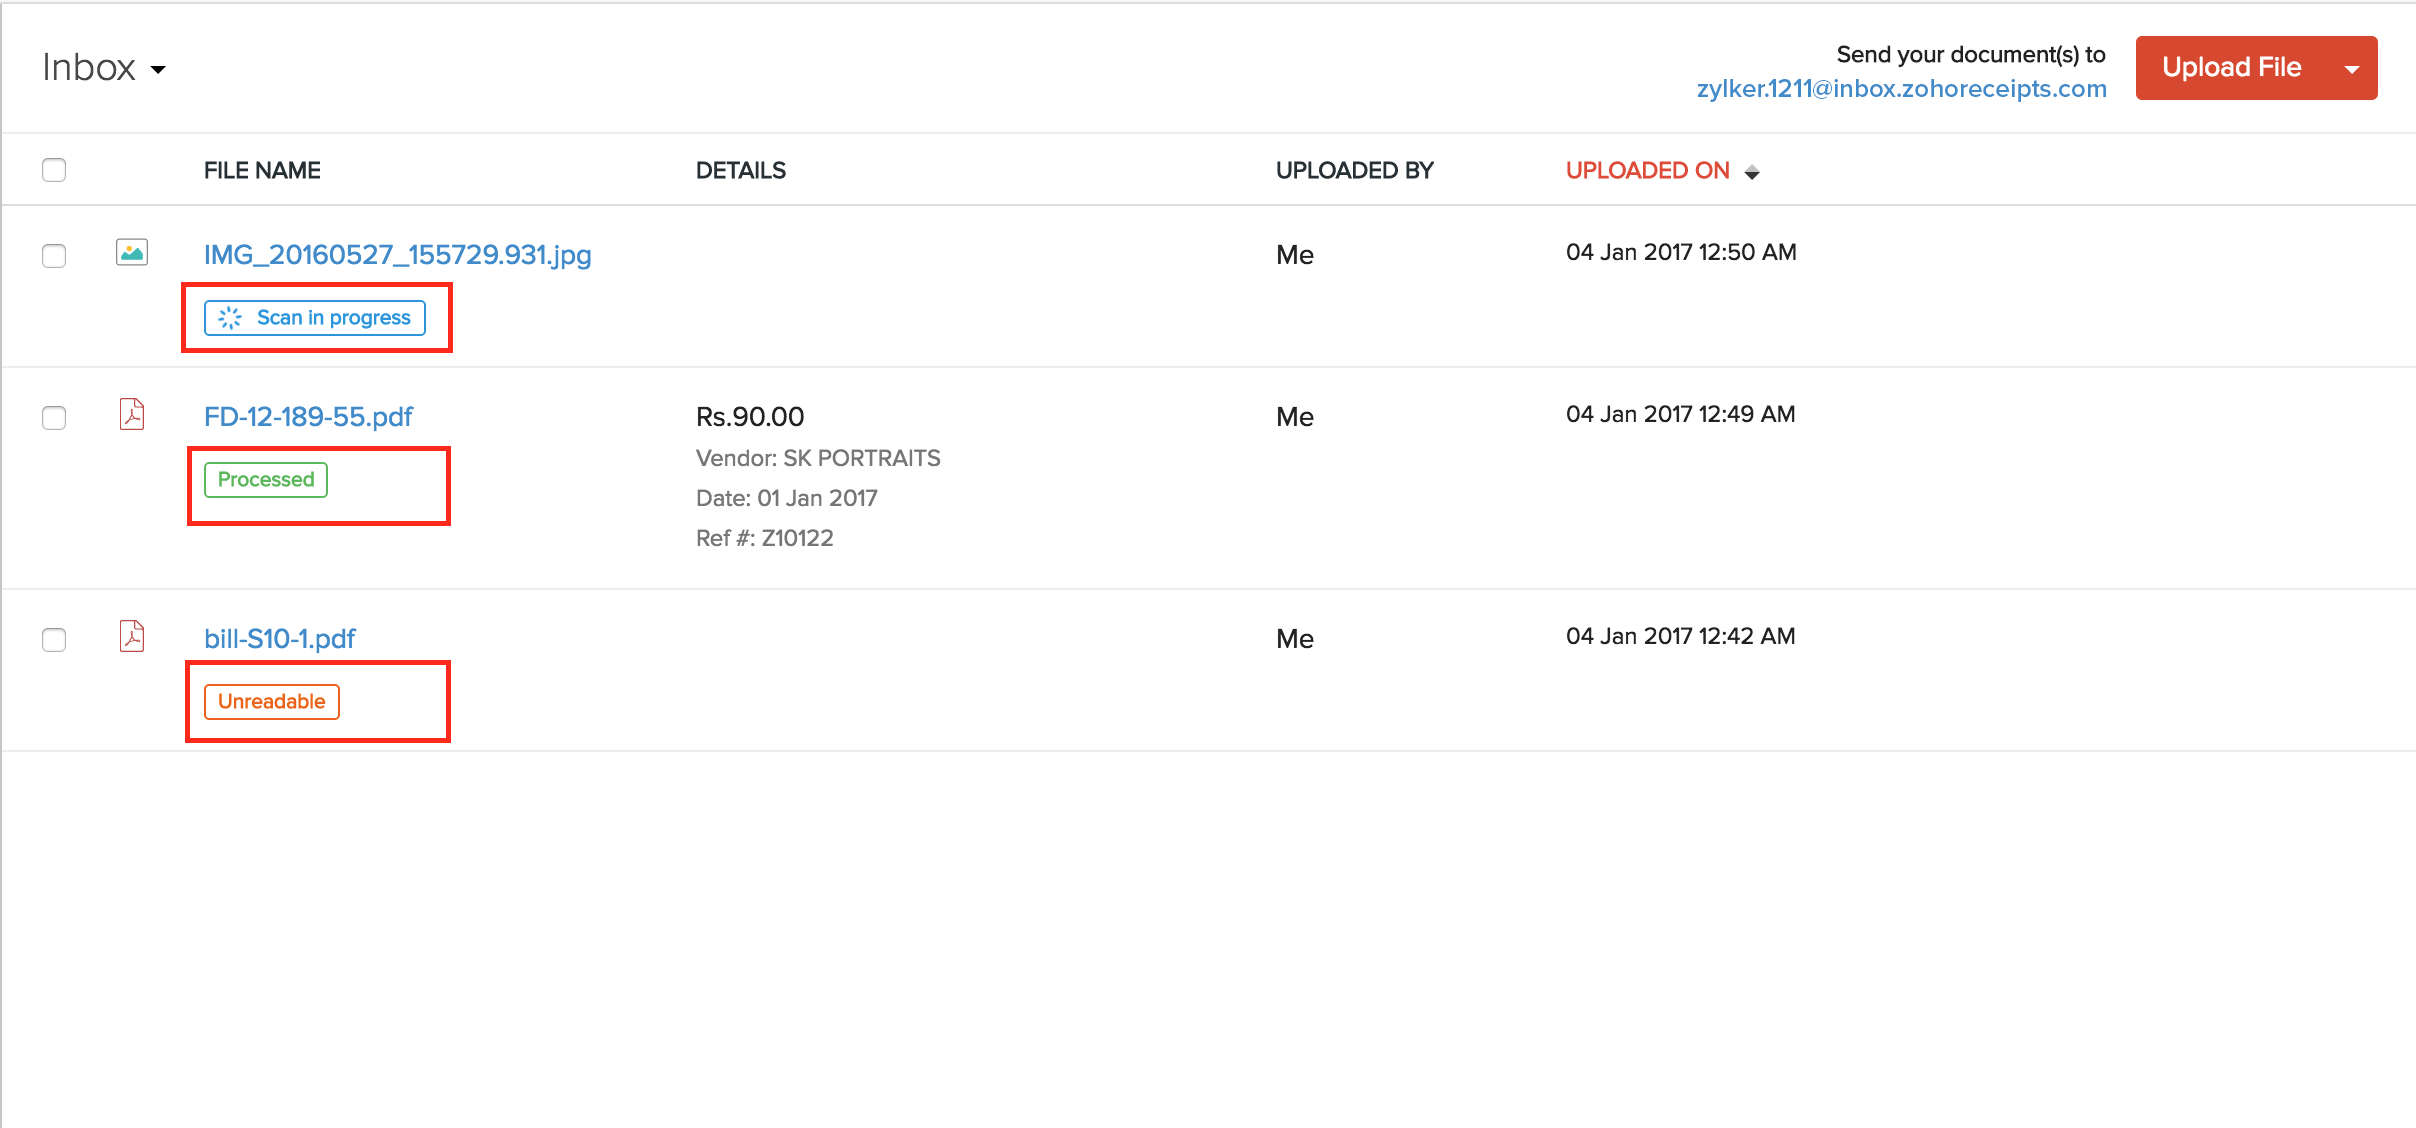
As the documents get autoscanned, you will be able to observe the following status of the documents:
- Scan in progress: The document or receipt is currently in the autoscan process.
- Processed: The document or receipt has been scanned and data is captured successfully.
- Unreadable: The autoscanning has failed. This may result due to illegible data, images which cannot be interpreted or when the language is not supported.
Once the documents are scanned they will be listed in the Inbox based on their time of arrival. The documents in the Inbox are yet to be attached to a transaction and hence act as a reminder of the pending activities which need attention from your end.
Autoscan Pricing
The Autoscan feature is available by default to all Zoho Inventory users across all the plans. Once the free scans are used up, you will have to purchase additional scans to continue auto-scanning documents.
Addon Pricing:
| Edition/Country | Currency | Monthly Price | Monthly Billed Annually Price |
|---|---|---|---|
| Global, US, Qatar, Bahrain, Oman, Kuwait | USD | 10 | 8 |
| Global | ZAR | 120 | 100 |
| Global | NGN | 3000 | 2500 |
| Global | MXN | 180 | 150 |
| Global | KES | 850 | 700 |
| Global | EGP | 120 | 100 |
| United Kingdom | GBP | 8 | 6.5 |
| Canada | CAD | 15 | 12 |
| Australia | AUD | 15 | 12 |
| UAE | AED | 36 | 30 |
| Saudi Arabia | SAR | 36 | 30 |
| India | INR | 499 | 419 |
| Europe | EUR | 10 | 8 |
Clearing the inbox
When a document is added to a new transaction or matched with an existing transaction in Zoho Inventory, the document will then be automatically cleared from the Inbox and moved to the All Documents section.
Providing role-based access
You can allow trusted individuals such as accountants, business partners, and managers to access the documents by enabling the necessary permissions for their roles.
To enable document permissions:
Go to Settings, then Users & Roles.
Create or edit a role.
Go to Documents and enable the required permissions.
Click Save. The users associated with the particular role will be have access to the selected actions.
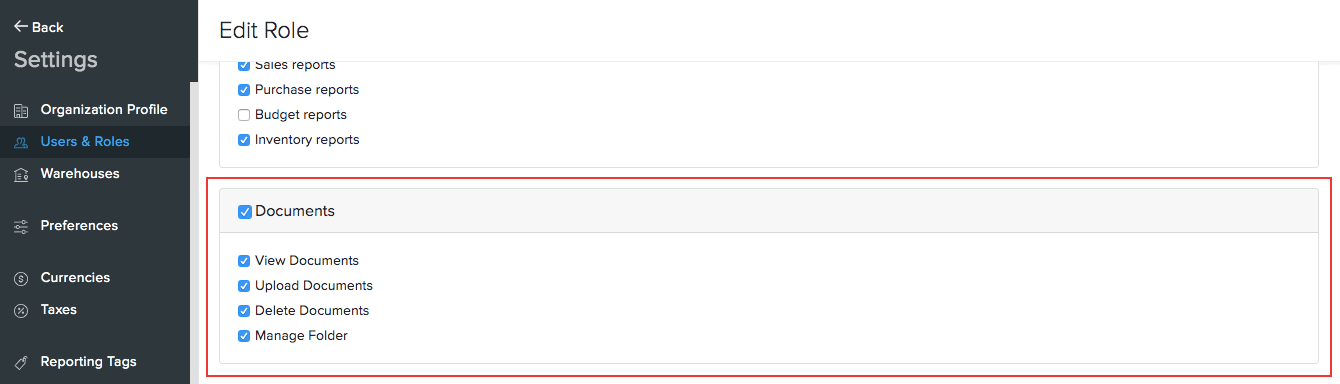
Permissions in the Documents module:
- View Documents: Users are allowed to read all the documents.
- Upload Documents: Users can only upload and view the documents.
- Delete Documents: Users can and view and delete the documents.
- Manage Folder: Users can create and manage new and existing folders.
Folders
You can organize your files into different folders within the Documents tab minimize the clutter in your inbox. Here, you will be able to:
- Create, rename, and delete the folders.
- Provide folder-level permissions to the users in your organization.
- Search for a folder
Creating a folder
Only the Admin and users with the Manage Folder permission can create a new folder.
To create a new folder:
Click the ’+’ button next to FOLDERS on the left sidebar.
Enter the folder name and click Save.
Next, you will have an option to set folder permissions. Choose from the following options:
- Allow all users with permission to access the documents
- Custom : Add users who can view this folder
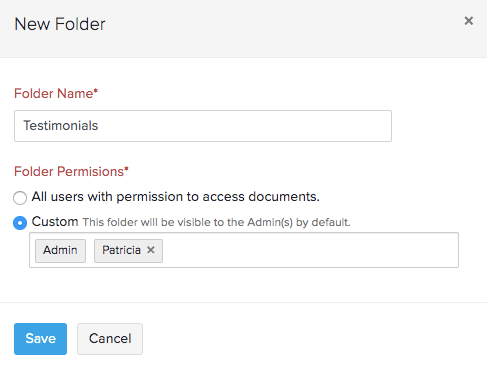
Insight: The Admin will be able to access all folders.
Moving a file from the inbox to a folder
When you attach a document to a transaction, the document is removed from the inbox permanently. If you want to save a copy of the file, or attach it to more transactions in the future, you can move it into another folder.
To move files from the inbox to a folder:
Go to the Inbox.
Select the files you want to move.
Click the Move To button dropdown that appears on the top.
Select the folder to which you wish to move the files.

Pro Tip: You can follow the above process to move the files from one folder to another.
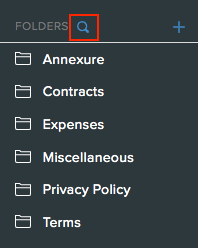
Searching for a folder
Searching for a specific folder from a list of folders can be quite the task. To access a folder, simply click the magnifier icon next to FOLDERS, then type in the folder name.
Attaching files
The uploaded files can be attached to various transactions made in your Zoho Inventory account. There are two methods for attaching a file to a transaction:
Attaching from the Documents tab
To attach a file to a transaction from the Documents tab:
Go to the Documents module in the left sidebar.
Select the files, either from the inbox or from one of the folders.
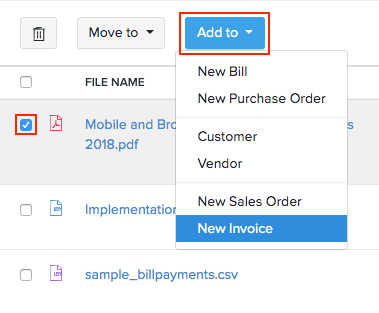
Click the Add to button at the top.
Select the type of transaction that you want to attach the files to.
Insight: You can view the image and the transaction side-by-side while creating a bill.
Attaching files from a transaction
Click on the transaction to open it.
Click the paper clip icon at the top of the transaction.
Click Documents.
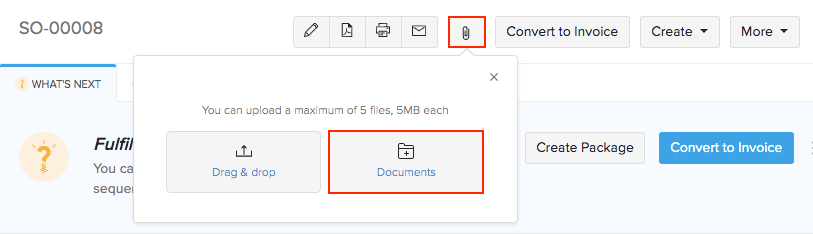
Select the documents to be attached from a folder or inbox
Click Attach File(s).
Attaching files from a contact
Attaching files to a contact enables your client to have a record of all the files you send them. Only clients with a customer portal access can view these attachments.
To attach a file to a contact :
Go to the Customers or Vendors module.
Click the contact that you want to attach a file to.
Click the paper clip icon at the top right.
Click Documents.
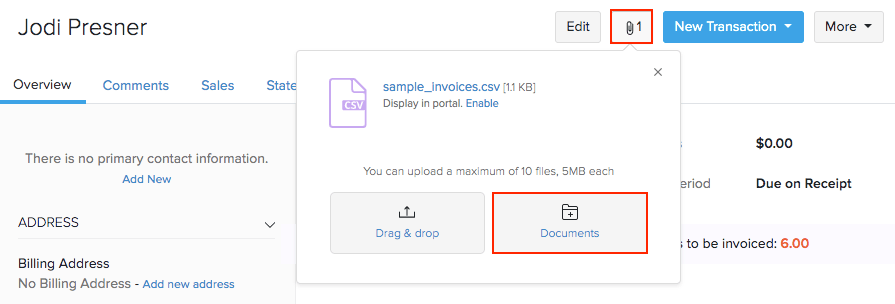
Select the files to be attached.
Click Attach File(s).
Searching for a file
Search
You can use the Document module’s search bar, present at the top of your Zoho Inventory screen to search for a specific document. The search results will be returned based on which tab you’re currently in. For example, if you are in the All files tab, the files from that tab will be searched.
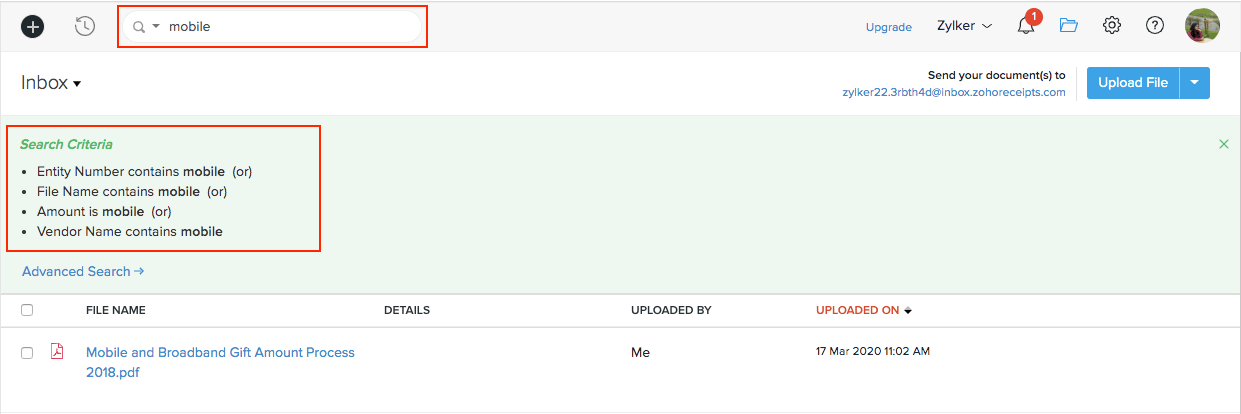
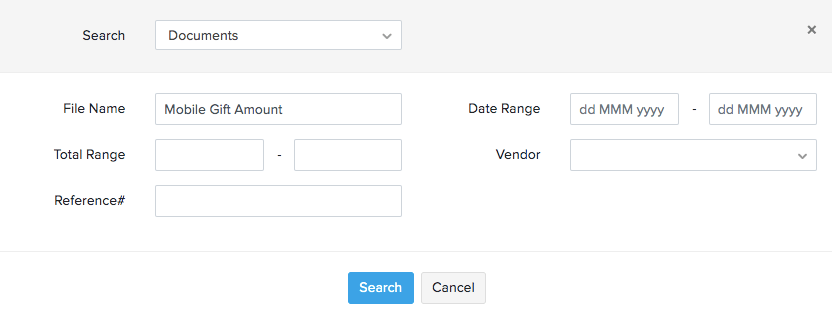
Advanced Search
If you are looking for a specific document, you can narrow down the search results by specifying the key terms using Advanced Search. This will fetch the best matching results from the Documents Inbox.
Note: Currently, the Advanced Search will only contain the File name field for other views.