Authorization Request
To authenticate your application, you need to redirect the user of the client application to the suitable authorization endpoint. On successful login, Zoho FSM will call your redirect URI along with an authorization code.
Note:
You must make the authorization request from https://accounts.zoho.com. After the request is successful, the system automatically redirects you to your domain.
You can obtain the grant token in one of the following ways:
Redirection-based code generation
This method allows the application users to authorize the application and obtain the grant token (code) on the address bar of the browser.
After you receive your Client ID, enter the following authorization URL in your browser:
https://accounts.zoho.com/oauth/v2/auth?scope=ZohoFSM.modules.all&client_id={client_id}&response_type=code&access_type={offline or online}&redirect_uri={redirect_uri}
Parameter Description scope Data that your application wants to access. client_id Client ID(consumer key) that you obtained during client registration. redirect_uri Callback URL that you specified during client registration response_type Enter code. access_type Enter access_type as online or offline. If you want to generate the refresh token, set this value as offline. In the resultant page, click Accept. The browser redirects you to the redirect_uri you specified during client registration.
When you click Reject, the browser redirects you to your domain with the parameter error=access_denied on the address bar. Your application is denied access to the data in your Zoho FSM account.
Your browser displays the following URL on the address bar:
{redirect_uri}?code={grant_token}&location=us&accounts-server=https://accounts.zoho.com
Note down the "code={grant_token}" parameter. This is your Grant token. Use this token to Generate Access and Refresh Token.
- The authorization URL has the scope for Users. You can change the scope as per your requirement.
- The grant token is valid only for a minute.
Self-Client option
Use this method to generate the grant token if your application does not have a domain and a redirect URL.
You can also use this option when your application is a standalone server-side application performing a back-end job.
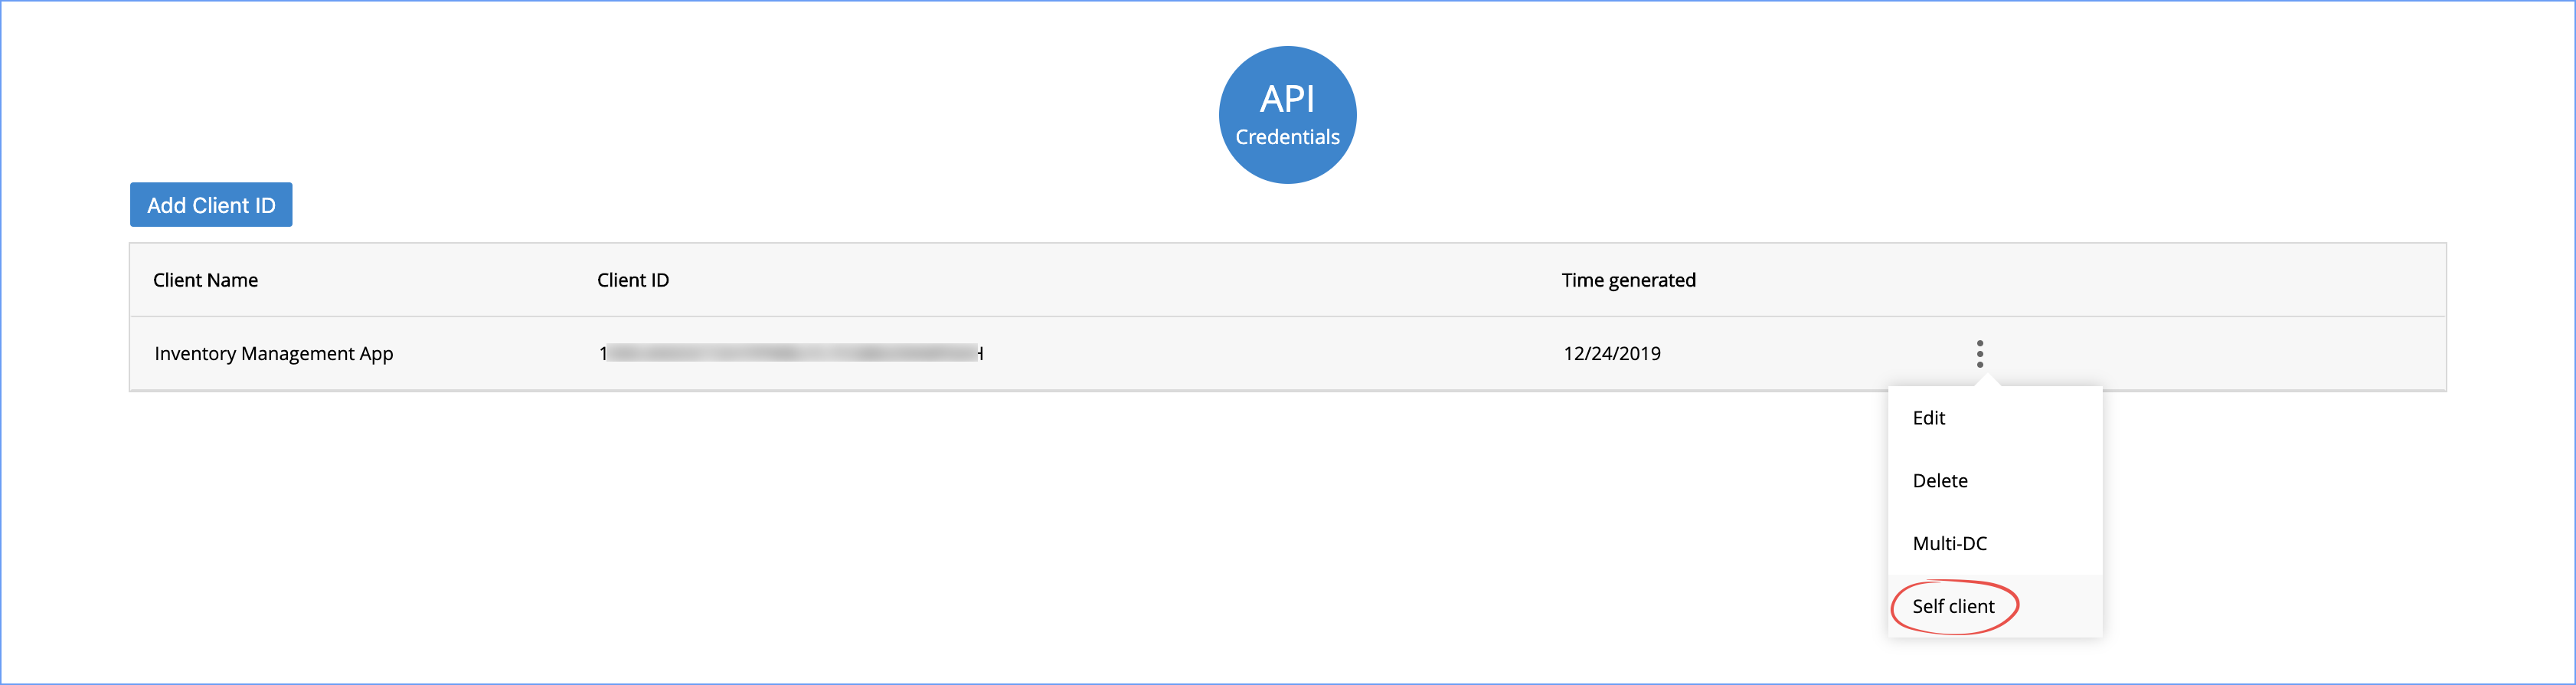
- Click on the vertical-ellipsis on the client row and select Self-Client.
- Enter valid scope for the client. You can enter multiples scope for a client at a time.
- Choose the expiry time from the drop-down. This indicates the time the grant token (code) is valid for.
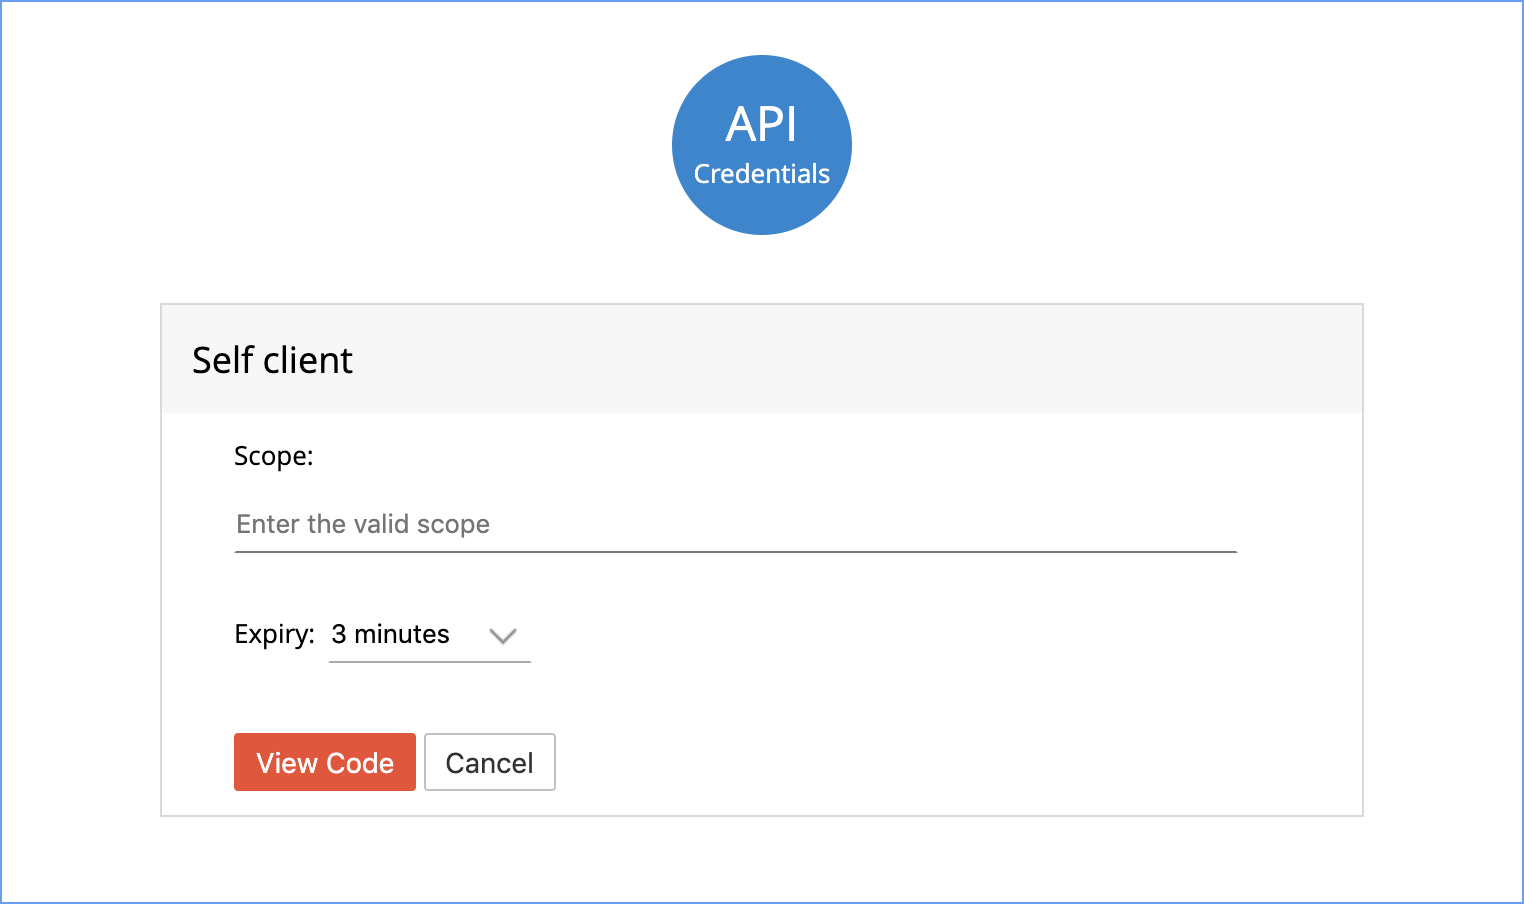
- Click View Code to display the code. This is the Grant Token. Save this code and click Close.
- Use this grant token to Generate Access and Refresh Token.

