
Integrate Zoho Expense With Zoho Analytics
Zoho Analytics is business intelligence and analytics software that lets you create visually appealing and insightful reports. Though the Analytics module in Zoho Expense provides many useful reports, each business has different needs and it might require them to generate custom reports. With the Zoho Expense – Zoho Analytics integration, you will be able to create insightful custom reports using Zoho Expense’s data.
Benefits
- Data from Zoho Expense is made available in Zoho Analytics, with which, you can create custom reports or choose from Zoho Analytics’ 75+ financial reports.
- Reports and dashboards that you create in Zoho Analytics can be embedded in your own website or application.
- The integration will be extremely useful when you want to create reports from multiple sources or even multiple organisations of Zoho Expense itself.
Note: When you set up the integration, Zoho Analytics will provide you with a free 15-day trial. However, once the trial ends, you will have to upgrade to one of the paid plans to continue using Zoho Analytics.
Set up the Integration
Prerequisite: You must be an admin to set up this integration.
To set up the integration:
- Click Admin View.
- Go to Settings on the left sidebar.
OR
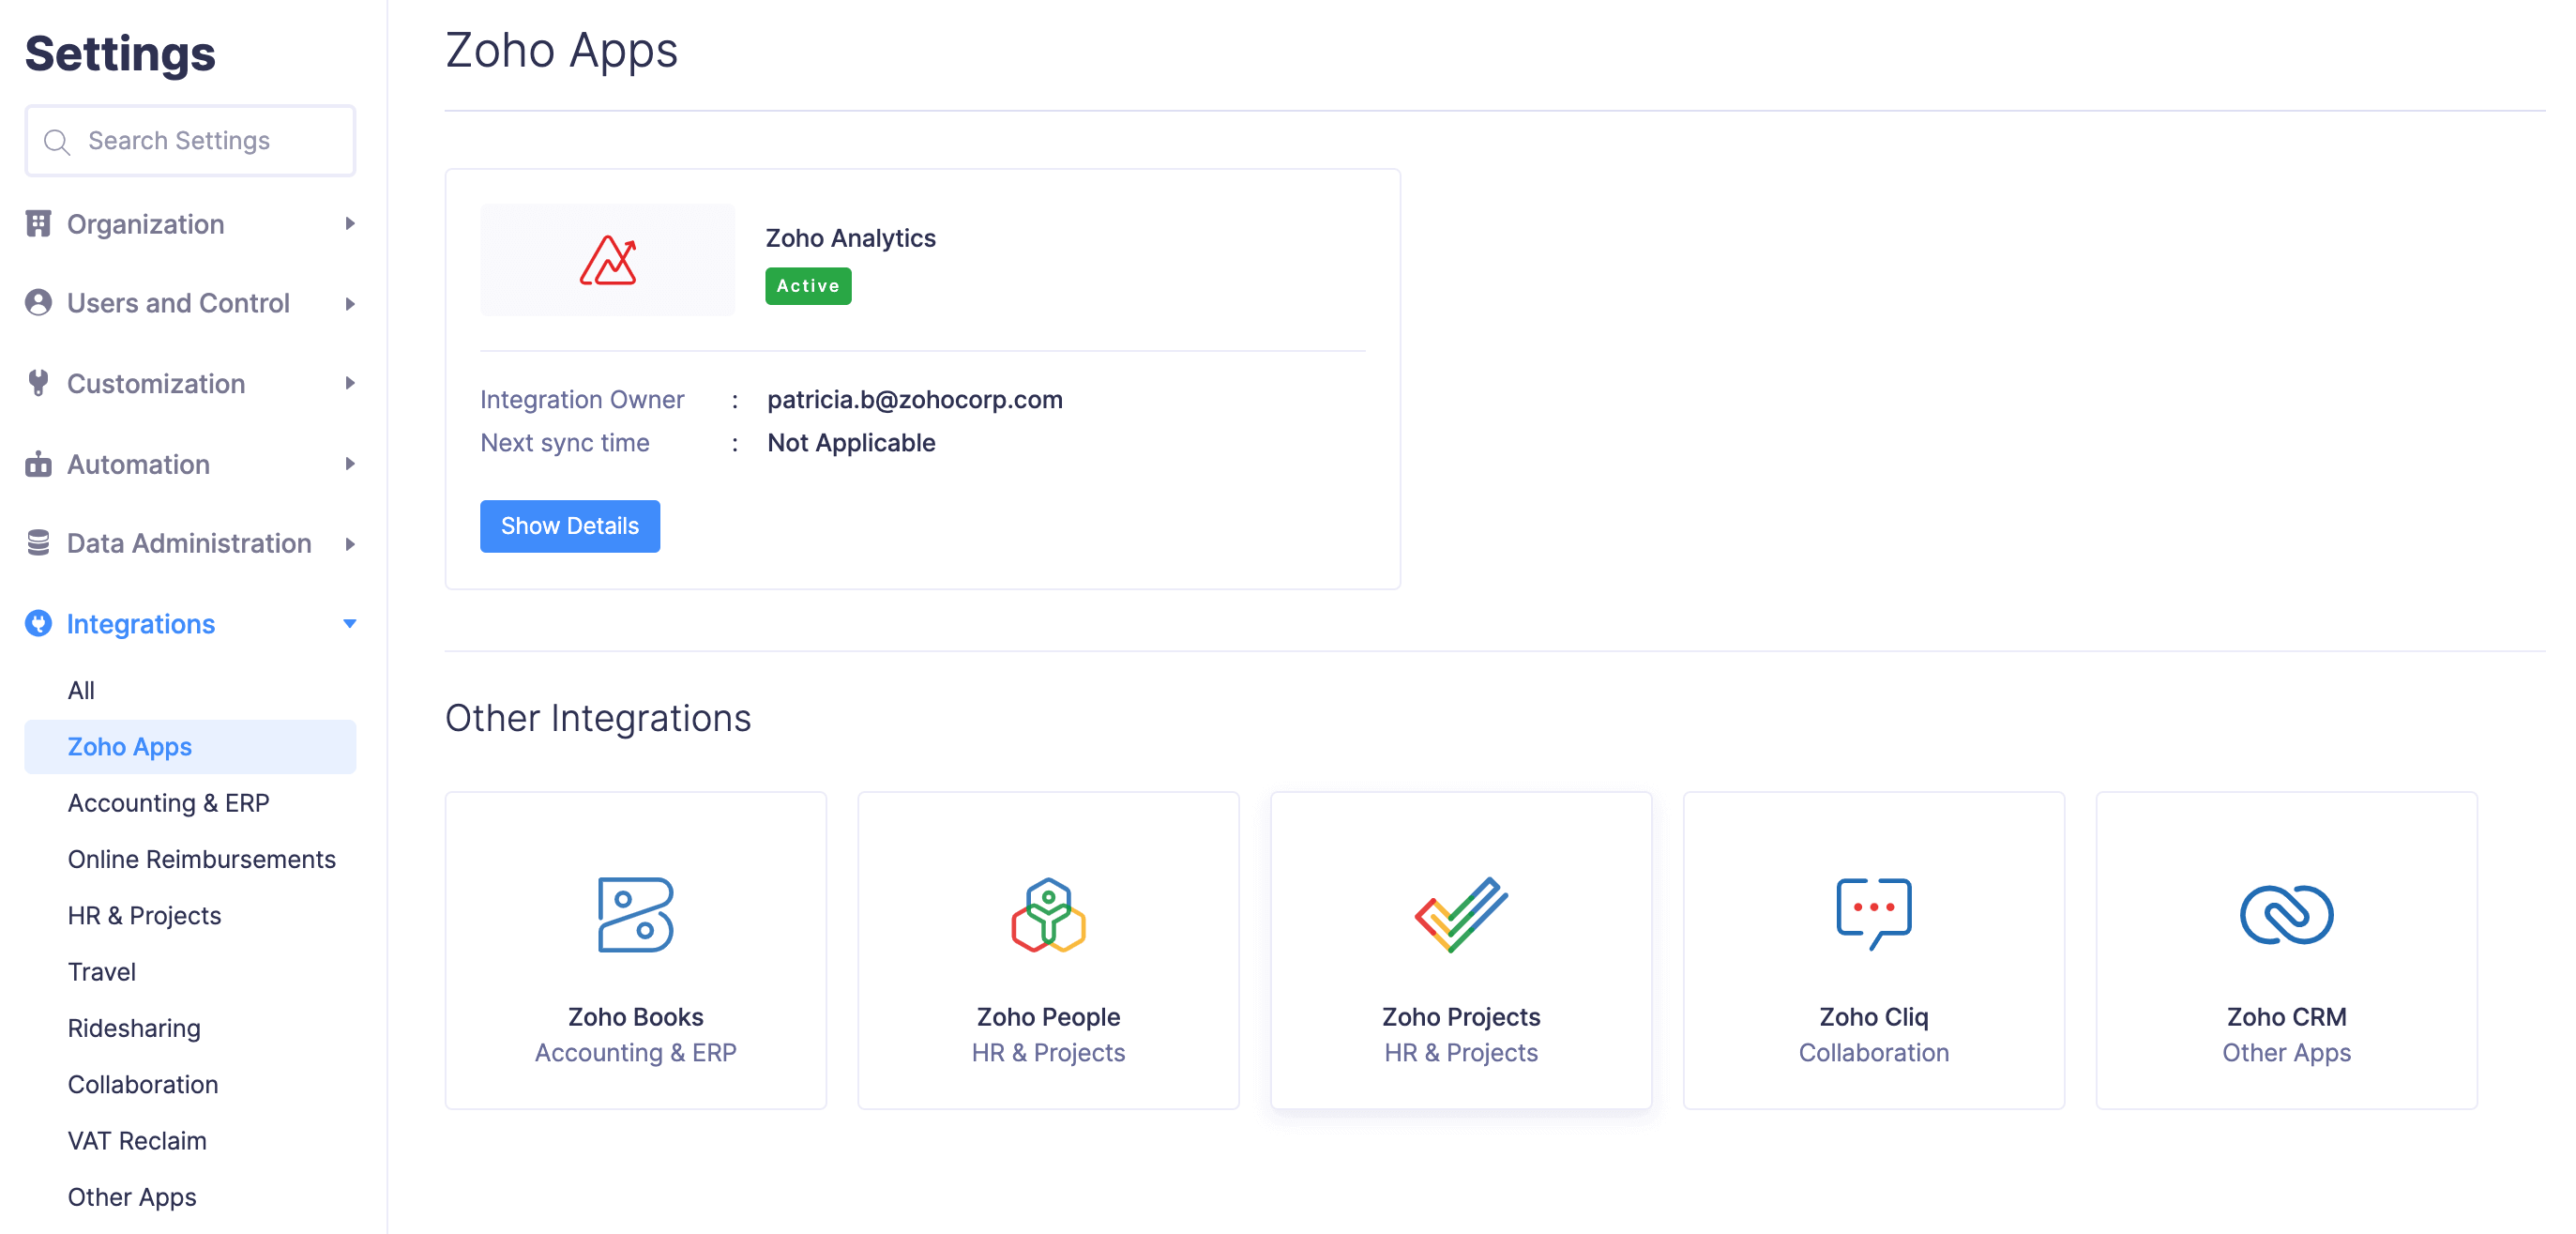
Click the Gear icon at the top right side. - Go to Zoho Apps under Integrations.
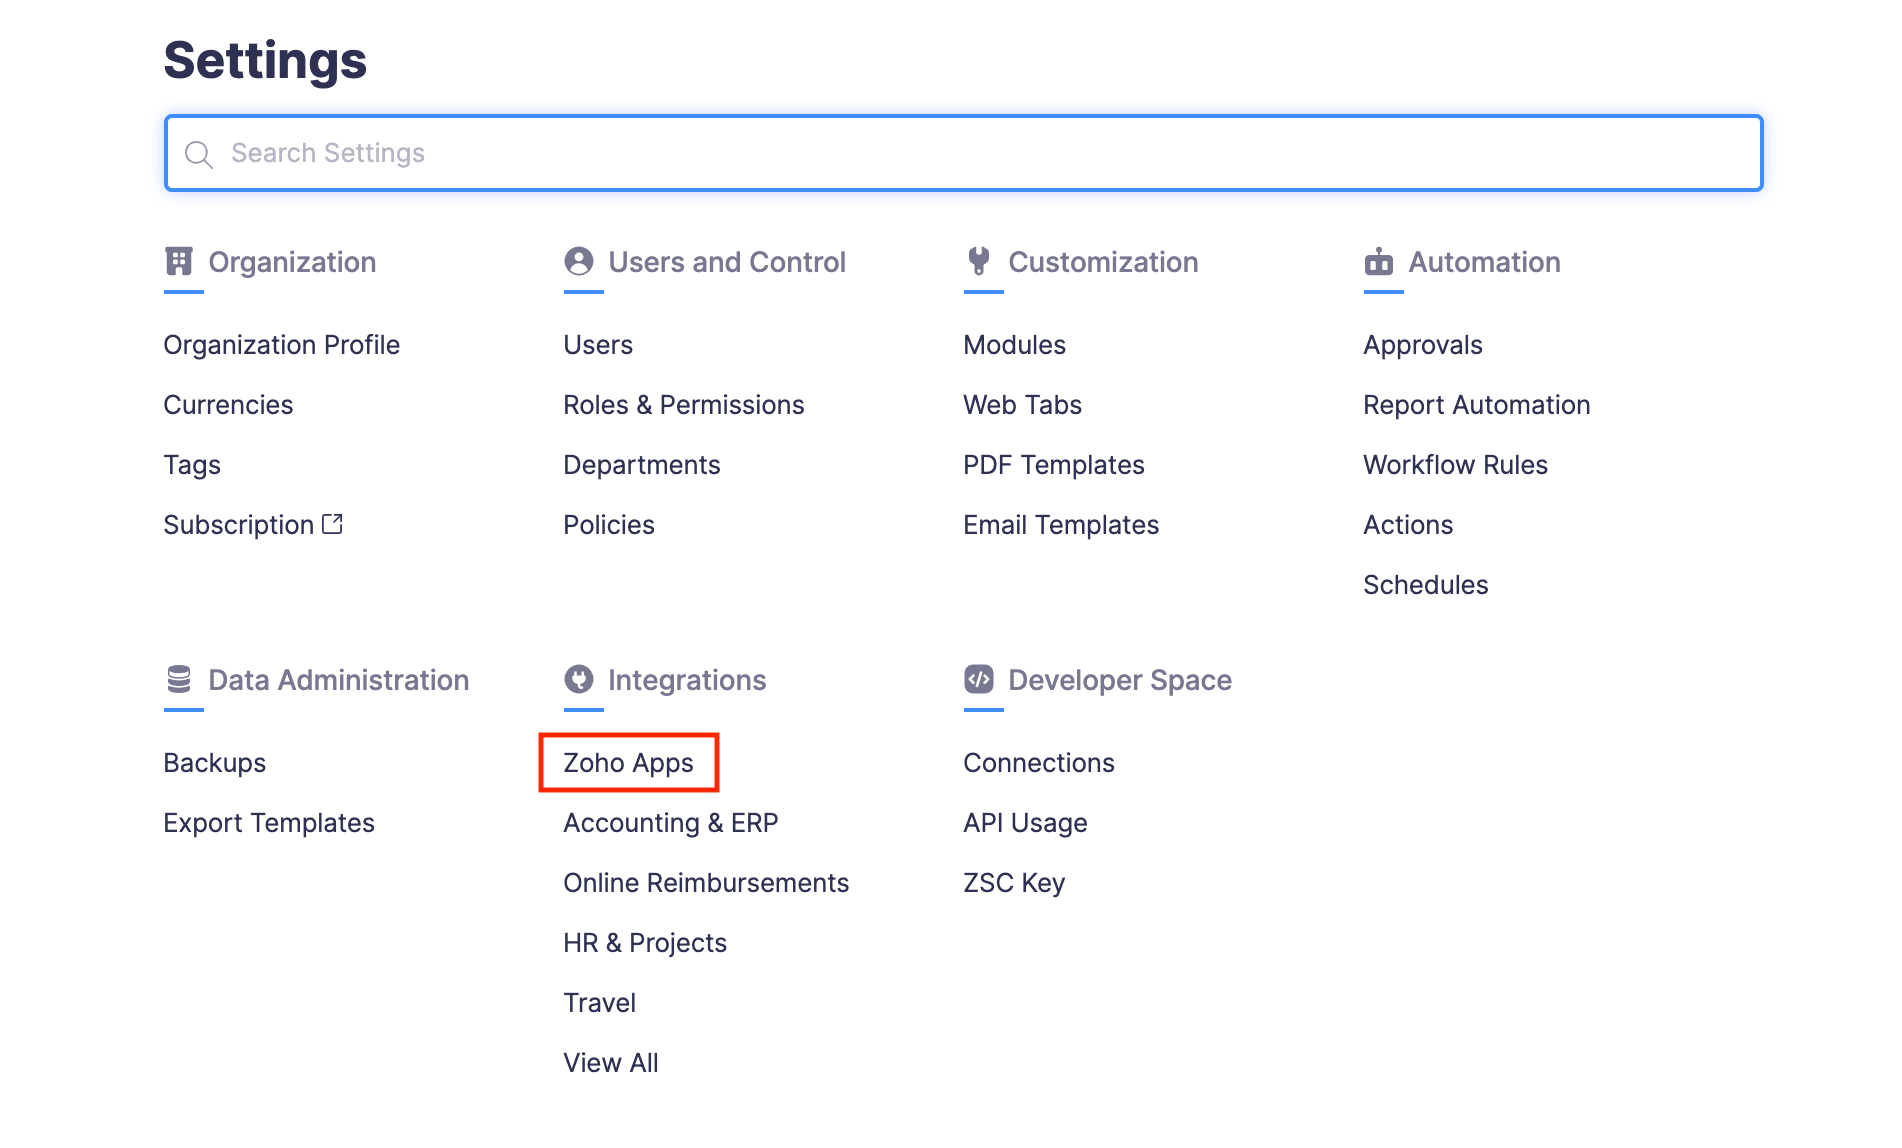
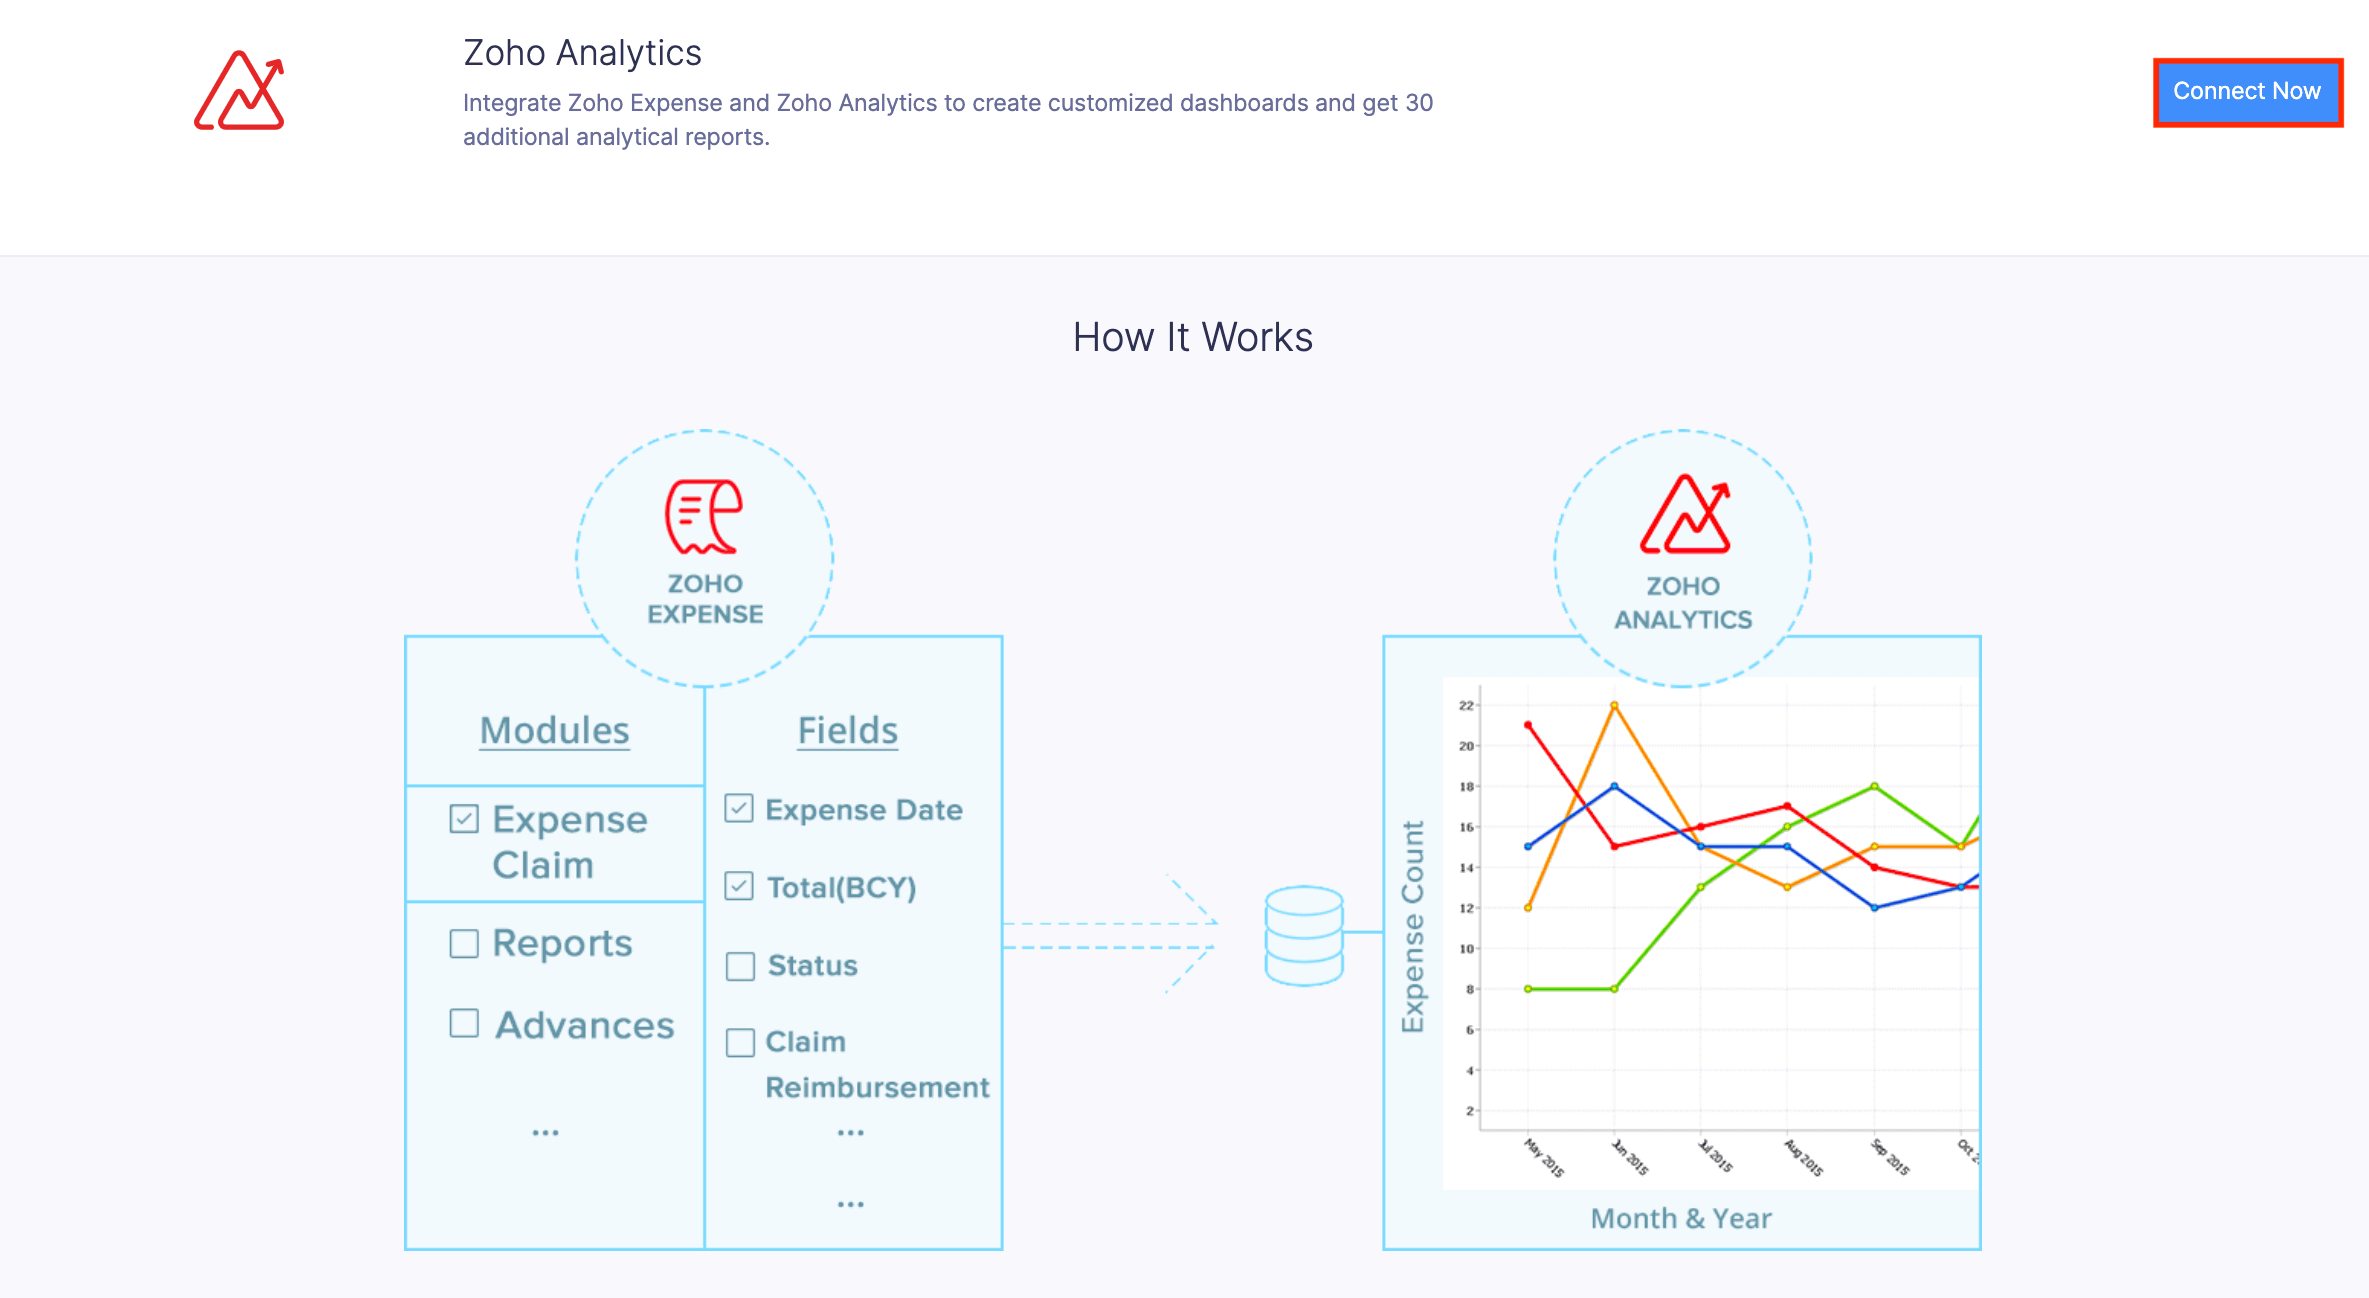
- Click Zoho Analytics.
- Click Connect Now.
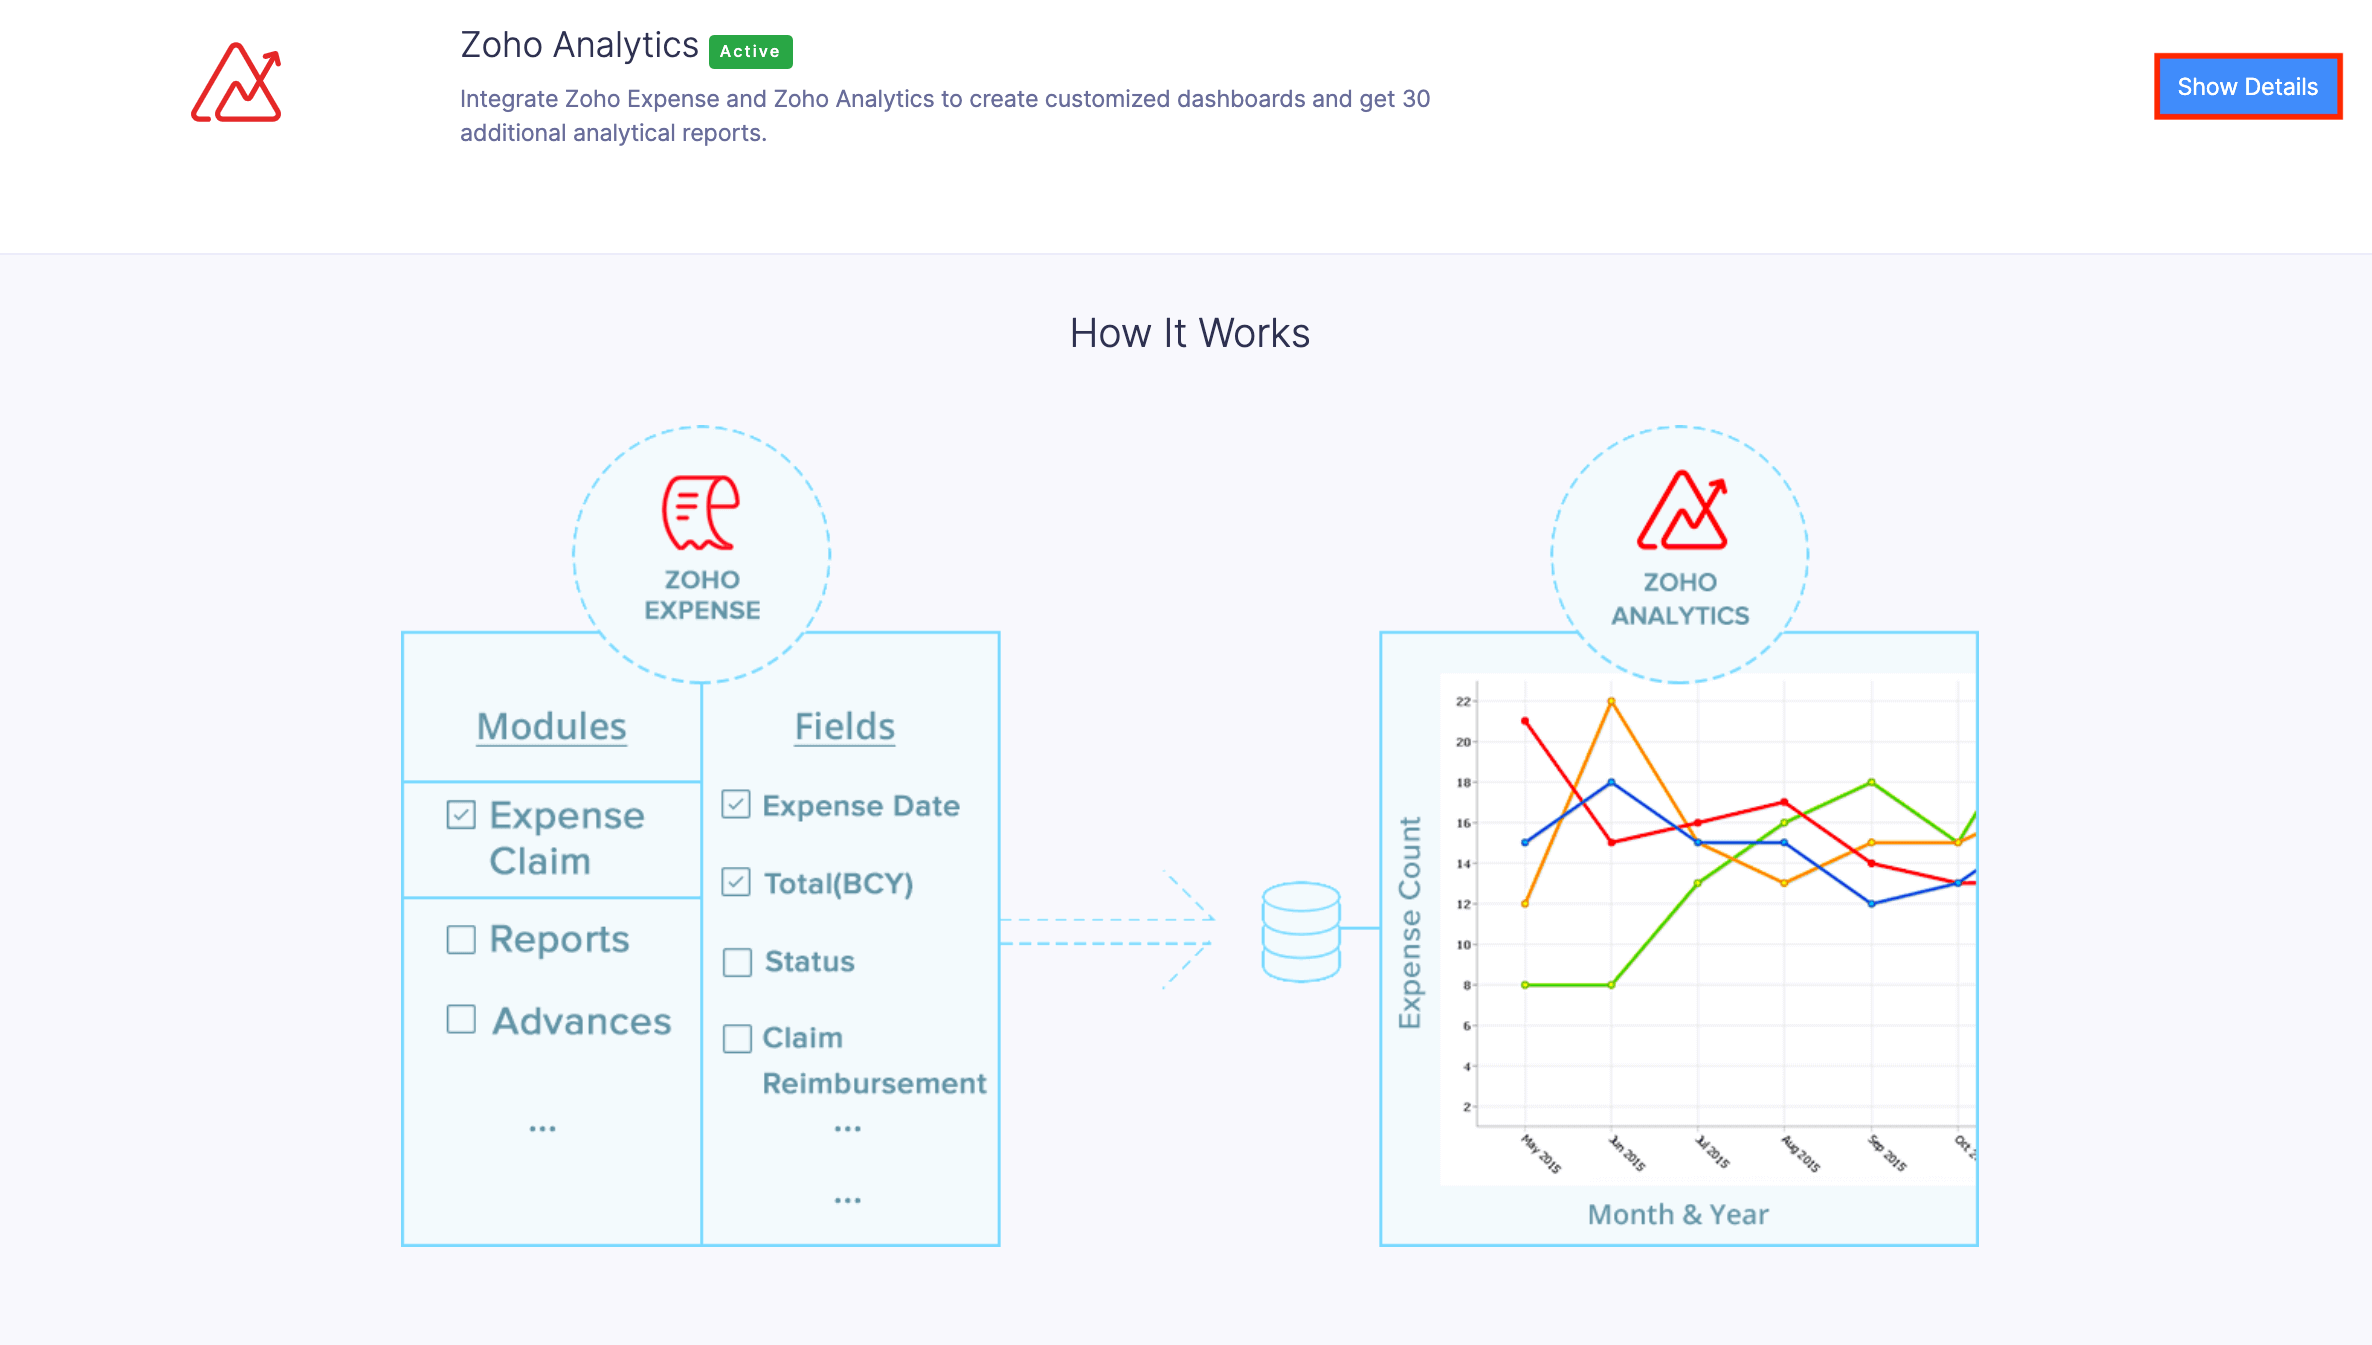
Your data from Zoho Expense will be made available in Zoho Analytics via a one-way sync. You can choose the modules whose data should be synced and also configure how often this data should be synced with Zoho Analytics.
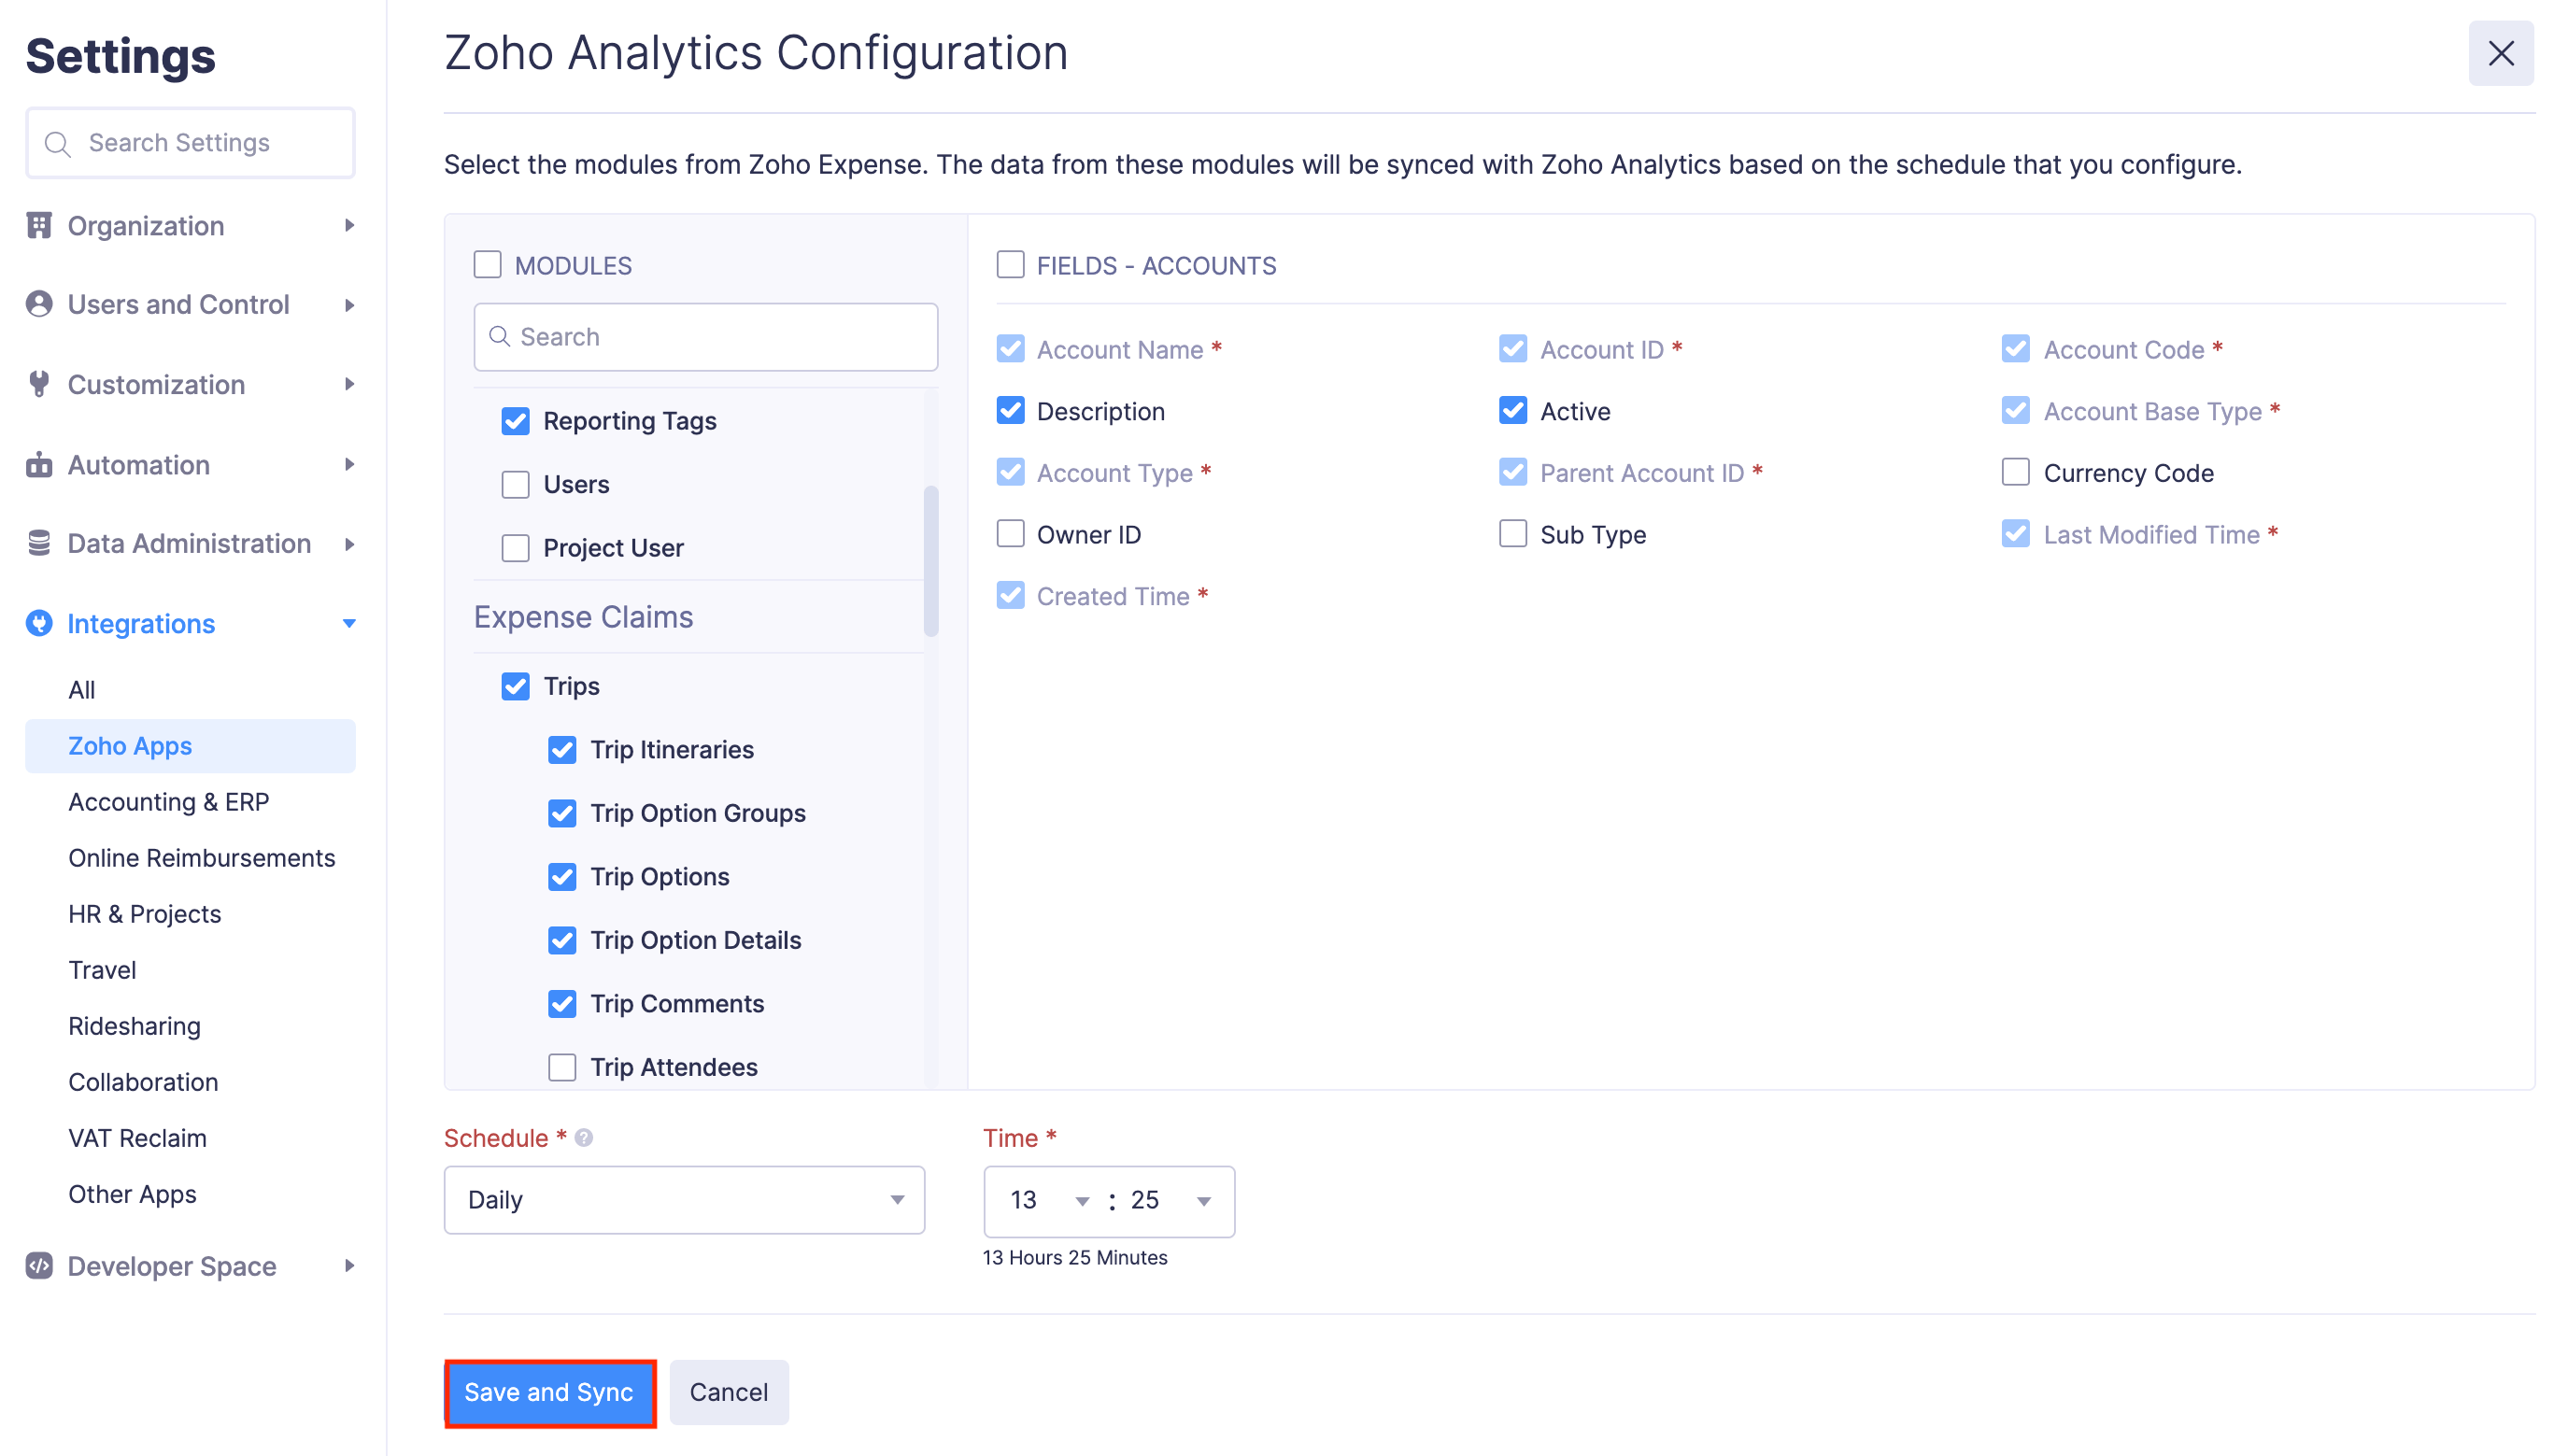
- Select the Modules and Fields that need to be synced.
- Configure a Schedule to sync data with Zoho Analytics.
- Click Save and Sync.
Pro Tip: You can reconfigure the schedule and the modules that should be synced even after integrating. To do this, go to Settings > Integrations > Zoho Apps > Zoho Analytics > Edit Settings.
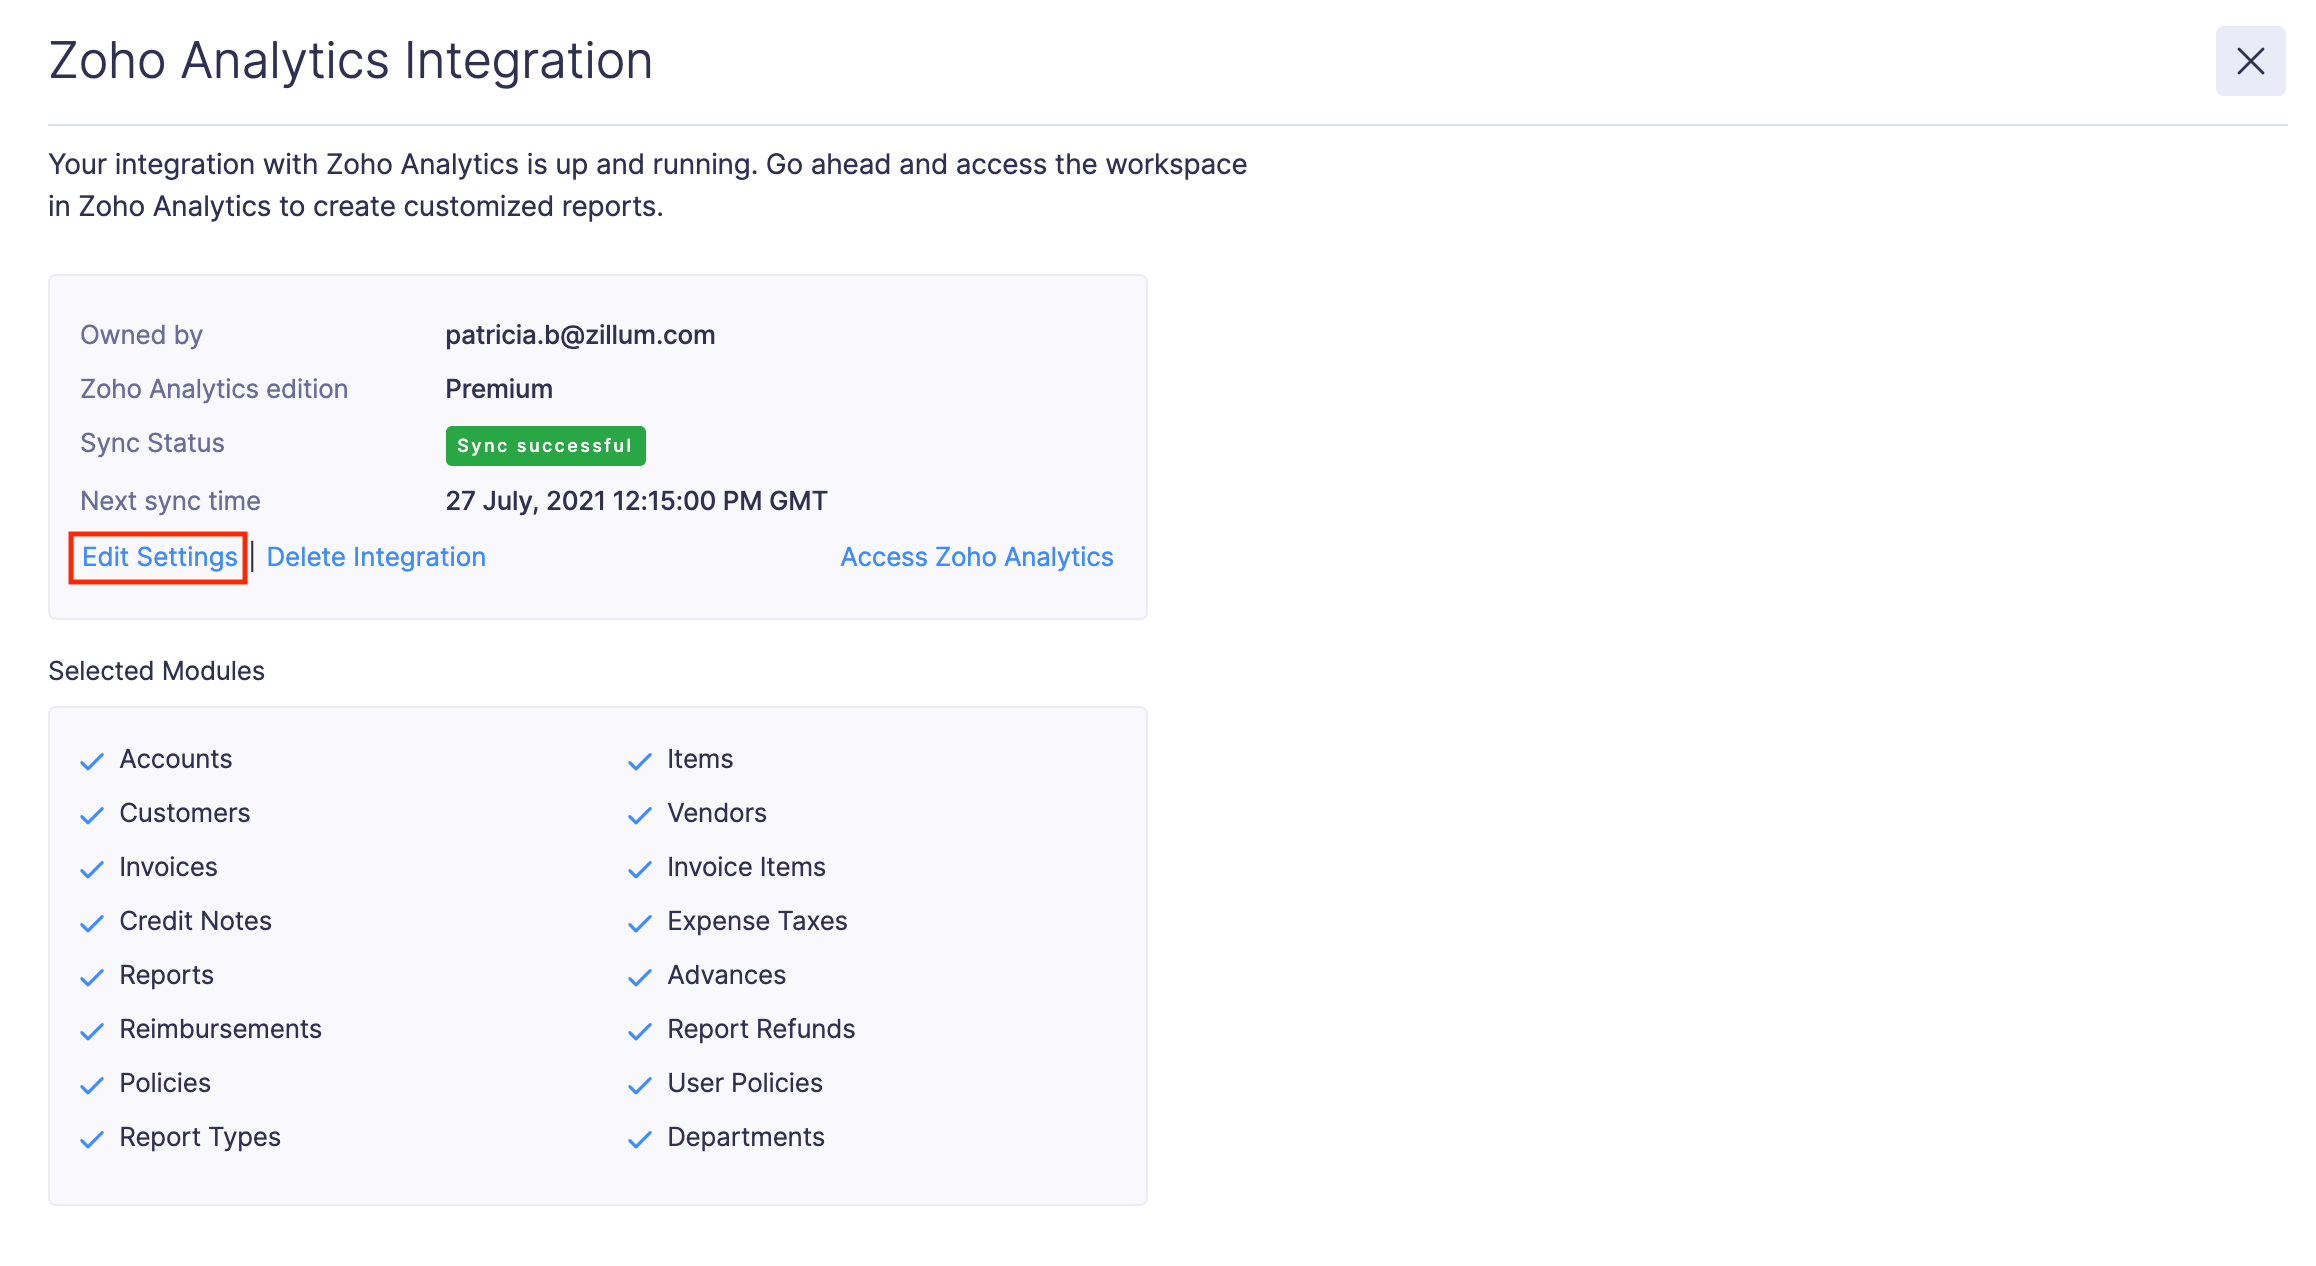
Now, your integration has been set up and your data will start getting synced with Zoho Analytics. The initial sync may take a while to complete, however, you can continue to use Zoho Expense and you’ll be notified by email as soon as your data has been synced.
Access the Workspace in Zoho Analytics
When you set up the integration, a workspace will be created in Zoho Analytics. This workspace is where you can create reports and dashboards with data from Zoho Expense.
To access the workspace in Zoho Analytics:
- Click Admin View.
- Go to Settings on the left sidebar.
OR
Click the Gear icon at the top right side. - Go to Zoho Apps under Integrations.
- Click Zoho Analytics.
- Click Show Details.
- Click Access Zoho Analytics.

- You can also go directly to Zoho Analytics and view Zoho Expense’s Analytics. Apart from accessing pre-defined reports, you can also create custom reports and view them in different formats such as Charts, Pivot Tables, Summaries, Widgets, Dashboards, etc,.
Also, you can read through Zoho Analytics’ integration specific help resources to learn more about the integration.
Add Users to the Workspace
It’s important to note that only the admin who set up the integration will be able to access this workspace. If other users (including other admins), need access to this workspace, the admin who set up this integration must add them as users in the workspace.
To add users to the workspace:
- Click Admin View.
- Go to Settings on the left sidebar.
OR
Click the Gear icon at the top right side. - Go to Zoho Apps under Integrations.
- Click Zoho Analytics.
- Click Show Details.
- Click Access Zoho Analytics.
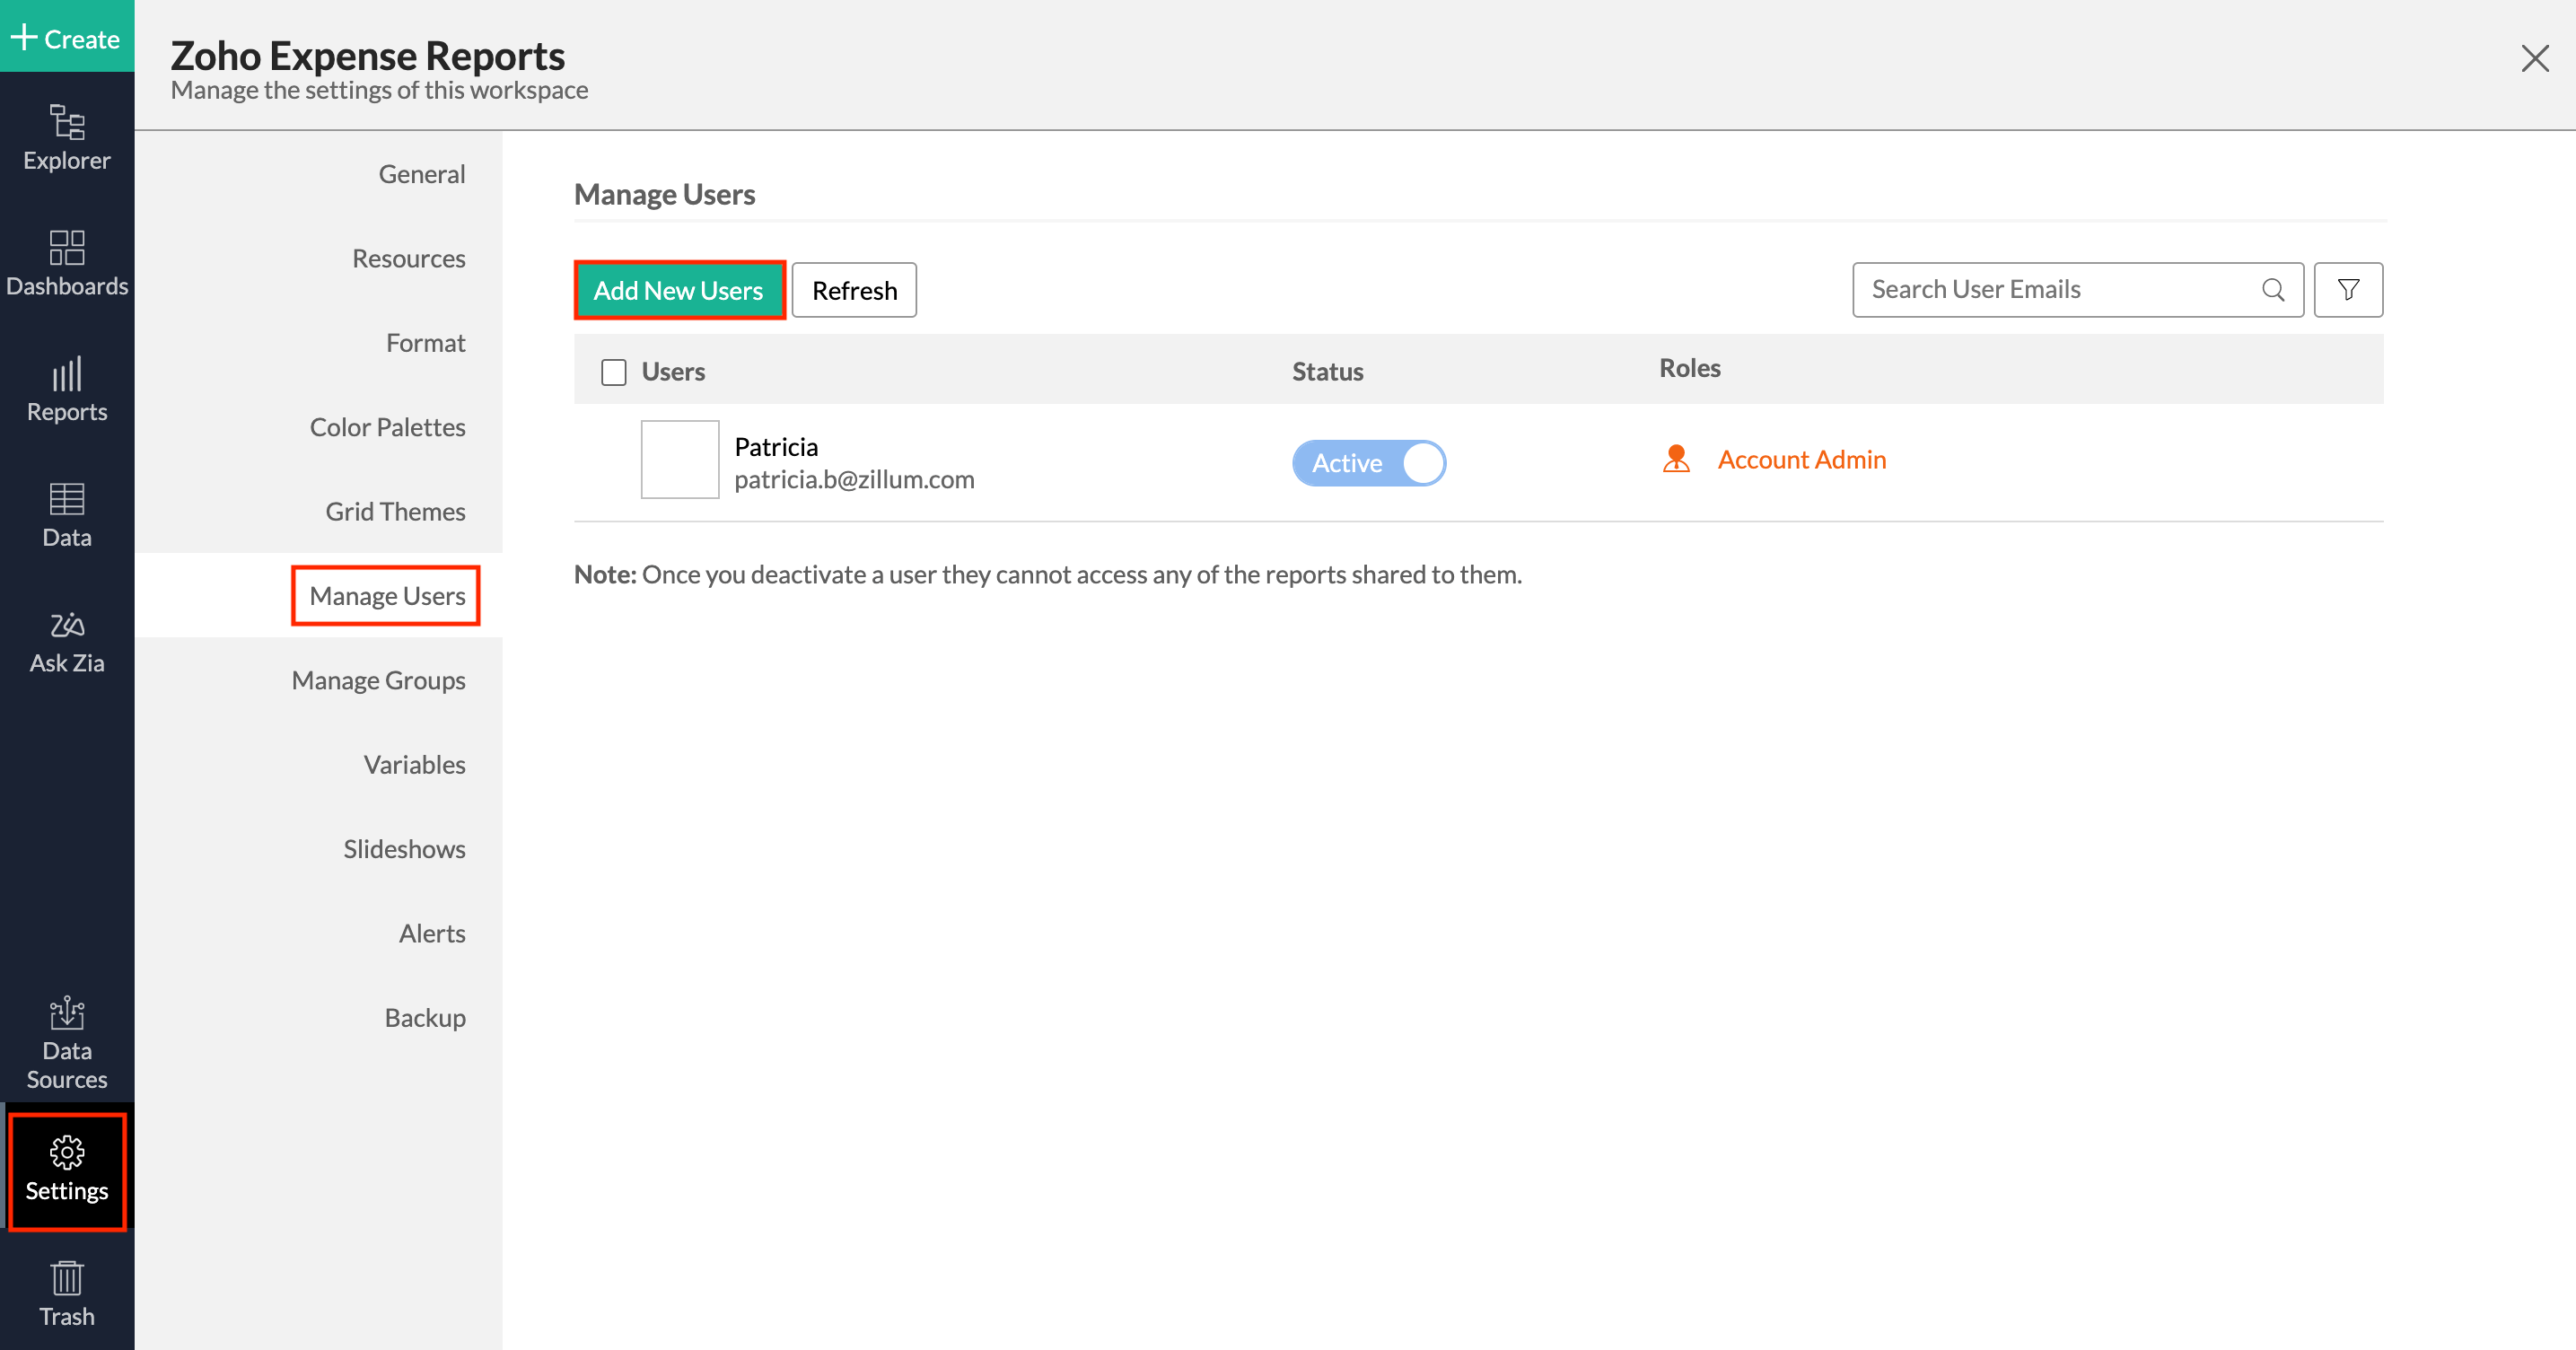
- Click More on the left side bar of Zoho Analytics and click Settings.
- Navigate to the Manage Users tab and click Add New Users. You can also add multiple users at a time.
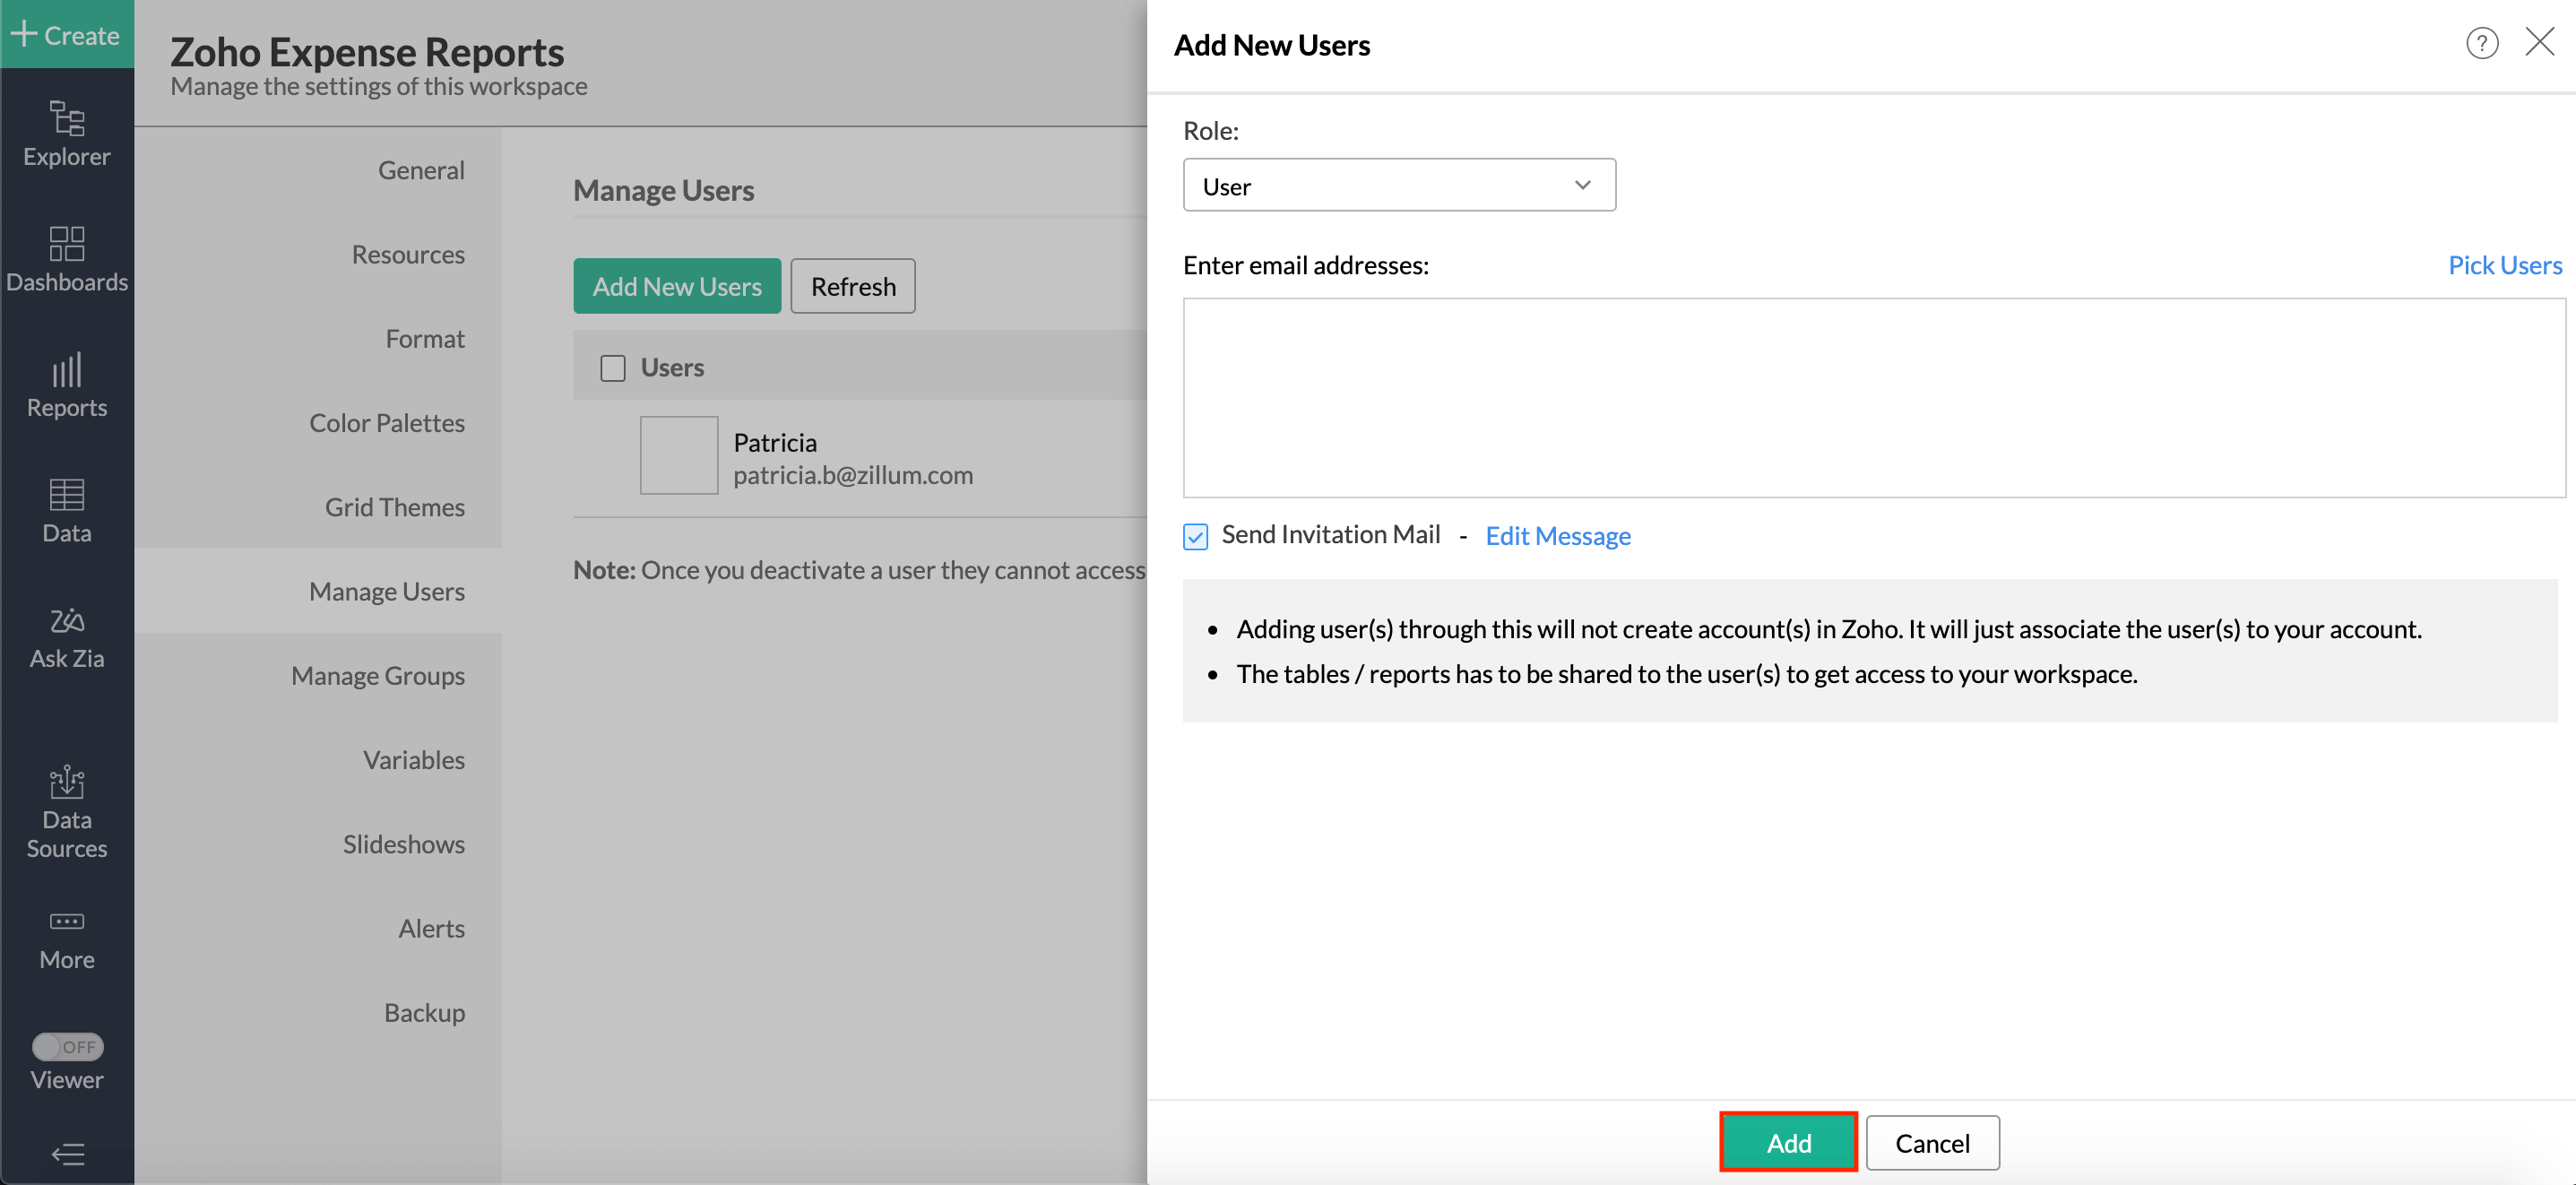
- Select a Role for the user or users.
- Enter the email addresses of the users you want to add and click Add.
Now, the users that you’ve added will be able to access the workspace in Zoho Analytics. Learn more about user roles in Zoho Analytics.
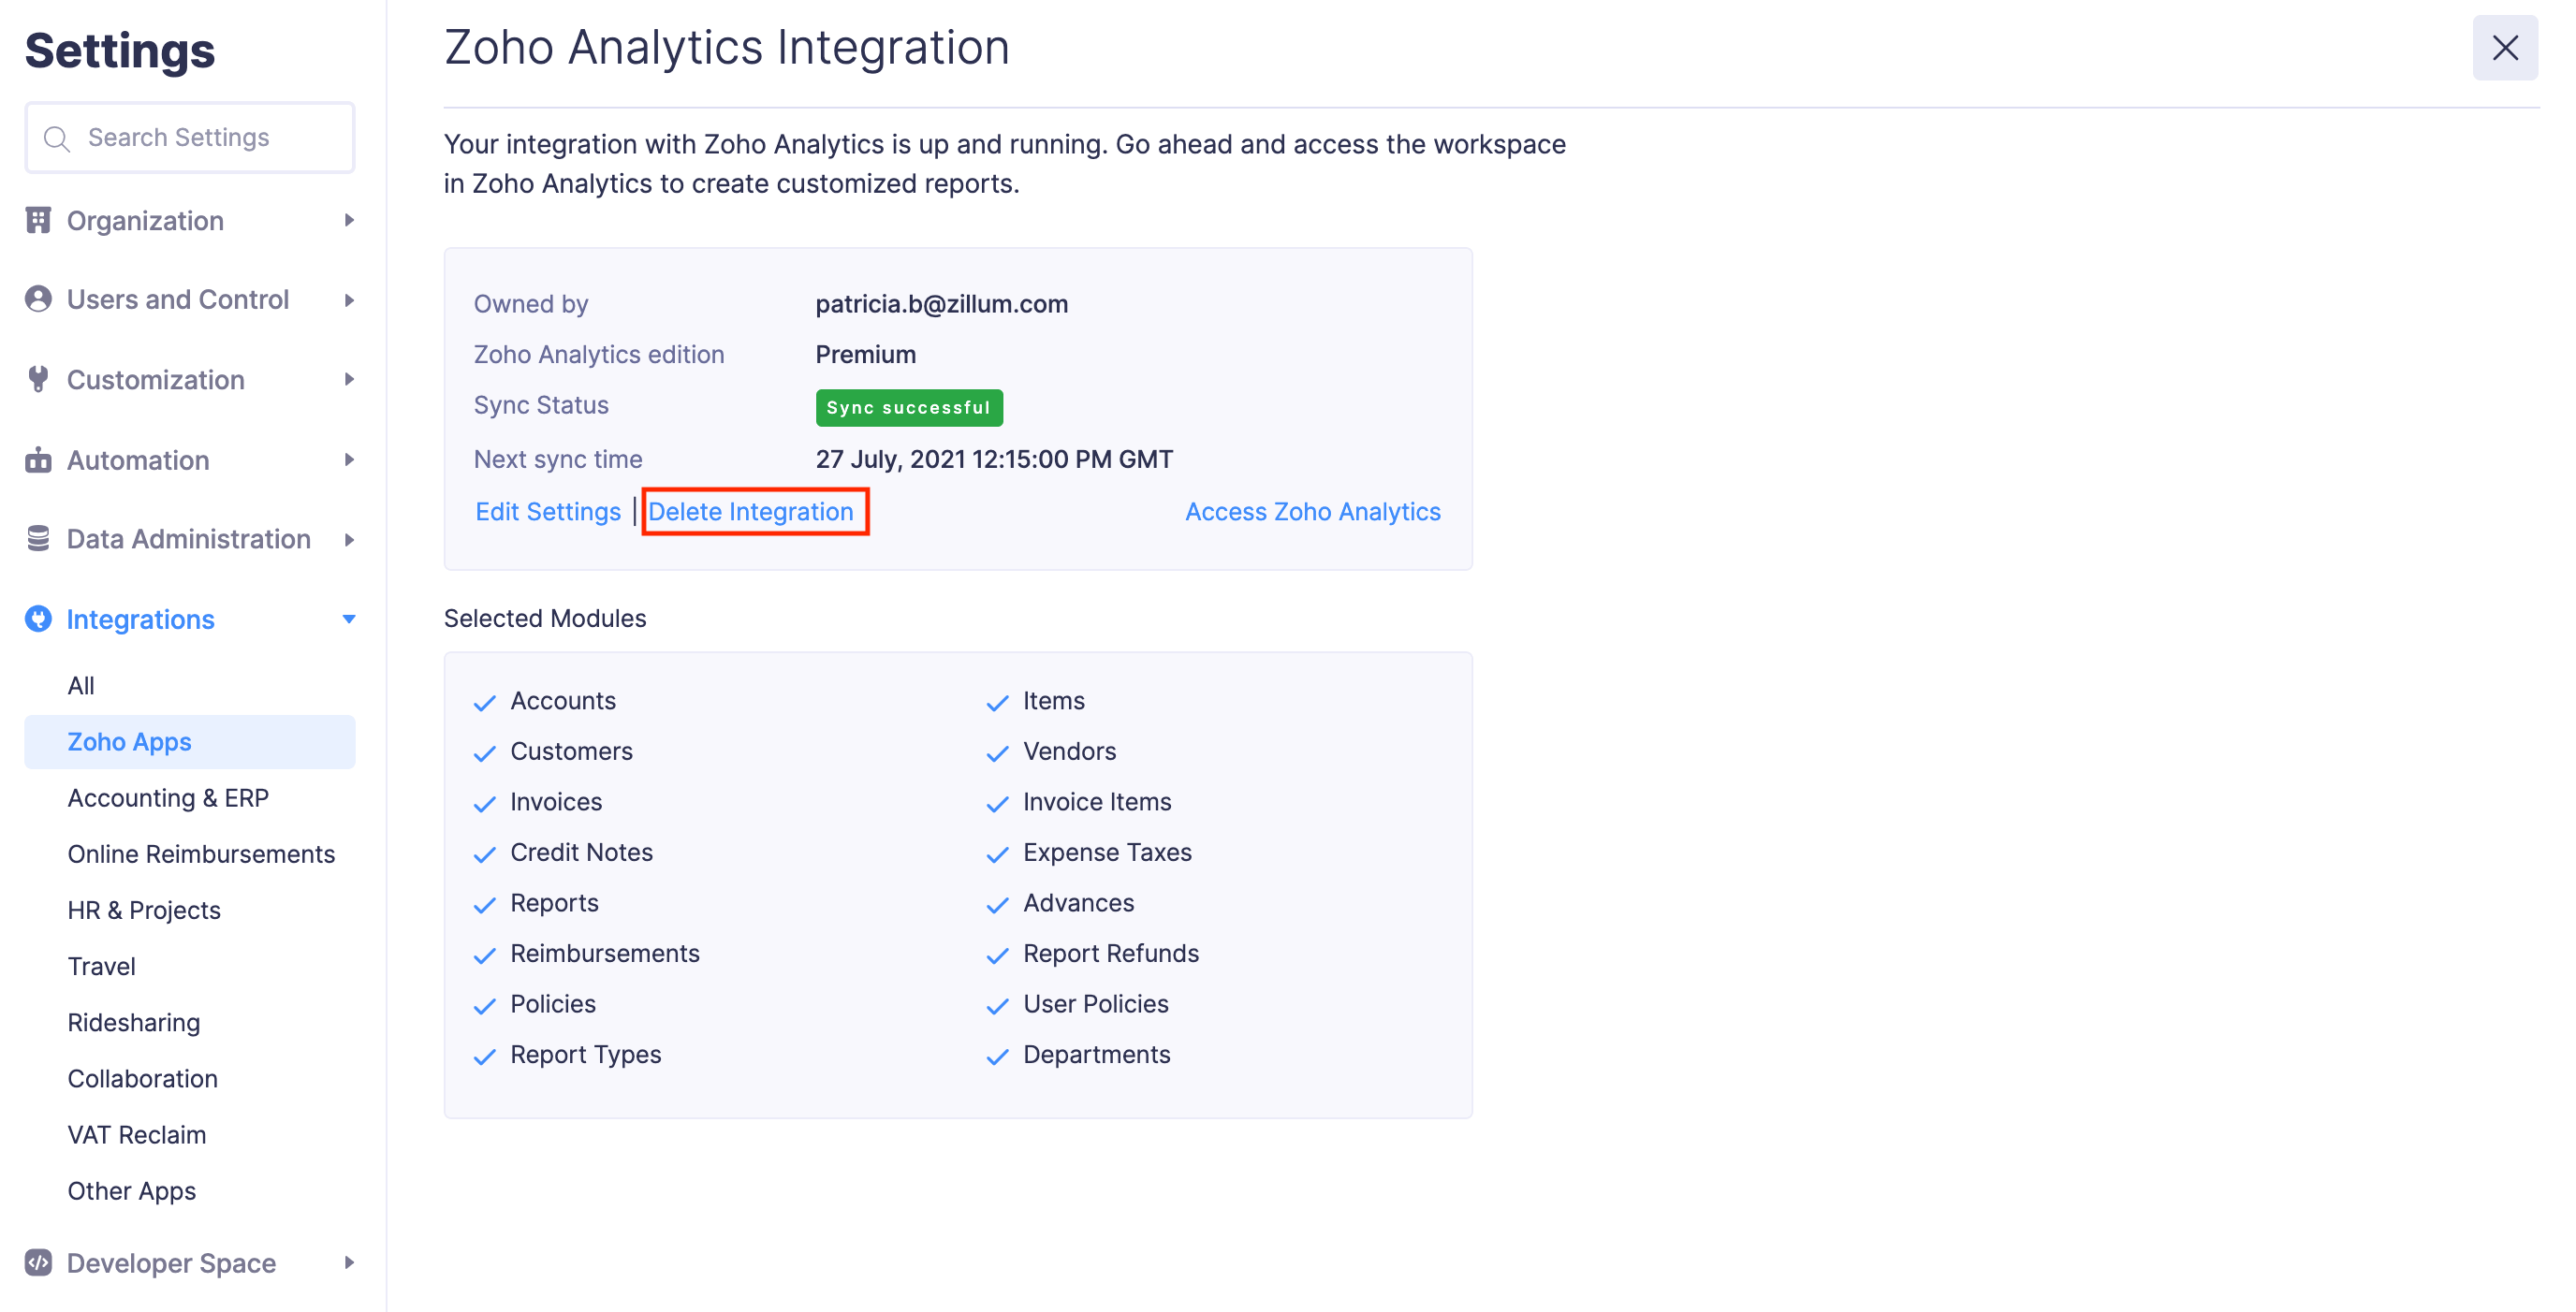
Delete the Integration
If you want to stop using the integration, you can delete it. Here’s how:
- Click Admin View.
- Go to Settings on the left sidebar.
OR
Click the Gear icon at the top right side. - Go to Zoho Apps under Integrations.
- Click Zoho Analytics.
- Click Show Details.
- Click Delete Integration.
- In the pop-up that opens, click Delete again.
Now, the integration will be deleted and your data from Zoho Expense will no longer be available in Zoho Analytics. However, the data that was already pushed will still be available in Zoho Analytics.