Integrate Zoho Expense With QuickBooks Desktop
With the integration between Zoho Expense and QuickBooks Desktop, employee expenses accounting becomes easier than before. Import your employees and customers from QuickBooks Desktop and record expenses in Zoho Expense using the accounts and classes from QuickBooks account. Furthermore, you can export them to your Desktop app whenever you like, in just a few clicks.
You can integrate Zoho Expense with QuickBooks Pro, Premier, Enterprise, and Accountant editions of 2014 version and above. Also, your QuickBooks Desktop should be installed in Windows OS.
Note: This integration is currently available in the US edition of Zoho Expense. It is also available for early access in the Canada edition. Email us at support@zohoexpense.com to get access. This integration is available in the Premium and Enterprise plans of Zoho Expense.
Download Zoho Expense - QuickBooks Desktop Connector
In order to set up the integration of Zoho Expense with QuickBooks Desktop, admins need to download the QuickBooks Desktop connector first.
To download:
- Click Admin View.
- Click the Gear icon at the top right side.
(OR)
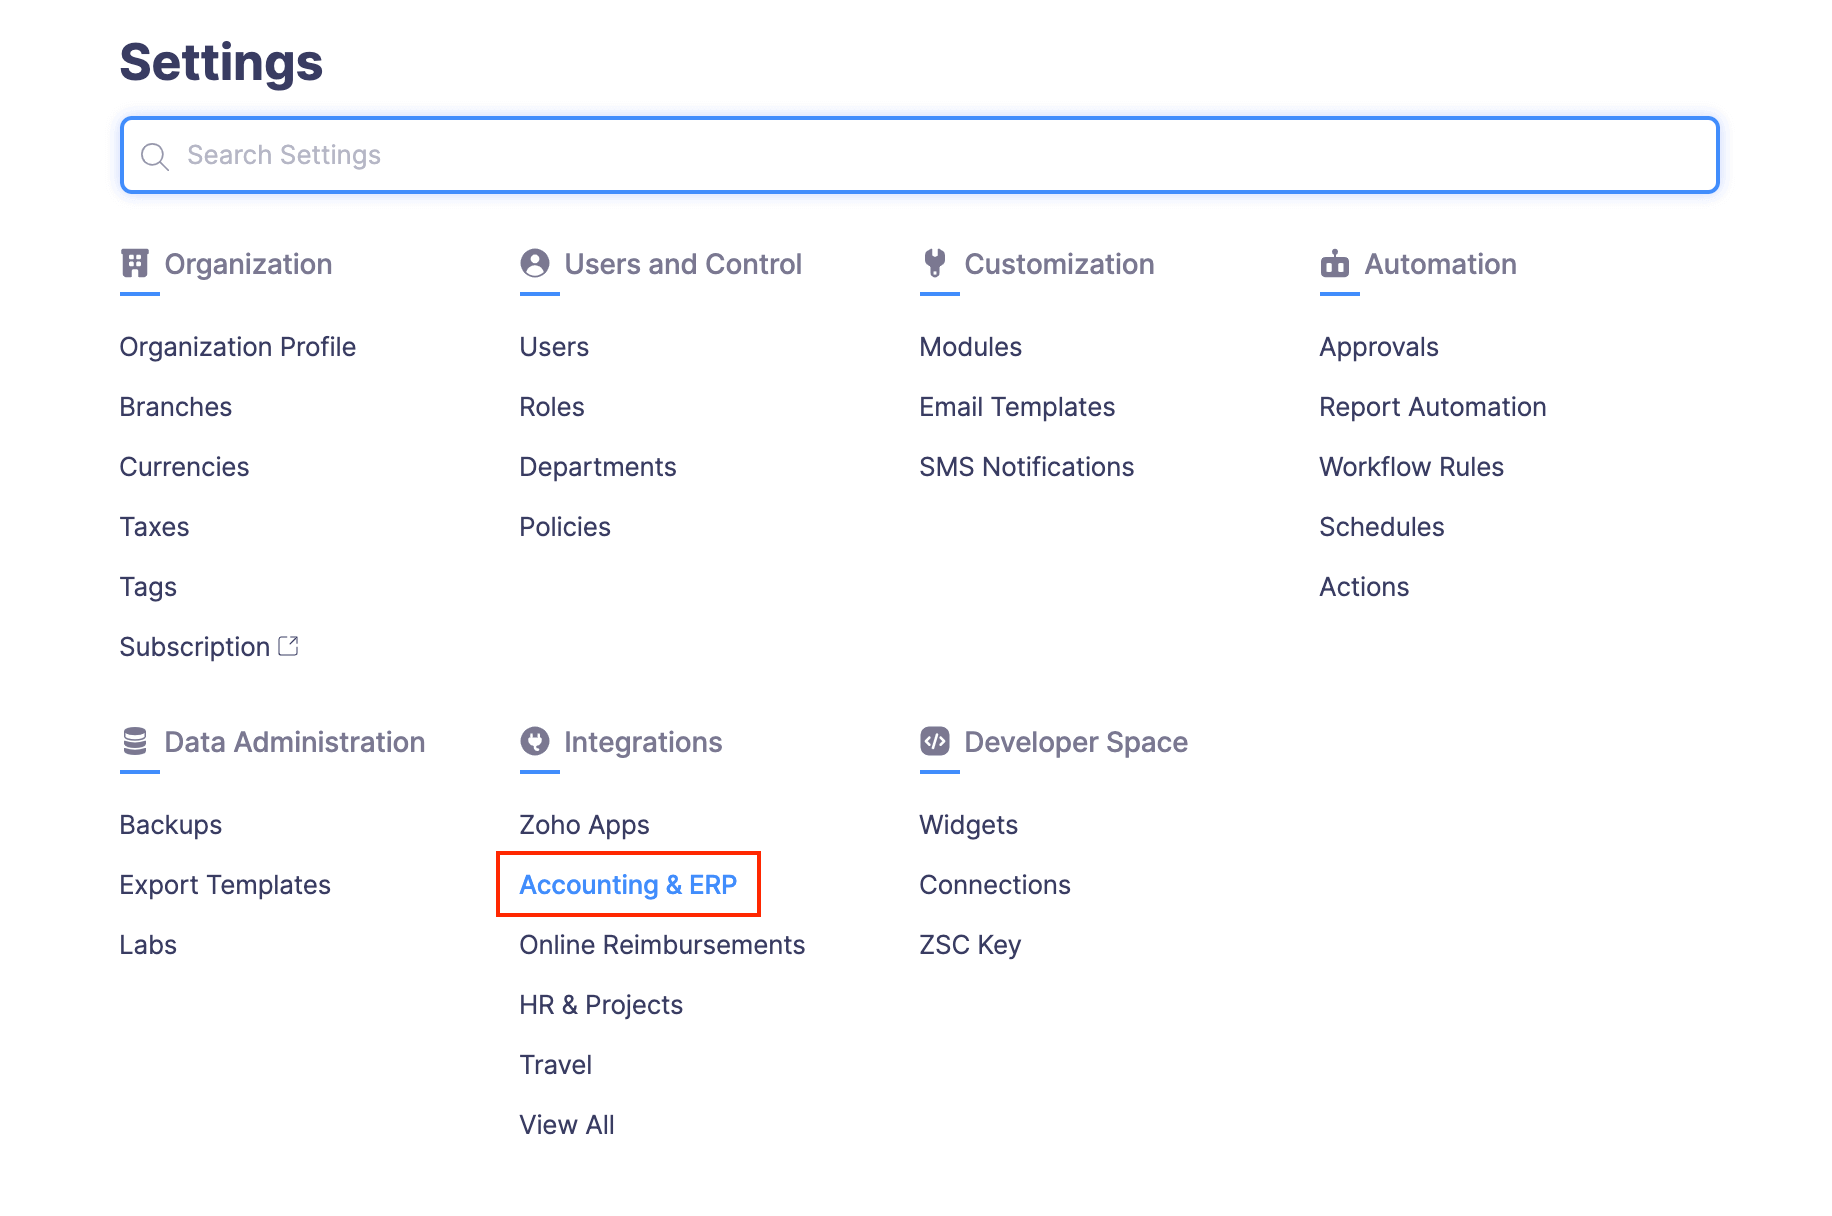
Go to Settings on the left sidebar. - Go to Accounting & ERP under Integrations.
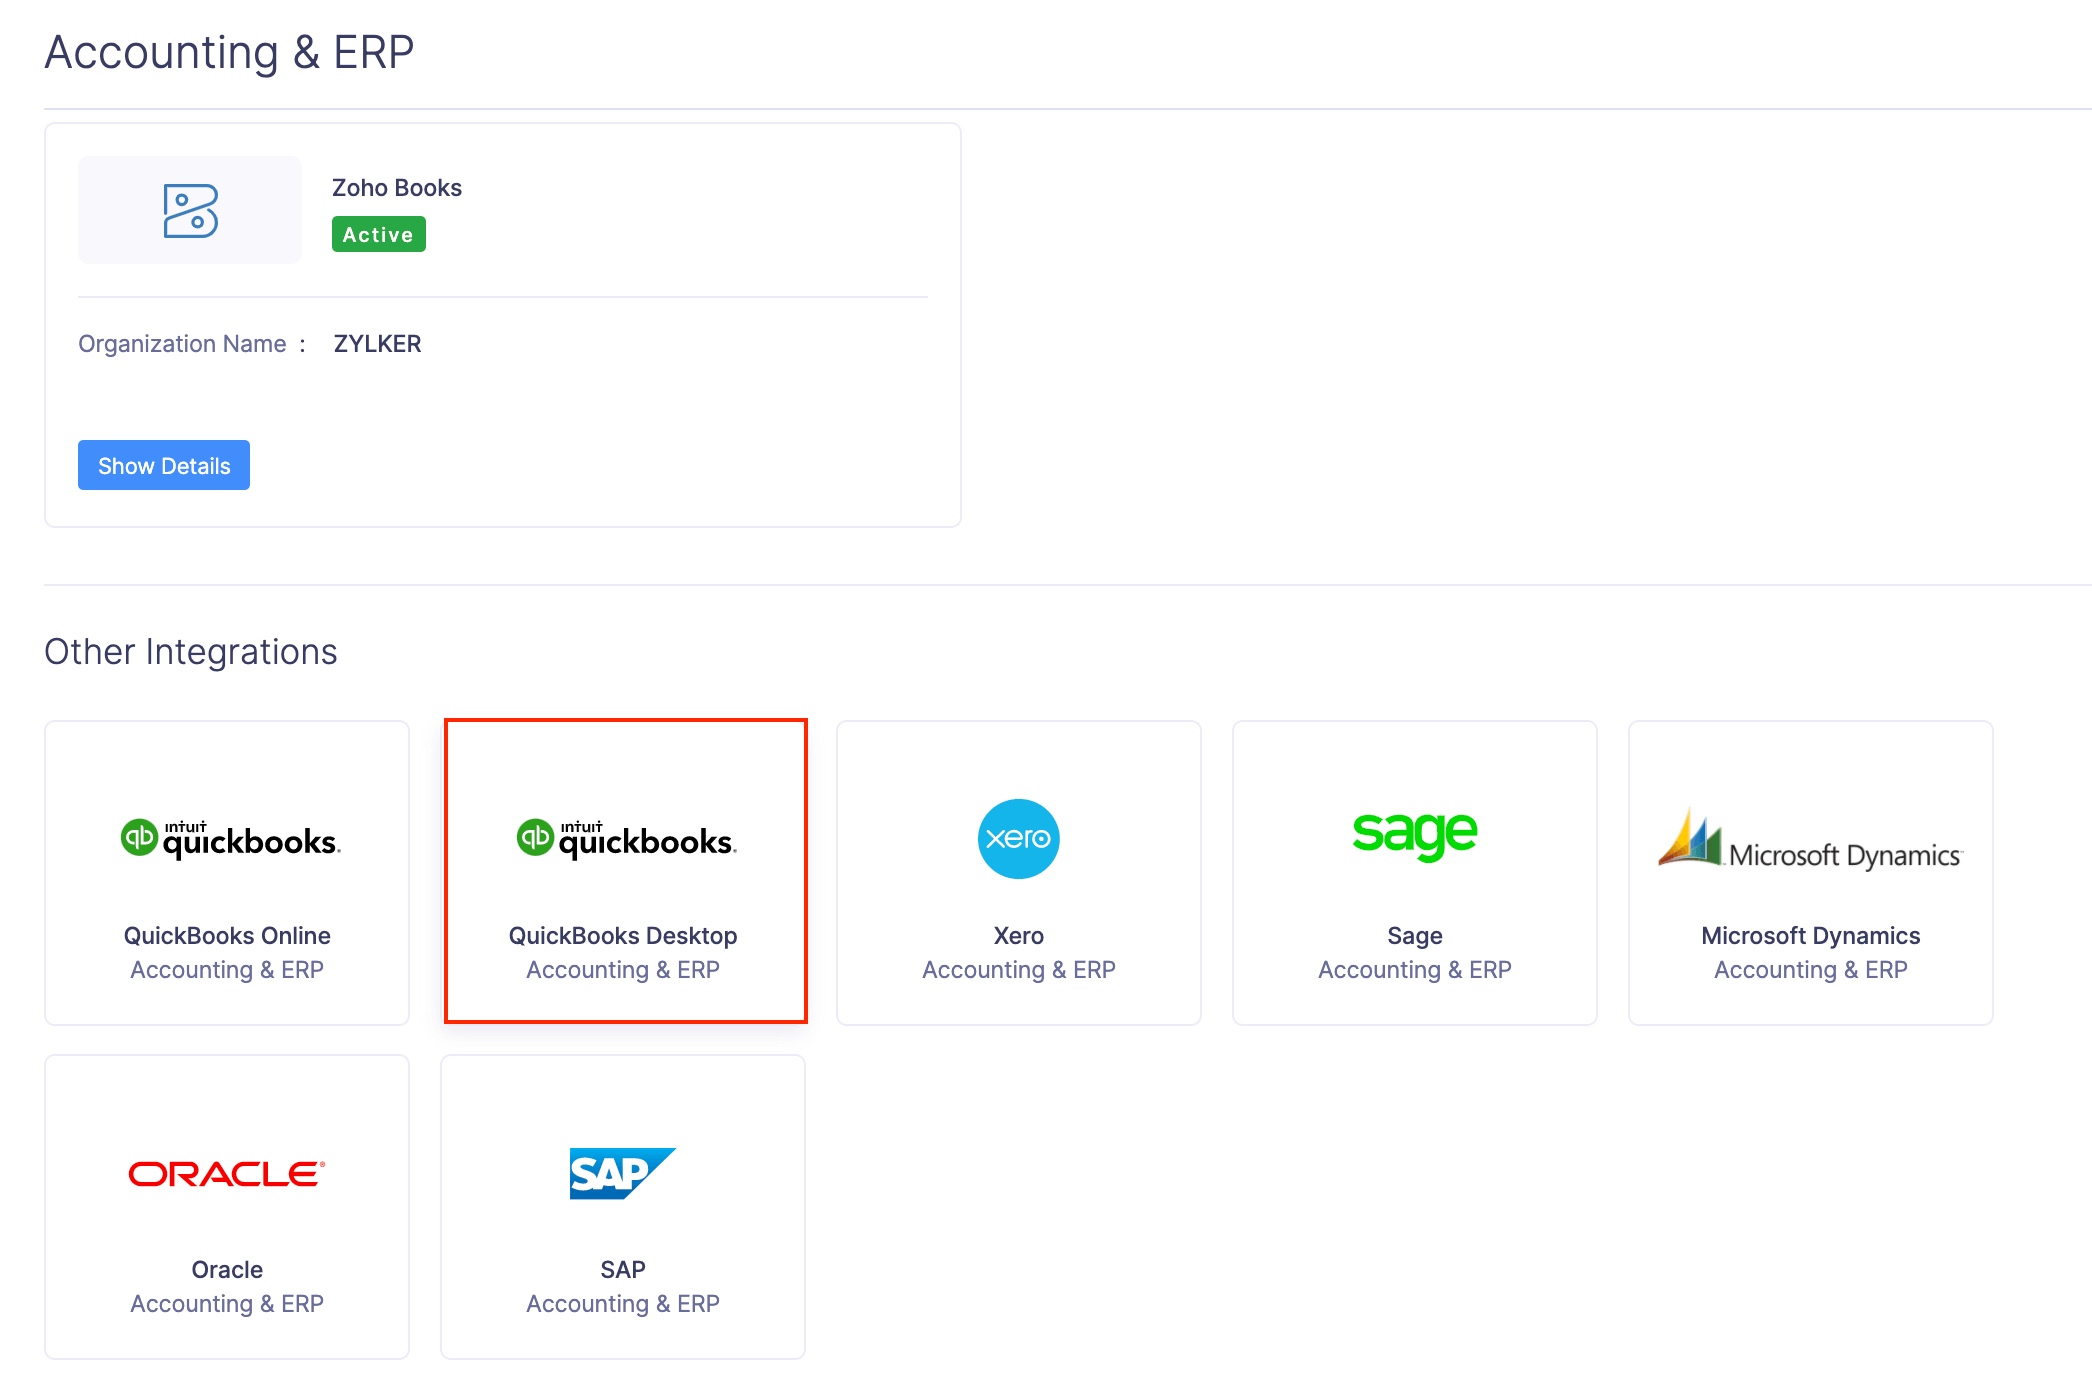
- Click QuickBooks Desktop.
- Click Download Connector(Windows OS only).
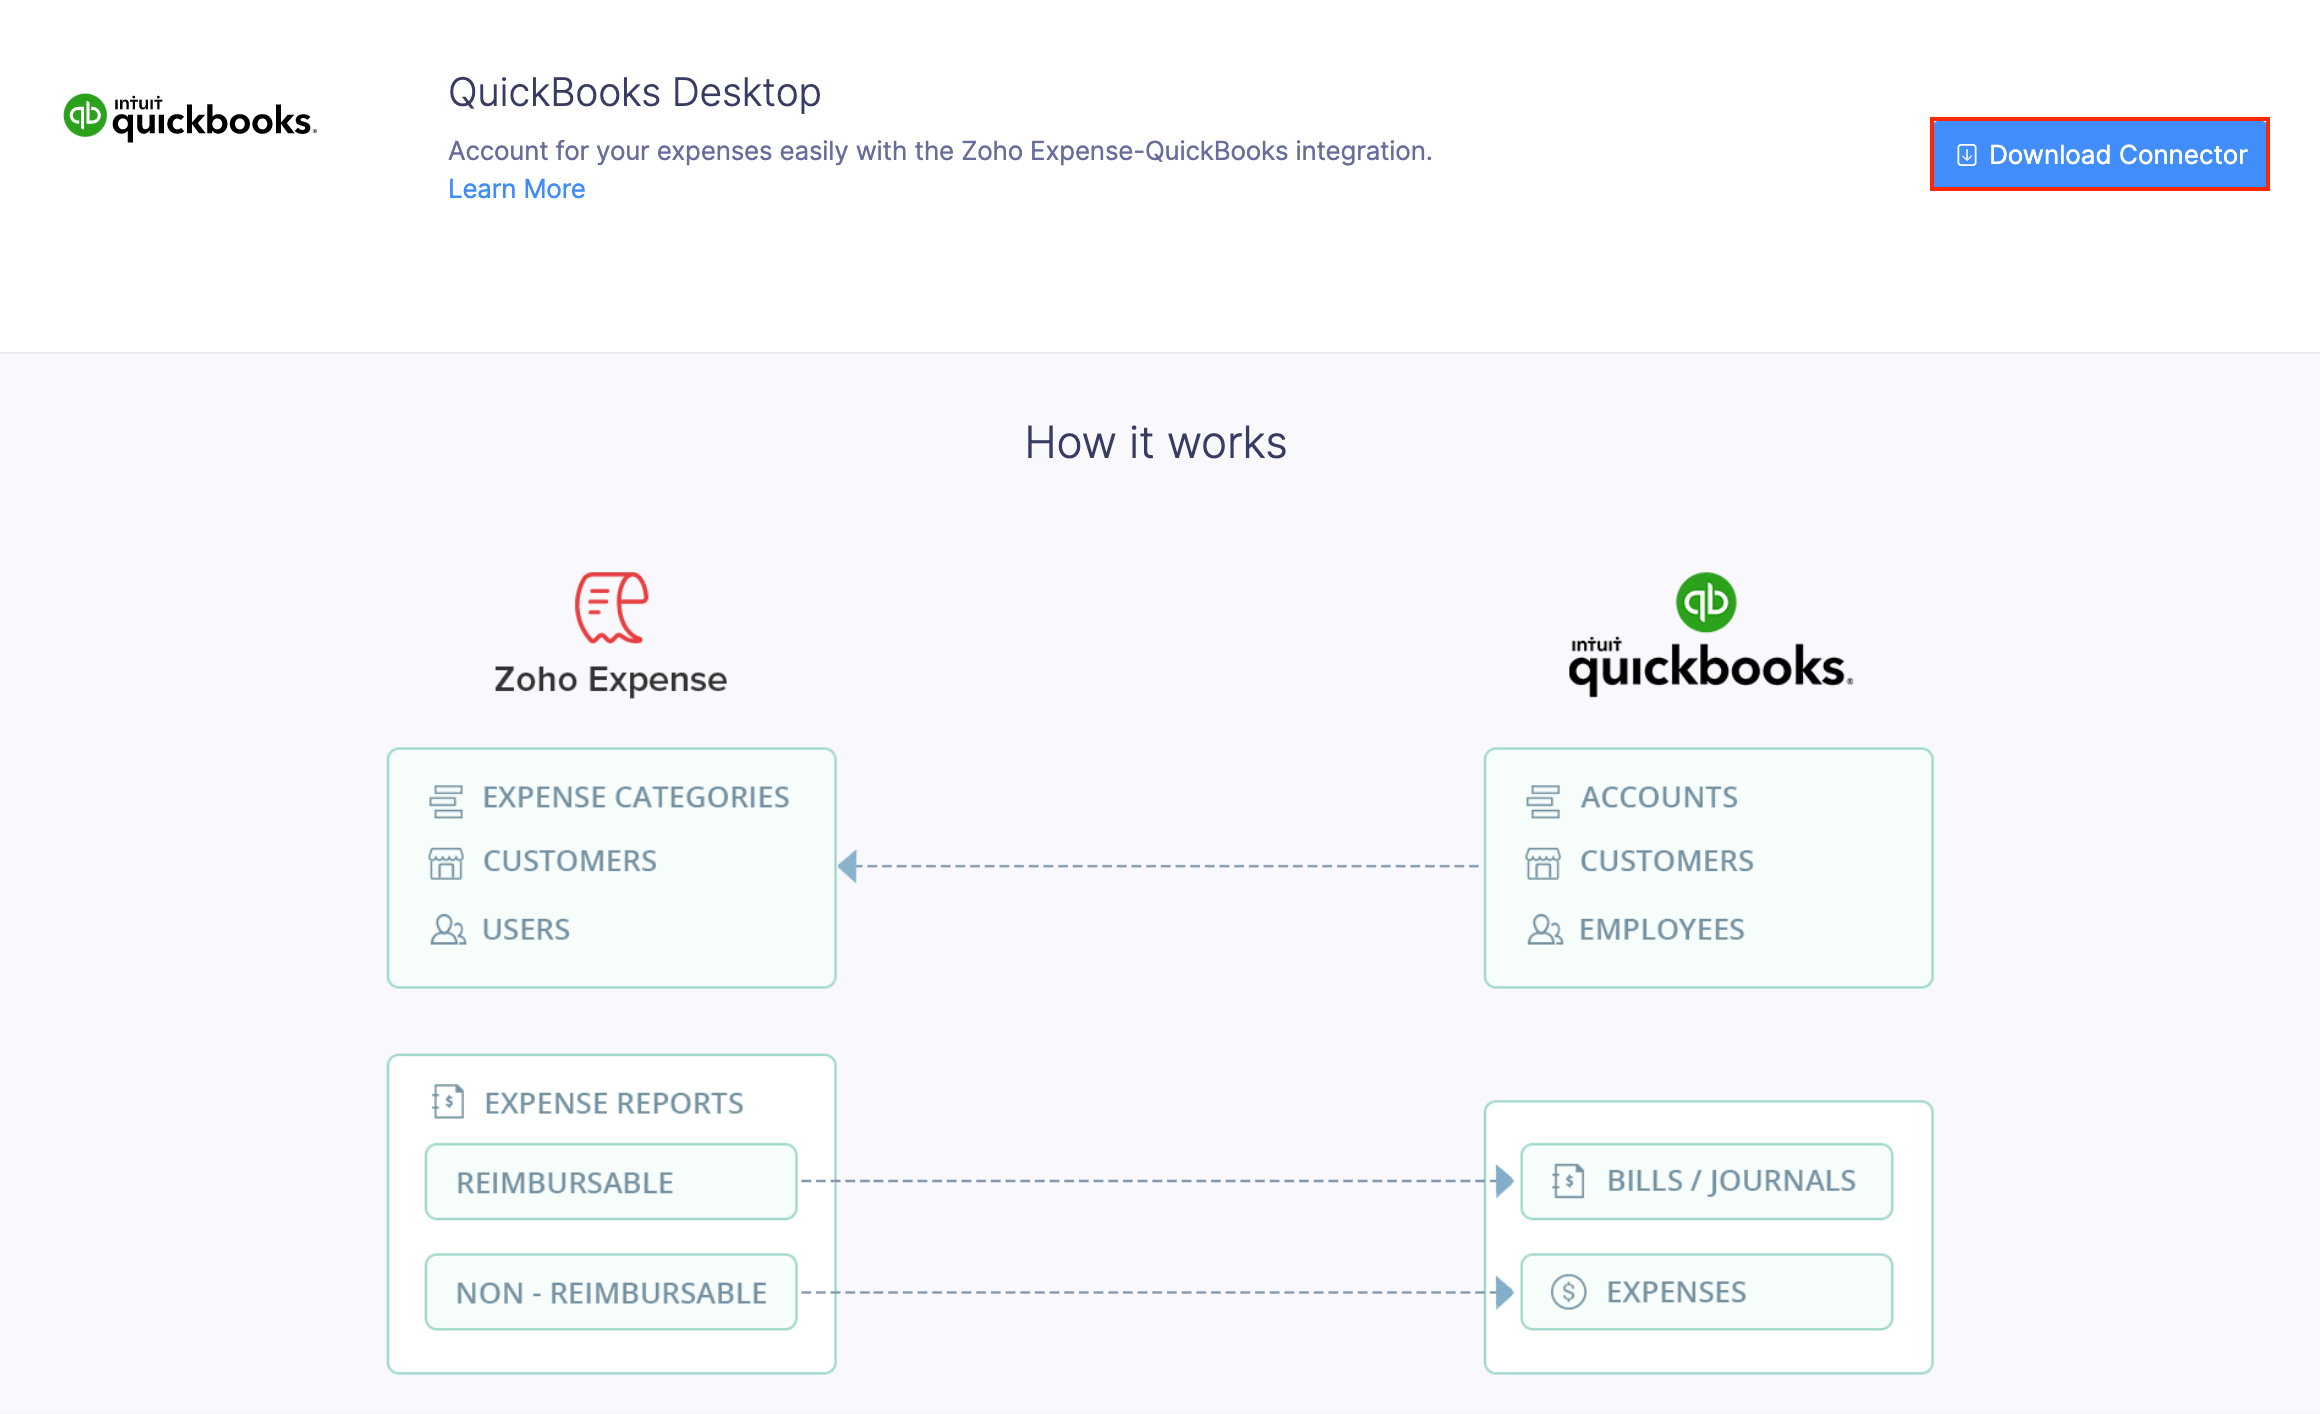
- Click the Download option in the pop-up.
Authorize Access to QuickBooks Desktop
- Open the connector and enter the file location of your QuickBooks Desktop application.
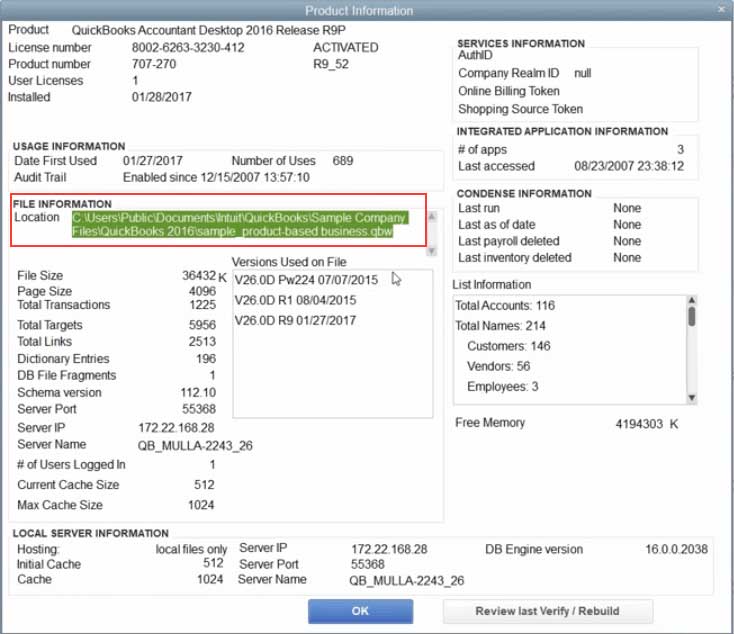
- To obtain the file location, go to the QuickBooks Desktop company which you would like to connect with Zoho Expense and press Ctrl+1.
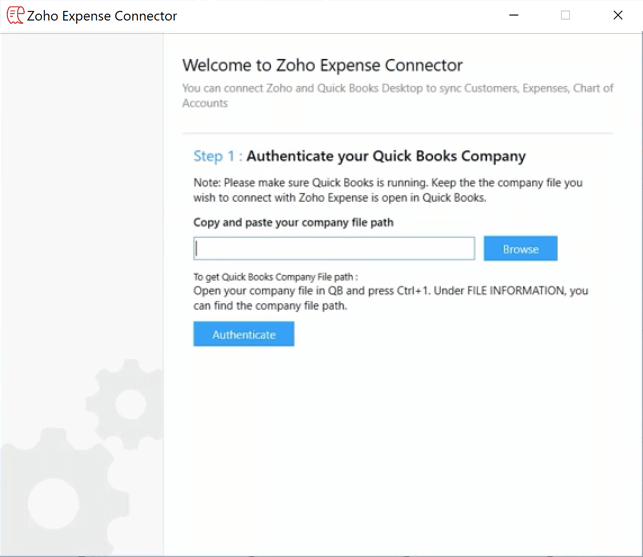
- Copy the file location under ‘File information’ and paste it in the connector.
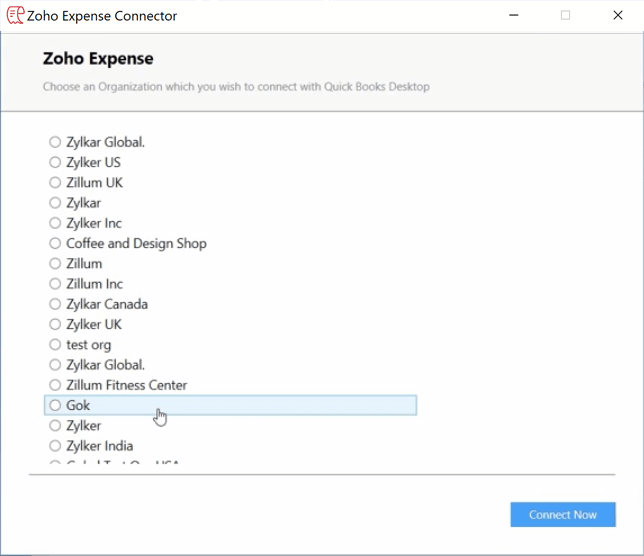
- If you have multiple organizations in Zoho Expense, select the organization you would like to connect with QuickBooks Desktop and click Next.
- Once that’s done, configure the import and export preferences.
Configure the Integration
You need to configure two important processes:
Import from QuickBooks Desktop:
The following can be imported from QuickBooks Desktop:
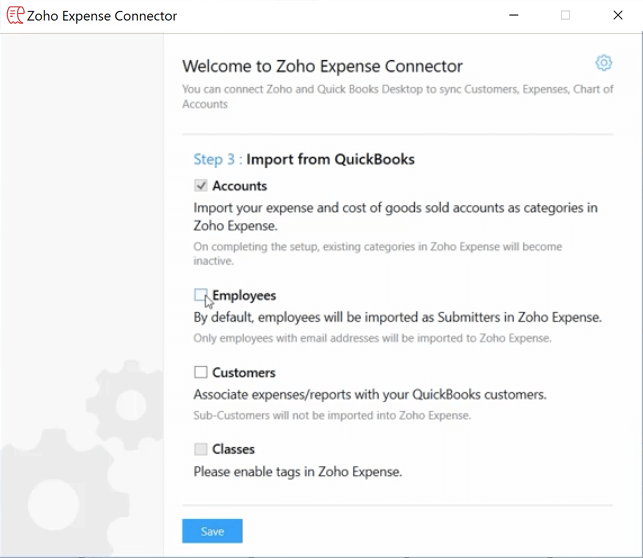
- Accounts: By default, we’ll import the Expense accounts and their Sub-Accounts as categories in Zoho Expense and mark the existing categories as inactive.
- Employees: We’ll import your employees who have their email addresses listed in QuickBooks Desktop, as Submitters to Zoho Expense. Once imported, you can change the user role.
- Customers: We’ll import all your Customers from QuickBooks as Customers in Zoho Expense. You can associate them your expenses in Zoho Expense. Sub-Customers will not be imported.
- Classes: We’ll import your classes as options of a Tag in Zoho Expense.
Any new additions to the list of Customers, employees, expense accounts or classes in your QuickBooks Desktop account will be reflected in Zoho Expense when you sync the applications using the connector.
Export to QuickBooks Desktop
Choose how you would like to export your expenses to QuickBooks Desktop:
Reimbursable expenses can be exported as:
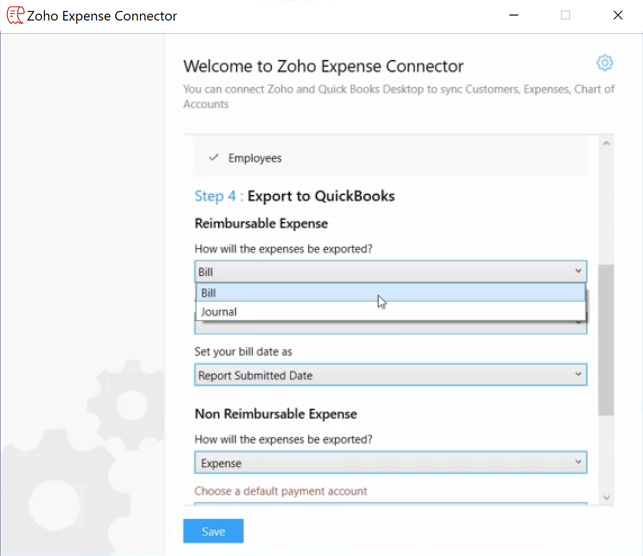
Bill
- When an expense report is exported, a bill is automatically created in your QuickBooks Desktop account wherein each of your reimbursable expense will be listed as a line item. All the expense details such as the merchant, amount, description, customer etc will be mentioned in the line.
- The bill number will be same as the report number.
- Choose an accounts payable account for your bill. The bill becomes payable to the employee who submitted the expense, who would now become the vendor of the bill in QuickBooks Desktop.
- Configure the bill date as any one of the following:
- Expense Date: The date on which the last expense was incurred.
- Approval date: The date on which the report was approved.
- Submitted date: The date on which the report was submitted.
- You will find your entry in QuickBooks under ‘Bill tracker’.
Journal
- Each expense will be entered as a debit transaction in the journal along with the employee name associated with that expense.
- The journal number will be same as the report number.
- Configure the journal date as any one of the following:
- Expense Date: The date on which the last expense was incurred.
- Approval date: The date on which the report was approved.
- Submitted date: The date on which the report was submitted.
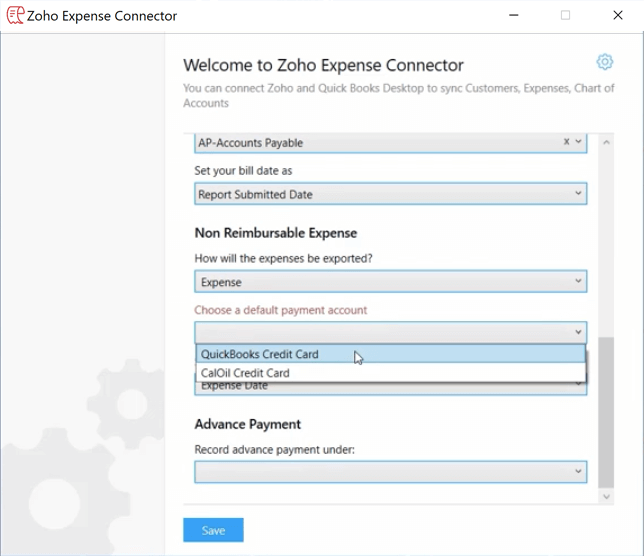
Non-reimbursable expenses can be exported as:
Credit Card charges
- Non-reimbursable expenses in your report are exported as credit card charges to QuickBooks Desktop. You can identify them with the Zoho Expense report number.
- If your expense contains Merchants who do not exist in QuickBooks Desktop, they will be automatically added as vendors in your QuickBooks account.
- Choose a payment account from the dropdown where all your credit cards will be listed. The selected account will be the default payment account for your non-reimbursable expenses. However, if you’ve already mapped a card in Zoho Expense with a corresponding card in QuickBooks Desktop, the non-reimbursable expenses will be recorded only under the mapped card in QuickBooks Desktop.
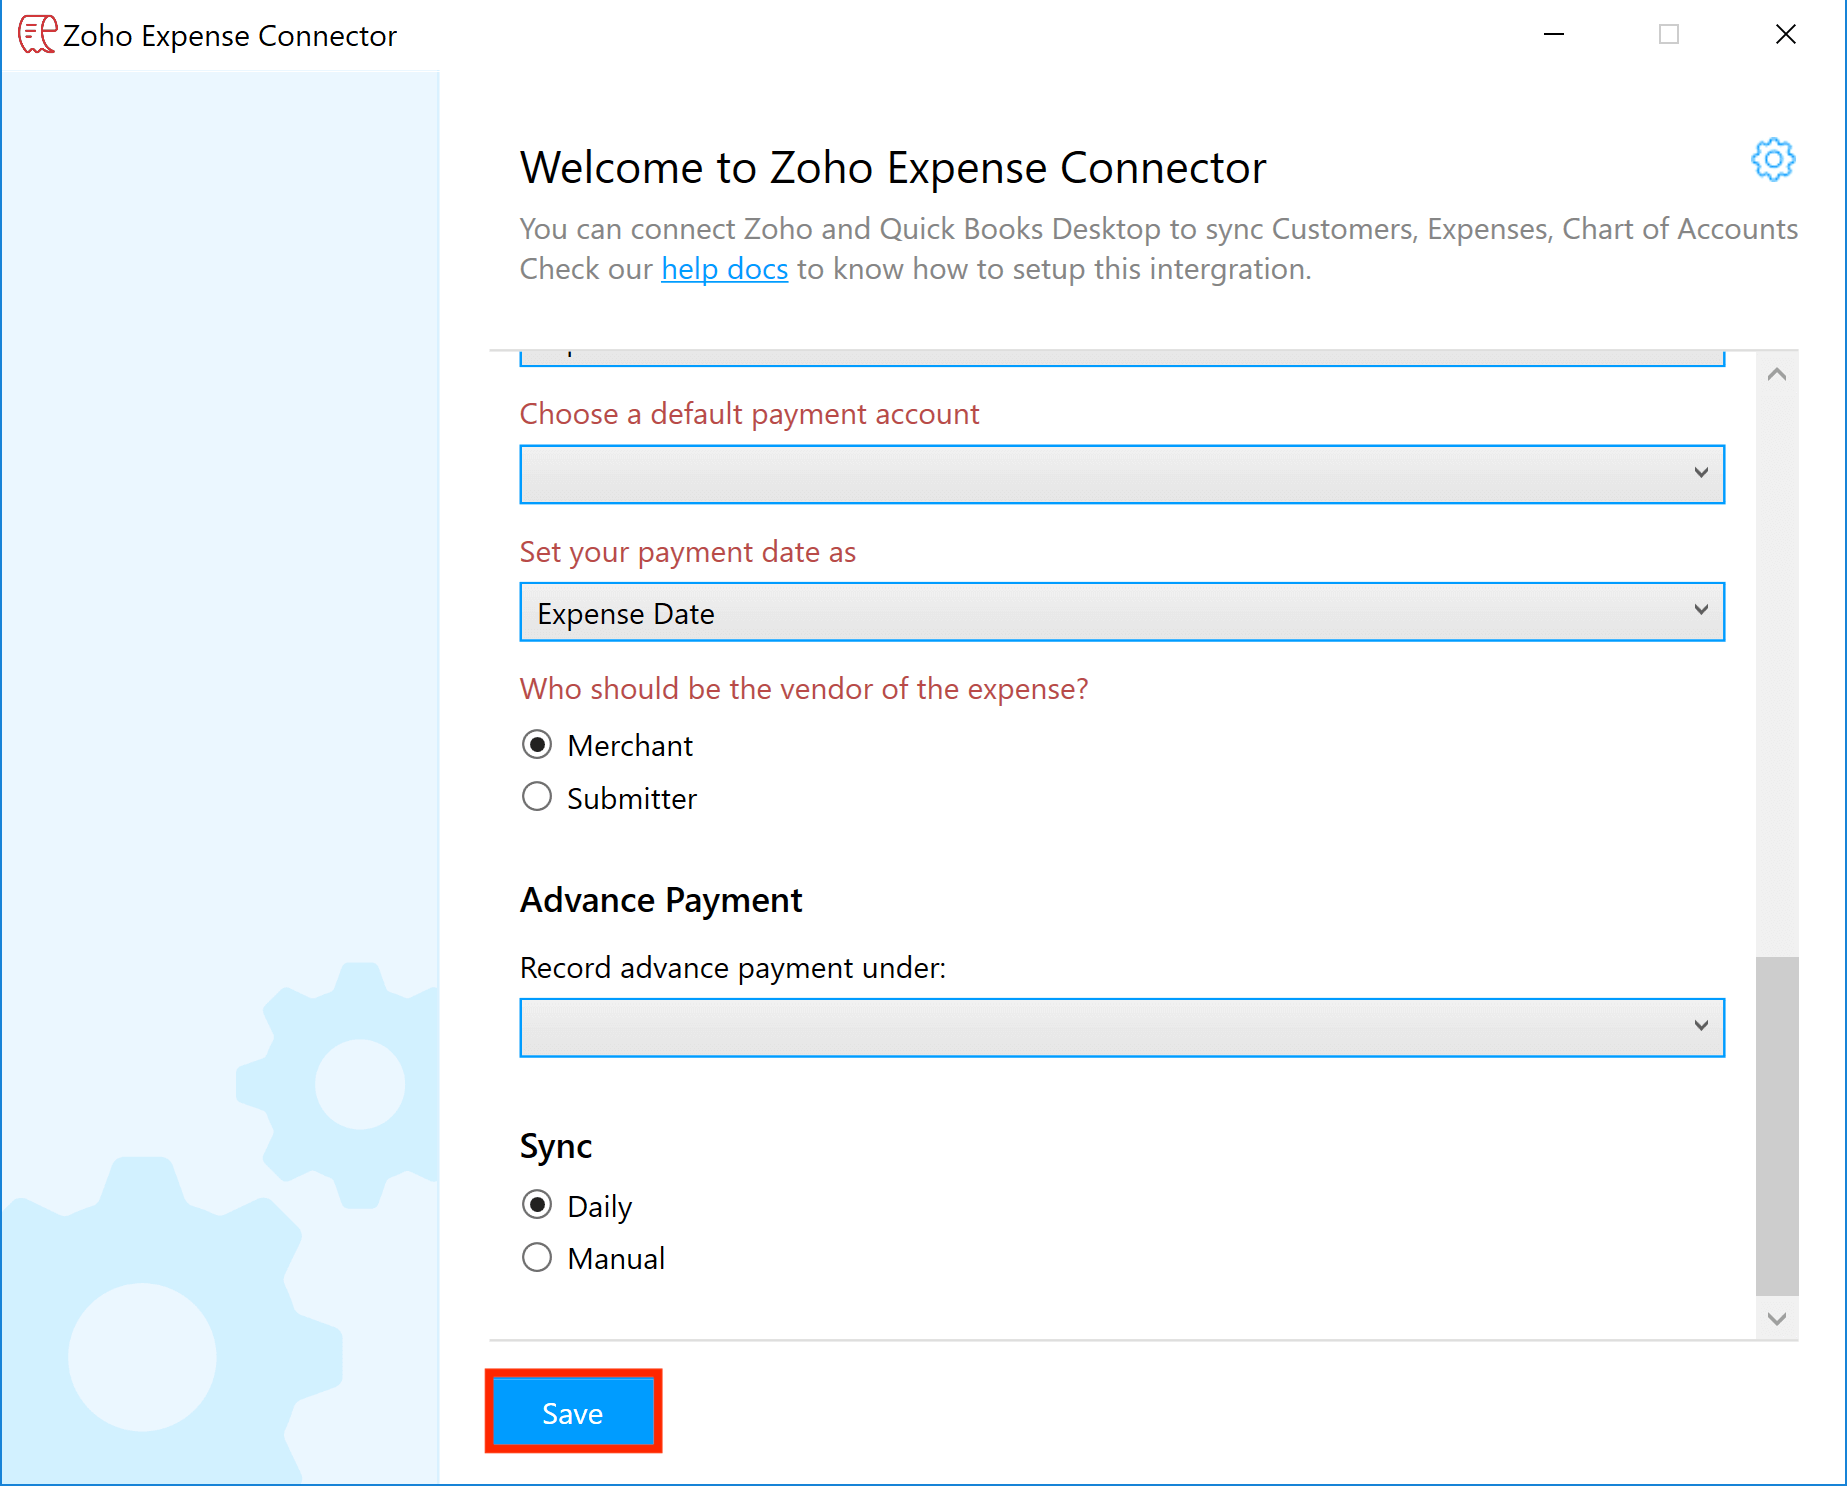
- Configure the payment date as any one of the following:
- Expense Date: The date on which the expense was incurred.
- Approval date: The date on which the report was approved.
- Submitted date: The date on which the report was submitted.
- You will find your entry in QuickBooks under ‘Bill Tracker’.
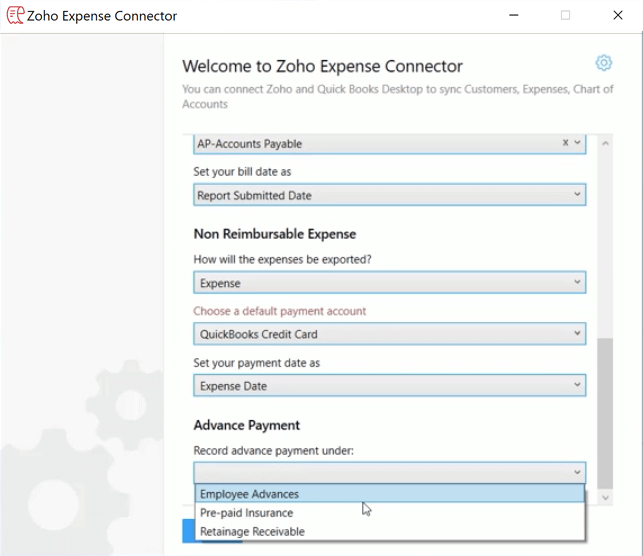
Exporting Advance payment:
The employee advances will be recorded under the selected advance payment account. You can choose an existing account from QuickBooks for tracking advance payments. If you don’t have one, then simply type a name and we’ll create one for you in QuickBooks, under Other current assets.
When exported as a Bill:
- The advance payment will be recorded as a vendor credit under the selected account.
When exported as a Journal:
- If the advance payment is less than or equal to the reimbursable amount, it will be entered as a credit transaction in the journal, against the selected advance payment account
- If the advance payment is more than the reimbursable amount, the excess amount will be entered as a debit transaction in the journal, against the accounts payable account.
Once you have configured the data you want to import and export, you can configure the sync preferences. Select Daily, if you want to sync the data on a daily basis and select Manual if you want to sync the data manually. Click Save.
Map Card Feeds
Sometimes, you might want to export card feeds that are recorded in Zoho Expense to QuickBooks for accounting or other purposes. You can export your card feeds in Zoho Expense to QuickBooks in a few simple steps:
- Associate a card feed in Zoho Expense with a card in QuickBooks.
- Click Admin View.
- Go to Corporate Cards on the left sidebar.
- Click the corporate card.
- Click the Gear icon on the top right corner.
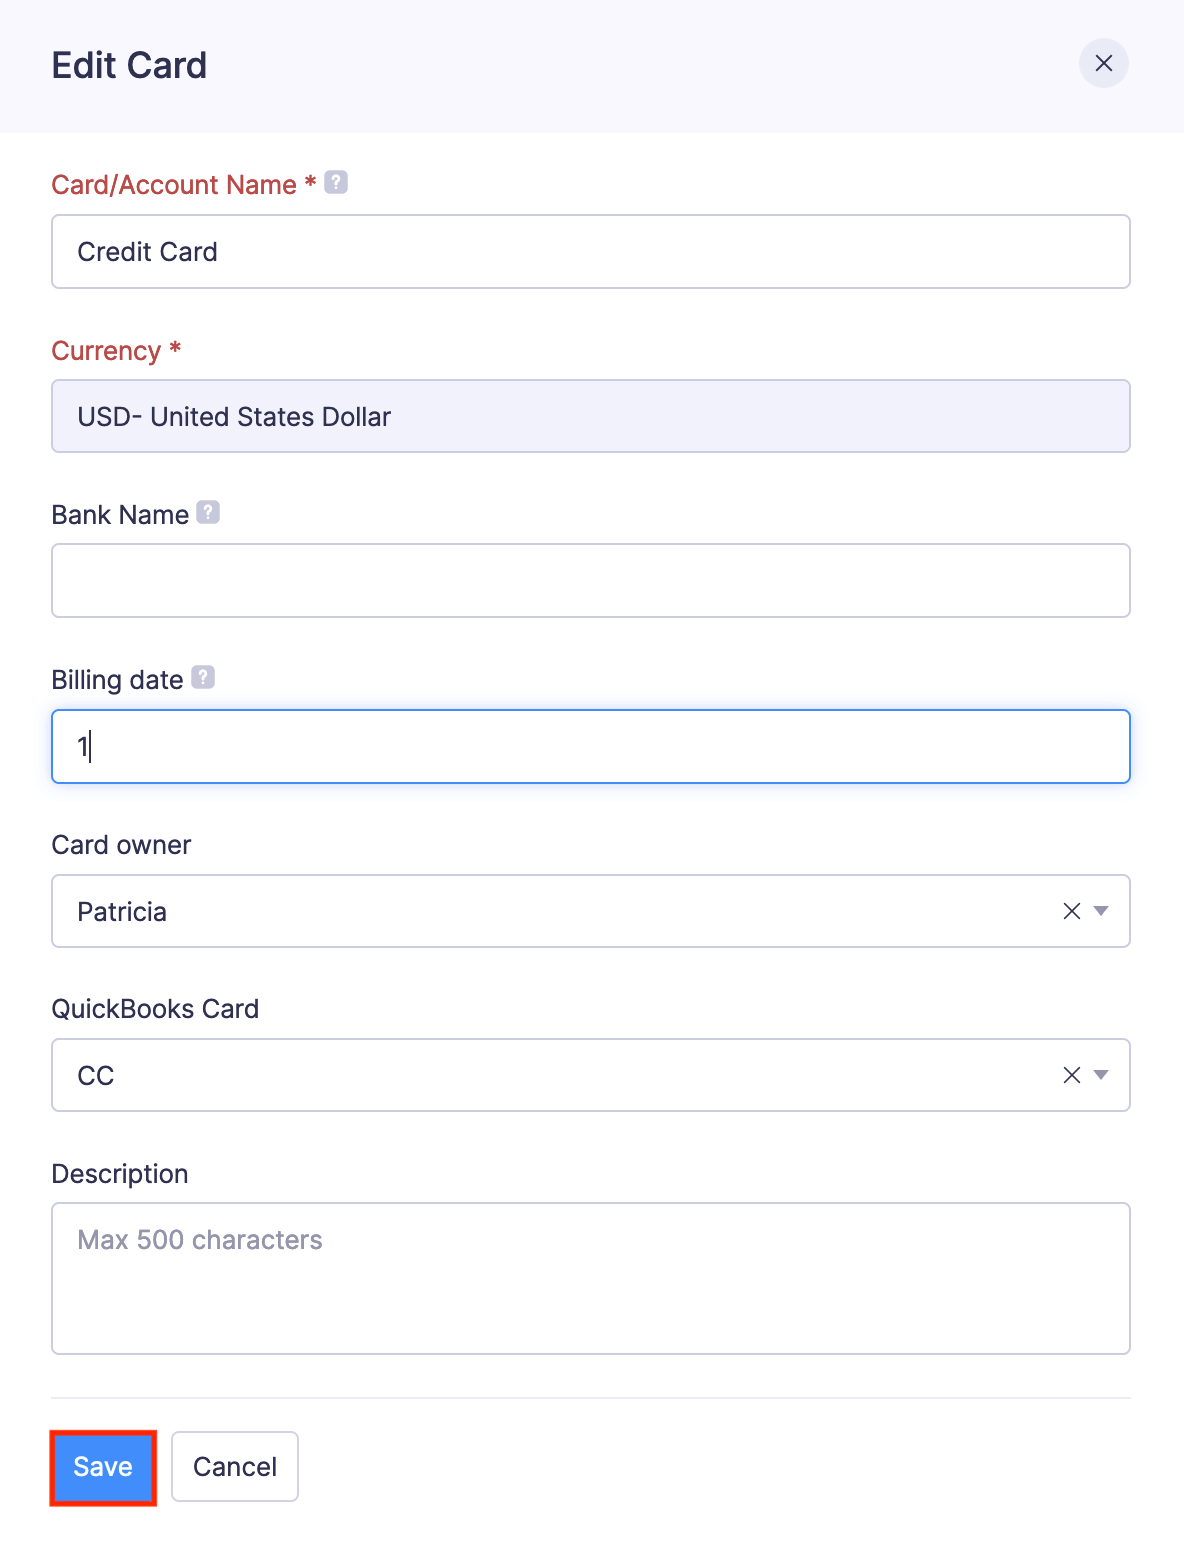
- Select Edit.
- Select the QuickBooks Card.
- Click Save.
Export reports associated with the card in Zoho Expense to QuickBooks.
View all transactions of this card in QuickBooks.
Note: You can view the exported transactions under the associated card’s feed in QuickBooks.
Map Users and Vendors
A report with reimbursable expenses in Zoho Expense will be exported as a single bill to QuickBooks Desktop. Each expense will be a line item in this bill. And, the vendor of the bill will be the user who had created these expenses. Hence, to fetch the vendors for creating bills in QuickBooks Desktop, you will have to map the users in Zoho Expense with the vendors in QuickBooks Desktop. To map the users:
- Click Admin View.
- Click the Gear icon at the top right side.
(OR)
Go to Settings on the left sidebar. - Go to Users under Users and Control.
- Click the More icon at the right side of the user you want to map with the QuickBooks Desktop vendor.
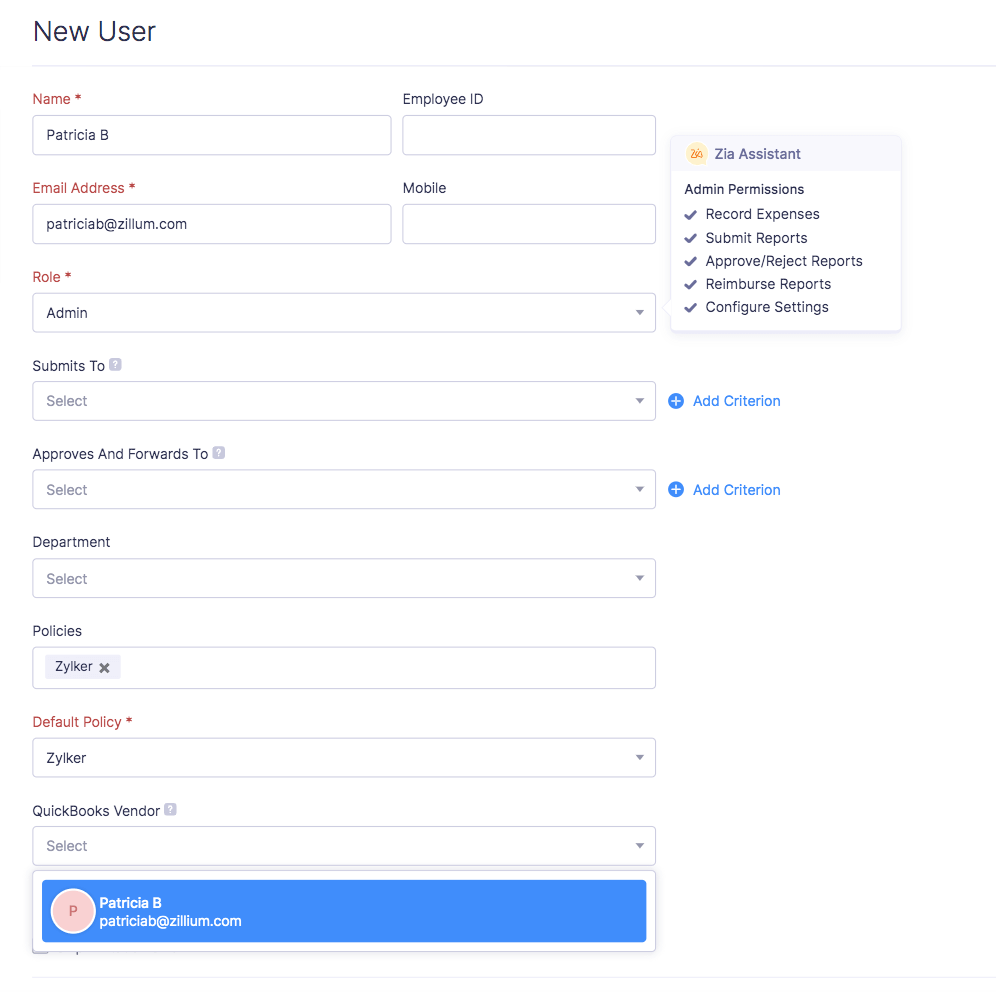
- Select Edit.
- Select a vendor from the QuickBooks Vendor dropdown.
- Click Save.
Once this is done, whenever a reimbursable expense created by the user is exported, the mapped QuickBooks Desktop vendor will be the vendor of the bill.
Note: If you have not mapped the user with the corresponding QuickBooks Desktop vendor while exporting reimbursable expenses, a new vendor will be created in QuickBooks Desktop and this vendor will be automatically mapped with the user in Zoho Expense.
Map Merchants and Vendors
When you export a report with non-reimbursable expenses from Zoho Expense, they will be exported as expenses to QuickBooks Desktop. If you have configured merchants to be the vendor of the expense, you can map the merchants in Zoho Expense with the vendors in QuickBooks Desktop. To map the merchants:
- Click Admin View.
- Click the Gear icon at the top right side.
(OR)
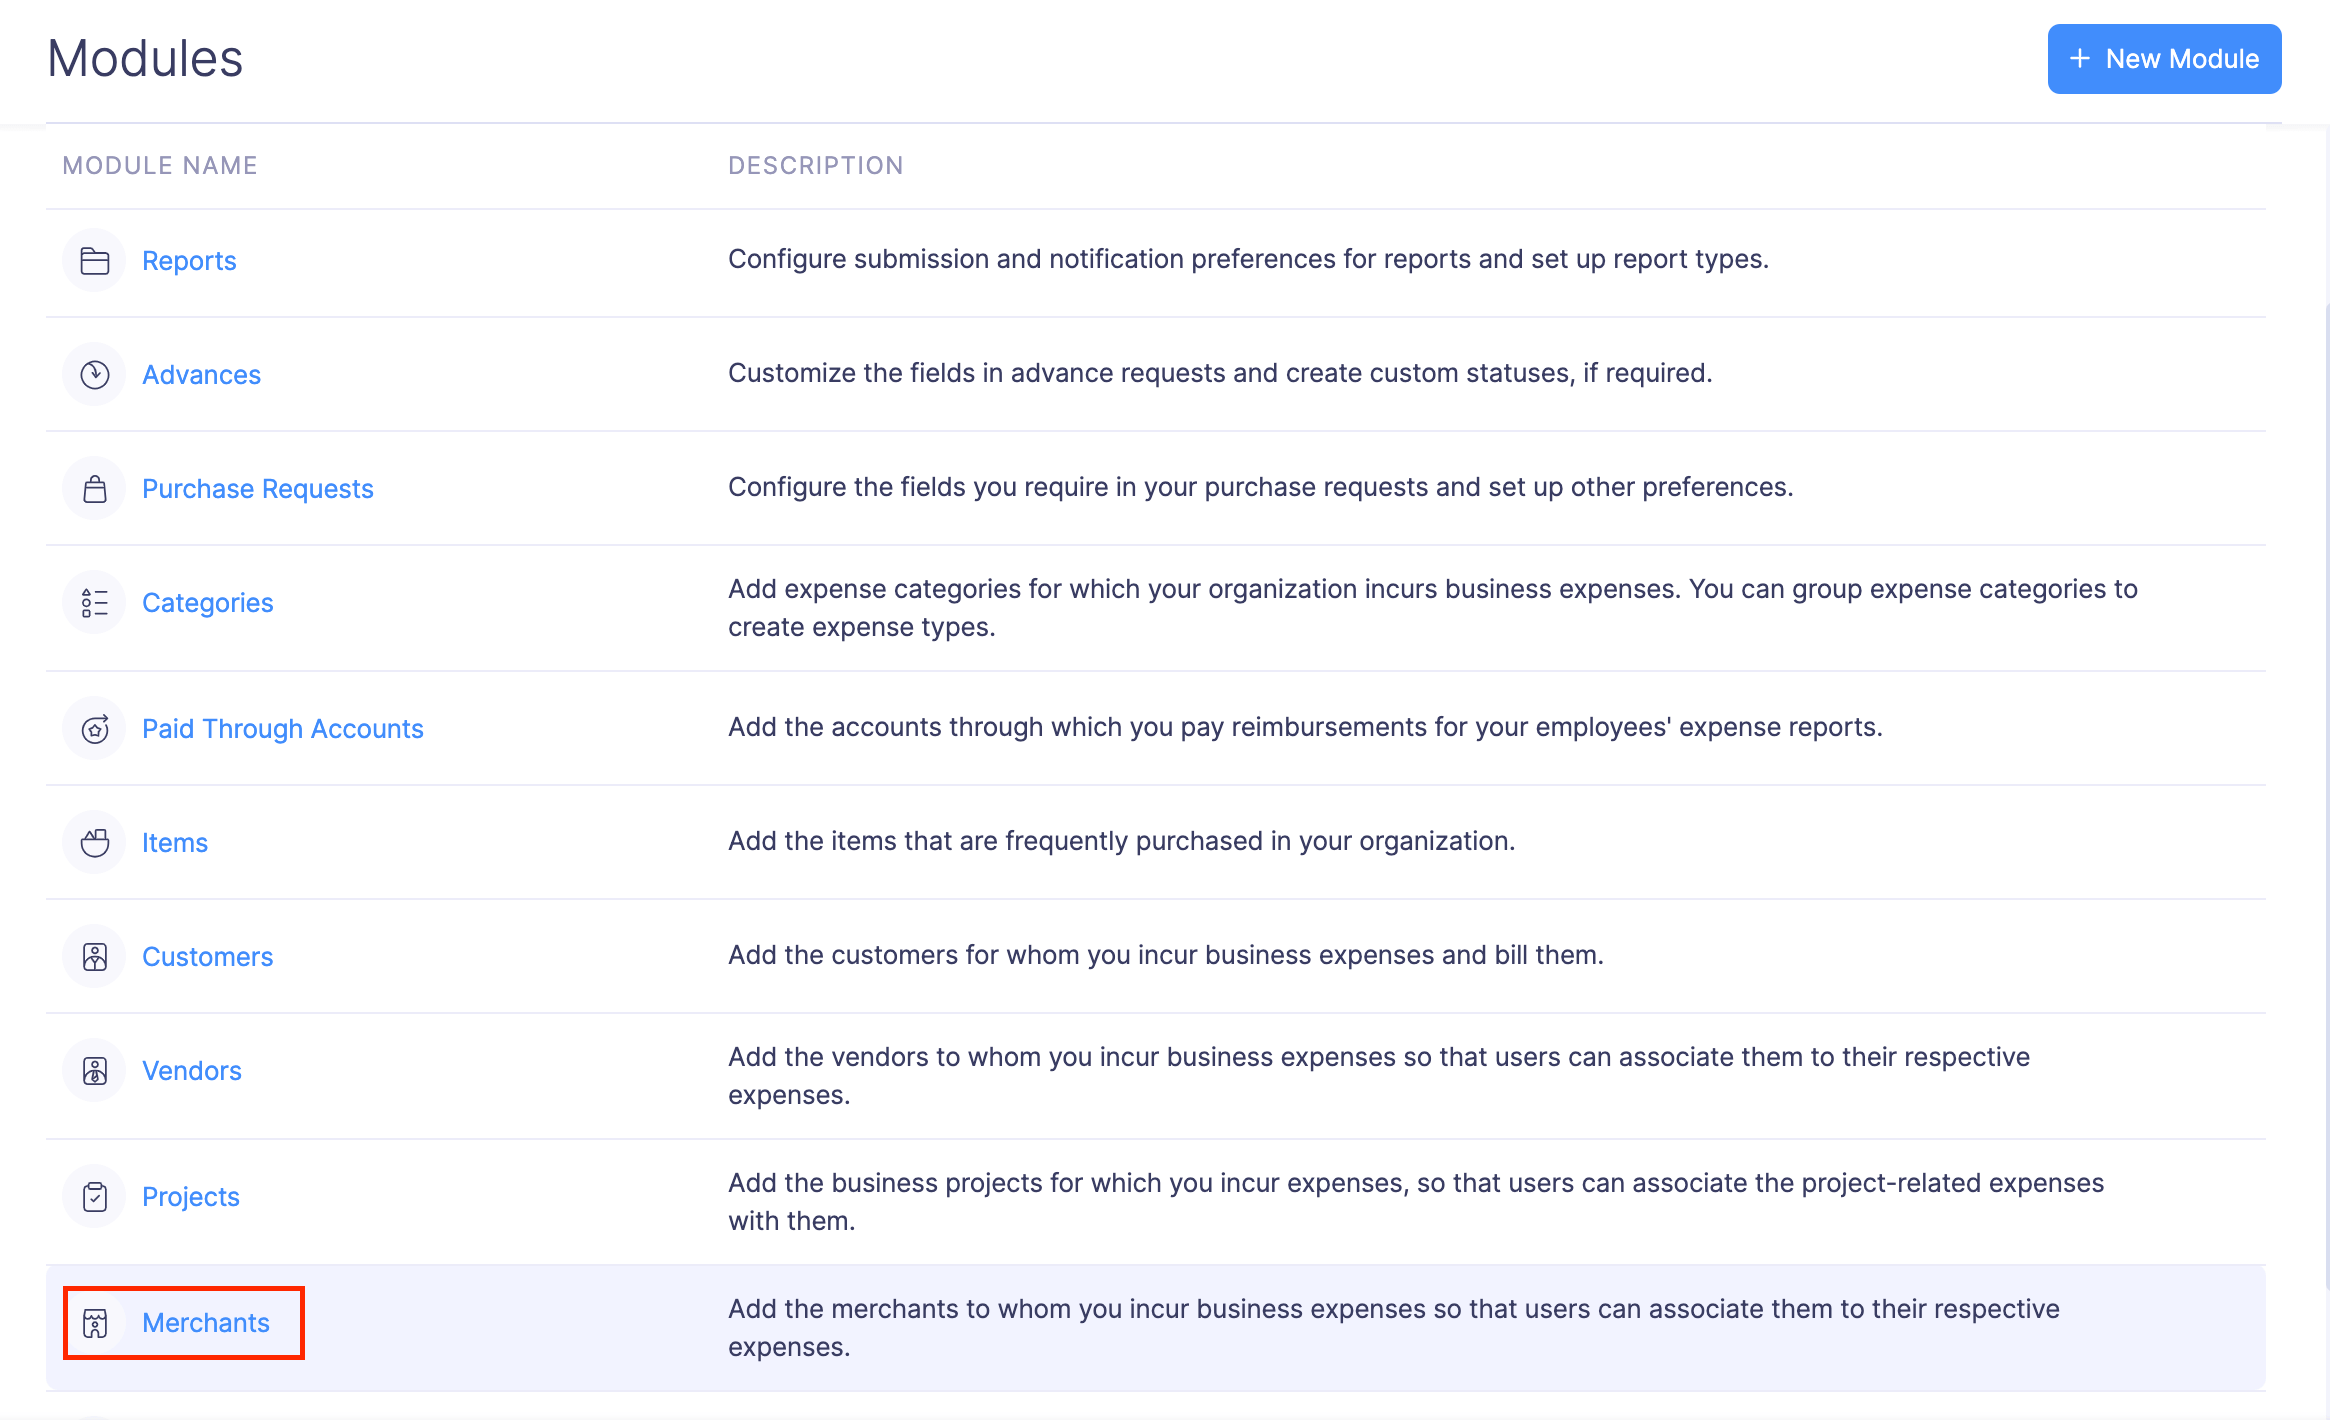
Go to Settings on the left sidebar. - Go to Modules under Customization.
- Click Merchants.
- Click the More icon at the right corner of the merchant you want to map with the QuickBooks Desktop vendor.
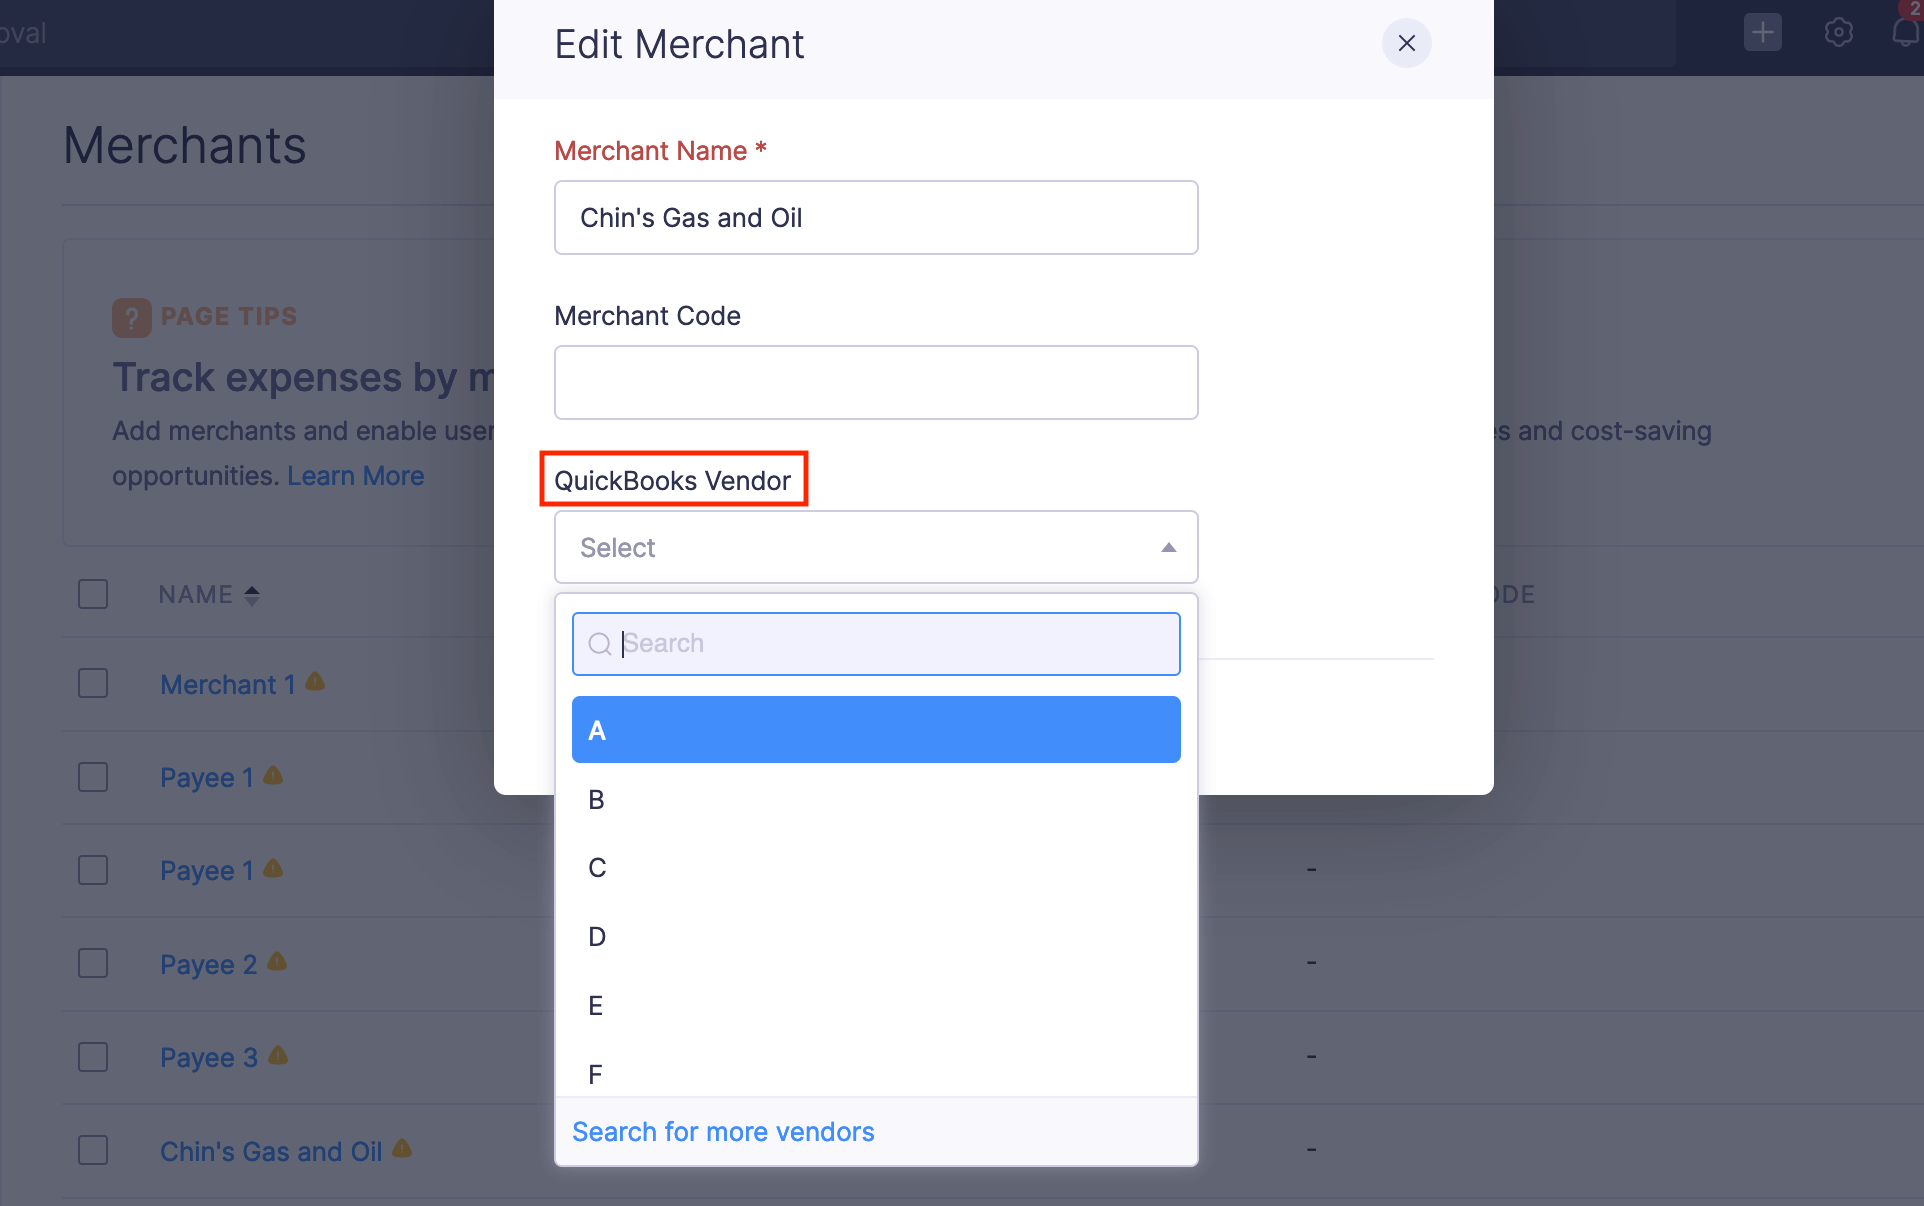
- Select Edit.
- Select a vendor from the QuickBooks Vendor dropdown.
- Click Save.
Once this is done, whenever a non-reimbursable expense with the merchant is exported, the mapped QuickBooks Desktop vendor will be the vendor of the expense.
Note: If you have not mapped the merchant with the corresponding QuickBooks Desktop vendor while exporting non-reimbursable expenses, a new vendor will be created in QuickBooks Desktop and this vendor will be automatically mapped with the merchant in Zoho Expense.
Export Your Reports to QuickBooks Desktop
Once the report is approved, it is ready to be exported to your QuickBooks account. To do that:
- Click Admin View.
- Go to Reports.
- Click the approved report you want to export to QuickBooks.
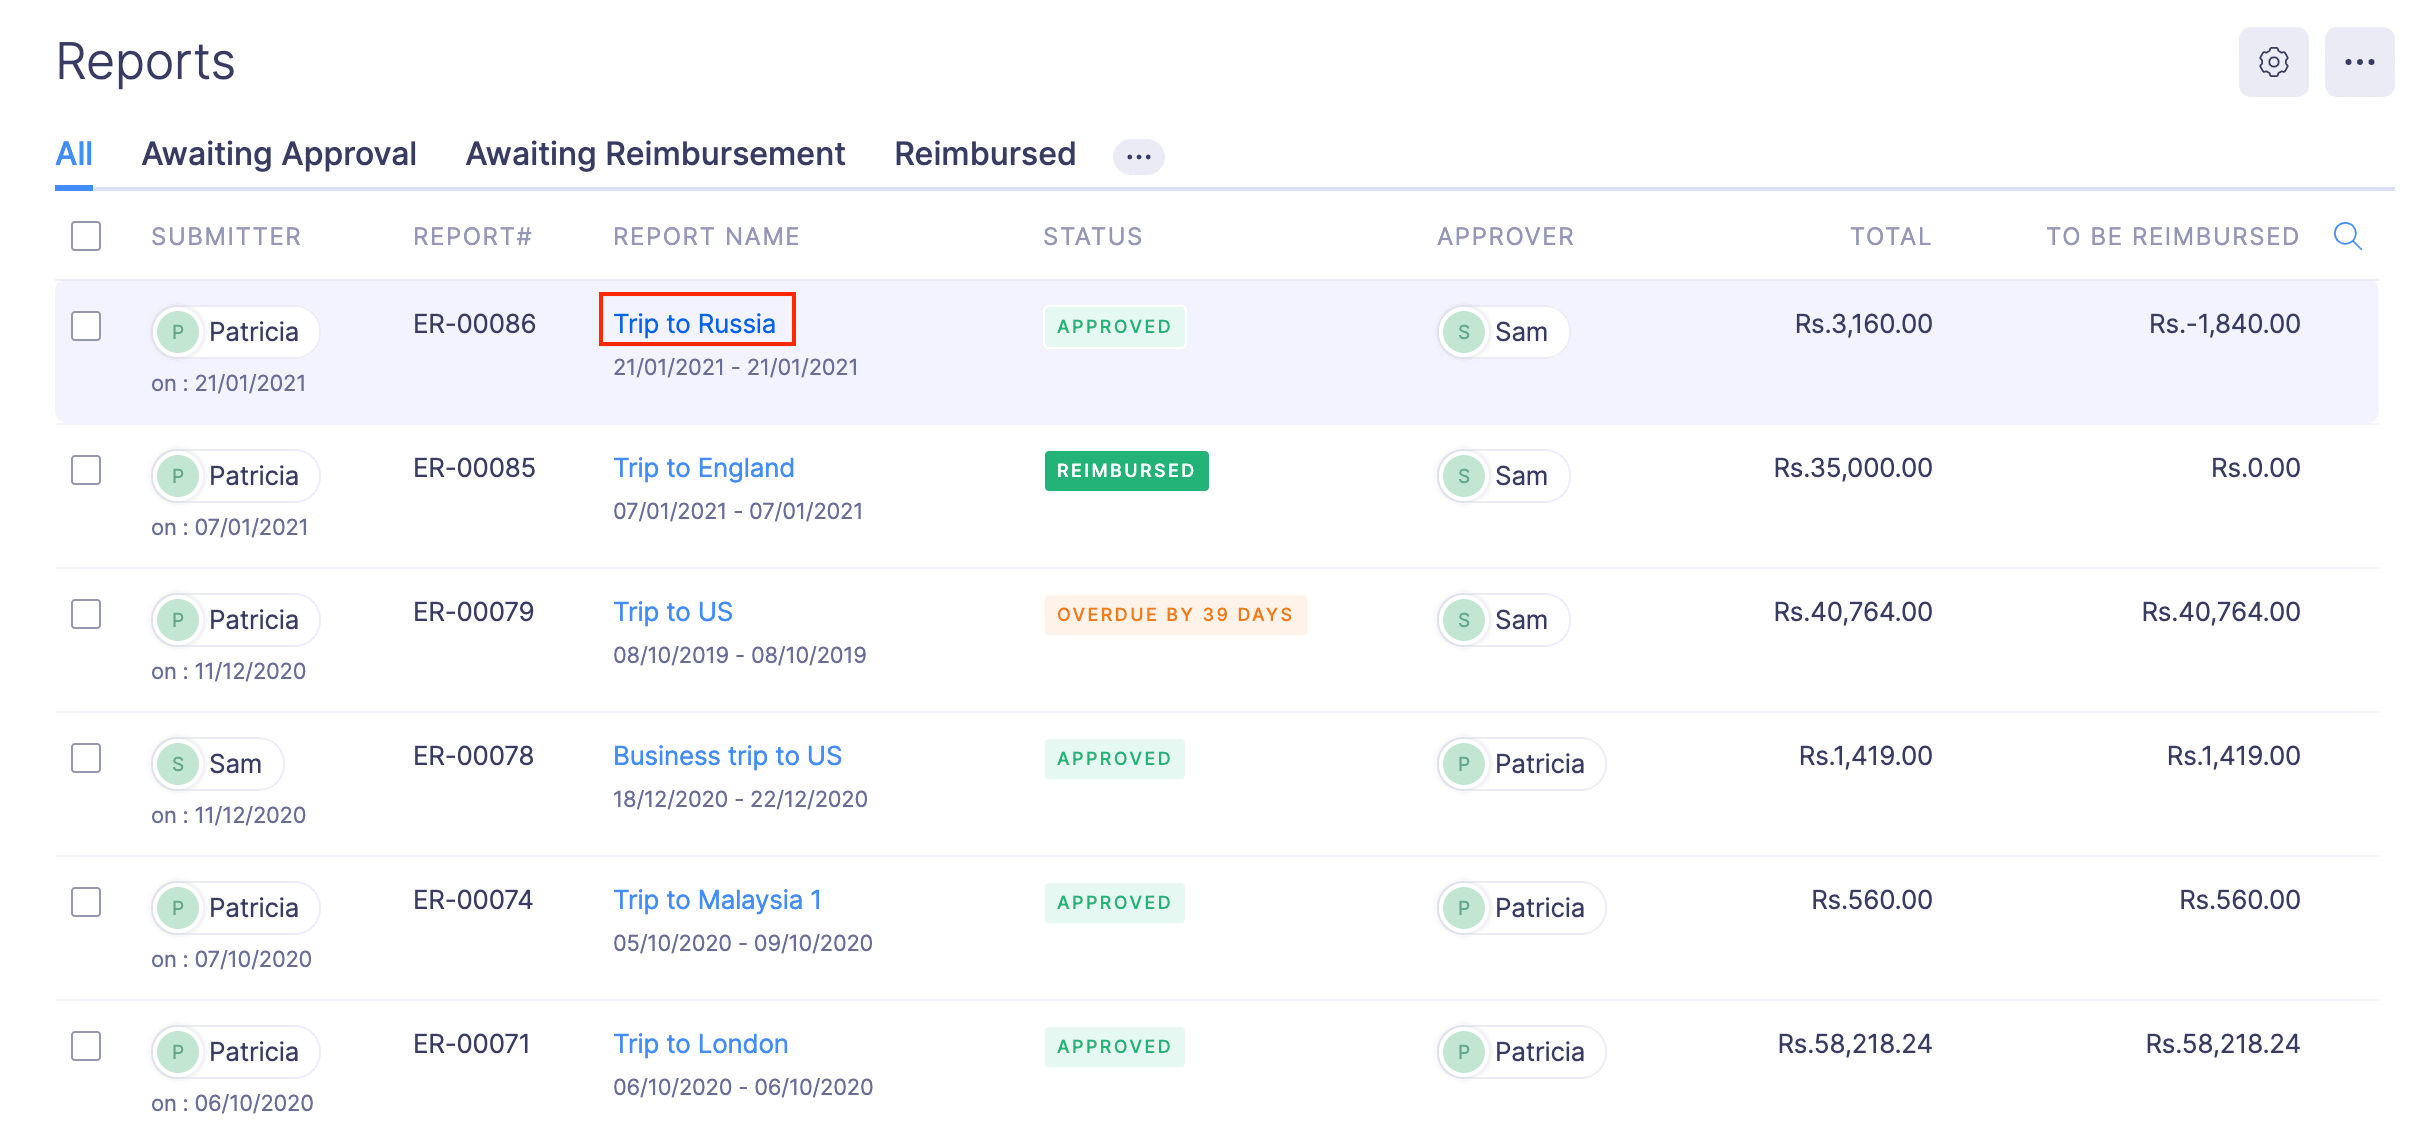
- Click the Export to QuickBooks button located on top of the report. By doing so, the expense report will be in queue for export i.e it is ready to be exported to QuickBooks.
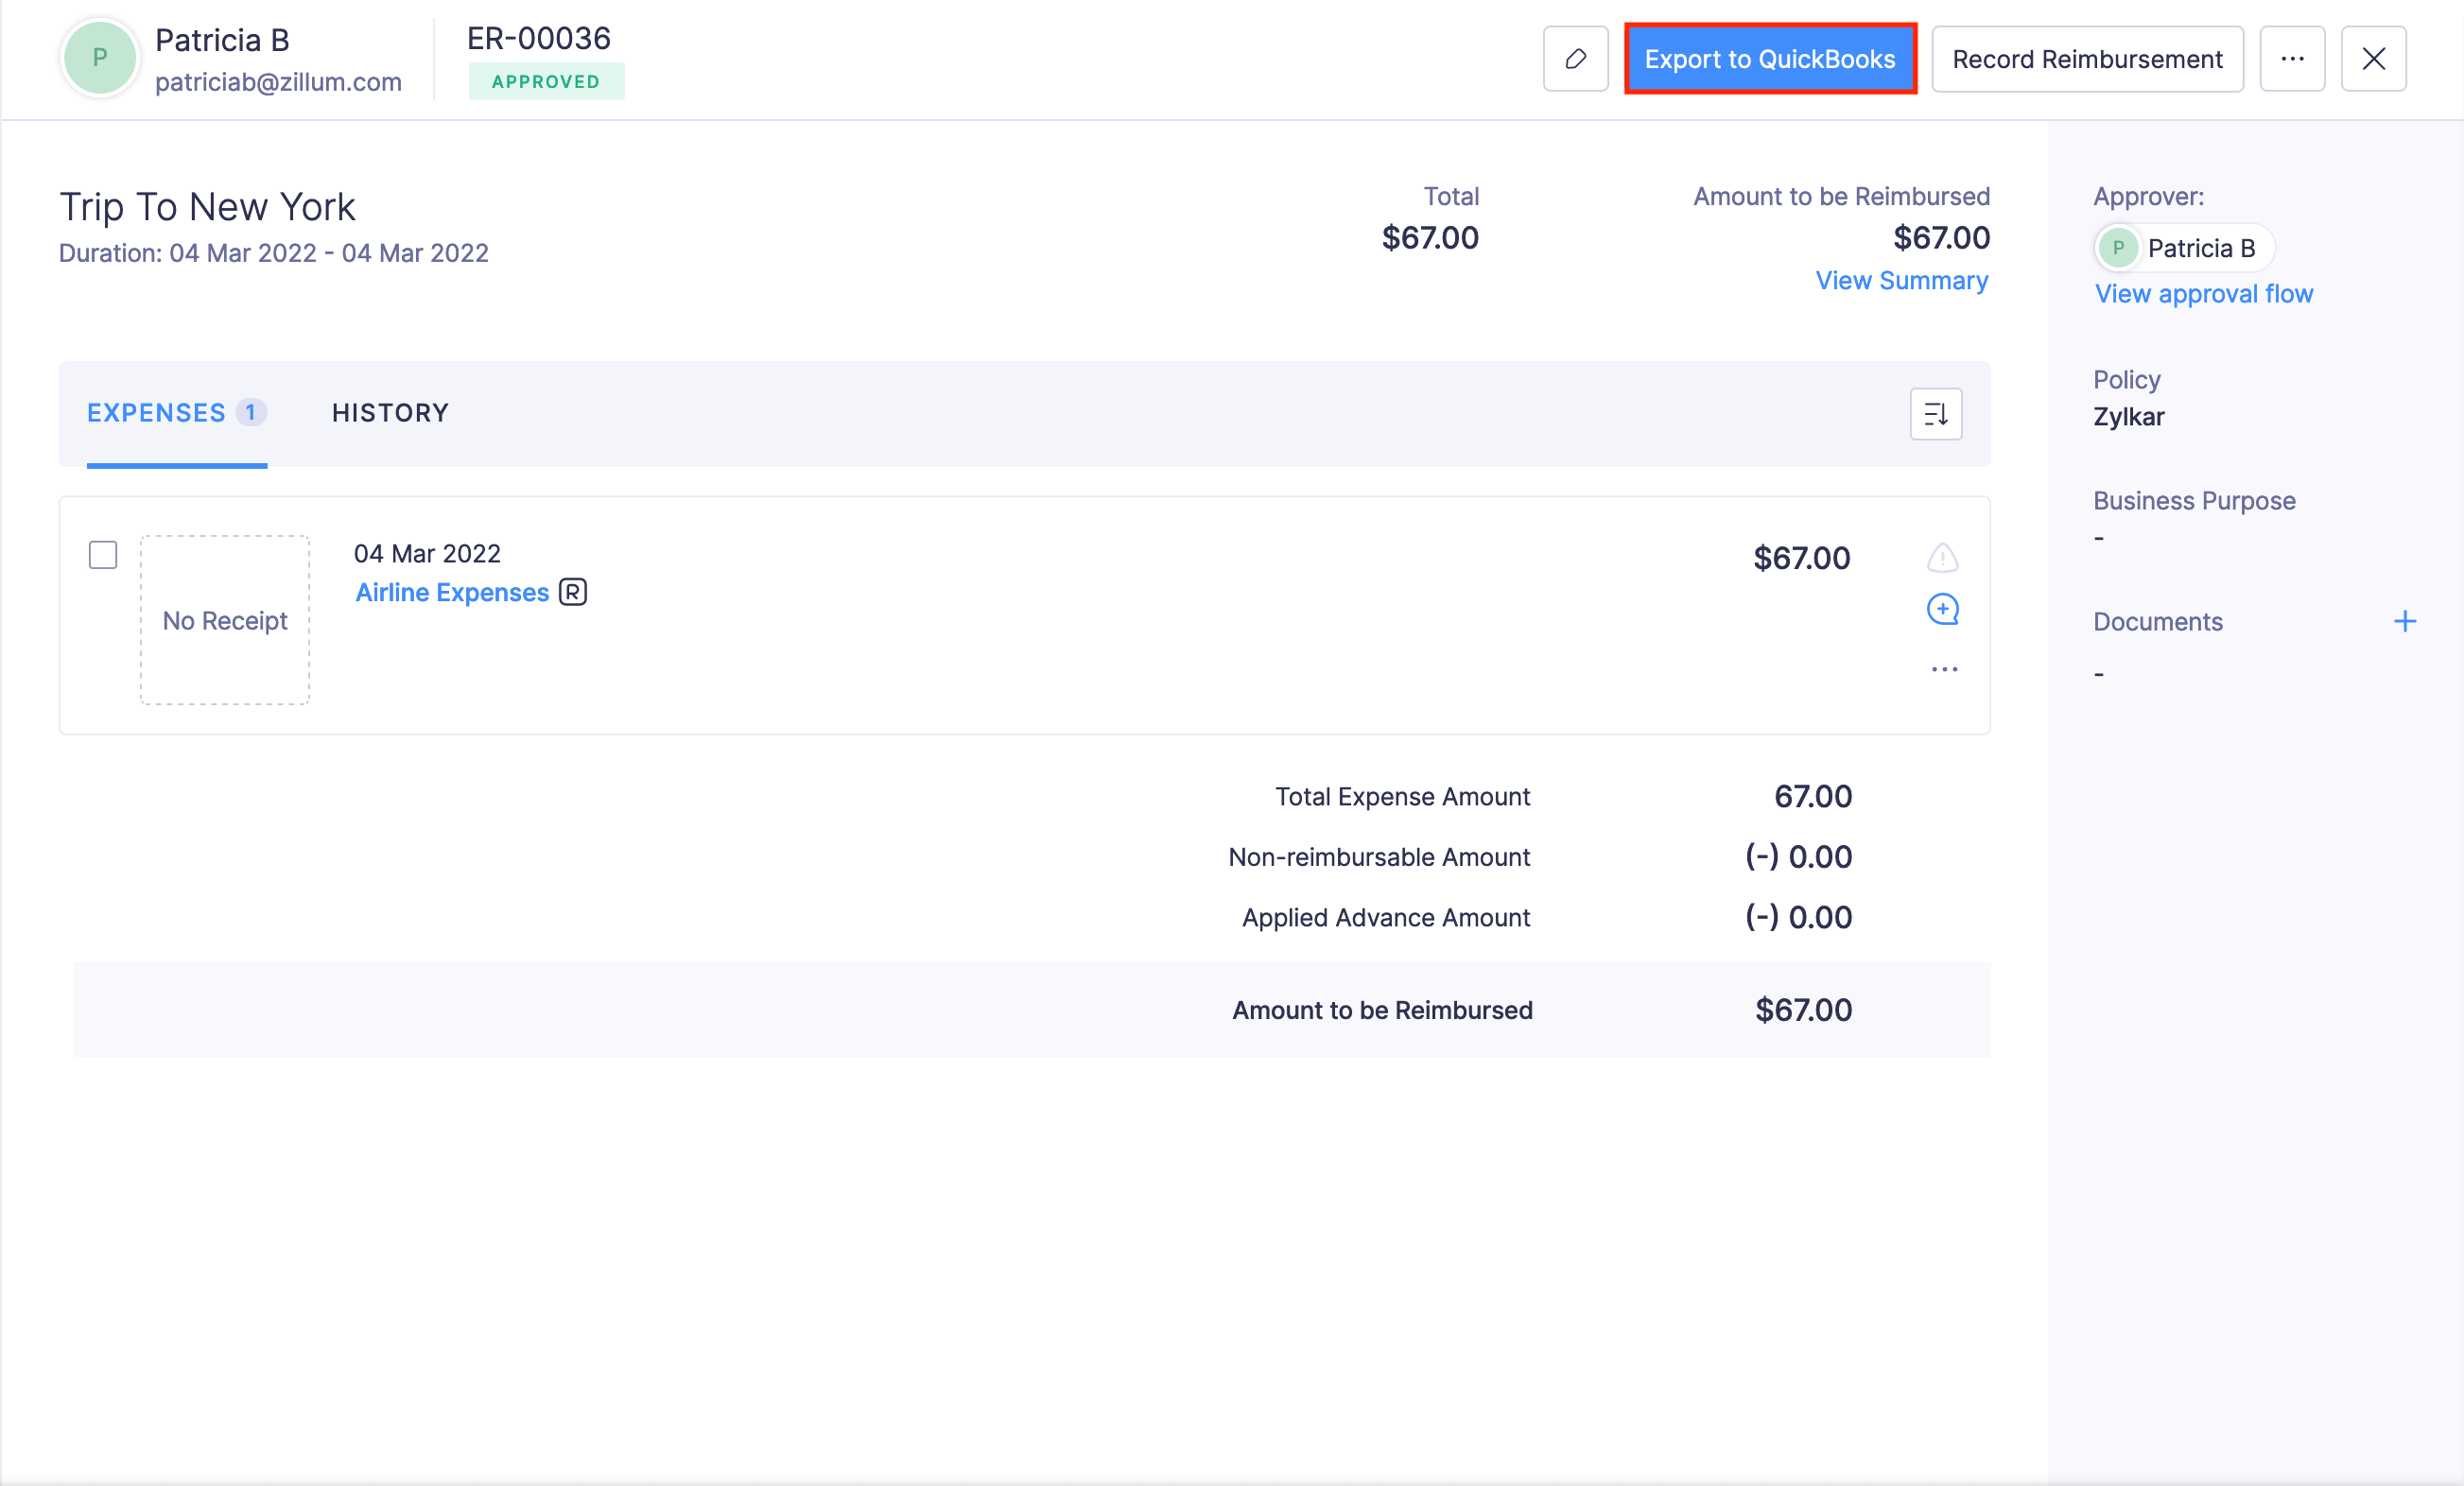
- If your report contains both reimbursable and non-reimbursable expenses, each will be exported separately as configured previously.
Sync with QuickBooks Desktop
On syncing Zoho Expense with QuickBooks Desktop, changes made in the import and export preferences would become effective and reports that were in queue for export will move to QuickBooks Desktop. To sync with QuickBooks Desktop:
- Open Zoho Expense Connector.
- Click Sync Now.
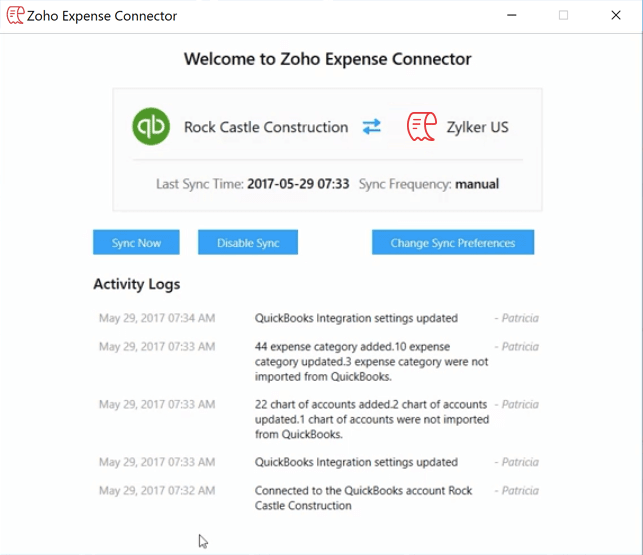
Any changes made to the import preferences and expense reports that are in queue for export will be updated and pushed when you click ‘Sync Now’.
Disconnect the Integration
On disconnecting the integration, you can no longer export your expense reports to QuickBooks. All your accounts, users and customers from QuickBooks will continue to remain active in Zoho Expense.
- Click Admin View.
- Click the Gear icon at the top right side.
(OR)
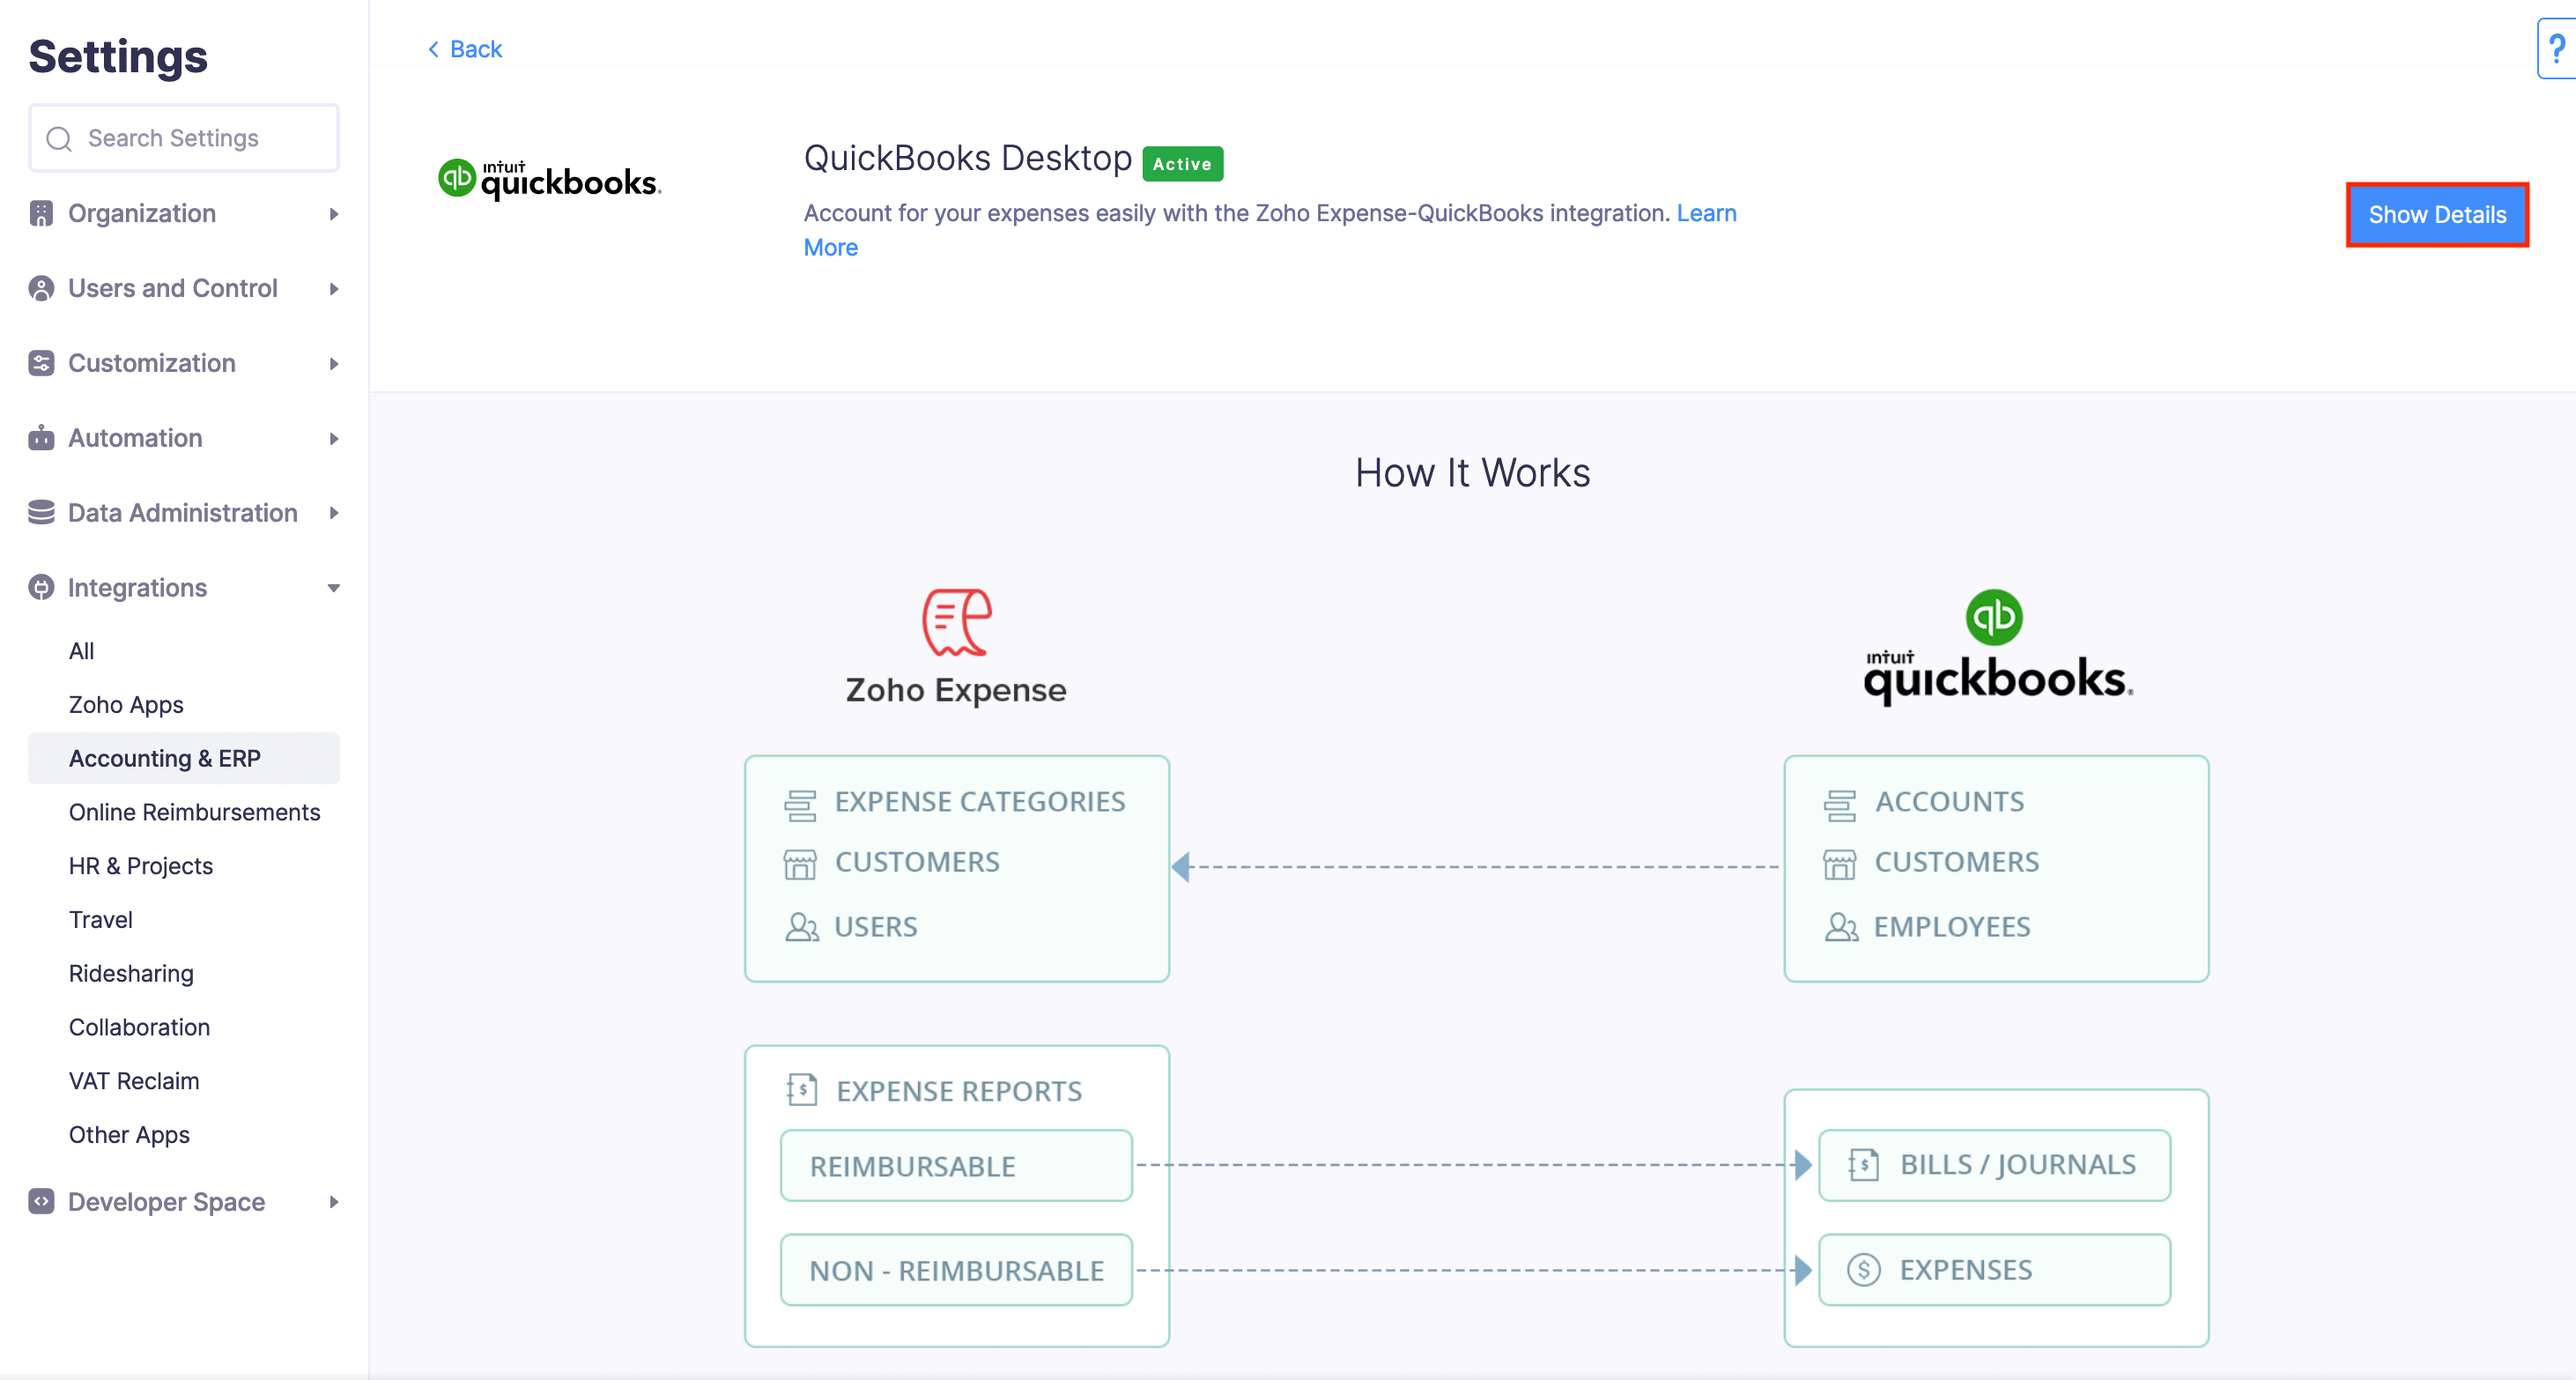
Go to Settings on the left sidebar. - Go to Accounting & ERP under Integrations.
- Click QuickBooks Desktop.
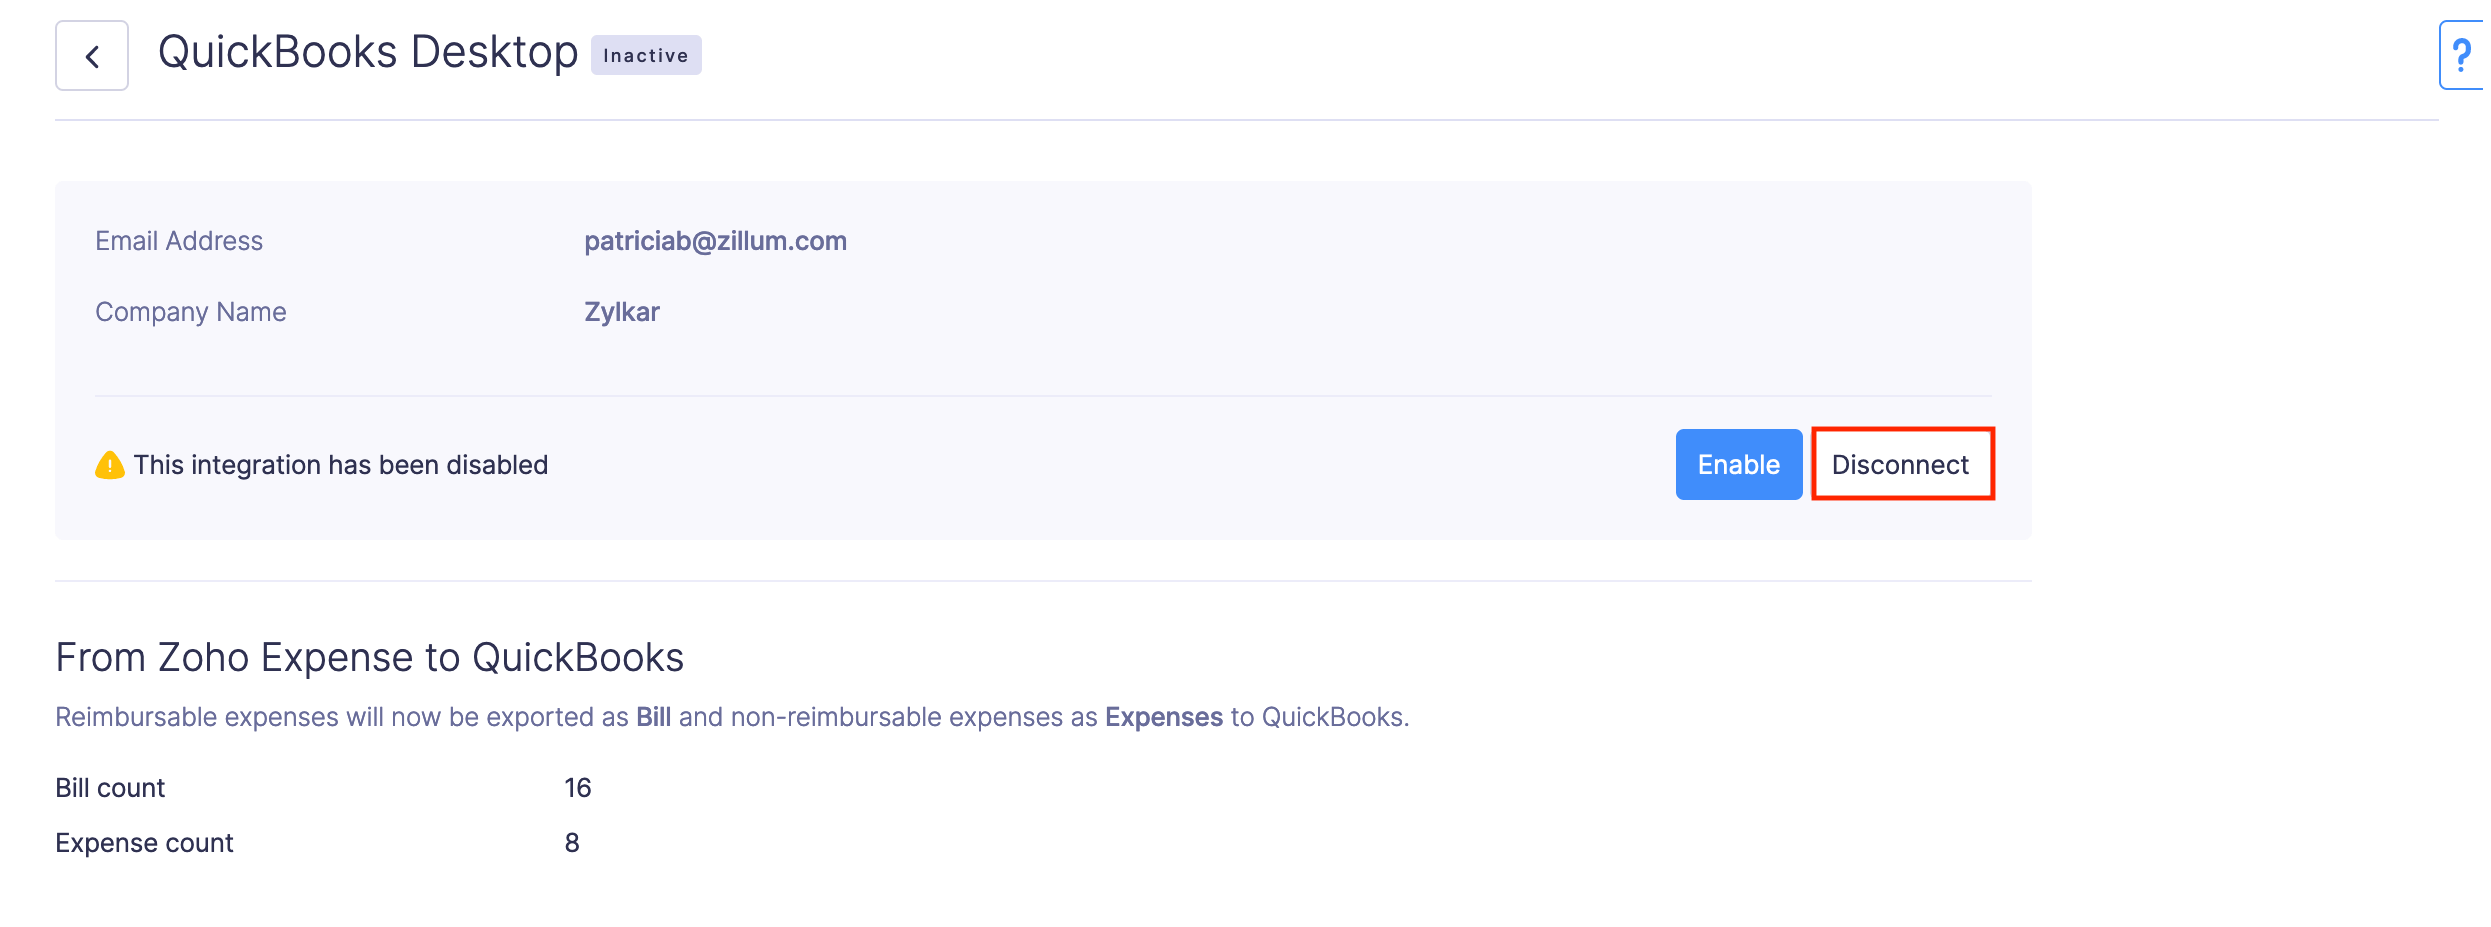
- Click Show details.
- Click Disable.
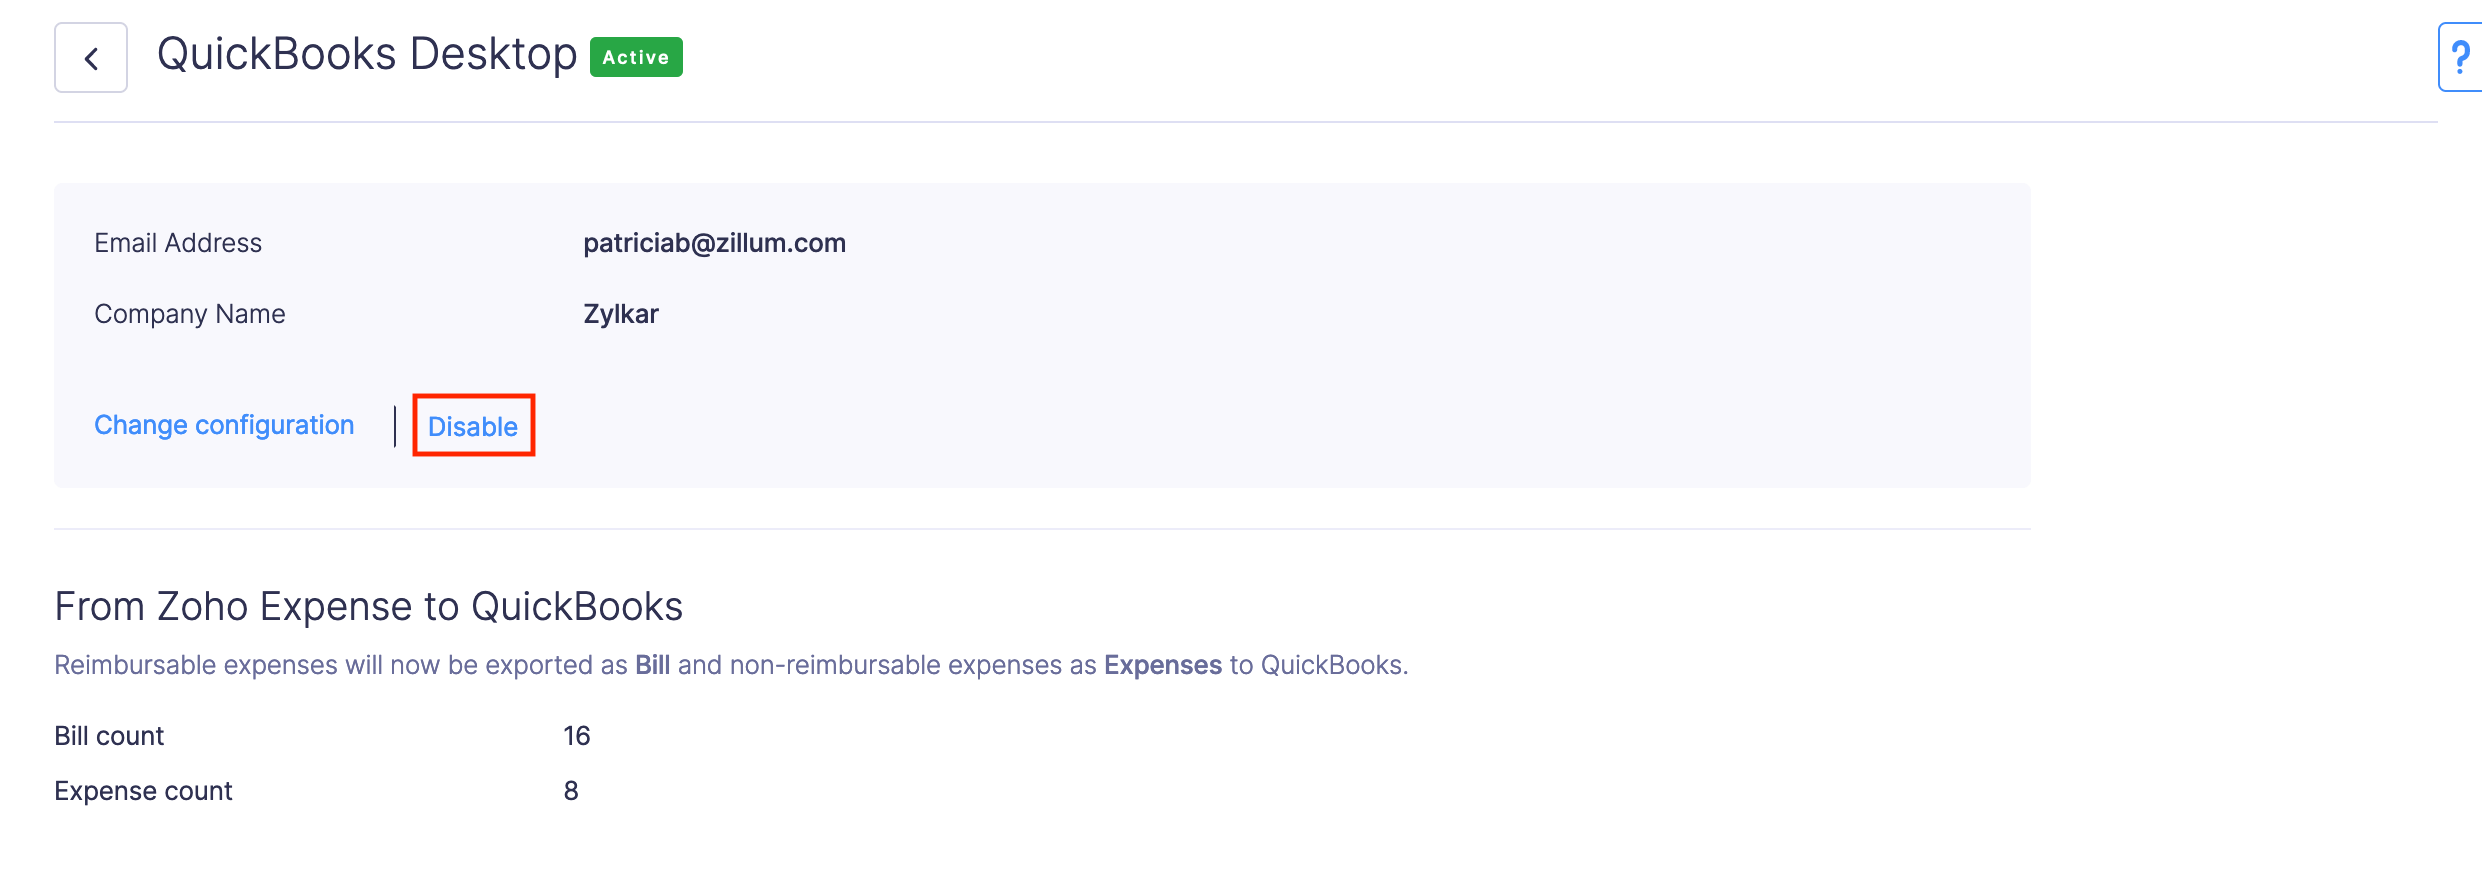
- Once disabled, you will be able to disconnect the integration in the same page.
- Click Disconnect.