
Integrate Zoho Expense With Microsoft 365
Several organizations use Microsoft 365 to run their day-to-day operations. By integrating Zoho Expense with Microsoft 365, you can easily import your users and customers from Microsoft 365 to Zoho Expense. This allows users from Microsoft 365 to create expenses as they occur and make them billable to your customers.
Prerequisites To Set Up the Integration
- Ensure you have a Microsoft 365 account.
- You should be an admin in your Microsoft 365 account.
Integrate Zoho Expense With Microsoft 365
There are two ways in which you can integrate Zoho Expense and Microsoft 365:
Integrate From Zoho Expense
- Click Admin View on the left sidebar.
- Go to Settings on the left sidebar.
(OR)
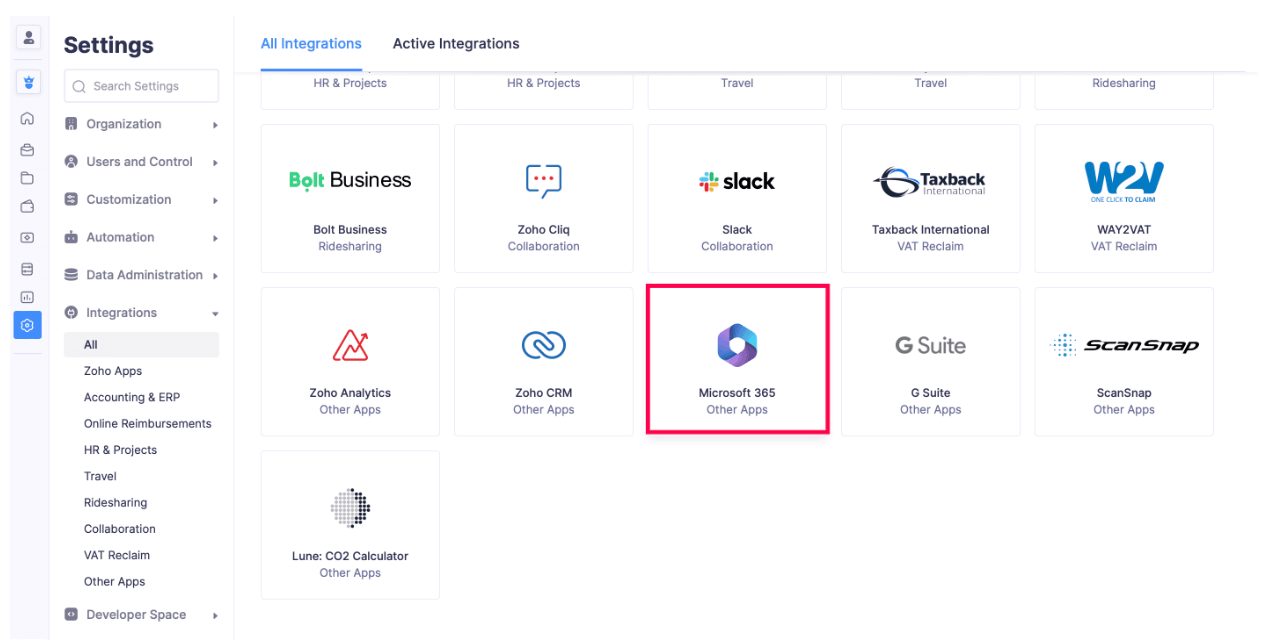
Click Settings in the top right corner of the page. - Select View All under Integrations.
- Click Microsoft 365.
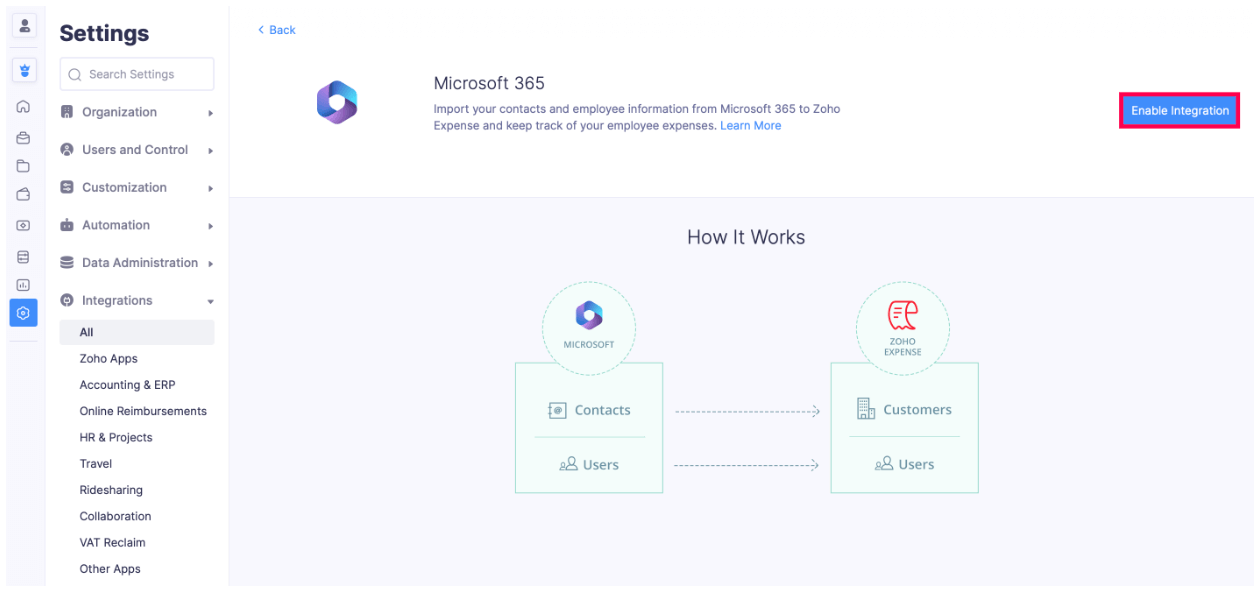
- Click Enable Integration to initiate the setup.
- Click Proceed in the Integrate with Microsoft 365 account pop-up.
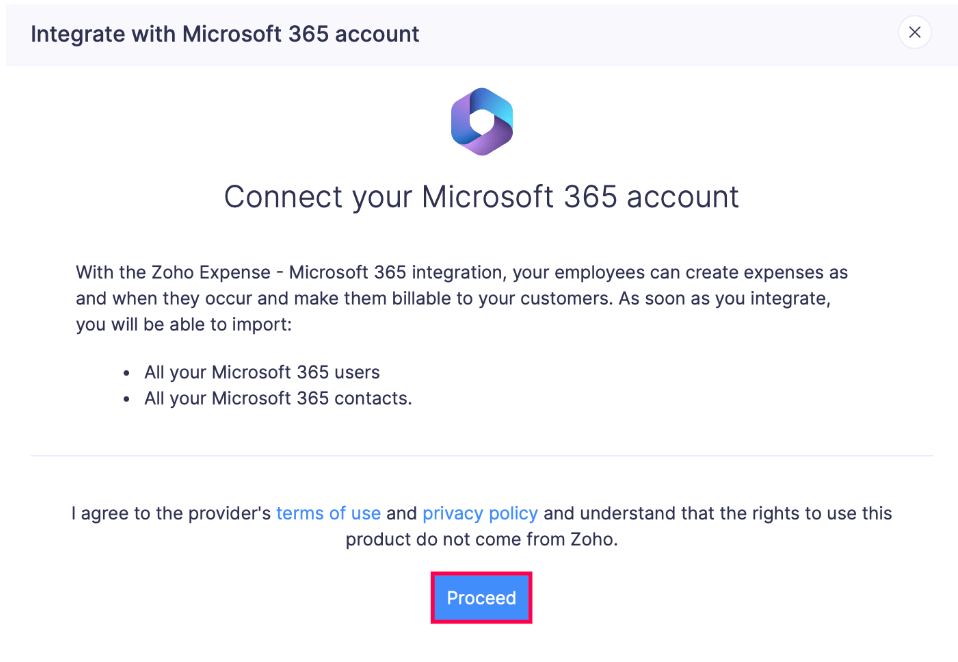
- You will be redirected to a page where you will be asked to sign into your Microsoft 365 account.
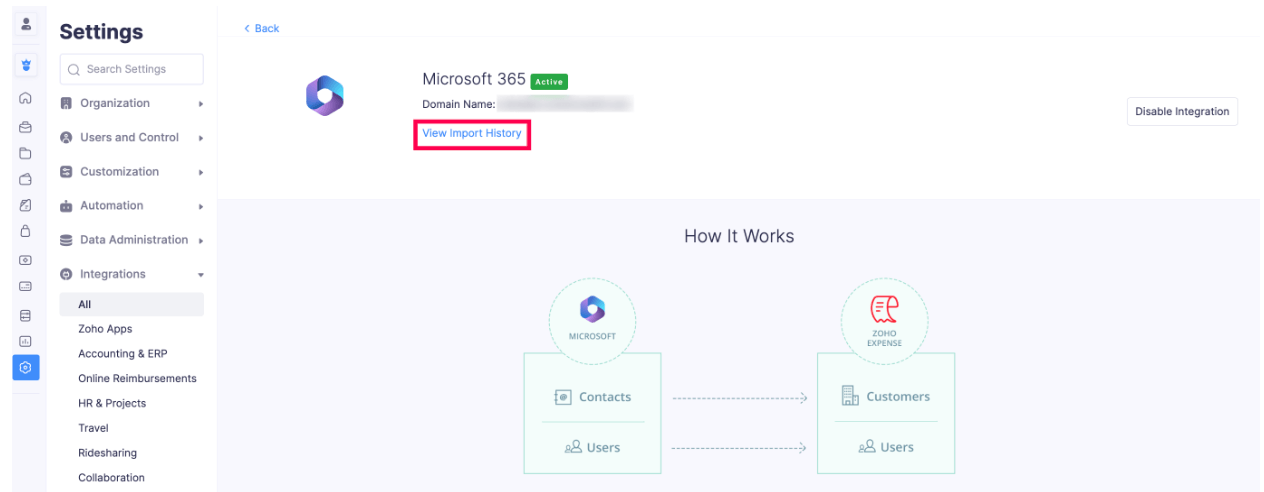
- After you sign in, the integration will be completed, and your customers and users from Microsoft 365 will be synced to Zoho Expense.
- Click View Import History to view the status of the contacts imported.
Integrate From Microsoft 365
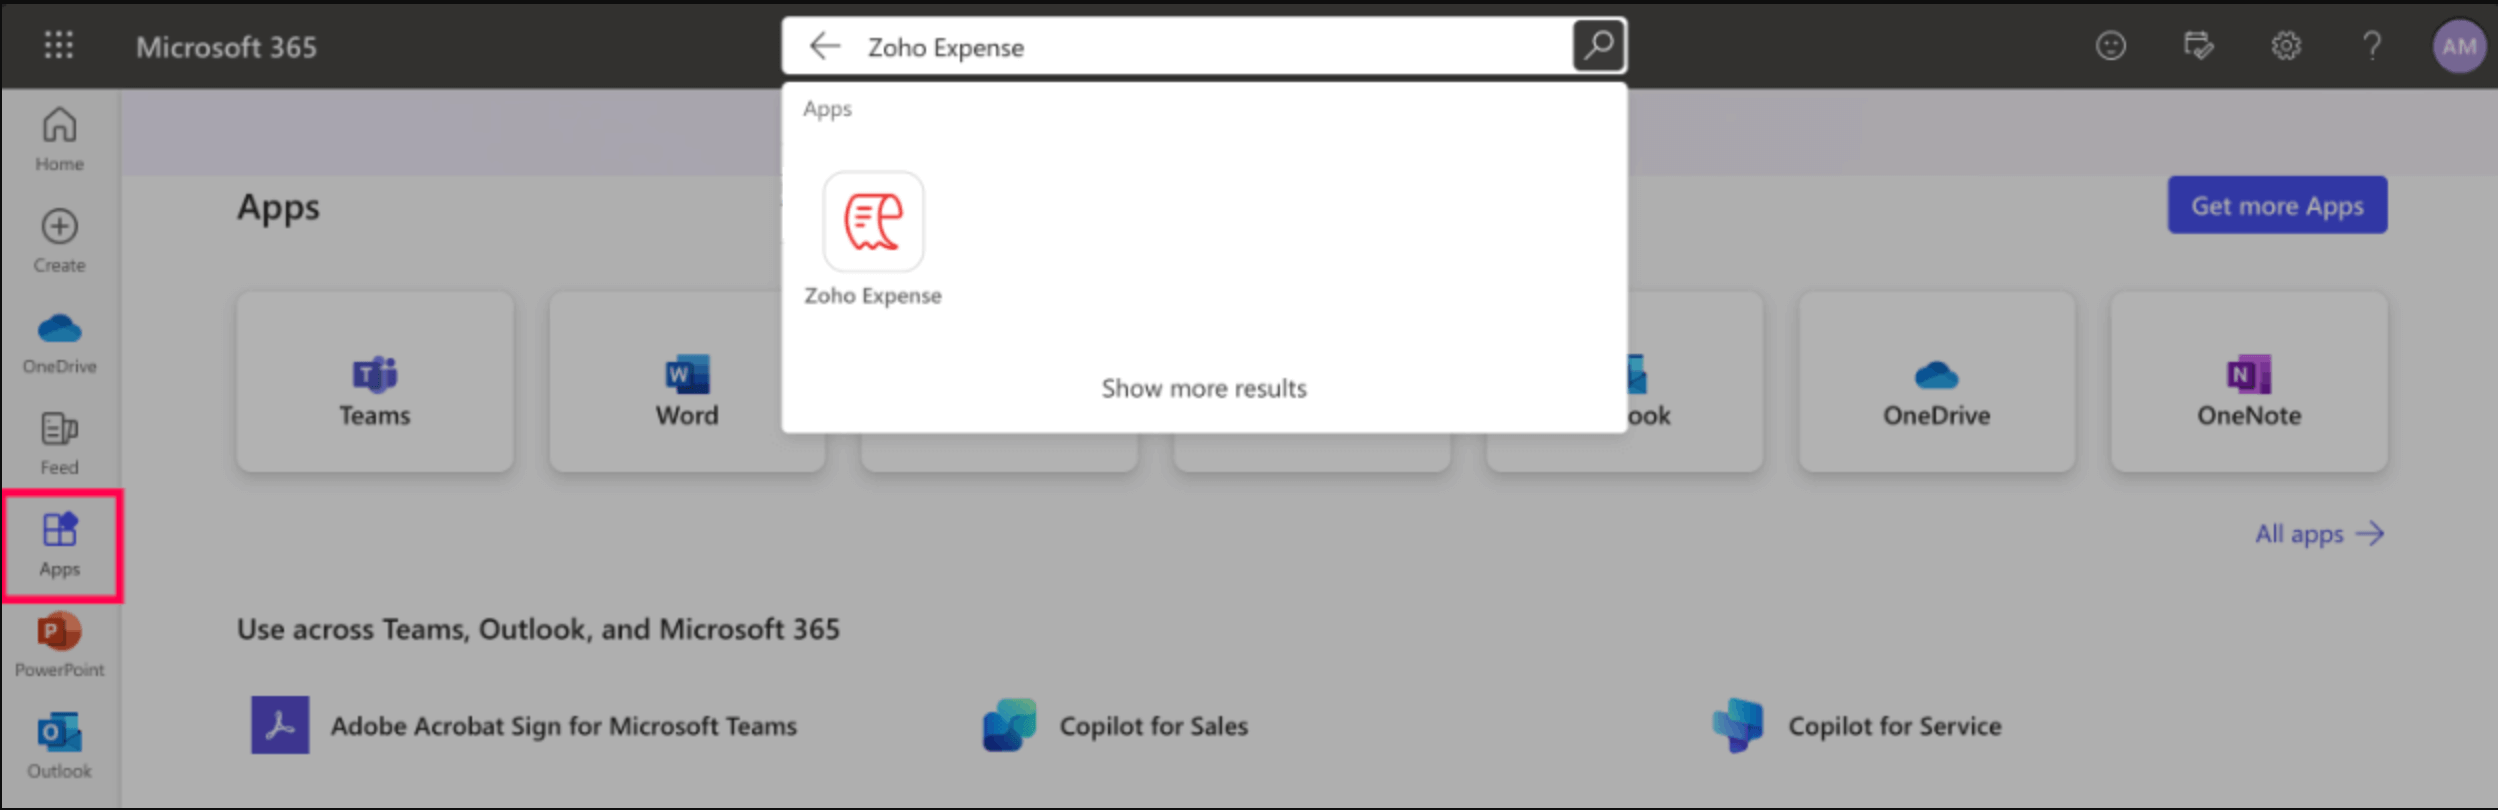
- Log into your Microsoft 365 account.
- Click Apps in the left corner.
- Type Zoho Expense in the search box.
- Click Zoho Expense.
- Click Add. Now, Zoho Expense will be added to your list of apps.
- If you don’t have a Zoho Expense organization, you’ll be redirected to the Setup Organization page, where you can create a new organization in Zoho Expense.
- If you have a Zoho Expense organization, you’ll be redirected to the Select Organization page, where you can select the organization with which you want to integrate your Microsoft 365 account.
Import Users From Your Microsoft 365 Account
Here’s how you can import users from your Microsoft 365 account:
- Click Admin View on the left sidebar.
- Go to Settings on the left sidebar.
(OR)
Click Settings in the top right corner of the page. - Select Users under Users and Control.
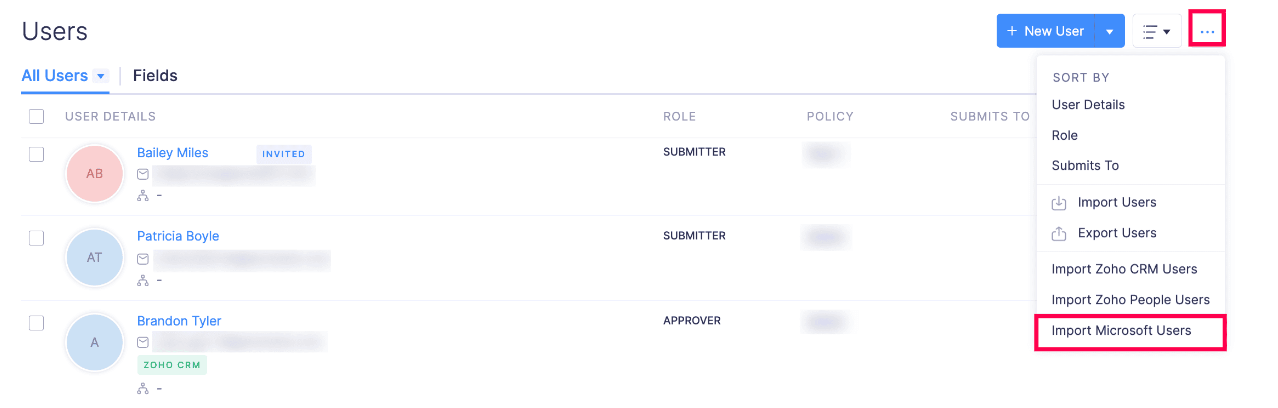
- Click More in the top right corner of the page.
- Select Import Microsoft Users from the More dropdown.
- Select the users you want to import to Zoho Expense and assign a role to these users.
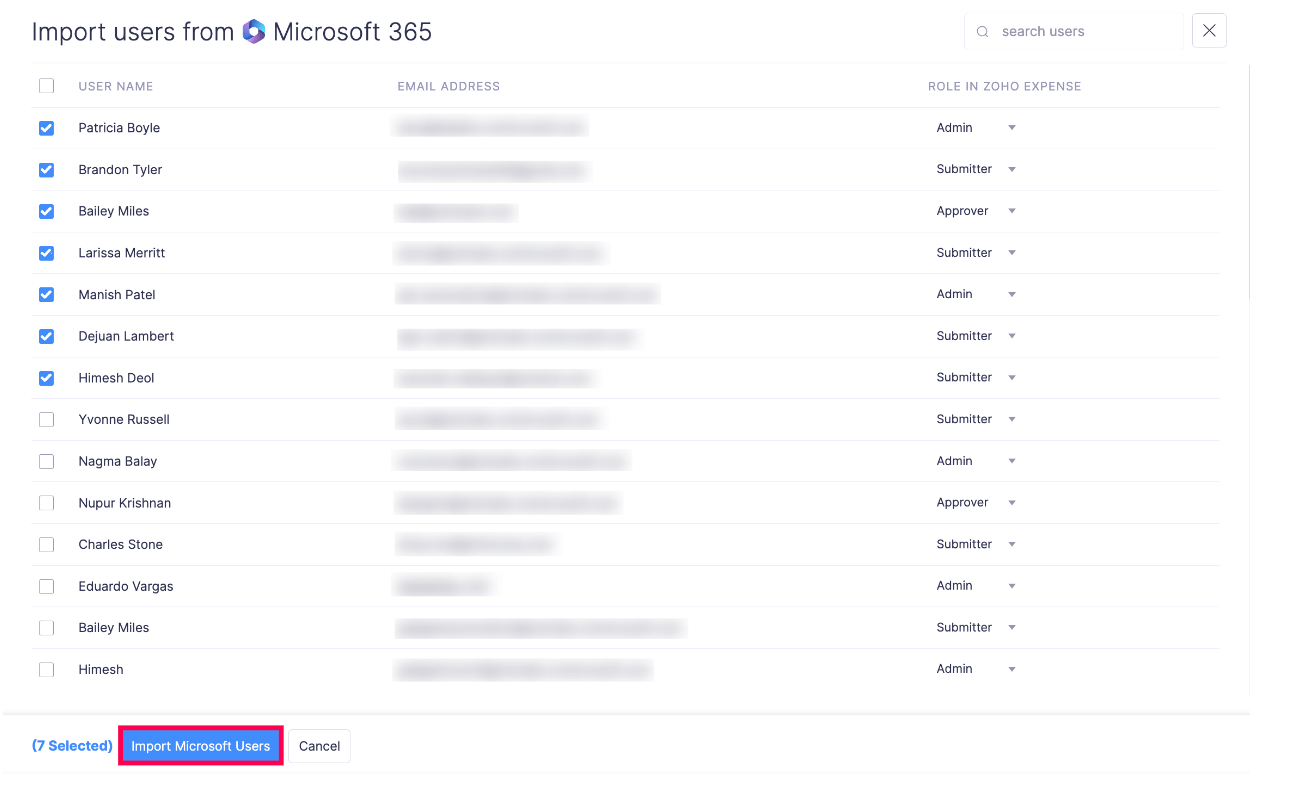
- Click Import Microsoft Users.
Import Customers From Your Microsoft 365 Account
Here’s how you can import customers from your Microsoft 365 account:
- Click Admin View on the left sidebar.
- Go to Settings on the left sidebar.
(OR)
Click Settings in the top right corner of the page. - Select Modules under Customization.
- Click Customers from the Modules list.
- Click More in the top right corner of the page.
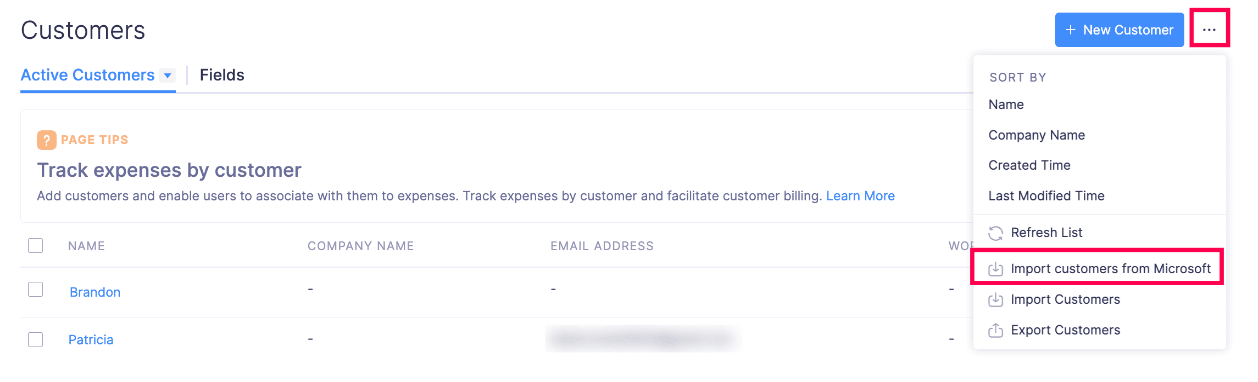
- Select Import Customers From Microsoft from the More dropdown.
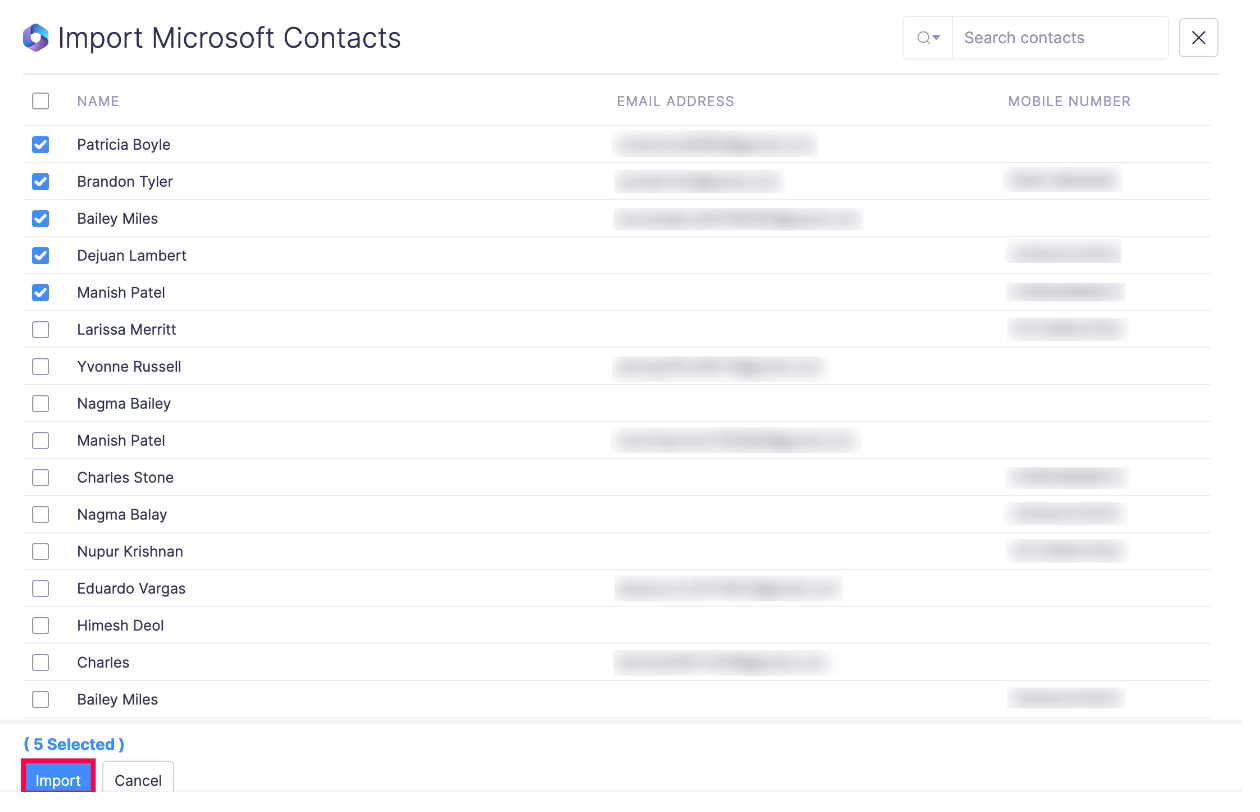
- Select the contacts you want to import and click Import.
- Map the fields in Microsoft 365 and Zoho Expense.
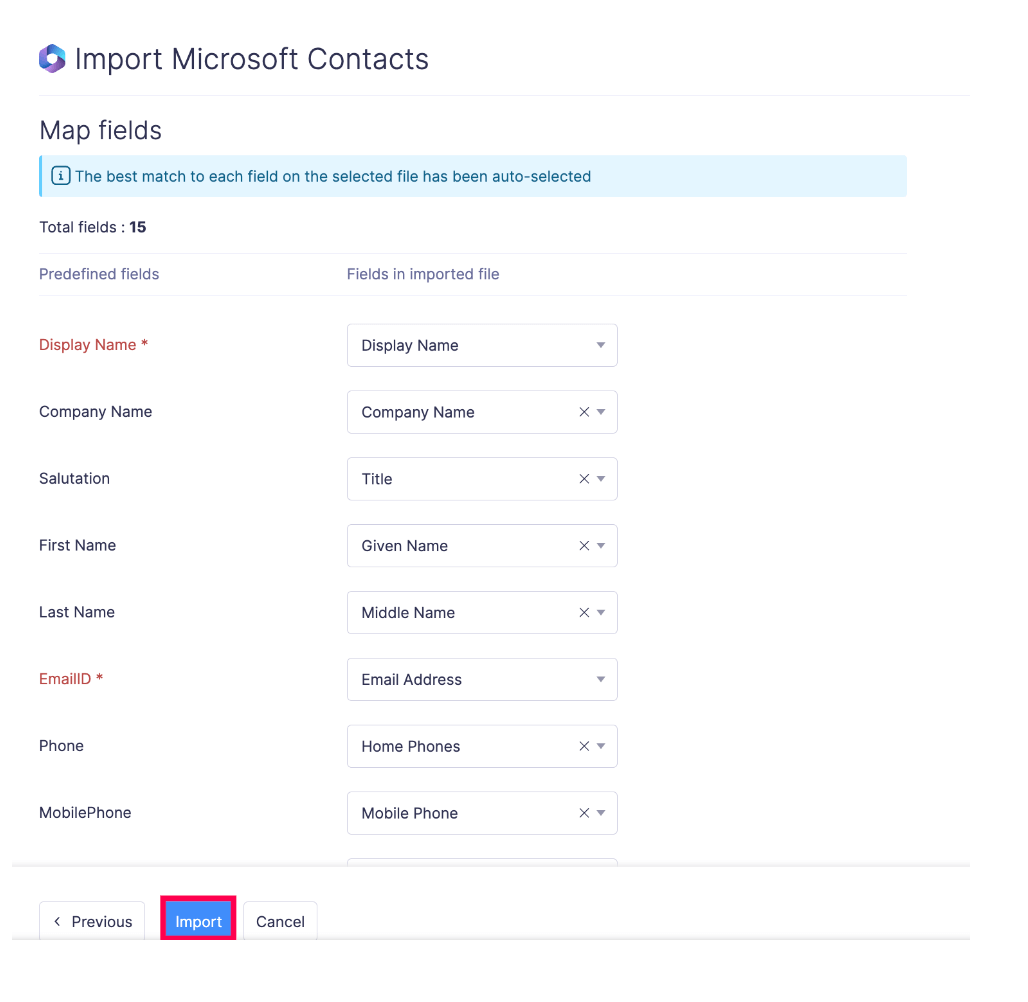
- Click Import.
Disable Microsoft 365 Integration
You can disable the Microsoft 365 integration if you no longer want to import users and customers from your Microsoft 365 account. Here’s how:
- Click Admin View in the left sidebar.
- Go to Settings on the left sidebar.
(OR)
Click Settings in the top right corner of the page.
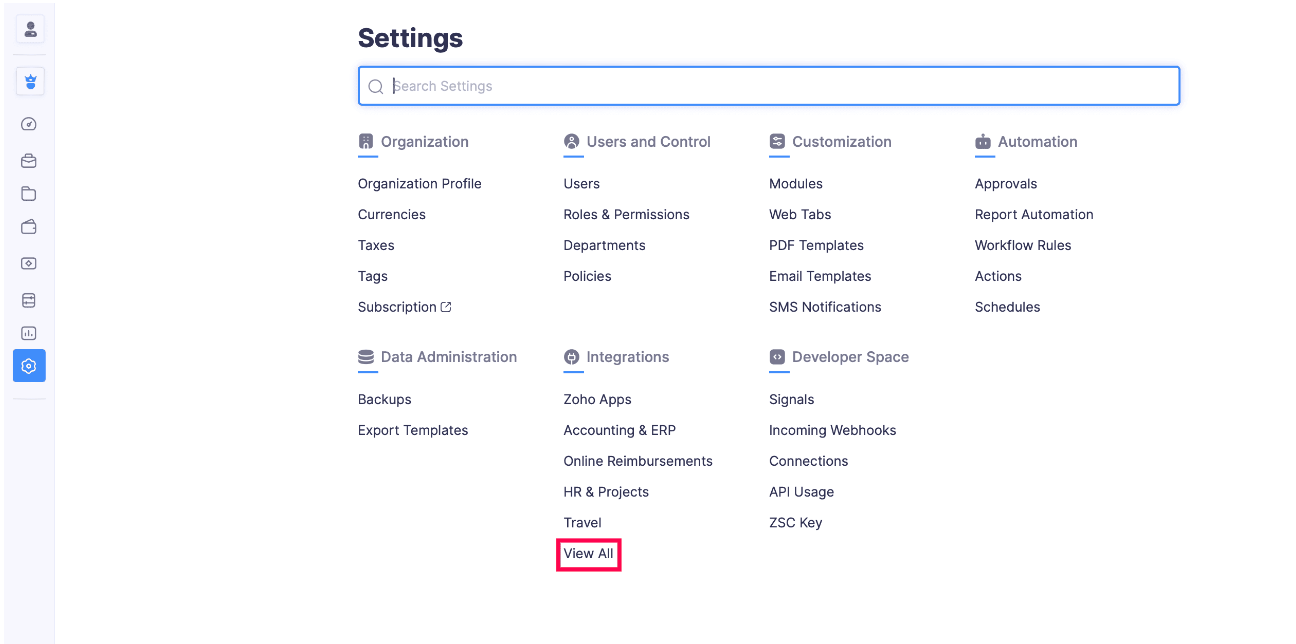
- Select View All under Integrations.
- Click Microsoft 365.
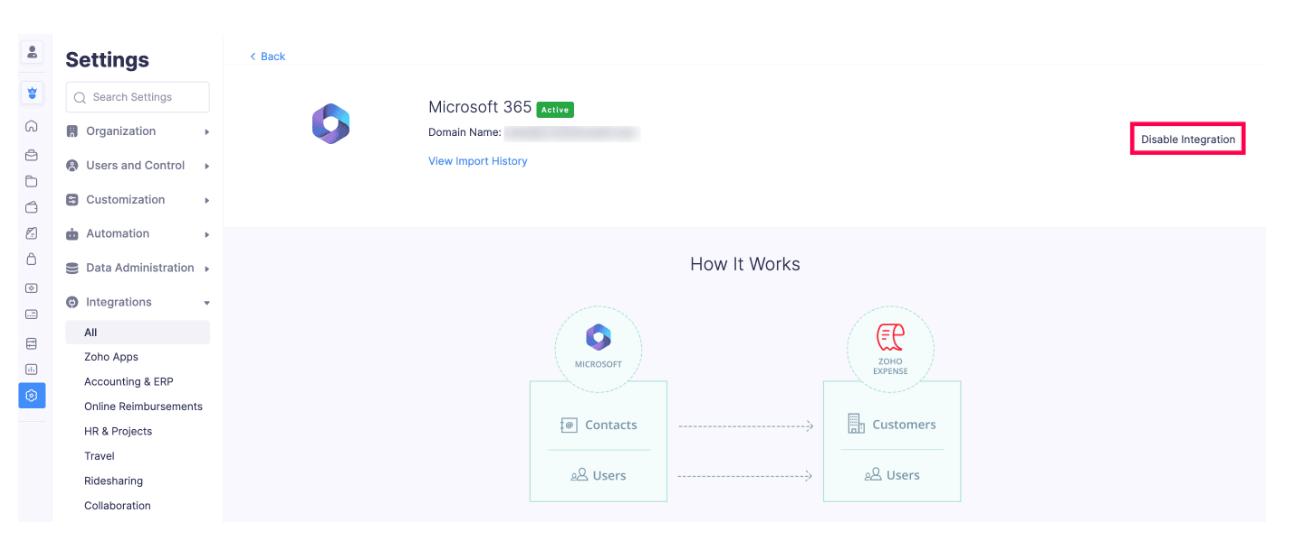
- Click Disable Integration next to Microsoft 365 to disable the integration of Zoho Expense with Microsoft 365.