
Custom Buttons
In Zoho Expense, there are default buttons that are used to execute pre-defined functions. For Example, the Save button is used to save your transactions, and the Submit button is used to submit the transactions to your approver.
If you want to create a new button apart from the default buttons provided in Zoho Expense, you can create a new custom button and define a set of custom actions that can be executed when you click the custom button.
Scenario: Patricia is a manager at Zylker. If a report has been in the Pending Approval status for more than a week, she wants to send the approvers a reminder email. Patricia uses a custom button on the List page of the Reports module in Zoho Expense to trigger a reminder email to the approvers.
Create Custom Buttons
Here’s how you can create a custom button:
- Click Admin View on the left sidebar.
- Go to Settings on the left sidebar.
(OR)
Click Settings in the top right corner of the page. - Select Modules under Customization.
- Select the module for which you want to create the custom button.
- Go to the Links And Buttons tab.
- Click + New Button.

Enter a Name for the custom button. The name of the custom button cannot exceed 25 characters.
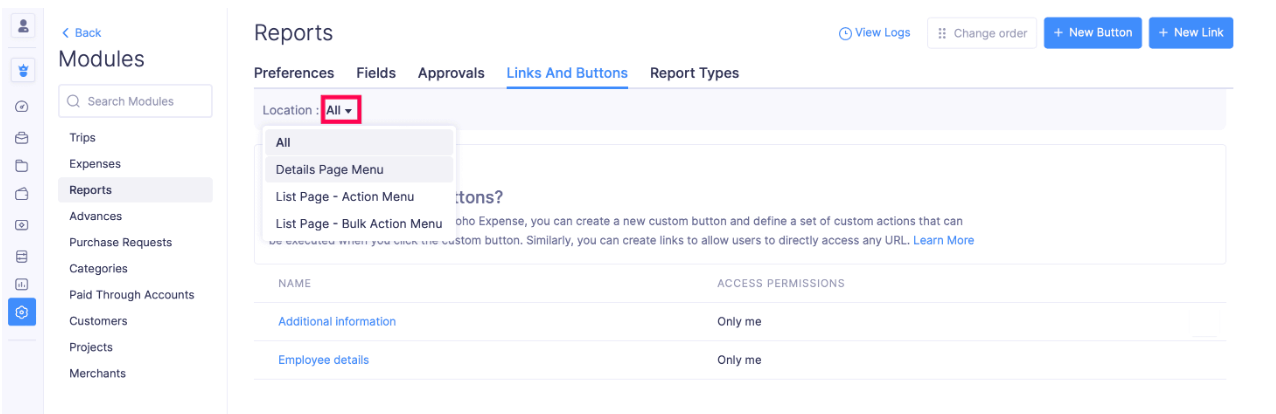
Select the Location where you want to display this custom button.
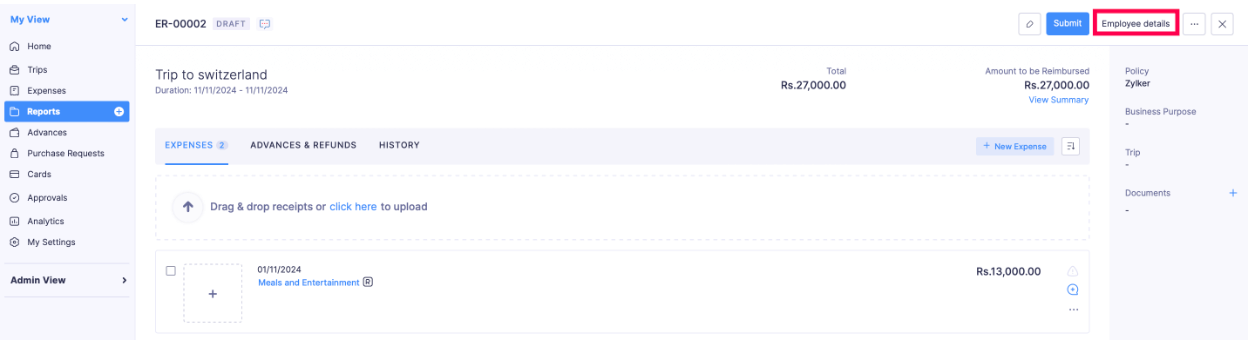
Details Page Menu: Places the button on the Details page of the module.
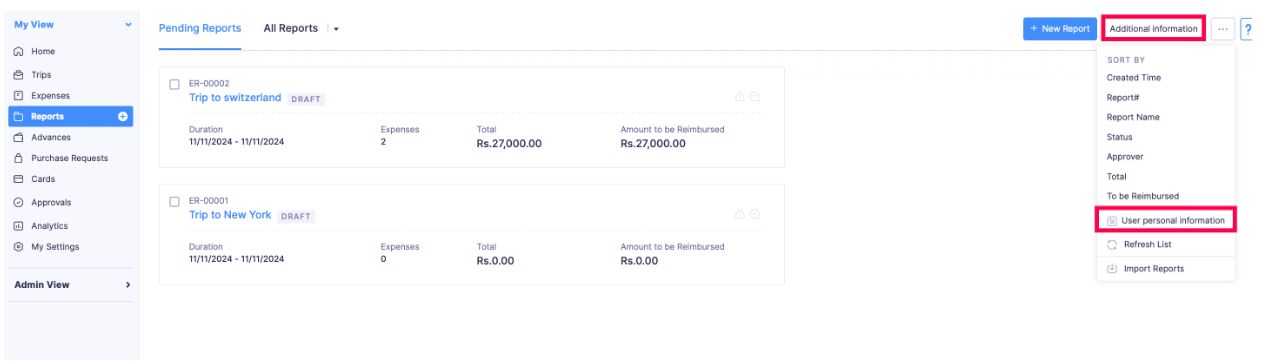
List Page - Action Menu: Places the button on the List page of the module.
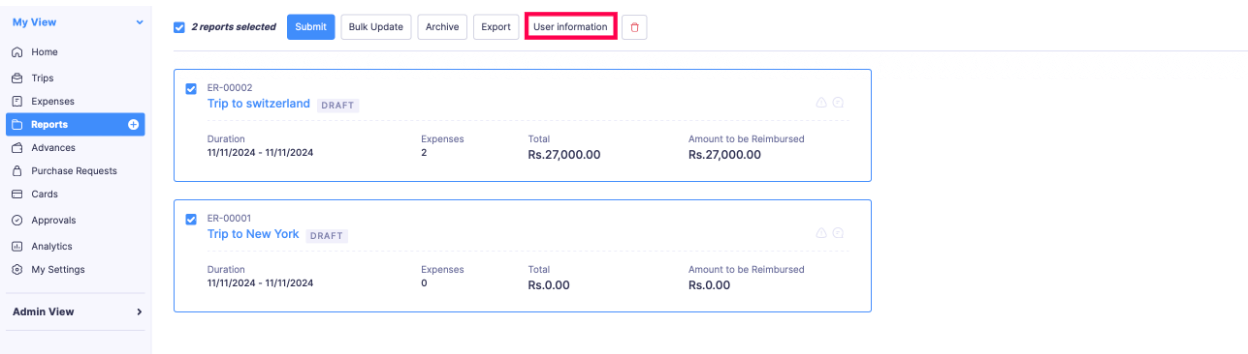
List Page - Bulk Action Page: Places the button at the top of the List page of the module when performing bulk actions.
- Enter the code for the action that has to be executed when you click the custom button in the Deluge editor. You can also drag and drop built-in statements and options to the deluge editor and then specify the variables to execute a task.

Insight: Data Enriched Language for the Universal Grid Environment (Deluge) is an online scripting language integrated with Zoho Services. It enables you to write your own functions that let you modify the application to suit your needs, making it more powerful and robust.
Pro Tip: You can toggle comments, find and replace, show hints, and do a lot more quickly using the keyboard shortcuts. Hover over the Keyboard icon in the bottom right corner of the Deluge editor to view all the keyboard shortcuts.
- Select who can view and use the custom button in the Share With field. You can choose from the following options:
Only me - Only admins can view and use the custom button.
Only selected users & roles - Only admins and selected users can view and use the custom button.
Everyone - All users of the organization can view and use the custom button.
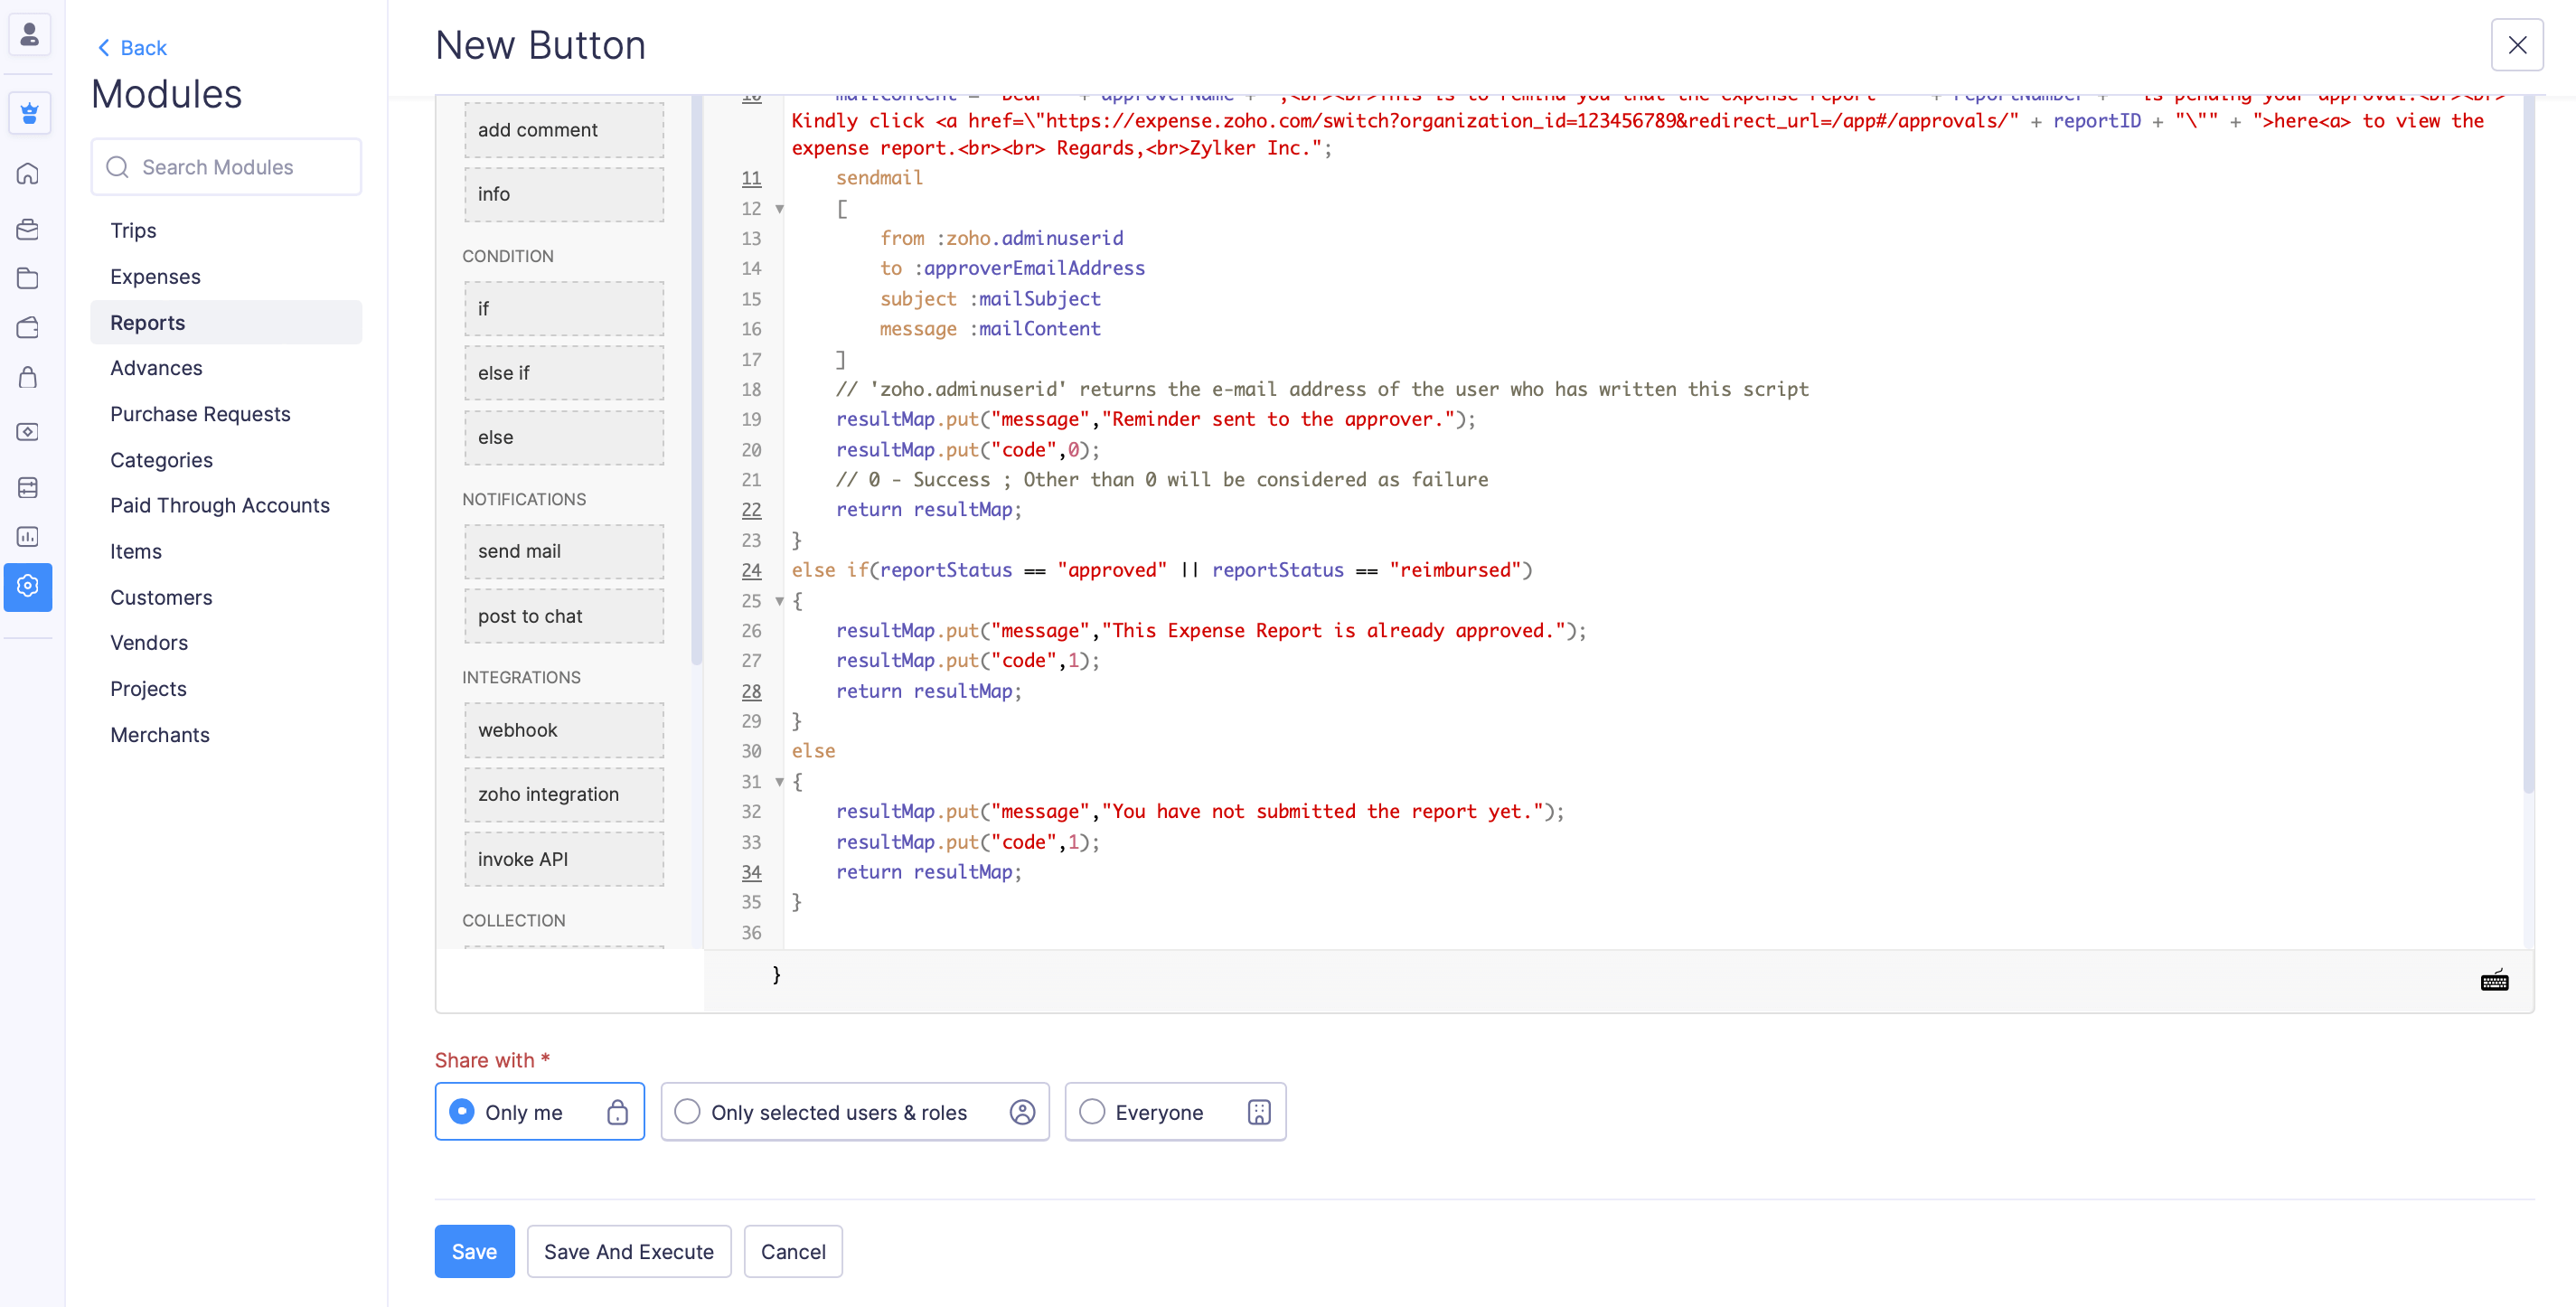
- Click Save to save the custom button.
- Click Save and Execute to check if the custom button is working as intended. In the pop-up that appears, enter the record ID and click Execute.
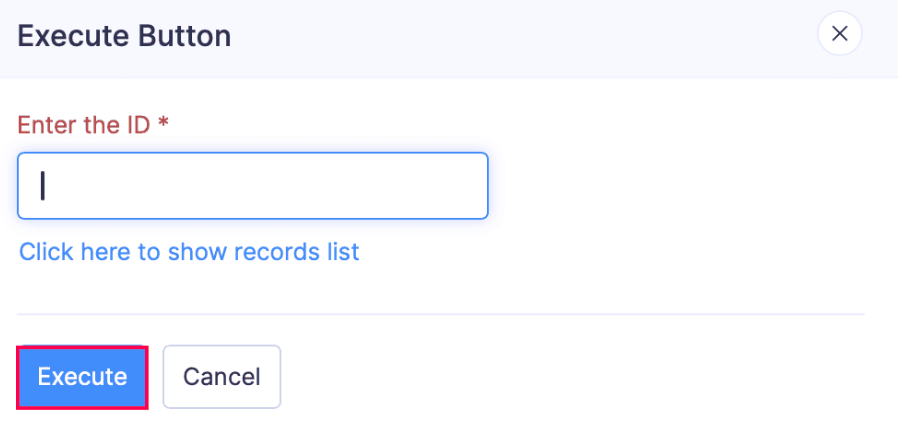
Note: Click, Click here to show records list, to find the record ID. The record ID is a combination of numbers that can be found in the URL of the particular module.
Execute Custom Buttons
After creating the custom button, you can execute or test them. Here’s how:
- Click My View on the left sidebar.
- Click the module for which you have created the custom button.
- Select a transaction or record.
- Click the More icon in the top right corner of the page and select the custom button you created.
- Click Execute in the pop-up that appears to execute the action of the custom button.
Edit Custom Buttons
You can make changes to a custom button you’ve created. Here’s how:
- Click Admin View on the left sidebar.
- Go to Settings on the left sidebar.
(OR)
Click Settings in the top right corner of the page. - Select Modules under Customization.
- Select the module.
- Go to the Links And Buttons tab.
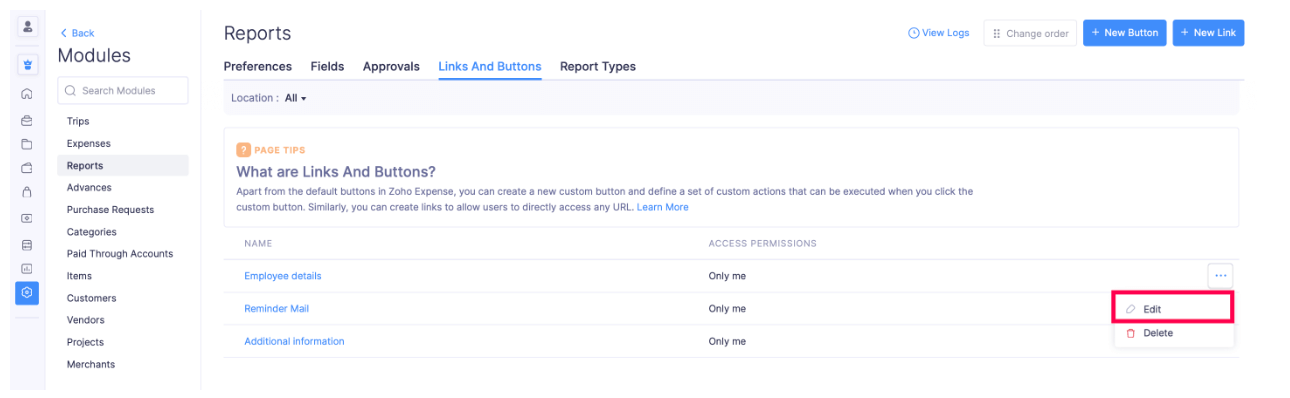
- Hover over the custom button you want to edit and click the More icon.
- Click Edit.
- Make the necessary changes and click Save.
Delete Custom Buttons
Warning: Once you delete a custom button, you will not be able to retrieve it.
You can delete the custom button you have created. Here’s how:
- Click Admin View on the left sidebar.
- Go to Settings on the left sidebar.
(OR)
Click Settings in the top right corner of the page. - Select Modules under Customization.
- Select the module.
- Go to the Links And Buttons tab.
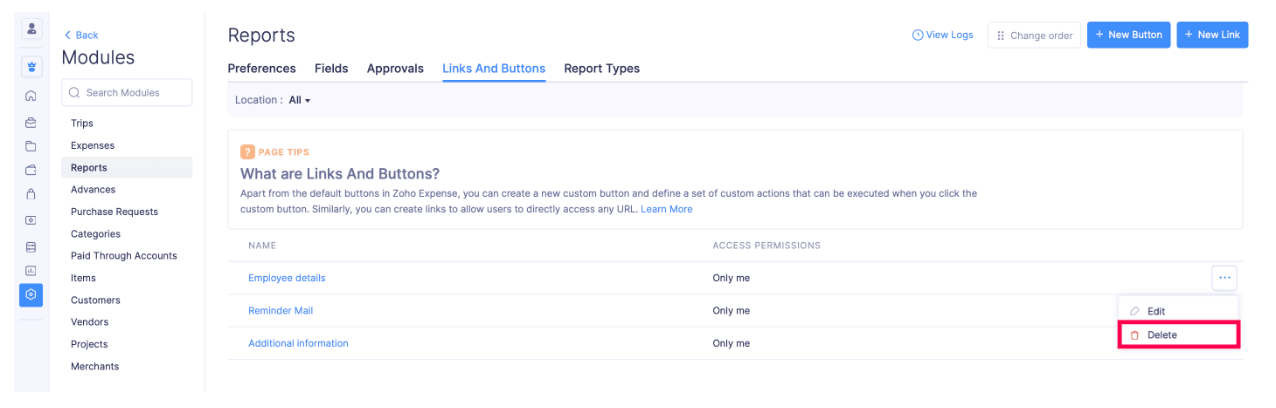
- Hover over the custom button you want to delete and click the More icon.
- Click Delete.
- Click Delete again in the pop-up that appears to confirm your action.
Reorder Custom Buttons
This feature allows you to change the sequence of custom buttons listed on the Details or List pages of a module.
Prerequisite: You cannot reorder custom buttons when the Location is set to All. To reorder custom buttons, you have to select another location. For example, Details Page Menu.
Here’s how you can reorder the custom buttons created:
- Click Admin View on the left sidebar.
- Go to Settings on the left sidebar.
(OR)
Click Settings in the top right corner of the page. - Select Modules under Customization.
- Select the module.
- Go to the Links And Buttons tab.
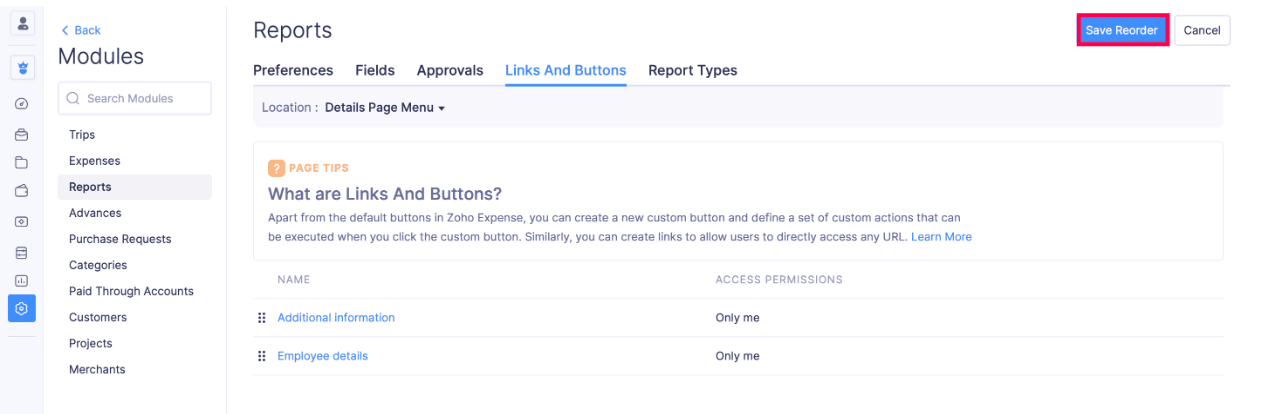
- Change the Location from All to any of the other location.
- Click Change Order in the top right corner of the page.

- Drag and drop the custom buttons to change their order.
- Click Save Reorder after you have reordered the custom buttons.
Note: The first button in the order will be shown separately and other buttons will be placed under the More icon. This allows users to make sure the priority action button is positioned as a distinct button.
The custom buttons will be reordered based on your preference.