

Creating Client Approvals
Once you enable the Client Approval option, a tab named Client Approvals will appear in the Timesheets module.
There are three ways by which you can create client approvals:
From Client Approvals tab
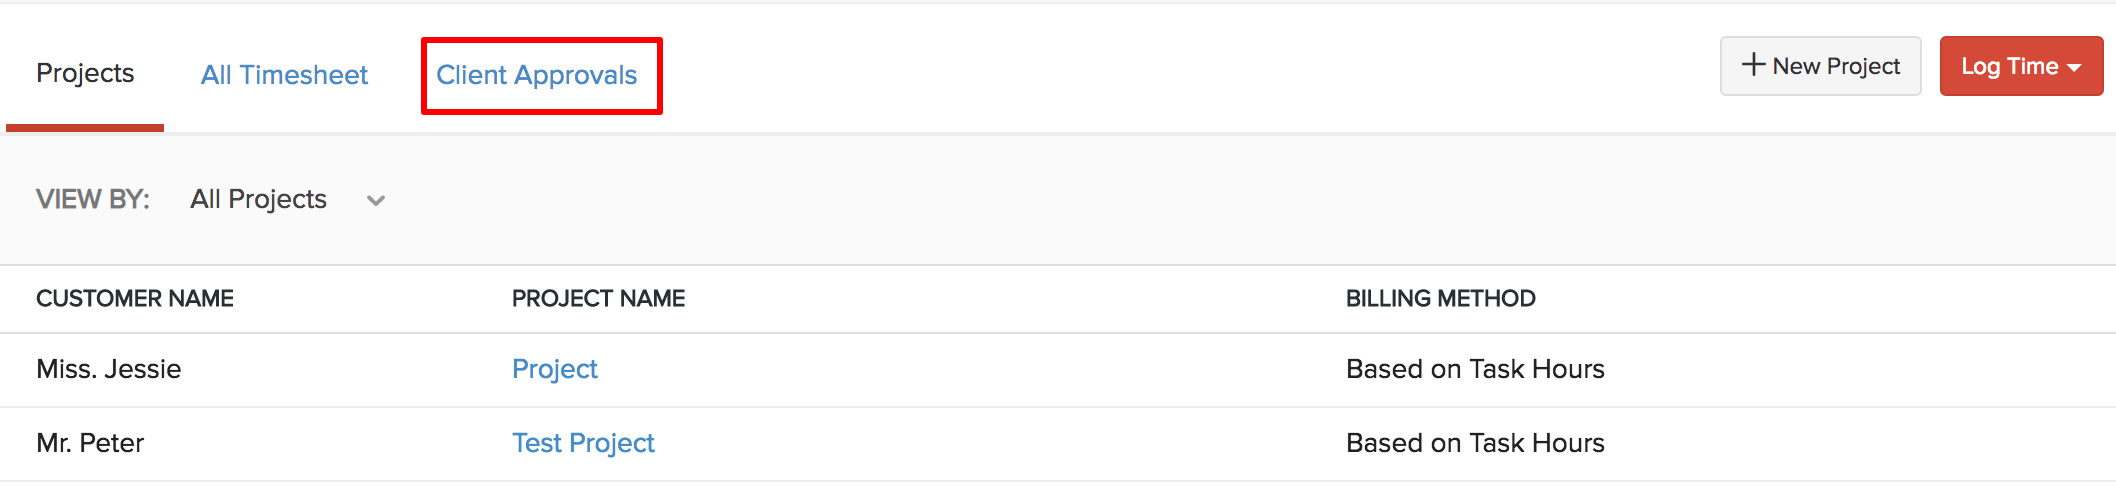
- Go to the Timesheet module on the left sidebar.
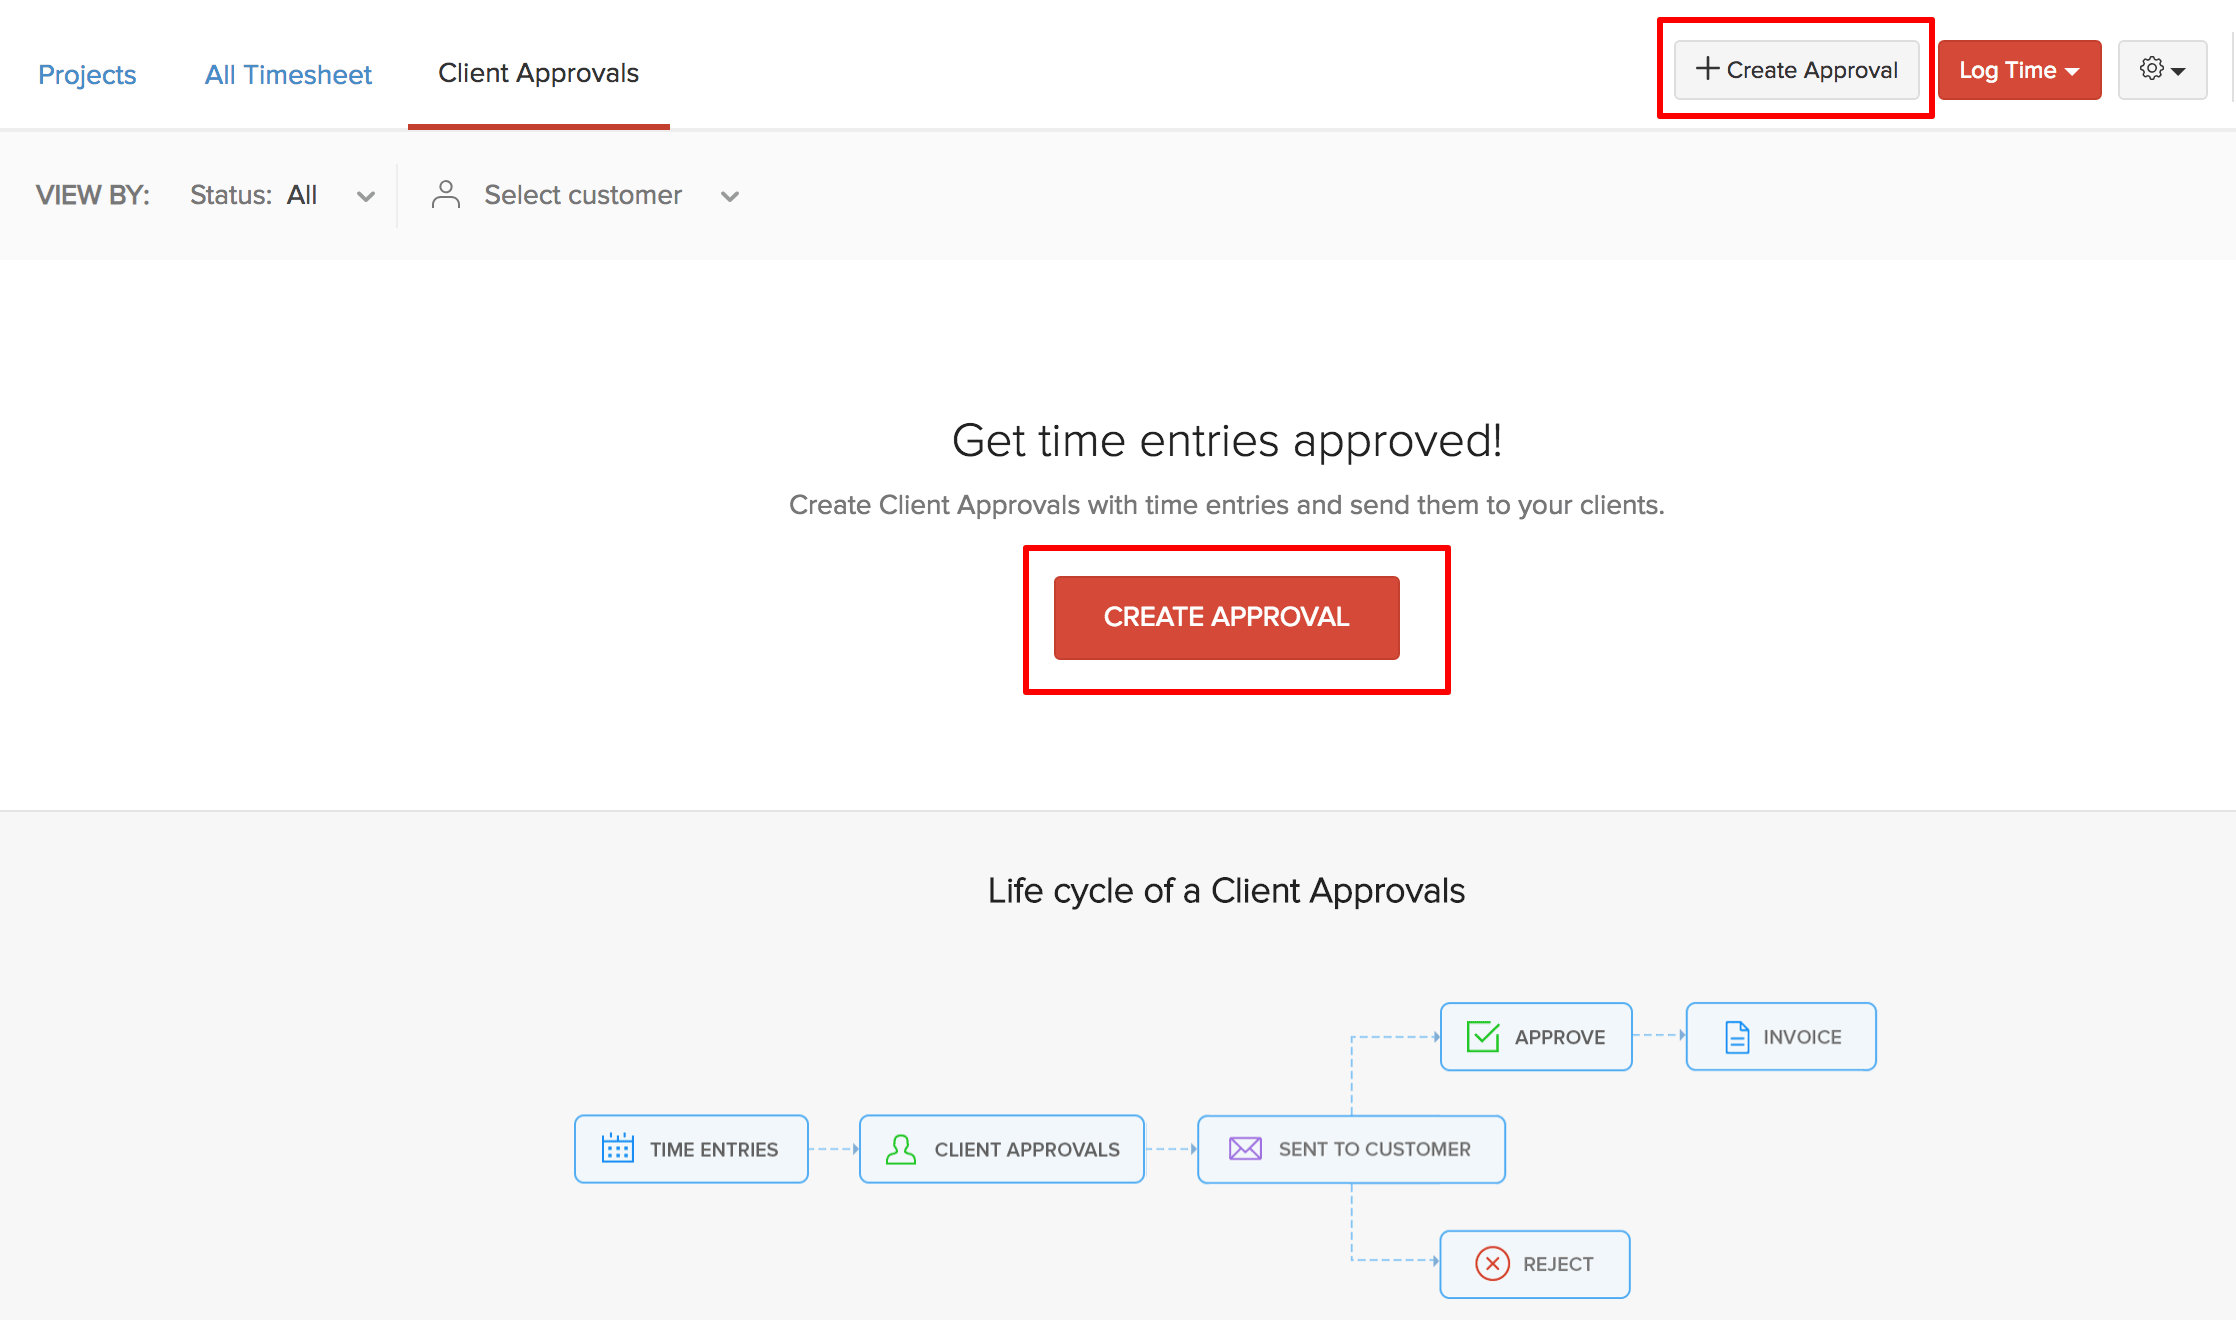
- Tap the tab Client Approvals and click +Create Approval.
- You can also click the Create Approval button on the centre. This button will be available when you’re creating your first client approval.
From All Timesheet tab
- Select the time entries that have to be sent for approval.
- Click the Submit for Client Approval button on the top.

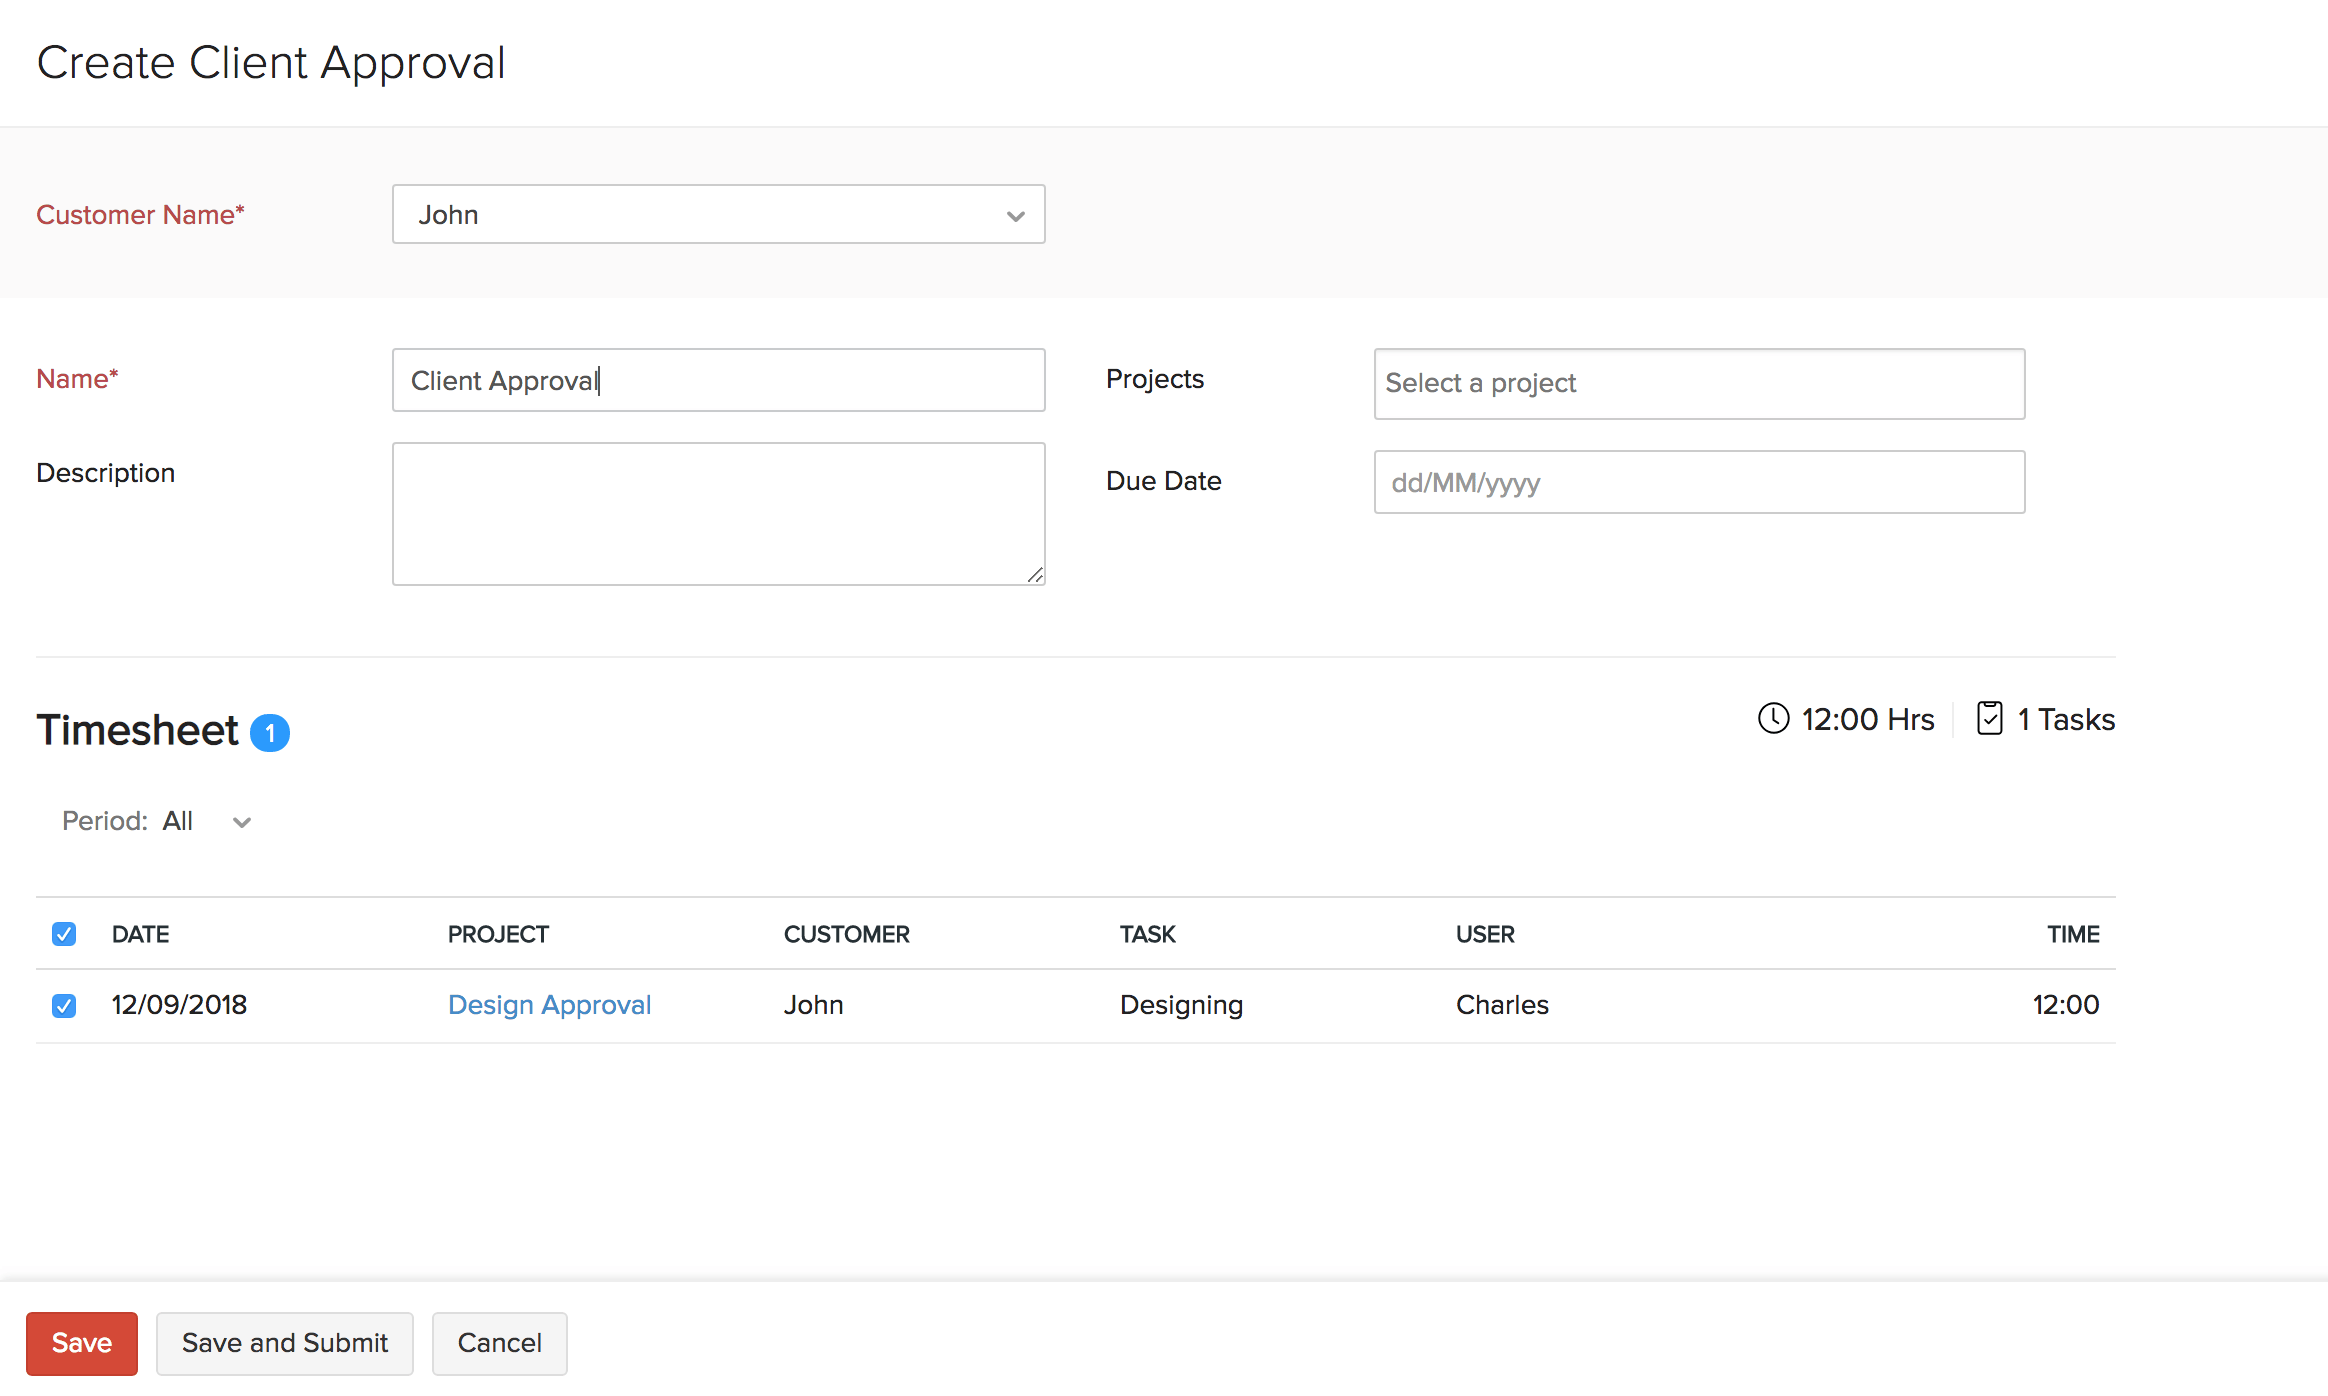
On the client approval creation page,
- From the Customer Name field, choose the customer for whom you’re creating the client approval.
- Provide a name for the Approval in the Name field.
- To send the time entries of one particular project, choose its name from the Projects dropdown.
- Provide a description (if any) in the Description field.
- Choose a due date if you want your client to approve the time entries before a specific date.
- Under Timesheet, you’ll be able to see the time entries that will be sent to your client. Here, you can select the time entries you wish to send your customer.
- Click Save and Submit to save and submit the approval immediately by clicking Submit for Approval in the following pop-up.
- Click the Save button to save and send it later.
For existing projects for which you haven’t enabled client approval,
- Go to the respective project and click the Edit button on the top right corner.
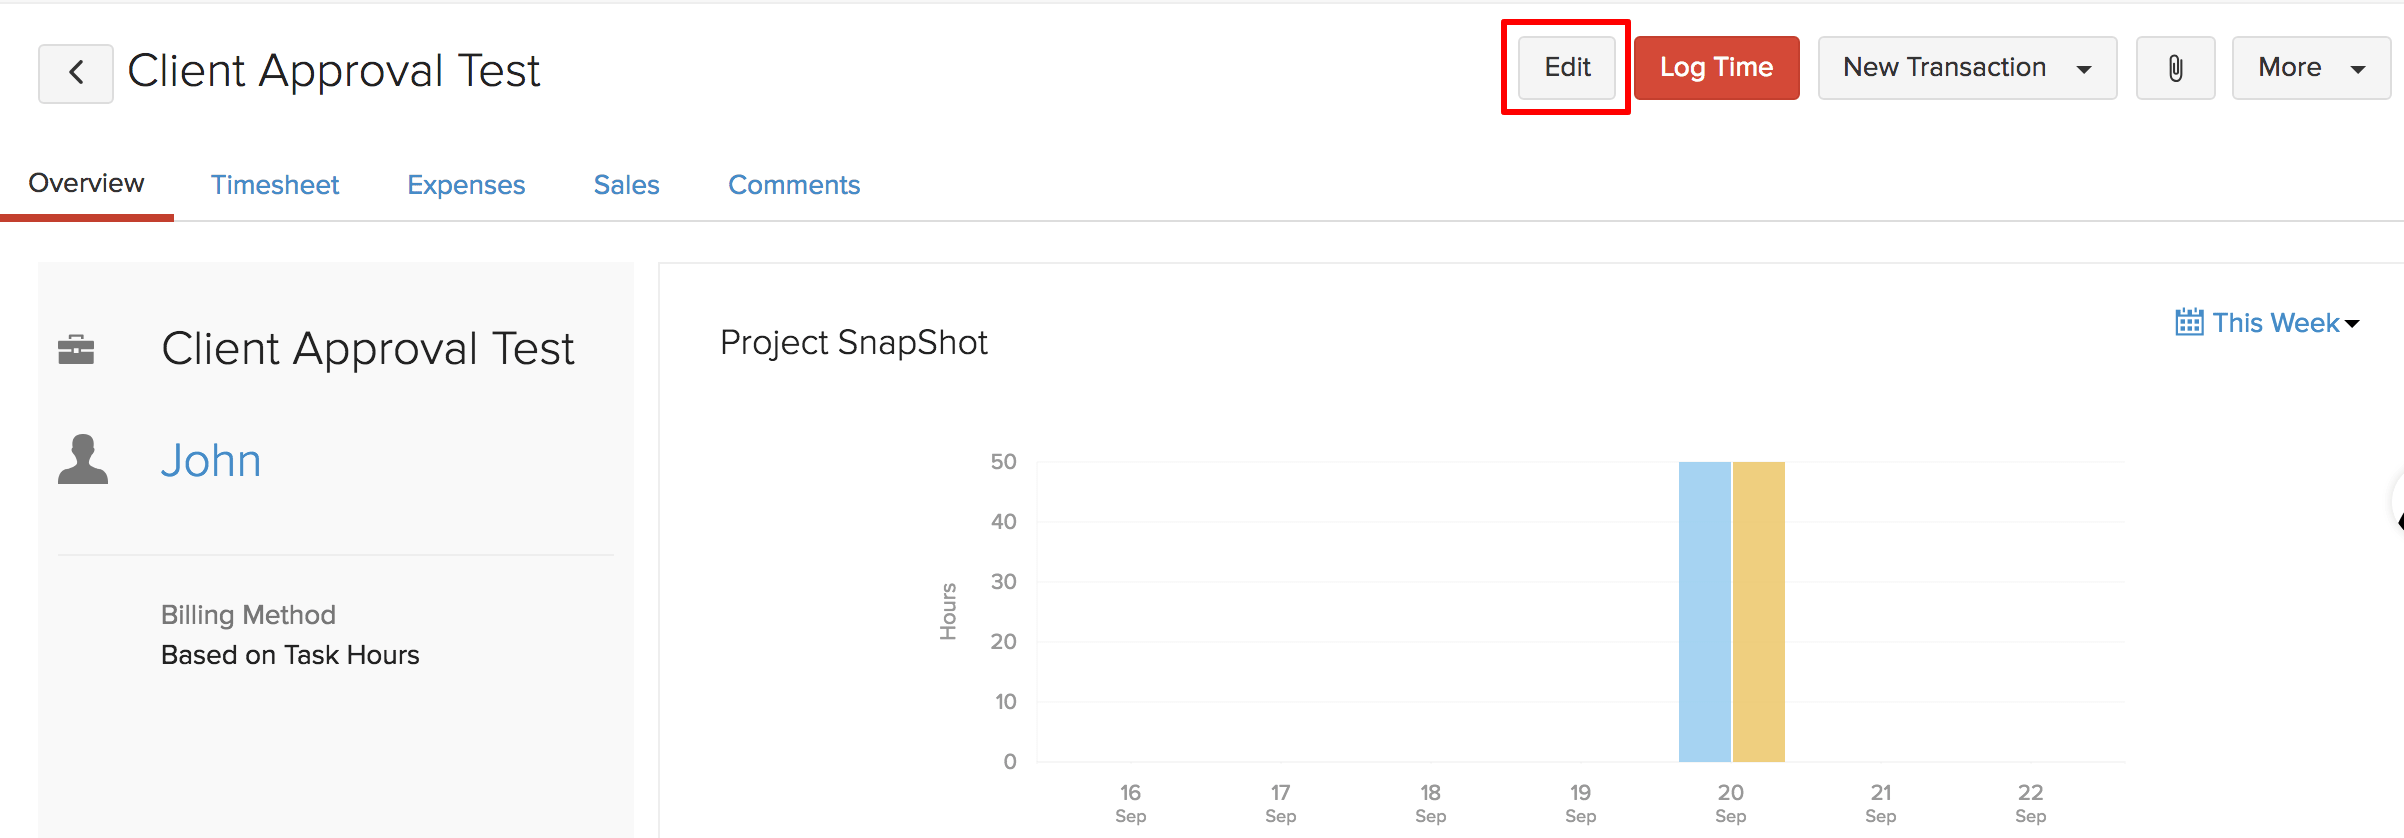
- Check the box next to Enable Client Approval for the time entries of this project and click the Save button.
Insight: You cannot send invoiced time entries for client approval.
Approve or Reject Client Approval »
 Yes
No
Yes
No
Thank you for your feedback!