VAT in Nigeria

Value Added Tax (VAT) is a consumption tax levied on goods and services in Nigeria. The Federal Inland Revenue Service (FIRS) is the tax authority responsible for managing VAT in Nigeria. If your business is registered for VAT, you must charge VAT on taxable supplies, file monthly returns by the 21st of the following month, and remit the VAT collected to FIRS.
In Zoho Books, you can configure VAT settings, generate VAT returns, and generate Sales Schedule to stay compliant with FIRS requirements.
Configure VAT Return Settings
To generate VAT returns, you’ll first need to enable VAT in your Zoho Books organisation and then configure VAT return settings.
Here’s how:
- Go to Settings.
- Under Organisation Settings, select Taxes under Taxes & Compliance.
- Navigate to VAT Return Settings in the left pane.
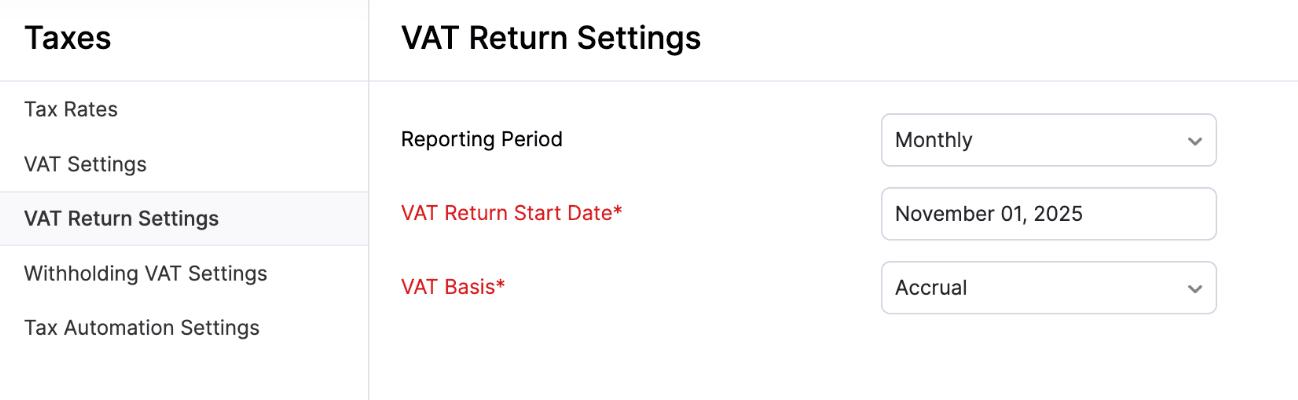
- Fill in the following fields:
- Reporting Period - Select Monthly to report your transactions every month.
- VAT Return Start Date - Choose the date from which you want to start generating VAT returns. Zoho Books will generate your first VAT return from this date.
- VAT Basis - Choose whether you want to report your transactions on a Cash or Accrual basis.
- Click Save.
Your VAT return settings will be configured.
Insight: You can also configure VAT return settings from the VAT Returns module. To do so, go to Filing & Compliance, select VAT Returns, and click VAT Return Settings.
Generate VAT Returns
To generate VAT returns in Zoho Books:
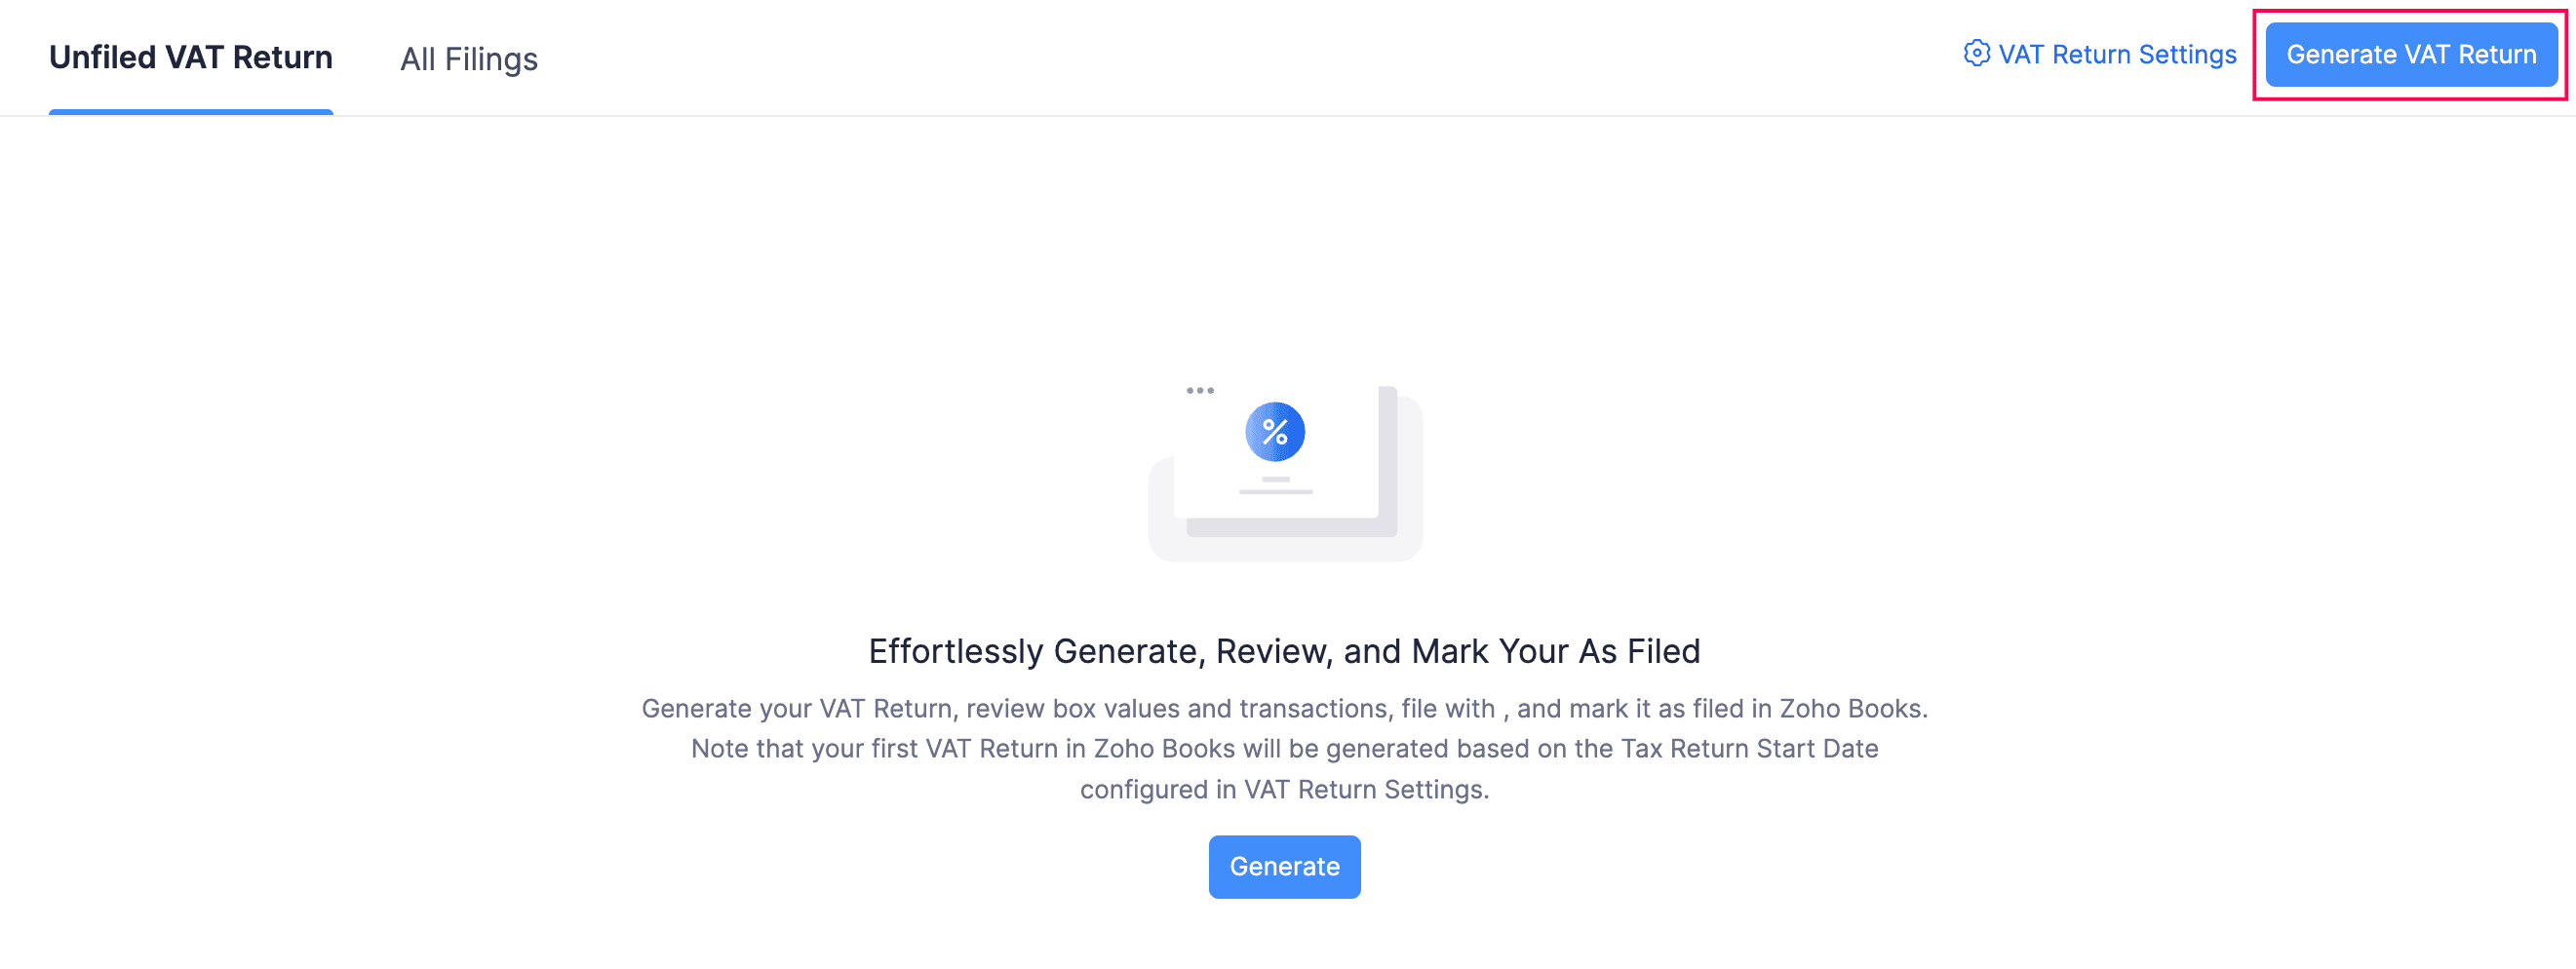
- Go to Filing & Compliance on the left sidebar and select VAT Returns.
- Click Generate VAT Return in the top right corner.
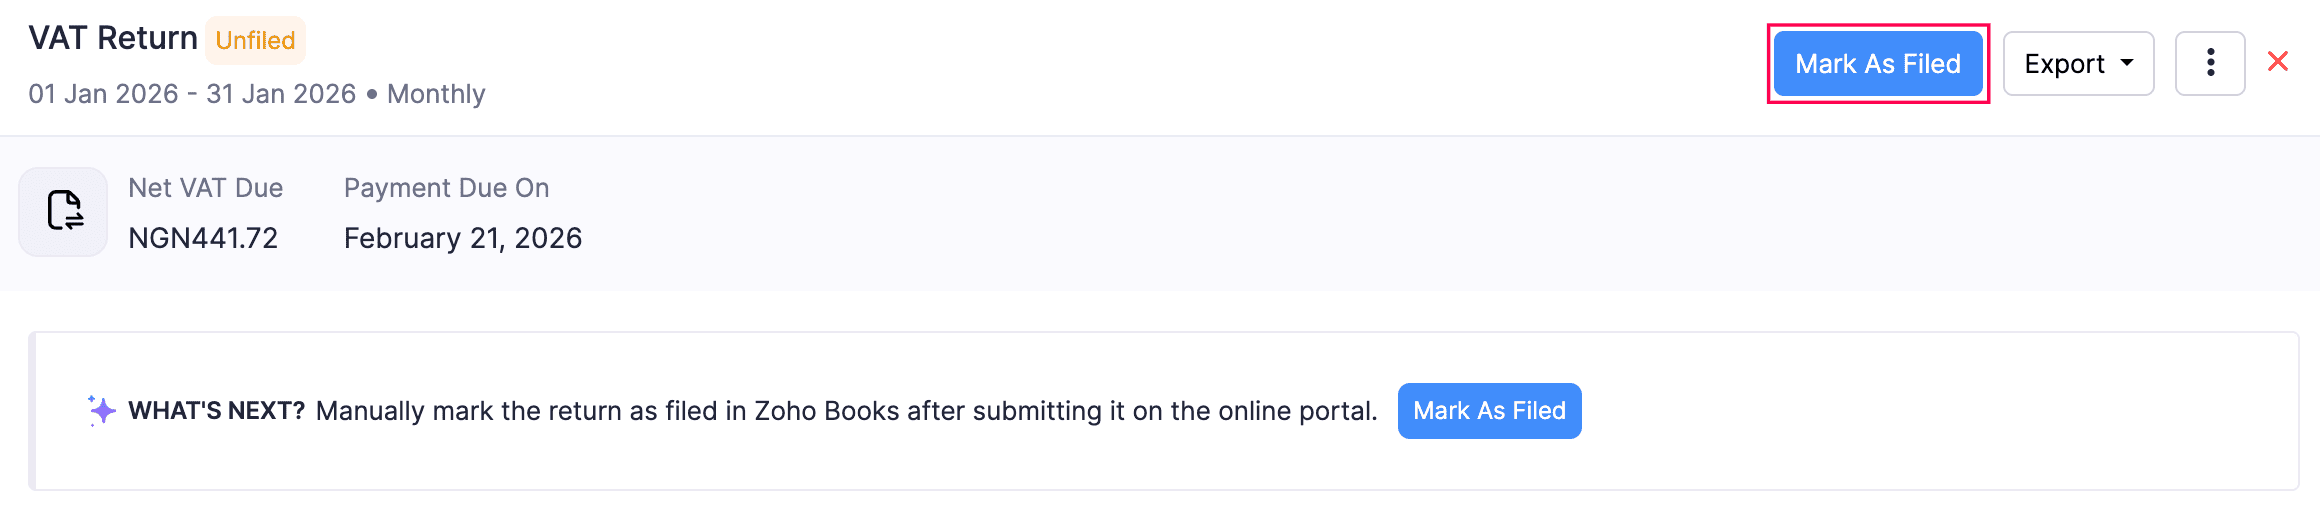
- In the generated return, review the amounts in the respective boxes.
Pro Tip: Click the amounts in the respective boxes to view the list of transactions included.
- Click Mark as Filed in the top right corner.
- In the File Tax Return pop-up, select the Date of Filing.
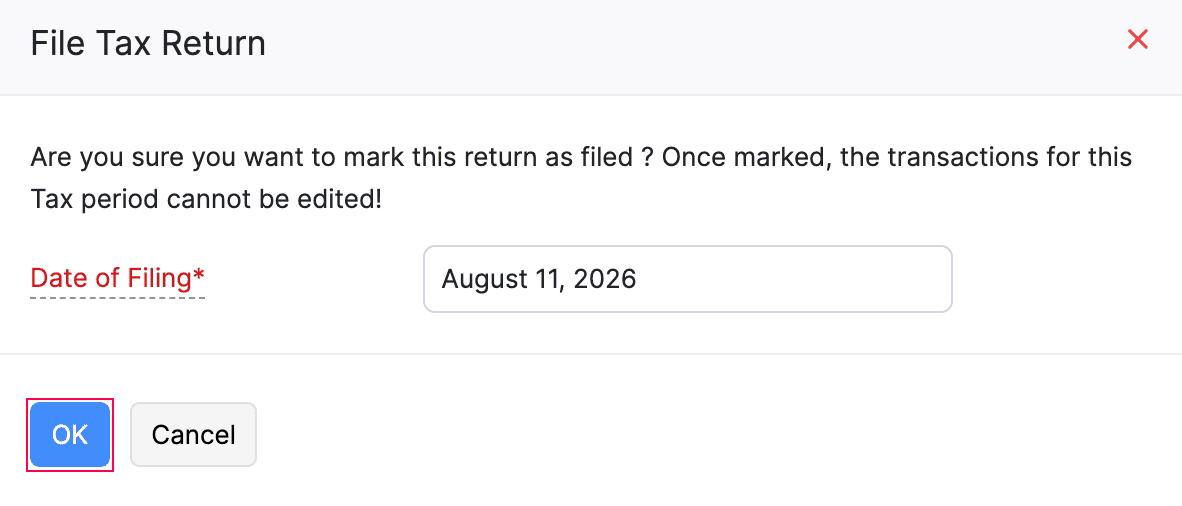
- Click OK.
The VAT return will be marked as filed.
Carry Forward Reclaimable Amount
If your VAT return has a reclaimable amount, you can carry it forward to the next VAT return while marking the return as filed.
To carry forward a reclaimable amount:
- Go to Filing & Compliance on the left sidebar and select VAT Returns.
- Select the VAT return that you want to mark as filed.
- Click Mark as Filed in the top right corner.
- In the File Tax Return pop-up, select the Date of Filing.
- Mark the Carry Forward Reclaimable Amount checkbox.
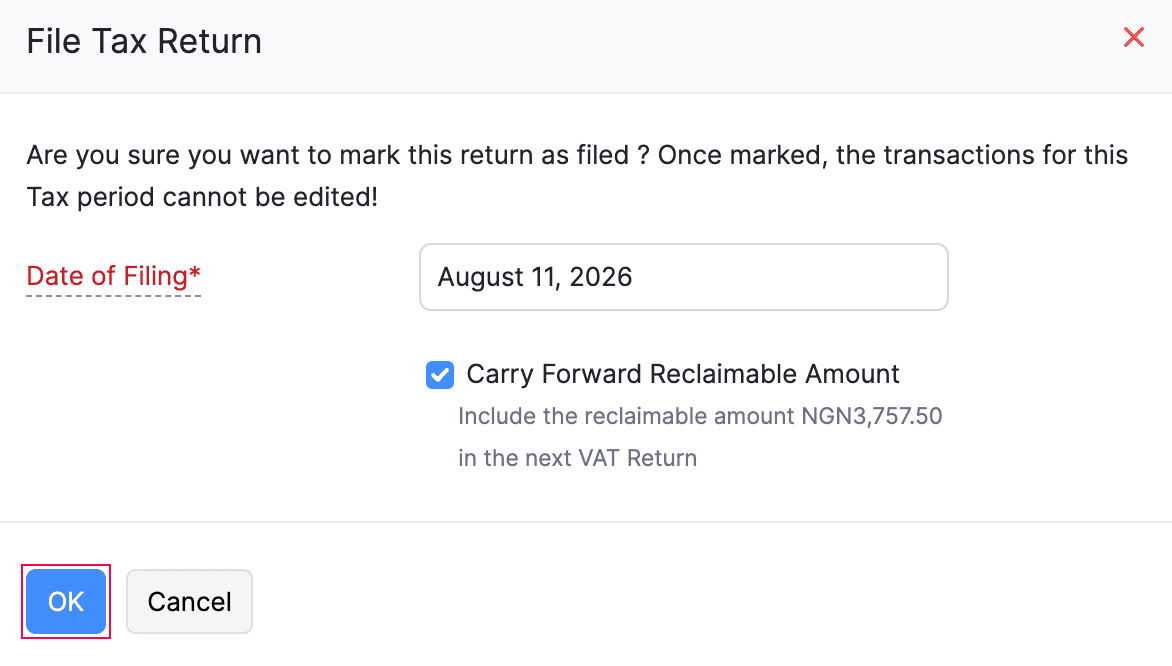
- Click OK.
The reclaimable amount will be carried forward and included in the next VAT return.
Record Tax Claim
If your filed VAT return has a reclaimable amount, you can record the tax claim in Zoho Books.
To record a tax claim:
- Go to Filing & Compliance on the left sidebar and select VAT Returns.
- Under the All Filings tab, select the filed return for which you want to record a tax claim.
- Click Record Claim in the top right corner.
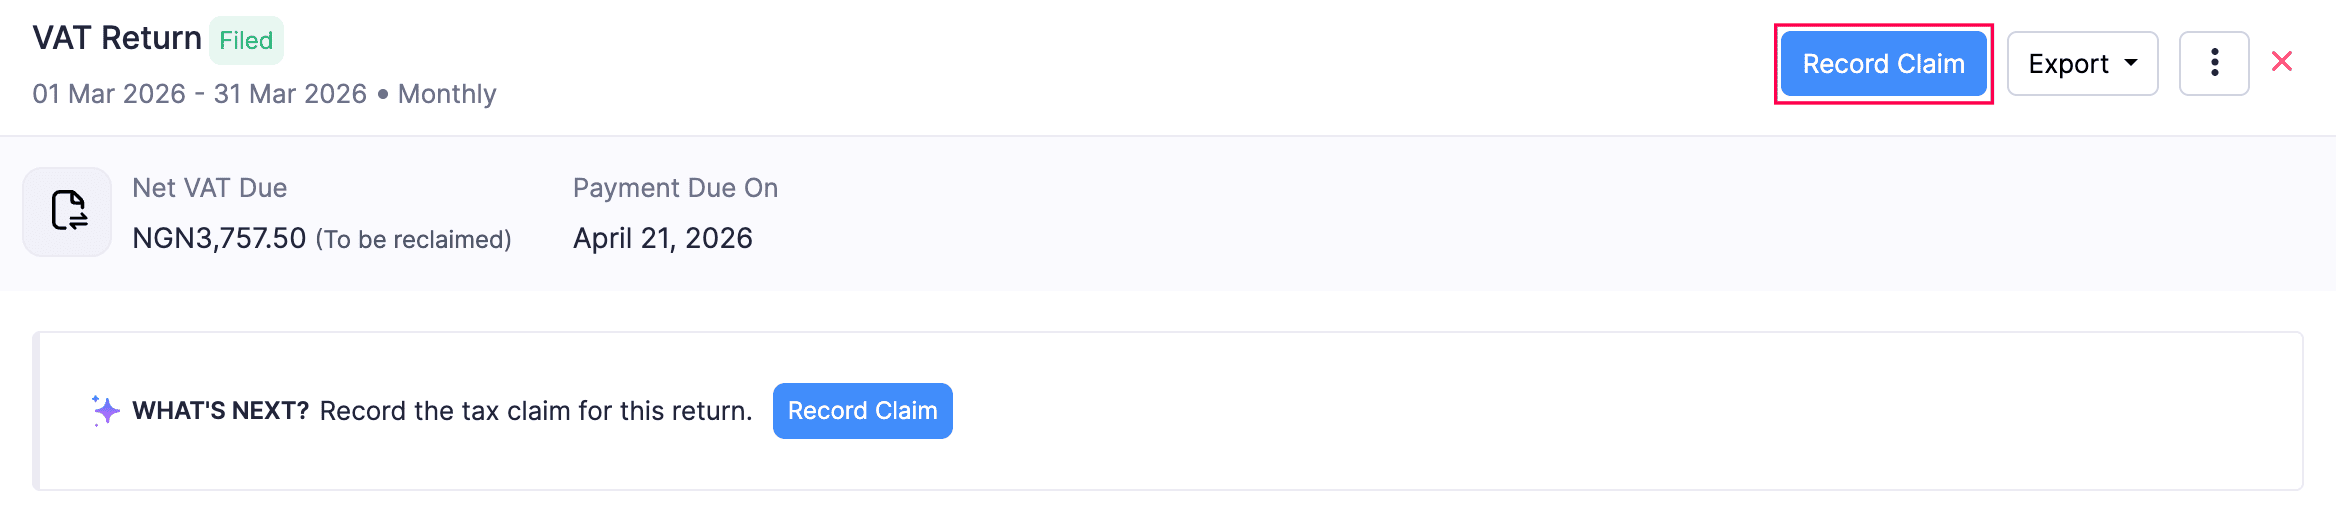
- In the Record Tax Claim pop-up, select the account in which you want to deposit the reclaimed amount from the Deposit To dropdown.
- Verify the Amount Reclaimed.
- Select the Payment Date.
- Enter a Reference Number and Description, if required.
- Upload attachments, if required.
- Click Save.
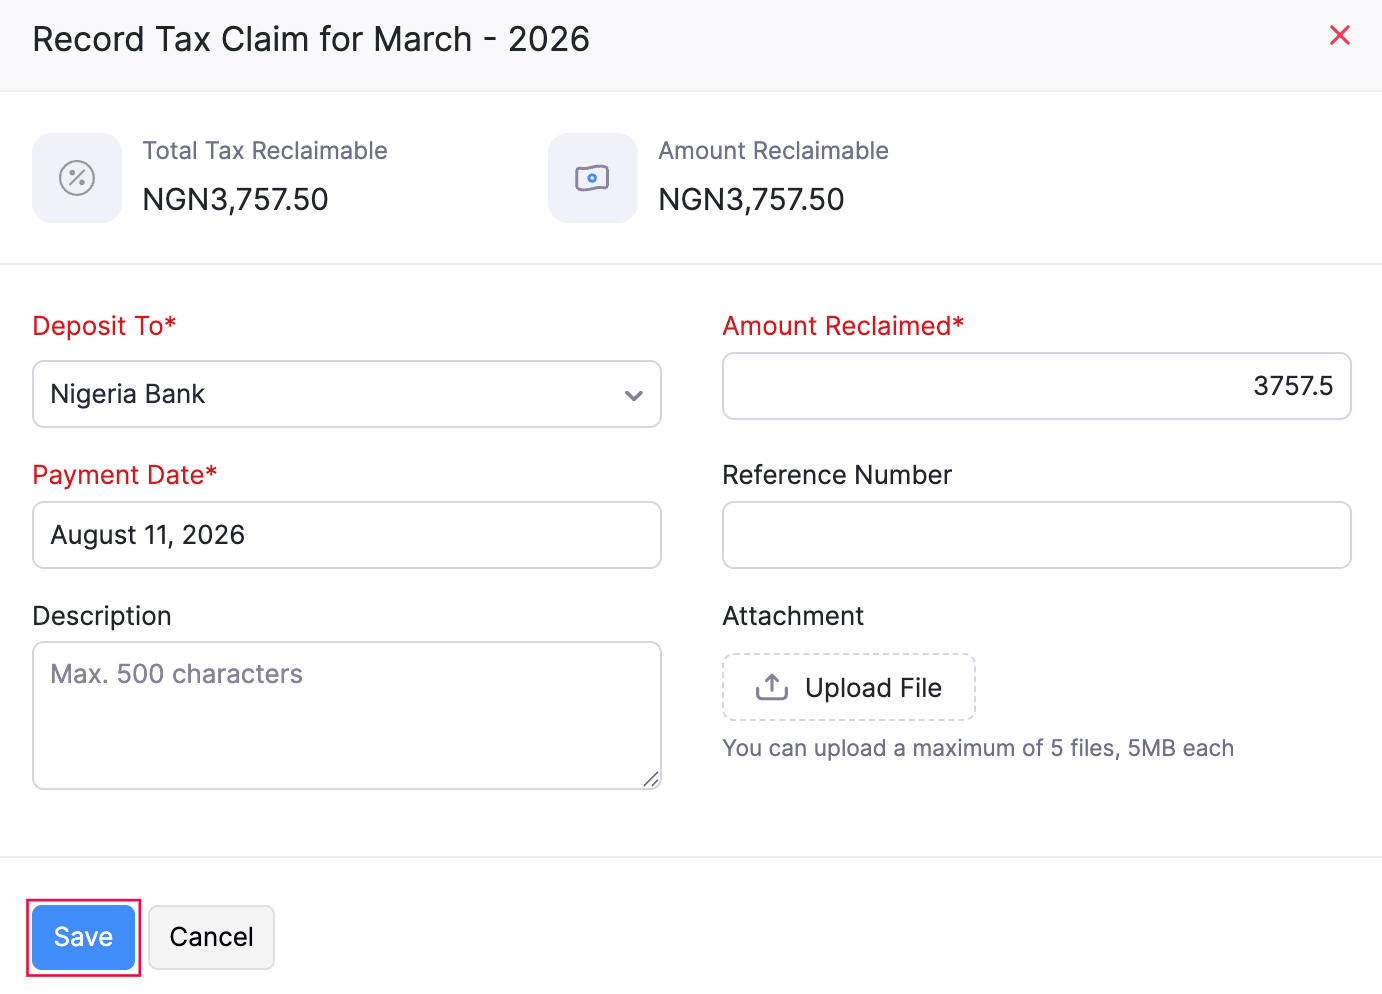
The tax claim will be recorded.
Record Tax Payment
If your filed VAT return has tax payable, you can record the tax payment in Zoho Books.
To record a tax payment:
- Go to Filing & Compliance on the left sidebar and select VAT Returns.
- Under the All Filings tab, select the filed return for which you want to record a tax payment.
- Click Record Payment in the top right corner.
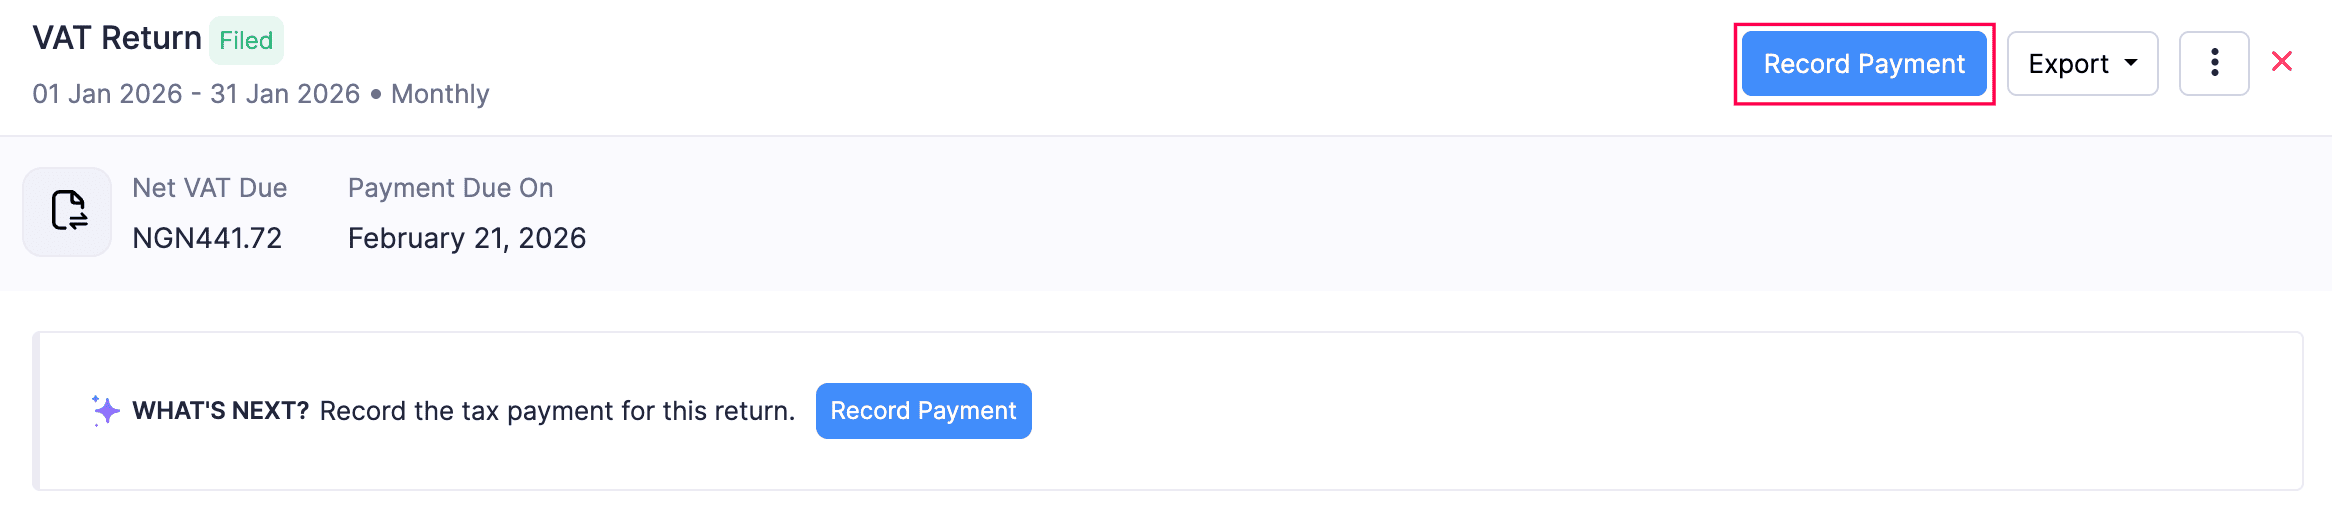
- In the Record Tax Payment pop-up, select the account through which the payment was made from the Paid Through dropdown.
- Verify the Amount Paid.
- Select the Payment Date.
- Enter a Reference Number and Description, if required.
- Upload attachments, if required.
- Mark the Include Interest / Penalty for the Payment checkbox, if required. Then, enter the following details:
- Penalty Amount - Enter the penalty amount charged for the late or incorrect payment.
- Penalty Interest Amount - Enter the interest amount charged on the penalty.
- Expense Account - Select the expense account under which the penalty amount will be recorded.
- Penalty Payment Date - Select the date on which the penalty was paid.
- Reason for Penalty - Enter the reason for the penalty.
- Click Save.
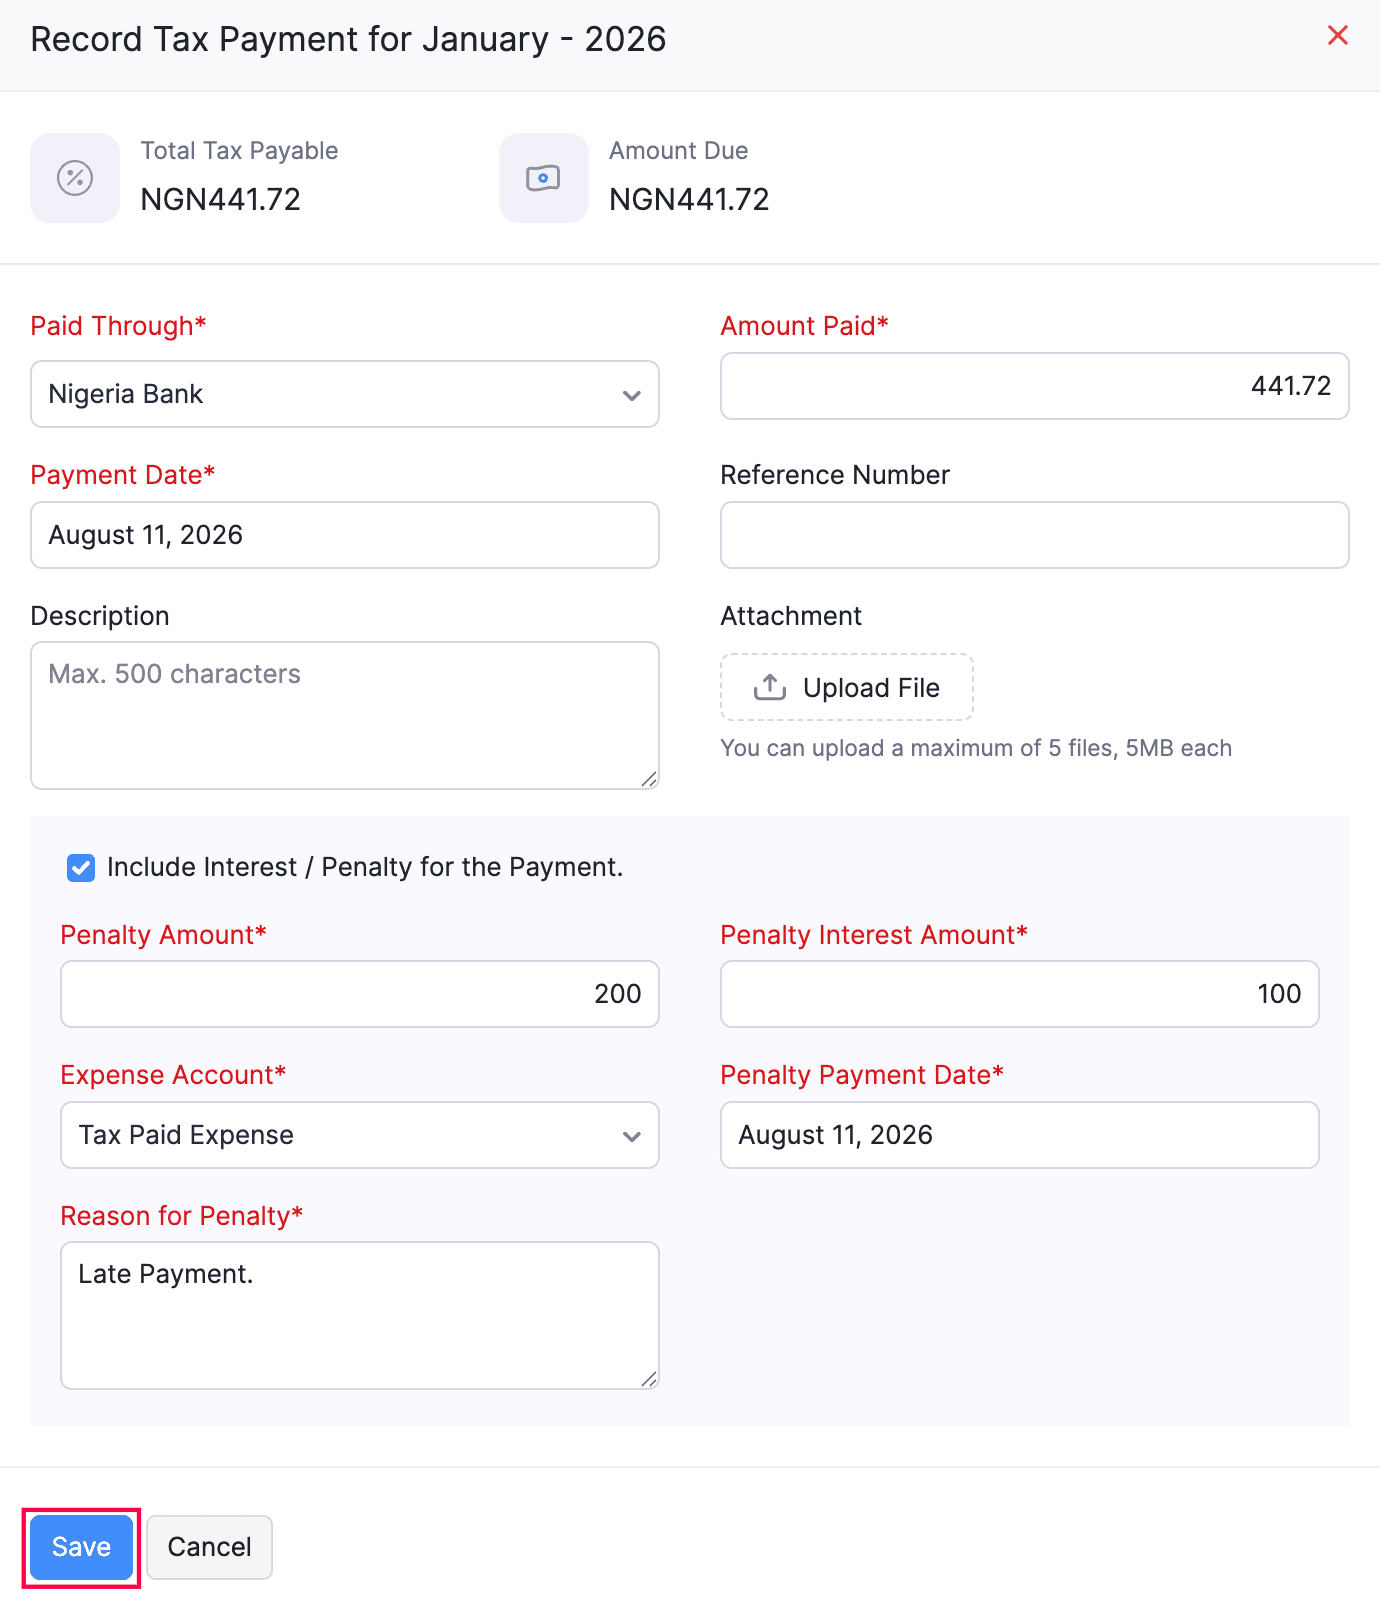
The tax payment, along with the interest/penalty details, will be recorded.
Edit Claim or Payment
If you’ve made an error while recording a tax claim or payment, you can edit it from the Tax Payments module.
To edit a claim or payment:
- Go to Filing & Compliance on the left sidebar and select Tax Payments.
- Click the Payment History tab.
- Select the claim or payment that you want to edit and select the Edit icon.
- In the pop-up that appears, make the required changes.
- Click Save.
The claim or payment will be updated.
Delete Tax Claim or Payment
You can delete a recorded tax claim or payment from the Tax Payments module.
To delete a claim or payment:
- Go to Filing & Compliance on the left sidebar and select Tax Payments.
- Click the Payment History tab.
- Hover over the claim or payment that you want to delete and select the Delete icon.
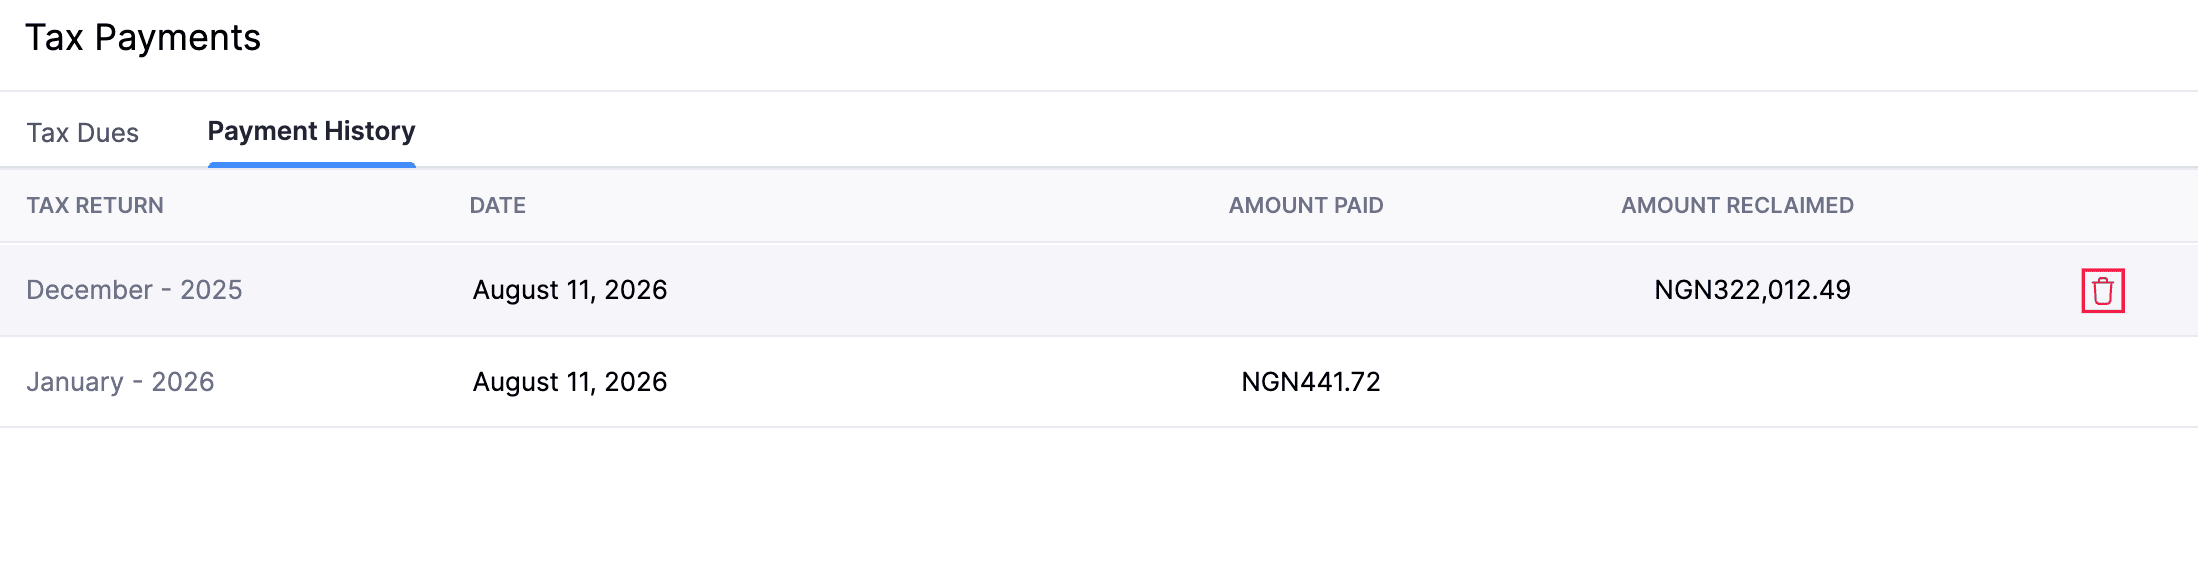
- In the confirmation pop-up, confirm your action.
The recorded claim or payment will be deleted.
Generate Sales Schedule
A Sales Schedule provides a detailed list of all taxable sales you’ve made in a month. You can generate it directly from the VAT return page and submit it to FIRS along with your VAT return.
It includes your customers’ TAX IDs, transaction descriptions, and VAT collected for each transaction. This allows FIRS to verify the VAT you collected and helps your customers claim input VAT on their purchase transactions.
Note: If you don’t include a customer’s TAX ID, they cannot claim the VAT they paid you.
To generate a Sales Schedule:
- Go to Filing & Compliance on the left sidebar and select VAT Returns.
- Under the All Filings tab, select the return for which you want to generate the Sales Schedule.
- In the VAT return page, click the More icon in the top right corner and select Generate Sales Schedule.
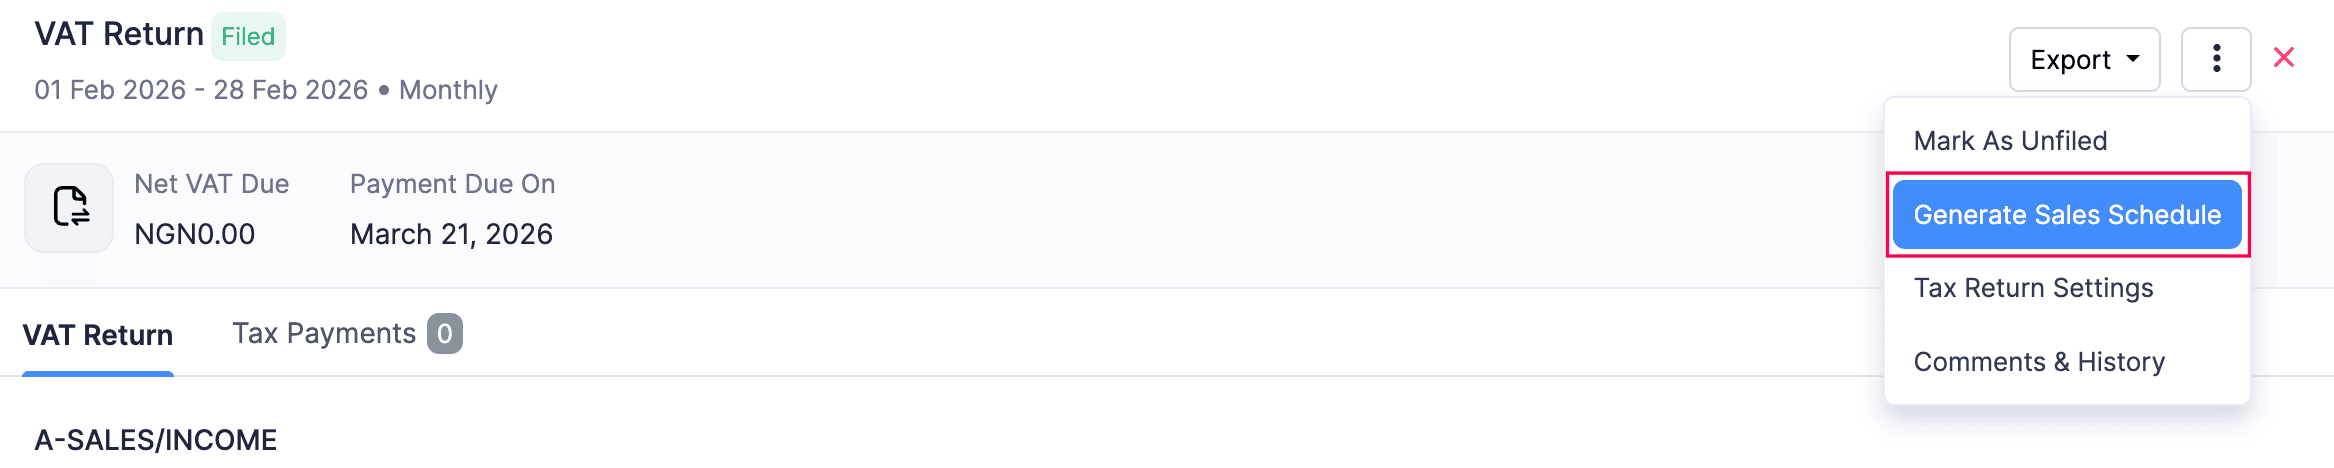
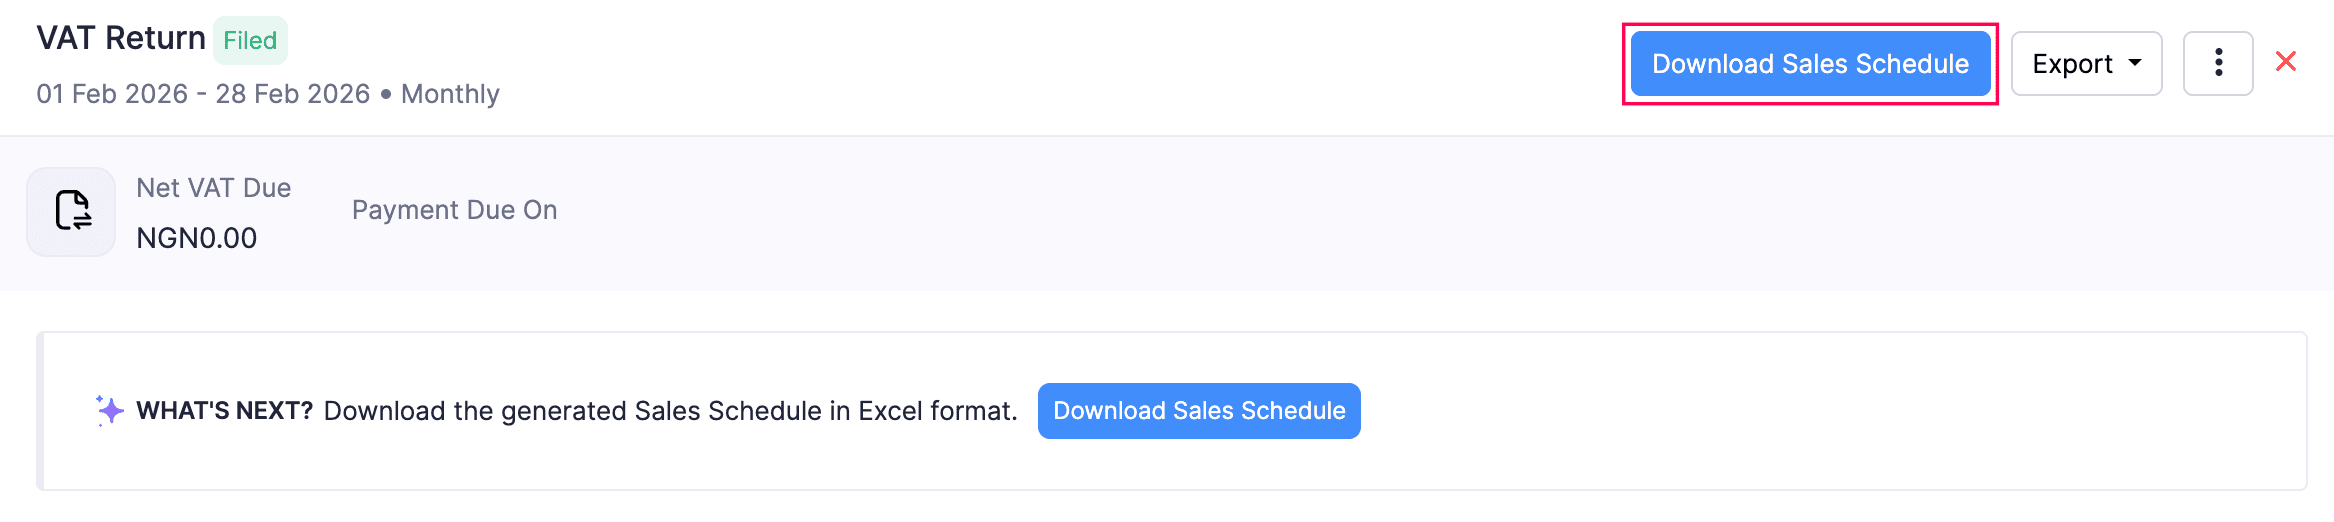
The Sales Schedule will be initiated. You’ll be notified via an in-app notification once it is generated. Once complete, click Download Sales Schedule in the top right corner to download the Sales Schedule in XLSX format.
VAT Returns - Operations
Mark as Unfiled
If you need to correct errors or include missed transactions in your VAT return, you can mark it as unfiled.
Here’s how:
- Go to Filing & Compliance on the left sidebar and select VAT Returns.
- Under the All Filings tab, select the return that you want to mark as unfiled.
- In the VAT return page, click the More icon in the top right corner and select Mark As Unfiled.
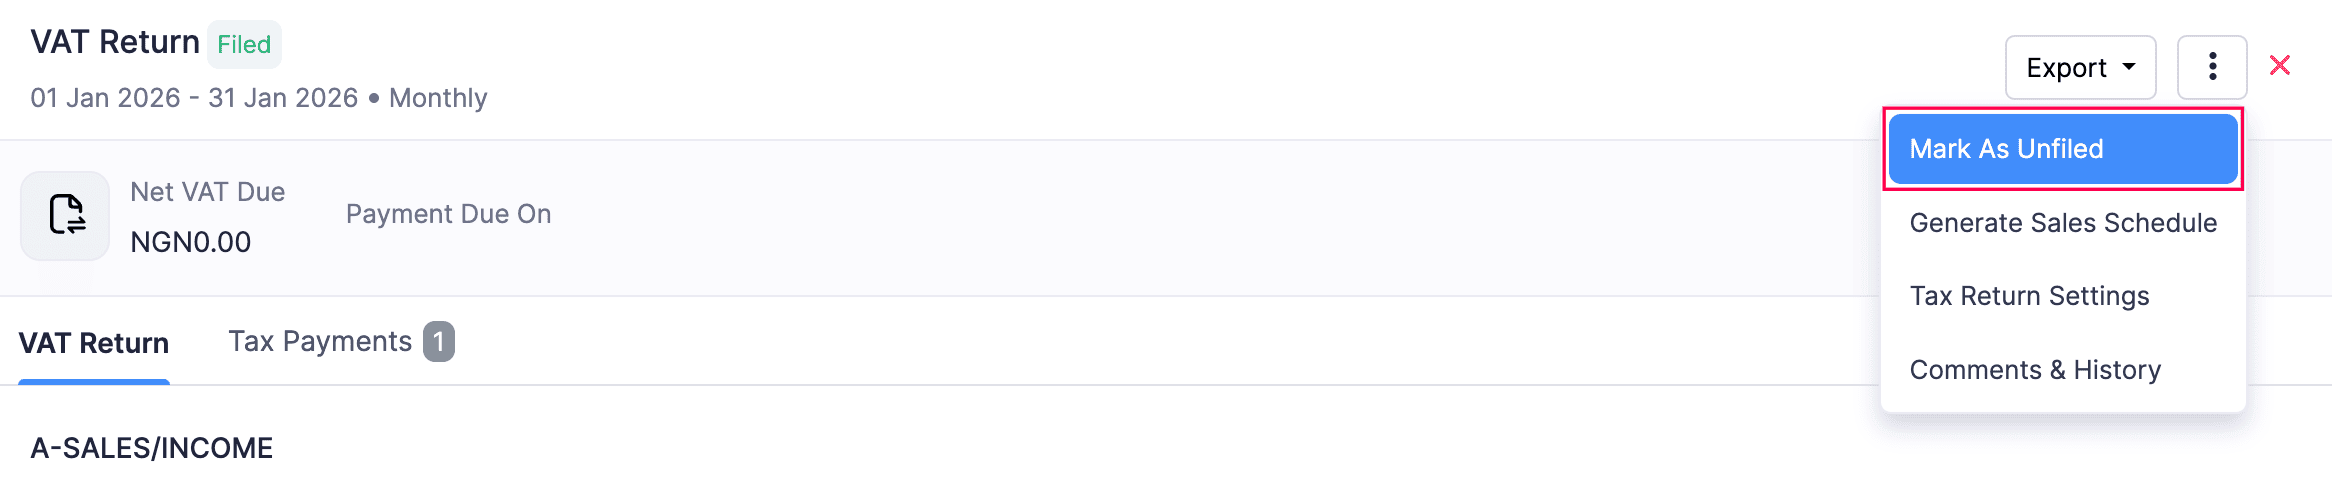
- In the confirmation pop-up, click Unfile Return.
The VAT return will be marked as unfiled. You can now edit the transactions and mark the return as filed when required.
Delete Tax Return
Note: You can delete only the most recent VAT return. You cannot delete a VAT return for which you’ve recorded a claim or a payment. To delete such a return, delete the recorded claim or payment first and then delete the return.
To delete a VAT return:
- Go to Filing & Compliance on the left sidebar and select VAT Returns.
- In the list page, click the More icon next to the return that you want to delete.
- Select Delete.

- In the confirmation pop-up, click Delete again.
The VAT return will be deleted.
Add Comments and View History
When you generate a VAT return in Zoho Books, you can add comments for internal use and view the return’s history.
Here’s how:
- Go to Filing & Compliance on the left sidebar and select VAT Returns.
- Under the Unfiled VAT Returns tab, select the VAT return for which you want to add comments or view history.
- Click the More icon in the top right corner and select Comments & History.
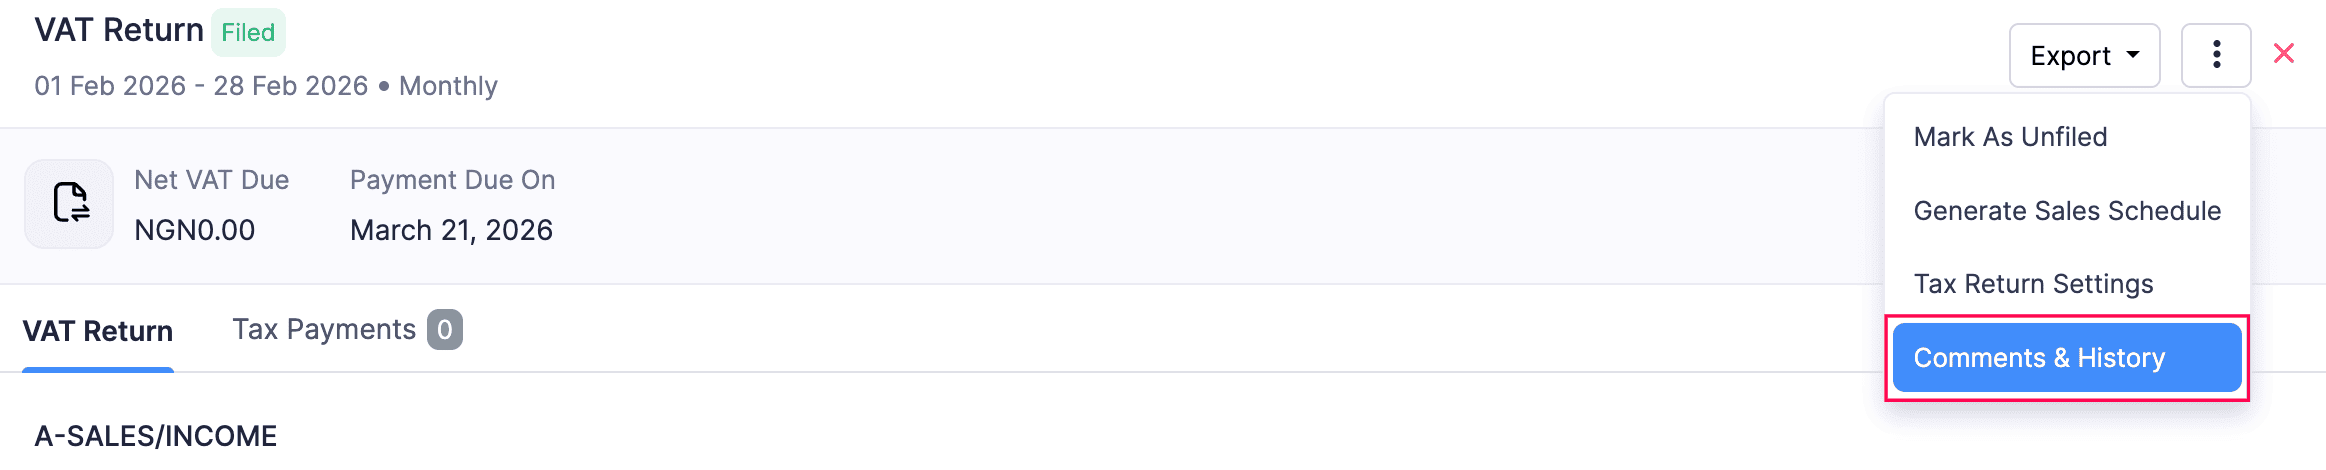
- In the pane that appears, you can view the history of the VAT return. To add a comment, enter your comment and click Add Comment.
The comment will be added, and the VAT return’s history will be available in the same pane.
 Yes
Yes