
e-Invoicing
The Nigeria Revenue Service (NRS) has mandated electronic invoicing (e-invoicing) for businesses in Nigeria through the Merchant Buyer Solution. Businesses must electronically submit their transactions to the NRS portal for validation, ensuring transparency and compliance with Nigeria’s tax regulations.
Zoho Books integrates directly with the NRS e-Invoicing Portal through Remita, an approved access point provider for the NRS Merchant Buyer Solution. Once connected, you can push your invoices, credit notes, and debit notes directly from Zoho Books to the NRS portal. Each validated transaction receives an UUID (Universally Unique Identifier) for tracking and compliance purposes.
In Zoho Books, you can push the following transactions to the NRS e-Invoicing Portal:
- Invoices
- Credit Notes
- Debit Notes
You can also push the payment status of an invoice from the Payments Received module.
How e-Invoicing Works
Zoho Books connects directly to the NRS e-Invoicing Portal through Remita. When you enable e-invoicing and connect your organisation, the following workflow applies to your invoices, credit notes, and debit notes:
Create and save a transaction in Zoho Books
Create an invoice, credit note, or debit note and save it. Until you submit the transaction to the NRS portal, its e-invoice status remains Yet to be Pushed.
Submit the transaction to the NRS portal
You can push a transaction to the NRS portal at any point, regardless of its status. Open the transaction’s details page and click Push to NRS to submit it for validation.
Validate the transaction
The NRS portal validates the transaction data. If validation is successful, it generates a UUID and the e-invoice status in Zoho Books changes to Pushed. If validation fails, a pop-up displays the error details. Click OK and the e-invoice status changes to Failed. Resolve the errors and click Push to NRS to retry.
Update the invoice’s payment status
If an invoice is fully paid before it’s pushed to the NRS portal, its payment data is sent along with the invoice. If an invoice is unpaid or partially paid, it is pushed with incomplete payment details, and the payment update is pushed later based on how the payment is recorded. Learn more about pushing payment updates in Push Payments Received.
Lock the validated transaction
After the transaction is successfully validated, it’s locked in Zoho Books and can’t be edited, deleted, or voided. To correct a pushed invoice, create a credit note against it. The credit note follows the same submission and validation workflow.
Set Up Your NRS e-Invoicing Portal Account
Before you enable e-invoicing in Zoho Books, you have to select Remita as your access point, then obtain your Business ID and Service ID as a part of the one-time setup on the NRS e-Invoicing Portal.
To select Remita as the Access Point:
- Go to the NRS e-Invoicing Portal.
- Sign in using your registered NRS account credentials.
- Go to Access Points under My Account.
- Select REMITA PAYMENT SERVICES LIMITED as the access point.
To obtain Your Business ID and Service ID:
- Go to the My Account tab and select API Integration.
- Note down your Business ID.
- Note down your IRN Template from which you can get your Service ID. For example, in the IRN template INV00XX-94ND90NR-20240611, 94ND90NR will be your Service ID.
Keep your Business ID and Service ID ready. You’ll need to enter them when you enable e-invoicing in Zoho Books.
Enable e-Invoicing in Zoho Books
Prerequisite: You can set up e-invoicing only if you’ve enabled taxes in your Zoho Books organisation. Ensure that you’ve added your business’s TAX ID in VAT Settings.
Once you’ve completed the NRS Portal setup and have your Business ID and Service ID ready, you can enable e-invoicing in Zoho Books.
Here’s how:
- Go to Settings.
- Under Organisation Settings, Select E-Invoicing under Taxes & Compliance.
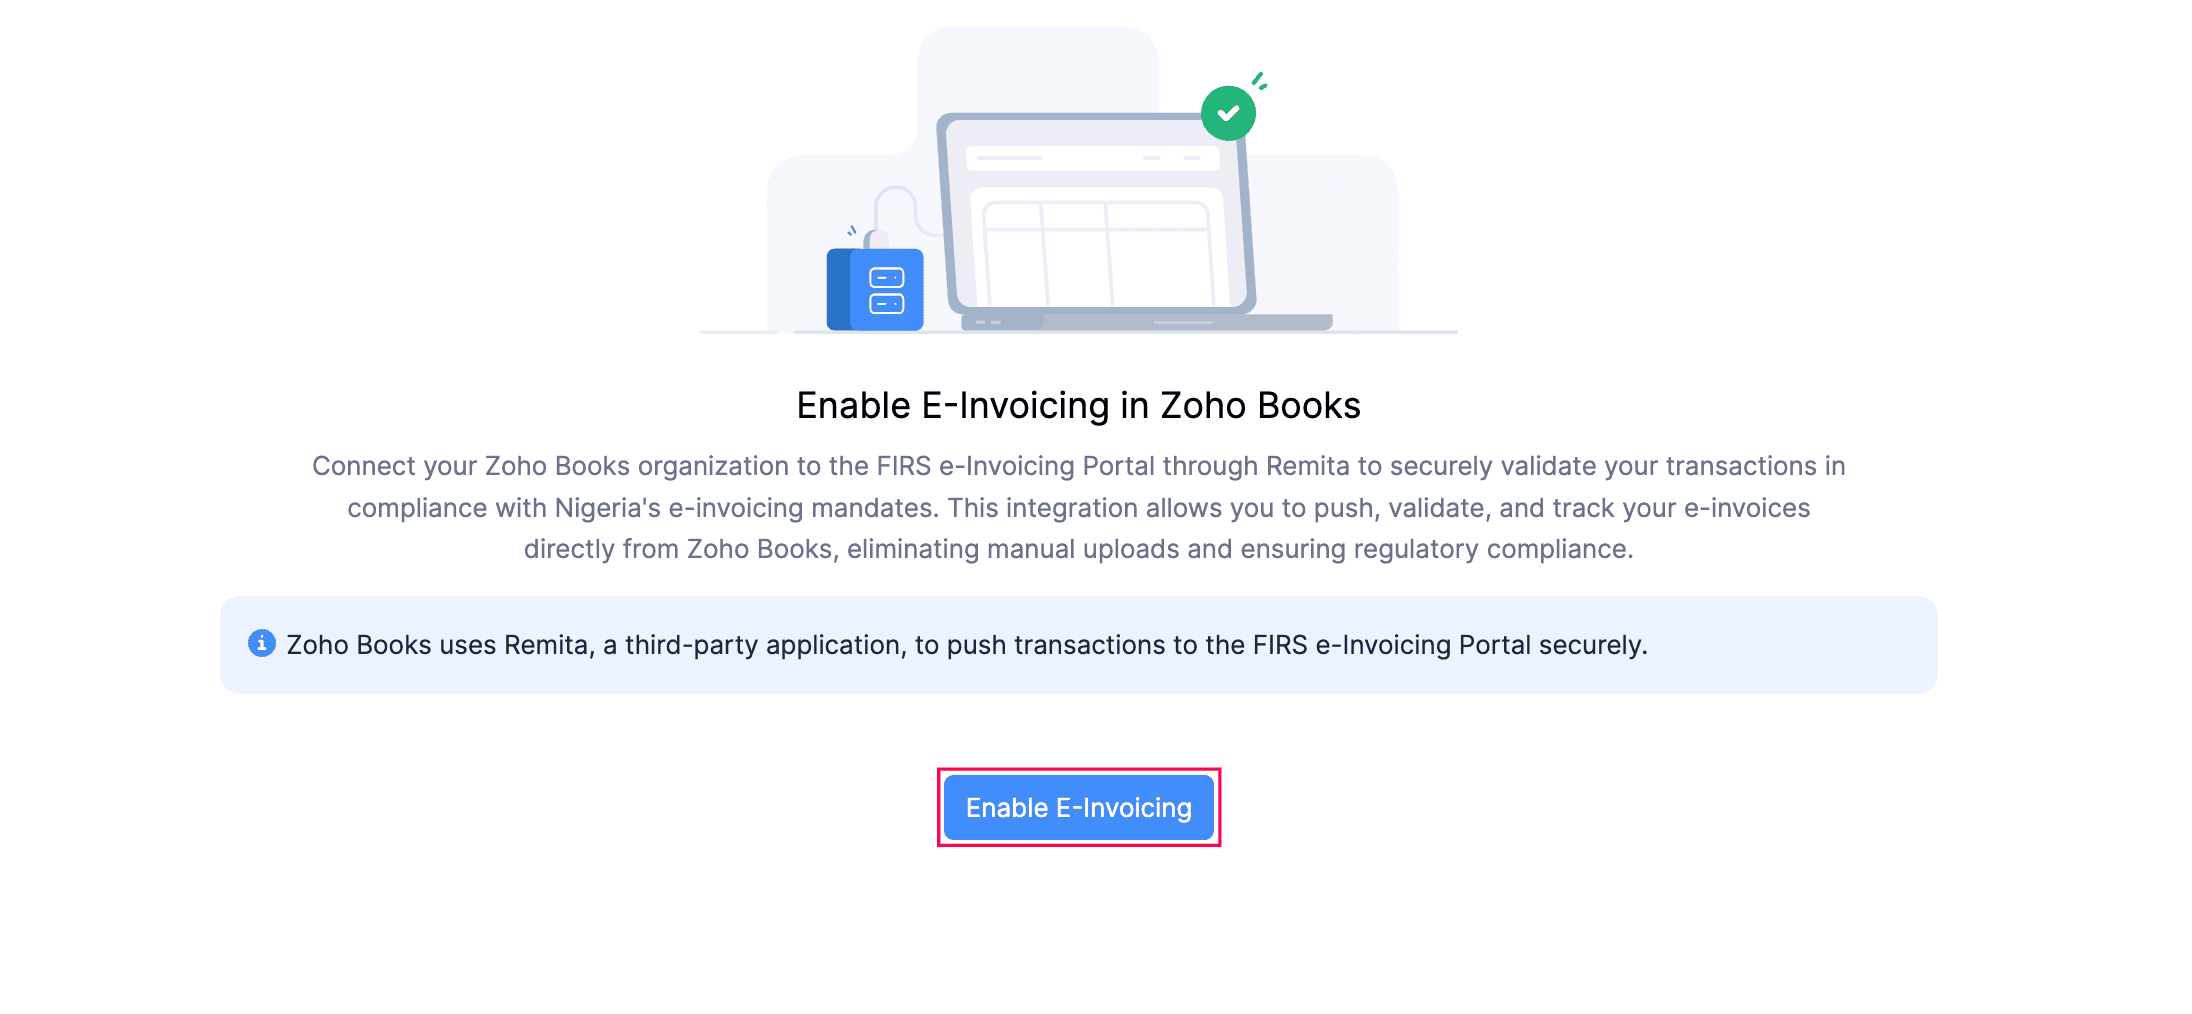
- Click Enable E-Invoicing.
- Enter the required details in the following fields:
| Fields | Description |
|---|---|
| Registered Business Name | The registered name of your business. |
| TIN | Your Tax Identification Number issued by FIRS. |
| State | The state where your business is registered. |
| Street 1 | The street address of your business. |
| City | The city where your business is located. |
| ZIP/Postal Code | The postal code of your business address. |
| Phone | The phone number associated with your business. |
| Business ID | The unique ID assigned to your business on the NRS e-Invoicing Portal. |
| Service ID | The unique ID assigned to the service you registered for on the NRS e-Invoicing Portal. |
Under Updated Address Preference, select one of the following:
Update address only in new transactions - The updated address applies only to transactions created after this change.
Update address in existing and new transactions - The updated address applies to all existing and new transactions.
Read and accept the terms and conditions.
Click Finish.
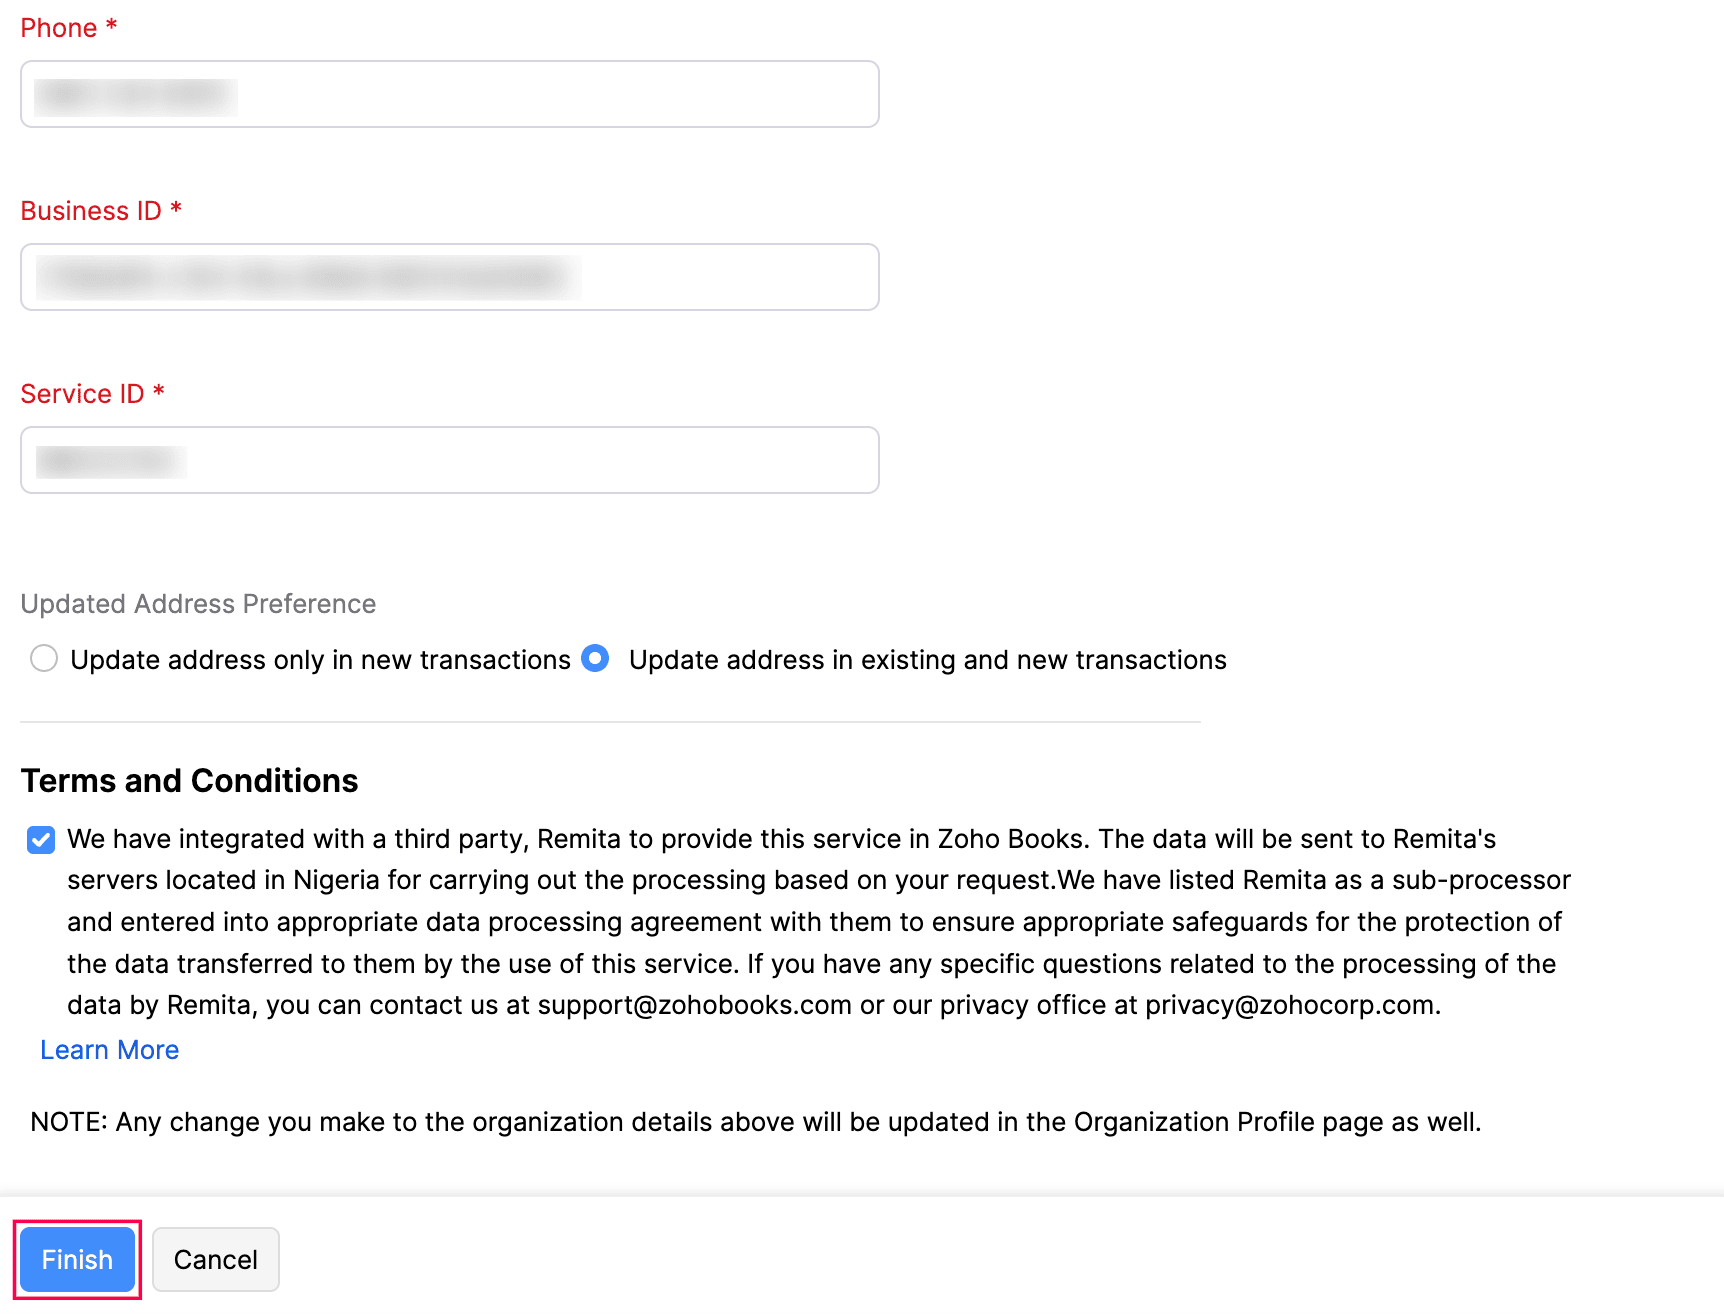
Note: Any changes you make to the organisation details during setup are also updated on the Organisation Profile page. If you leave the setup midway, your progress is saved and you can resume it anytime.
Push Transactions to the NRS Portal
Once you’ve set up e-invoicing in Zoho Books, you can start pushing your transactions to the NRS e-Invoicing Portal.
Push Invoices
Warning: Once an invoice is pushed to the NRS portal, it can’t be edited or deleted. To make corrections, you have to create a credit note or debit note against the invoice.
To push an invoice to the NRS portal:
- Go to Sales on the left sidebar and select Invoices.
- Create a new invoice or select an existing draft invoice.
- Enter the required details.
- Click Save as Draft or Save and Send.
- Select Push Invoice on the invoice’s details page.
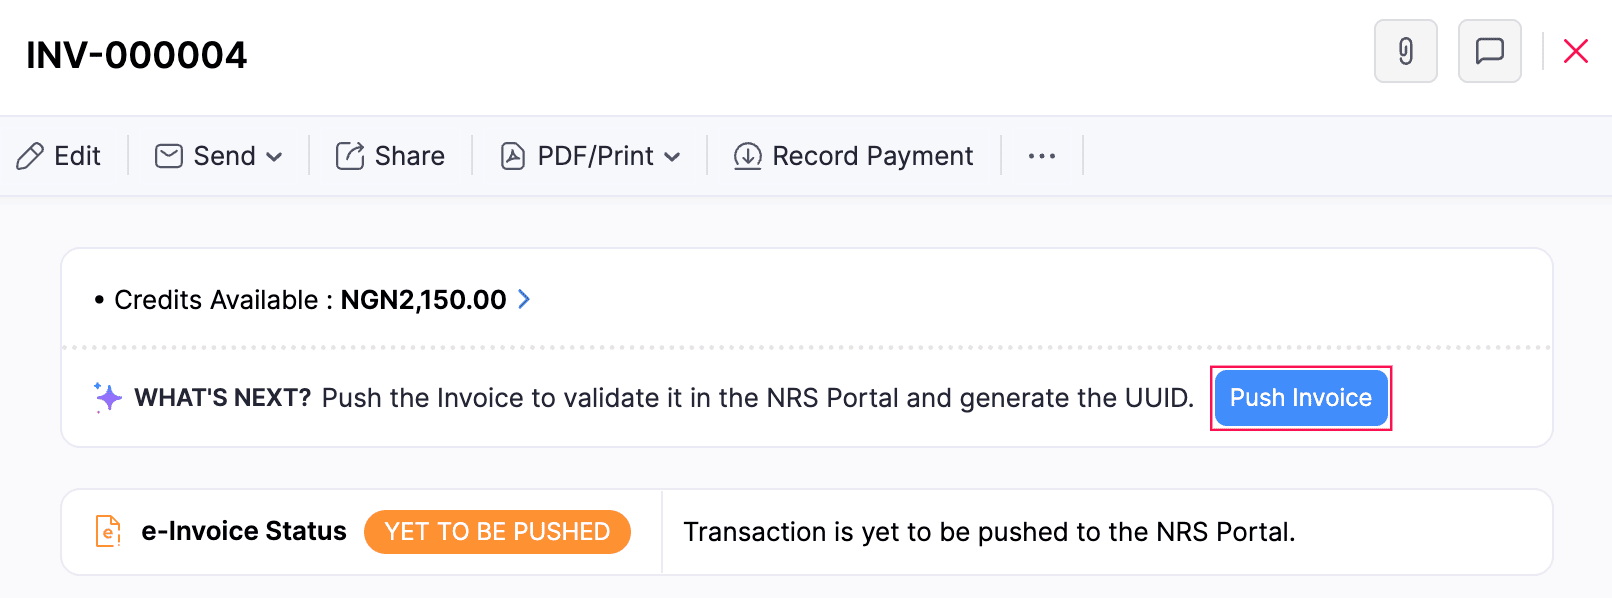
- In the confirmation pop-up, click Push Invoice again.
After successful validation, the e-invoice status changes to Pushed and a unique UUID is generated for the invoice.
Note: If the push fails, a pop-up displays the error details. Click OK and the e-invoice status changes to Failed. Resolve the errors and click Push to NRS to retry.
Push Credit Notes
Credit notes created against invoices can also be pushed to the NRS portal. To push a credit note:
- Go to Sales on the left sidebar and select Credit Notes.
- Select the credit note that you want to push.
- Send or confirm the credit note.
- Click Push Credit Note in the credit note’s details page.
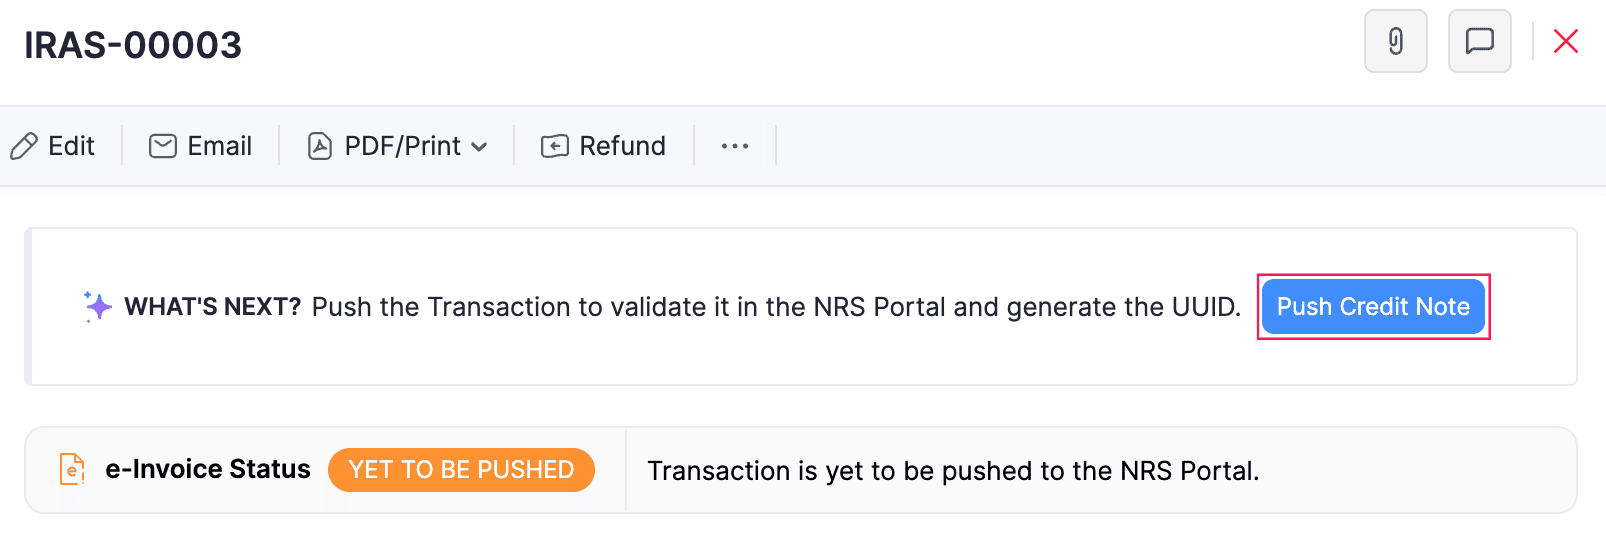
- In the confirmation pop-up, click Push Credit Note again.
Once validated, the credit note’s e-invoice status changes to Pushed and the UUID will be generated.
Note: When you apply a credit note to an unpaid or partially paid invoice, Zoho Books automatically pushes the invoice’s updated payment status to the NRS portal. Since this push happens automatically, verify that the credit note’s details are correct before applying it.
Push Payments Received
If an invoice is fully paid at the time it is pushed to the NRS portal, its payment data is sent along with the invoice push, and you don’t need to push the payment status separately.
If an invoice is unpaid or partially paid when it’s pushed and validated, it is pushed with incomplete payment details. When you apply a credit note to the invoice, Zoho Books automatically pushes the updated payment status to the NRS portal. If the automatic push fails, open the invoice’s details page and click Push Payment Status. This button appears only after the automatic push fails.
When you record a payment against the invoice, you must push the payment to the NRS portal manually:
- Go to Sales on the left sidebar and select Payments Received.
- Select the payment recorded for the pushed invoice.
- Click Push Payment Status in the payment’s details page.
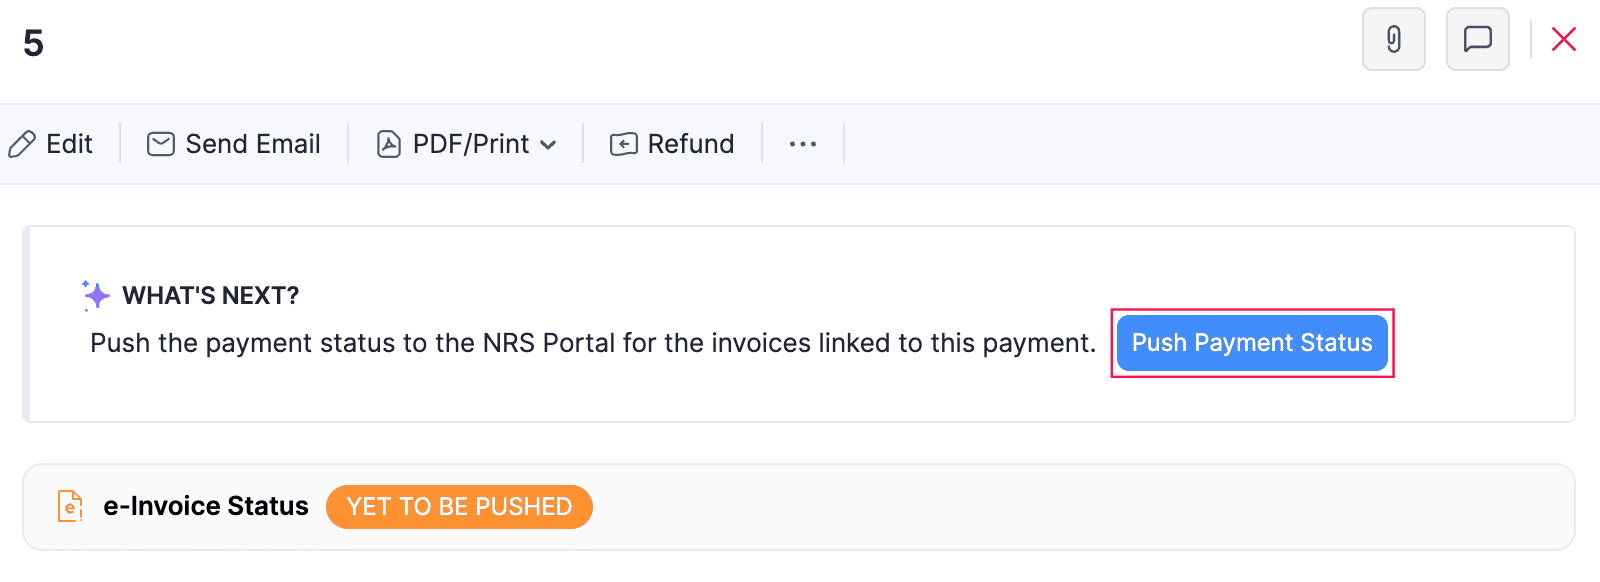
- In the confirmation pop-up, click Push Payment Status again.
Zoho Books sends the updated payment status to the NRS portal, and the invoice’s payment status changes to reflect the completed payment.
If a customer payment is applied to three or fewer invoices, it’s validated and pushed almost immediately. If the payment is applied to four or more invoices, its e-invoice status changes to Initiated once you push it. You’ll receive an in-app notification once the payment is successfully validated by the NRS portal.
e-Invoice Statuses
The status of each transaction is displayed on the transaction’s details page. The e-invoice statuses are:
| Status | Description |
|---|---|
| Yet to be Pushed | The transaction has been created in Zoho Books but hasn’t been submitted to the NRS portal. |
| Pushed | The transaction has been successfully validated by the NRS portal and the UUID has been generated. |
| Failed | The transaction couldn’t be pushed to the NRS portal due to errors. Check the error details, resolve the issues, and push the transaction again. |
| Initiated | Applies only to the Payments Received module. Indicates that a payment applied to four or more invoices has been pushed and is awaiting validation by the NRS portal. |
You can filter invoices based on these statuses by clicking the All Invoices dropdown at the top and selecting the required e-invoice status. If you want to filter invoices using your own criteria, you can create a custom view with these statuses.
Disable e-Invoicing
Warning: Disabling e-invoicing stops all future transactions from being pushed to the NRS portal. Transactions that have already been pushed remain validated in the NRS portal.
You can disable e-invoicing if you no longer want to push transactions to the NRS portal:
- Go to Settings.
- Select E-Invoicing under Taxes & Compliance.
- Click Disable.
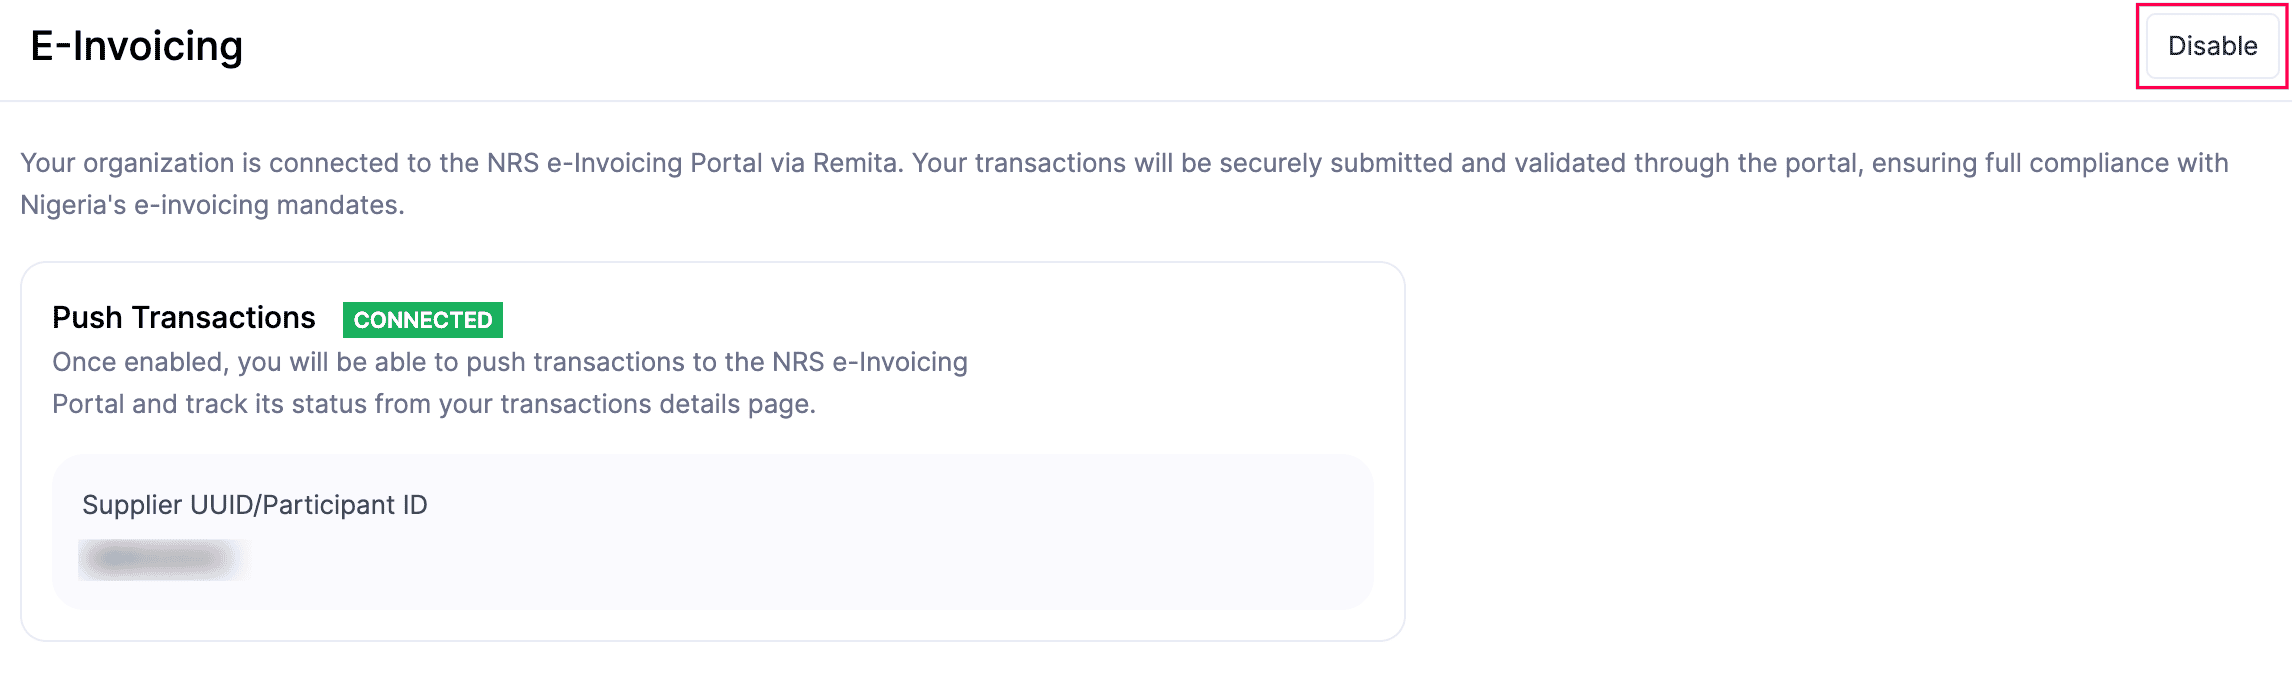
- In the confirmation pop-up, click Proceed.
e-invoicing will be disabled in your organisation. To push transactions again through the NRS portal, you can set up e-invoicing again in Settings when required.