Summary
Zoho POS can be configured according to your business requirements from the Settings page. Here, you can manage users, configure taxes, design templates, and integrate with various third-party shipping channels and shipment tracking providers. The Settings page can be accessed by clicking the gear icon at the top right corner of your web application.
Manage Organization Profile
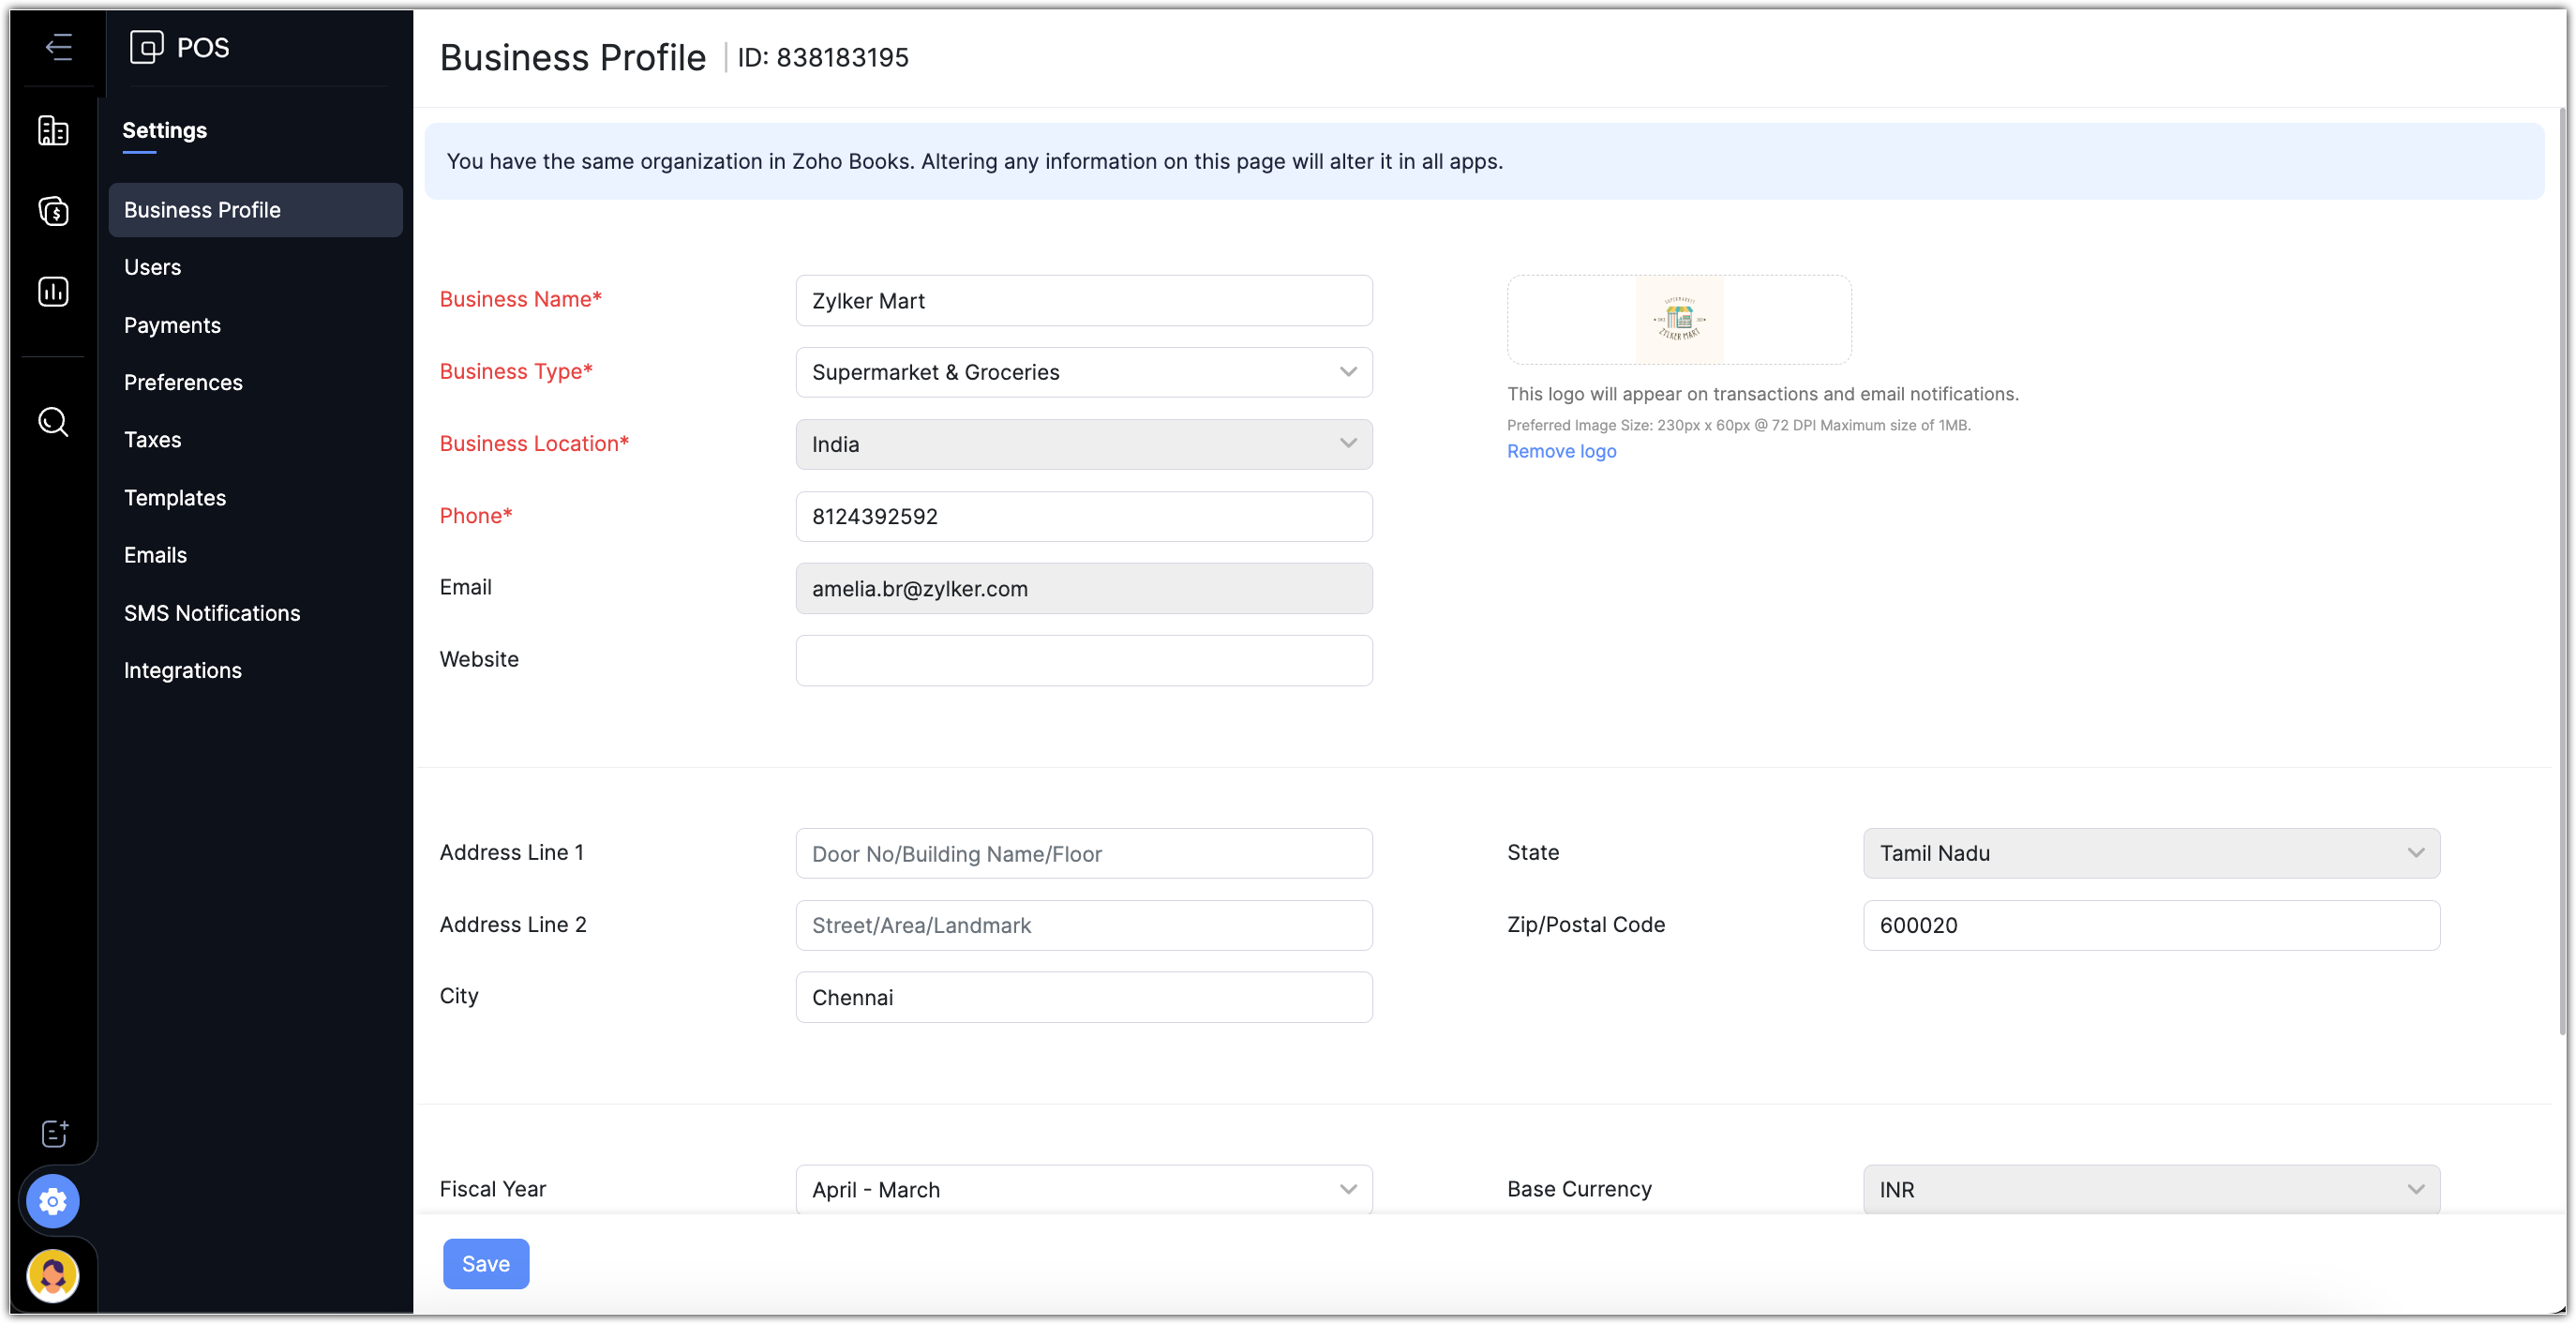
The basic information about your organization that is specified while setting up Zoho POS will be available here, such as the organization's name, location, address, and phone number.
To edit your organization's profile
Go to Settings and click Business Profile.
Modify or enter the field you wish to update, and click Save.
Manage Users
Users are the employees in your organization who have access to Zoho POS. In most cases, some employees in the organization will not need to have access to edit items or item groups, integrate with shipping channels, and configure vendor payments.
For example, a cashier will only need access to the Windows Application, while the store manager will need access to manage inventory, purchase orders, bills, and more. This access to data in Zoho POS can be defined based on Roles. By default, there are three different types of roles: Admin, Staff, and Store Manager.
Adding Users
The first step to add users in Zoho POS is by sending an email invite. To join an organization, the user should not be a part of another Zoho POS organization.
To add users
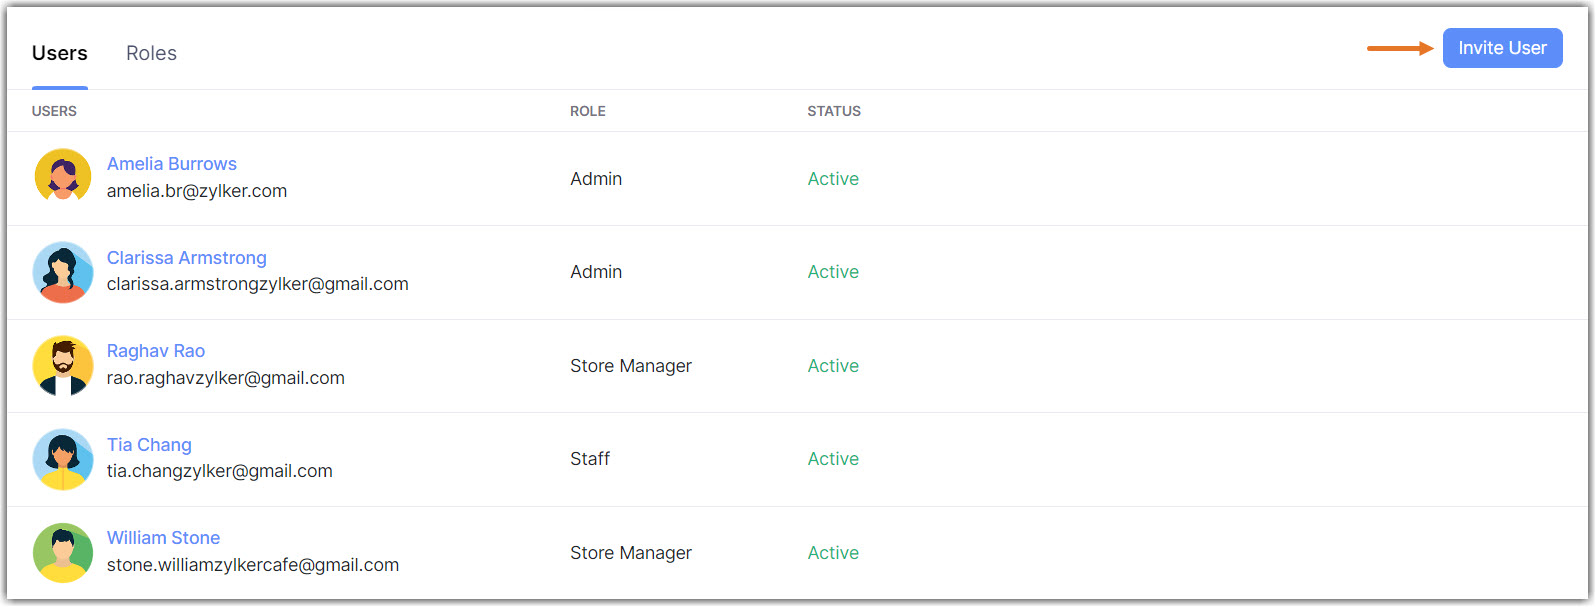
Go to Settings > Users.
Click Invite User.
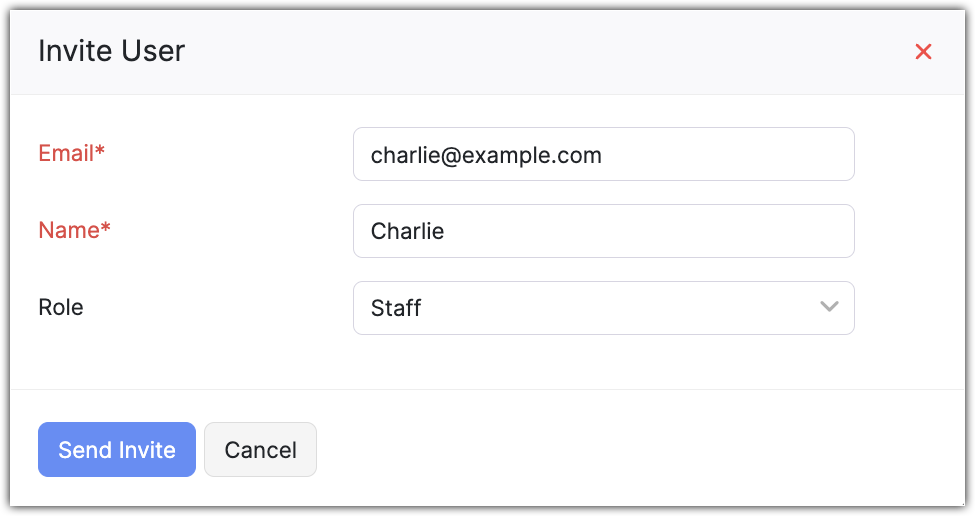
Enter the Email and Name, and select the Role from the drop-down list.
Click Send Invite.An invitation will be sent to the user via email.
Edit Users
Administrators can modify the Name and the Role of another user in Zoho POS. Please note that a user will not be able to edit their own information.
To edit users
Go to Settings > Users.
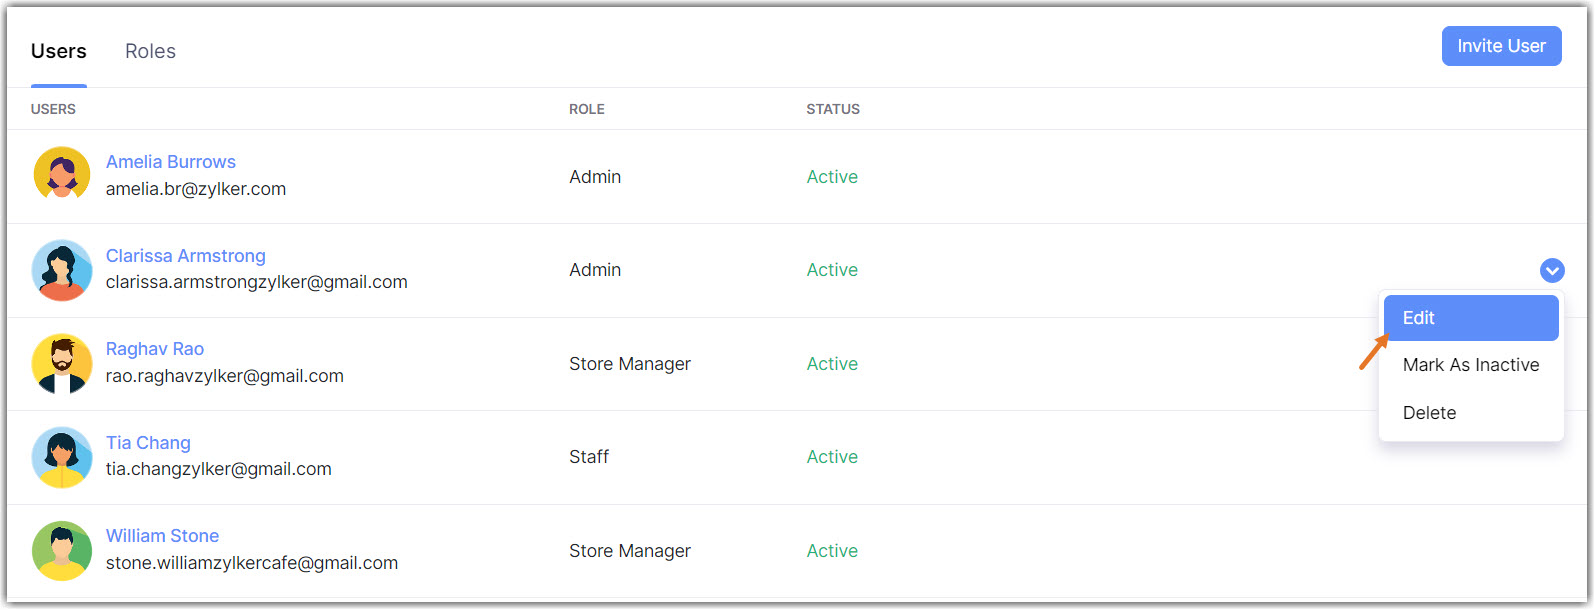
Hover over the user and click Edit.
Modify the name or role and click Update.
Mark as inactive
Deactivating a user revokes access to Zoho POS temporarily. Say an employee is on sabbatical and you, the administrator, would like to revoke access temporarily. This user can be marked as inactive. They can be reactivated as the administrator deems necessary.
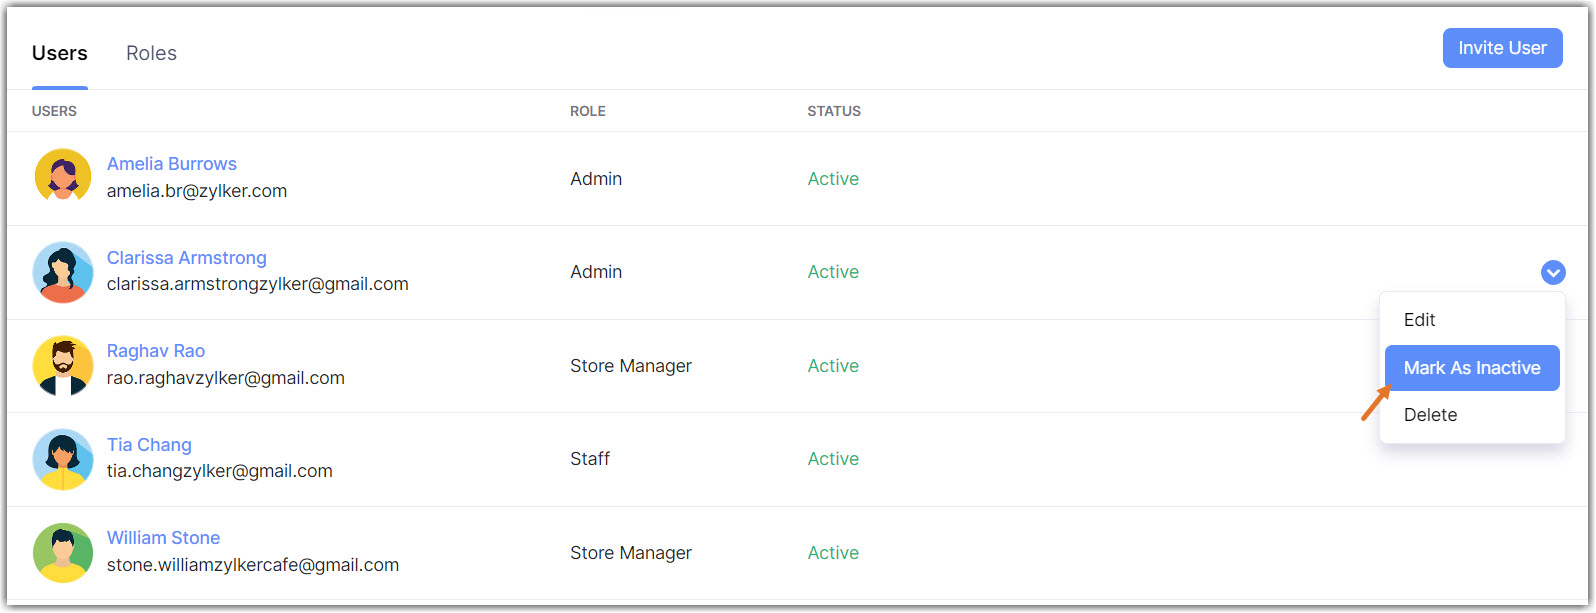
To mark as inactive
Go to Settings > Users.
Hover over the user and click the Arrow > Mark as inactive.To reactivate a user, click Mark as Active.
Delete a user
Deleting a user revokes access to Zoho POS permanently. You can choose to invite them later if required.
To delete a user
Go to Settings > Users.
Hover over the user and click the Arrow > Delete.
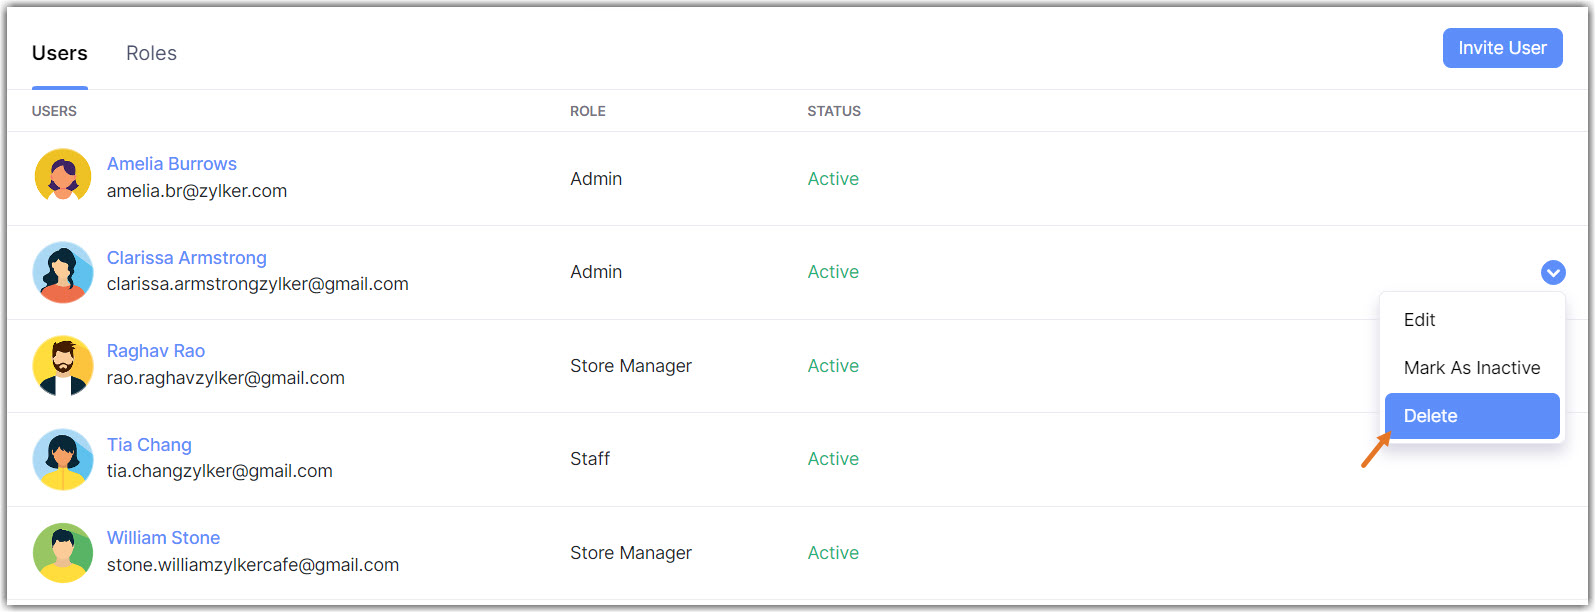
Click Yes in the popup.