
Taxes
If your business operates in Canada, you are required to withhold federal and provincial taxes from your employees’ wages. Your organization must also contribute to employer taxes. These amounts must be reported and paid to the appropriate government agencies.
With Zoho Payroll, you can efficiently manage these taxes in the Taxes section under Settings. This section allows you to:
- Configure Tax Information
- Update Tax Information
Configure Tax Information
Configuring your tax information in Zoho Payroll helps:
- Calculate the amount of federal and provincial taxes that you owe to the government.
- Determine the taxes to be withheld from employee wages
- Generate federal and provinicial tax forms
- Identify your deposit schedule
In the Taxes section, you can configure the following:
Federal Tax Information
The Federal Tax Information section helps Zoho Payroll to determine the amount of tax you owe, your deposit schedule, and the frequency at which you report federal taxes to the IRS.
To set up federal taxes:
- Go to Getting Started page.
- Click Complete now next to Set up your tax details. You’ll be redirected to the Taxes section under Settings.
- Click Configure under Federal Tax Information.

- Enter the required details:
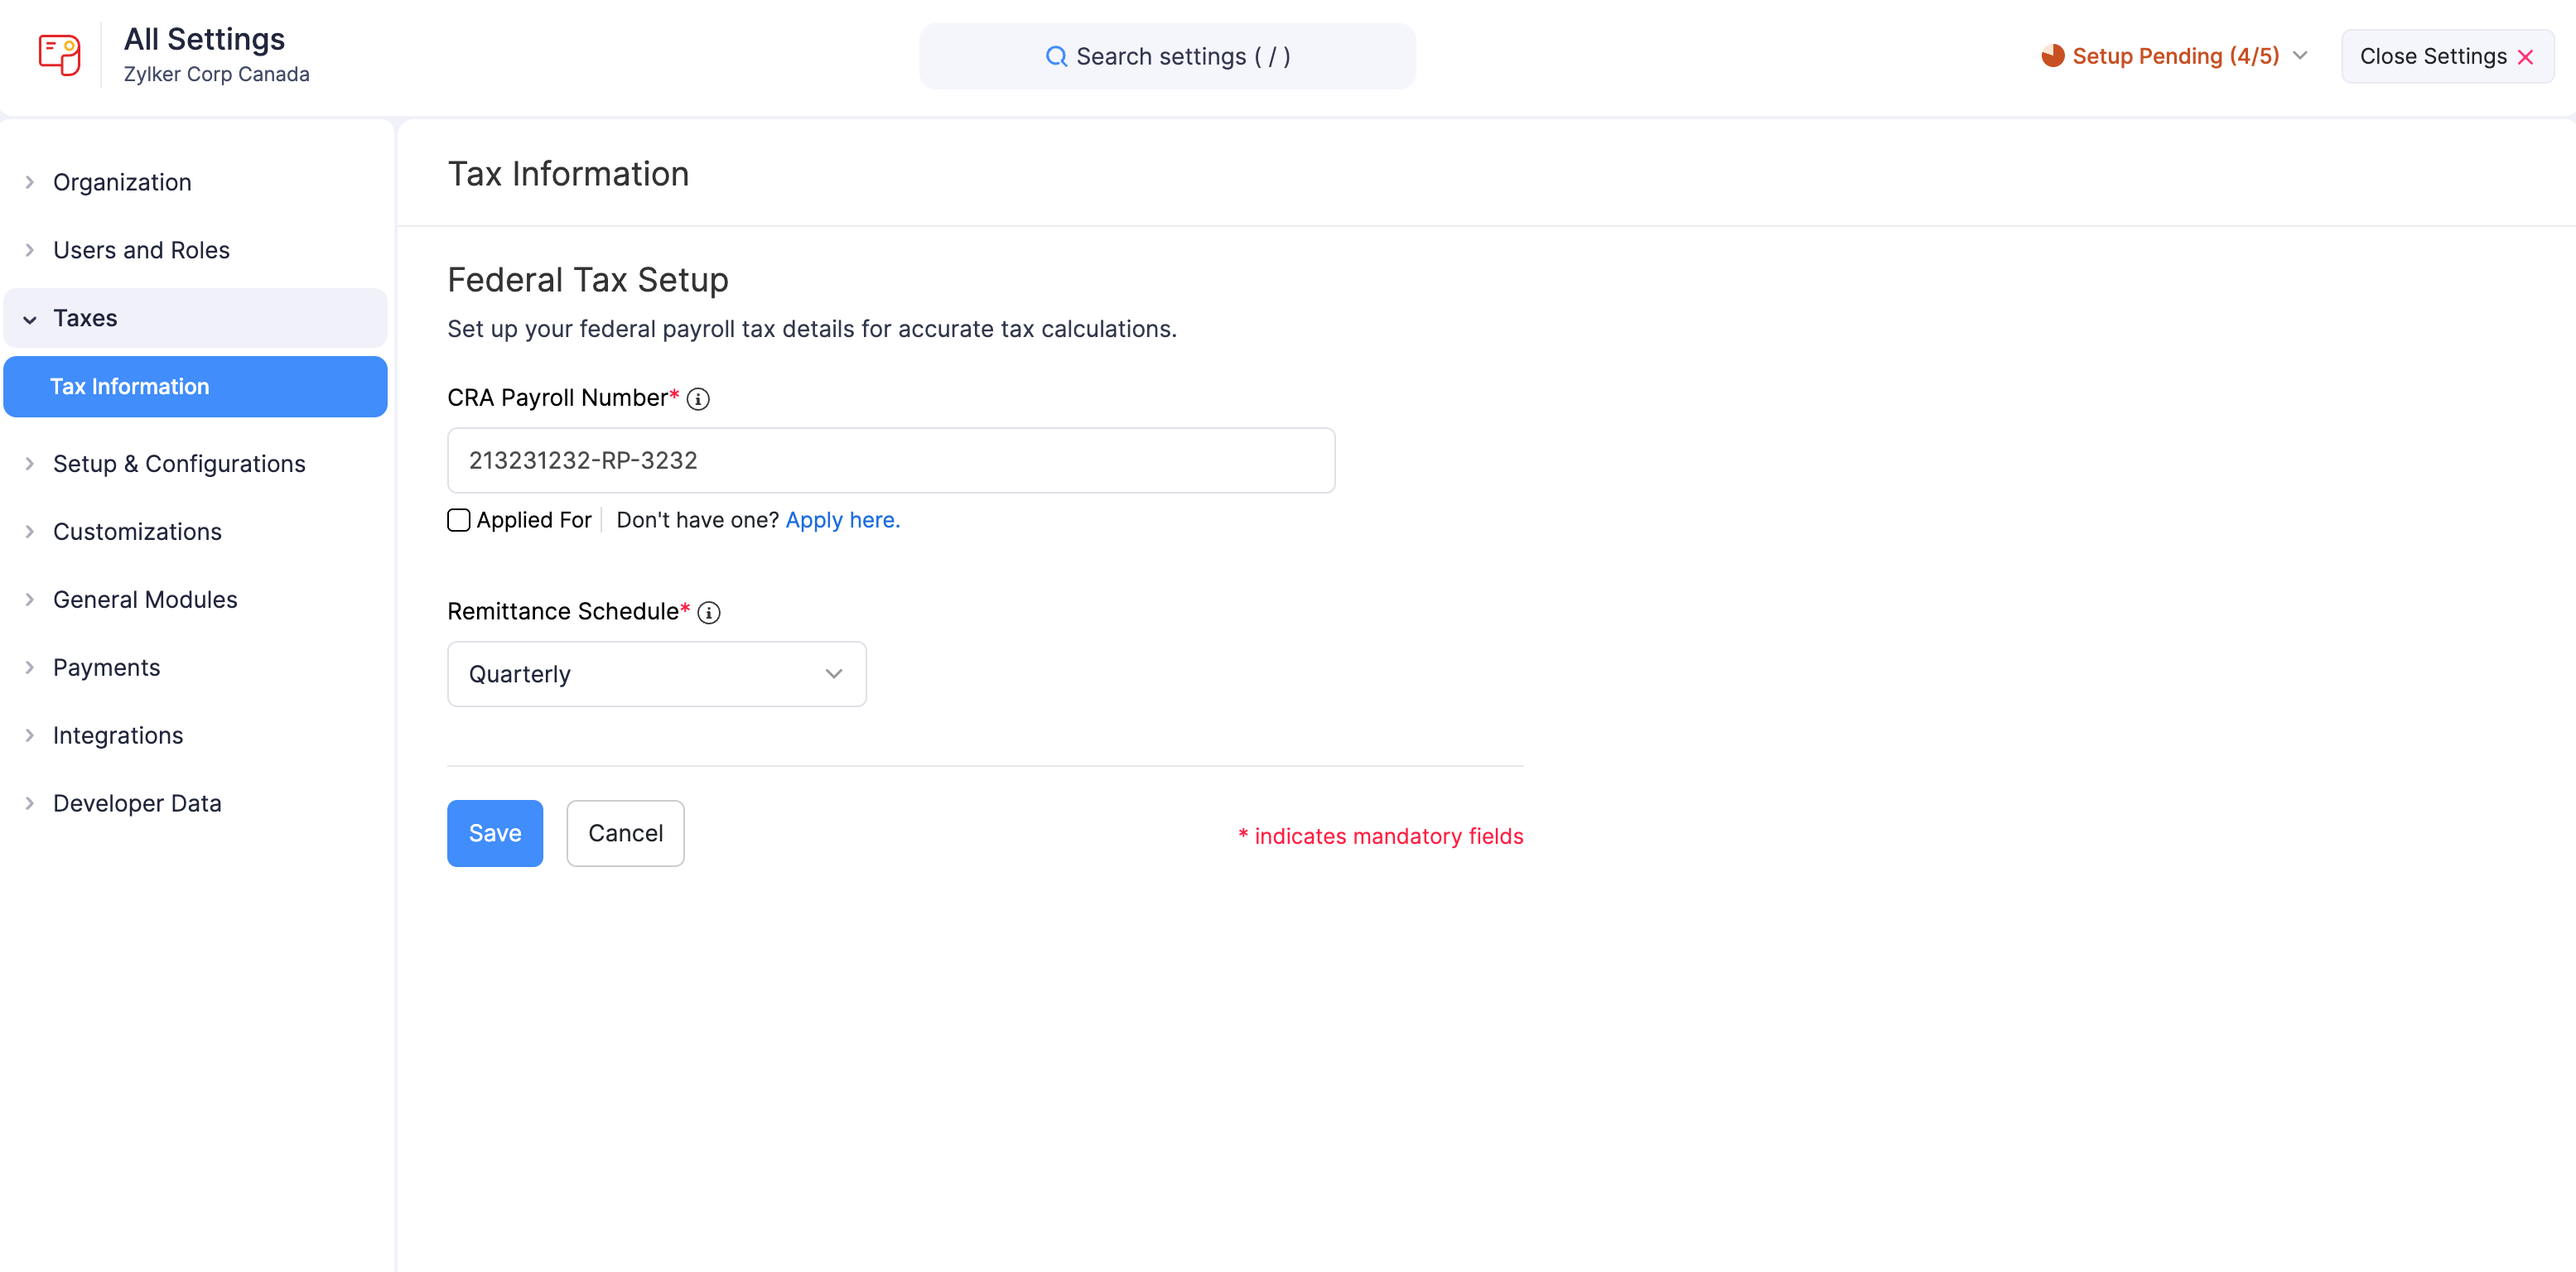
| Field | Description |
|---|---|
| CRA Payroll Number | Enter your organization’s CRA Payroll Number. It is a 15-character unique identifier issued by the Canada Revenue Agency (CRA) for your business. |
| Remittance Schedule | Select the frequence at which you should remit federal taxes to the Canada Revenue Agency (CRA).
If you are unable to locate this information or have queries about your deposit schedule, contact the CRA office for assistance. |
- Click Save.
Your configuration will be saved, and Zoho Payroll will use this information to calculate federal taxes and generate federal forms for your payrolls.
Provincial Tax Information
The Provincial Tax Information section helps Zoho Payroll to determine the amount of tax you owe, your deposit schedule, and the frequency at which you report provincial taxes to the corresponding authorities.
To set up provincial taxes:
- Go to Getting Started page.
- Click Complete now next to Set up your tax details. You’ll be redirected to the Taxes section under Settings.
- Click Configure under Provincial Tax Information.
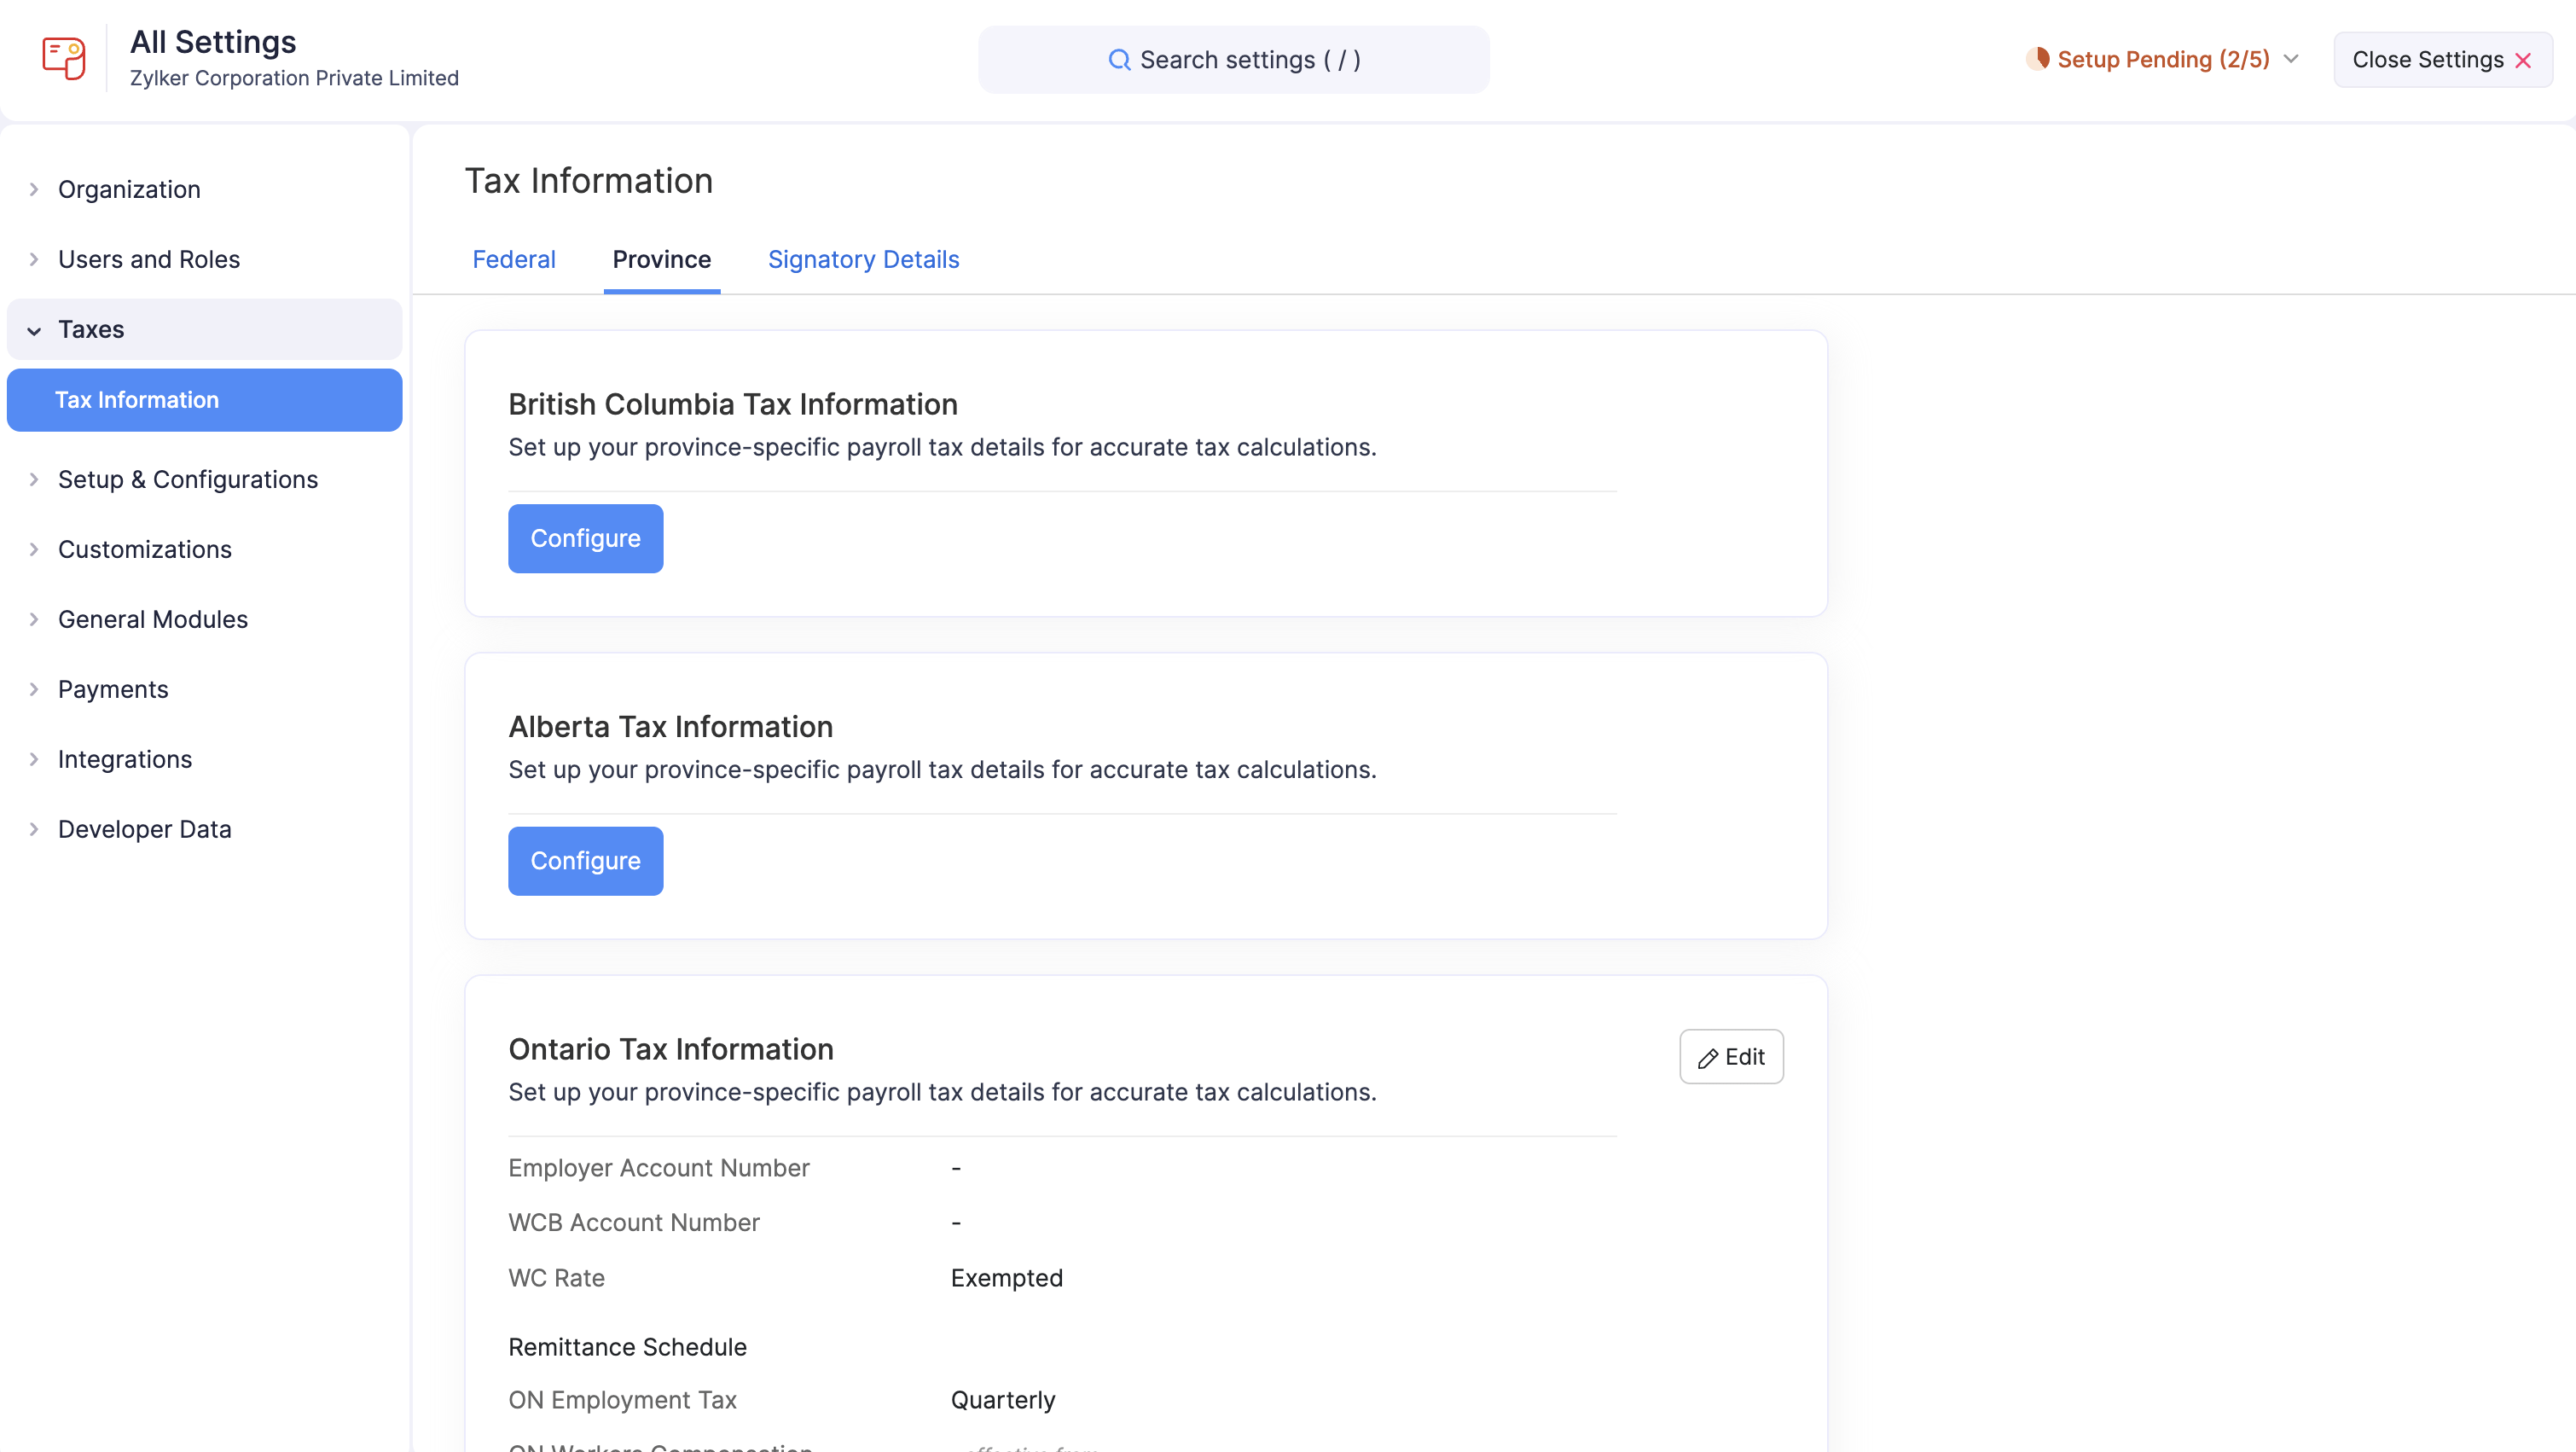
- Enter the required details, which may vary depending on your province’s requirements.
- Click Save.
Your configuration will be saved, and Zoho Payroll will use this information to calculate provincial taxes and generate province-specific forms.
Learn how to configure and update your tax information via Settings.
Update Tax Information
Tax rates may change annually, or you might need to adjust your deposit schedule. In such cases, you can update your tax details in Zoho Payroll.
There are three cases that affect how you can edit your tax information in Zoho Payroll:
| Case # | Pay Run Status | Level of Control |
|---|---|---|
| Case 1 | Before processing your first payroll | You have full control to edit all tax information. |
| Case 2 | After processing your first payroll, but before approving it | You have full control to edit all tax information. |
| Case 3 | After processing and approving your first payroll | You can edit specific fields, with changes taking effect from the selected Effective Date. |
Here’s how you can update the tax information for the pay runs in these statuses:
Cases 1 and 2:
- Go to Settings and click Taxes.
- Click Edit next to Federal Tax Information or Provincial Tax Information.
- Update the necessary details.
- Click Save.
Your changes will take effect immediately.
Case 3: To update tax information after approving at least one pay run:
- Go to Settings and click Taxes.
- Click Change next to the field which you want to update.
- In the popup that appears, modify the required information and select an effective date in the Effective From field.
- Click Save.
Your changes will take effect from the specified date.