
Organization Profile
When you first set up your organization in Zoho Payroll, you would have entered key details such as your organization’s name, address, and industry. You can view and manage most of these details any time from a single place: the Organization Profile under Settings.
To set up or update your organization profile:
Prerequisites: To make any changes to the Organization Profile, you must be an Admin, or your role in Zoho Payroll must have the Update Organization Profile permission.
- Log in to your Zoho Payroll account.
- Navigate to the Organization Profile page in Settings.
- Update the fields across the following sections as needed:
Note: Fields marked with an asterisk (*) are mandatory.
- Click Save to update your preferences.
Insight: If the same organization is set up in other Zoho Finance applications (such as Zoho Books, Zoho Expense, Zoho Billing, Zoho Checkout, Zoho Commerce, Zoho Inventory, Zoho Invoice, Zoho Practice, Vikra, and Zakya), any changes made to the organization profile in Zoho Payroll will automatically reflect across those apps. For instance, updating your organization address in Zoho Payroll will update it in Zoho Books as well. This ensures consistency across all applications and saves you time spend on updating manually in each app.
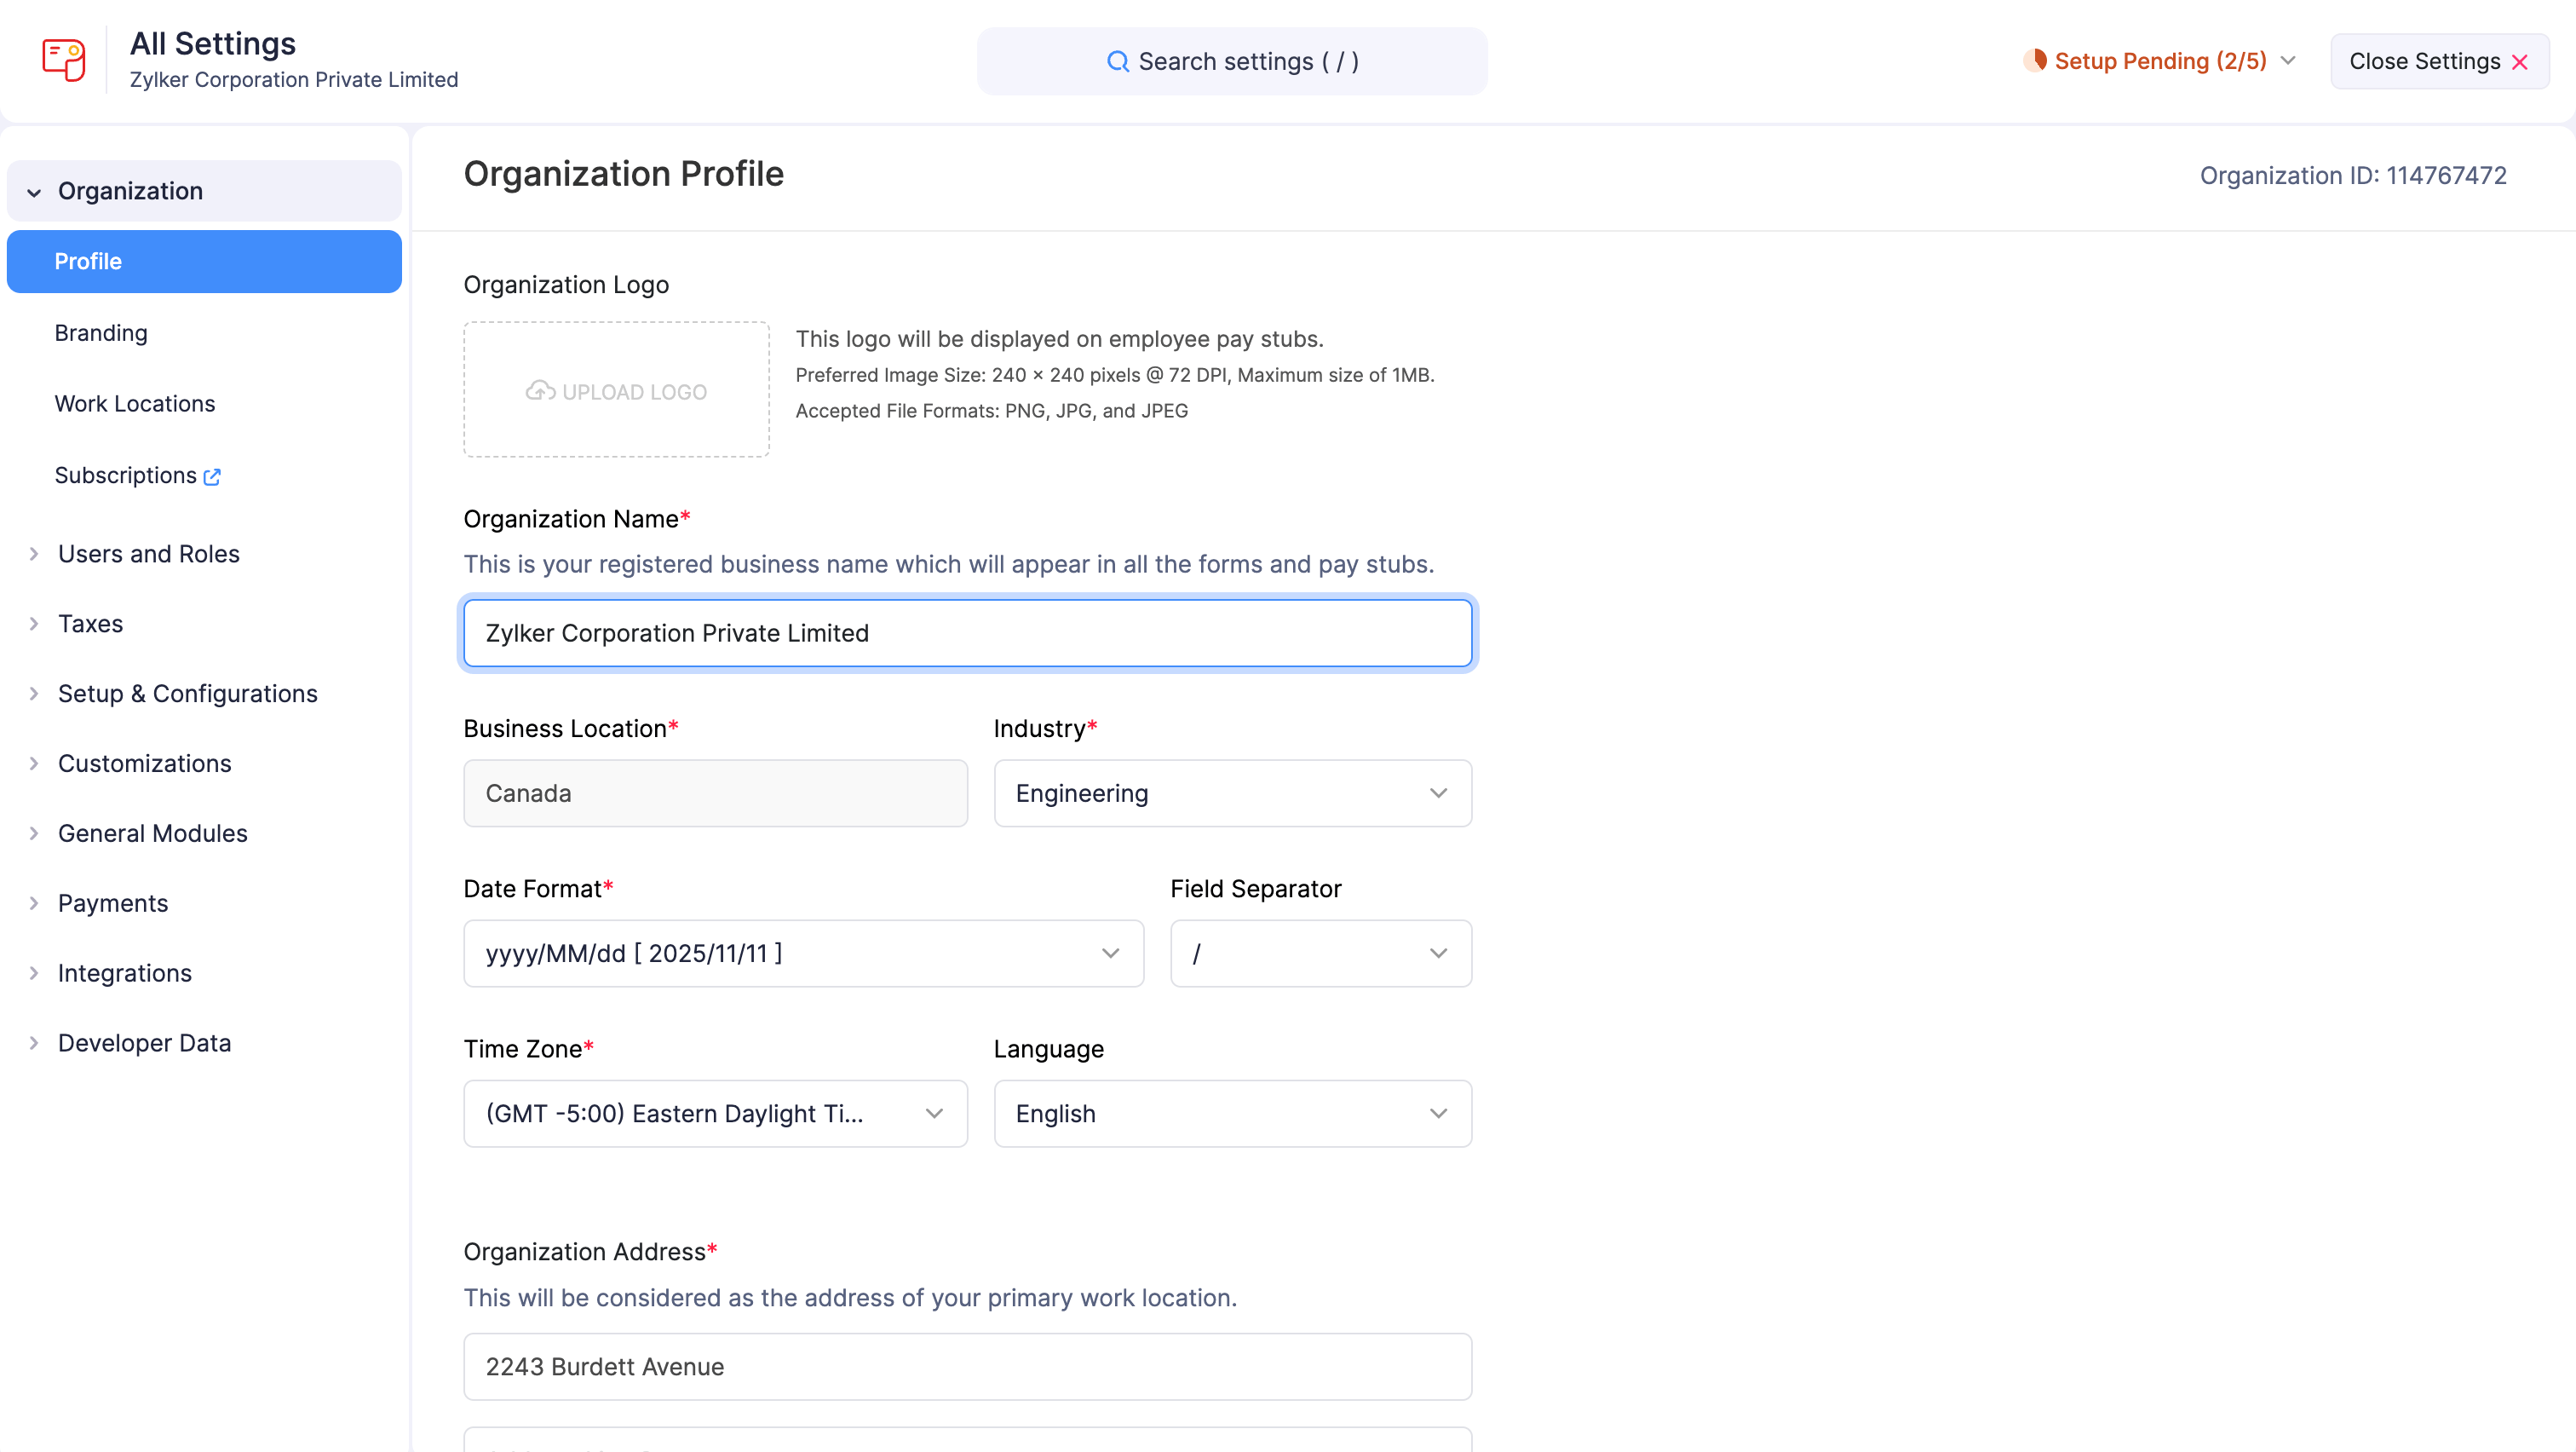
Basic Details
The Basic Details section includes your company’s logo, legal name, and industry.
Organization Logo
Upload your company logo to personalize your employees’ pay stubs and strengthen your brand identity across Zoho Payroll, including the Self Service Portal.
Insight: Before you upload your logo, ensure your logo conforms to the following specifications:
- Preferred dimensions: 240 x 240 pixels @ 72 DPI
- Maximum file size: 1 MB
- Supported formats: JPG, JPEG, PNG, BMP, and GIF
To upload your organization logo:
- Navigate to the Organization Profile page in Settings.
- Click Upload Your Organization Logo.
- In the popup, choose a file and click Open.
To remove your organization logo:
- Navigate to the Organization Profile page in Settings.
- Click Remove logo next to your logo.
The change will reflect on all future pay stubs.
Organization Name
The Organization Name is your organization’s full legal name. This name is used for payroll records, pay stubs, reports, and communications with employees and tax agencies.
Industry
This specifies the industry or category to which your business belongs. This helps us tailor your payroll-related settings accordingly. For example, Automotive, Construction, Education, and the like.
To update your industry:
- Navigate to the Organization Profile page in Settings.
- Select an industry type from the Industry dropdown.
- Click Save.
Address Details
You can manage your organization’s address details, including the business location and alternate addresses used for filing and pay stubs.
Business Location
The Business Location is the country in which your business operates. This field is pre-filled based on your selection when creating the organization and cannot be changed. To use Zoho Payroll in a different country, you’ll need to create a new organization.
Organization Address
Organization Address is the primary address provided during organization creation.
To update the organization address:
- Modify the address in the Organization Address field.
- Mark the option Update the address in all previous transactions to update the address in all existing draft transactions. (Optional)
- Click Save.
Filing Address
The Filing Address is your registered business address, and appears on all employee pay stubs and tax forms.
To set a different filing address:
- Navigate to the Filing Address section on the Organization Profile page.
- Click Change.
Insight: The filing address must be one of your work locations. Add a new address as a work location under Settings > Work Locations, if needed.
- Select the address from the Select Filing Address dropdown.
- Click Save.
Contact Details
You can manage your organization’s contact details, including the website URL and primary contact.
Primary Contact
The Primary Contact email address is used for:
- Communications from Zoho: All important updates related to your Zoho Payroll subscription, usage alerts, and account notifications will be sent to this address.
- Default Sender Email Address: This email address will be used as the default “From” address for email notifications sent to employees from Zoho Payroll.
By default, the Primary Contact is the email address used when your organization was created. To change it:
- Navigate to the Organization Profile page in Settings.
- Click Configure Sender Email Preferences. You’ll be redirected to the Sender Email Preferences page.
- Add a new sender email address and verify it.
- Mark it as the primary contact.
Insight: Only verified email addresses can be used as the primary contact.
Warning: Using an email address with an unauthenticated domain or a public domain (like Gmail or Yahoo) as your primary contact in Zoho Payroll may cause your emails to be flagged as spam. To prevent this, Zoho Payroll will replace your sender email address with message-service@sender.zohopayroll.com.
If you want to continue using an email address from an unauthenticated domain, you must authenticate the domain first:
- Go to Settings and click Preferences.
- In the Preferences pane, select Sender Email Preferences.
- Next to the unauthenticated domain, click Authenticate Now and complete the authentication process.
If you want to use a public domain email address:
- Navigate to the Organization Profile page in Settings.
- In the banner under Contact Information, click Change Settings.
- In the popup, select Email Address of Sender as the preferred sender.
- Click Save.
Regional Settings
Regional settings affect how dates and times appear across your Zoho Payroll organization.
Time Zone
Setting the appropriate time zone for your organization ensures accurate timestamps on pay runs, reports, and audit logs. You would have selected a time zone based on your business location when you first created the organization, but you can update it any time. Here’s how:
- Navigate to the Organization Profile page in Settings.
- Select your preferred time zone from the Time Zone dropdown.
- Click Save.
Date Format
Select how dates should appear across Zoho Payroll. To change the date format:
- Navigate to the Organization Profile page in Settings.
- Select your preferred date format (e.g., dd.MM.yyyy [23-06-2025]) from the Date Format dropdown.
- Choose a separator (e.g., -, /, or .) from the Field Separator dropdown.
- Click Save.