
Users & Roles
Our app allows you to add users so that multiple members of your organization can access our organisation and help you run your payroll activities. You can also create and assign roles to each user so that they have access only to the modules that they are to handle. Since our app is a cloud-based application, multiple users can work on it simultaneously from any location.
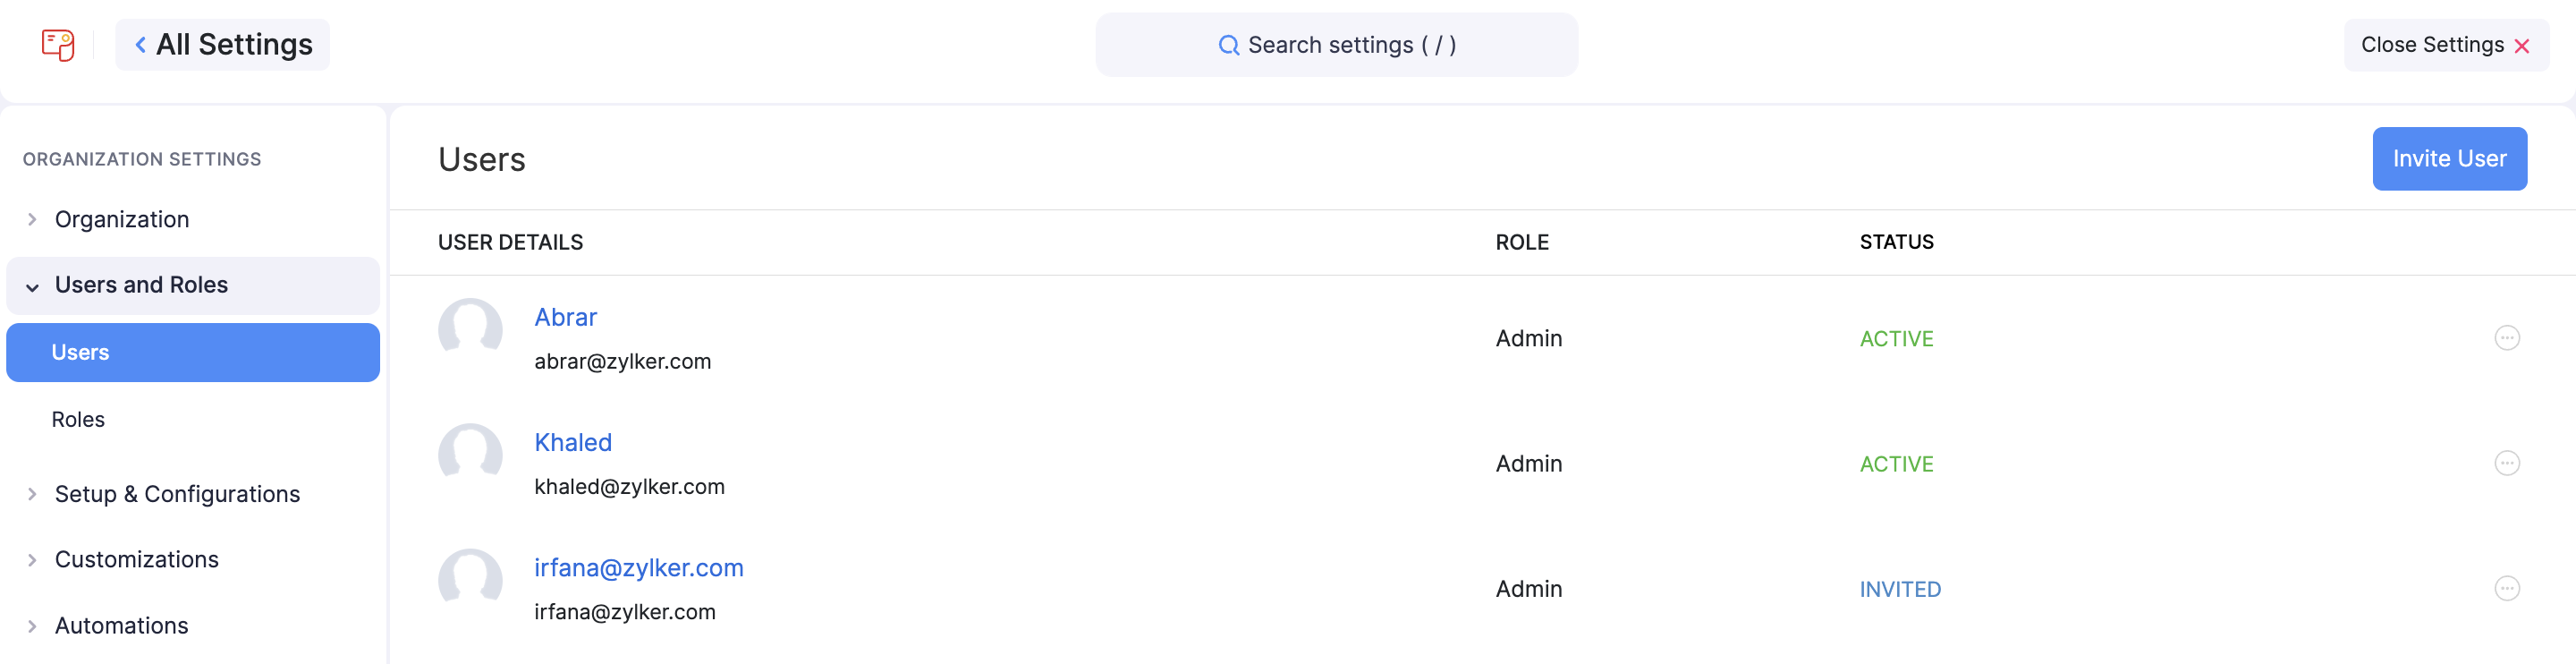
Users
Add a User
You can add a new user to your organization by inviting them.
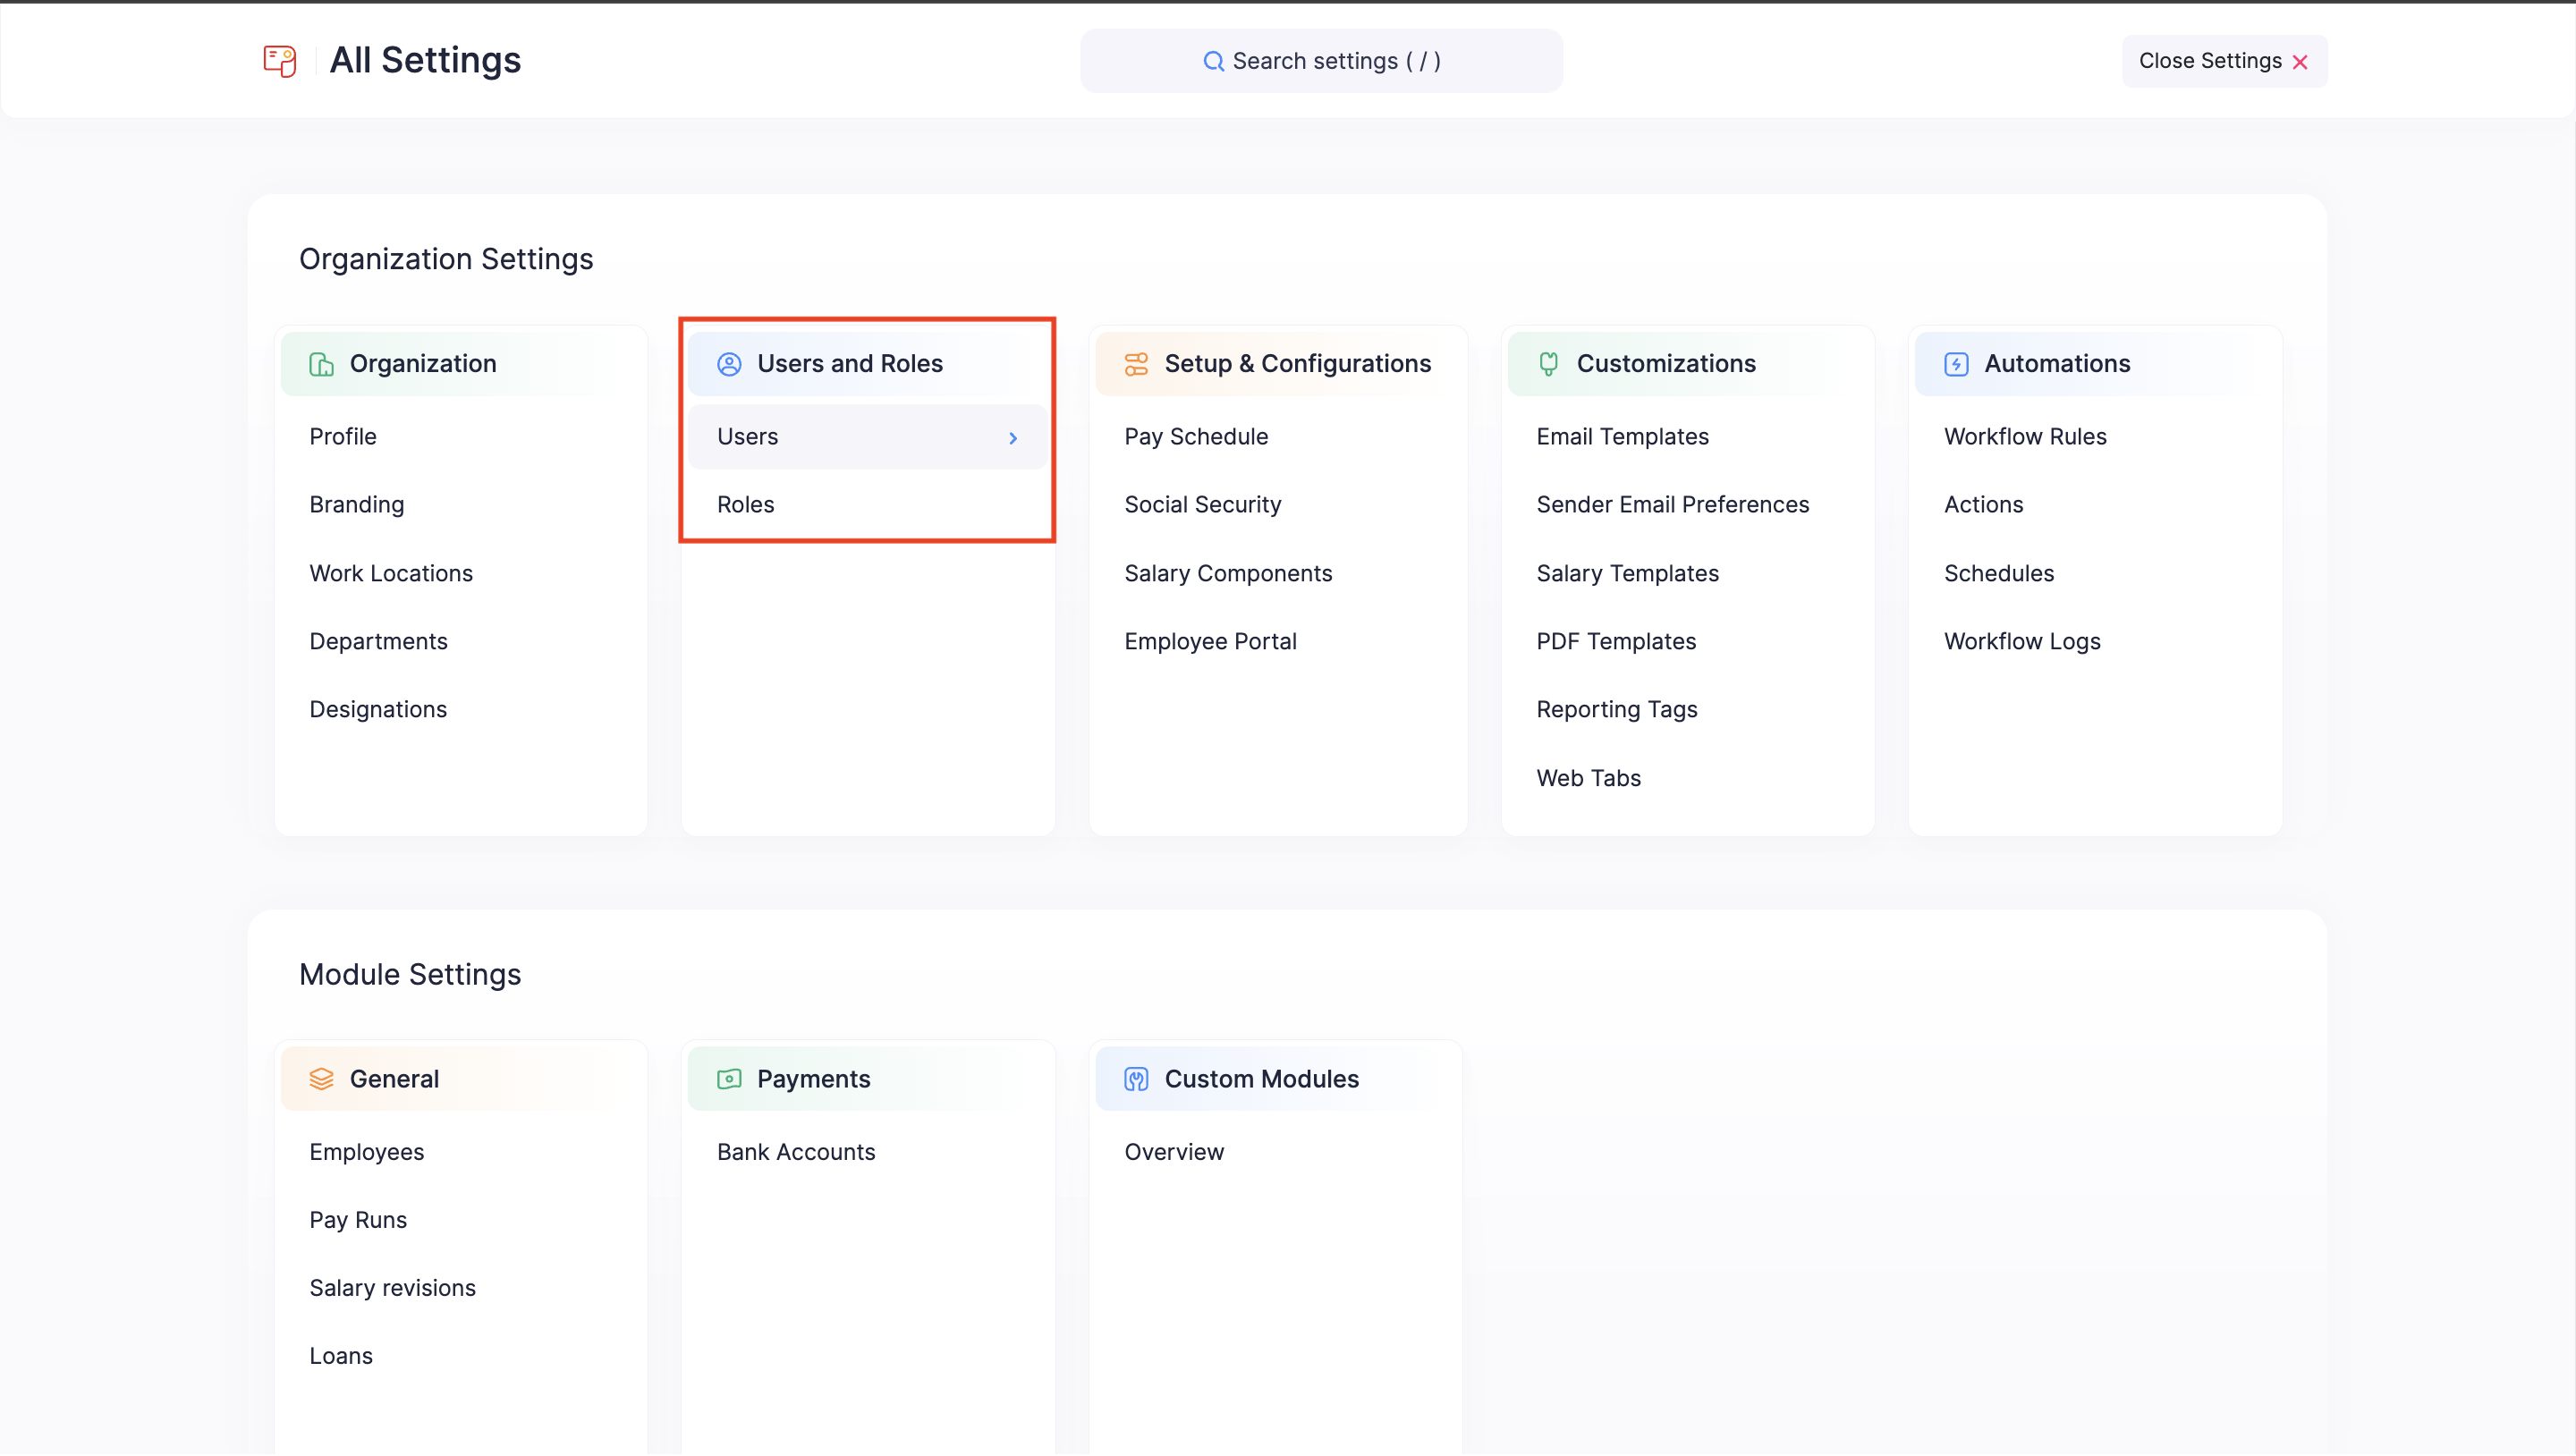
- Click the Settings icon in the top right corner and click Users under Users and Roles.
- Click Invite User on the top right corner.
- Enter the Name, Email, and Role of the user.
- Click Invite User.
An invitation email will be sent to the email provided. The user can join the organization by clicking the URL in the email.
Edit User
To edit a user:
- Click the Settings icon in the top right corner and click Users under Users and Roles.
- Click the More icon next to the user and select Edit.
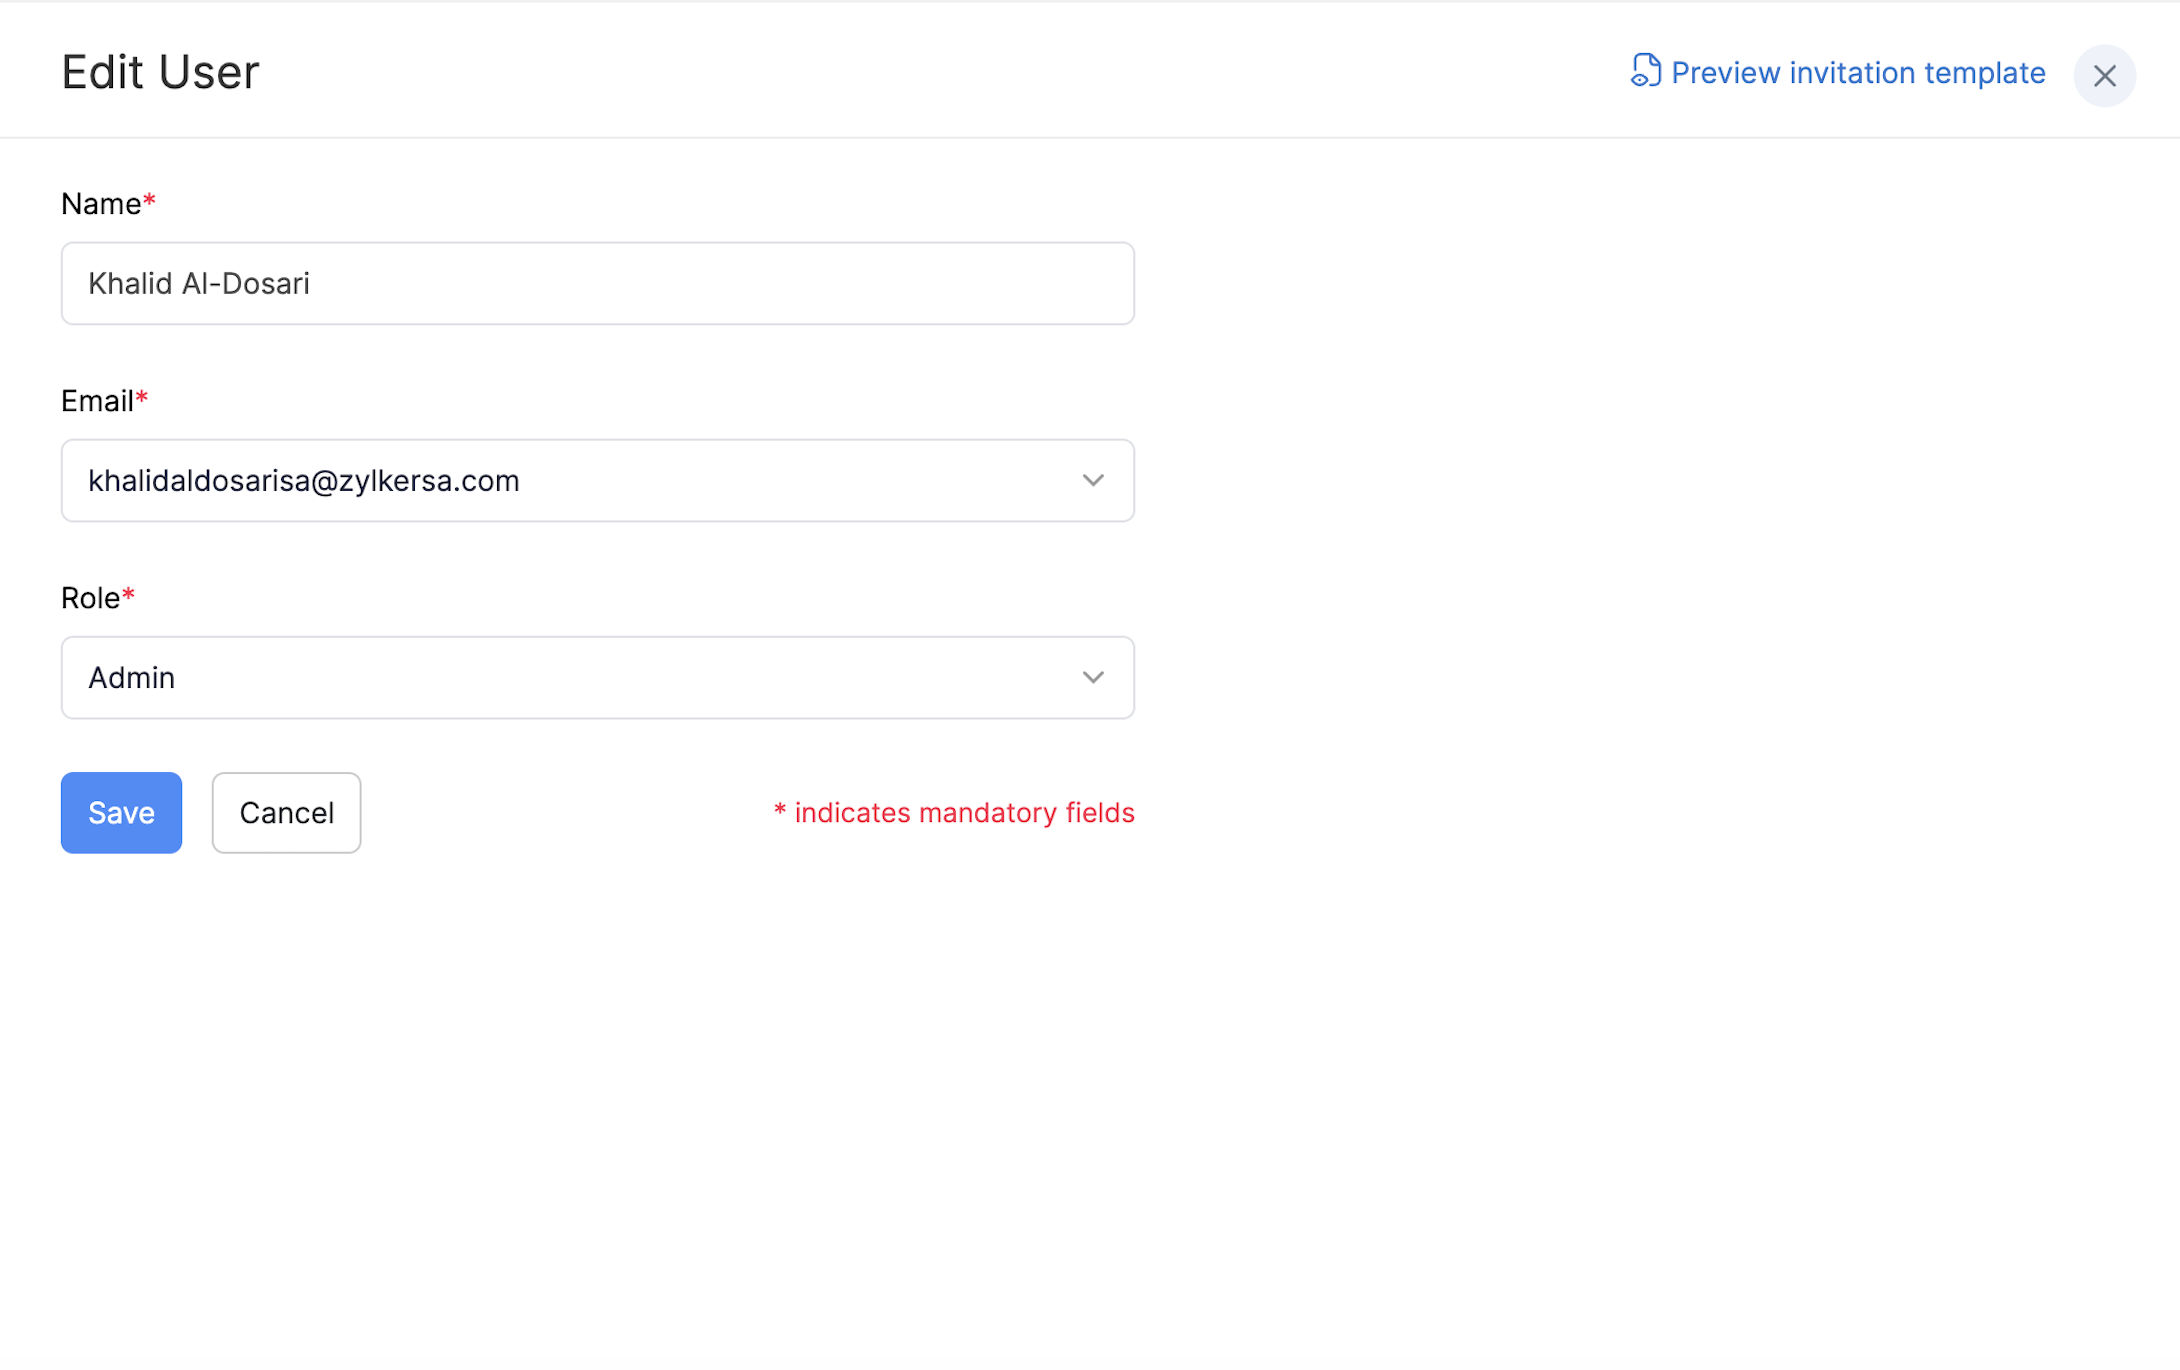
- Make the changes and click Save.
Delete User
To delete a user:
- Click the Settings icon in the top right corner and click Users under Users and Roles.
- Click the More icon next to the user and select Delete.
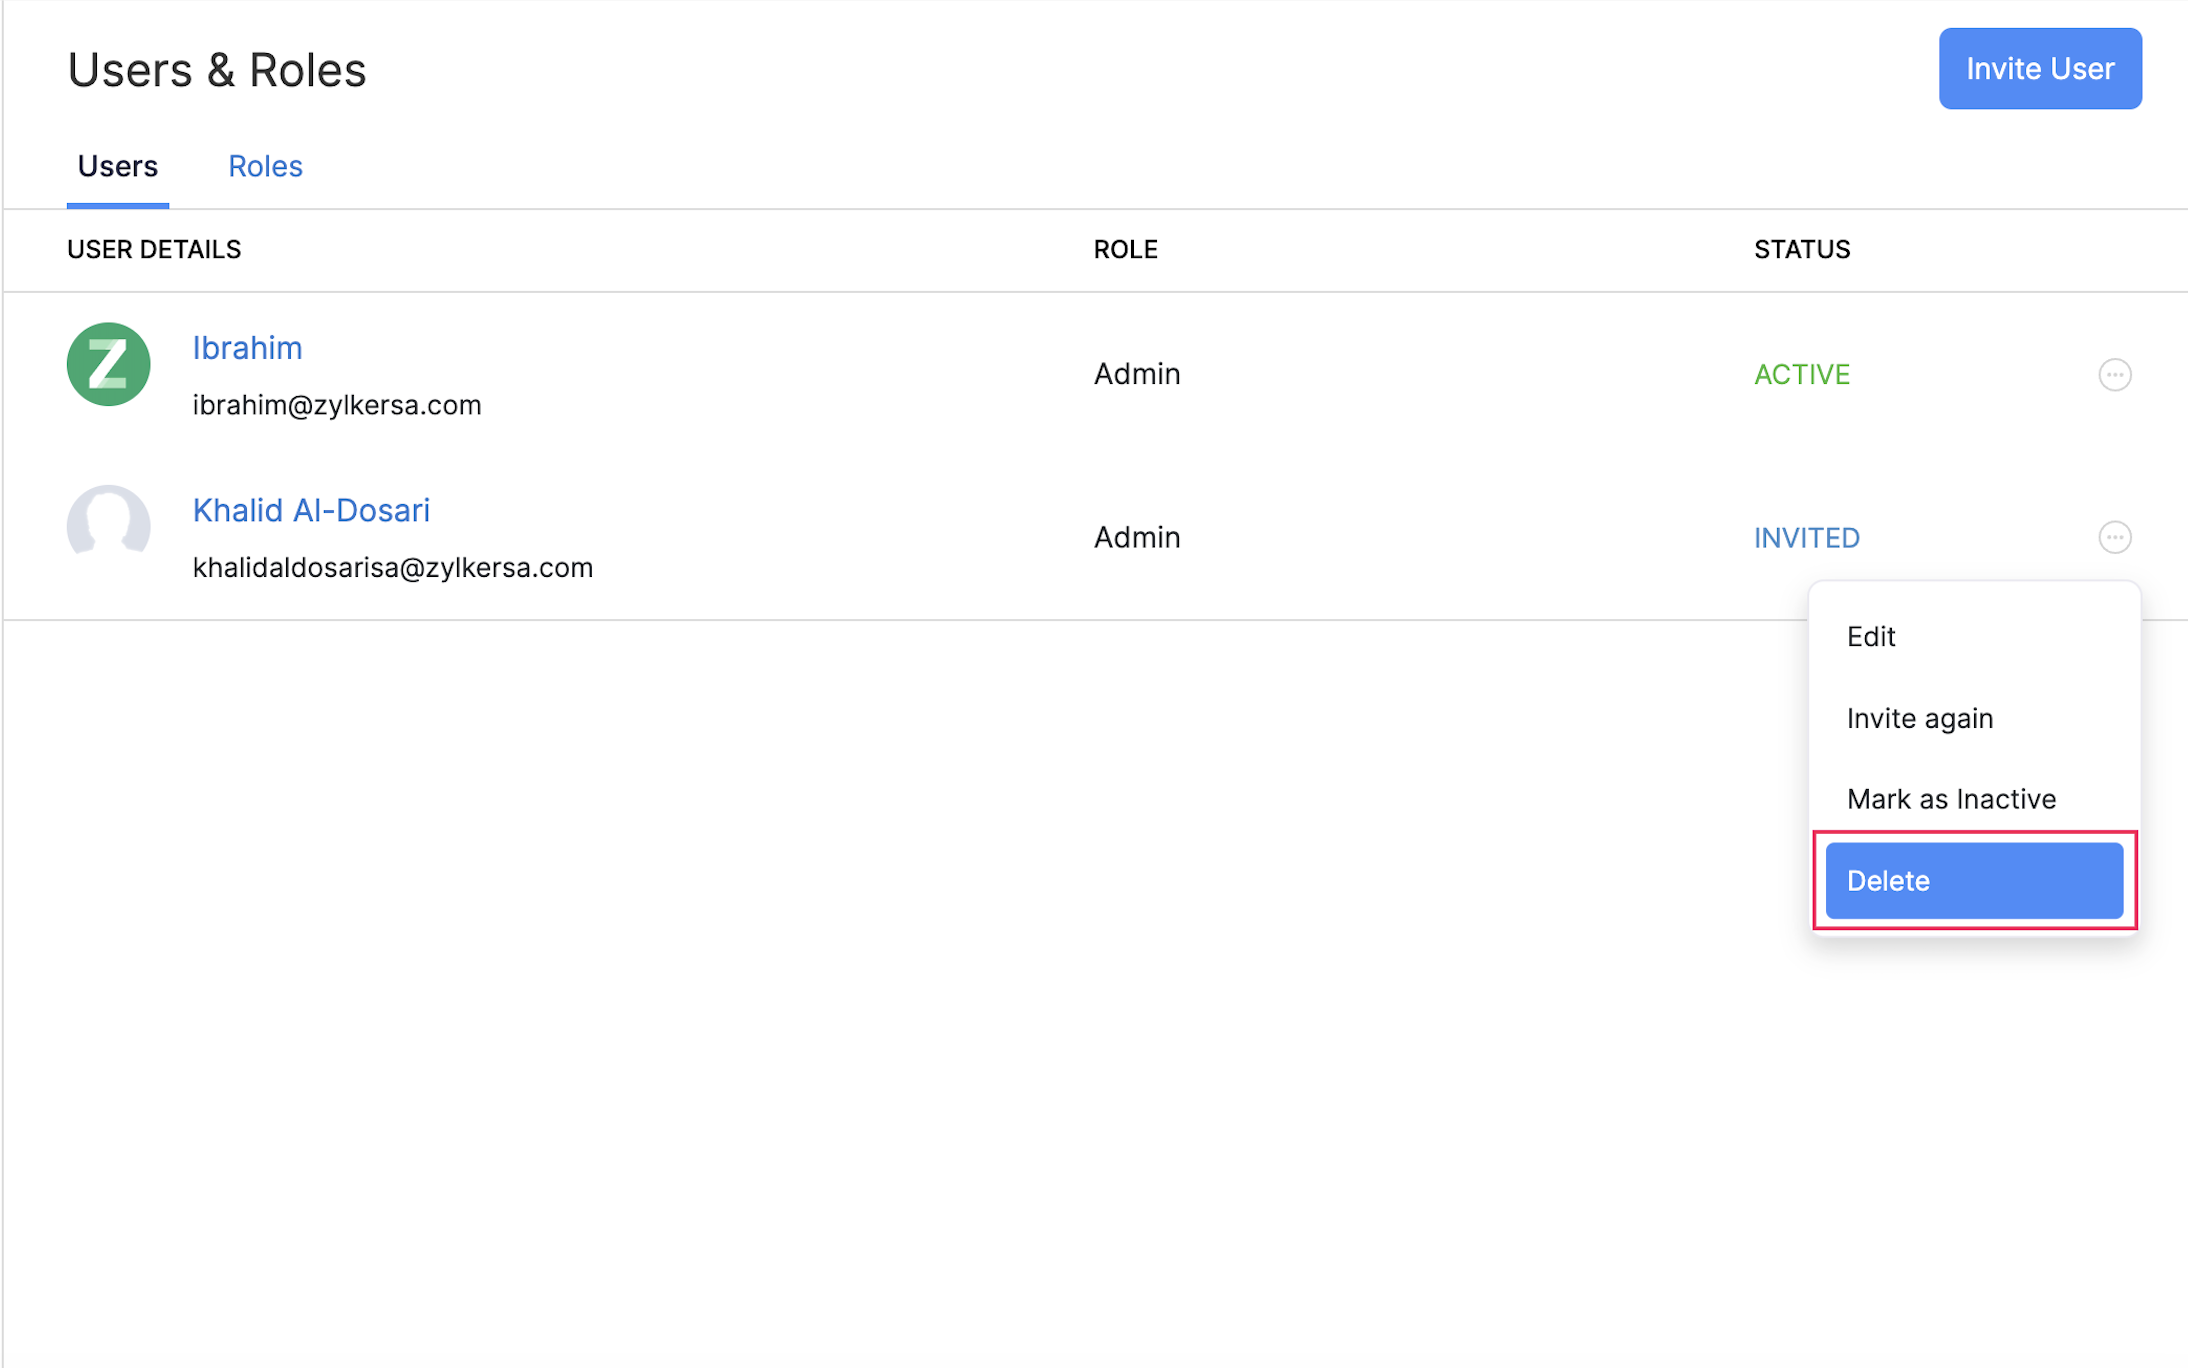
- Click Yes in the pop-up window which appears.
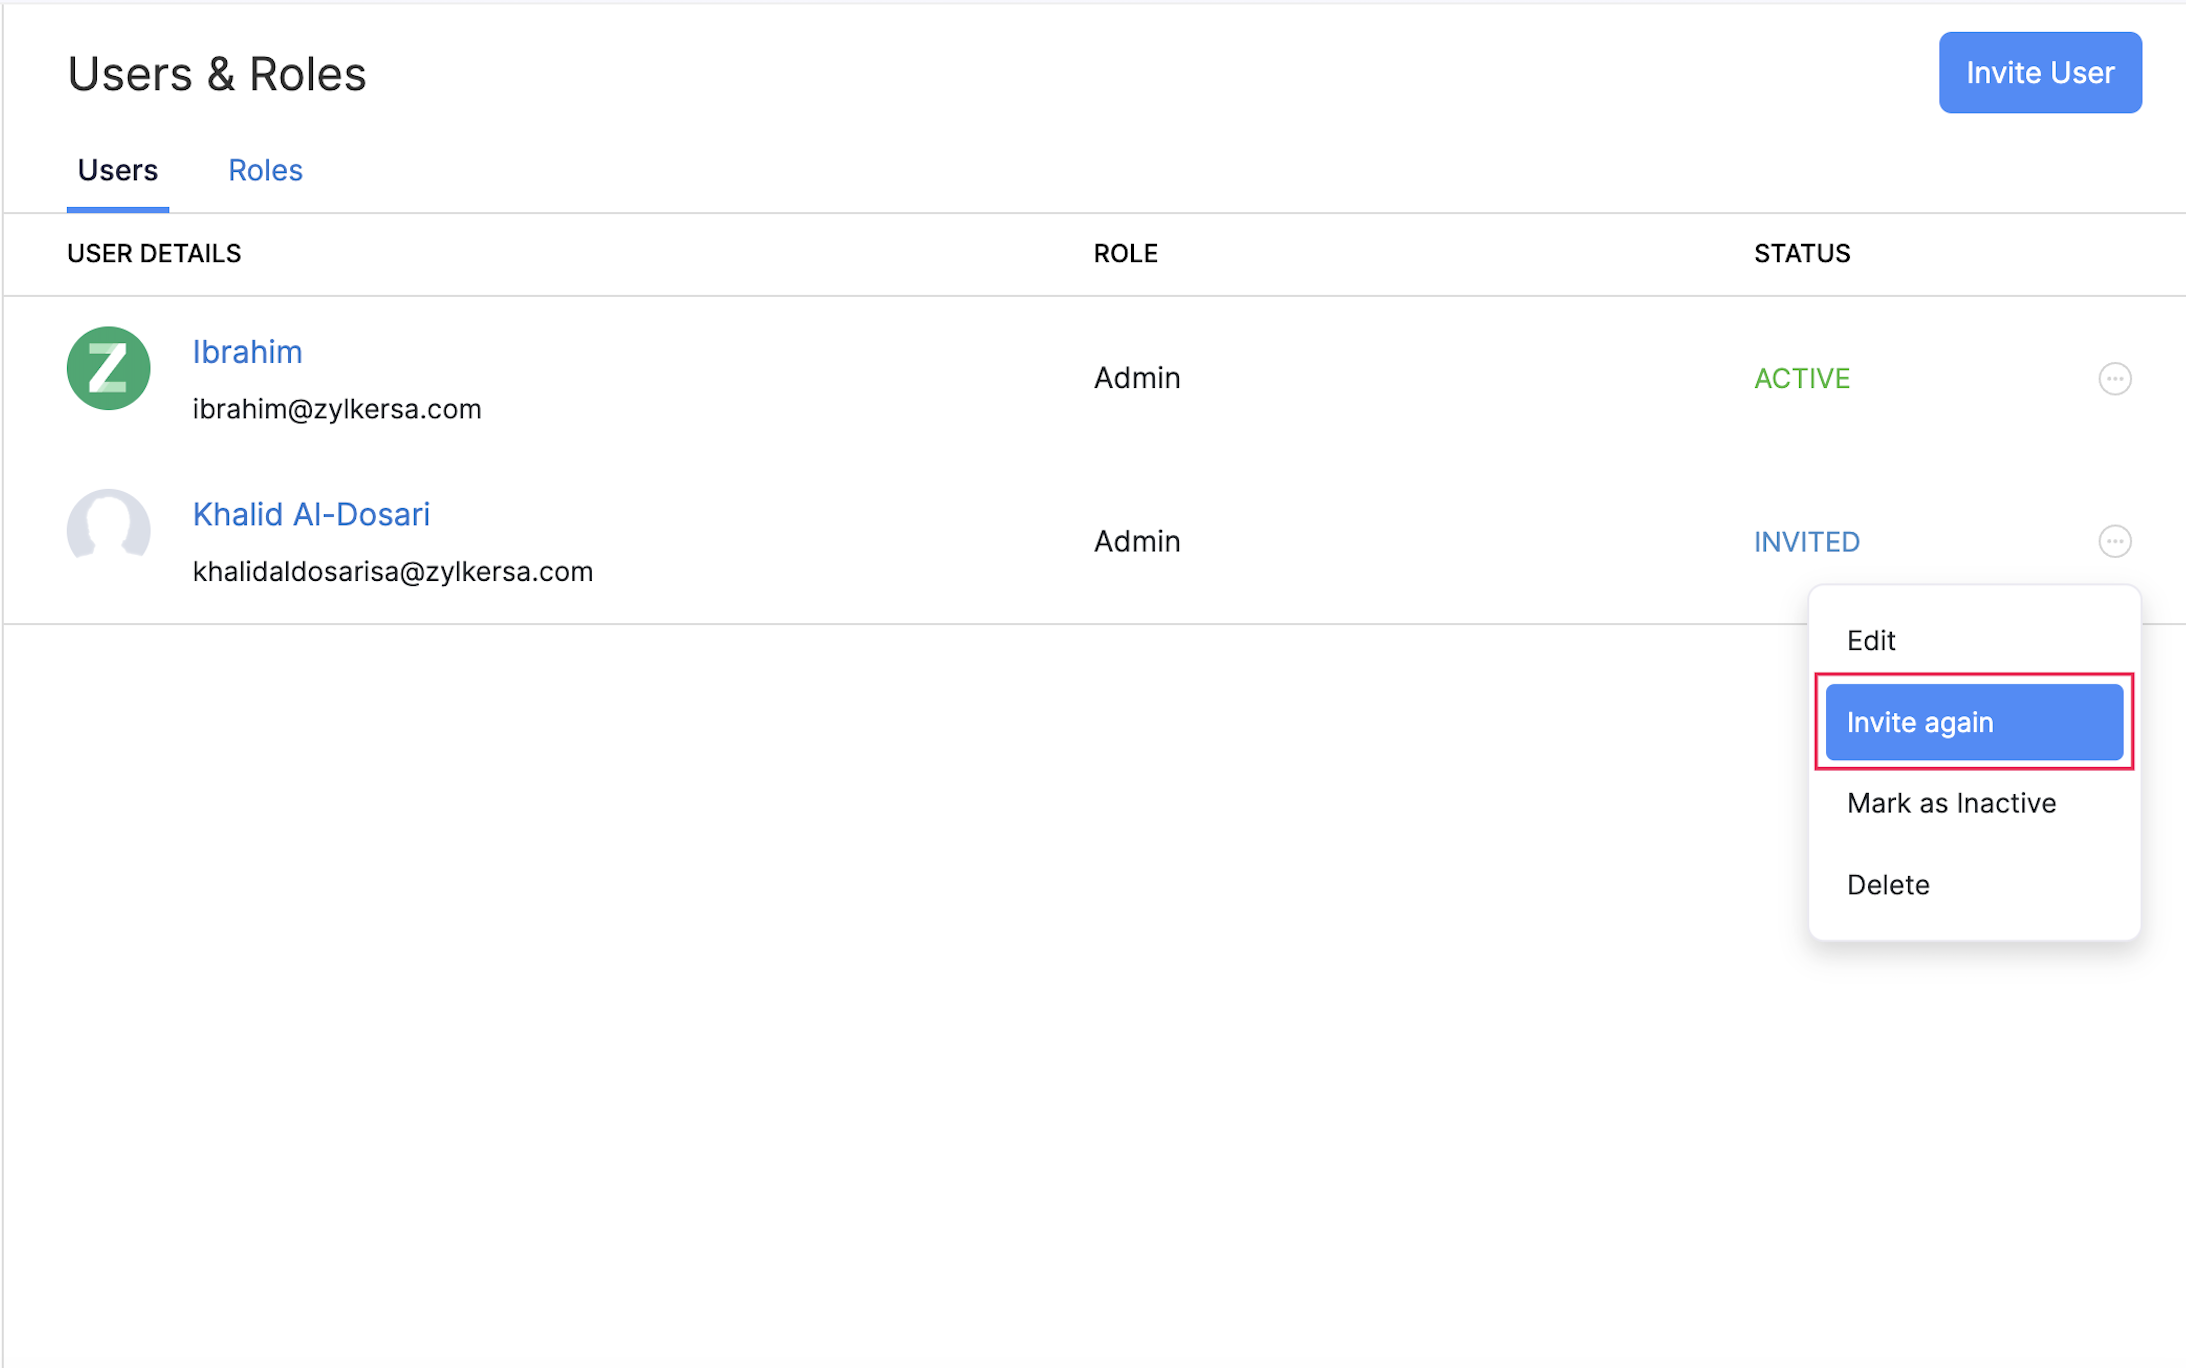
Re-invite User
To re-invite a user:
- Click the Settings icon in the top right corner and click Users under Users and Roles.
- Click the More icon next to the user and select Invite Again.
Mark a User as Inactive
If you want to temporarily restrict access for an user, you can do so by marking them as inactive.
- Click the Settings icon in the top right corner and click Users under Users and Roles.
- Click the More icon next to the user and choose Mark as Inactive.
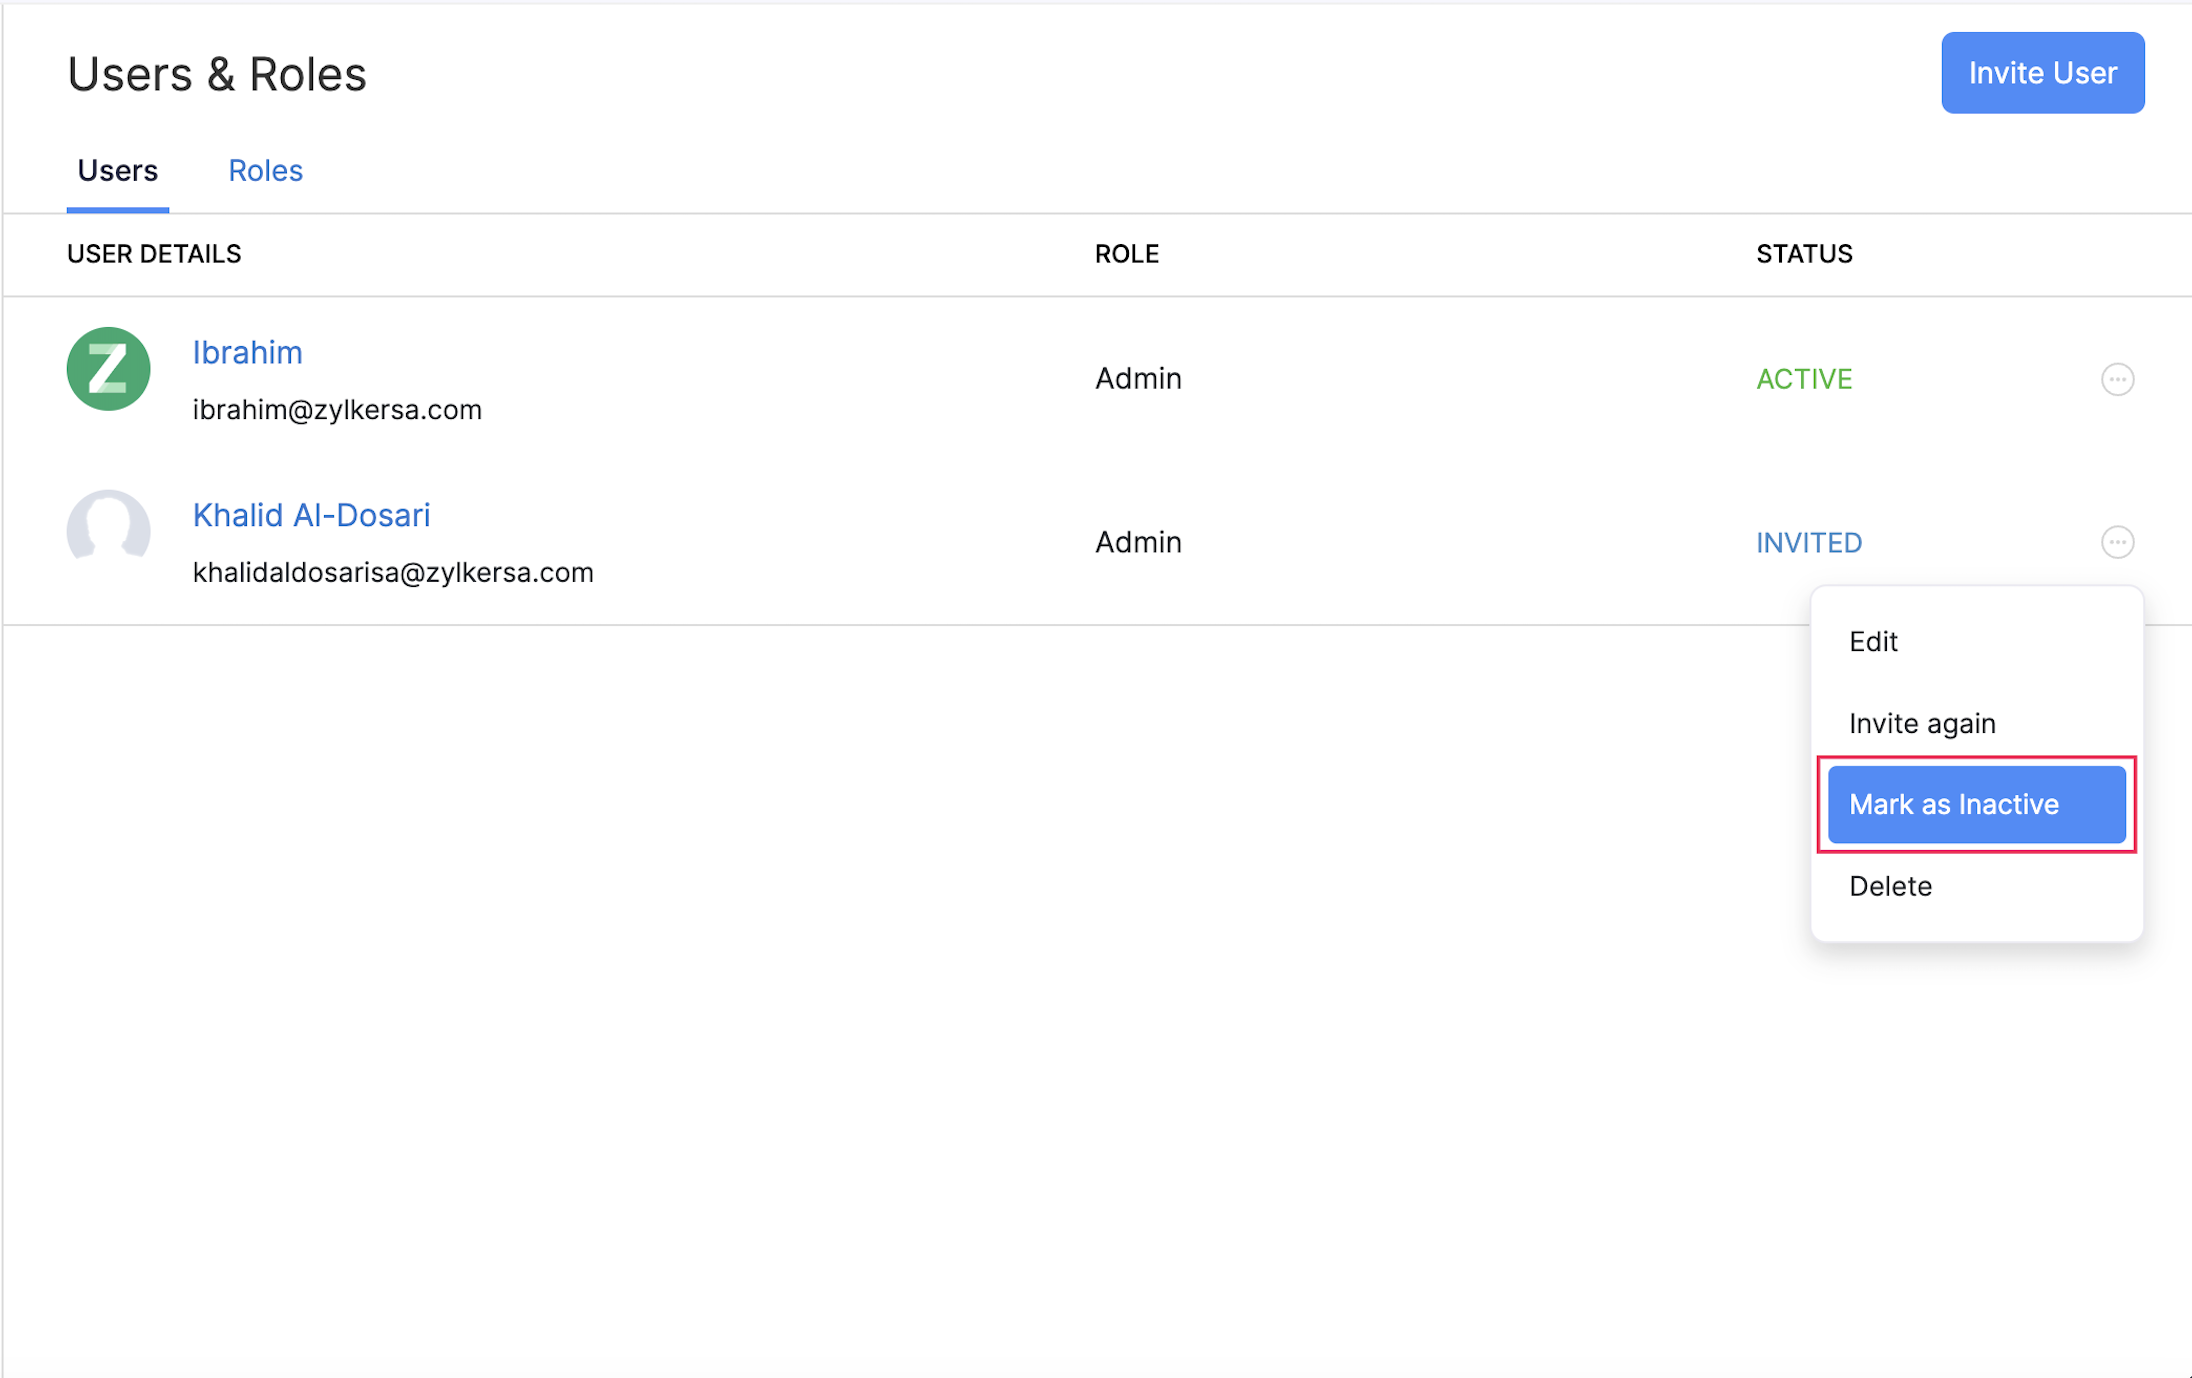
- Click Yes in the pop-up window which appears.
You can mark the same user as active again by following the same steps.
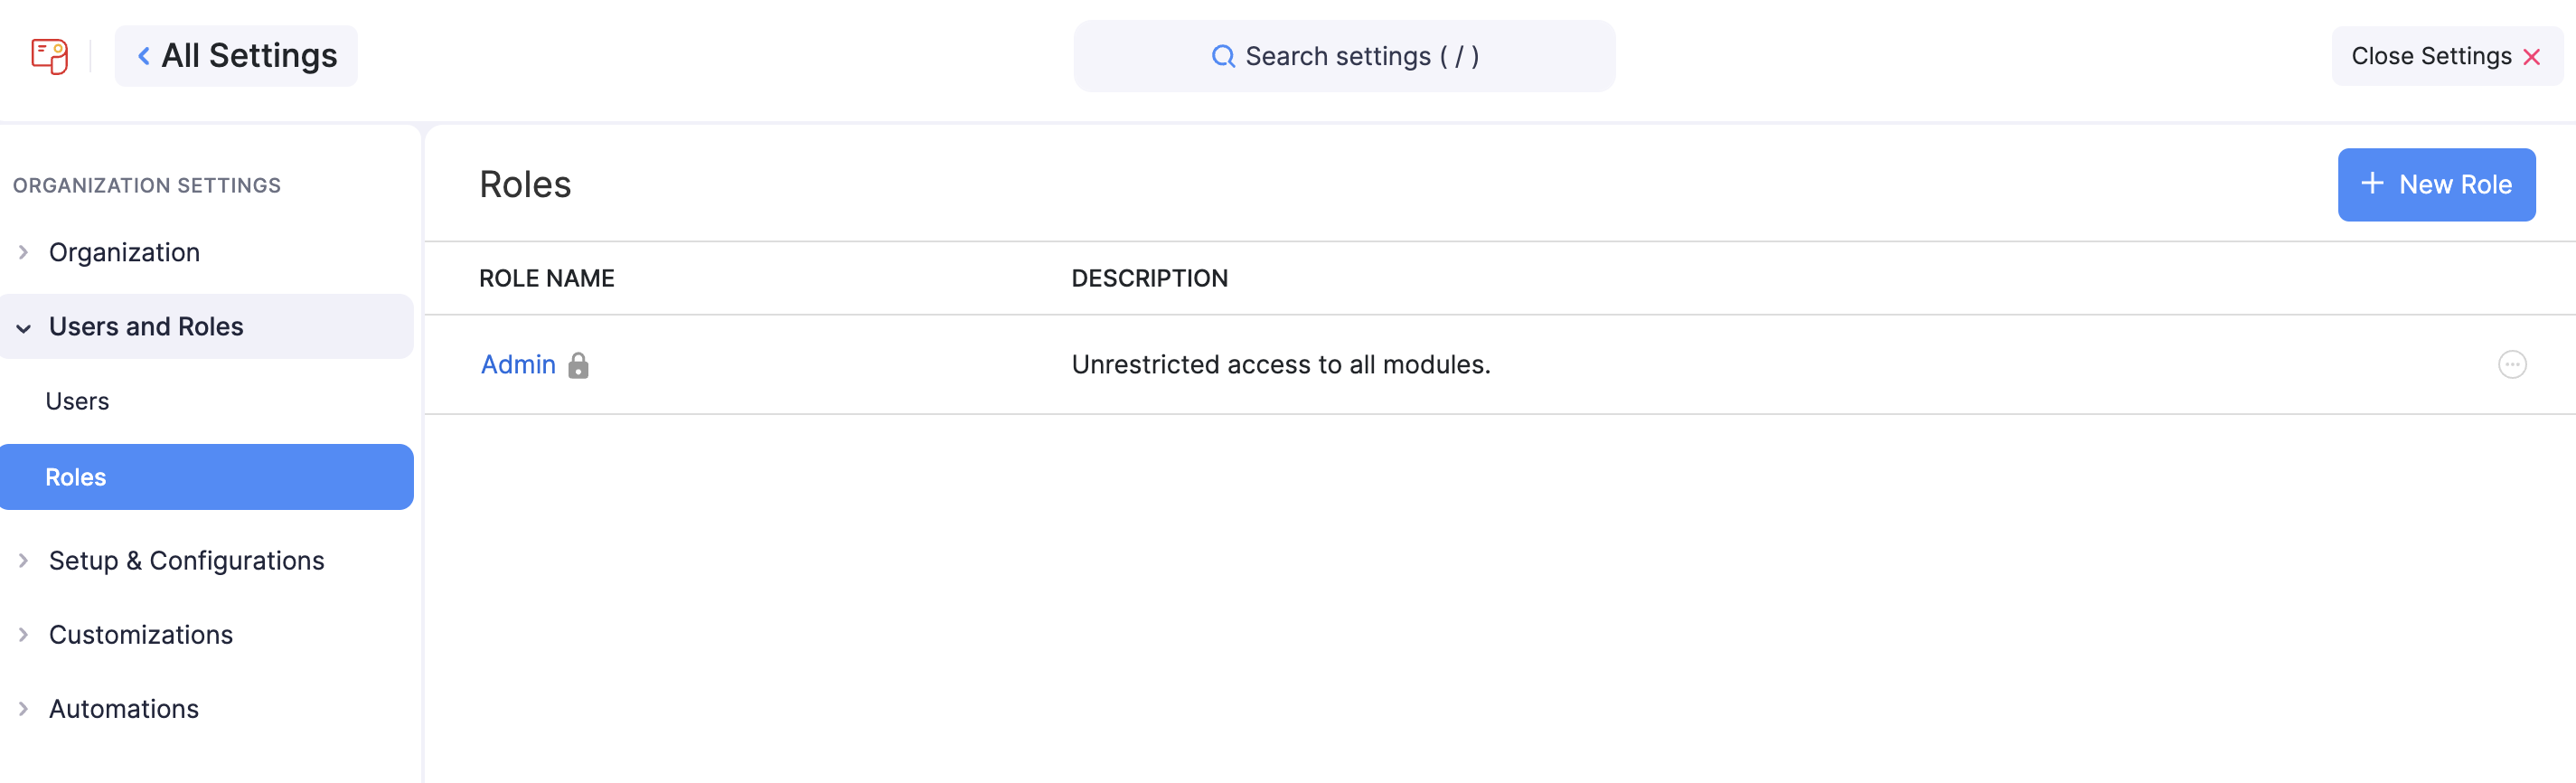
Roles
Add a New Role
You can create and assign roles to each user so that they have access to specific modules in our app. For example, you can set up roles in such a way that a portal admin has access only to Settings and an approver can access only the Approvals module.
- Click the Settings icon in the top right corner and click Roles under Users and Roles.
- Click New Role.
- Enter a name for the role and provide a description.
- Select the modules and the level of access you want to provide for the role.
- The modules you can customize are:
- Employees
- Pay Runs
- Approvals
- Settings
- Reports
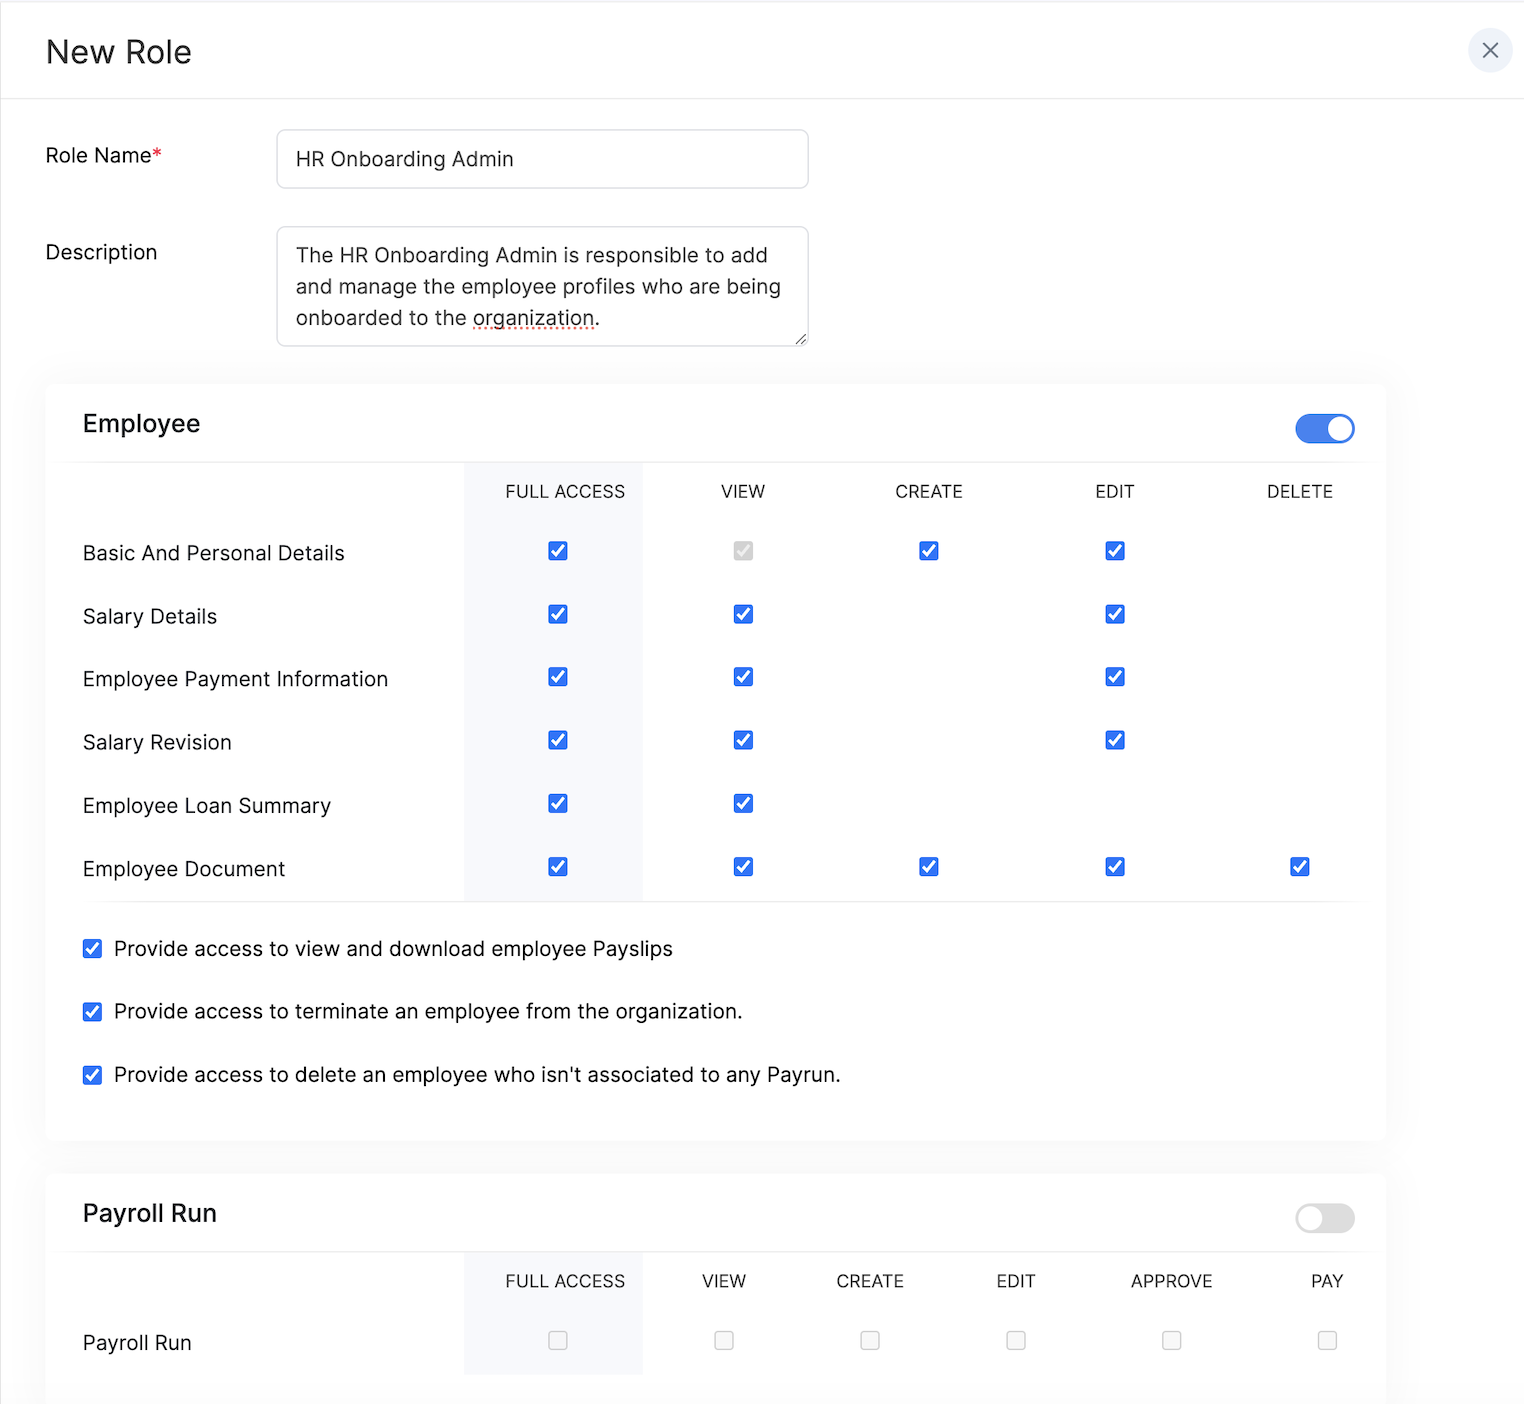
- Click Save.
Edit Role
To edit a role:
- Click the Settings icon in the top right corner and click Roles under Users and Roles.
- Switch to the Roles tab.
- Click the More icon next to the role and select Edit.
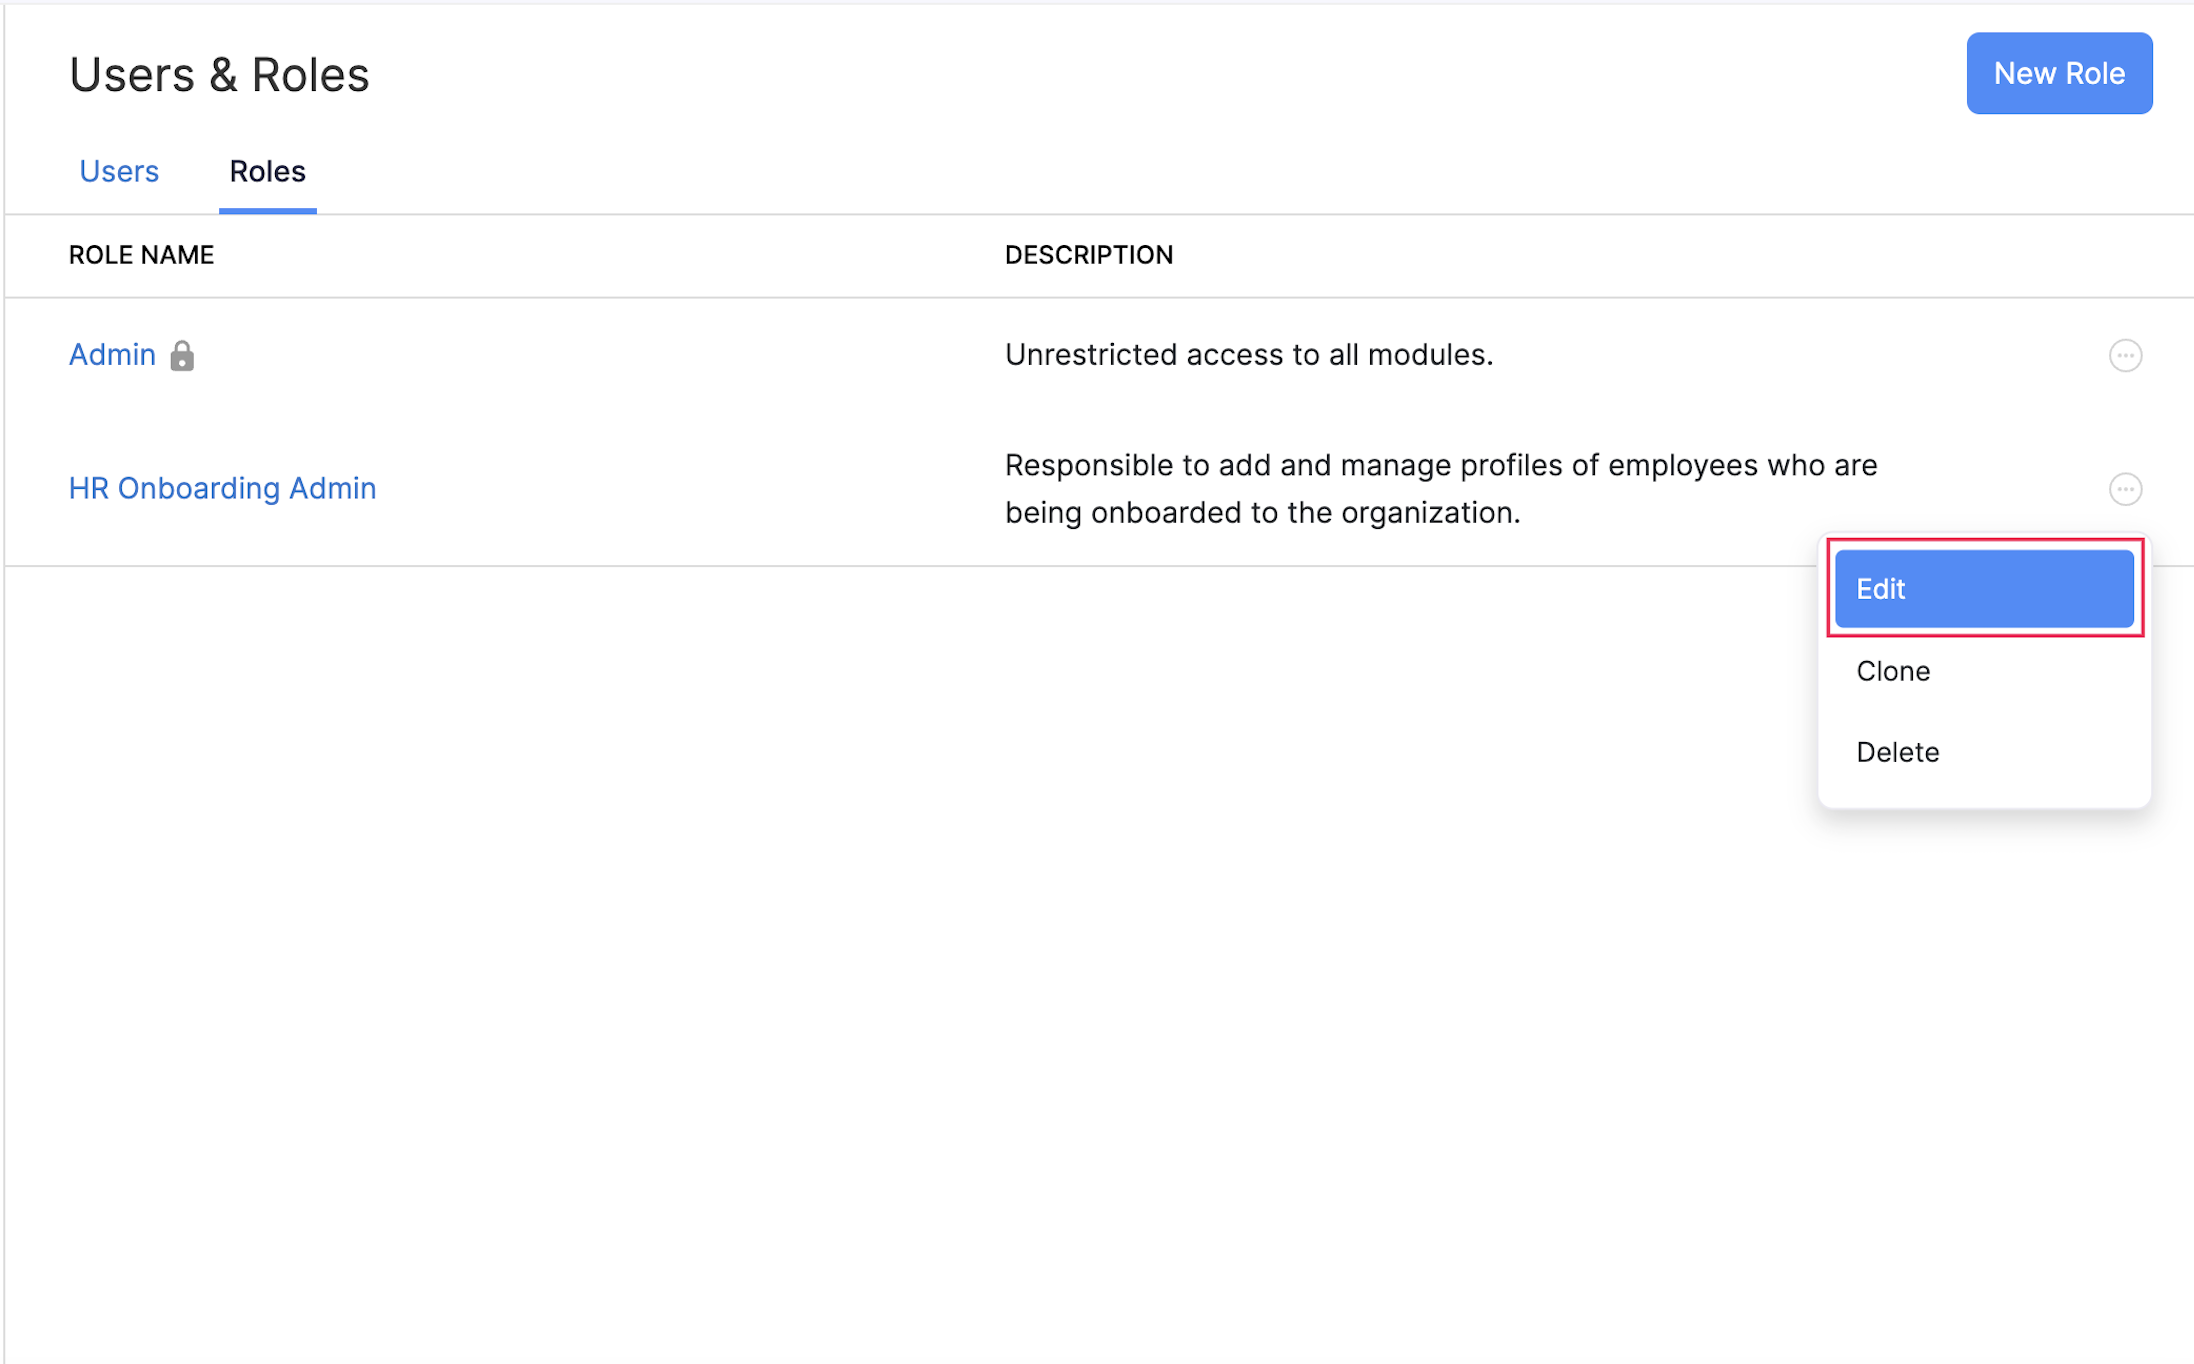
- Click Yes in the popup that appears.
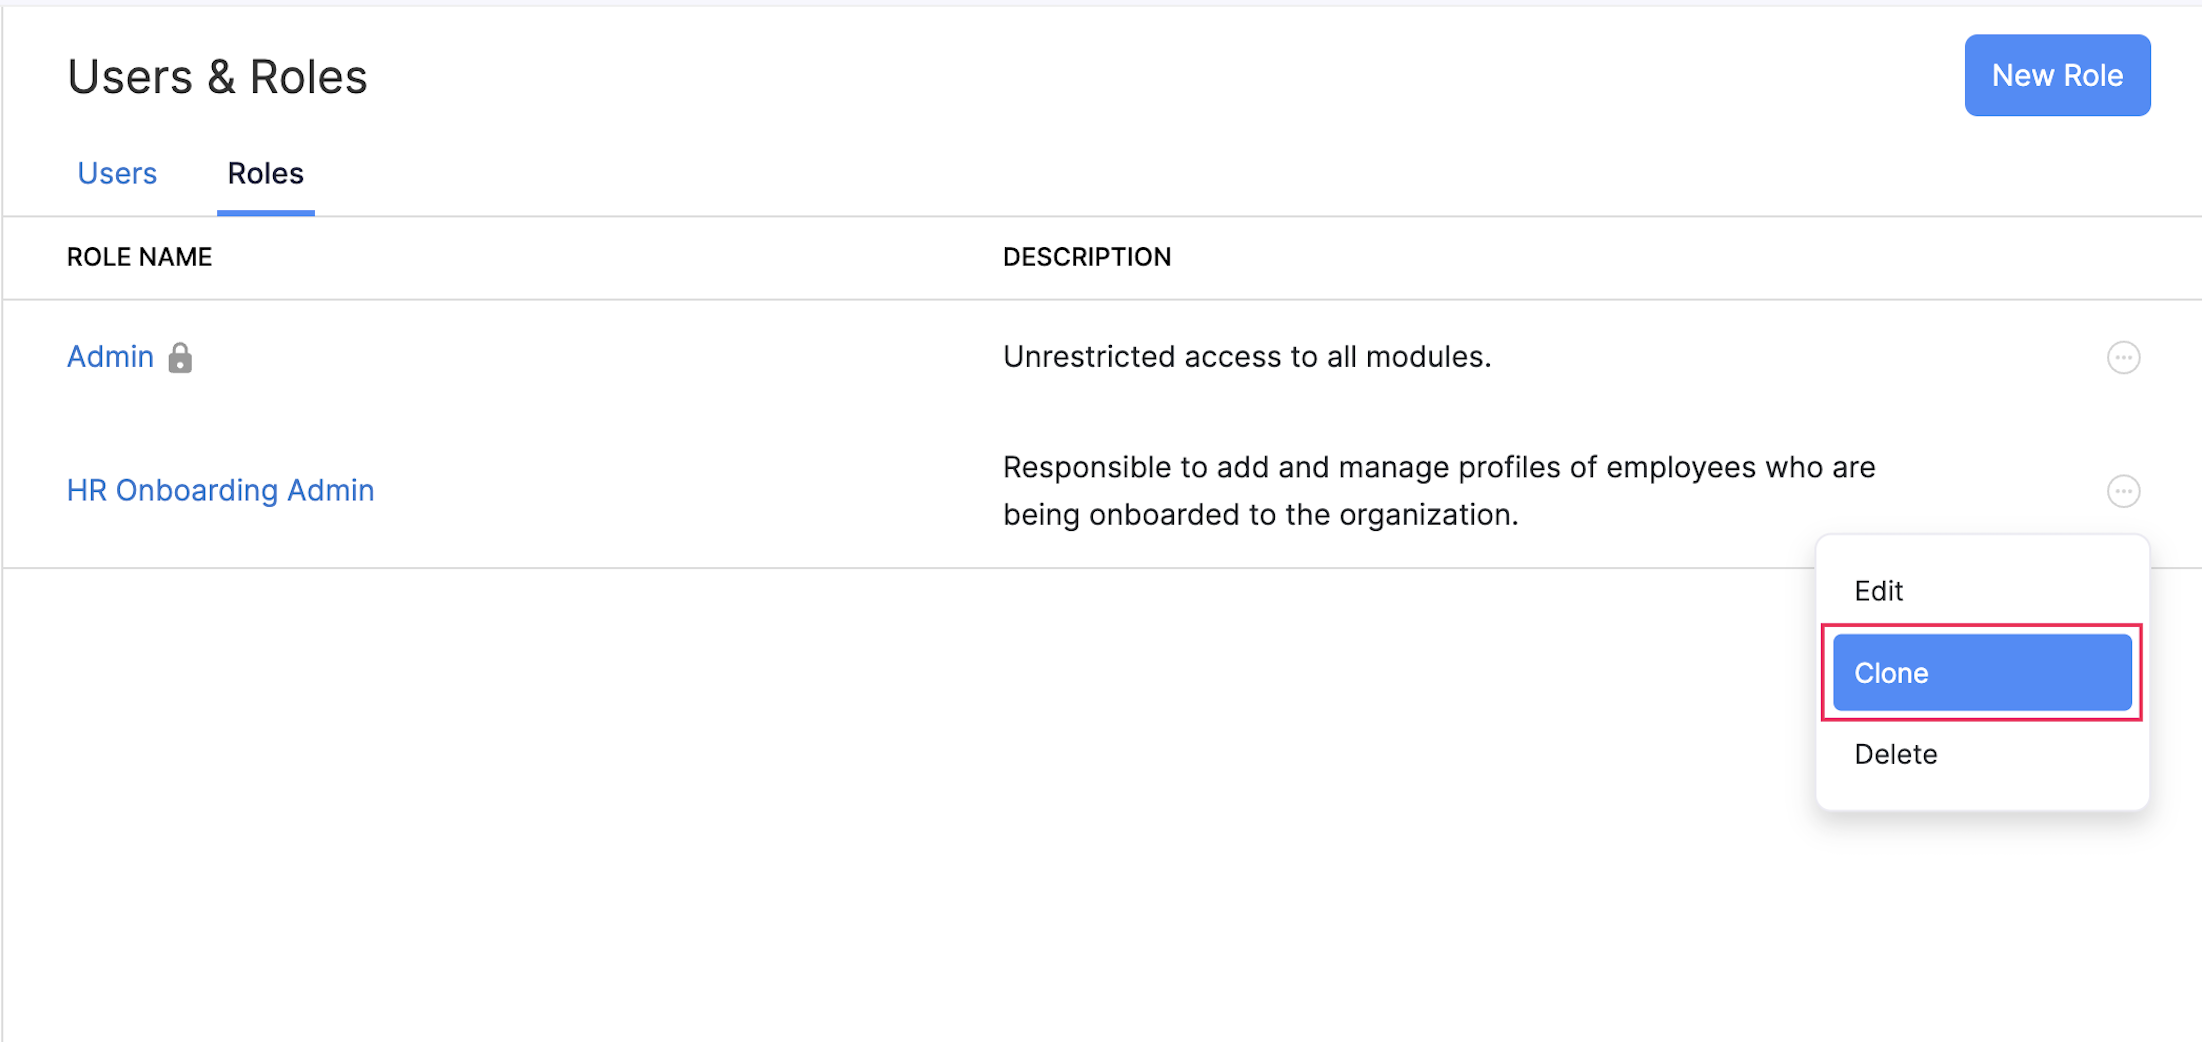
Clone Role
To clone a role:
- Click the Settings icon in the top right corner and click Roles under Users and Roles.
- Switch to the Roles tab.
- Click the More icon next to the user and choose Clone.
Delete Role
To delete a role:
- Click the Settings icon in the top right corner and click Roles under Users and Roles.
- Switch to the Roles tab.
- Click the More icon next to the role and select Delete.
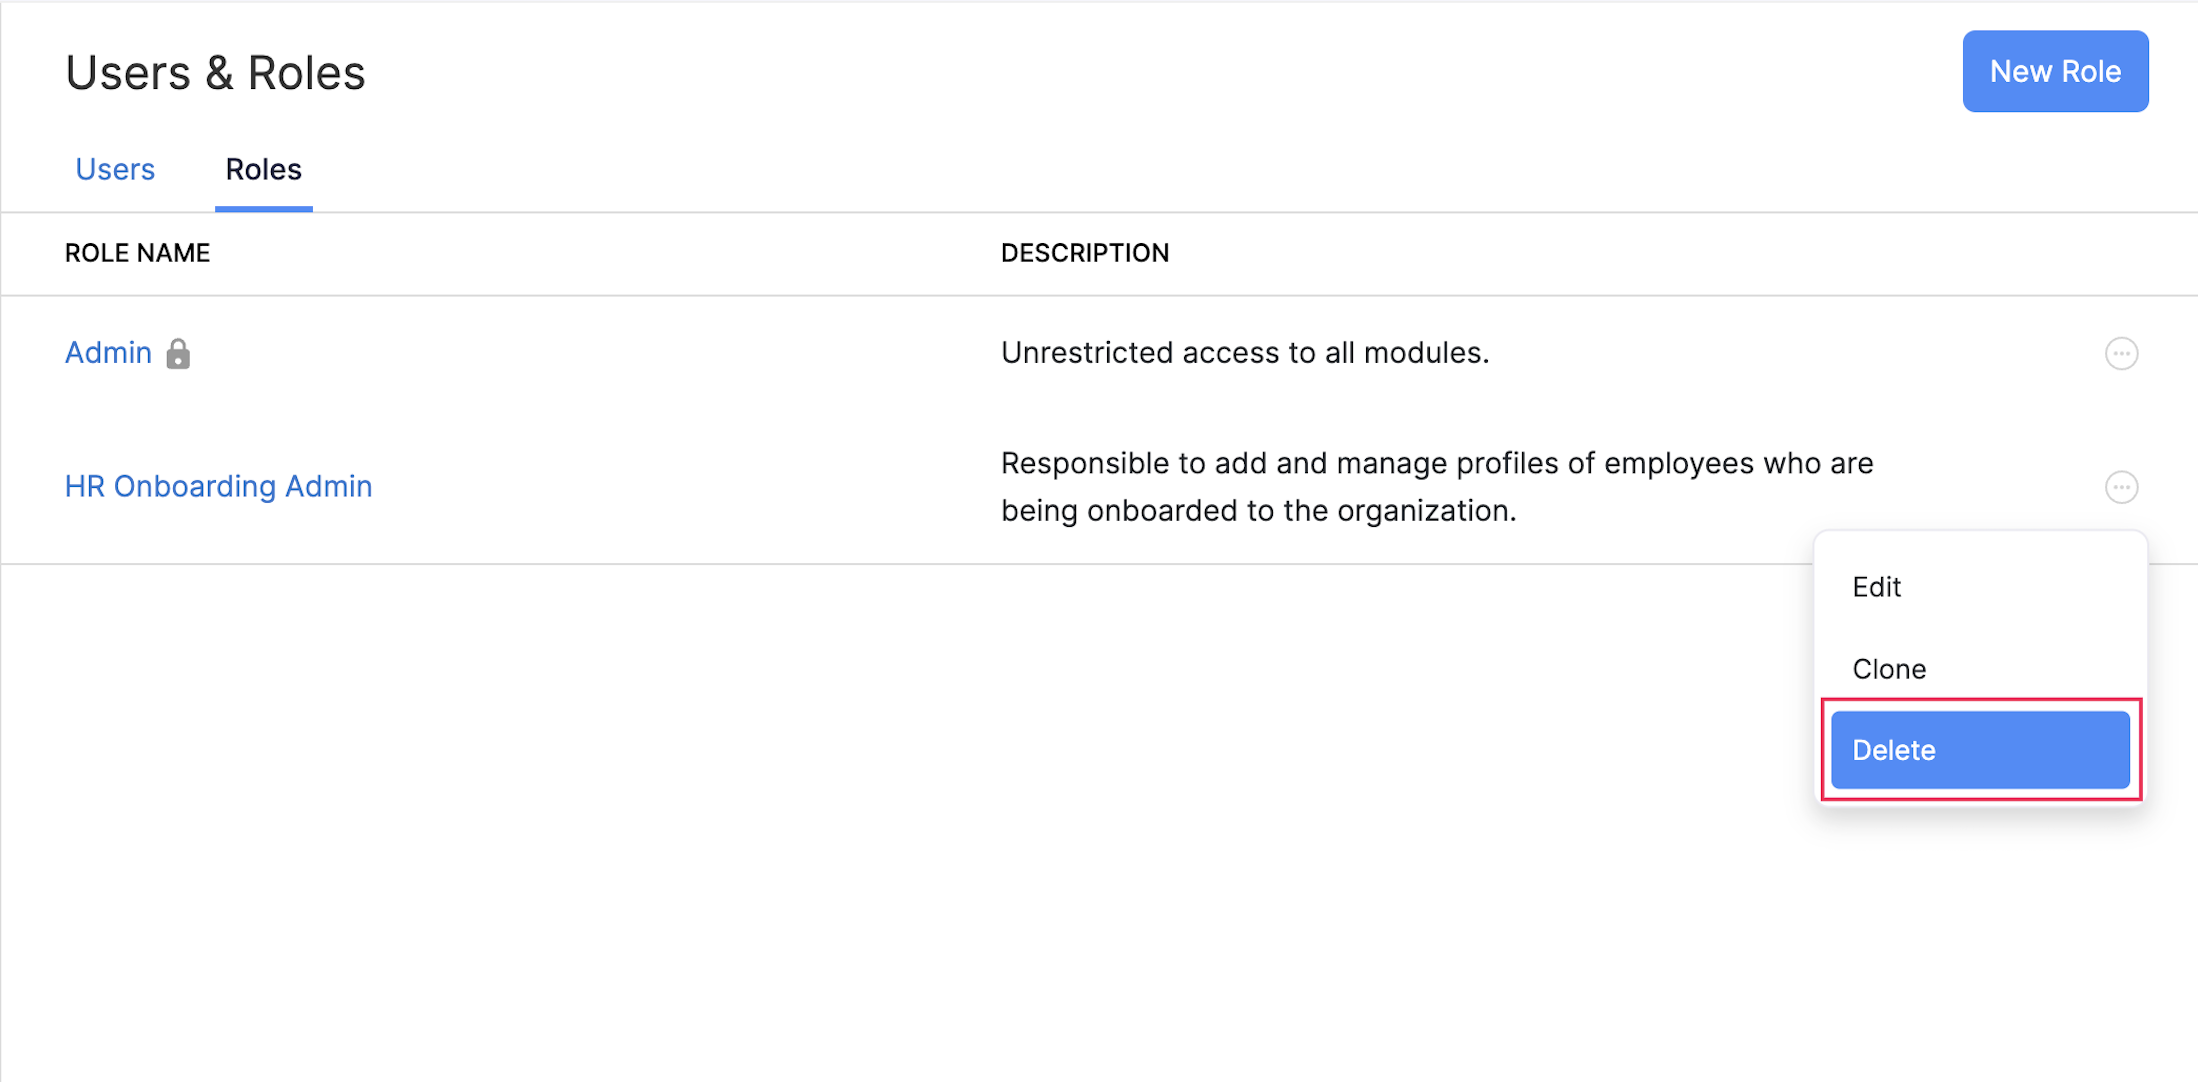
- Click Yes in the pop-up window which appears.