Users
All Vertical CRM users can be added as project/portal users. The Vertical CRM accounts will be automatically added as a client company. A client company is company or organization the projects are completed for.
End users who sign up for a Vertical CRM solution which has the Zoho Projects extension enabled can add project and client users.
Add Portal Users
- Log in to the Vertical CRM application.
- Navigate to Setup > Users And Control > Users.
- Click New User under the Users tab.
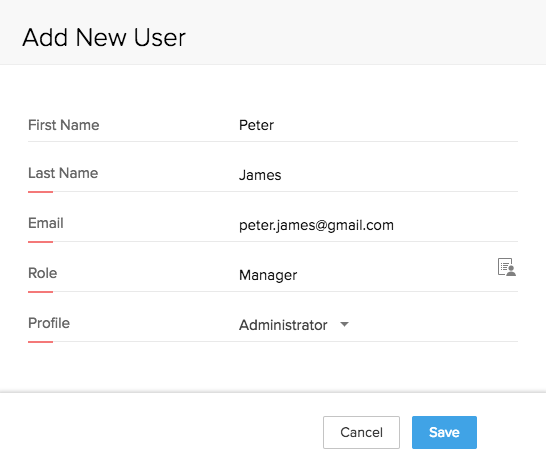
- In the Add New User pop-up:
- Enter the Last Name of the user.
- Enter the Email address of the user. An invitation will be sent to this email address.
The user must accept the invitation to become an active user. - Select a Role for the user.
- Select a Profile for the user.
- Click Save.
- Select the Projects tab in the top navigation bar.
- Click the settings icon [
 ] under the Projects tab.
- Click Portal Users under Manage Users.
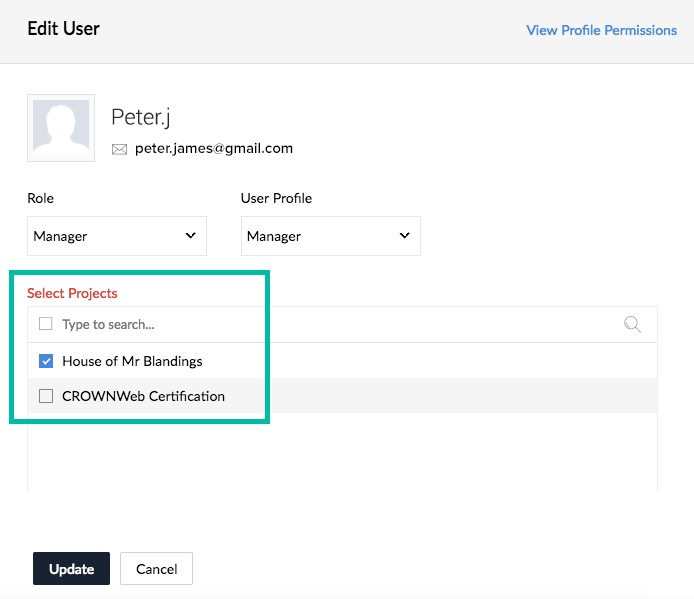
All active users are listed here. - Hover the mouse over the name of a user you want to allow to access the project and click the edit icon [
 ].
]. - In the Edit User overlay, select the checkbox for the name of the project you want to give the user access to.
- Click Update.
All the users assigned to a project can be viewed by navigating to the project name and then Users.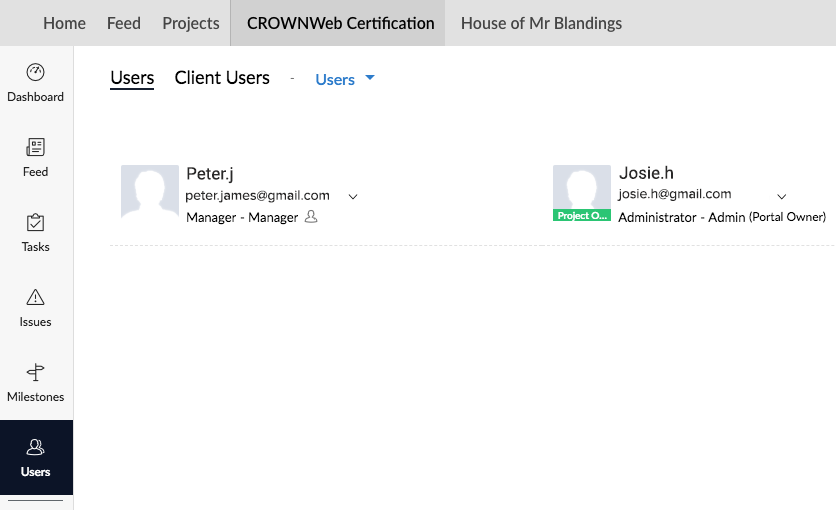


Add Client Users
The accounts in Vertical CRM will be automatically added as a client company. You can add a new user to an existing client company or create a new client company and then add users to it.
Create a Client Company
- Select the Projects tab in the top navigation bar.
- Click the settings icon [] under the Projects tab.
- Click Client Users under Manage Users.
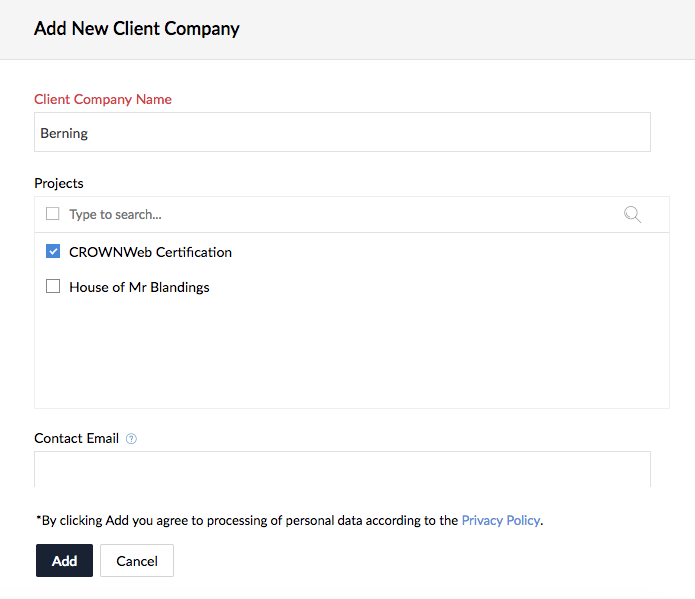
- Click Add Client Company.
- In the Add New Client Company overlay, add the necessary details and click Add.

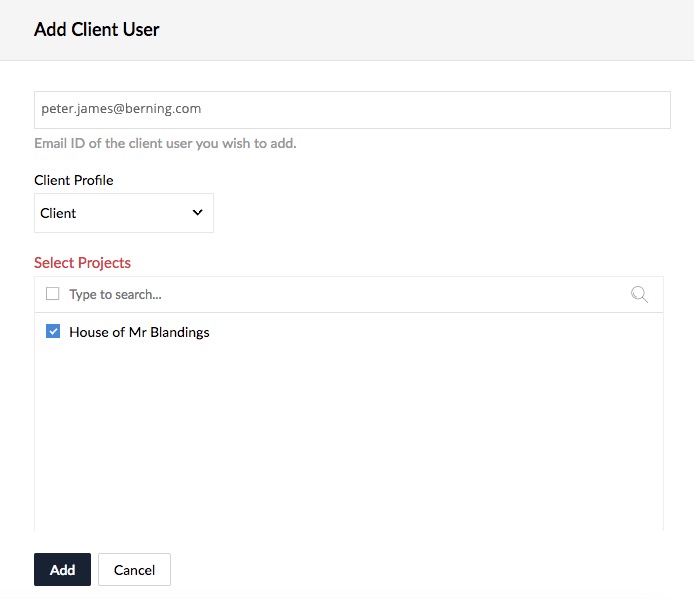
Add a Client User
- Select the Projects tab in the top navigation bar.
- Click the settings icon [] under the Projects tab.
- Click Client Users under Manage Users.
- Click the Add Client User icon [
 ] next to the name of the client company you want to add a client user to.
 - In the Add Client User overlay, enter the email address of the user to add to the client company. Select the checkbox for the name of the project to which you want to give the client user access to.
- An invitation will be sent to the email address you entered. The user must accept the invitation to become an active user.
- Click Add.
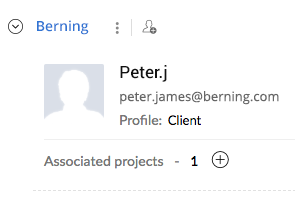
- The newly added client user will be listed under the client company.


Manage Users
You can edit or delete the users you have added.
- Within the project, click Users in the left navigation bar.
- Move the cursor over the name of a user
- You can perform one of the following tasks:
- Edit: Update the role of the user.
- Delete: Delete the user from this project and notify them of the action if required.
- Follow: Receive notifications in your project feed about a project user's activities. Hover over a project user and click the follow icon [
 ]. The color of the icon changes to green. You can also choose to unfollow the user.
