Documents
Different types of documents can be added to a project template. For example: Checklist, Feedback forms, Budget, Contracts, Meeting Minutes template, Manuals, and Regulatory documents. You can upload any file type, including *.jpg, *.png, *.doc, *.docx, *.ppt, *.xls, *.csv, *.mpeg, *.zip, and *.wmv.
Add Documents in a project template
- Log in to Zoho Developer Console and click Vertical Solutions.
- Select the application to modify and click Edit.
- Click Zoho Apps in the left pane.
- Click the Configure button for Zoho Projects.
- In the Project Templates page, click on the project template name you want to edit.
- Click Documents in the left navigation bar.
- Click New and select one among the following options:
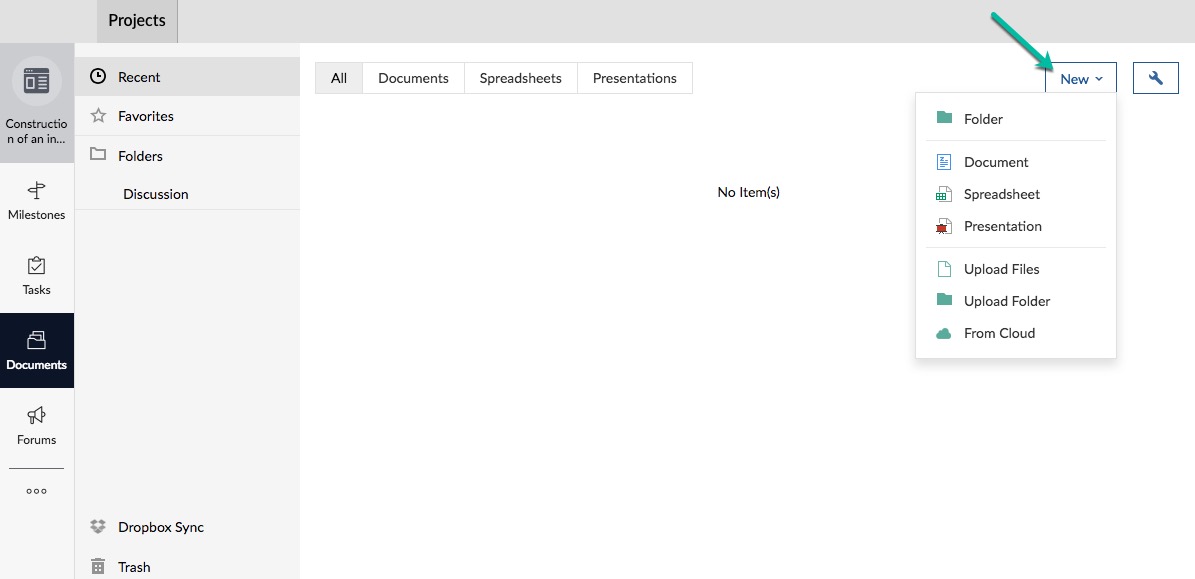
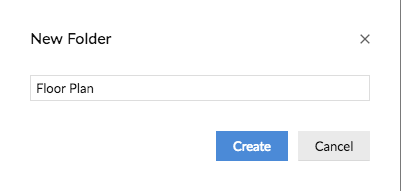
- Folder: Create a new folder. Provide a name in the New Folder pop-up and click Create.
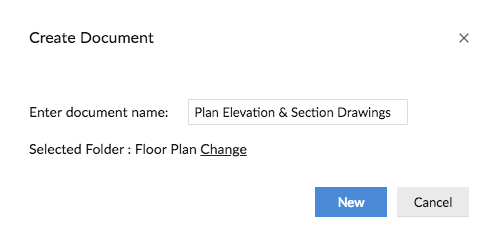
- Document: Add a Zoho doc. Provide a name in the Create Document pop-up and click New. You can choose which folder to save the document in by clicking the Change link.
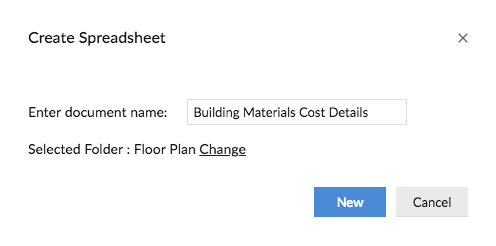
- Spreadsheet: Add a Zoho Sheet spreadsheet. Provide a name in the Create Spreadsheet pop-up and click New. You can choose which folder to save the spreadsheet in by clicking the Change link.
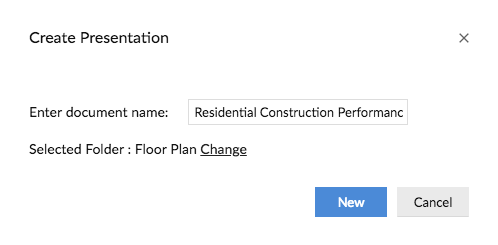
- Presentation: Add a Zoho Show presentation. Provide a name in the Create Presentation pop-up and click New. You can choose which folder to save the presentation in by clicking the Change link.
- Upload Files
Choose files from your, then click Start Upload in the Upload Files pop-up. You can also change the folder to place the files.
- Upload Folder
Choose folder from your computer. Click Upload in the confirmation message. Click Start Upload in the Upload Folder pop-up. You can also change the folder to place the folder.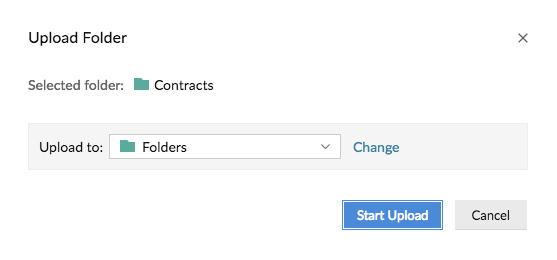
- From Cloud
You can upload documents from the cloud using the following options: Zoho Docs, Google Drive, Box, OneDrive, or Dropbox. For Zoho Docs, choose a file, and click Attach. For the other applications, perform authentication, select the files, and click Attach.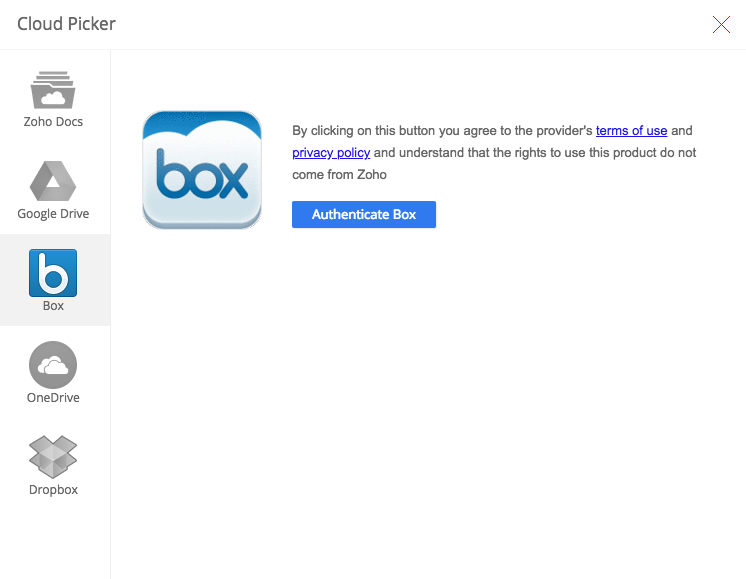
- Folder: Create a new folder. Provide a name in the New Folder pop-up and click Create.


Use the Dropbox Sync
To sync your documents with Dropbox, do the following:
- Click Documents in the left pane.
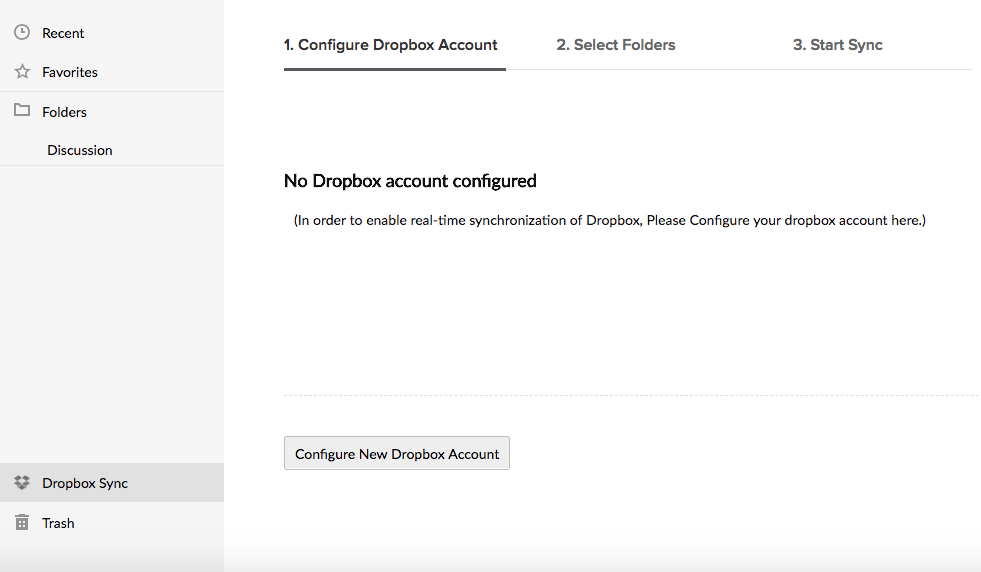
- Click Dropbox Sync, then click Configure your Dropbox Sync.
- Click Configure New Dropbox Account.
- Allow Zoho Projects to access your Dropbox account, so that you can start syncing your Dropbox documents with your Zoho Projects documents.
- In the Configure Dropbox Account step, click the name of the added dropbox account.
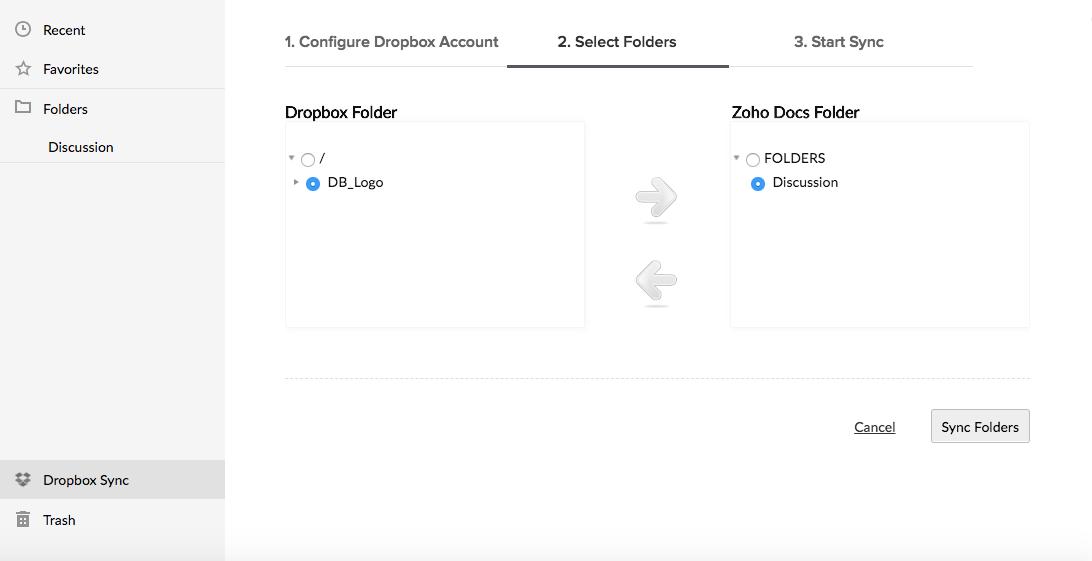
- In the Select Folders step, select the folder from Dropbox and Zoho Docs to sync, then click Sync Folders.
- In the Start Sync step, select either Sync Once or Sync Continuously, click Start Sync.
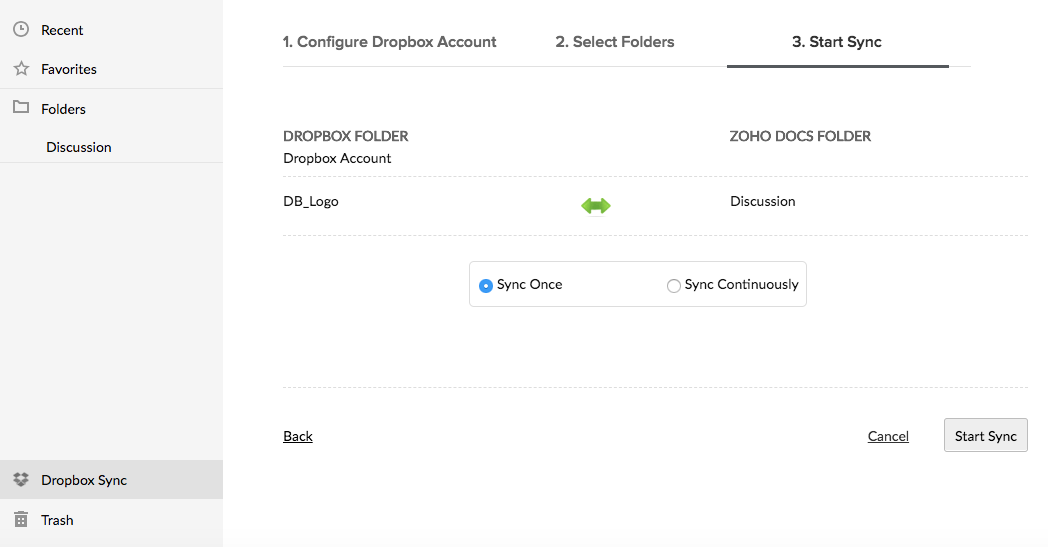
Sync Once: Files are synced from your Dropbox into Zoho Projects and vice versa only once. Sync Continuous: Files are synced from your Dropbox into Zoho Projects and vice versa as and when files are uploaded or updated in Zoho Projects and Dropbox.


