How to use Custom Actions
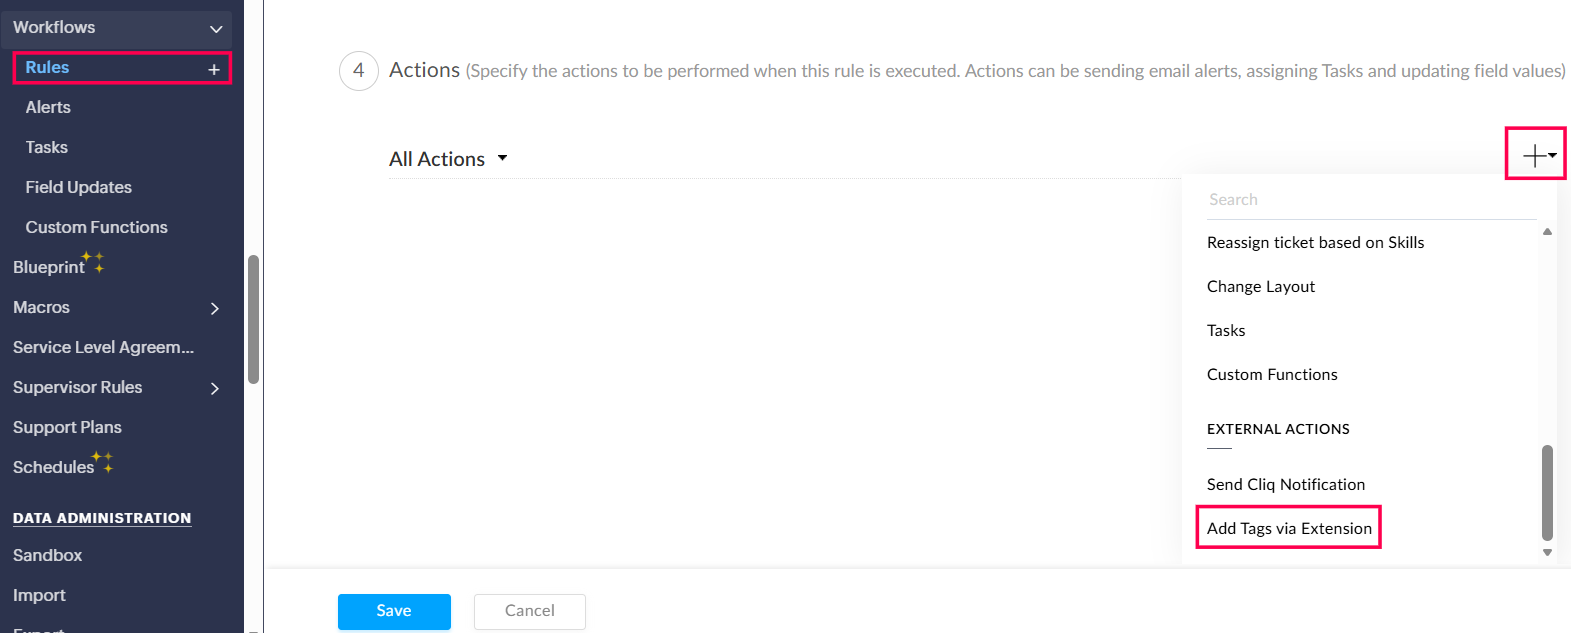
In your desk account, you can access the created extension-specific actions by navigating to : Setup > Automation > Workflows > Rules > Actions > Actions drop-down (+).
Sample Use Case:
Consider a scenario where you need to add tags to a ticket whenever it meets specific conditions. This can be executed automatically by integrating the Add Tags via Extension action into your workflow rule once the required extension is installed.
To associate this action with your workflow rule, follow the steps below:
- Before executing the custom action, fill in all the required fields in the Basic Information, Execute On, and Criteria sections based on your requirements.
In Actions, click the Plus drop-down icon (+) and select Add Tags via Extension from the drop-down list.
- In the Add Tags via Extension page, do the following:
- Provide the required details: Name, Ticket ID, and Tag Name.
- Click Save.

The Add Tags via Extension action is now associated with your workflow rule.
Based on the Execute on and Criteria fields, your workflow will be executed.

Note: In this case, whenever a ticket meets the defined conditions, the specified tag will be automatically added to the ticket. You can verify the action execution in the History tab of the respective ticket.
Points to be Remembered:
- Before creating a new action, you must first check four categories: Name, Main API, Input Fields, and Resolve Fields to determine which APIs to be called.
- For Department Name, the drop-down list can be Static or Dynamic. Dynamic values are addressed by providing the valueURL in JSON of resources.json file.
These actions are present in addition to alerts, tasks, field updates, skills, and custom functions that are available by default.