Integrate Zoho Billing with Zoho Notebook
Zoho Notebook is a general-purpose note-taking tool for all your needs. Be it an idea on your mind, your daily to-do list, or your office documents, Zoho Notebook helps you note down and organize everything in a single place.
Using the Zoho Notebook extension, you can take contextual notes, create checklists, upload images, and add documents from any screen within Zoho Billing.
Install the Zoho Notebook Extension
Go to Settings in the top right corner of the page.
Navigate to Integrations and select Zoho Apps.
Scroll down and click Install next to Zoho Notebook.
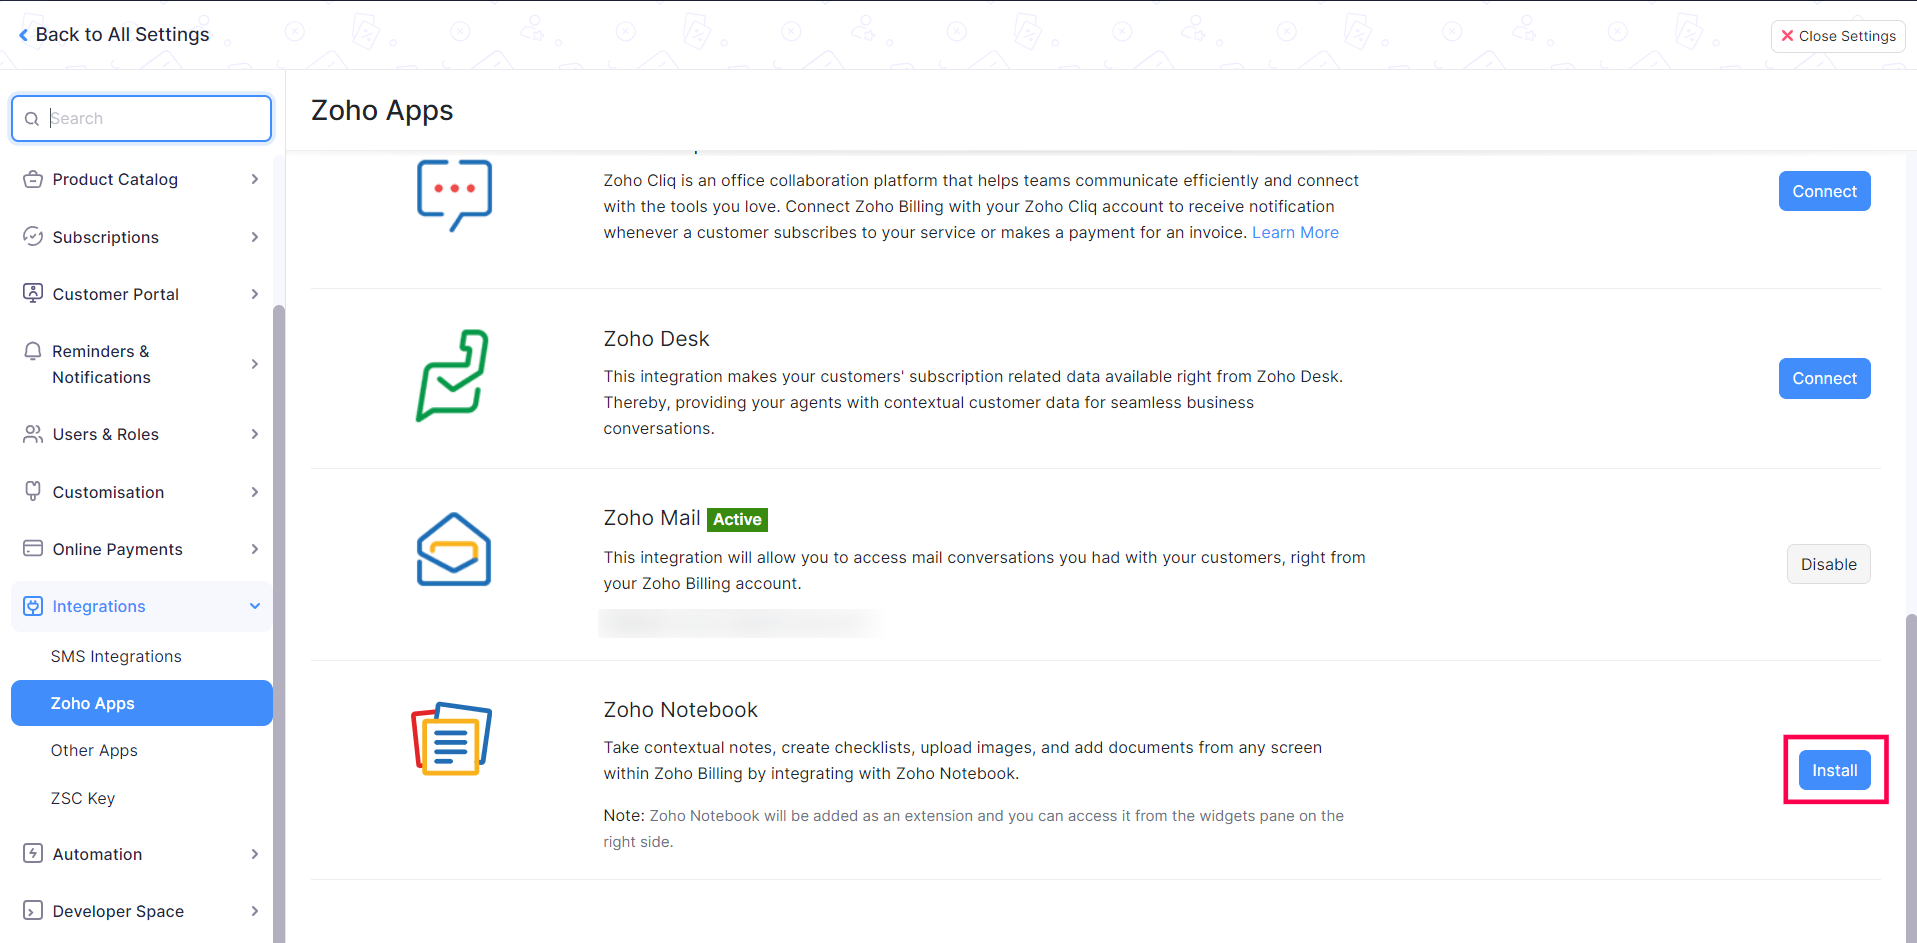
Click Install in the pop-up that appears.
The Zoho Billing web app will refresh. Zoho Notebook will be installed as an extension in Zoho Billing. You can access it from the widgets pane on the right side.

- The notes and checklists that you create and the images and documents you add to Zoho Notebook are collectively called cards.
- If you’ve already created cards in the Zoho Notebook app before integrating Zoho Notebook with Zoho Billing, you’ll be able to access those cards in the Zoho Notebook extension.
Create Notes
Hover the cursor over the pane on the right side of the screen and click the Zoho Notebook extension.
Click the + button in the top right corner in the pane that appears.
Select Write from the dropdown.
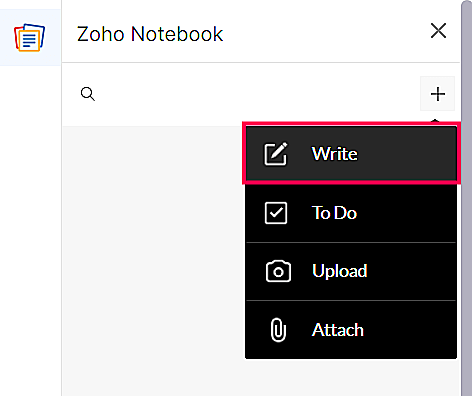
Enter a title for the note and the contents of the note.
Click the Tick button next to the note’s title to save it.
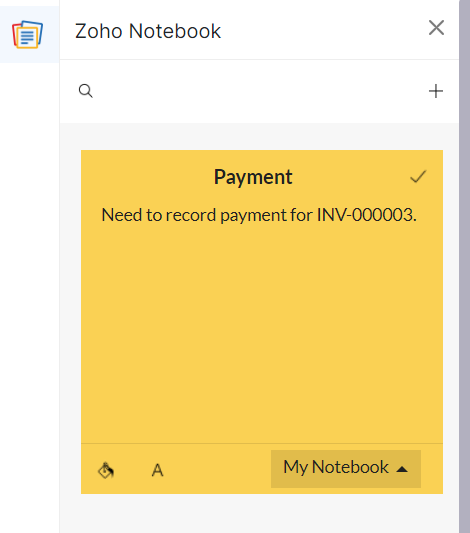
The note will be added as a card. You can access it from the Zoho Notebook extension.
Create Checklists
Hover the cursor over the pane on the right side of the screen and click the Zoho Notebook extension.
Click the + button in the top right corner in the pane that appears.
Select To Do from the dropdown.
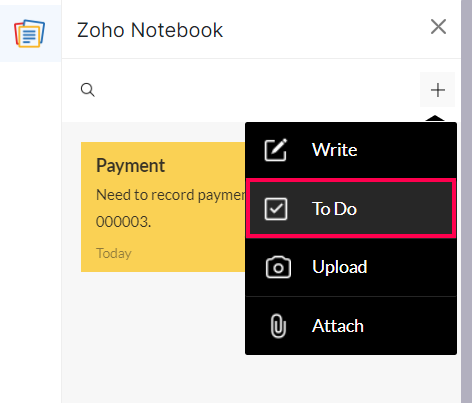
Enter the title for the checklist and the items or tasks that need to be completed.
Click the Tick button next to the checklist’s title to save it.
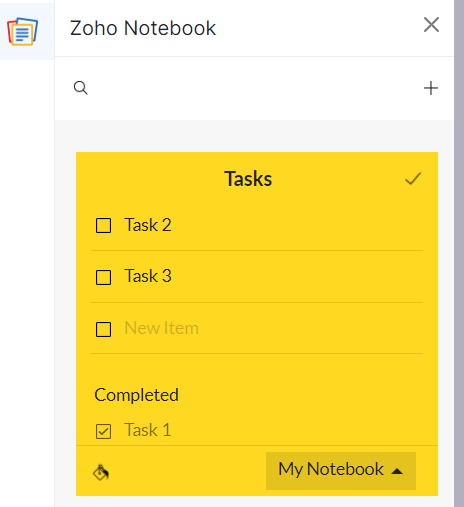
The checklist will be added as a card. You can access it from the Zoho Notebook extension.
Upload Images
Hover the cursor over the pane on the right side of the screen and click the Zoho Notebook extension.
Click the + button in the top right corner in the pane that appears.
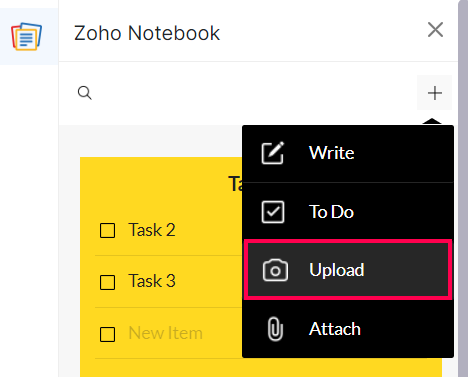
Select the image that you want to upload and click Open.
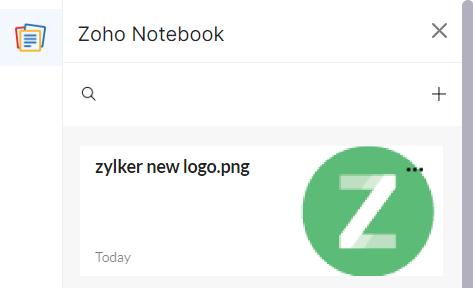
The image will be added as a card. You can access it from the Zoho Notebook extension.
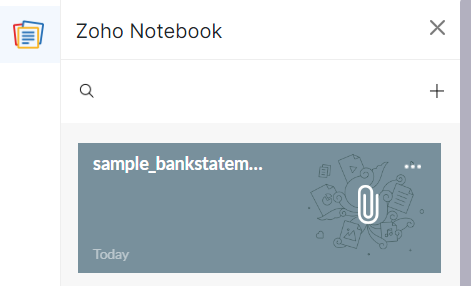
Attach Documents
Hover the cursor over the pane on the right side of the screen and click the Zoho Notebook extension.
Click the + button in the top right corner in the pane that appears.
Select Attach from the dropdown.
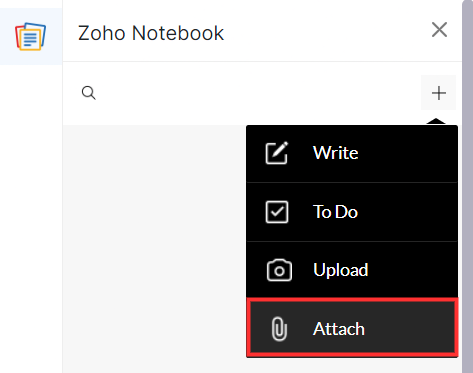
Select the file that you want to upload and click Open.
The document will be added as a card. You can access it from the Zoho Notebook extension.
Delete Cards
Hover the cursor over the pane on the right side of the screen and click the Zoho Notebook extension.
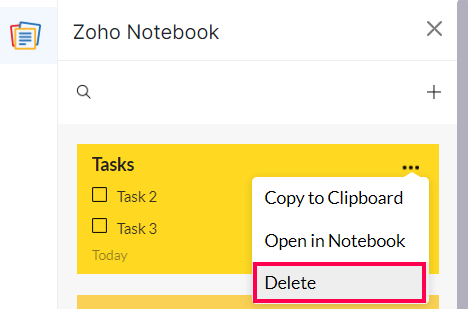
Click the More button next to the card that you want to delete in the pane that appears.
Click Delete from the dropdown.
Open a Card in Zoho Notebook
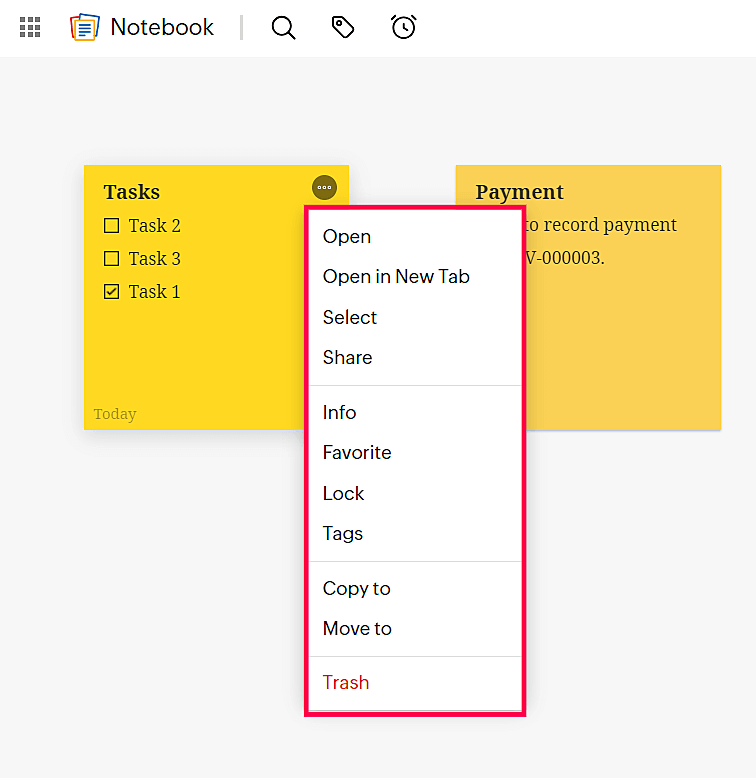
You can open an existing card in Zoho Notebook to perform additional actions like marking a card as a favorite, locking a card, adding tags to a card, and more. Here’s how:
Hover the cursor over the pane on the right side of the screen and click the Zoho Notebook extension.
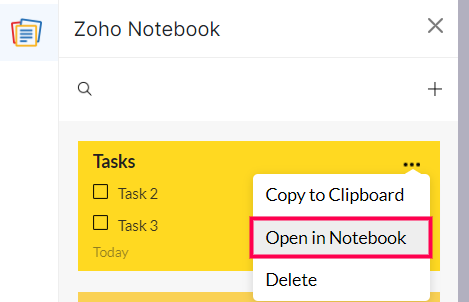
Click the More button next to the card in the pane that appears.
Click Open in Notebook from the dropdown.
The Zoho Notebook web app will open in a new tab in your browser.
Click the More button in the top right corner of the card and select the action that you want to perform.
Uninstall the Zoho Notebook Extension
Go to Settings in the top right corner of the page.
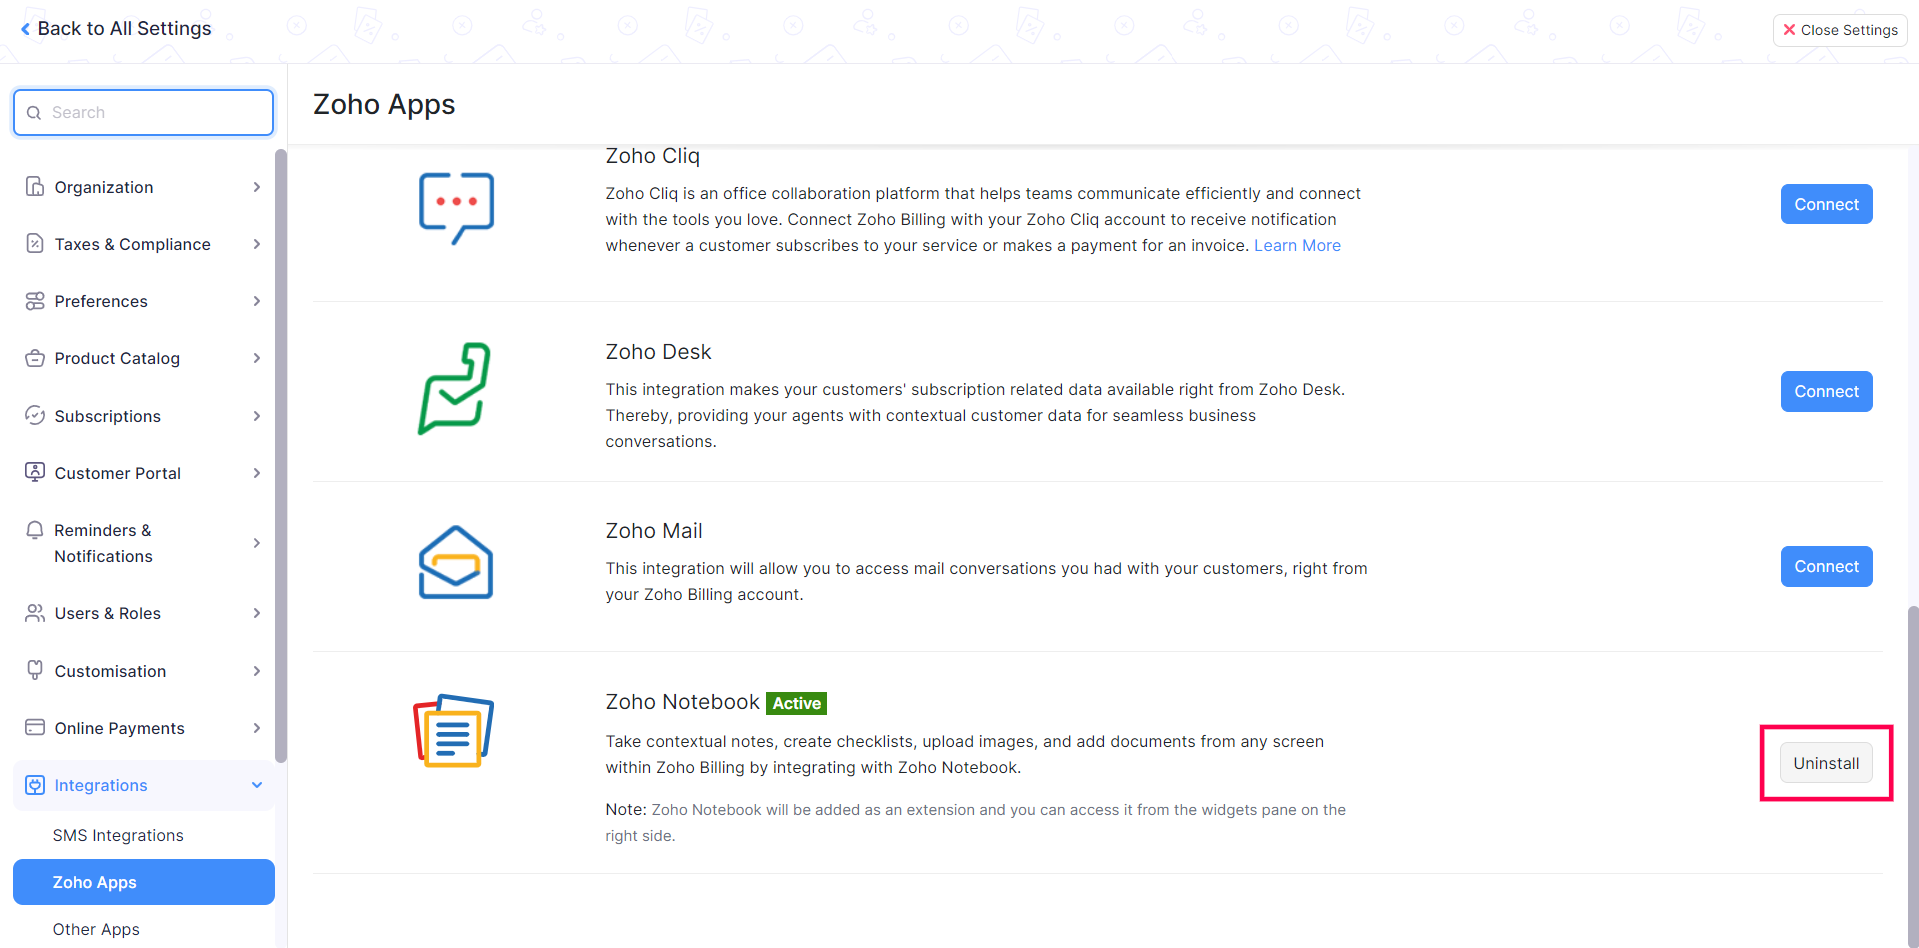
Scroll down and select Zoho Apps under Integrations.
Click Uninstall next to Zoho Notebook.
Click Uninstall in the pop-up that appears.
The Zoho Billing app will refresh, and the Zoho Notebook extension will be uninstalled after the refresh. However, the cards created using the Zoho Notebook extension will still be available in the Zoho Notebook app.


 Yes
Yes