
Autoscan Receipts
Expenses, such as fuel charge, utilities, postage, supplies, computer equipment, or rental, are a part and parcel of any business. More often, you will be receiving receipts for the amount spent on these expenses. The information in these receipts can be captured in Zoho Billing by enabling the auto-scanning of receipts.
The autoscan feature in Zoho Billing lets you store all the receipts or bills incurred in your business. Once you enable this feature, all the uploaded receipts will be scanned and new expenses can be created instantly. You can also restrict who gets access to upload files into the Receipts Inbox (a folder where all your receipts are primarily stored before they are scanned).
Enable Autoscan
To start auto-scanning receipts in your Zoho Billing organization:
Navigate to Expenses.
Click the folder icon in the top right corner of the page.

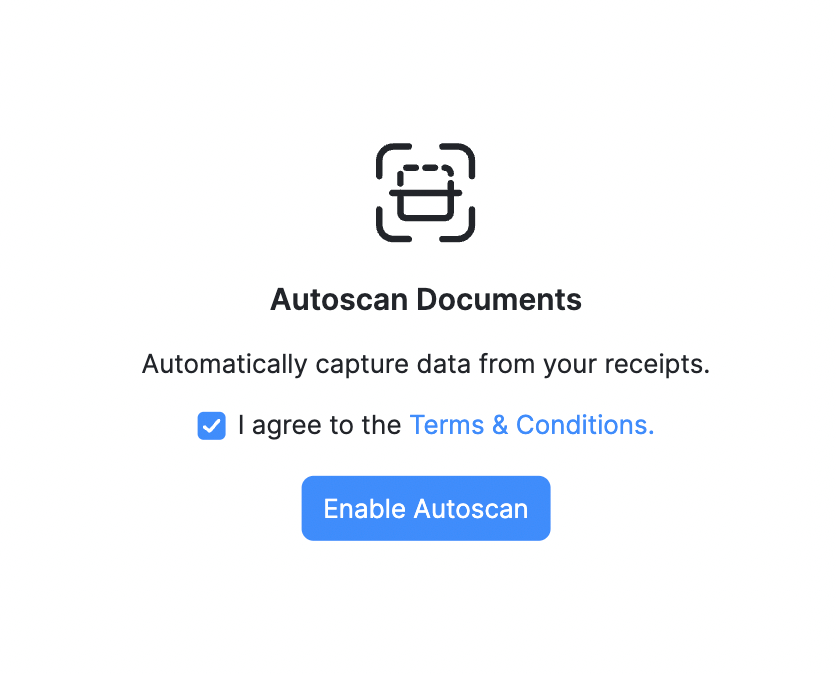
Click Enable Autoscan after agreeing to the terms.
Once you enable the autoscan option, you will be redirected to the Receipts Inbox page where you can upload receipts.
Upload Receipts
You can upload the receipts into Zoho Billing in three ways:
- Drag and drop files from your desktop.
- Attach files from your desktop or cloud.
 Insight: Only files in the format **jpg, jpeg, png, gif, bmp,** and **PDF** can be uploaded into the Receipts Inbox.
Once you have uploaded the receipts, you can check the status of them in the Receipts Inbox. They can have one of the following four statuses:
| Status | Indicates |
|---|---|
| Scan in progress | The receipt is being processed currently. |
| Processed | The receipt has been auto-scanned and is ready to be converted into an expense. |
| Unreadable | The auto-scanning has failed because of some issue with the uploaded receipt. This may result due to illegible data, images which cannot be interpreted, or when the language is not supported. |
| This file cannot be auto-scanned | The format of the uploaded receipt is not supported. Convert it into a format that is supported and try uploading again. |
Convert Receipt to an Expense
All the uploaded receipts can be converted into an expense easily. To do so:
- Navigate to Expenses > Receipts Inbox.
- Click + Convert to Expense on the receipt, that you want to convert into an expense.
- If the uploaded file has been auto-scanned successfully (the status will change to Processed), the fields of the expense will be auto-populated. Otherwise, you can fill in the missing fields.
- Click Save to save the expense, or click Save & Next to save and move to the next uploaded receipt.
- Click Skip For Now to skip this receipt and move to the next uploaded receipt.
- The converted receipt will be available in the Expenses module along with the receipt attached to it.
Document Level Permissions
You can grant access to a trusted individual, for example, an accountant, a bookkeeper, or a business partner — by inviting them as a User to your organization, who can access the Documents module.
View Documents: Enable this to grant the user access only to view all the files in the Receipts Inbox.
Upload Documents: Enable this to grant the user access to upload and view the files in the Receipts Inbox.
Delete Documents: Enable this to grant the user access to view and delete the files in the Receipts Inbox.

 Yes
No
Yes
No
Thank you for your feedback!