This help page is for users in Creator 5. If you are in the newer version (Creator 6), click here. Know your Creator version.
Add Users
To add users to the application:- Click the Users option under the Users and Control section of the Settings page.
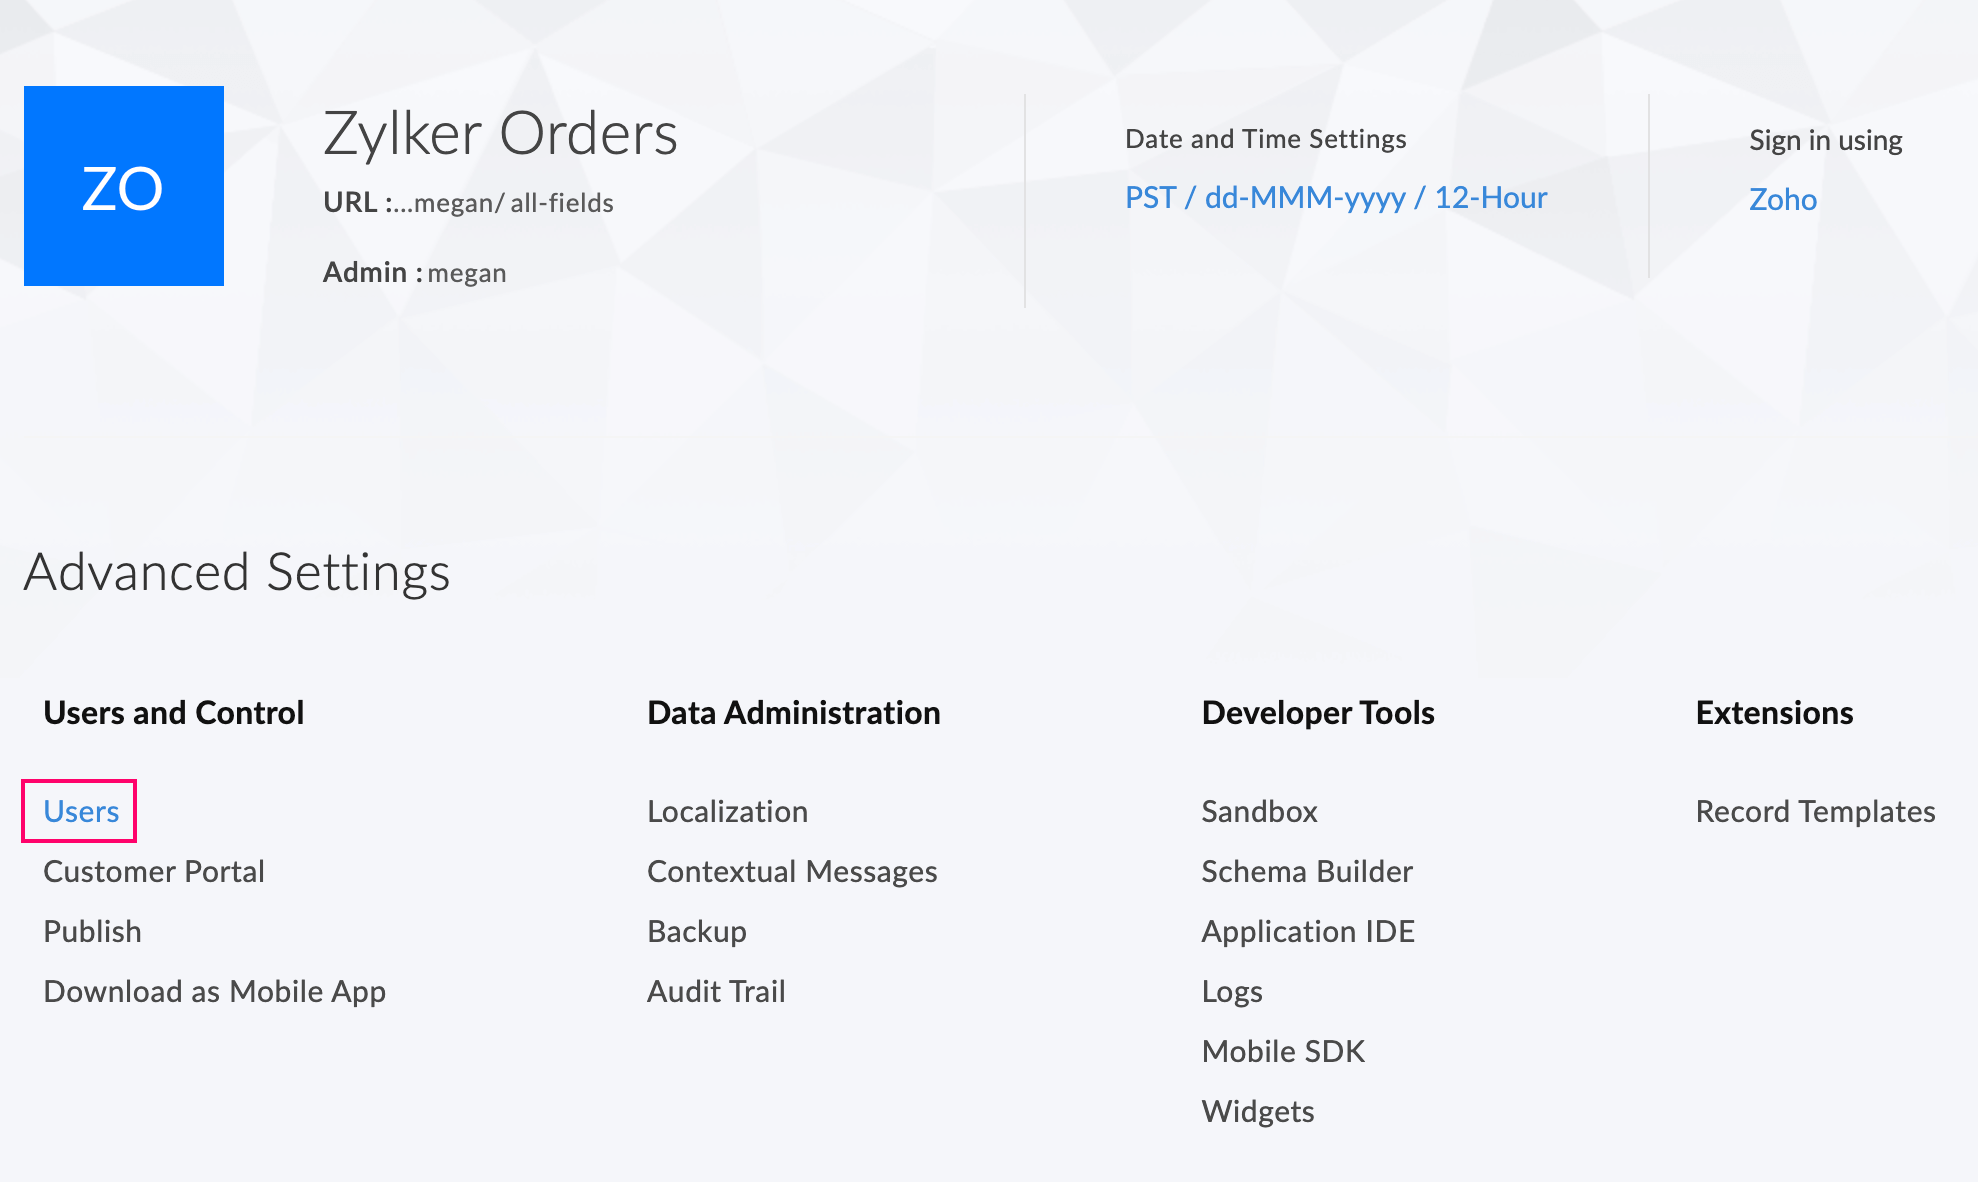
- Click the Add Users button. The Add Users tab appears.
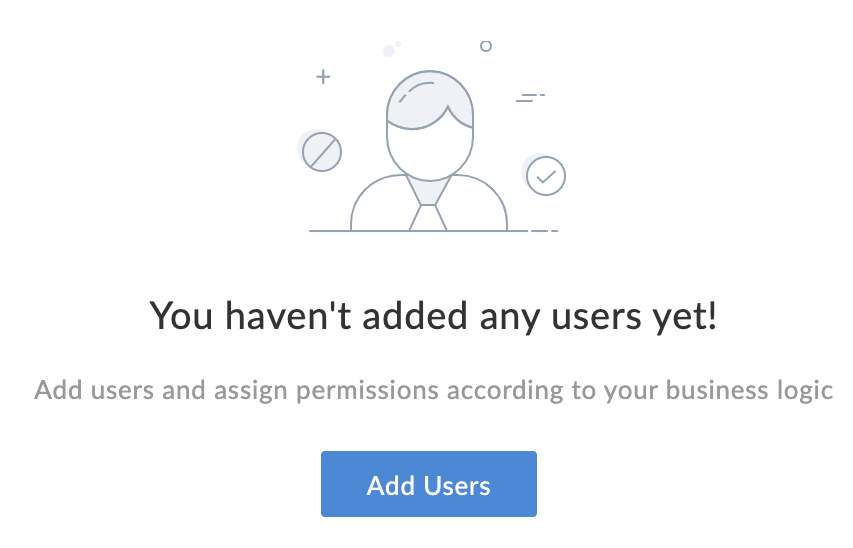
- If there are no existing users, the page will appear as shown below:
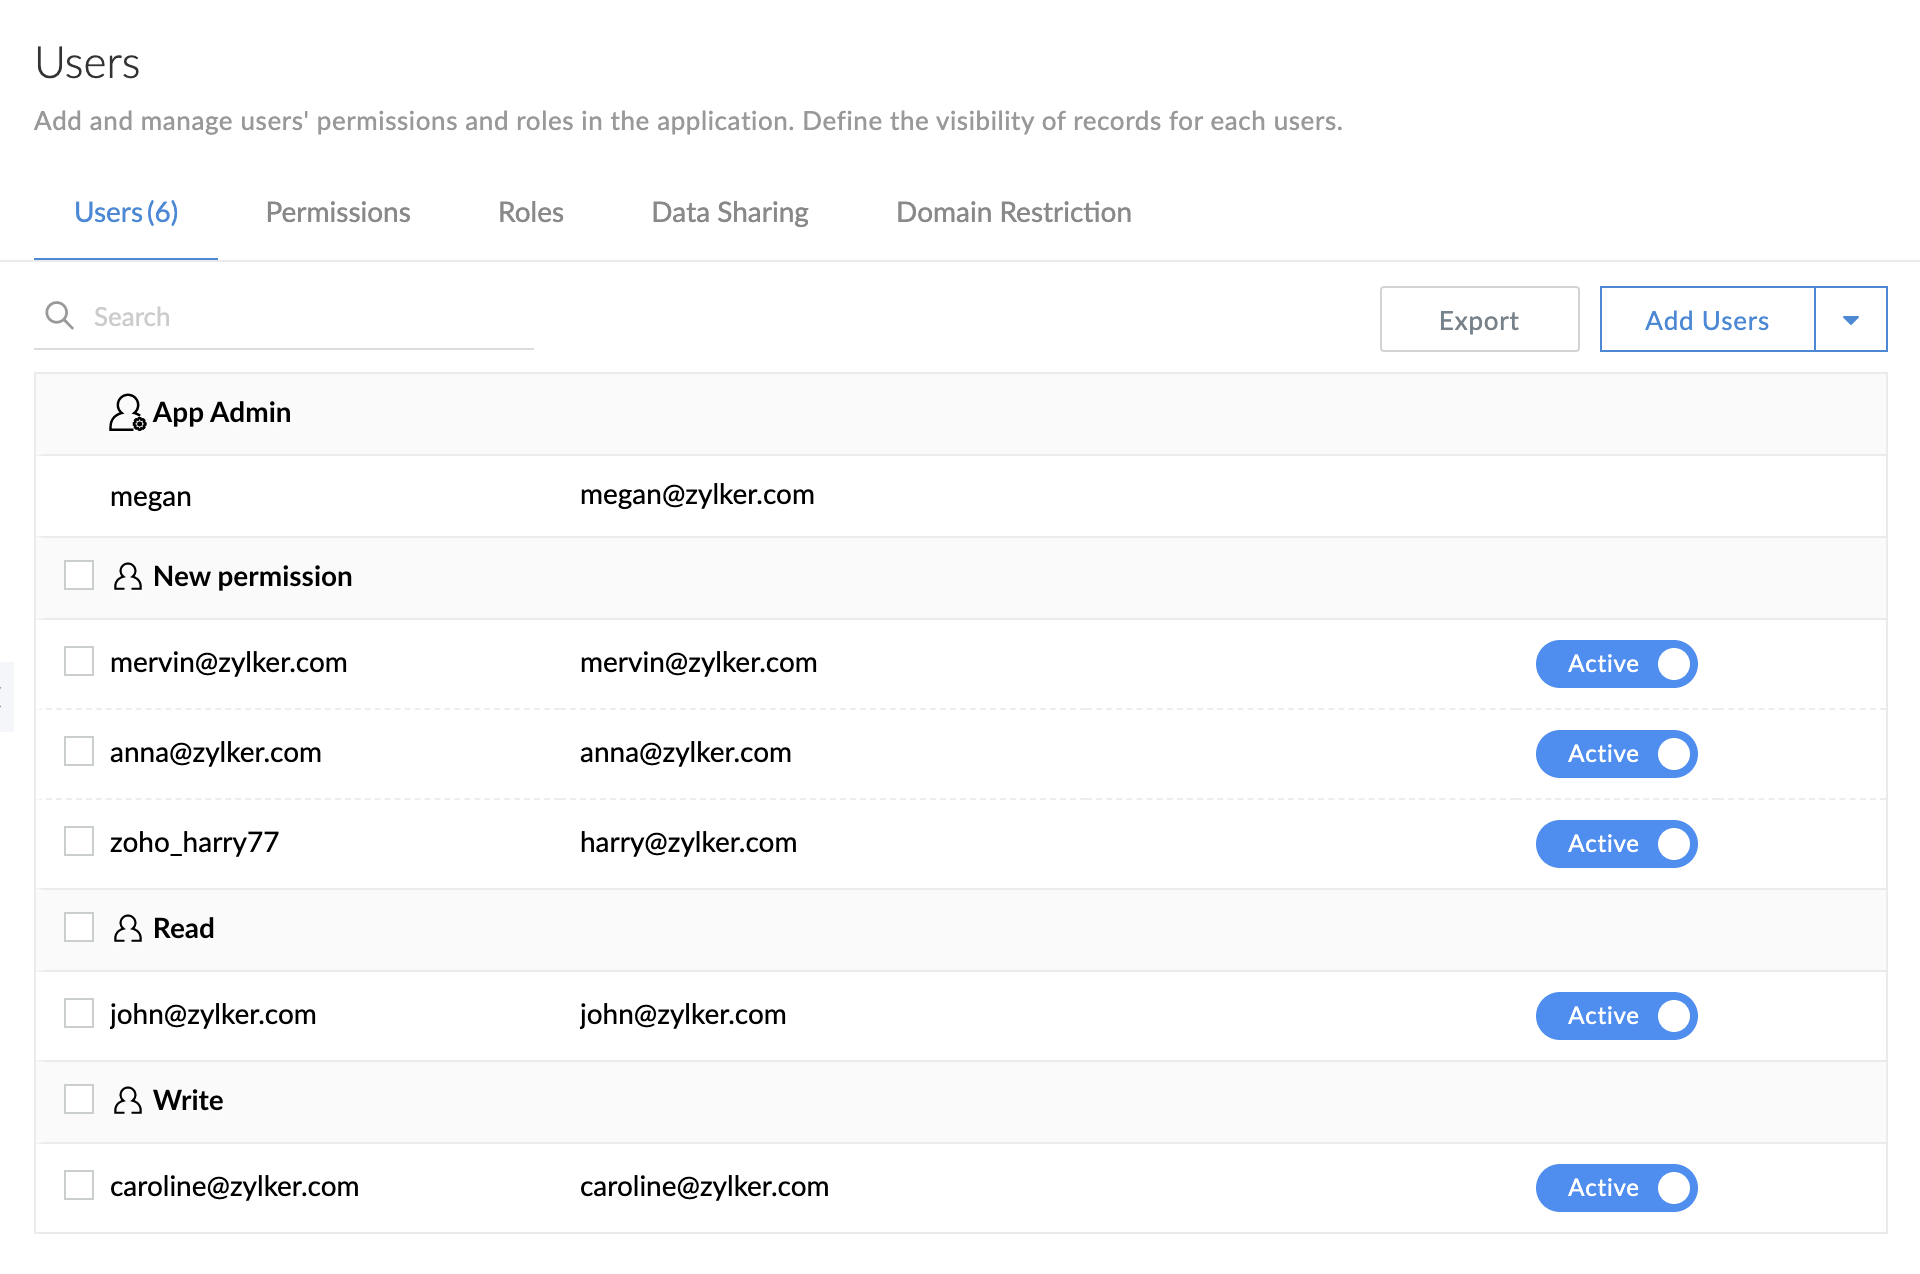
- If other users have already been added, a list of the users will be displayed. To add a user, click the Add user button at the right side of the page.
- If there are no existing users, the page will appear as shown below:
- In the User tab, you can specify the user's email address(es), permission set and configure the message you want to include in the invitation email. Then click Share.
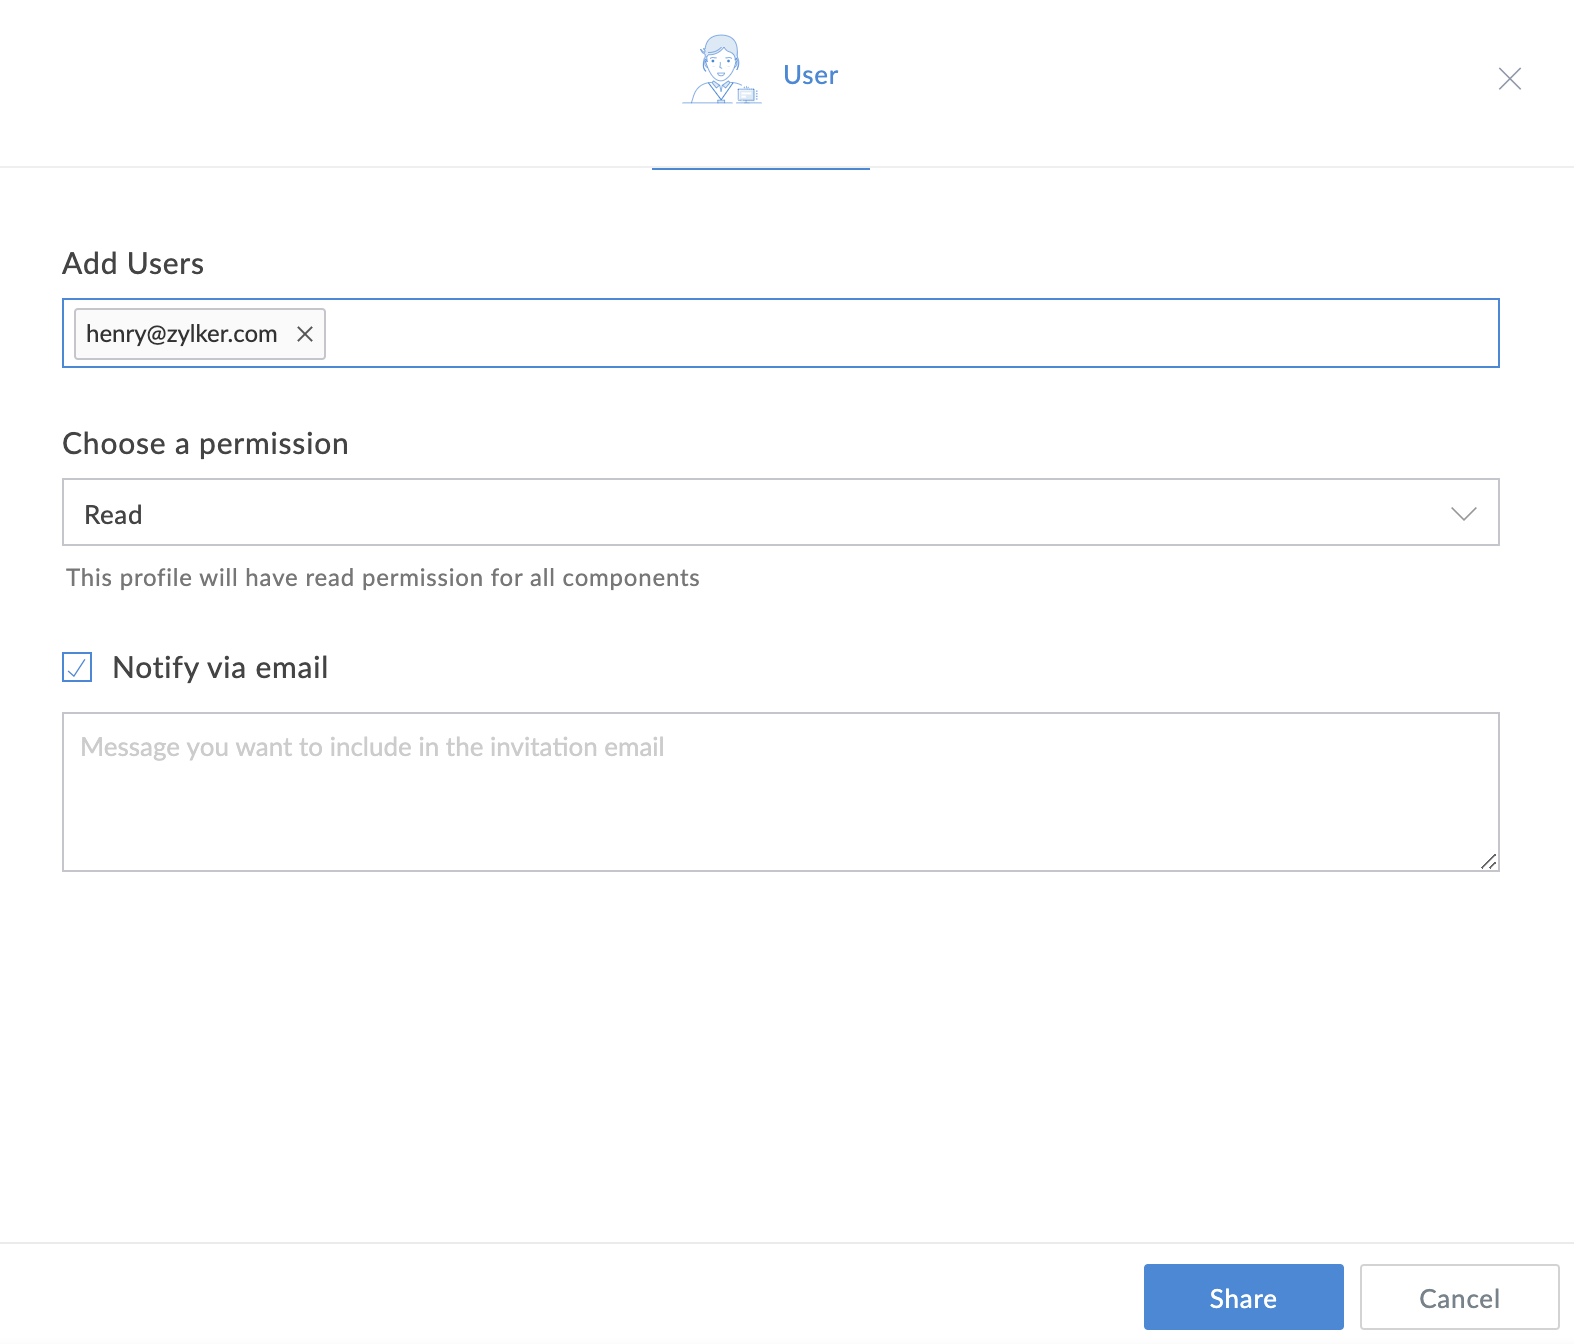
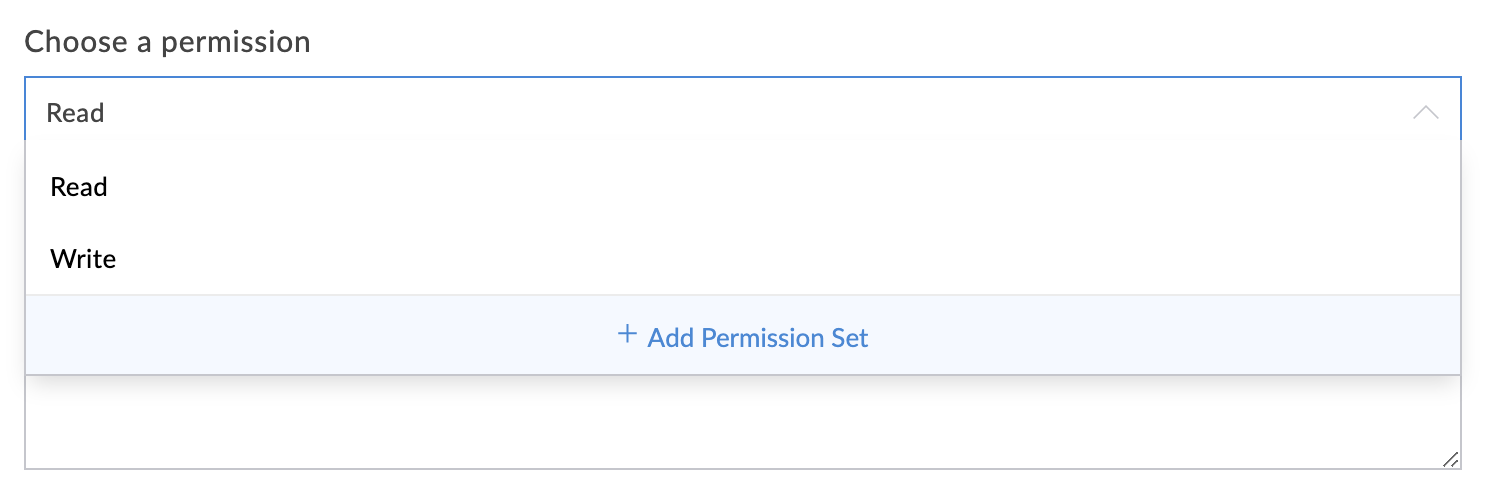
- The users can be assigned three different permissions: Read, Write, and Custom. To configure a custom permission set, click + Add Permission Set.
- In the Add Permission Set tab, specify a name and description for the new permission set. You can also set API & Security permissions by enabling or disabling the API access, PII Data and ePHI Data.
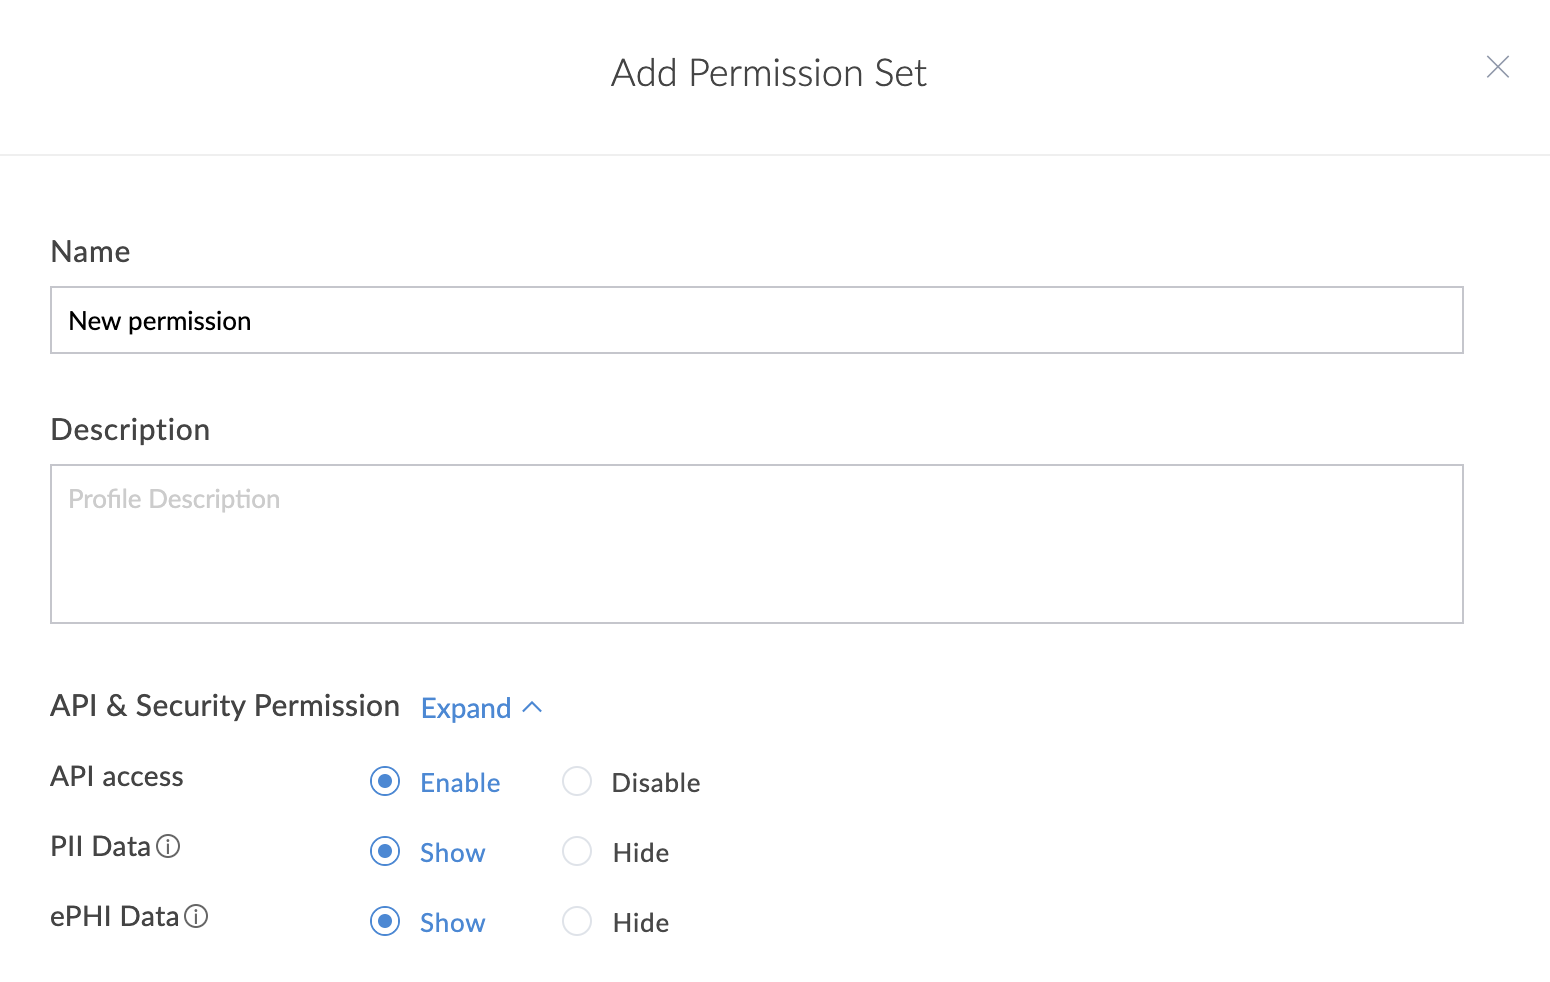
- Choose specific permissions such as access,view, etc. as per your requirements and click Save and Associate.
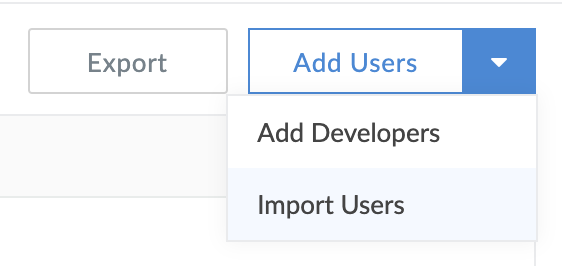
- To import users from a file, click the
 button next to the Add users button at the top-right of your Users page.
- In the drop down list that appears, click Import users.
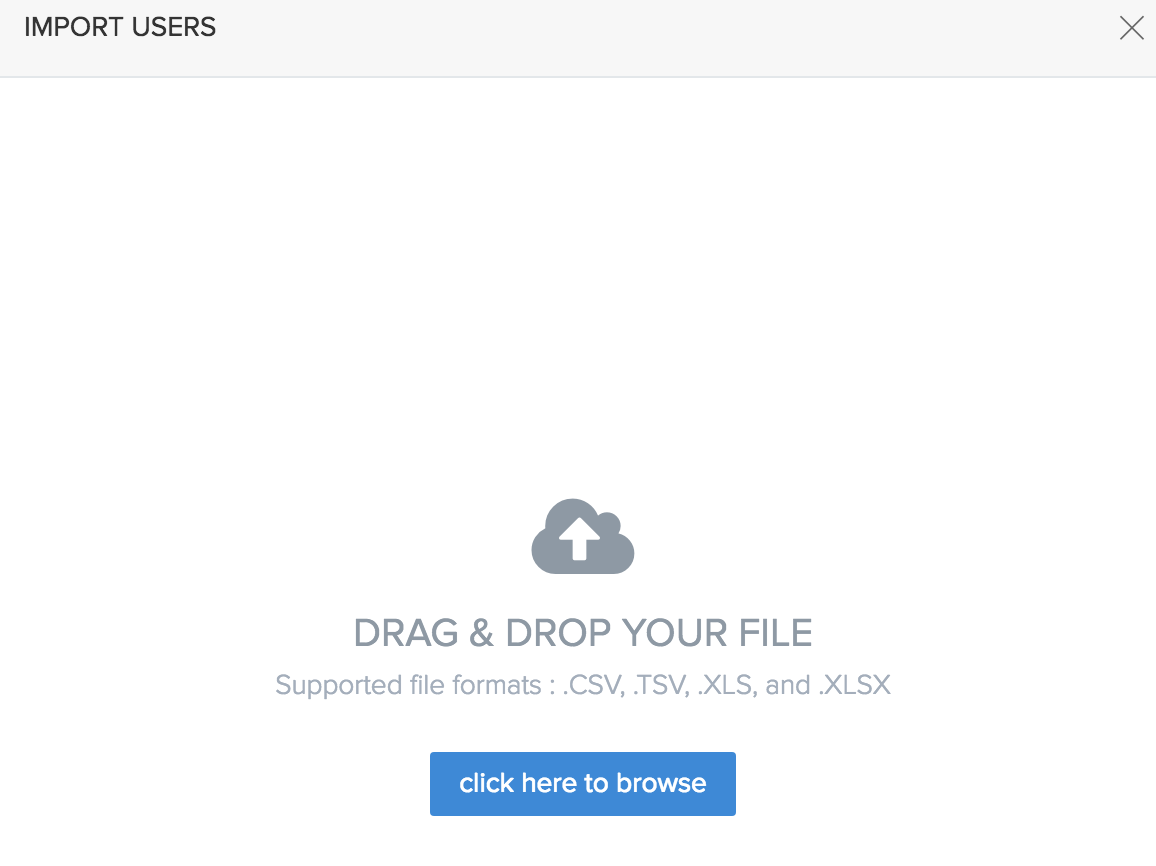
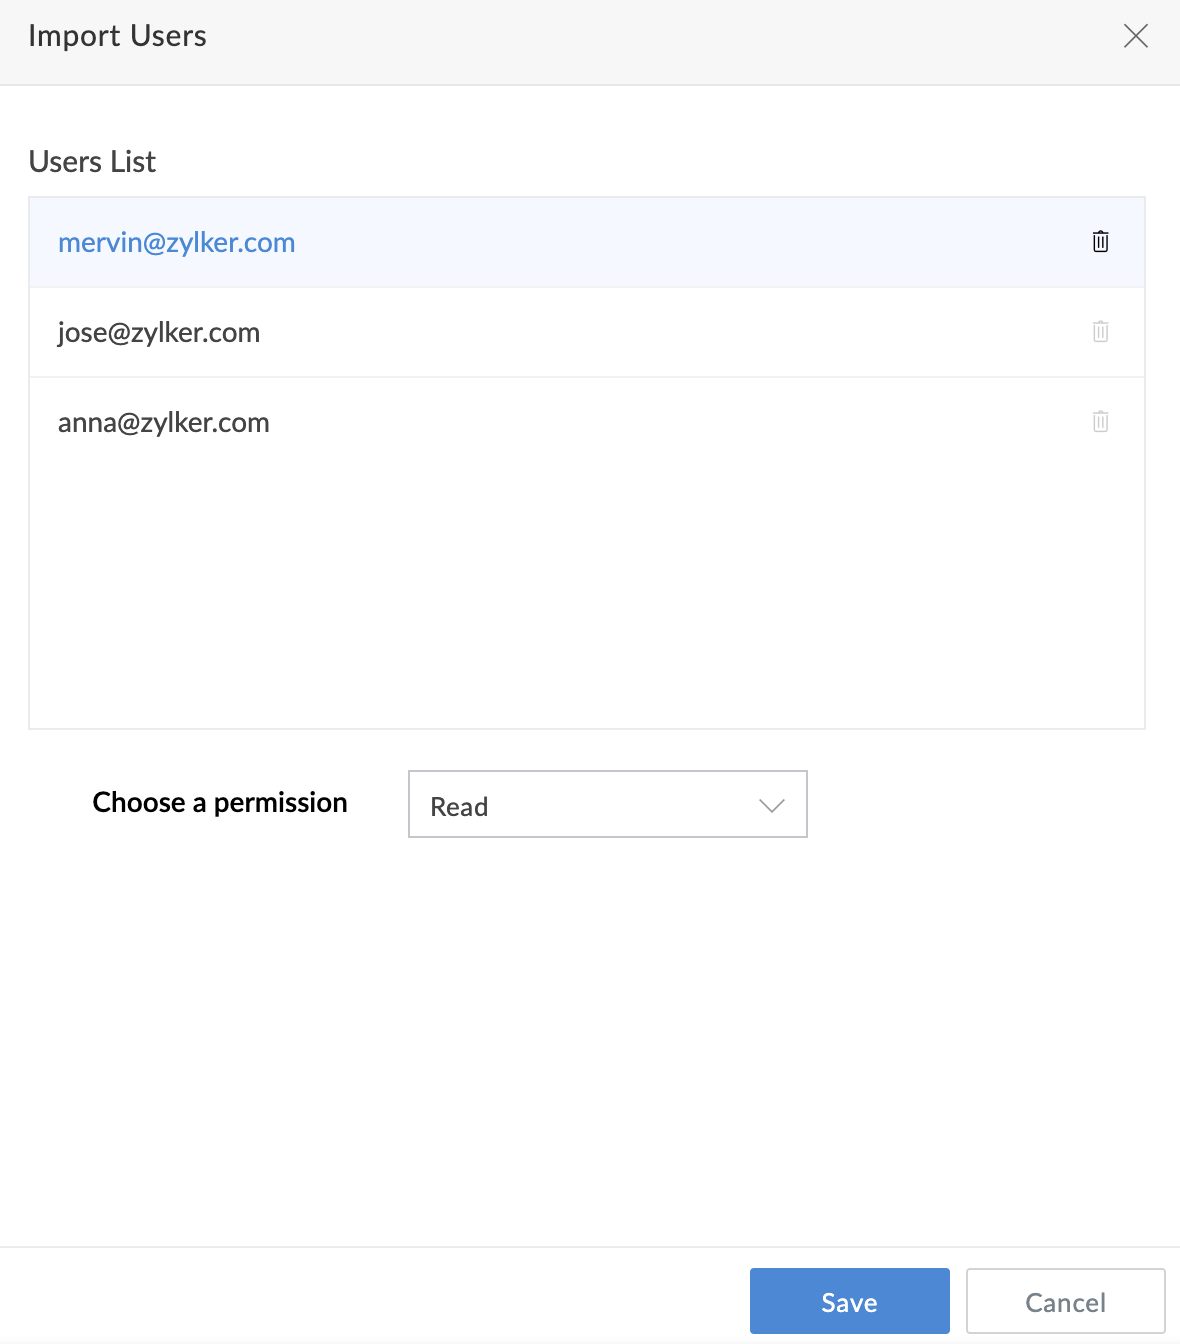
- In the Import Users tab, you can drag and drop or browse for the file containing the details of users.
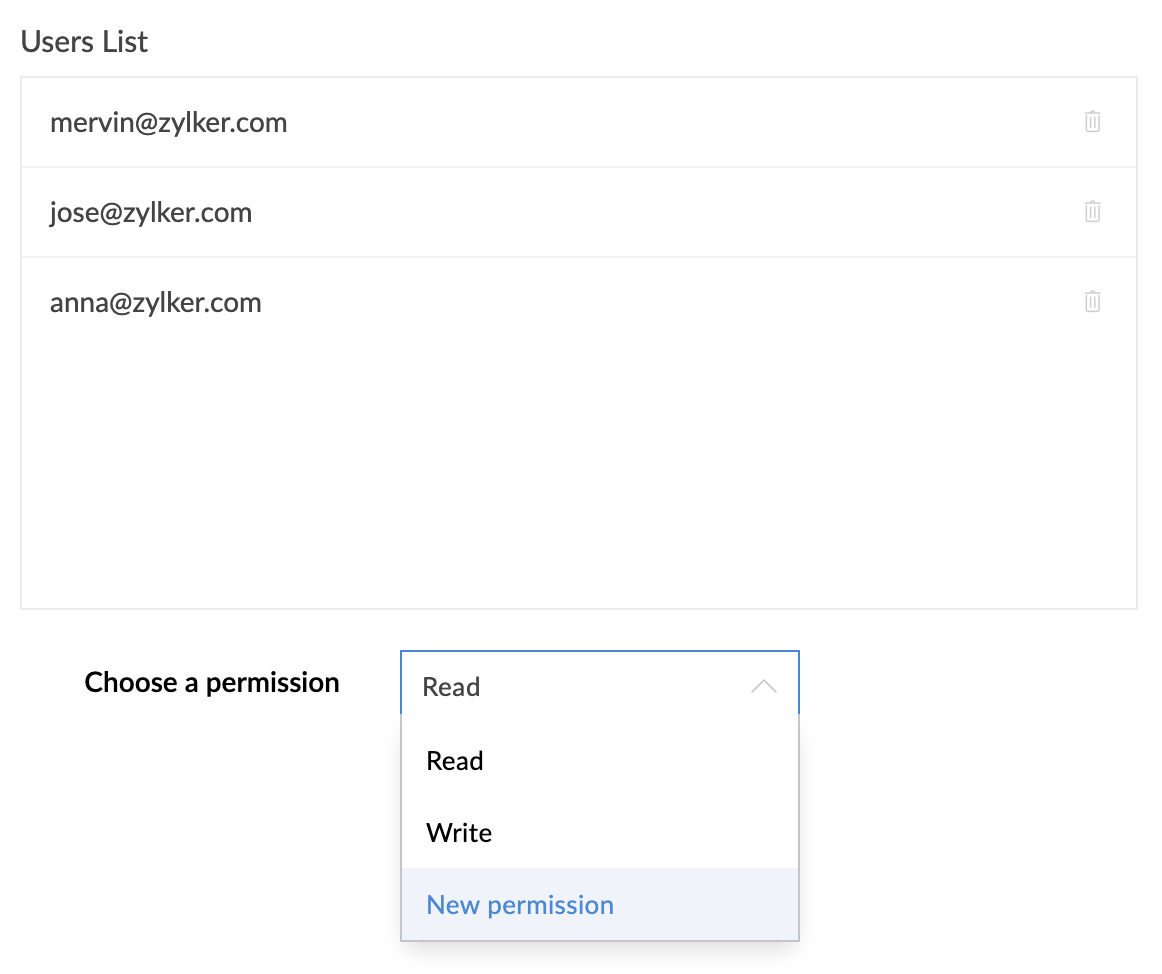
- Choose the type of the permission and click Save. You can also delete users from here.
- You can also choose the already configured custom permission sets from the Choose a permission dropdown.
- The imported users will now be displayed in the Users page.
- You can select multiple users and change their permissions, re invite and delete them.

- You can also perform the following operations from the Users tab:
- Reorder users by dragging and dropping them on your Users page.
- Hover on a permission set and change permission.
- Hover on a permission set and add users for that permission.
- Hover on a added user and send email notification.
- Hover on a user to delete them.
- Toggle the button beside each user to activate and deactivate them.


Note: Email address of the application admin should be verified in order to add users.
Note: If you are a Zoho One user, then on clicking Add Users you'll be redirected to the One Admin Panel. Learn more