Once you have added a panel template to the page builder, you can configure and customize all the elements in it including text, image and button in the panel builder.
All the display elements in a panel can be configured here. This includes:
- Configuring a text area's display contents in a panel
- Configuring image, icon, image URL to be displayed in a panel
- Configuring button's display in a panel
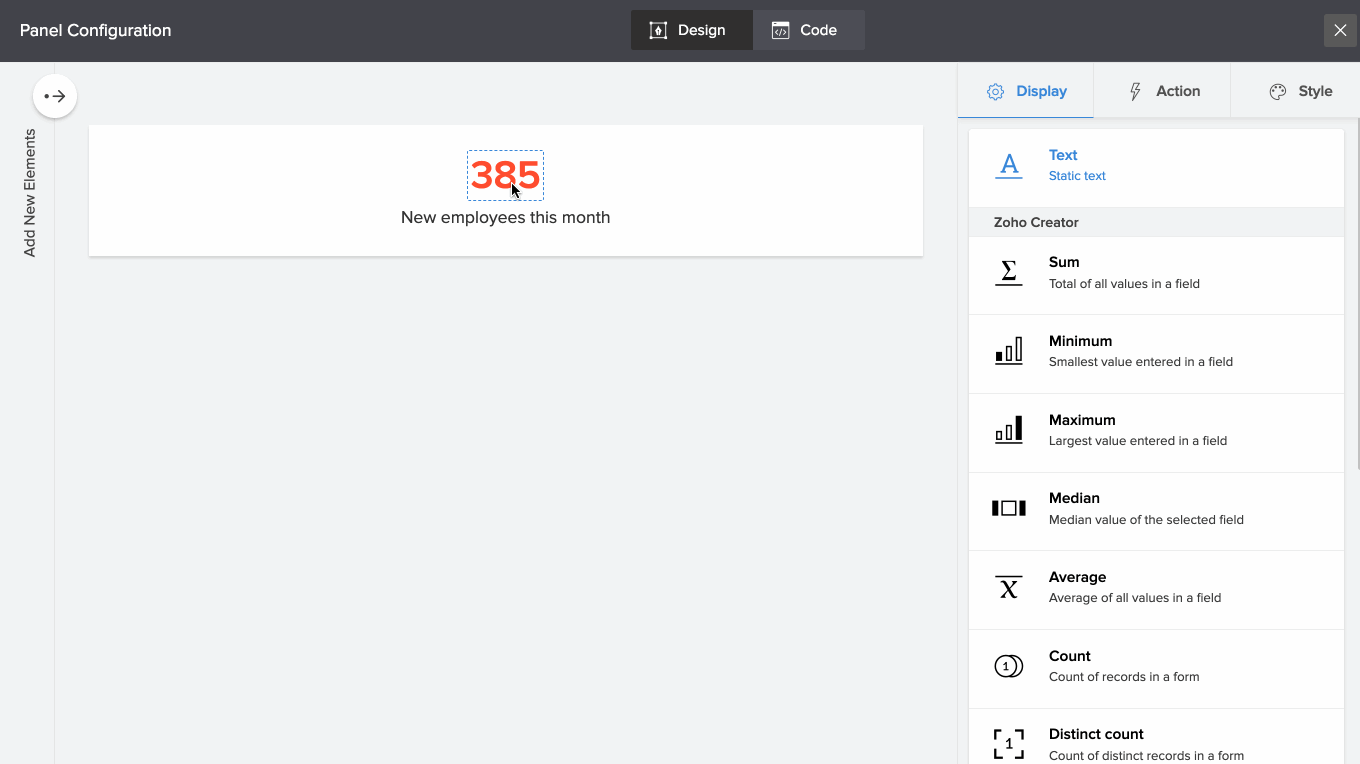
To configure the display value of a text element in a panel:
- Click to select the text element that you want to configure.
-
In the slider menu on the right, select Display . Choose from the following display text options:
- Static text - Text
-
Zoho Creator aggregates:
-
Zoho Sheet values:
-
Zoho Project data:
-
To display static text in a panel:
- Under Display -> Click Text .
- In the Value text area, type in the static text to be displayed in the panel.
- Preview on the panel on the left side of the panel builder. The changes will be auto-saved.
-
Click the close icon on the top right to close the panel builder.
-
To display a sum value from your Zoho Creator app data:
- Under Display -> Click Sum .
- Select a form to calculate the sum. You can select a form from the current application you are working on or another application. To choose a form from another application, click Change App at the bottom of the select form card. Choose the app name and click Done . Forms from the selected app will be listed here.
- Select a form field to calculate the sum based on the values in that field. ( Only numeric fields will be listed here. )
- Use the Evaluate for option to add criteria for fields to calculate a sum based on it. Click Selected records . By default, the sum is calculated for All records.
- Under Show sum as dropdown choose Actual to display the calculated sum as it is. You can also choose to display the calculated sum as a Percentage of a number.
-
To display a minimum value from your Zoho Creator app data:
- Under Display -> Click Minimum.
- Select a form to calculate the minimum. You can select a form from the current application you are working on or another application. To choose a form from another application, click Change App at the bottom of the select form card. Choose the app name and click Done . Forms from the selected app will be listed here.
- Select a form field to calculate the minimum based on the values in that field. ( Only numeric fields will be listed here. )
- Use the Evaluate for option to add criteria for fields to calculate a minimum based on it. Click Selected records . By default, the minimum is calculated considering All records.
- Under Display choose Minimum Value to display the calculated minimum value for the chosen field. Or choose Other field value to display the value in this field, corresponding to the minimum value calculated in Step 4. Choose another field.
- Choose Actual to display the calculated minimum number as it is.
-
To display a maximum value from your Zoho Creator app data:
- Under Display -> Click Maximum.
- Select a form to calculate the maximum. You can select a form from the current application you are working on or another application. To choose a form from another application, click Change App at the bottom of the select form card. Choose the app name and click Done . Forms from the selected app will be listed here.
- Select a form field to calculate the maximum based on the values in that field. ( Only numeric fields will be listed here. )
- Use the Evaluate for option to add criteria for fields to calculate a maximum based on it. Click Selected records . By default, the maximum is calculated considering All records.
- Under Display choose Maximum Value to display the calculated maximum value for the chosen field. Or choose Other field value to display the value in this field, corresponding to the maximum value calculated in Step 4. Choose another field.
- Choose Actual to display the calculated maximum number as it is.
-
To display a median value from your Zoho Creator app data:
- Under Display -> Click Median.
- Select a form to calculate the median. You can select a form from the current application you are working on or another application. To choose a form from another application, click Change App at the bottom of the select form card. Choose the app name and click Done . Forms from the selected app will be listed here.
- Select a form field to calculate the median based on the values in that field. ( Only numeric fields will be listed here. )
- Use the Evaluate for option to add criteria for fields to calculate a median based on it. Click Selected records . By default, the median is calculated considering All records.
- Under Show median as dropdown choose Actual to display the calculated median number as it is. You can also choose to display the calculated median as Percentage of Total , Percentage of a number or as a Fraction with total in denominator .
-
To display an average value from your Zoho Creator app data:
- Under Display -> Click Average.
- Select a form to calculate the average. You can select a form from the current application you are working on or another application. To choose a form from another application, click Change App at the bottom of the select form card. Choose the app name and click Done . Forms from the selected app will be listed here.
- Select a form field to calculate the average based on the values in that field. ( Only numeric fields will be listed here. )
- Use the Evaluate for option to add criteria for fields to calculate the average based on it. Click Selected records . By default, the average is calculated considering All records.
- Under Show average as dropdown choose Actual to display the calculated median number as it is. You can also choose to display the calculated median as Percentage of a number .
-
To display the count of records from your Zoho Creator app data:
- Under Display -> Click Count.
- Select a form to calculate the count of records in it. You can select a form from the current application you are working on or another application. To choose a form from another application, click Change App at the bottom of the select form card. Choose the app name and click Done . Forms from the selected app will be listed here.
- Use the Evaluate for option to add criteria for fields to calculate count based on it. Click Selected records . By default, the count is calculated considering All records.
- Under Show average as dropdown choose Actual to display the calculated count as it is. You can also choose to display the count as a Percentage or a Fraction .
-
To display the distinct count of records from your Zoho Creator app data:
- Under Display -> Click Distinct Count.
- Select a form to calculate the distinct count of records in it. You can select a form from the current application you are working on or another application. To choose a form from another application, click Change App at the bottom of the select form card. Choose the app name and click Done . Forms from the selected app will be listed here.
- Select a form field to calculate the distinct count based on the values in that field.
- Use the Evaluate for option to add criteria for fields to calculate distinct count based on it. Click Selected records . By default, the distinct count is calculated considering All records.
- Under Show distinct count as dropdown choose Actual to display the calculated count as it is. You can also choose to display the count as a Percentage of a number.
-
To display a cell value from your integrated Zoho Sheet's data:
- Under Display -> Click Zoho Sheet - Cell Value.
- Select a Spreadsheet to choose a worksheet from it.
- Select a Worksheet to choose the cell that contains the value to be displayed.
-
Use the Display option to choose a format to display the cell value. You can choose between displaying the cell value as:
- Cell Value : Refers to the cell address.
- Named Value Range : Refers to the name defined to a cell.
-
Based on your selection in Step 5:
- On selecting Cell Value : Enter the Cell Address that holds the value to be displayed. (For Example: A12)
- On selecting Named range value : Enter the Name of the cell that holds the value to be displayed. (For Example: Total)
-
To display the task count from your integrated Zoho Project's data:
- Under Display -> Click Zoho Projects - Task Count.
- Select a Portal to choose a Project from it.
- Select a Project to calculate it's Task Count.
-
Use the Evaluate for option to display task count for:
- All Tasks: Evaluates and displays the total tasks in the selected project.
- Open Tasks: Evaluates and displays the tasks with an Open status in the selected project.
- Closed: Evaluates and displays the tasks with a Closed status in the selected project.
-
To display the bug count from your integrated Zoho Project's data:
- Under Display -> Click Zoho Projects - Bug Count.
- Select a Portal to choose a Project from it.
- Select a Project to calculate it's Bug Count.
-
Use the Evaluate for option to display bug count for:
- All Tasks: Evaluates and displays the number of bugs in all tasks in the selected project.
- Open Tasks: Evaluates and displays the number of bugs in tasks with an Open status in the selected project.
- Closed: Evaluates and displays the number of bugs in tasks with a Closed status in the selected project.
-
To display the milestone count from your integrated Zoho Project's data:
- Under Display -> Click Zoho Projects - Milestone Count.
- Select a Portal to choose a Project from it.
- Select a Project to calculate it's Milestone Count.
-
Use the Evaluate for option to display milestone count for:
- All Tasks: Evaluates and displays the number of milestones in all tasks in the selected project.
- Open Tasks: Evaluates and displays the number of milestones in tasks with an Open status in the selected project.
- Closed: Evaluates and displays the number of milestones in tasks with a Closed status in the selected project.
To configure an image displayed in a panel:
- Click to select the image element that you want to configure.
-
In the slider menu on the right, select Display . Choose from the following display image options:
-
To display an image present in the Image library of your Zoho Creator app :
-
Under
Display
, choose
Image Source
->
My Library.
My Library is your page's in-built image library where you can upload images and later use them in your panels. - Click to select the image that you want to add in your panel. You can immediately view the changes in the left.
-
Under
Display
, choose
Image Source
->
My Library.
-
To display an image from an external link/URL :
-
Under
Display
, choose
Image Source
->
Web Link.
A web link is an external URL that holds an image that you want to display on your panel. - Paste the image's URL in the Enter URL field.
-
Under
Display
, choose
Image Source
->
Web Link.
-
To display an icon in the panel: :
-
Under
Display
, choose
Image Source
->
Icon.
Icons are a depiction in simple and minimal forms the concepts used commonly throughout a UI. You can choose from the various formats of icons in our Icons library. -
Choose an icon format:
- Outline
- Solid
- Search or scroll to find a suitable icon and click on it. You can immediately view the changes in the left.
-
Under
Display
, choose
Image Source
->
Icon.
To configure the display value of a button element in a panel:
- Click to select the button element that you want to configure.
- In the slider menu on the right, select Display .
-
Type-in a label for the button in the space provided. You can immediately view the changes in the left.


