


Microstore

A Microstore is a mobile-friendly, shareable page that showcases your brand, products, and social links - all in one place. It is designed to assist small businesses and social sellers in promoting their products online without the need for a full-fledged website. A Microstore can also function as a link-in-bio page, making it easy for followers on social media to discover and buy from your store with a single tap.
Scenario: Patricia runs a small clothing brand called Zylker Clothings and promotes her products on Instagram. She creates a Microstore at buy.zohoecommerce.in/zylkerclothings, adds her logo, a short bio, and links her YouTube, Facebook, and Instagram profiles. She then adds her top-selling items as content blocks and publishes the page. Patricia adds the Microstore link to her Instagram bio, using which her followers can now tap the link, browse her products, and place orders directly, without leaving their social feed.
Create a Microstore
To get started with your Microstore:
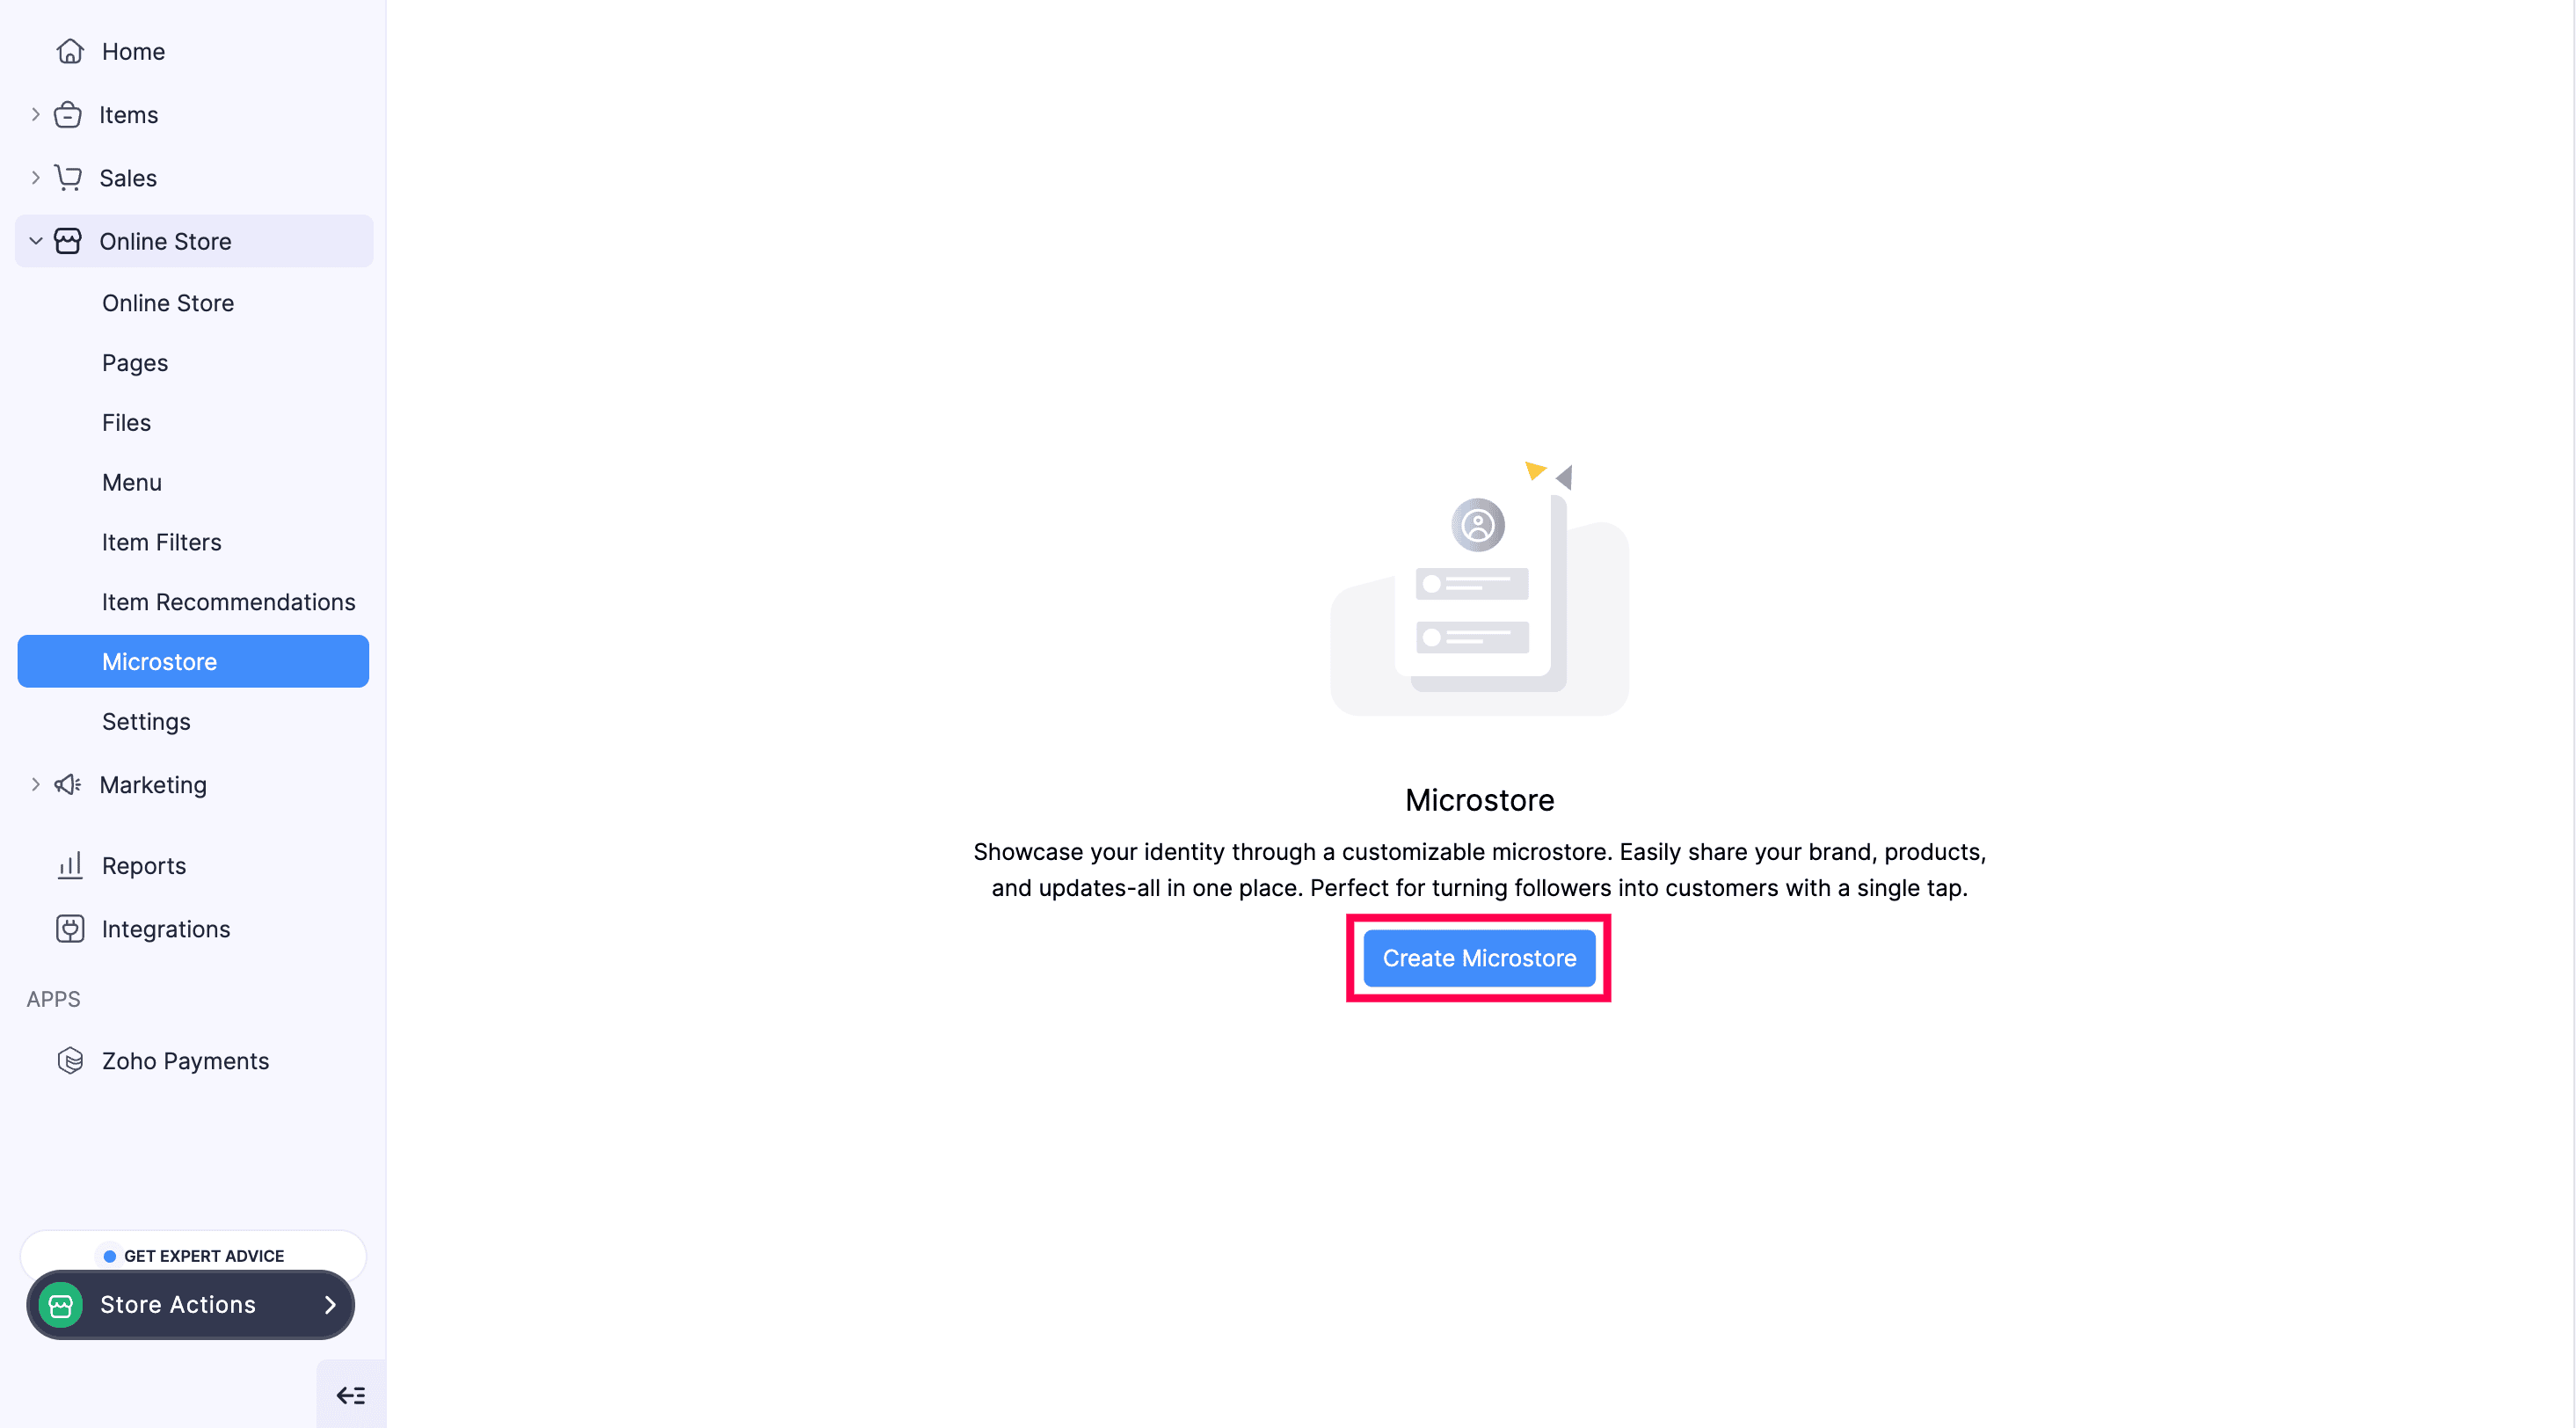
- Go to Online Store and select Microstore.
- Click Create Microstore.
- In the Enter your Microstore name dialog, enter a unique name for your store.
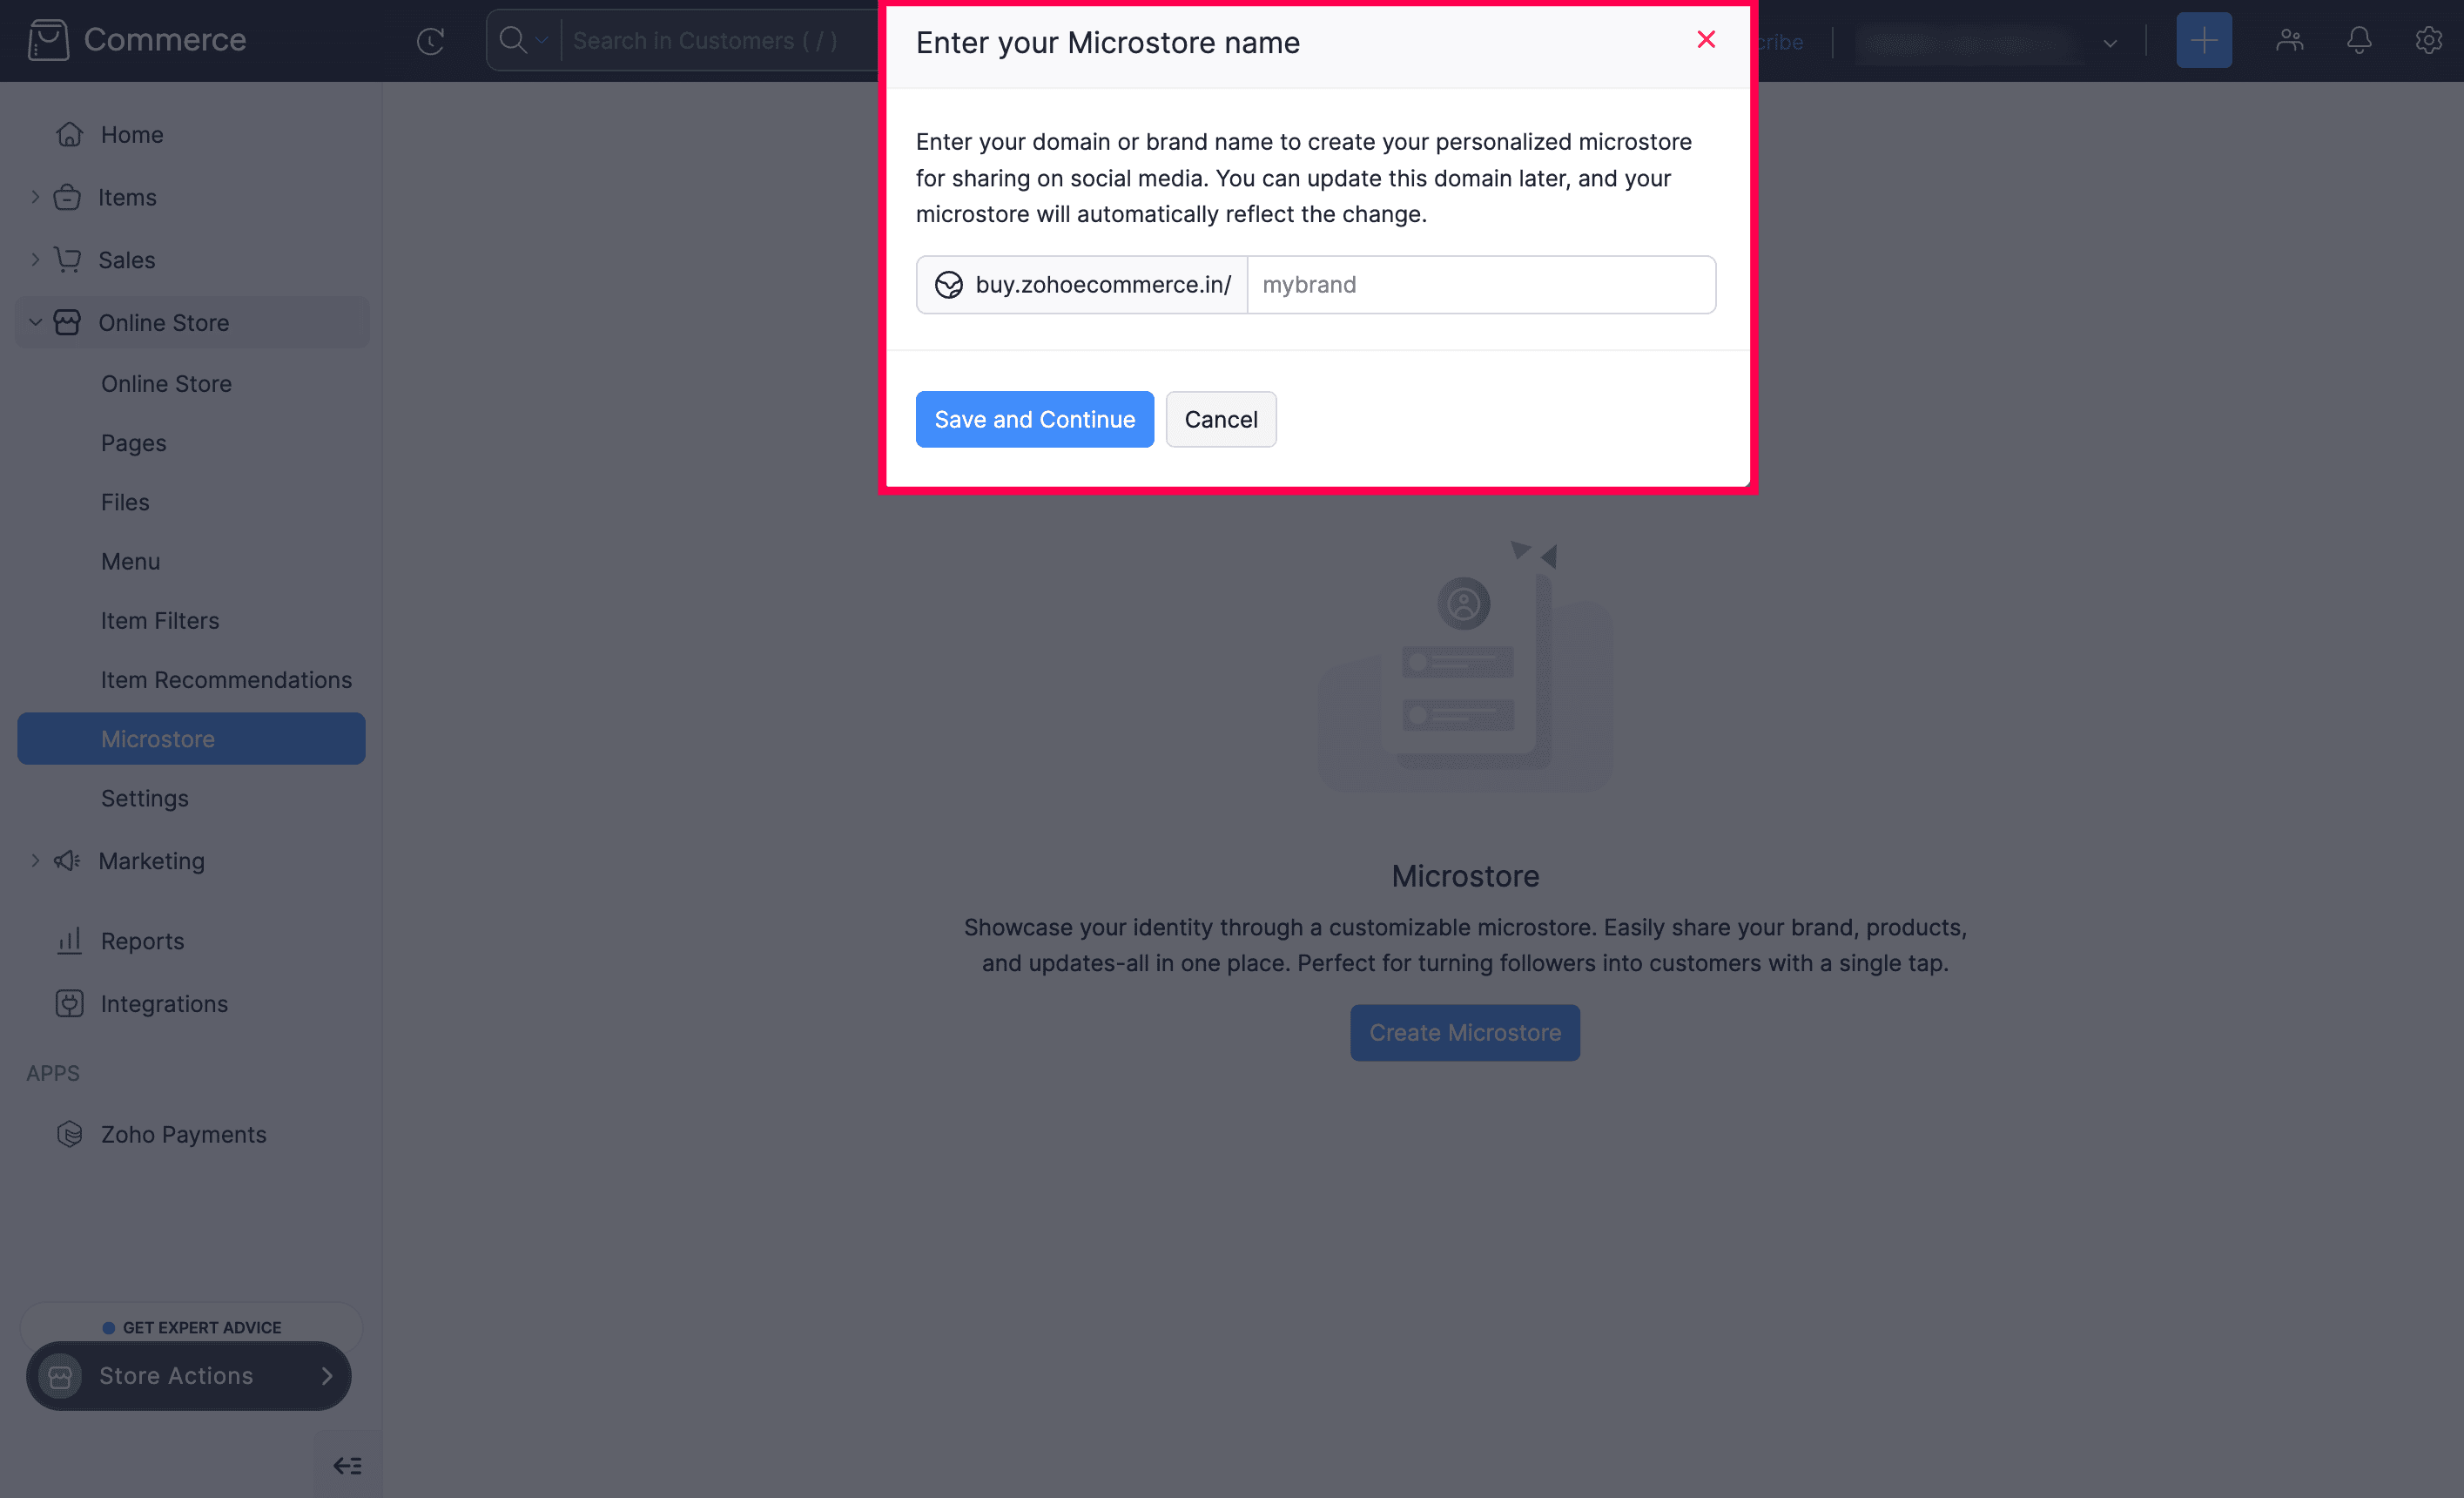
Your Microstore URL will follow the format: buy.zohoecommerce.in/[brand-name]. For example, if your brand name is Zylker Clothings, your Microstore URL will be buy.zohoecommerce.in/zylkerclothings.
- Click Save.
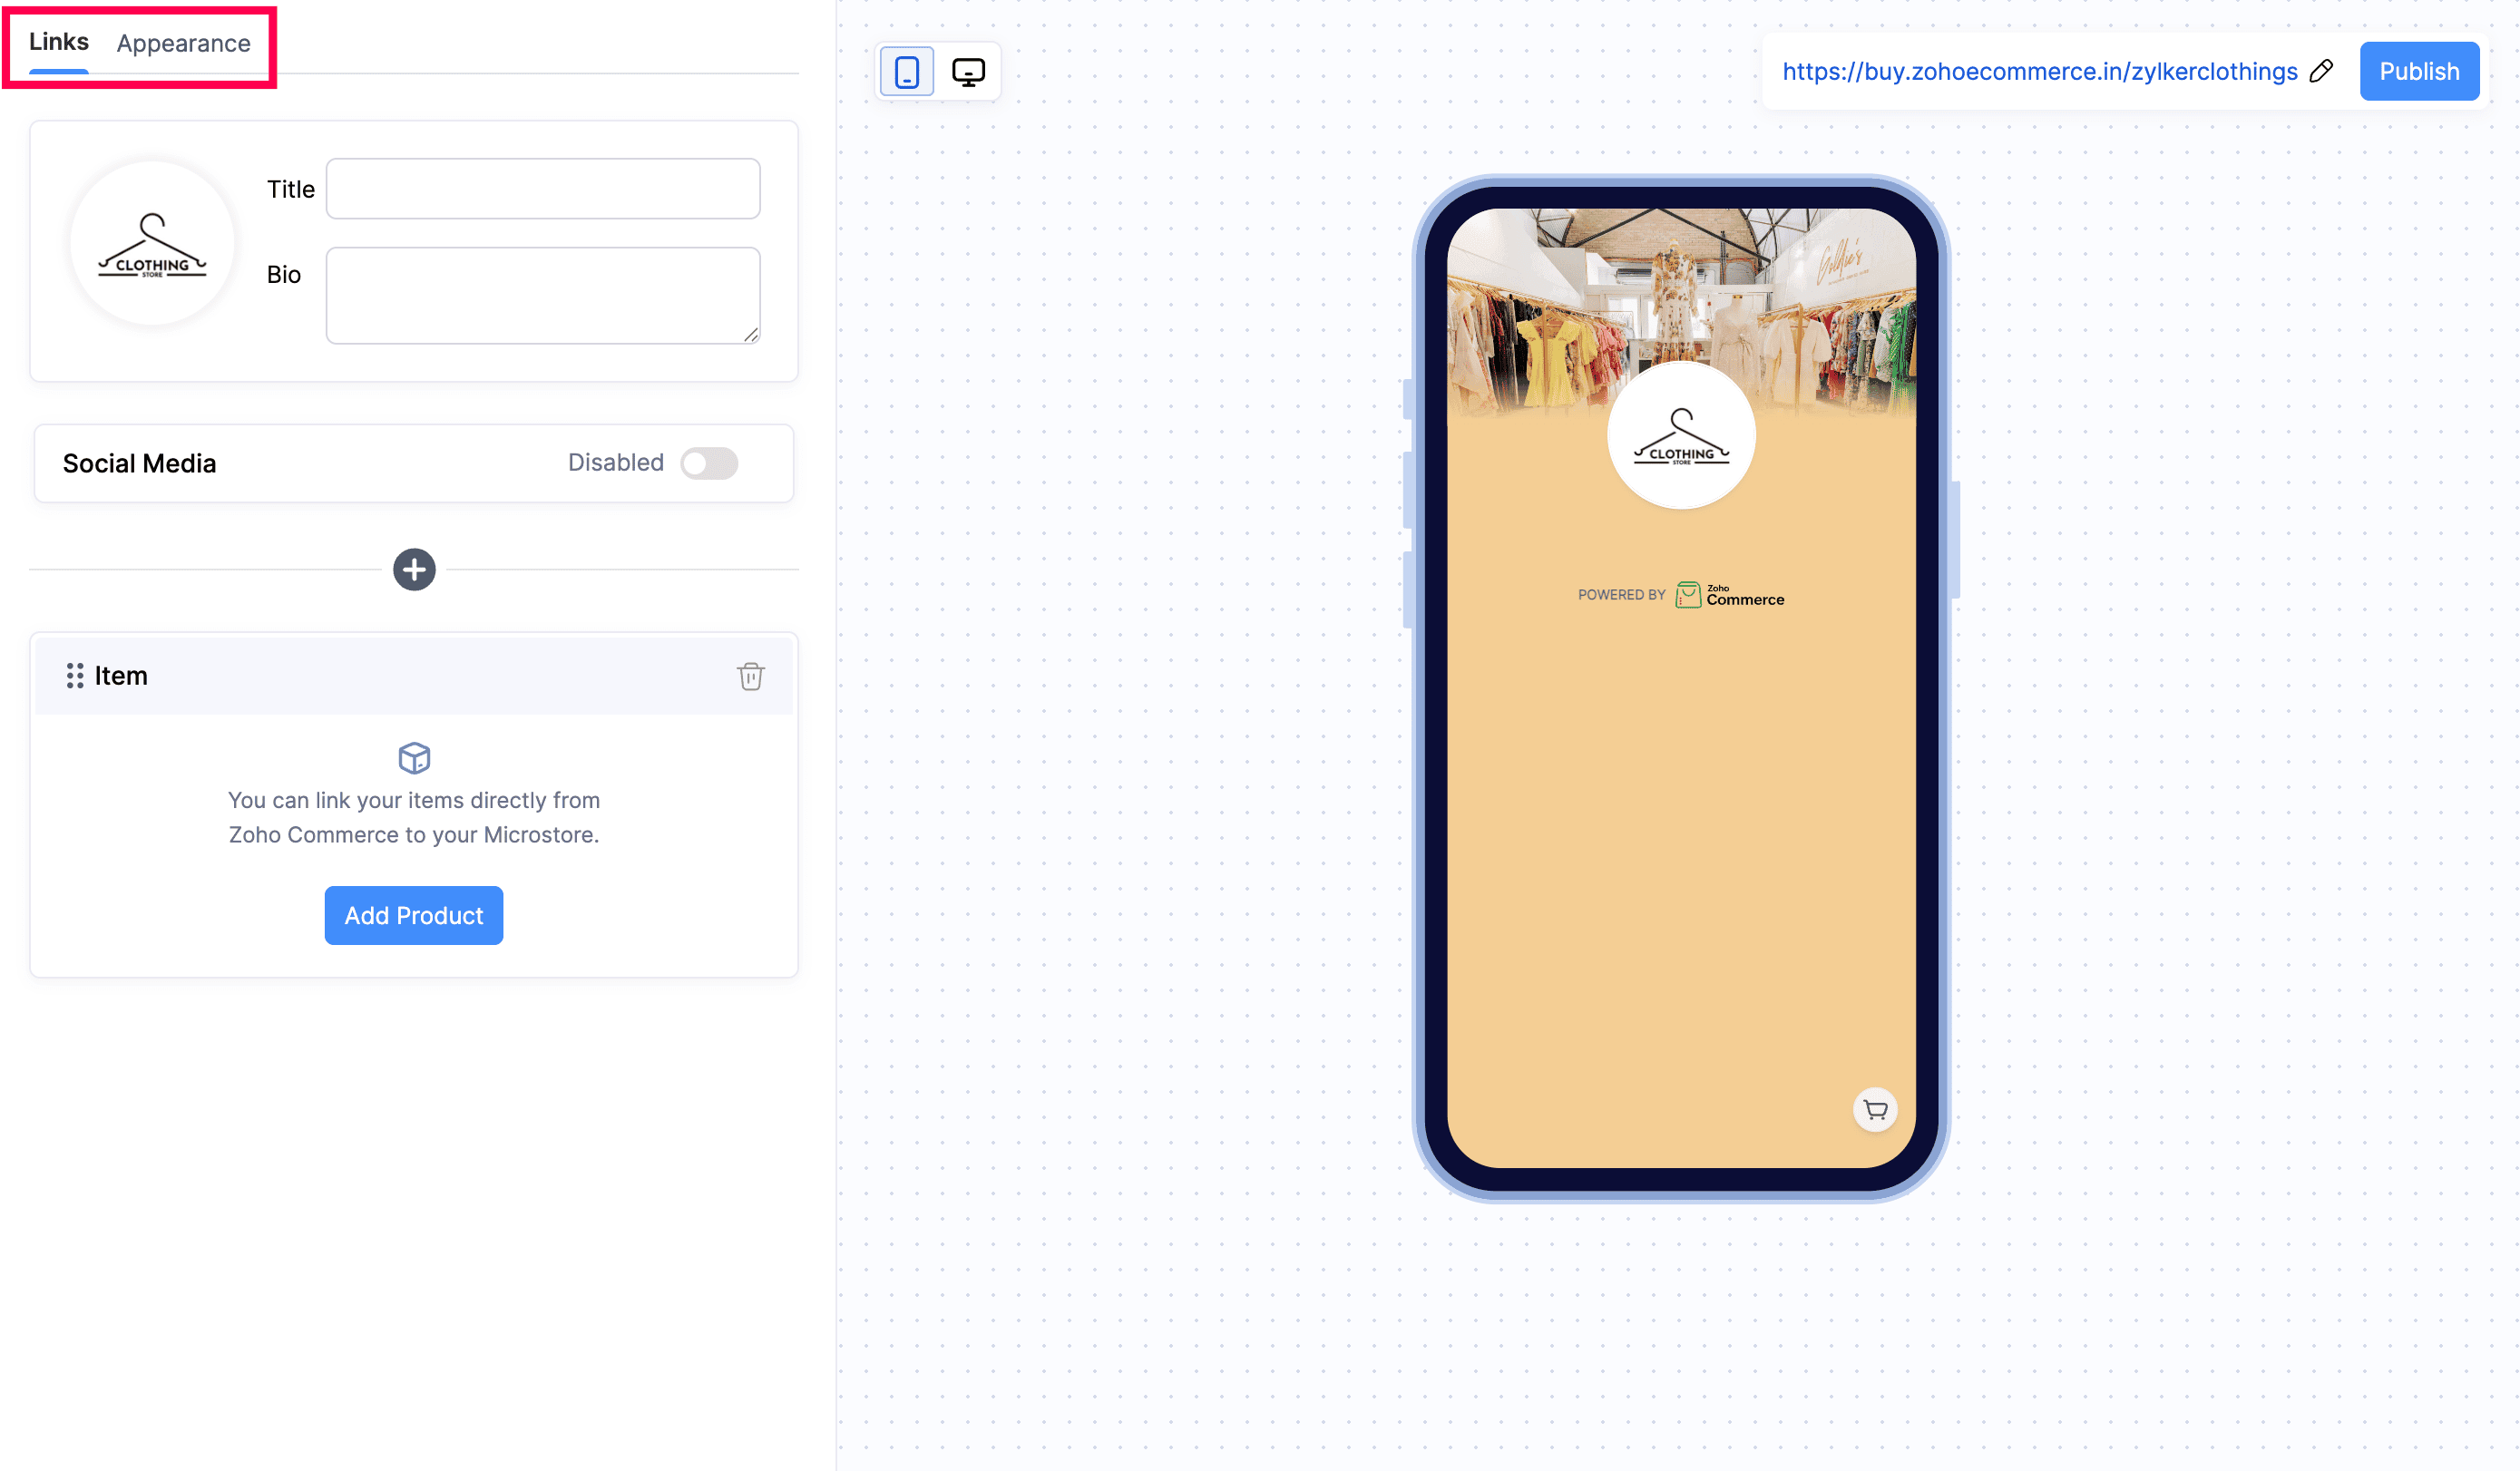
The Microstore editor opens with two tabs: Links and Appearance.
Links
The Links tab lets you configure your profile, social media handles, and the content blocks displayed on your Microstore.
Profile
| Field | Description |
|---|---|
| Logo | Your online store logo is displayed to represent your brand on the Microstore. |
| Title | Enter the display name for your Microstore. This appears as the main heading on your page. |
| Bio | Enter a short description or tagline for your brand. This is displayed below your title. |
Social Media
You can add social media links to your Microstore so customers can follow you across platforms. The Social Media toggle is disabled by default. Enable it to add the social media links.
To add a social media link:
- Enable the Social Media toggle.
- Select a platform from the dropdown (for example, YouTube, Facebook, or Instagram).
- Enter the full URL for your social media profile.
- Click + Add Social to add multiple social media links. Repeat for each platform you want to include.
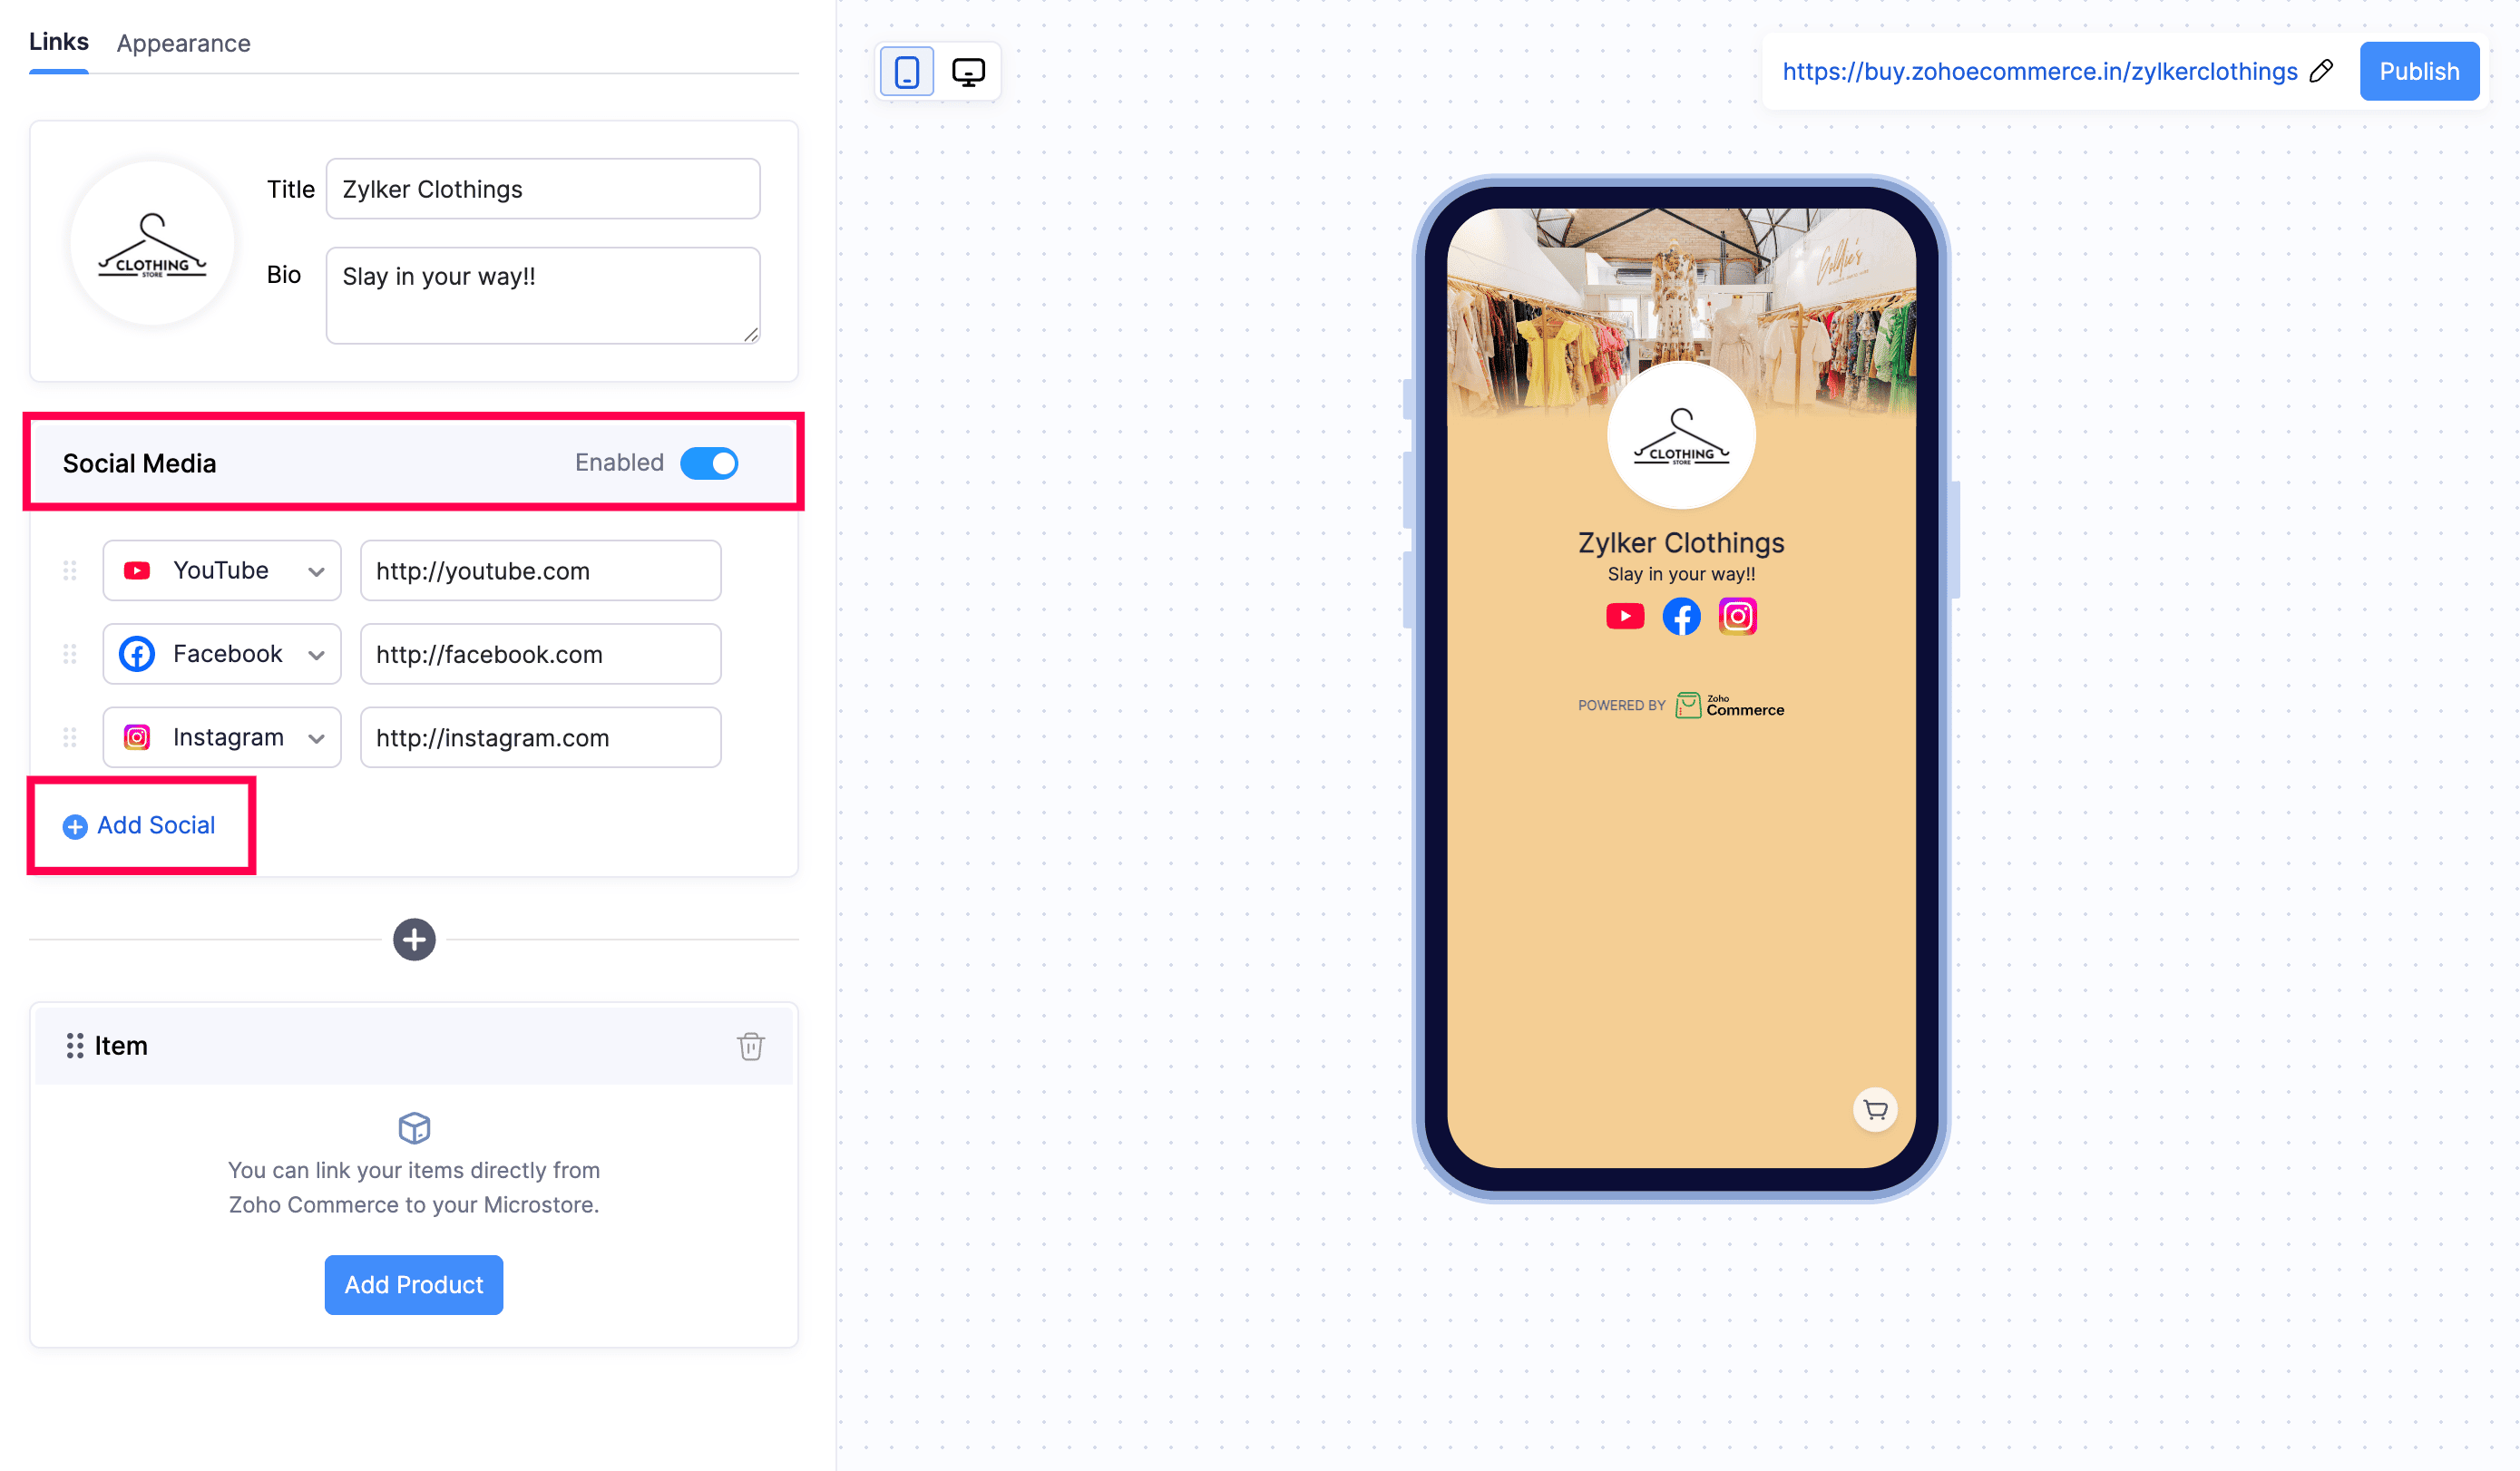
You can reorder social links by dragging them into your preferred order. Also, you can remove a social link by clicking the Remove icon next to it.
Add Content Blocks
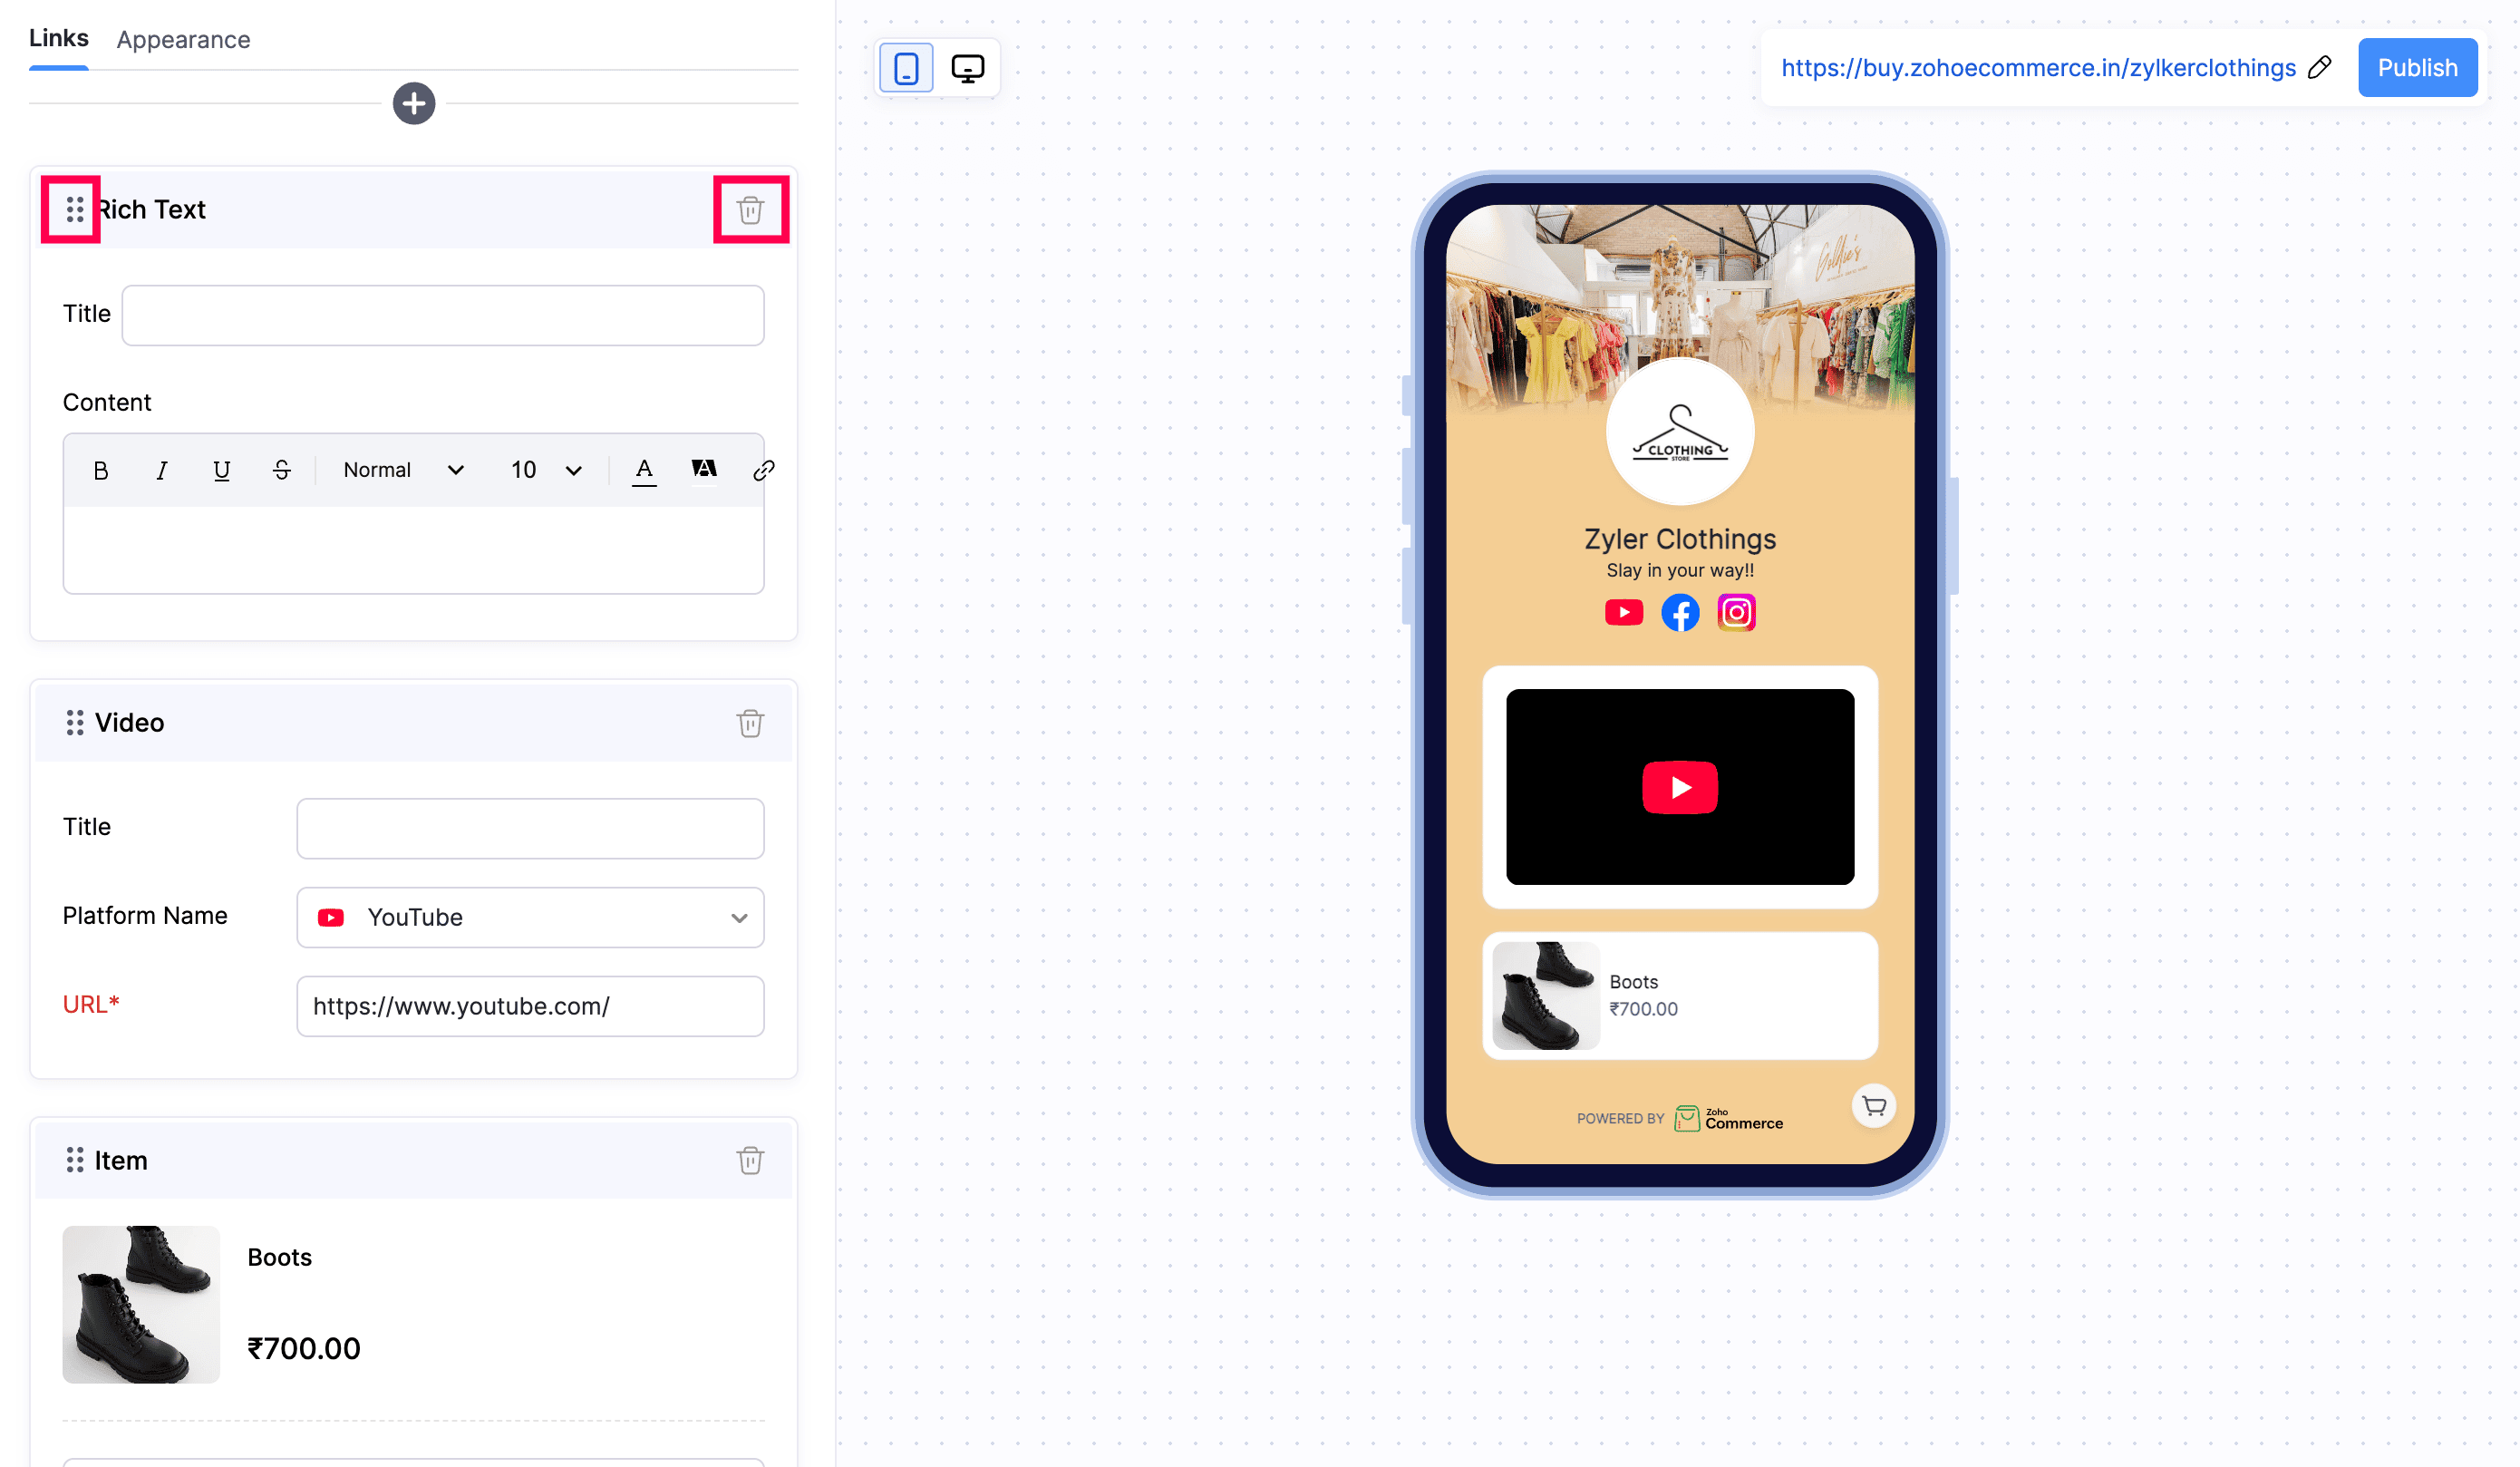
Content blocks let you feature products, categories, videos, and text directly on your Microstore. An Item block is added by default, and you can add more blocks as needed. To add a content block, click the + button and select a block type:
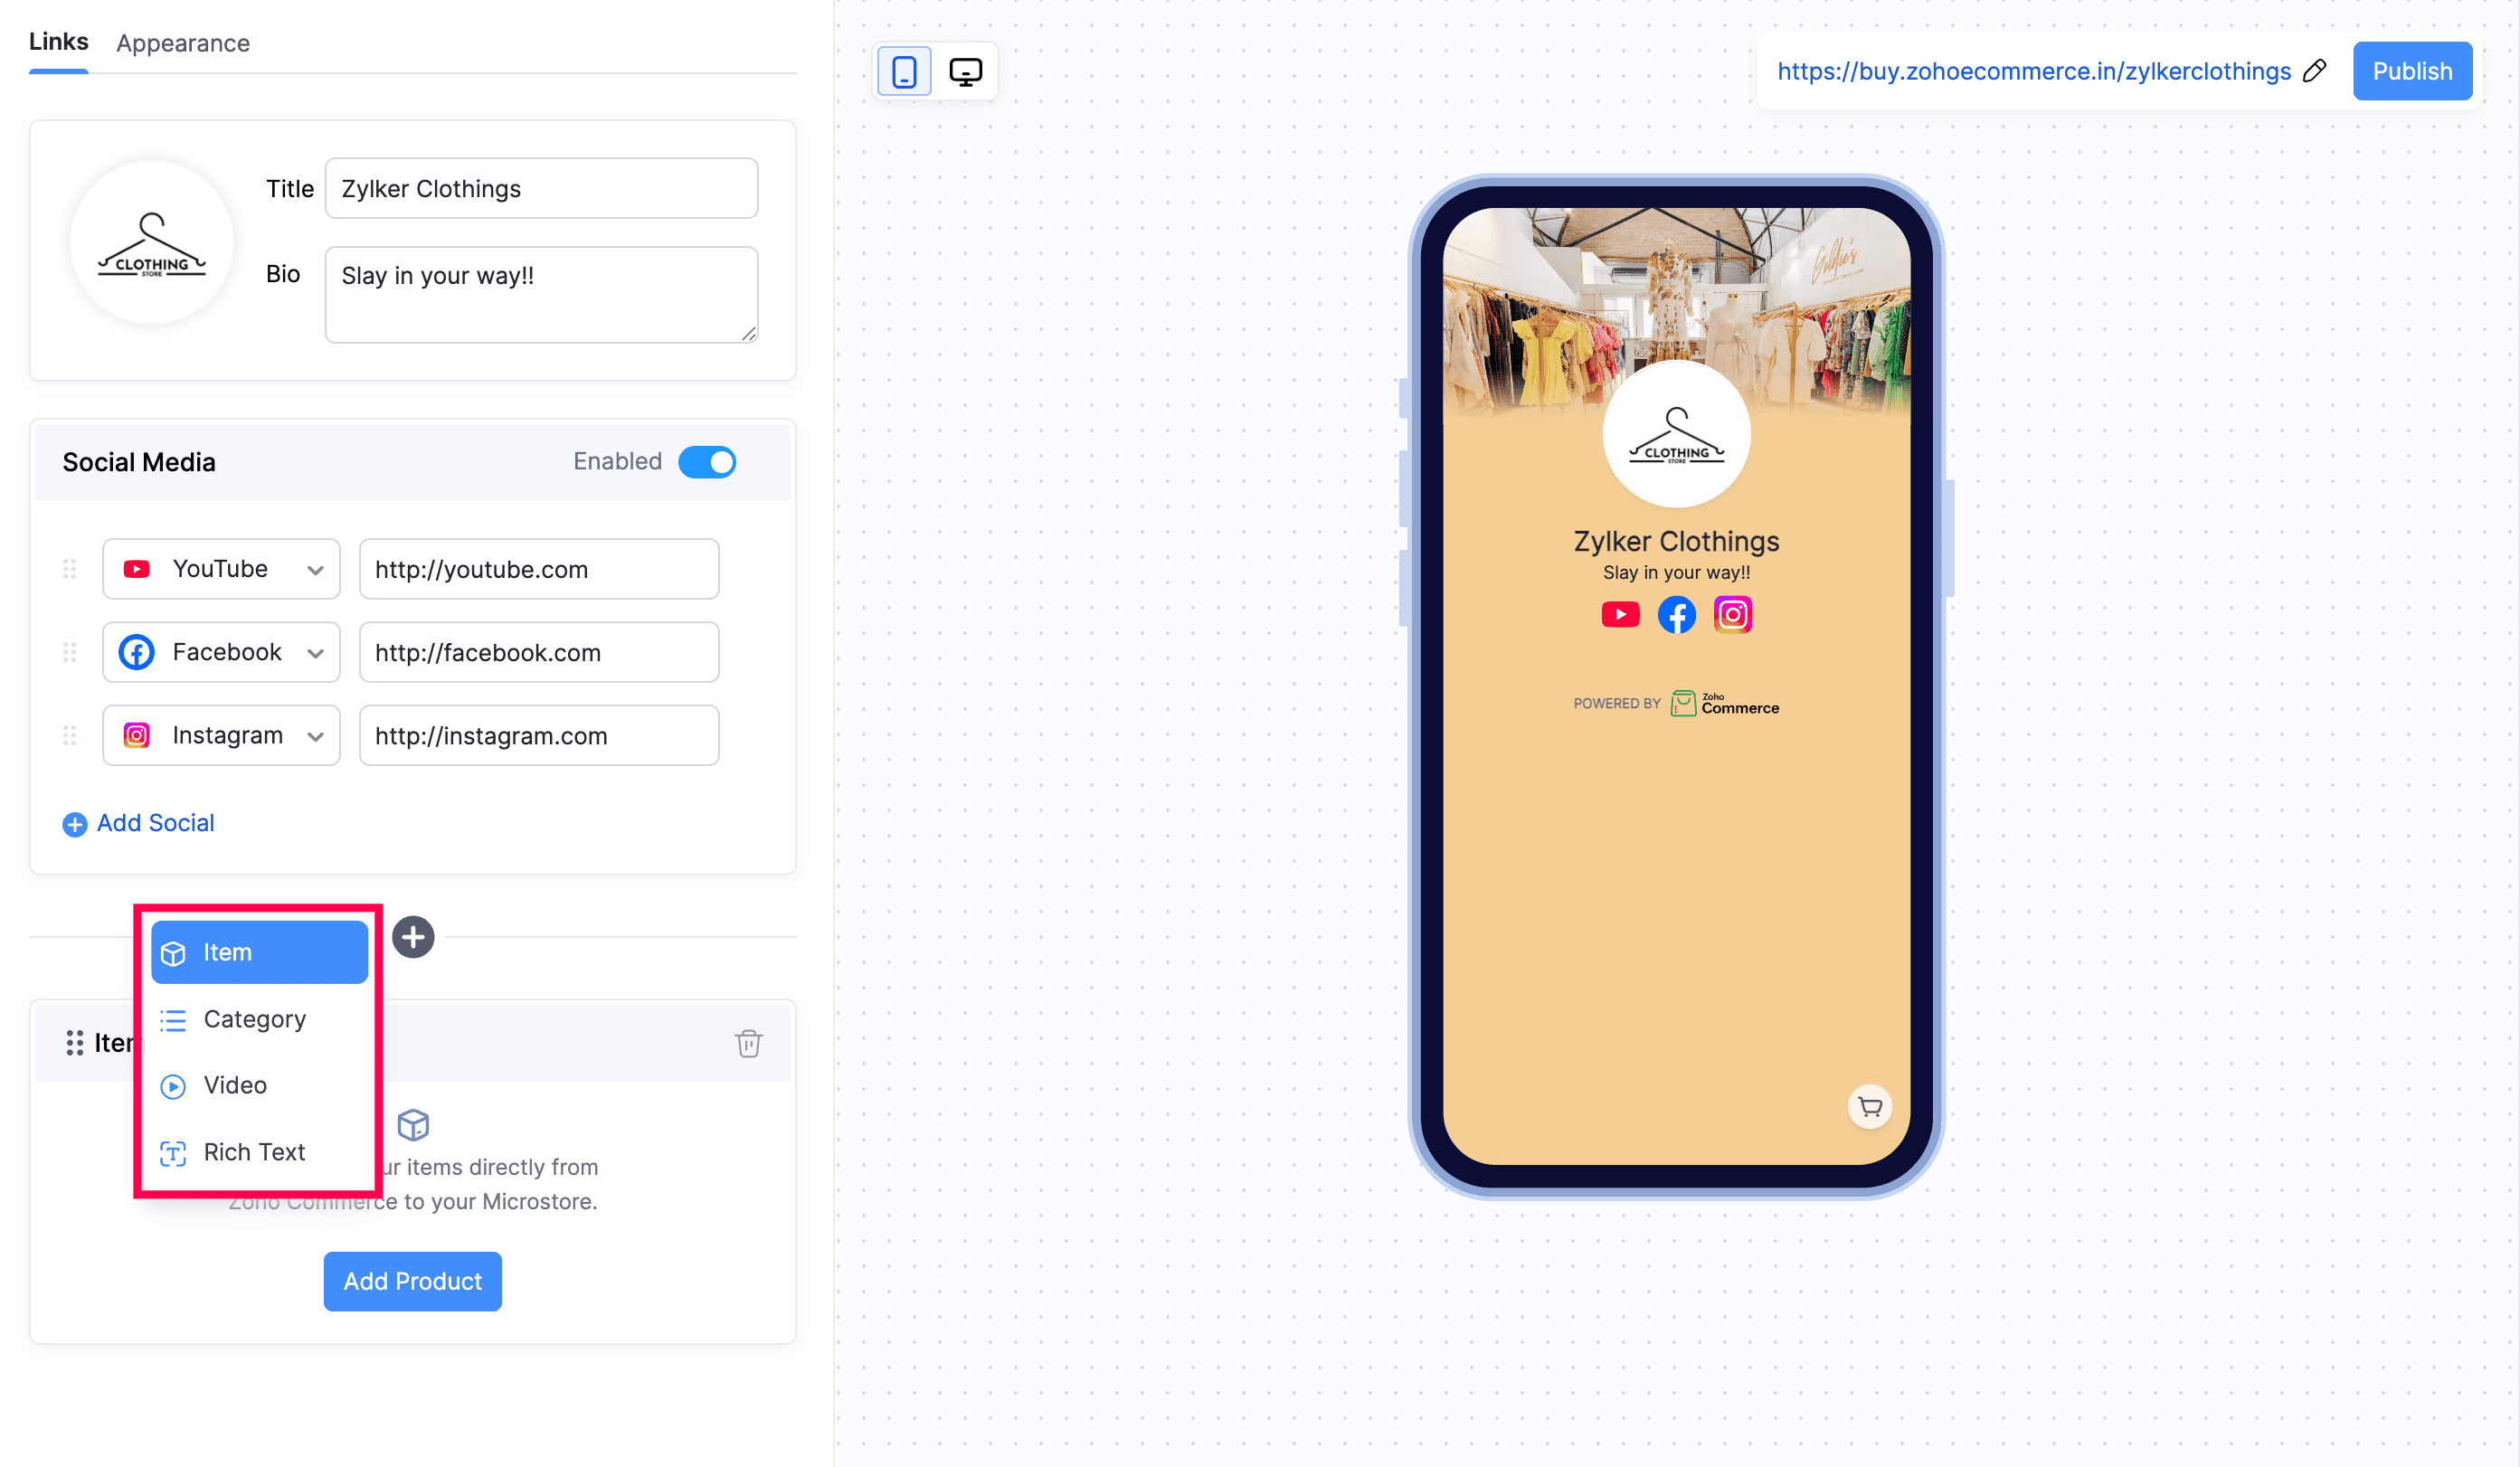
Item block
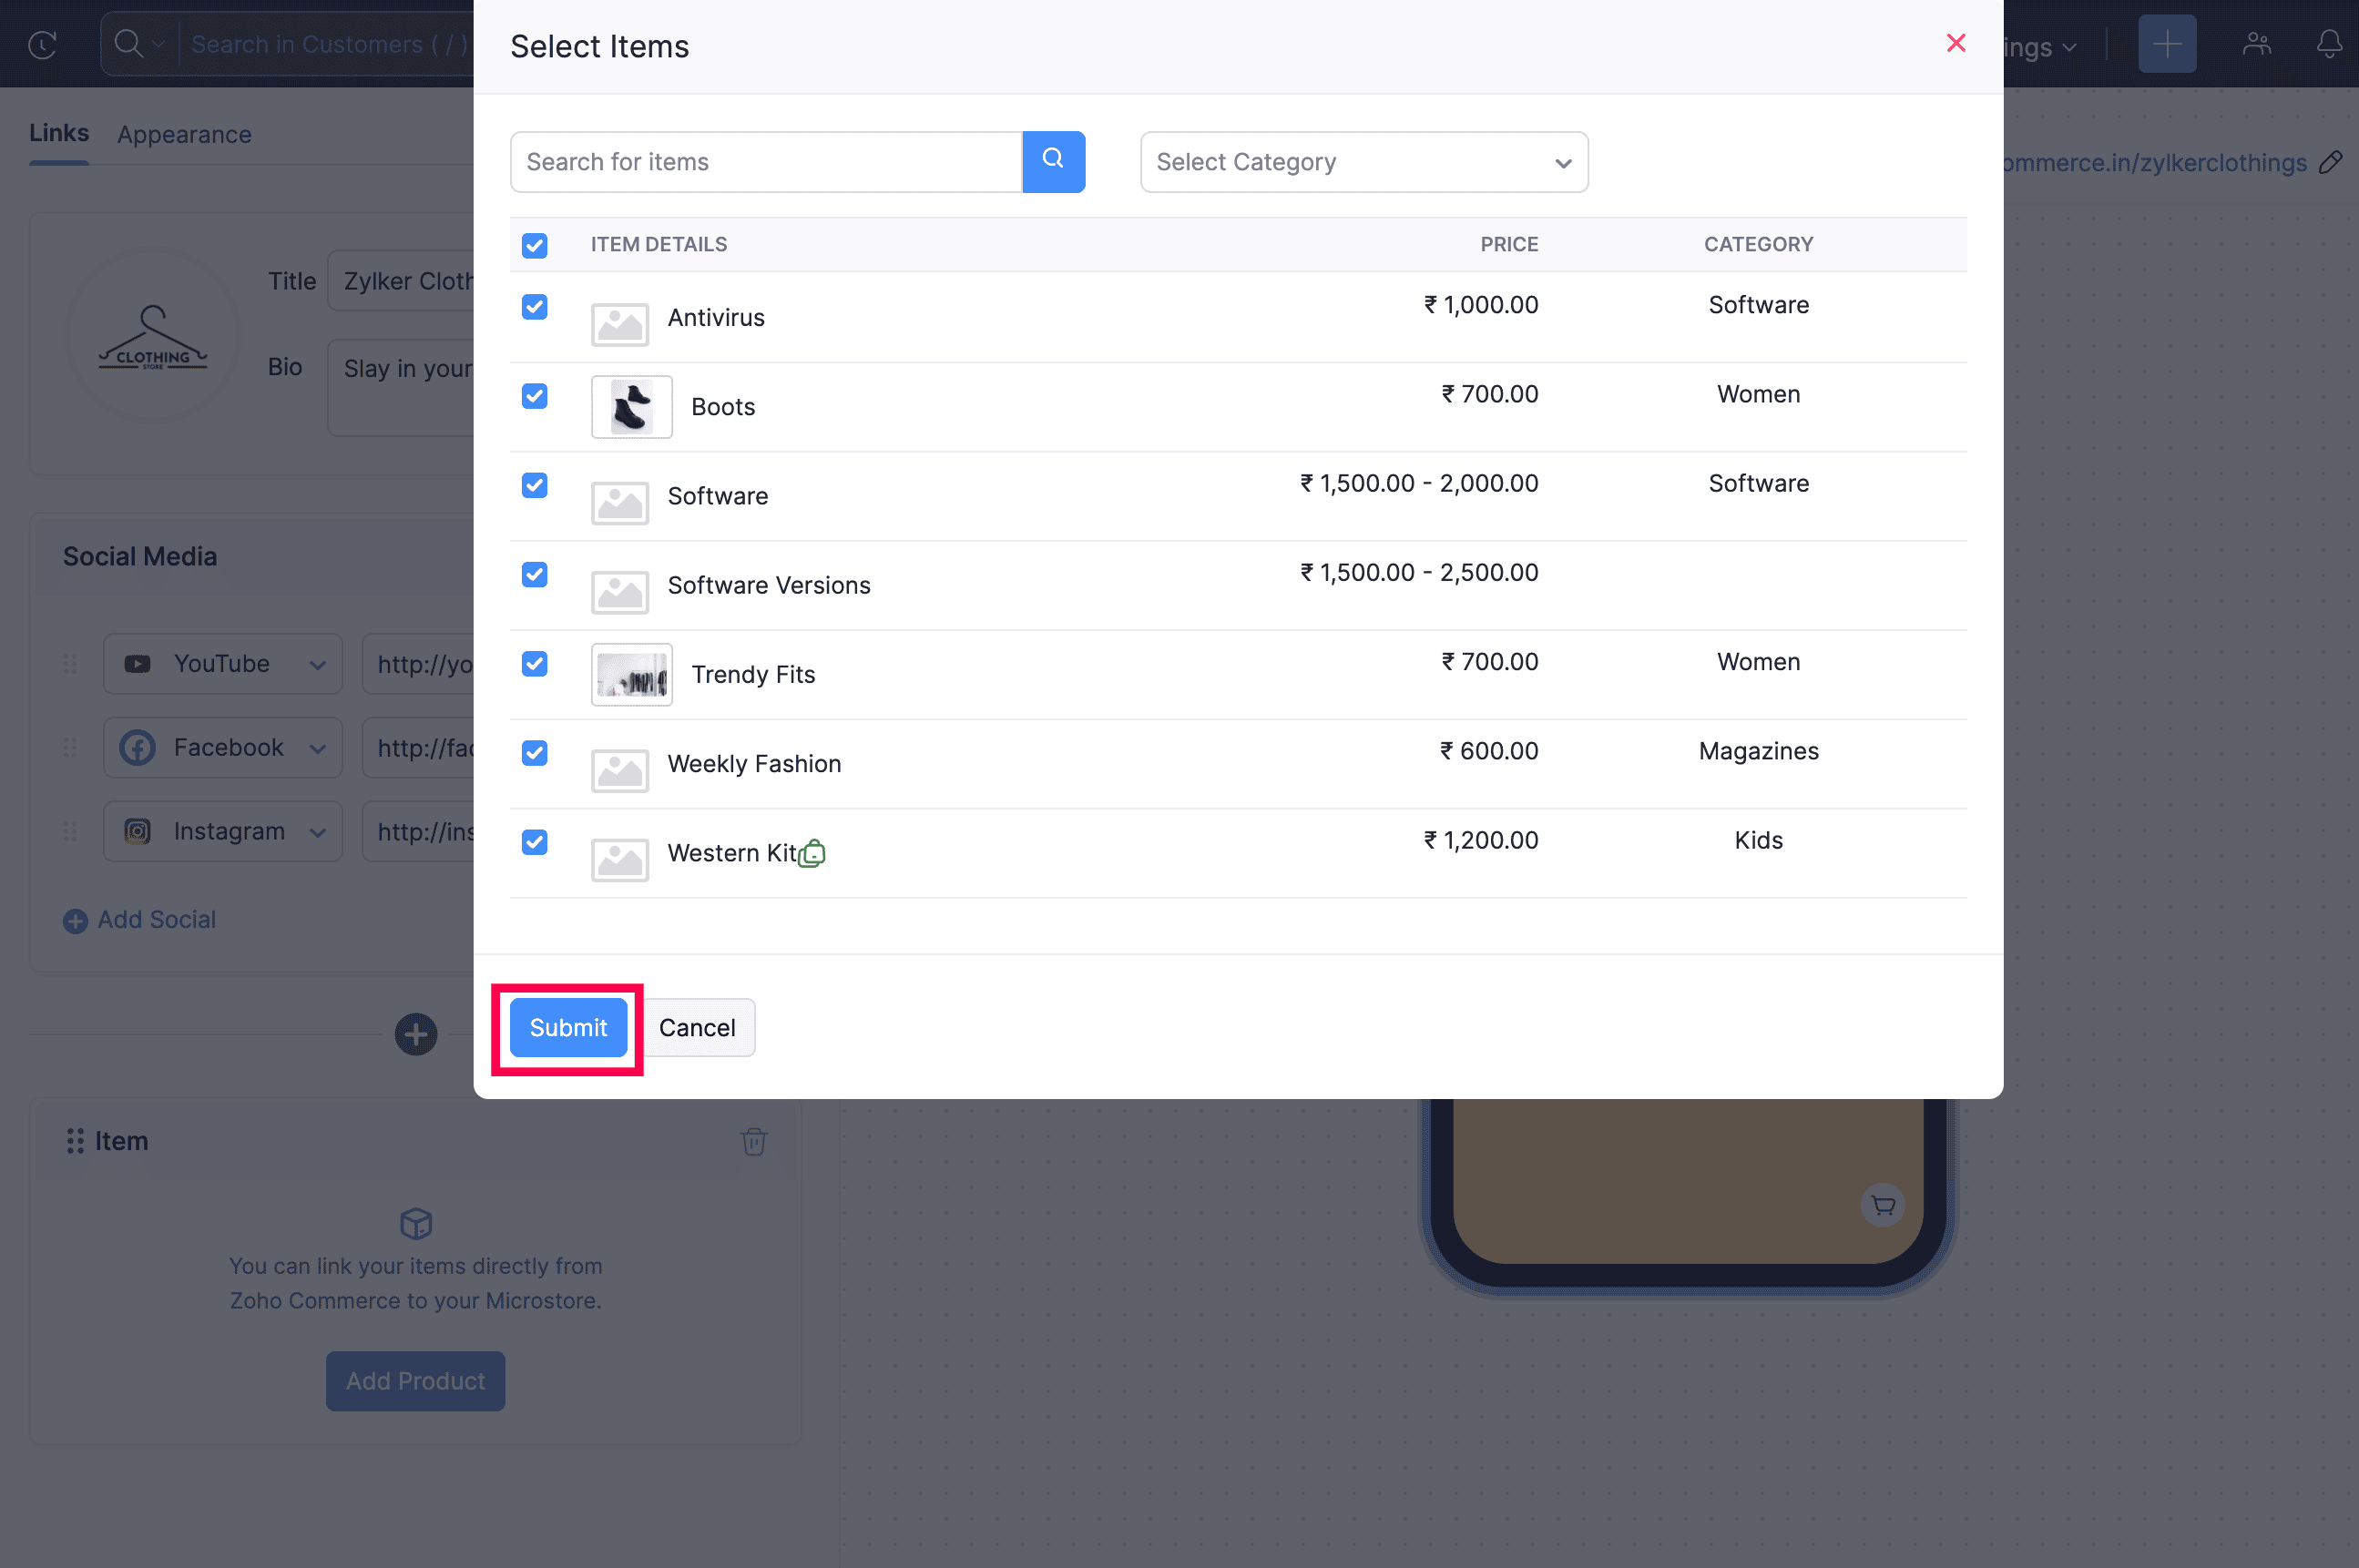
An Item block is added by default. To add products:
- Click Add Product to add items to the block. The Select Items dialog opens.
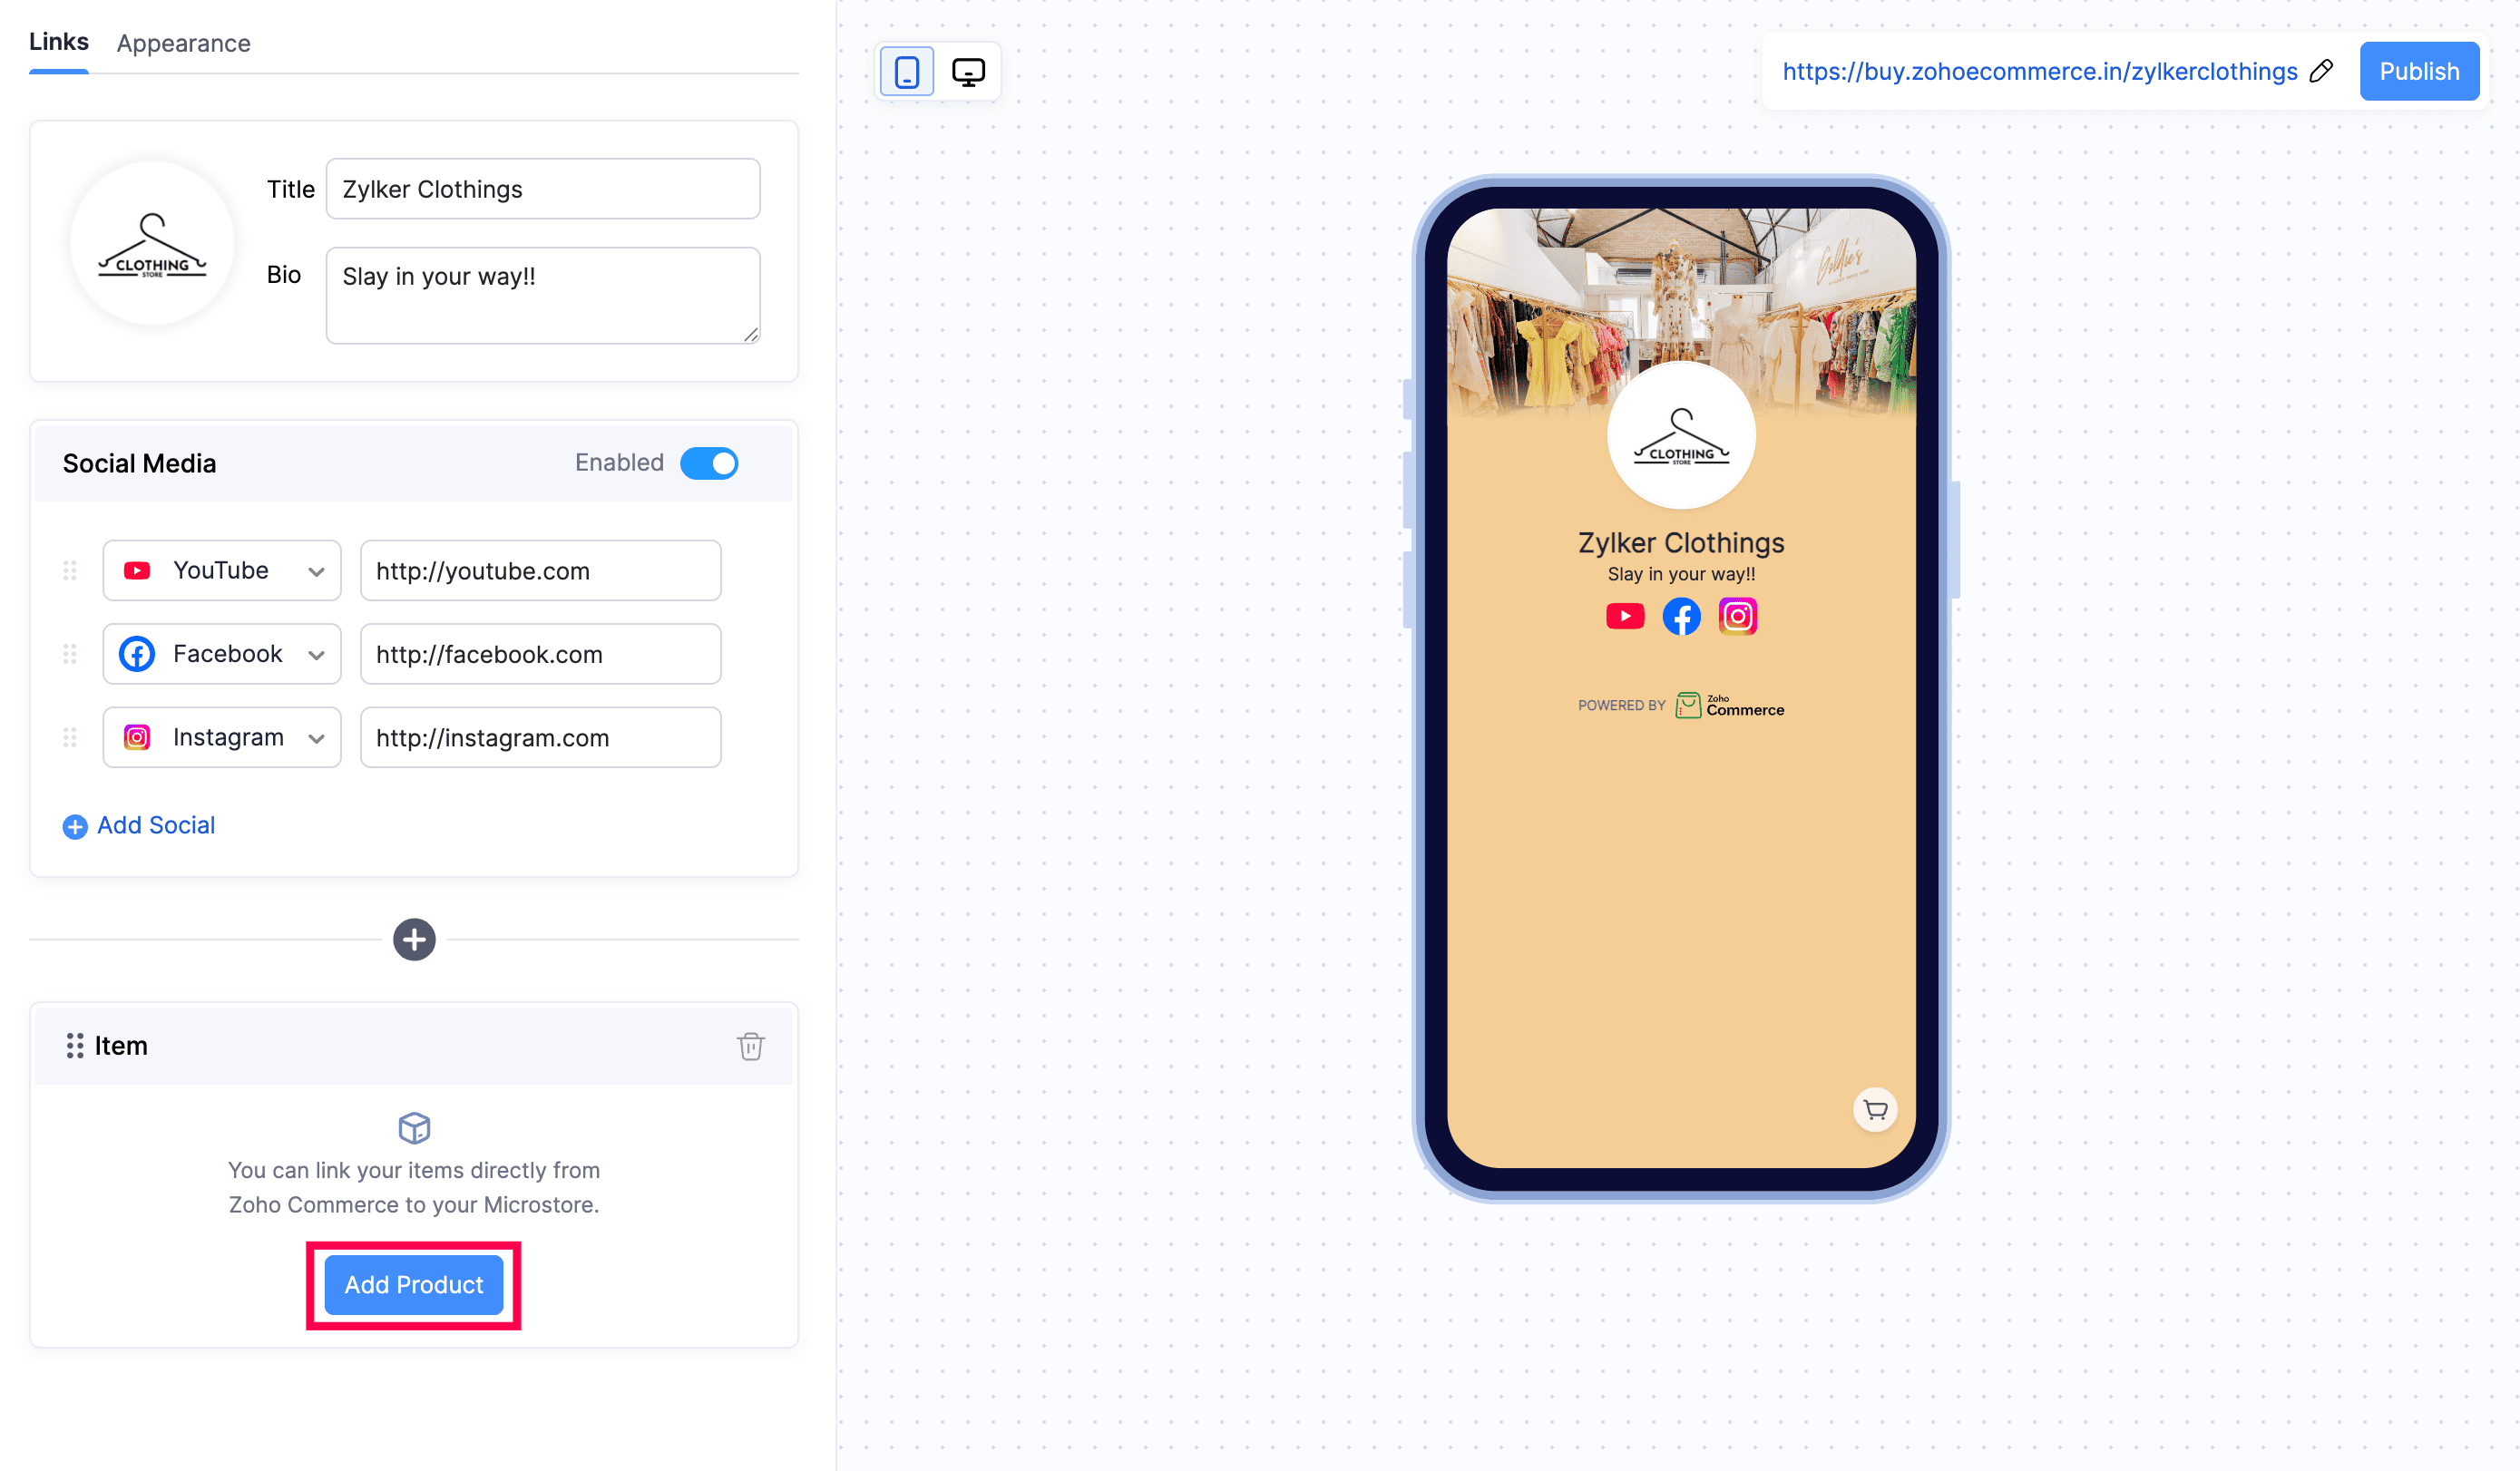
- In the Select Items dialog, you can either search for items by name or filter them by category.
- Select one or more items and click Submit.
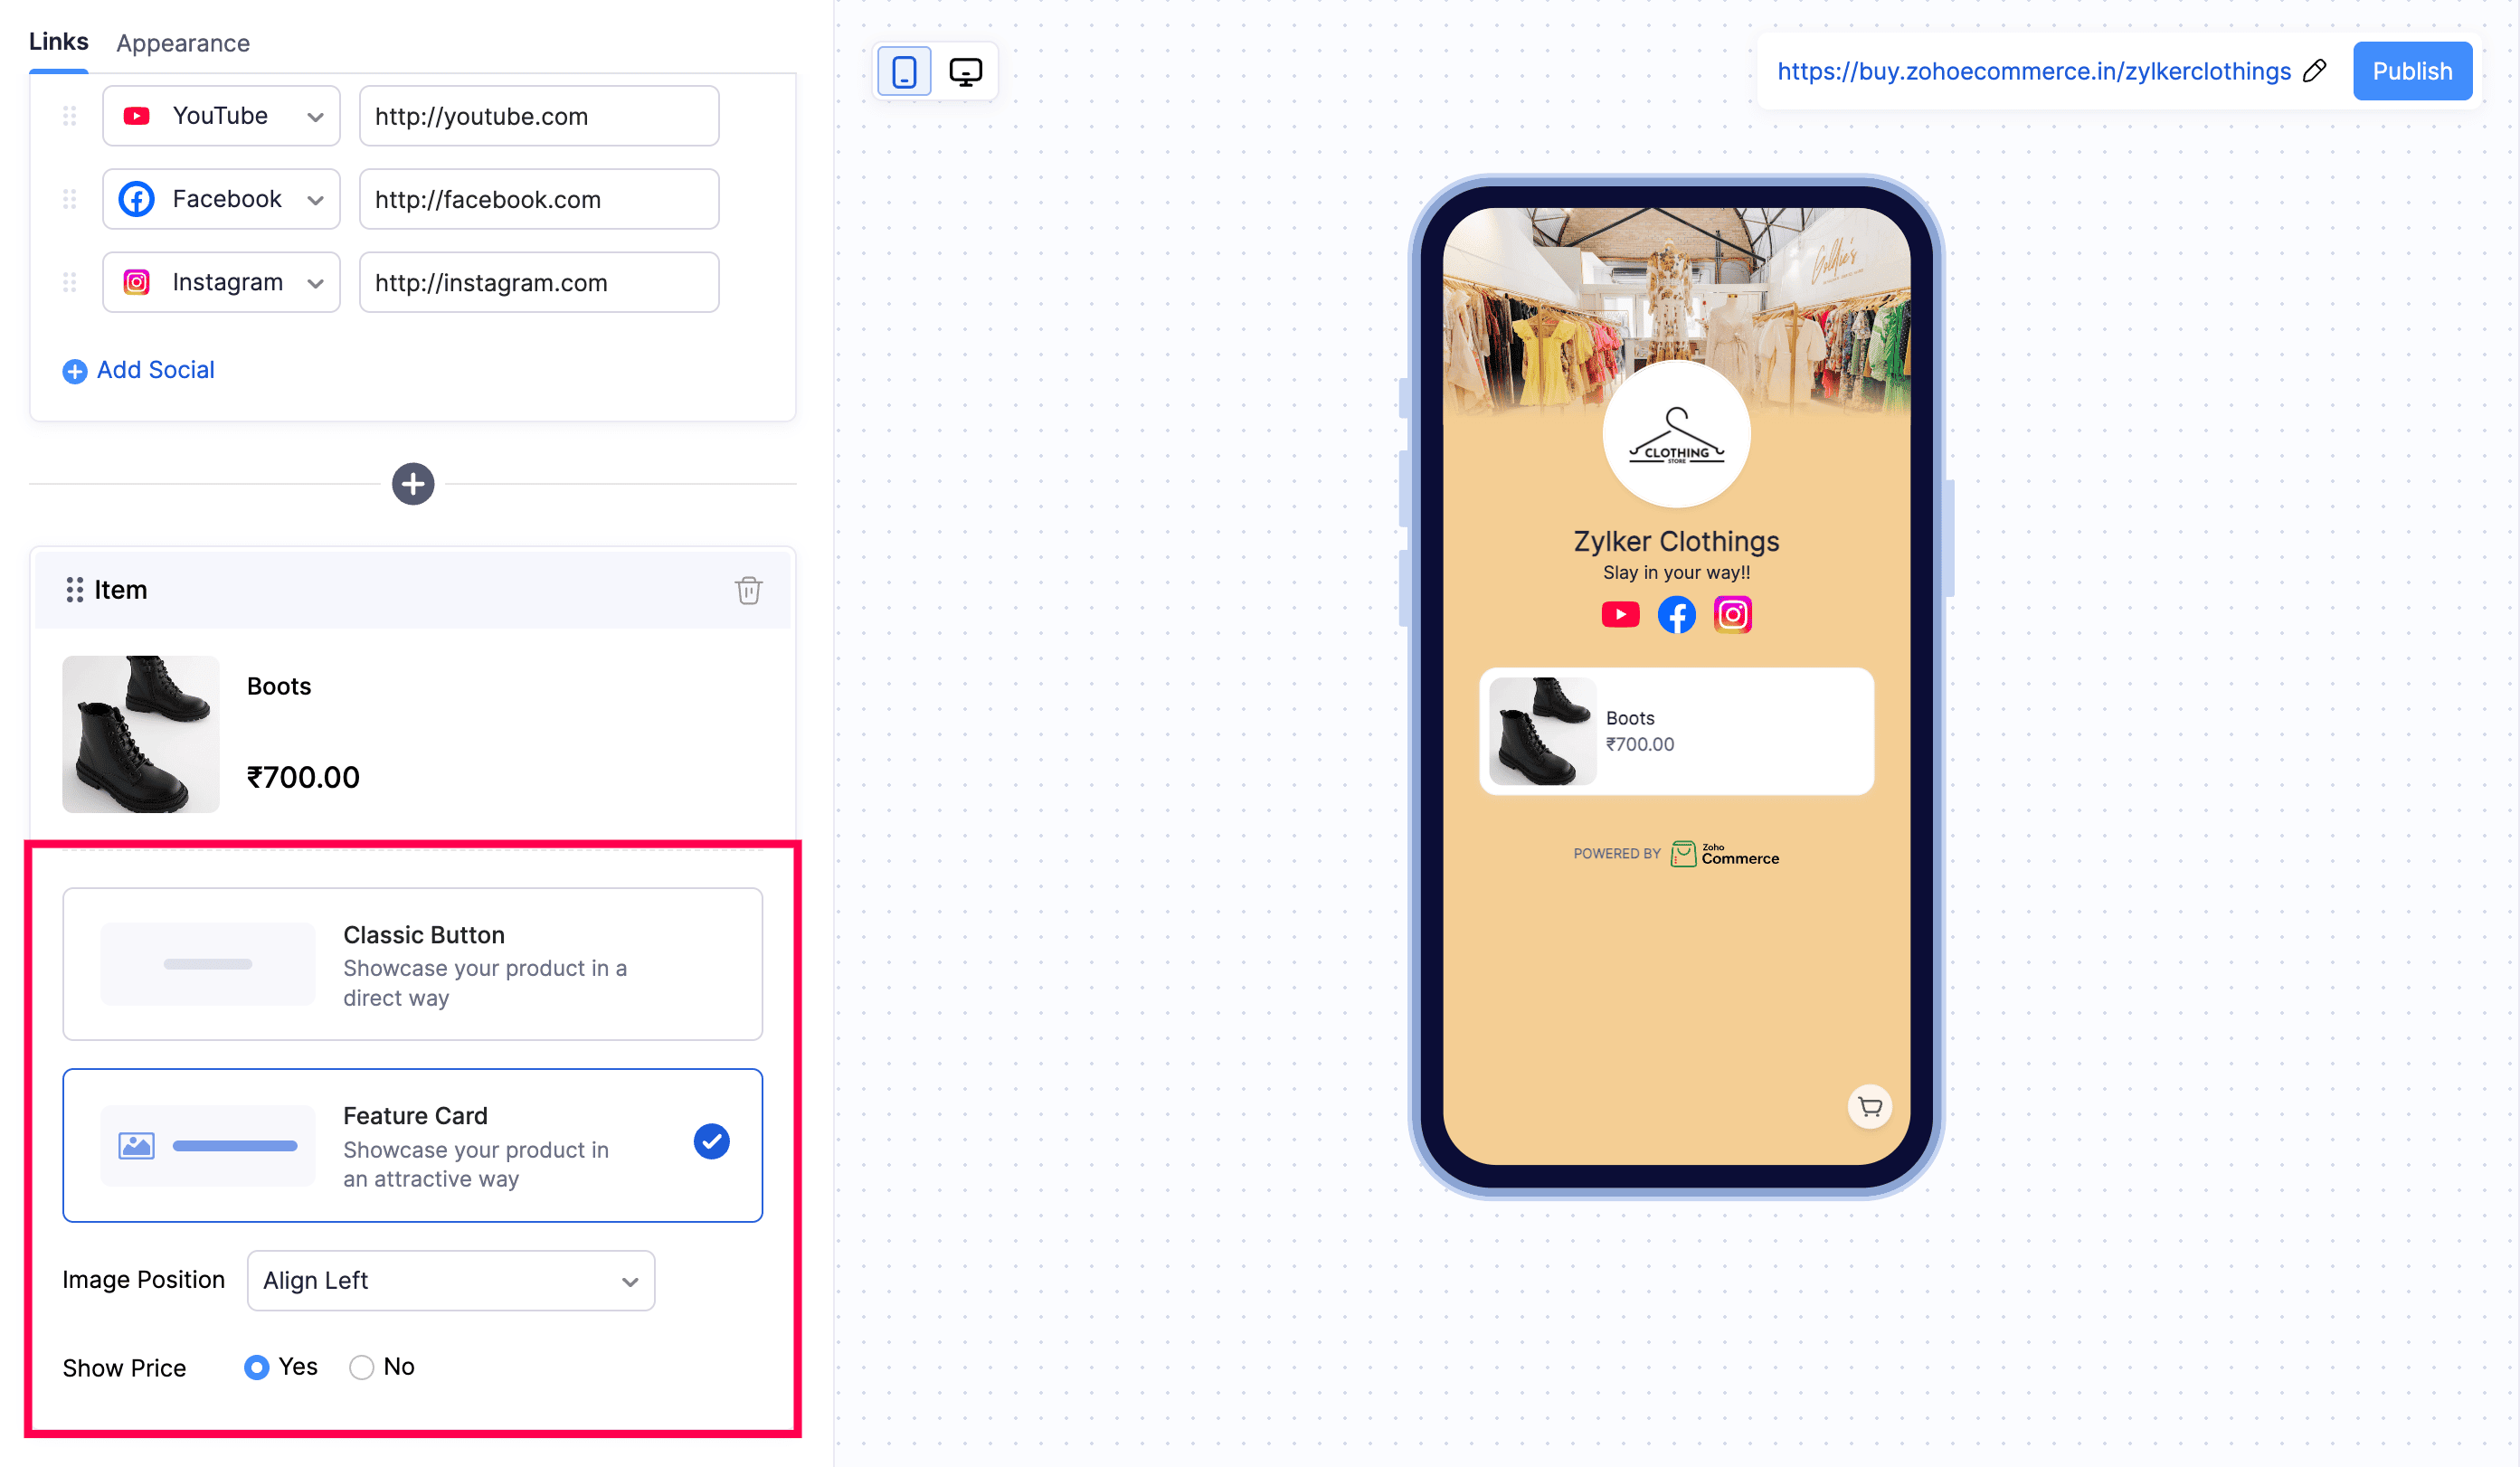
Once a product is added, configure how it appears:
- Select Classic Button to display the product in a simple, direct layout, or Feature Card to display it in a visually rich card layout with an image.
- Set the Image Position to control the alignment of the product image within the card.
- Set Show Price to Yes to display the product price, or No to hide it.
Category block
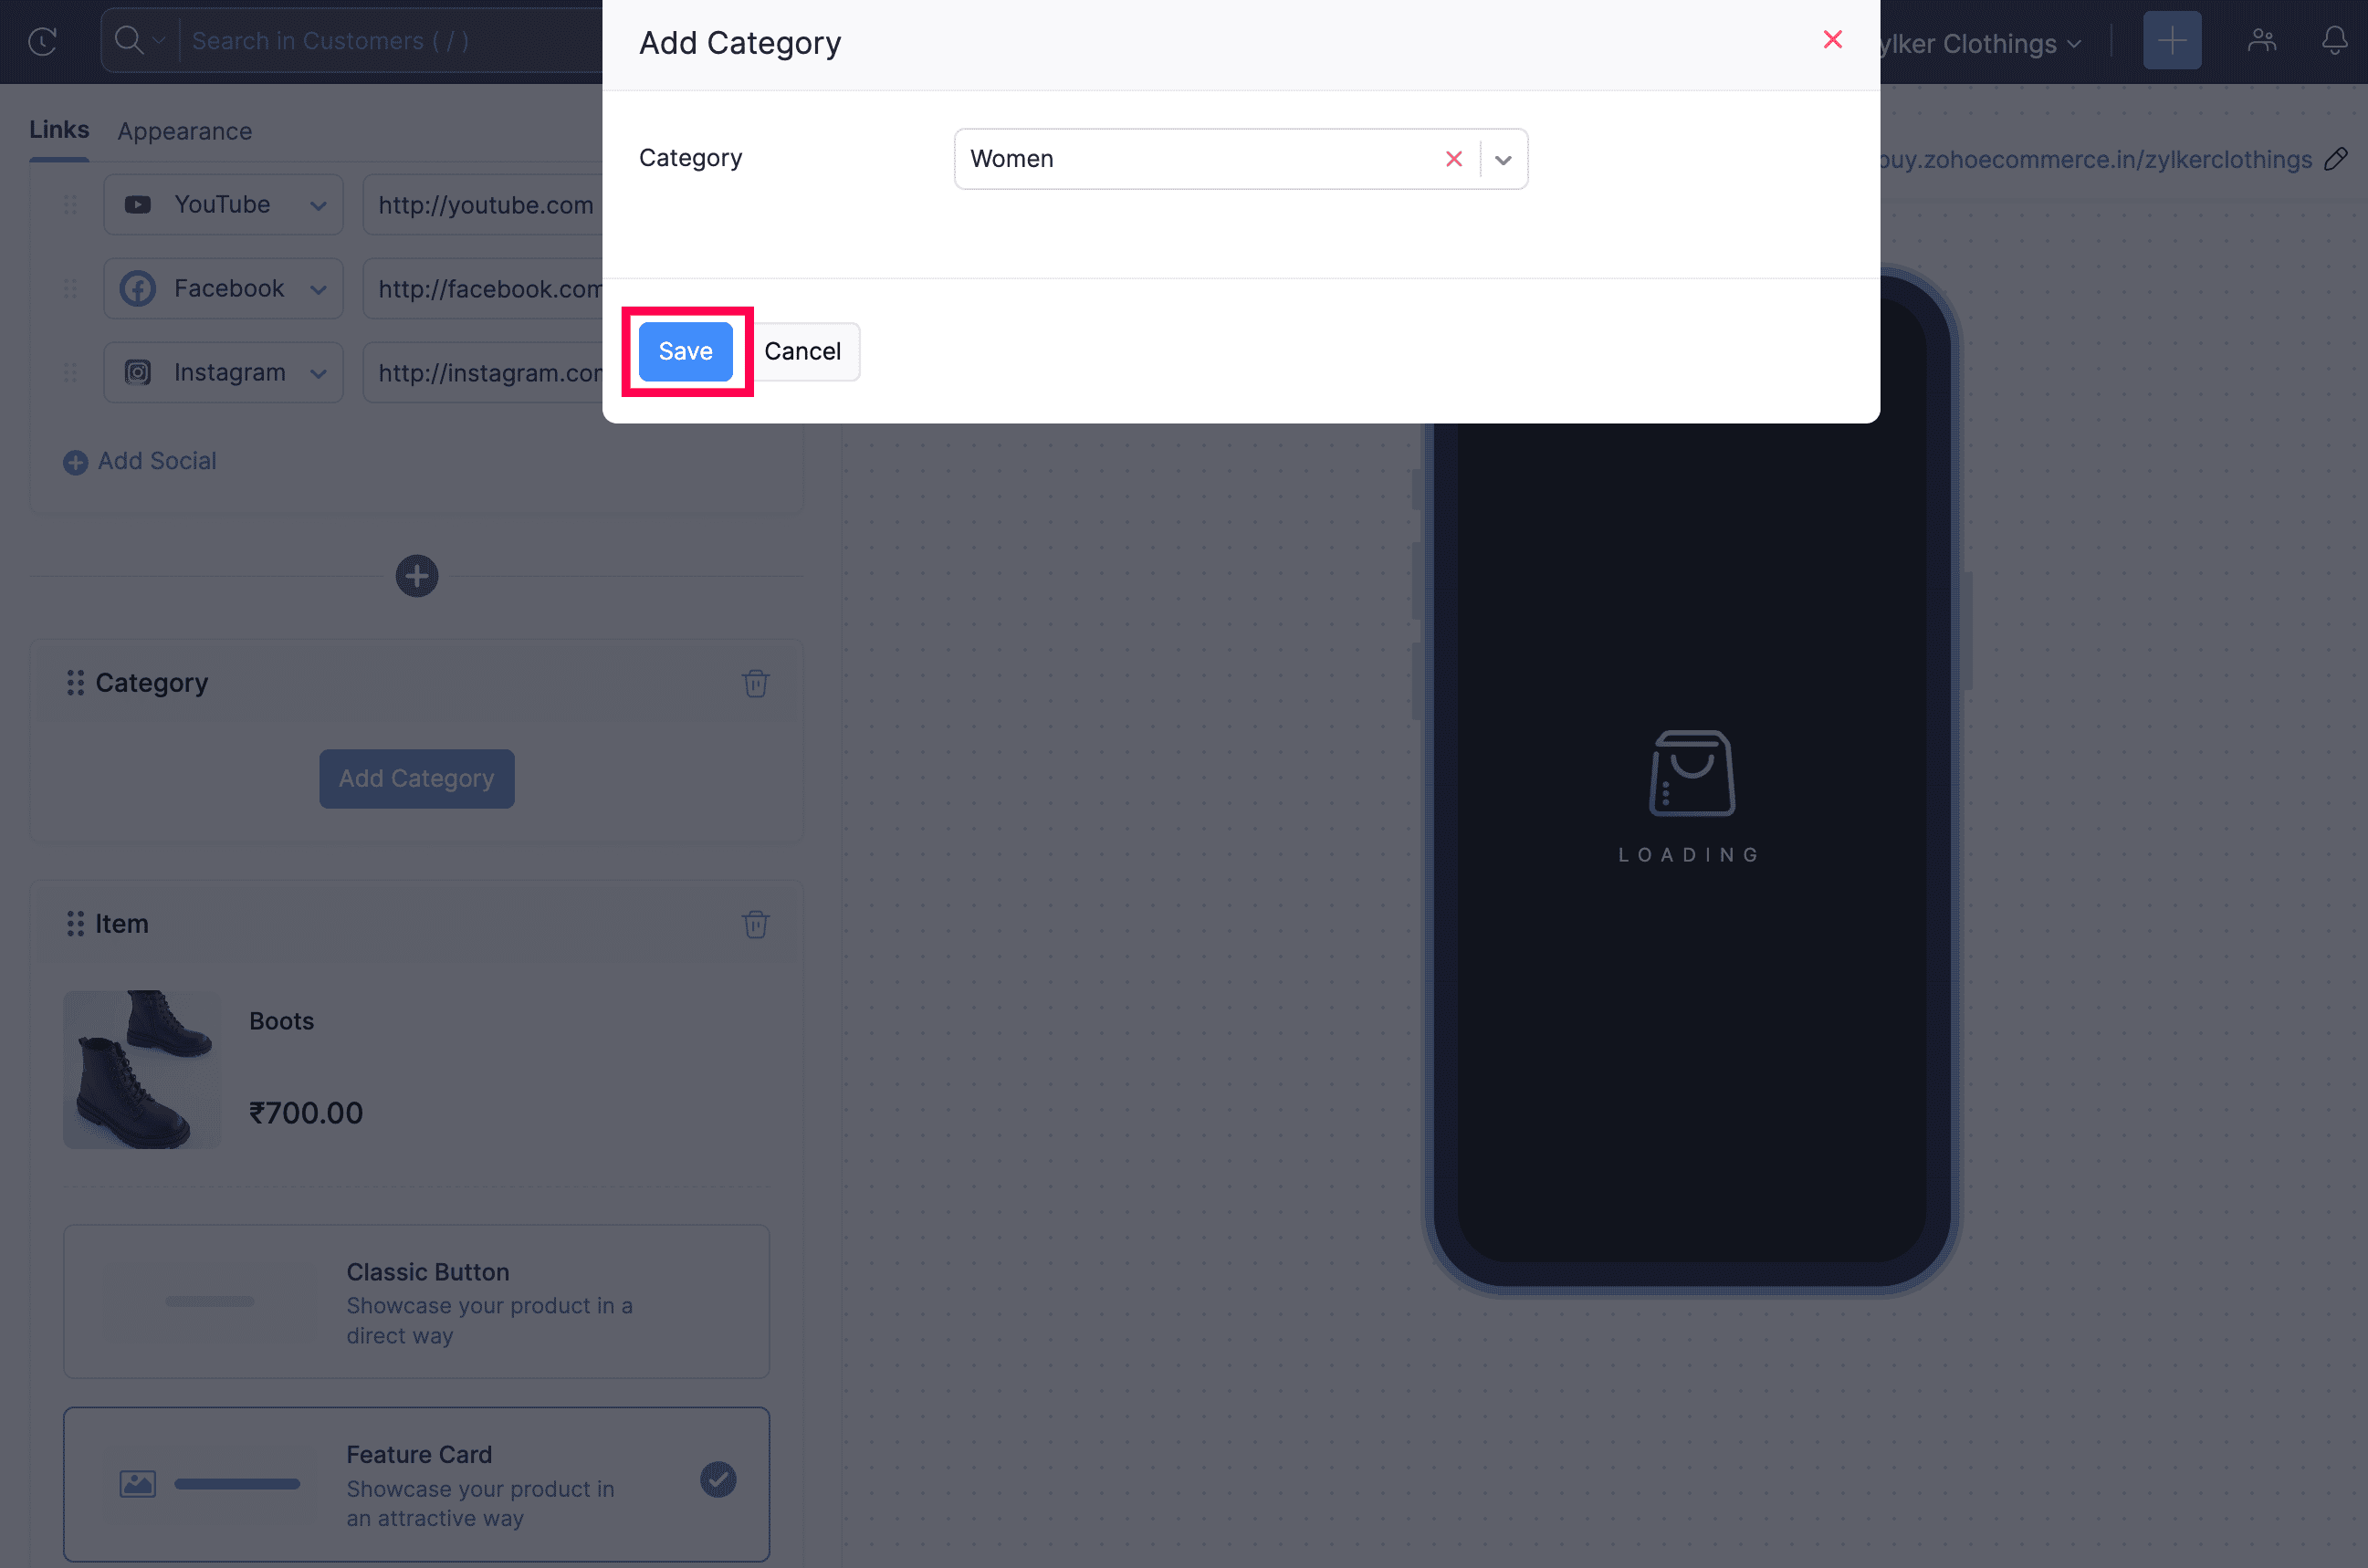
- Click Add Category to add an item category. The Add Category dialog opens.
- Select a category from the Category dropdown.
- Click Save.
Video block
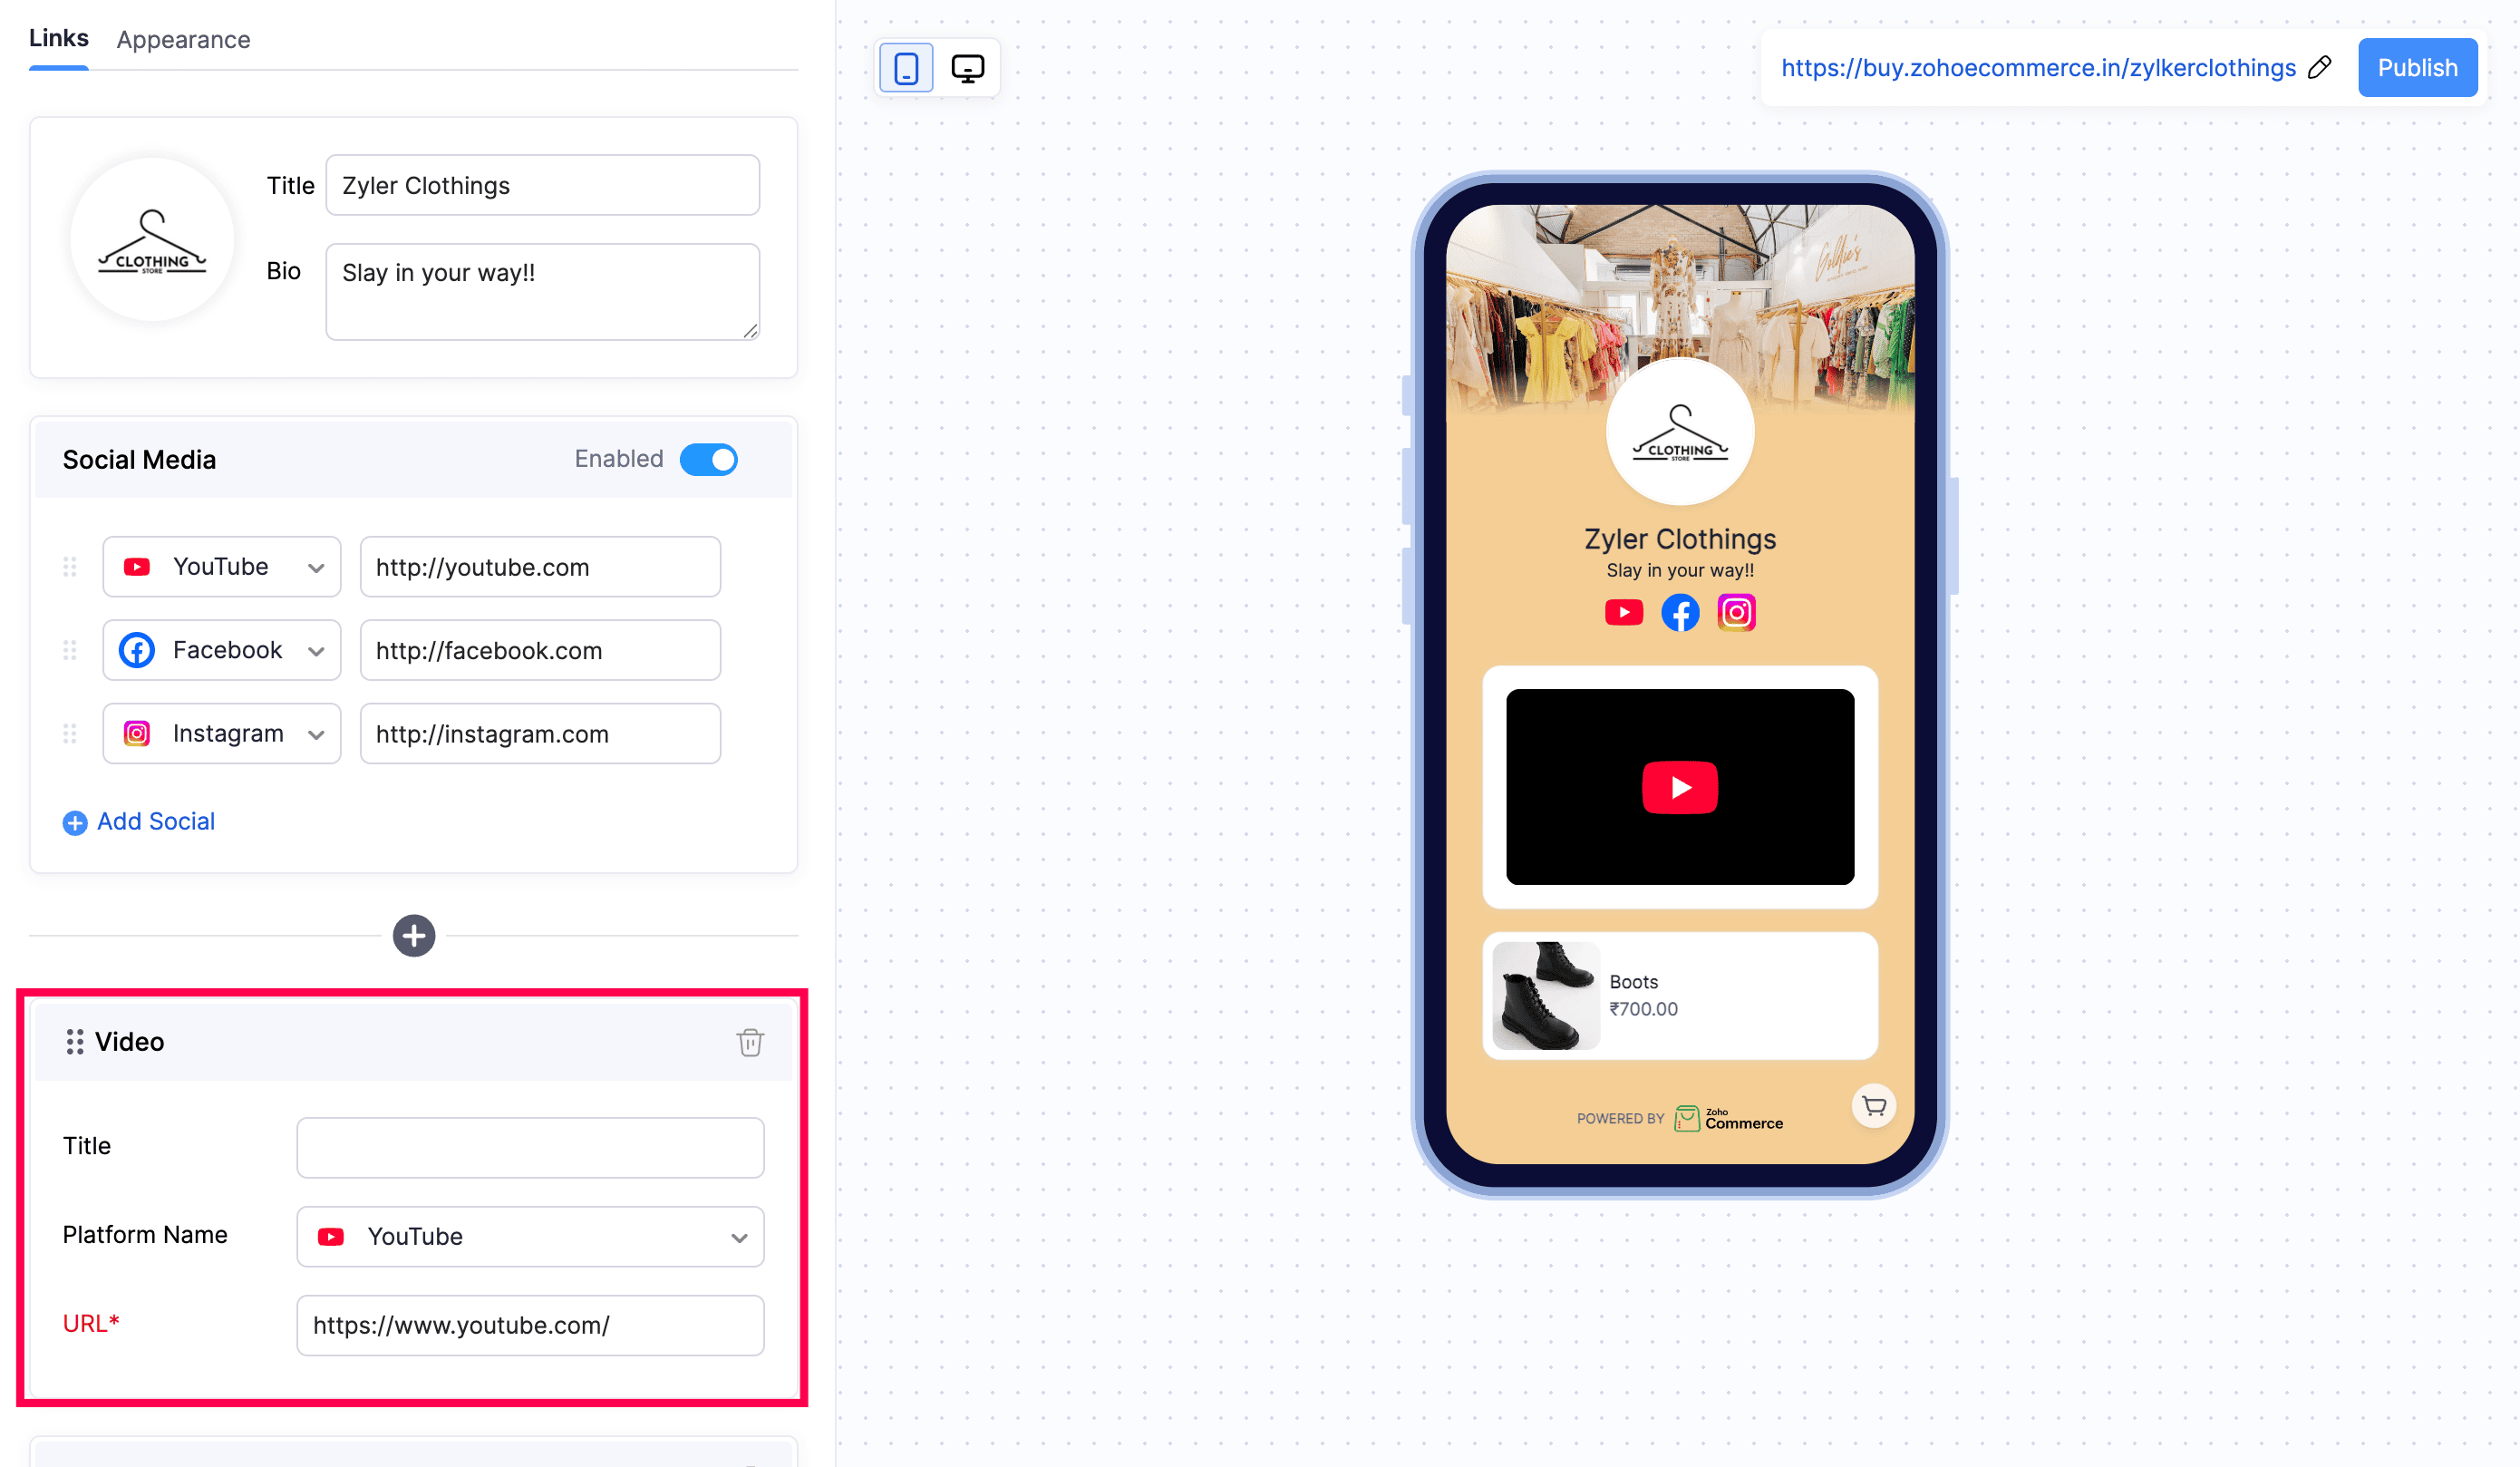
- Enter a Title for the video block.
- Select the Platform Name from the dropdown (for example, YouTube).
- Paste the video URL.
Rich Text block
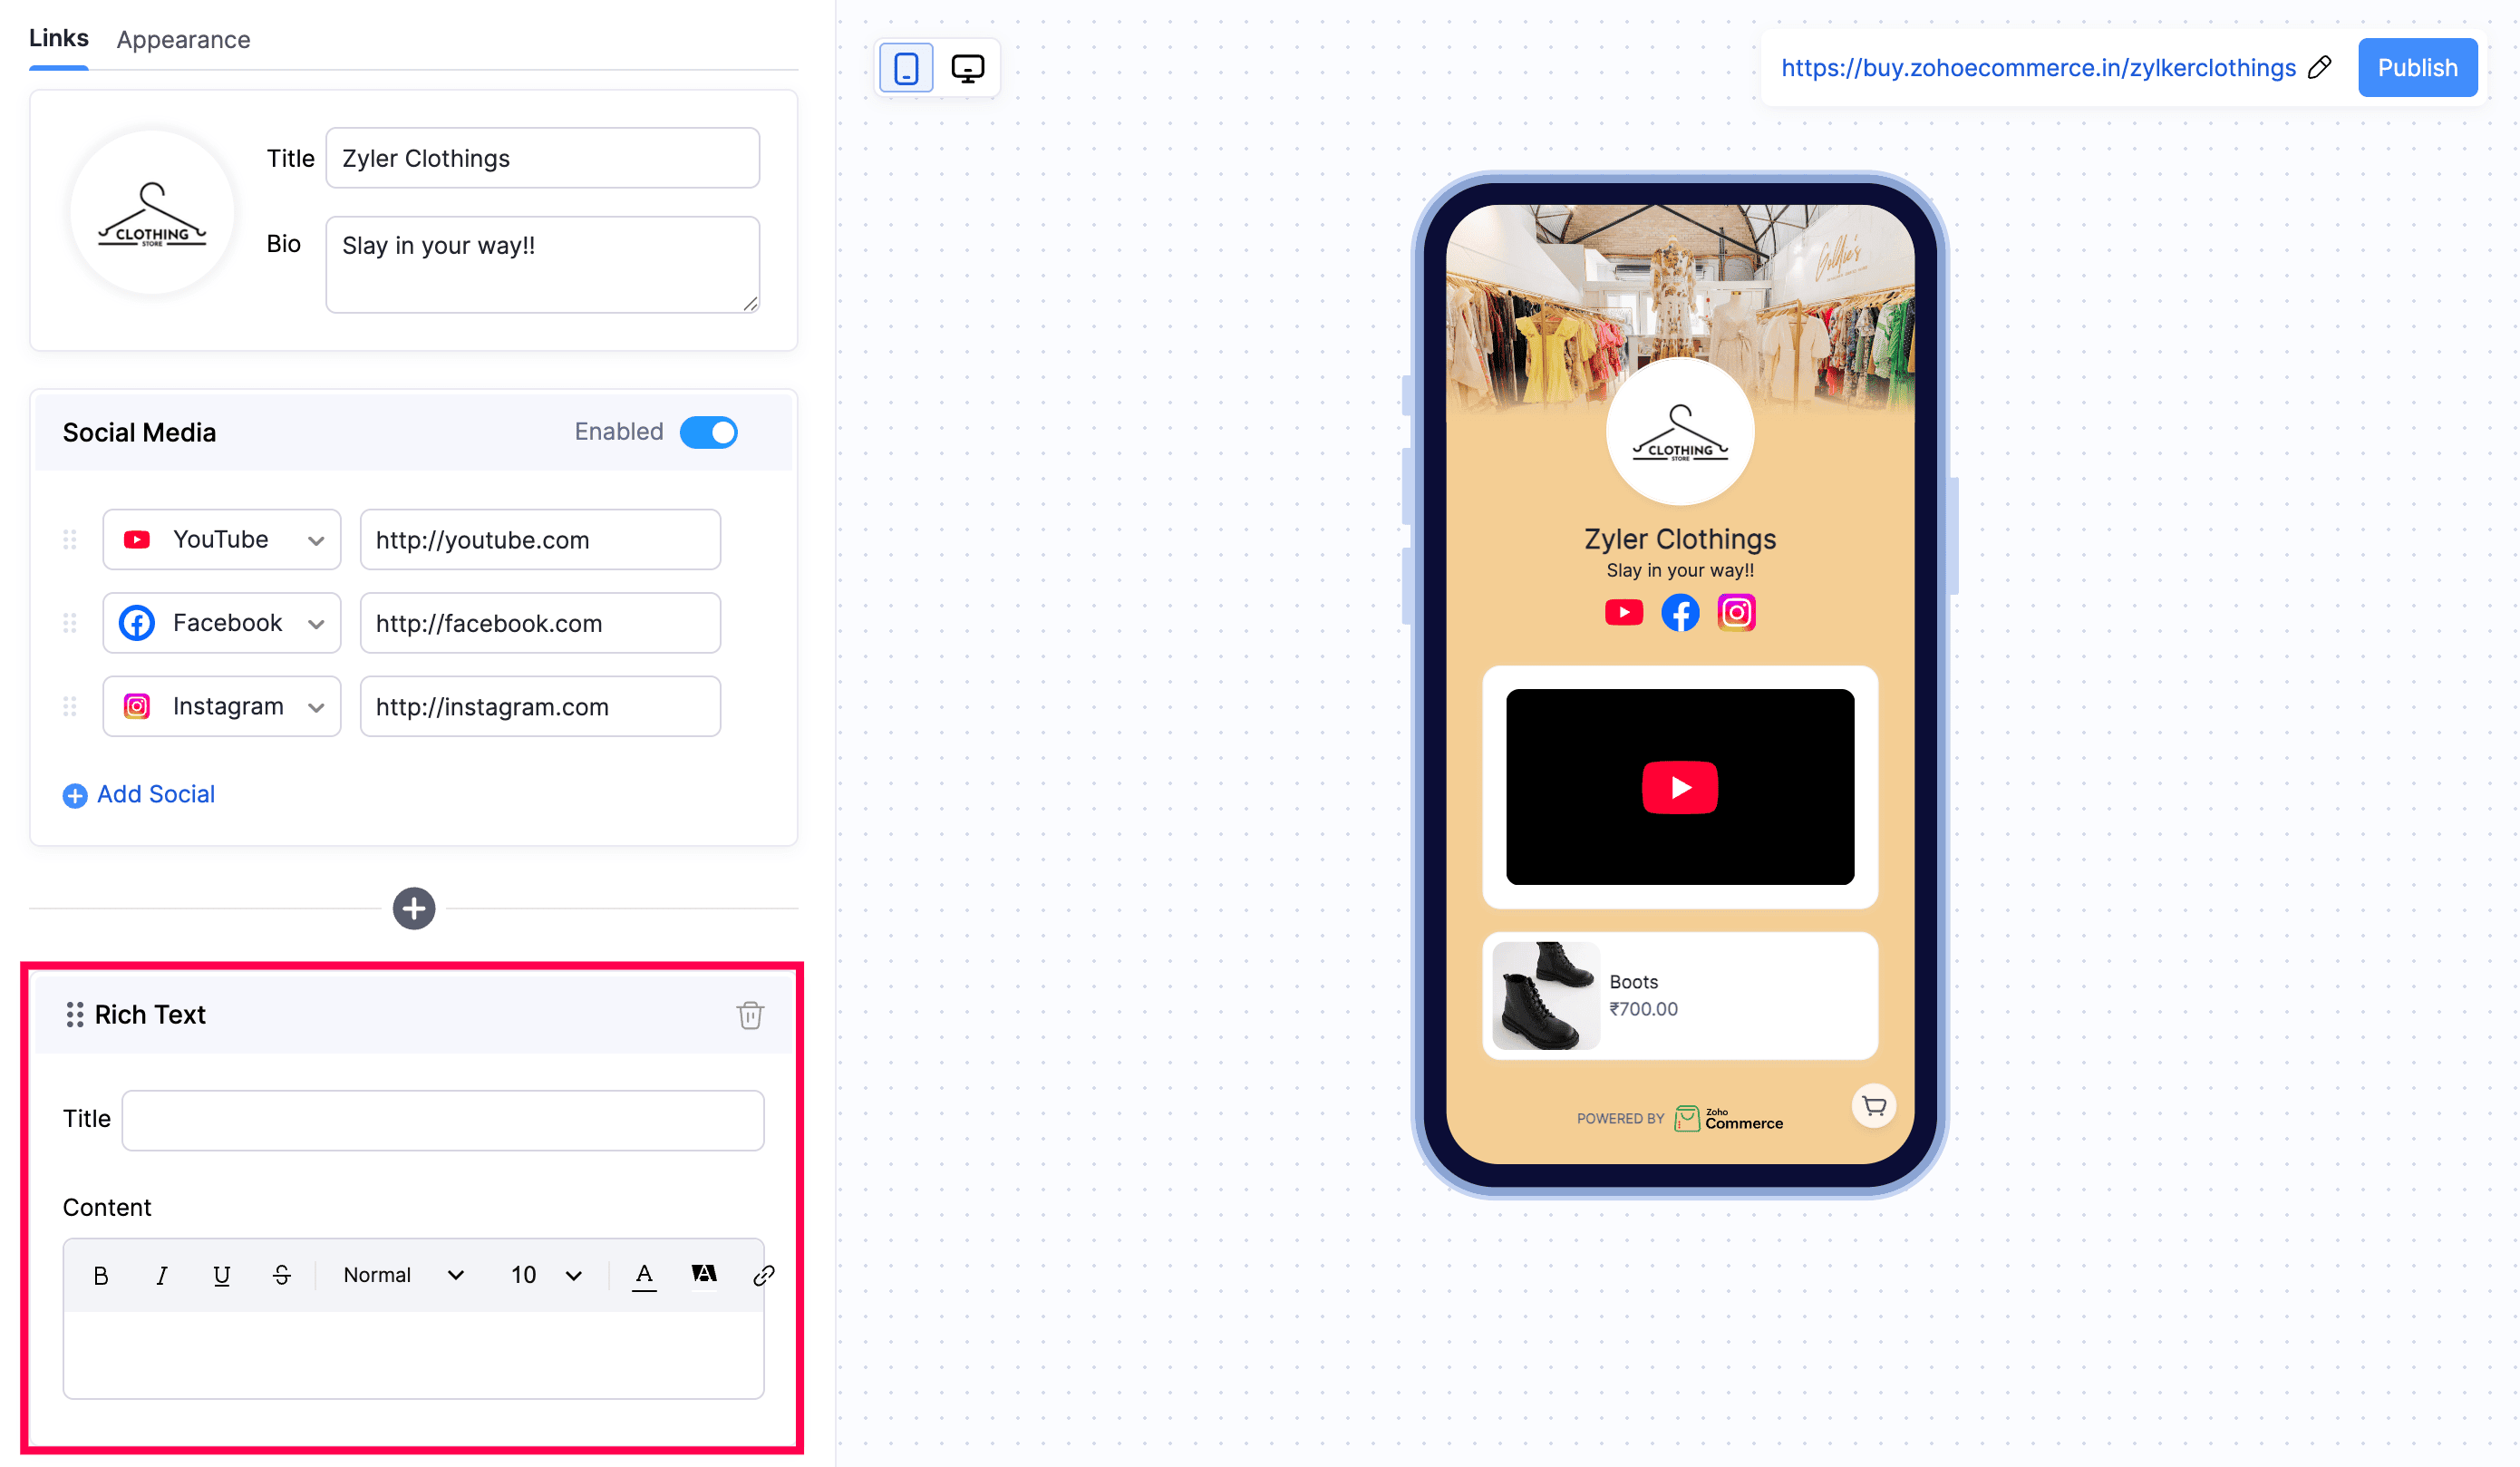
- Enter a Title for the text block.
- Compose the Content using the built-in editor, which supports bold, italic, underline, strikethrough, heading styles, font size, font color, and links.
You can reorder content blocks by dragging them into your preferred sequence. To remove a block, click the Delete icon on the block.
Appearance
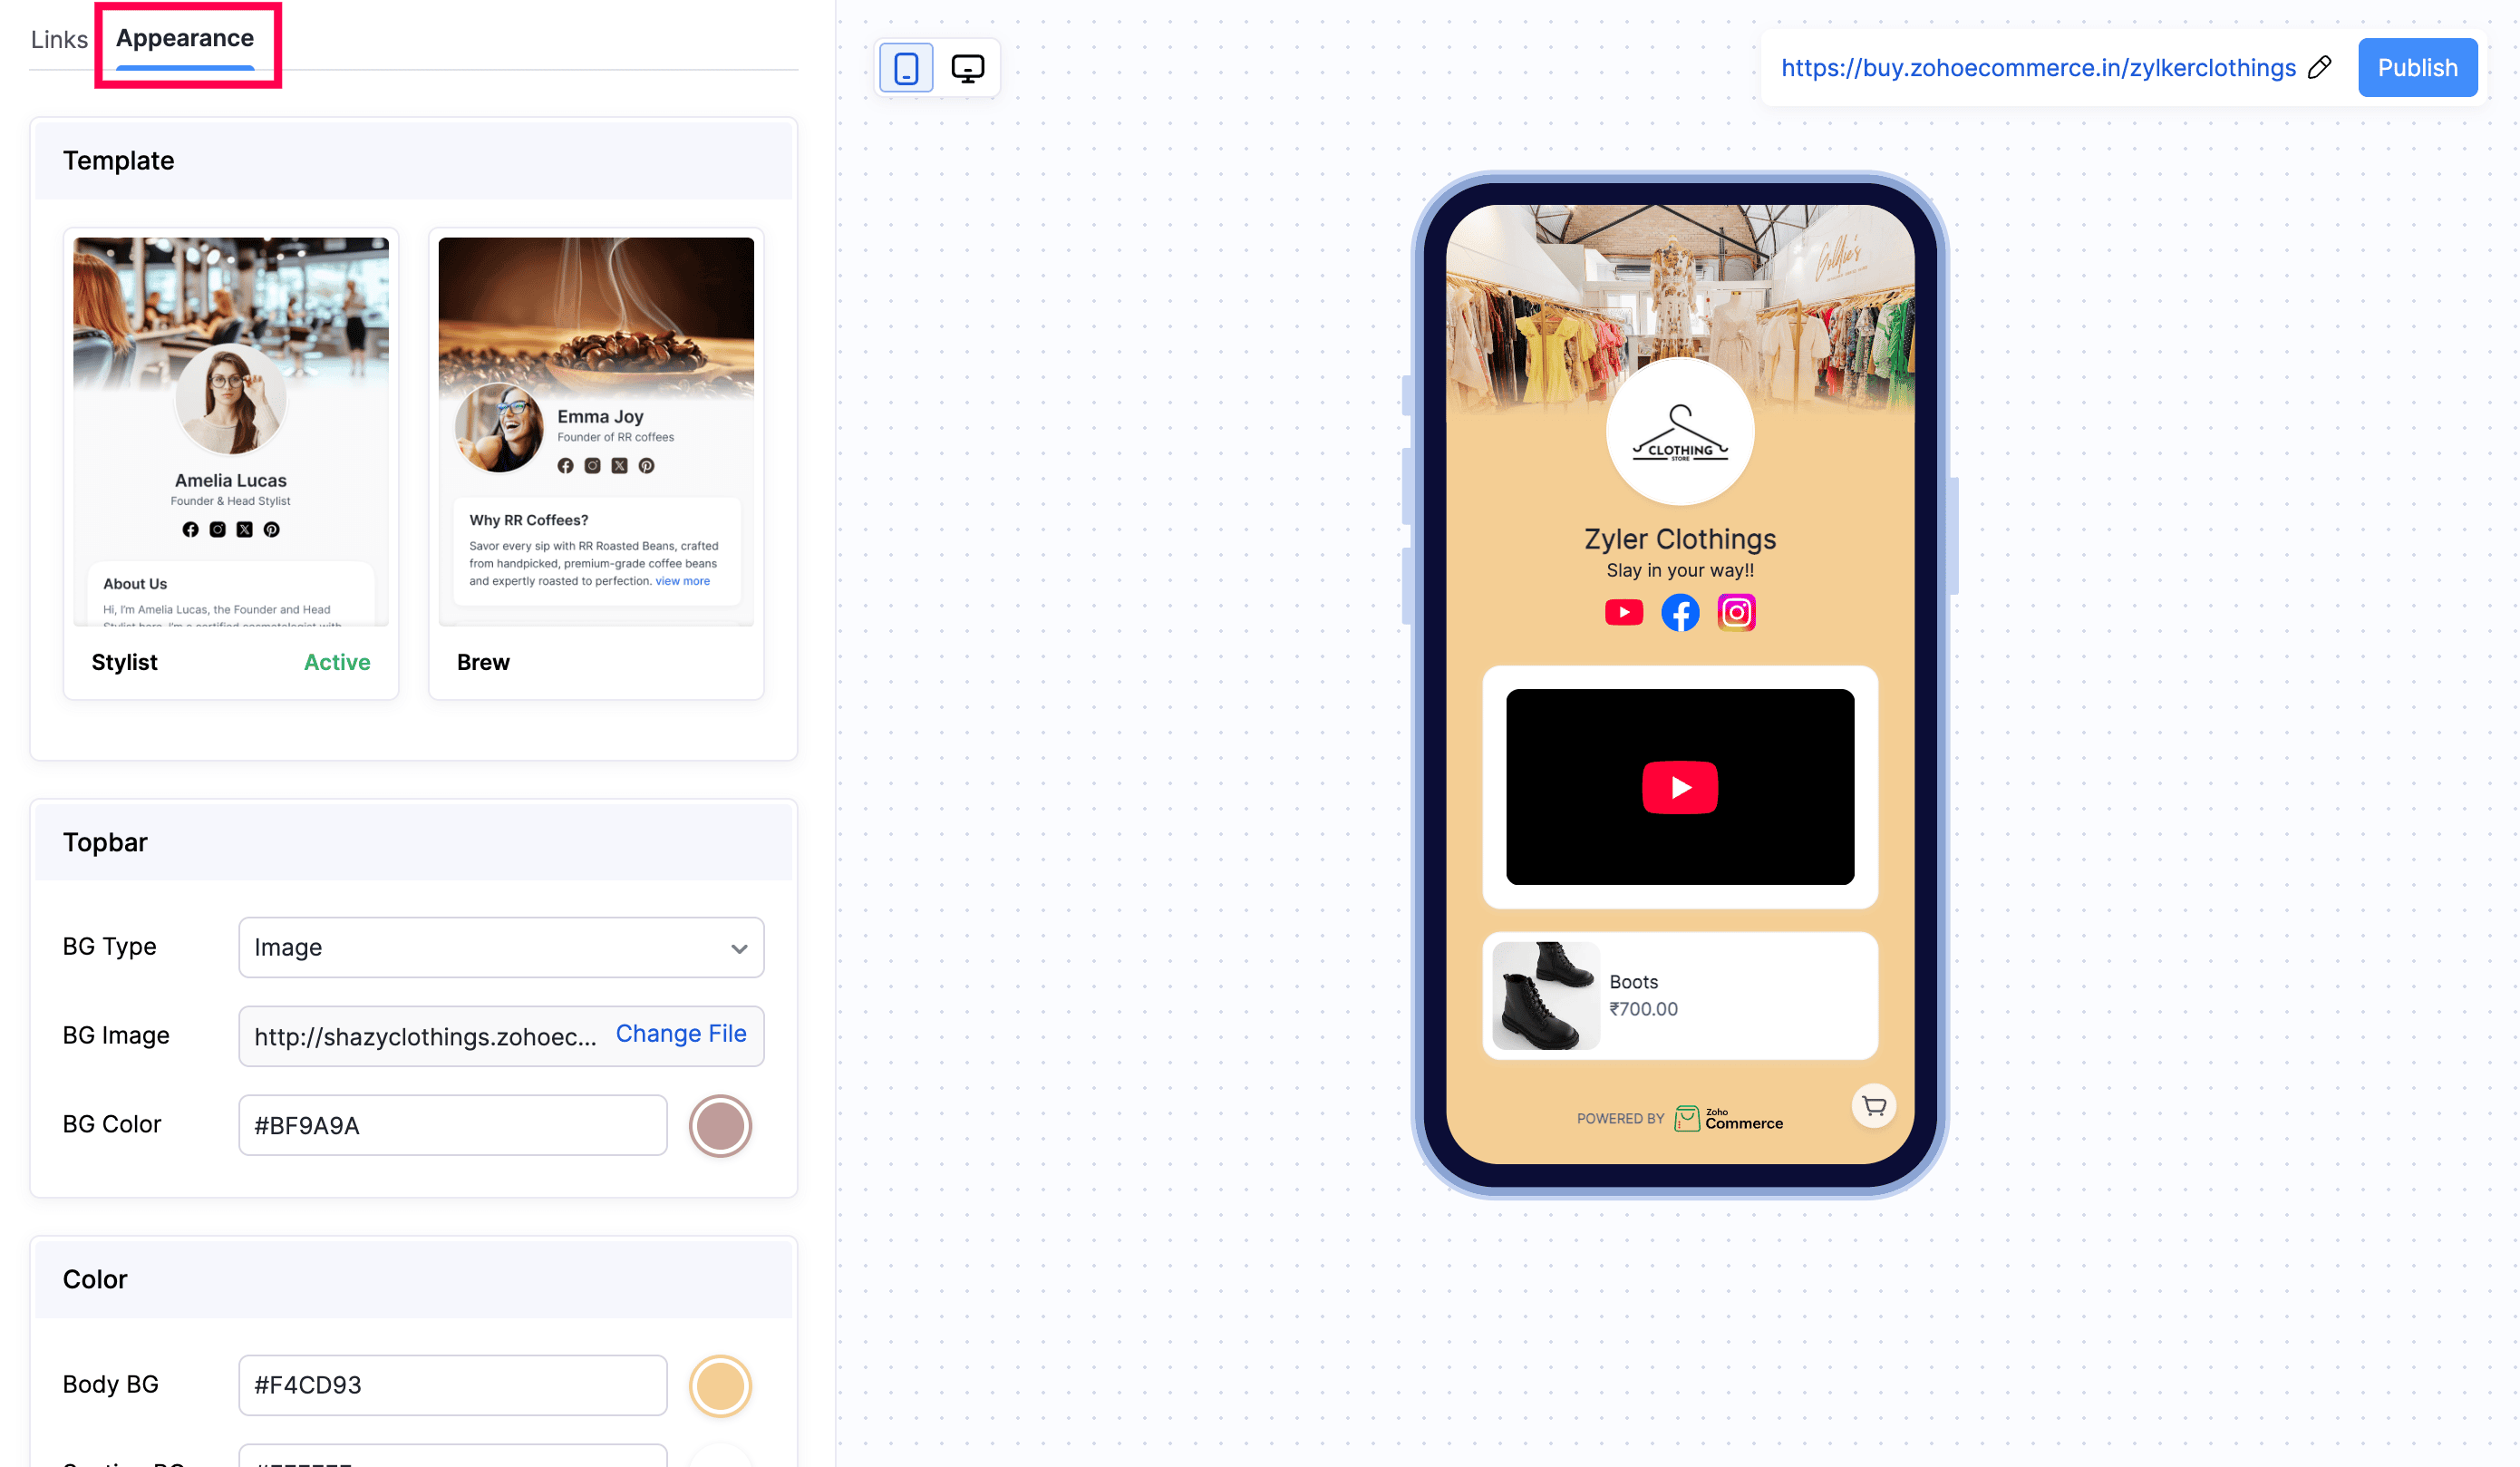
The Appearance tab lets you customize the visual style of your microstore. All changes are reflected instantly in the live preview on the right.
Template
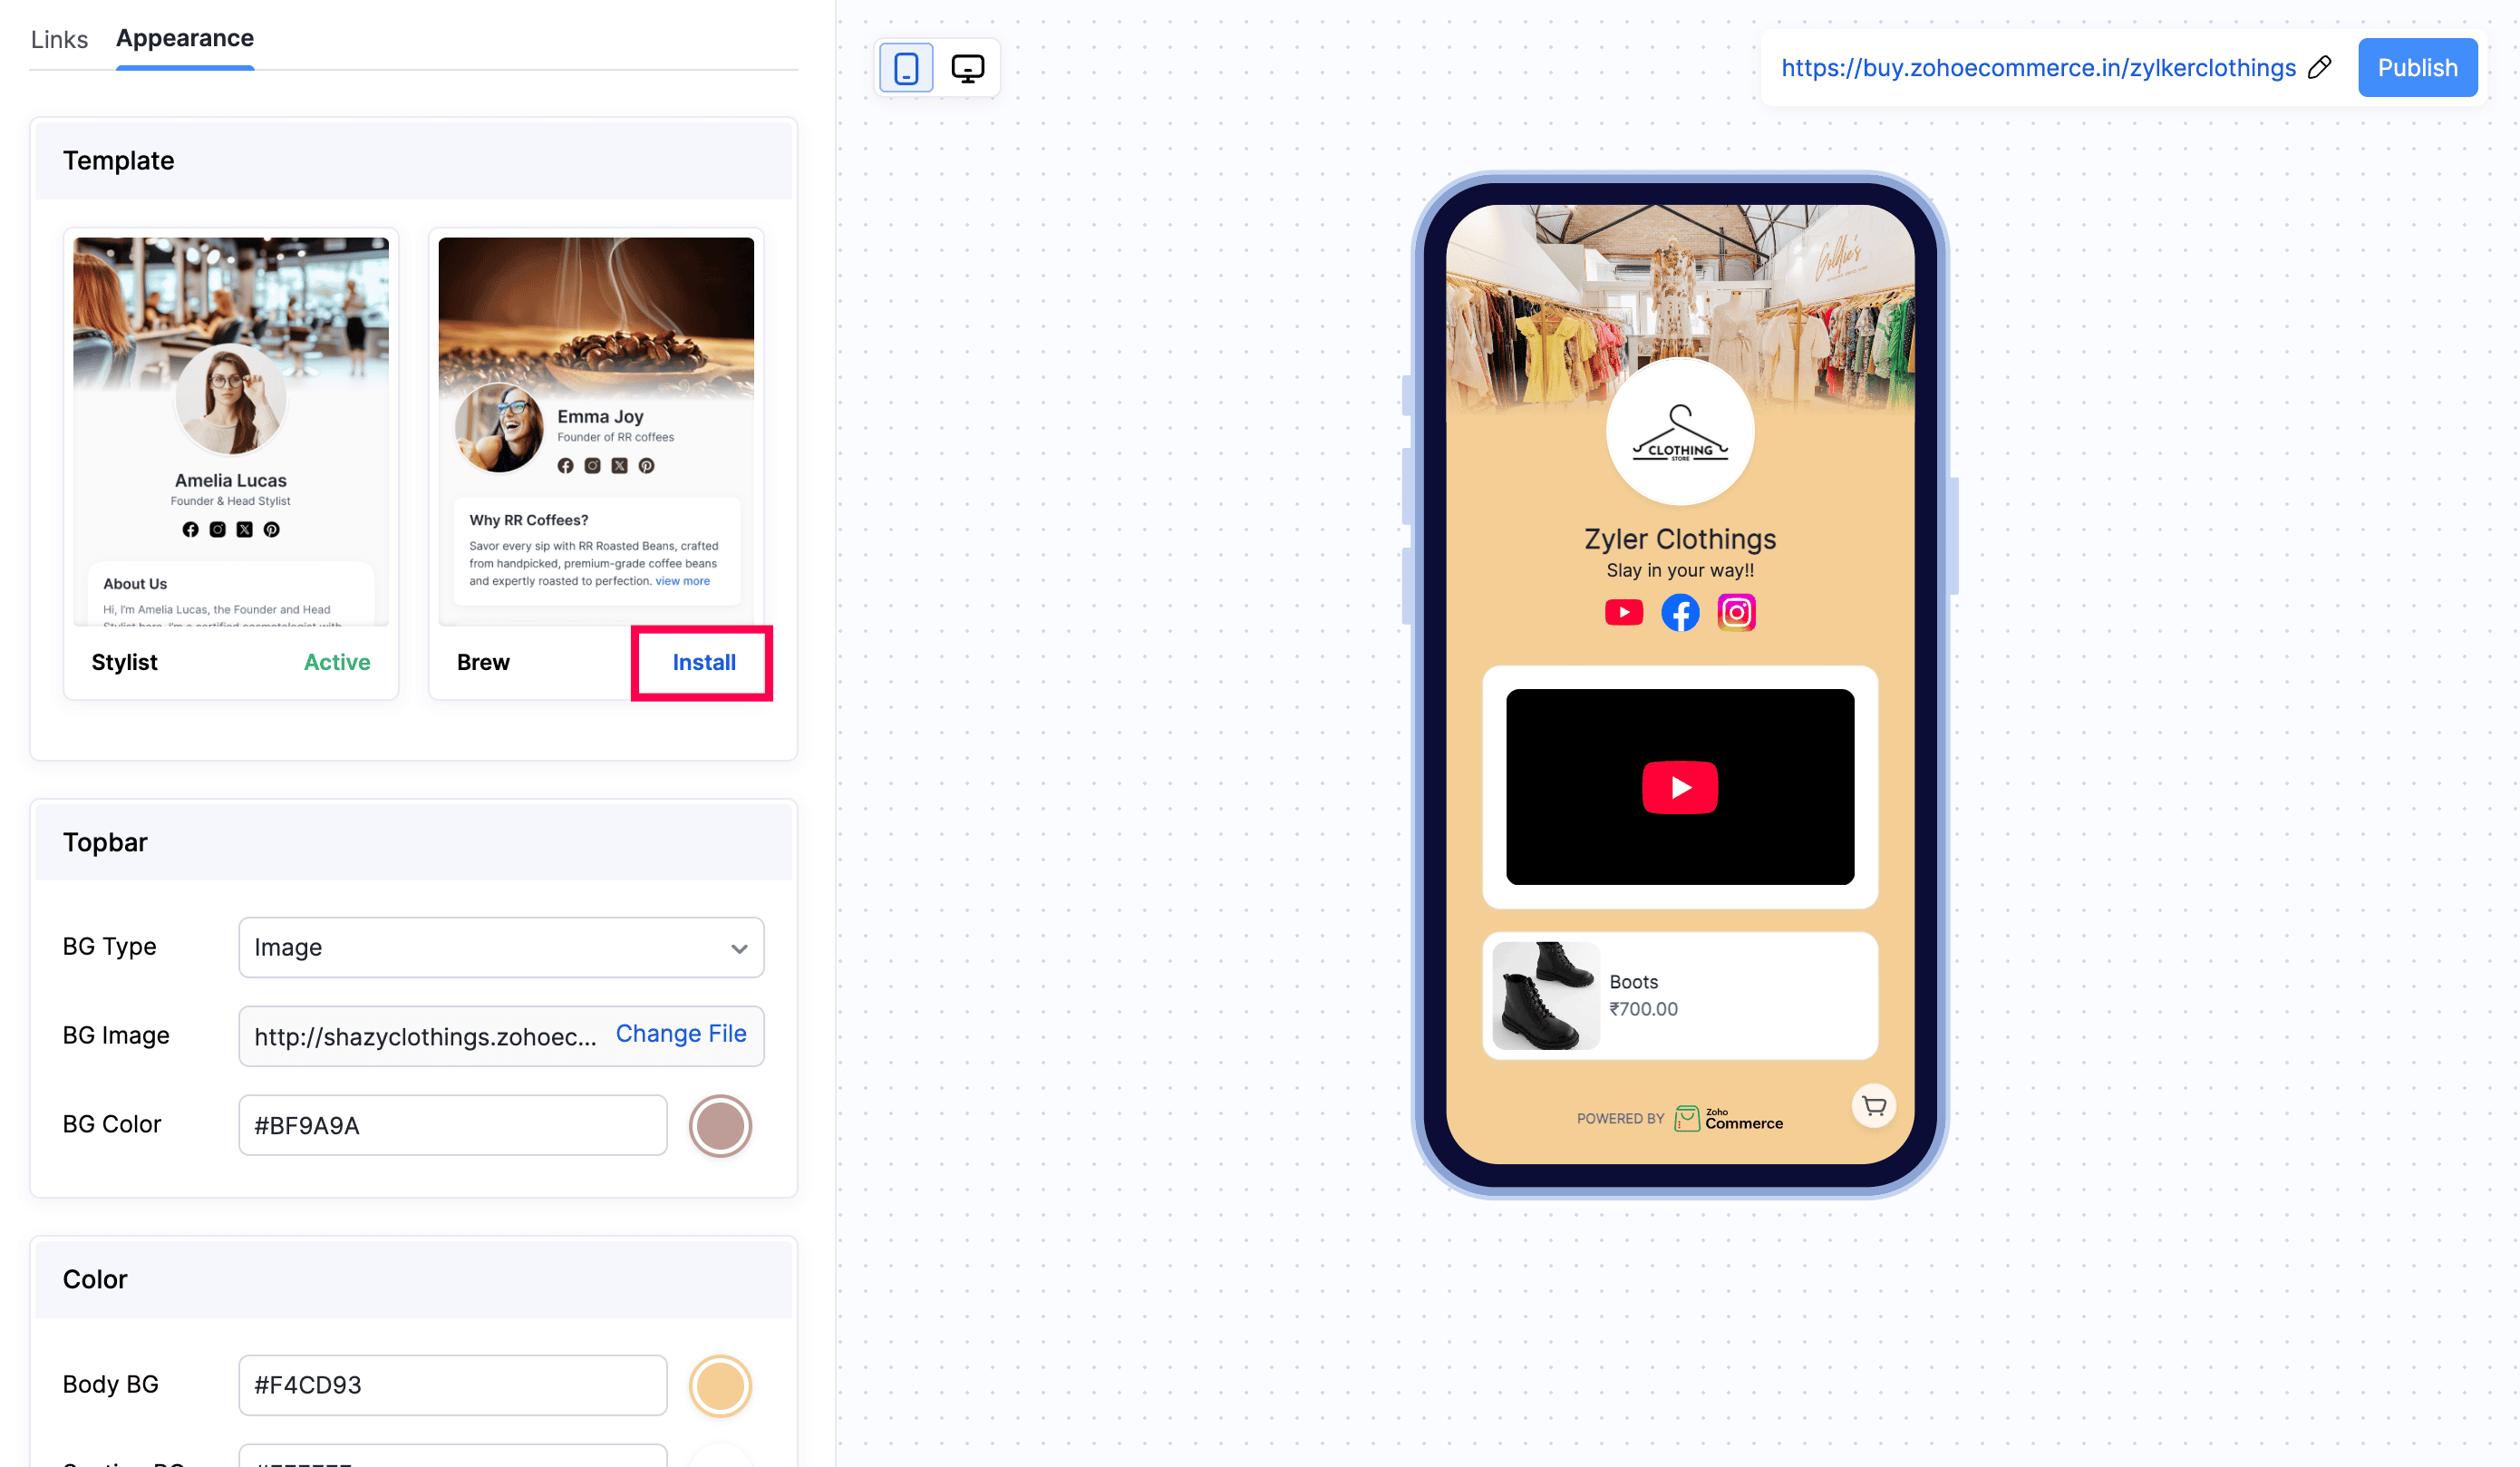
Templates are pre-designed layouts for your Microstore. Each template comes with a distinct visual style. Select any available template to apply it - your active template is marked as Active. To select a template:
- Hover over a template and click Install to apply it to your Microstore. The live preview updates to reflect the new template.
Topbar
The Topbar is the banner area displayed at the top of your Microstore.
| Field | Description |
|---|---|
| BG Type | Choose between Image or Color as the background type for the topbar. |
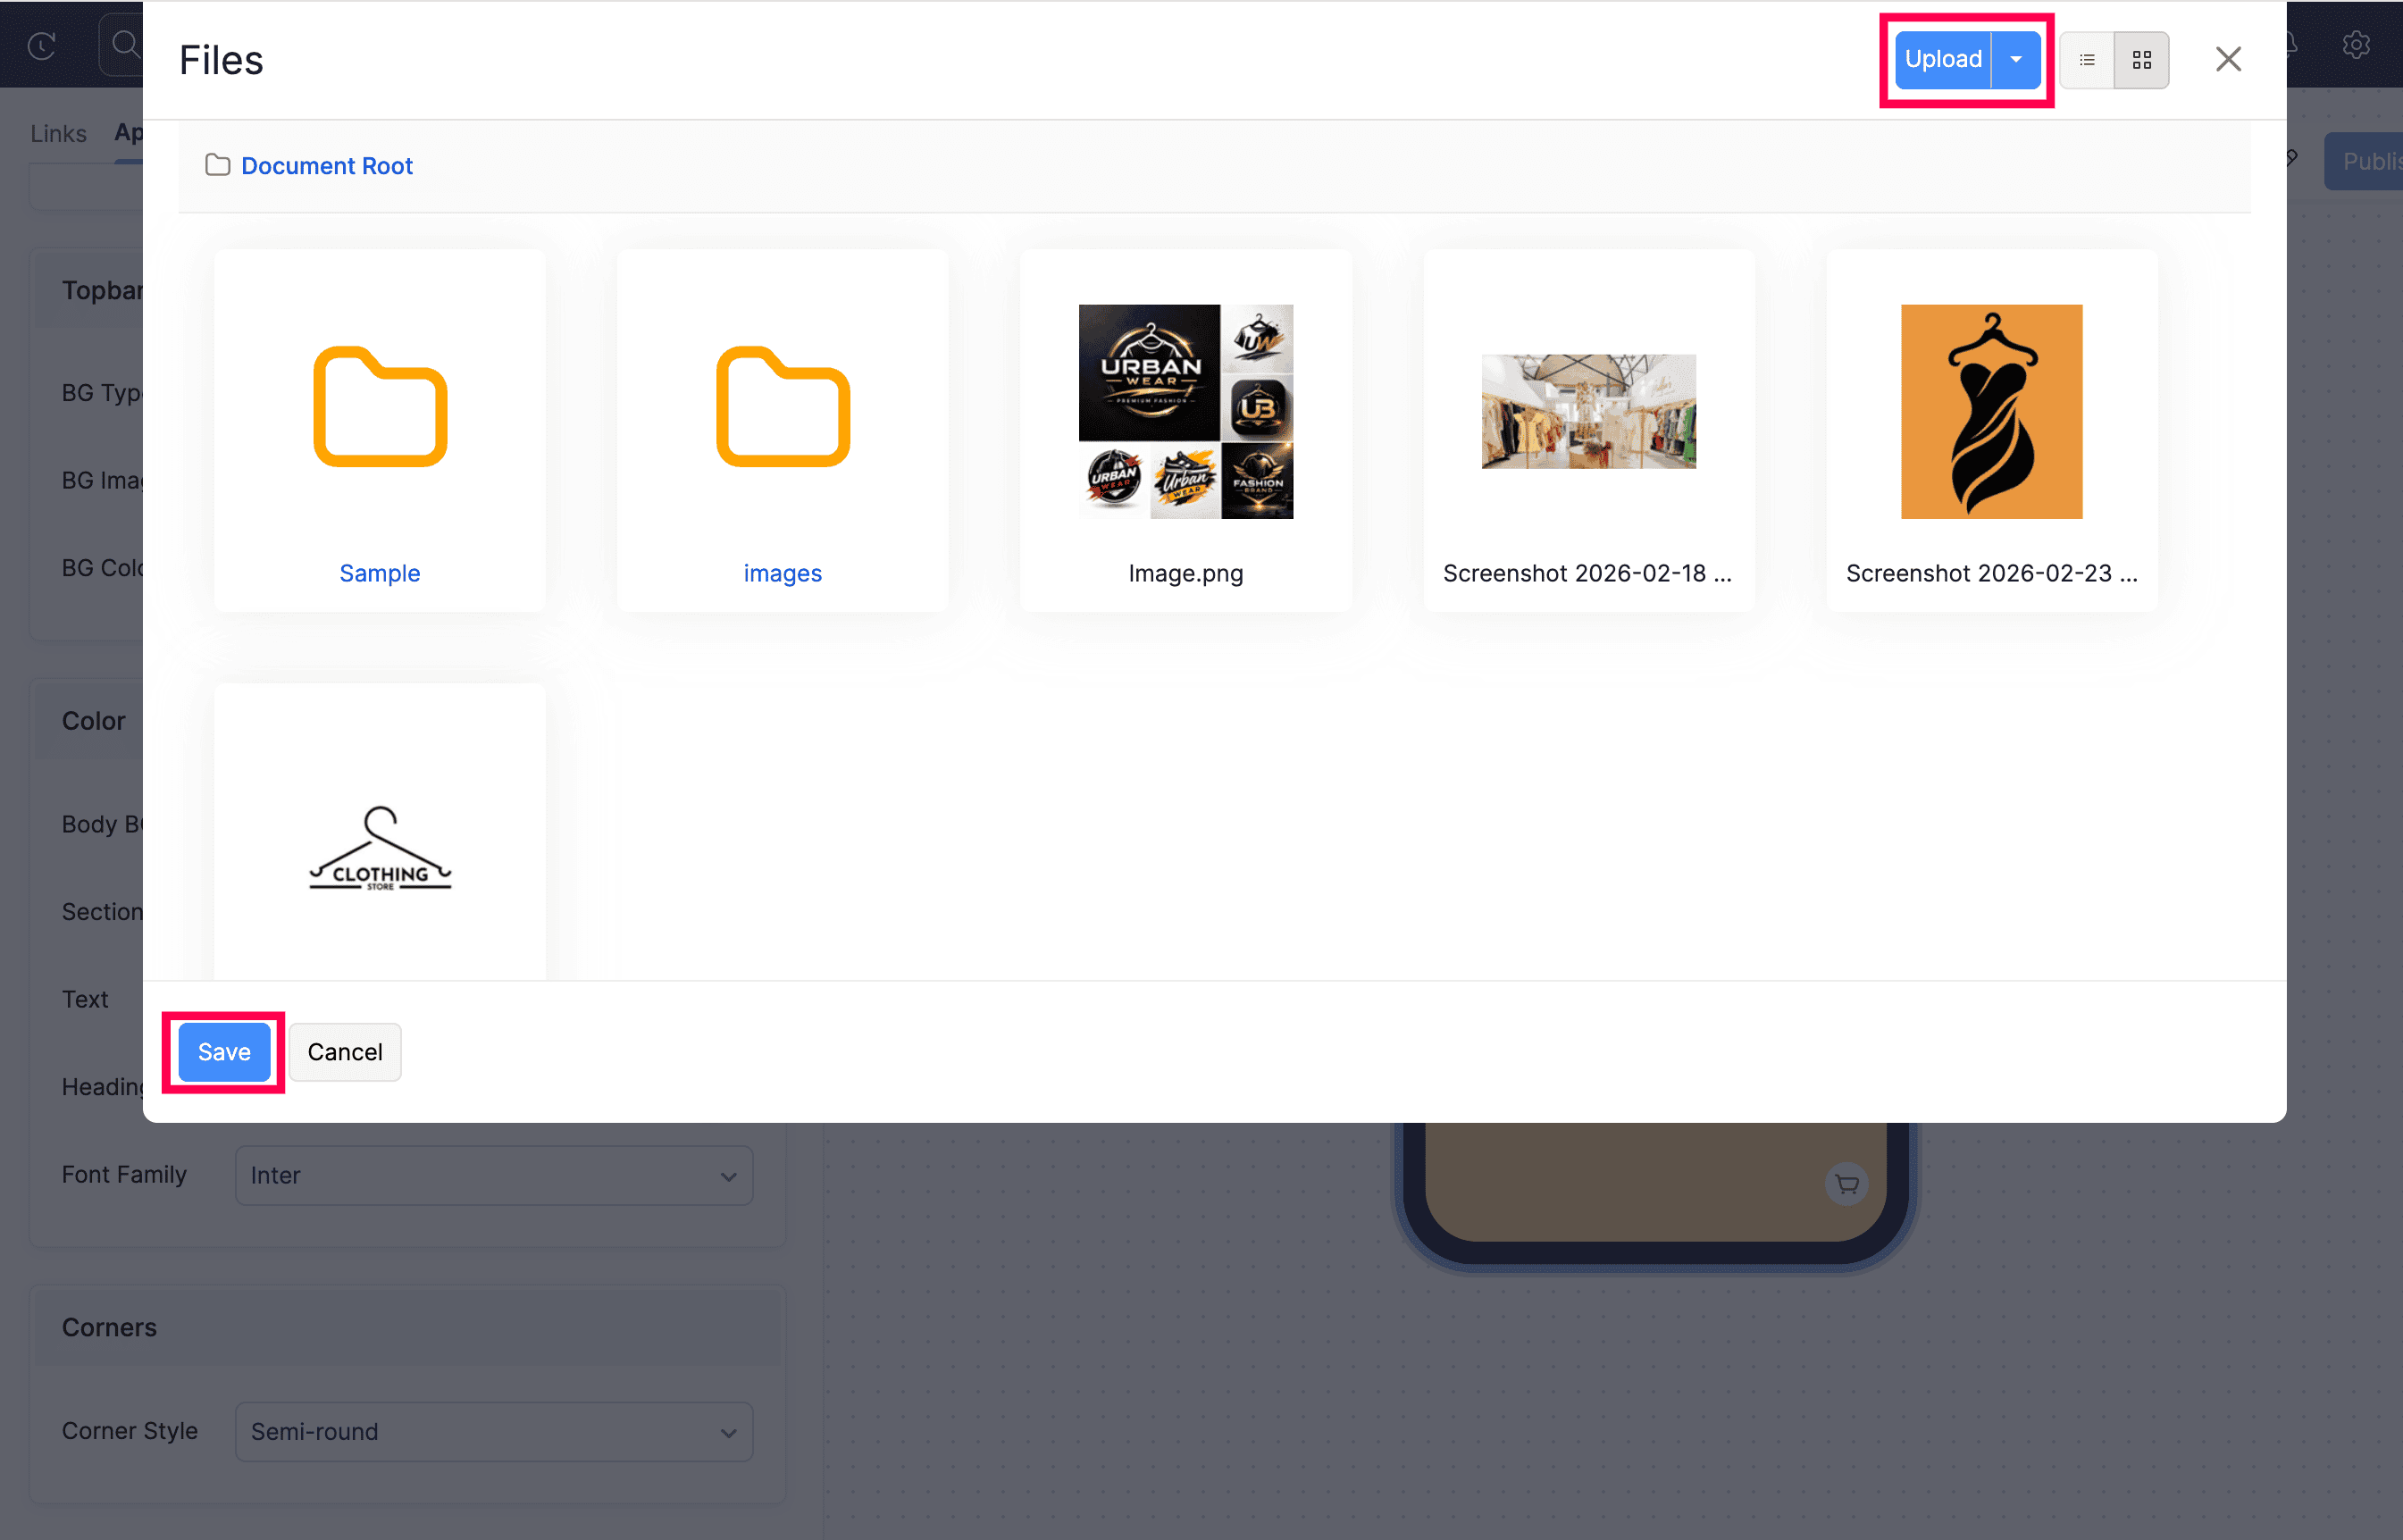
| BG Image | Sets an image as the topbar background. Click Change File to open the Files dialog, where you can browse folders, select an existing image, or click Upload to add a new file from your device. Select the image and click Save. |
| BG Color | Set a background color for the topbar using a hex code or the color picker. |
Color
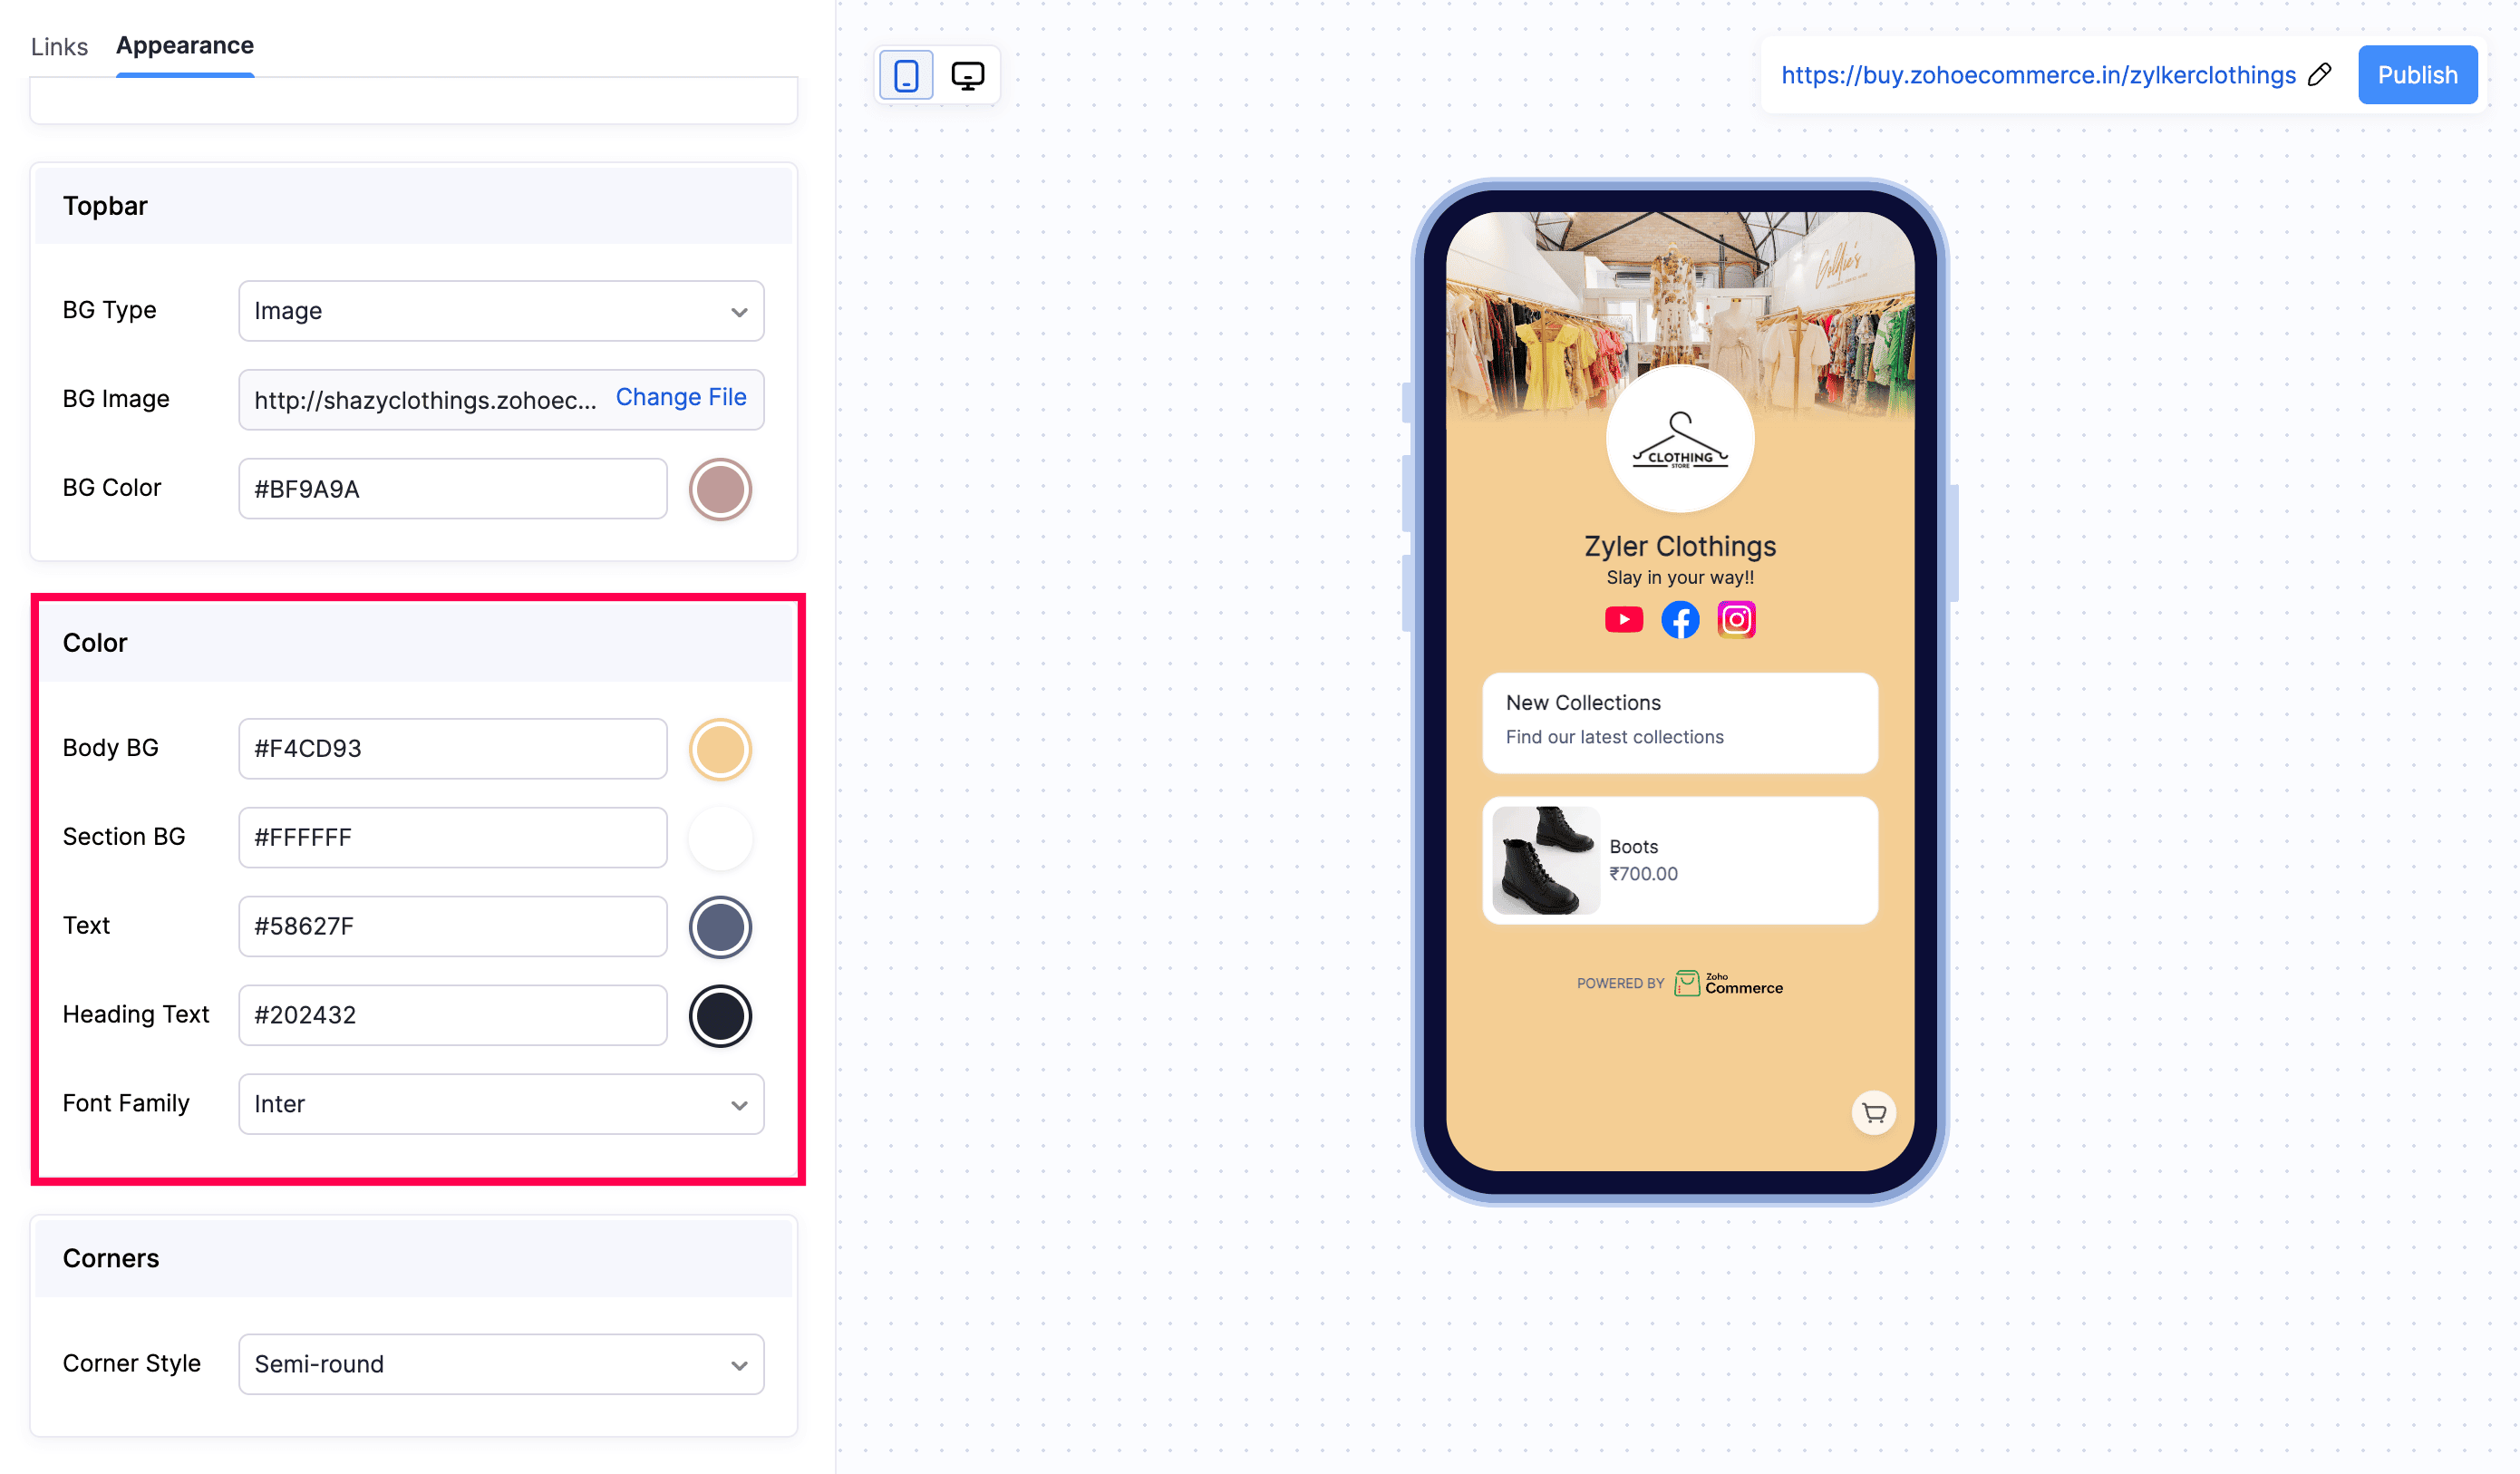
Customize the color scheme and typography for your microstore.
| Field | Description |
|---|---|
| Body BG | Sets the background color for the overall page body. |
| Section BG | Sets the background color for individual content sections and cards. |
| Text | Sets the color for body text throughout the page. |
| Heading Text | Sets the color for headings such as your store title, bio, section headers, and cards. |
| Font Family | Choose the font style applied to all text on your microstore. |
Corners
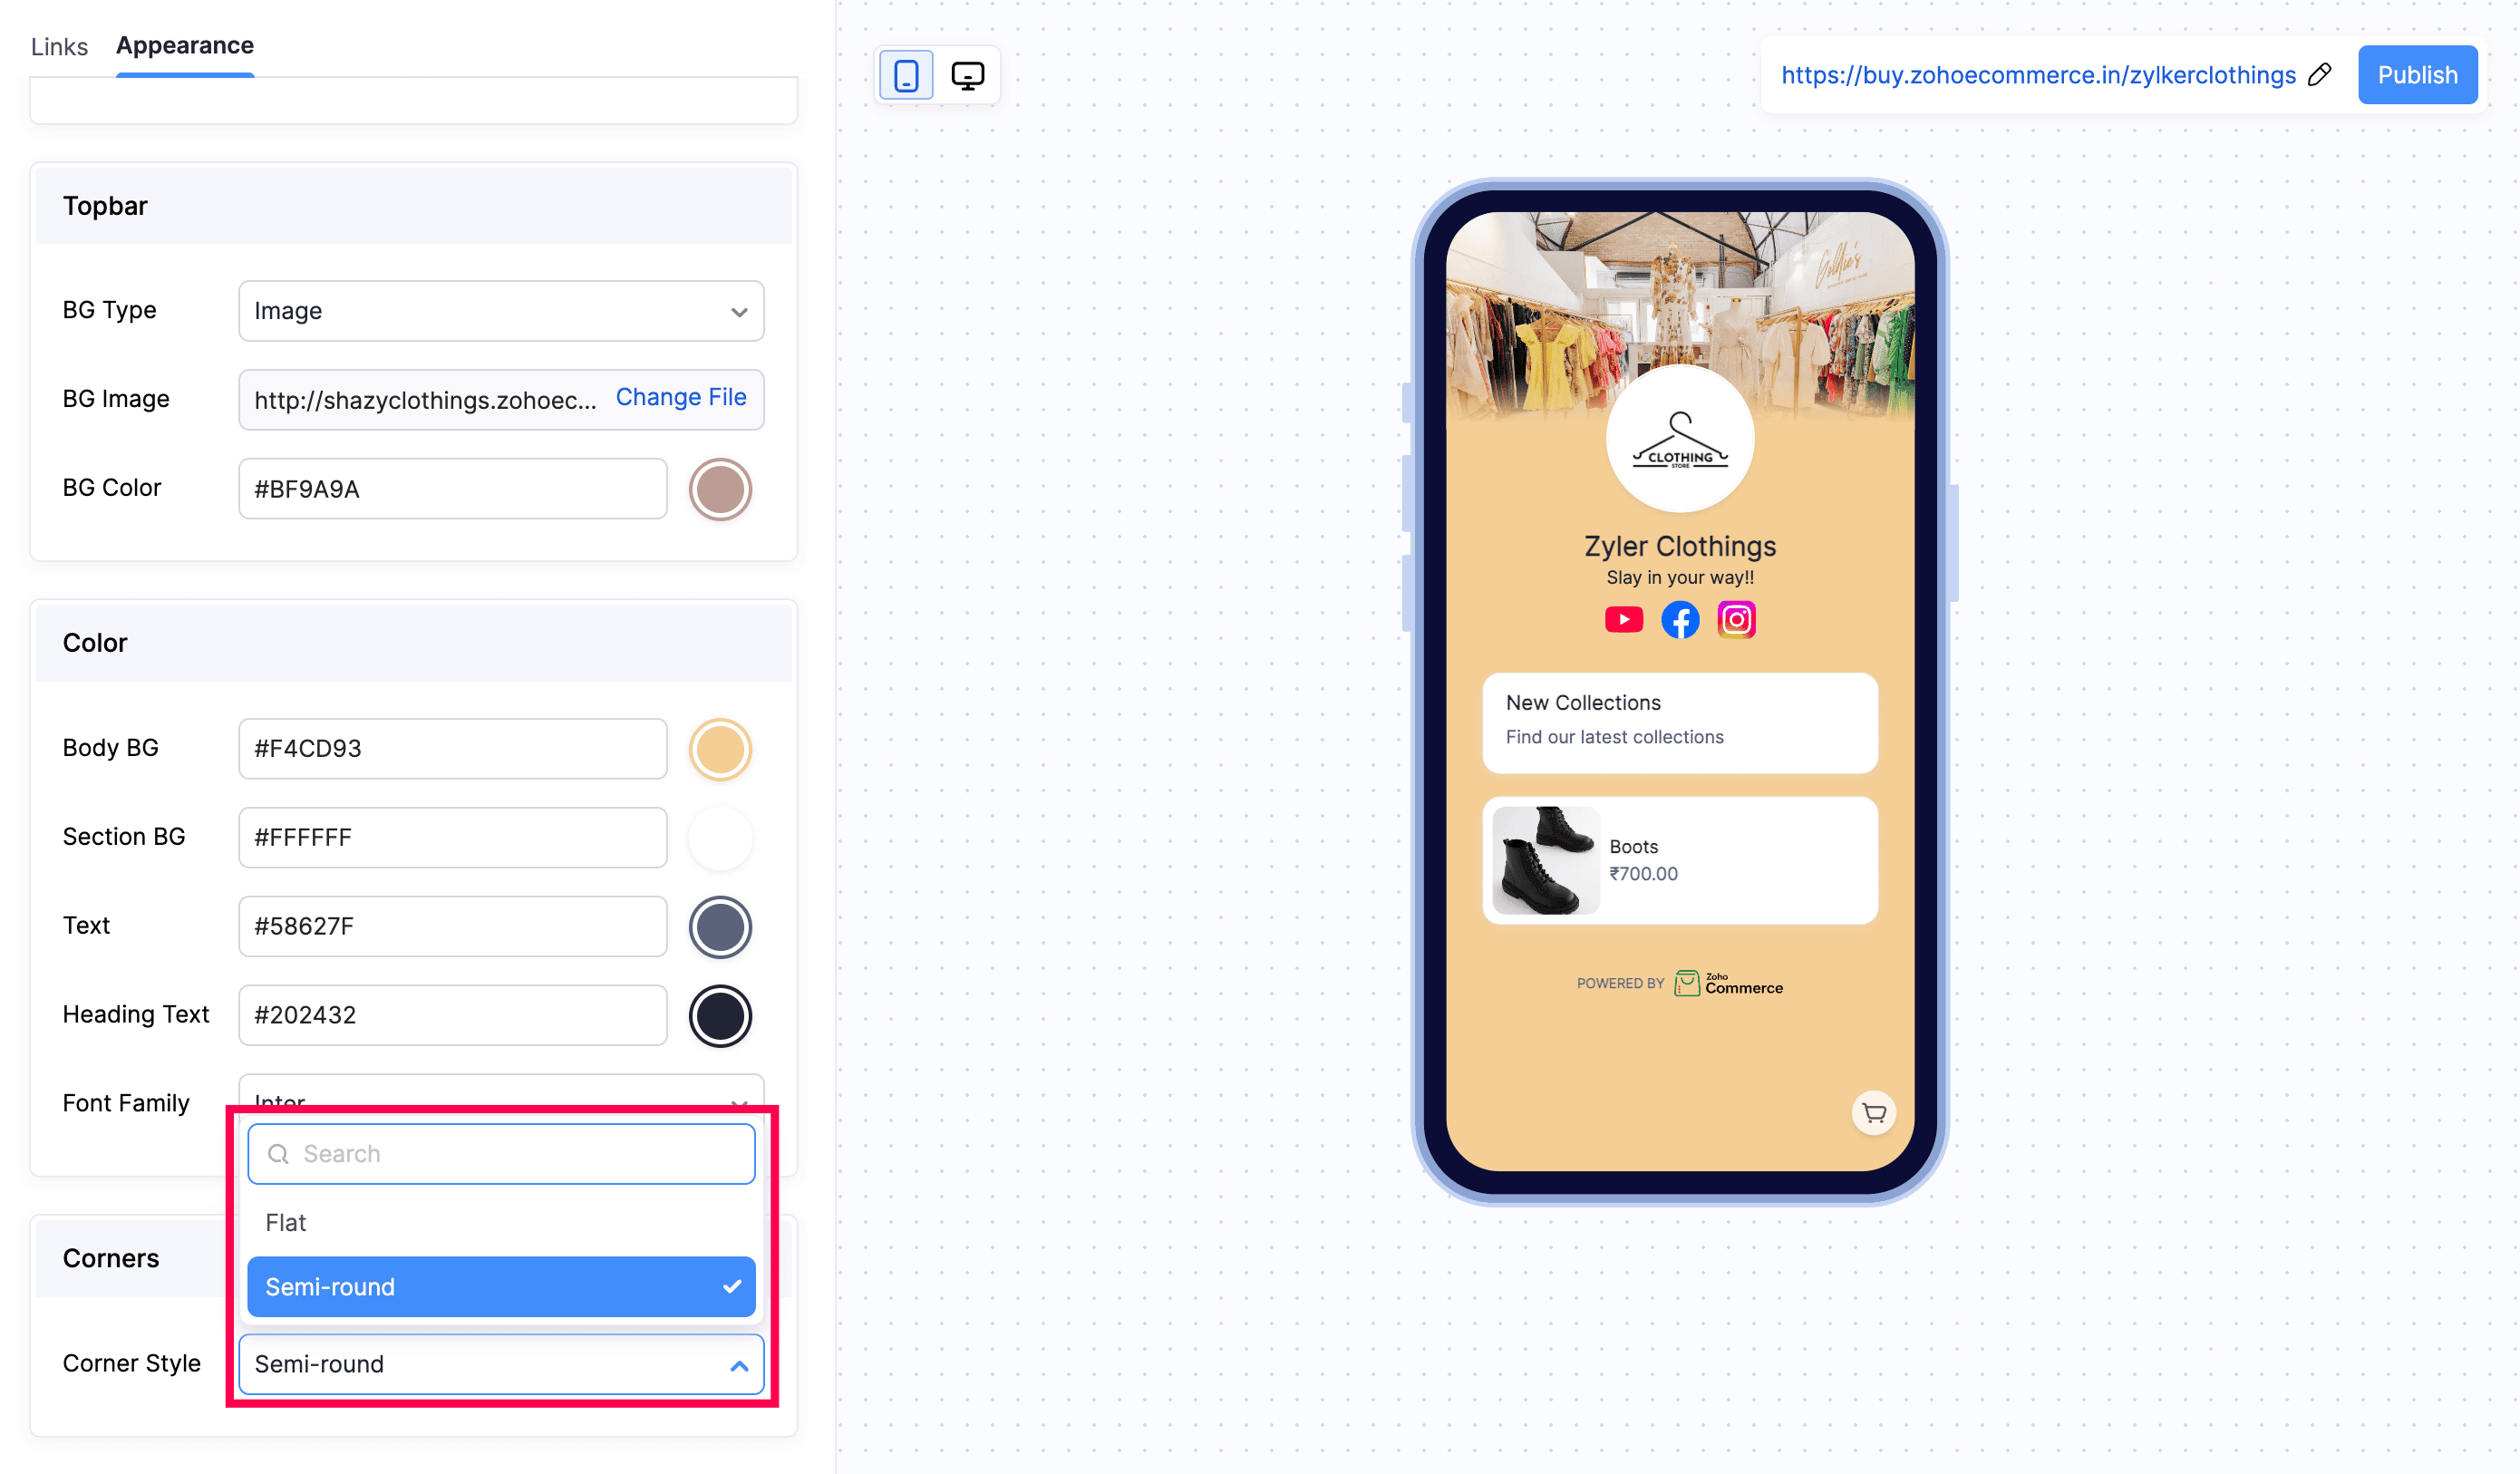
Controls the border-radius style applied to cards and sections on your microstore.
| Field | Description |
|---|---|
| Corner Style | Choose a corner style for cards and sections. Options include Semi-round and Flat. |
Preview and Publish Your microstore
A live preview of your microstore is displayed on the right side of the editor. You can switch between mobile and desktop views using the icons at the top of the preview panel.
When you are ready to make your microstore visible to customers:
- Click Publish in the top-right corner.
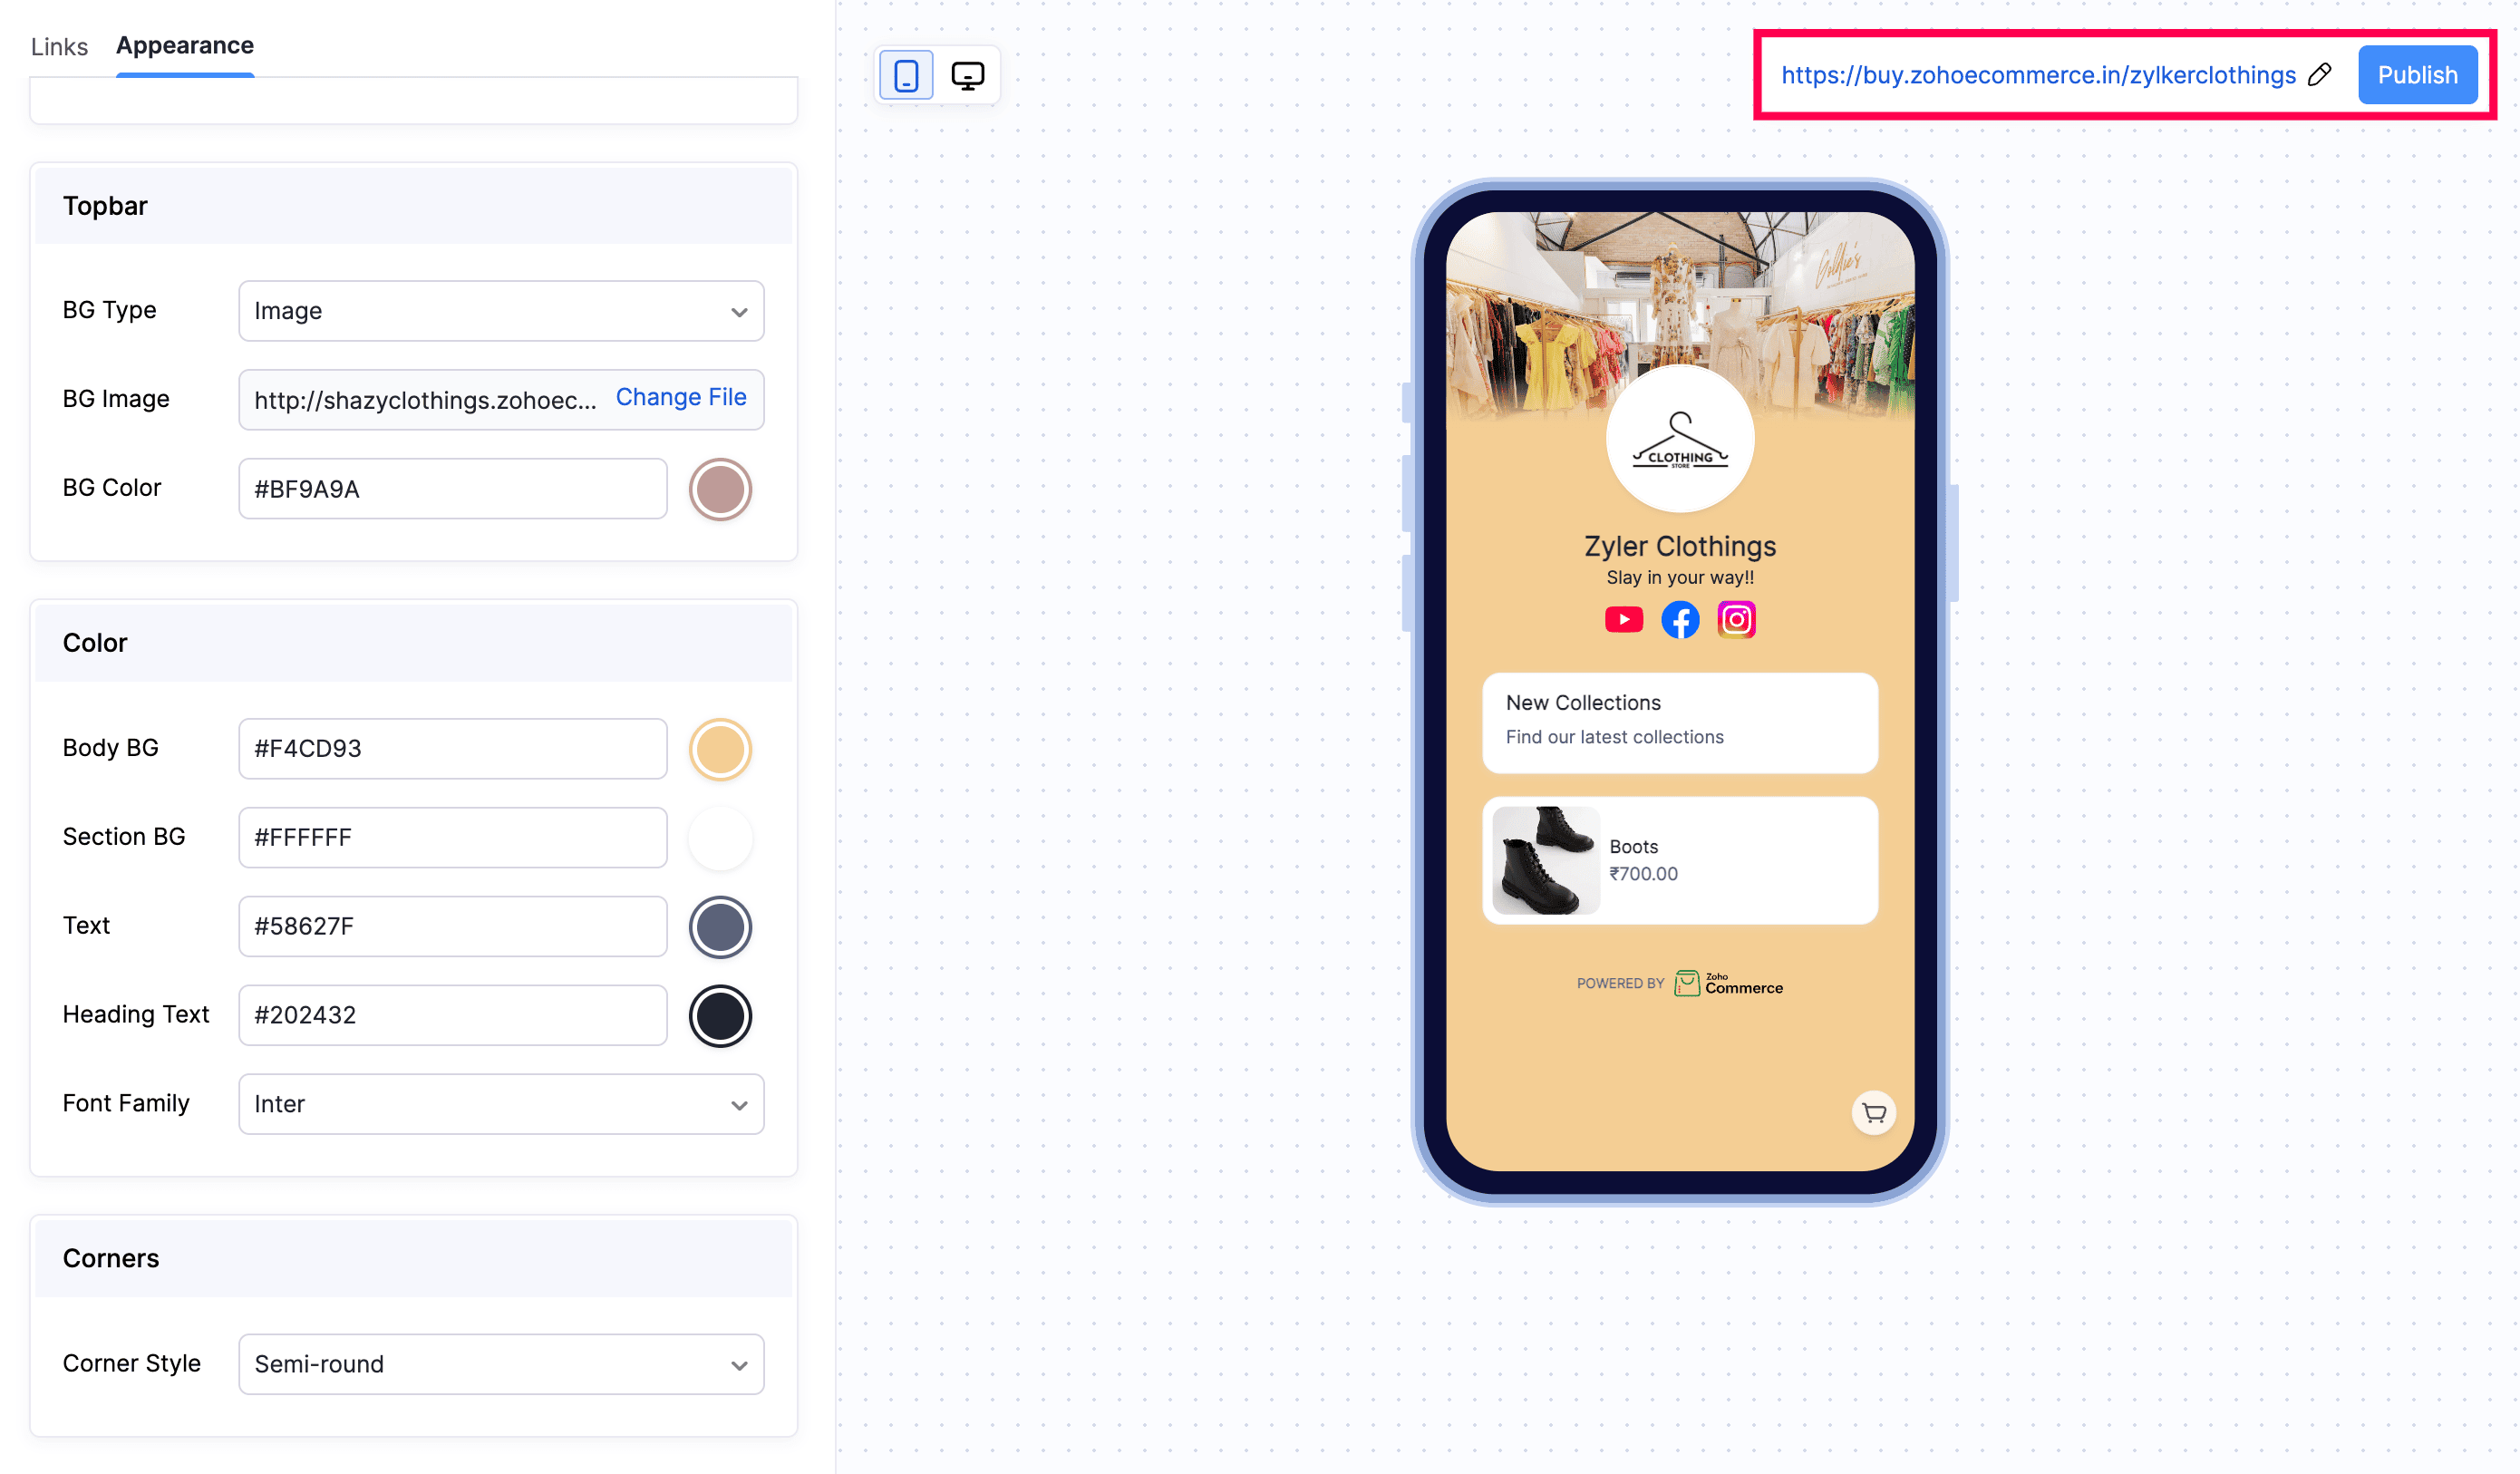
Your microstore will be accessible at the URL shown at the top of the editor (for example, https://buy.zohoecommerce.in/zylkerclothings). Click the Edit icon next to the URL to rename your microstore at any time.