Connecting Zoho Cliq MCP with Cursor
With Cursor IDE, you can use Zoho Cliq tools directly for messaging, notifications, workflow automation, and more with Zoho MCP. Perform real-world actions securely without leaving your coding workspace.
Configuring Zoho MCP in Cursor
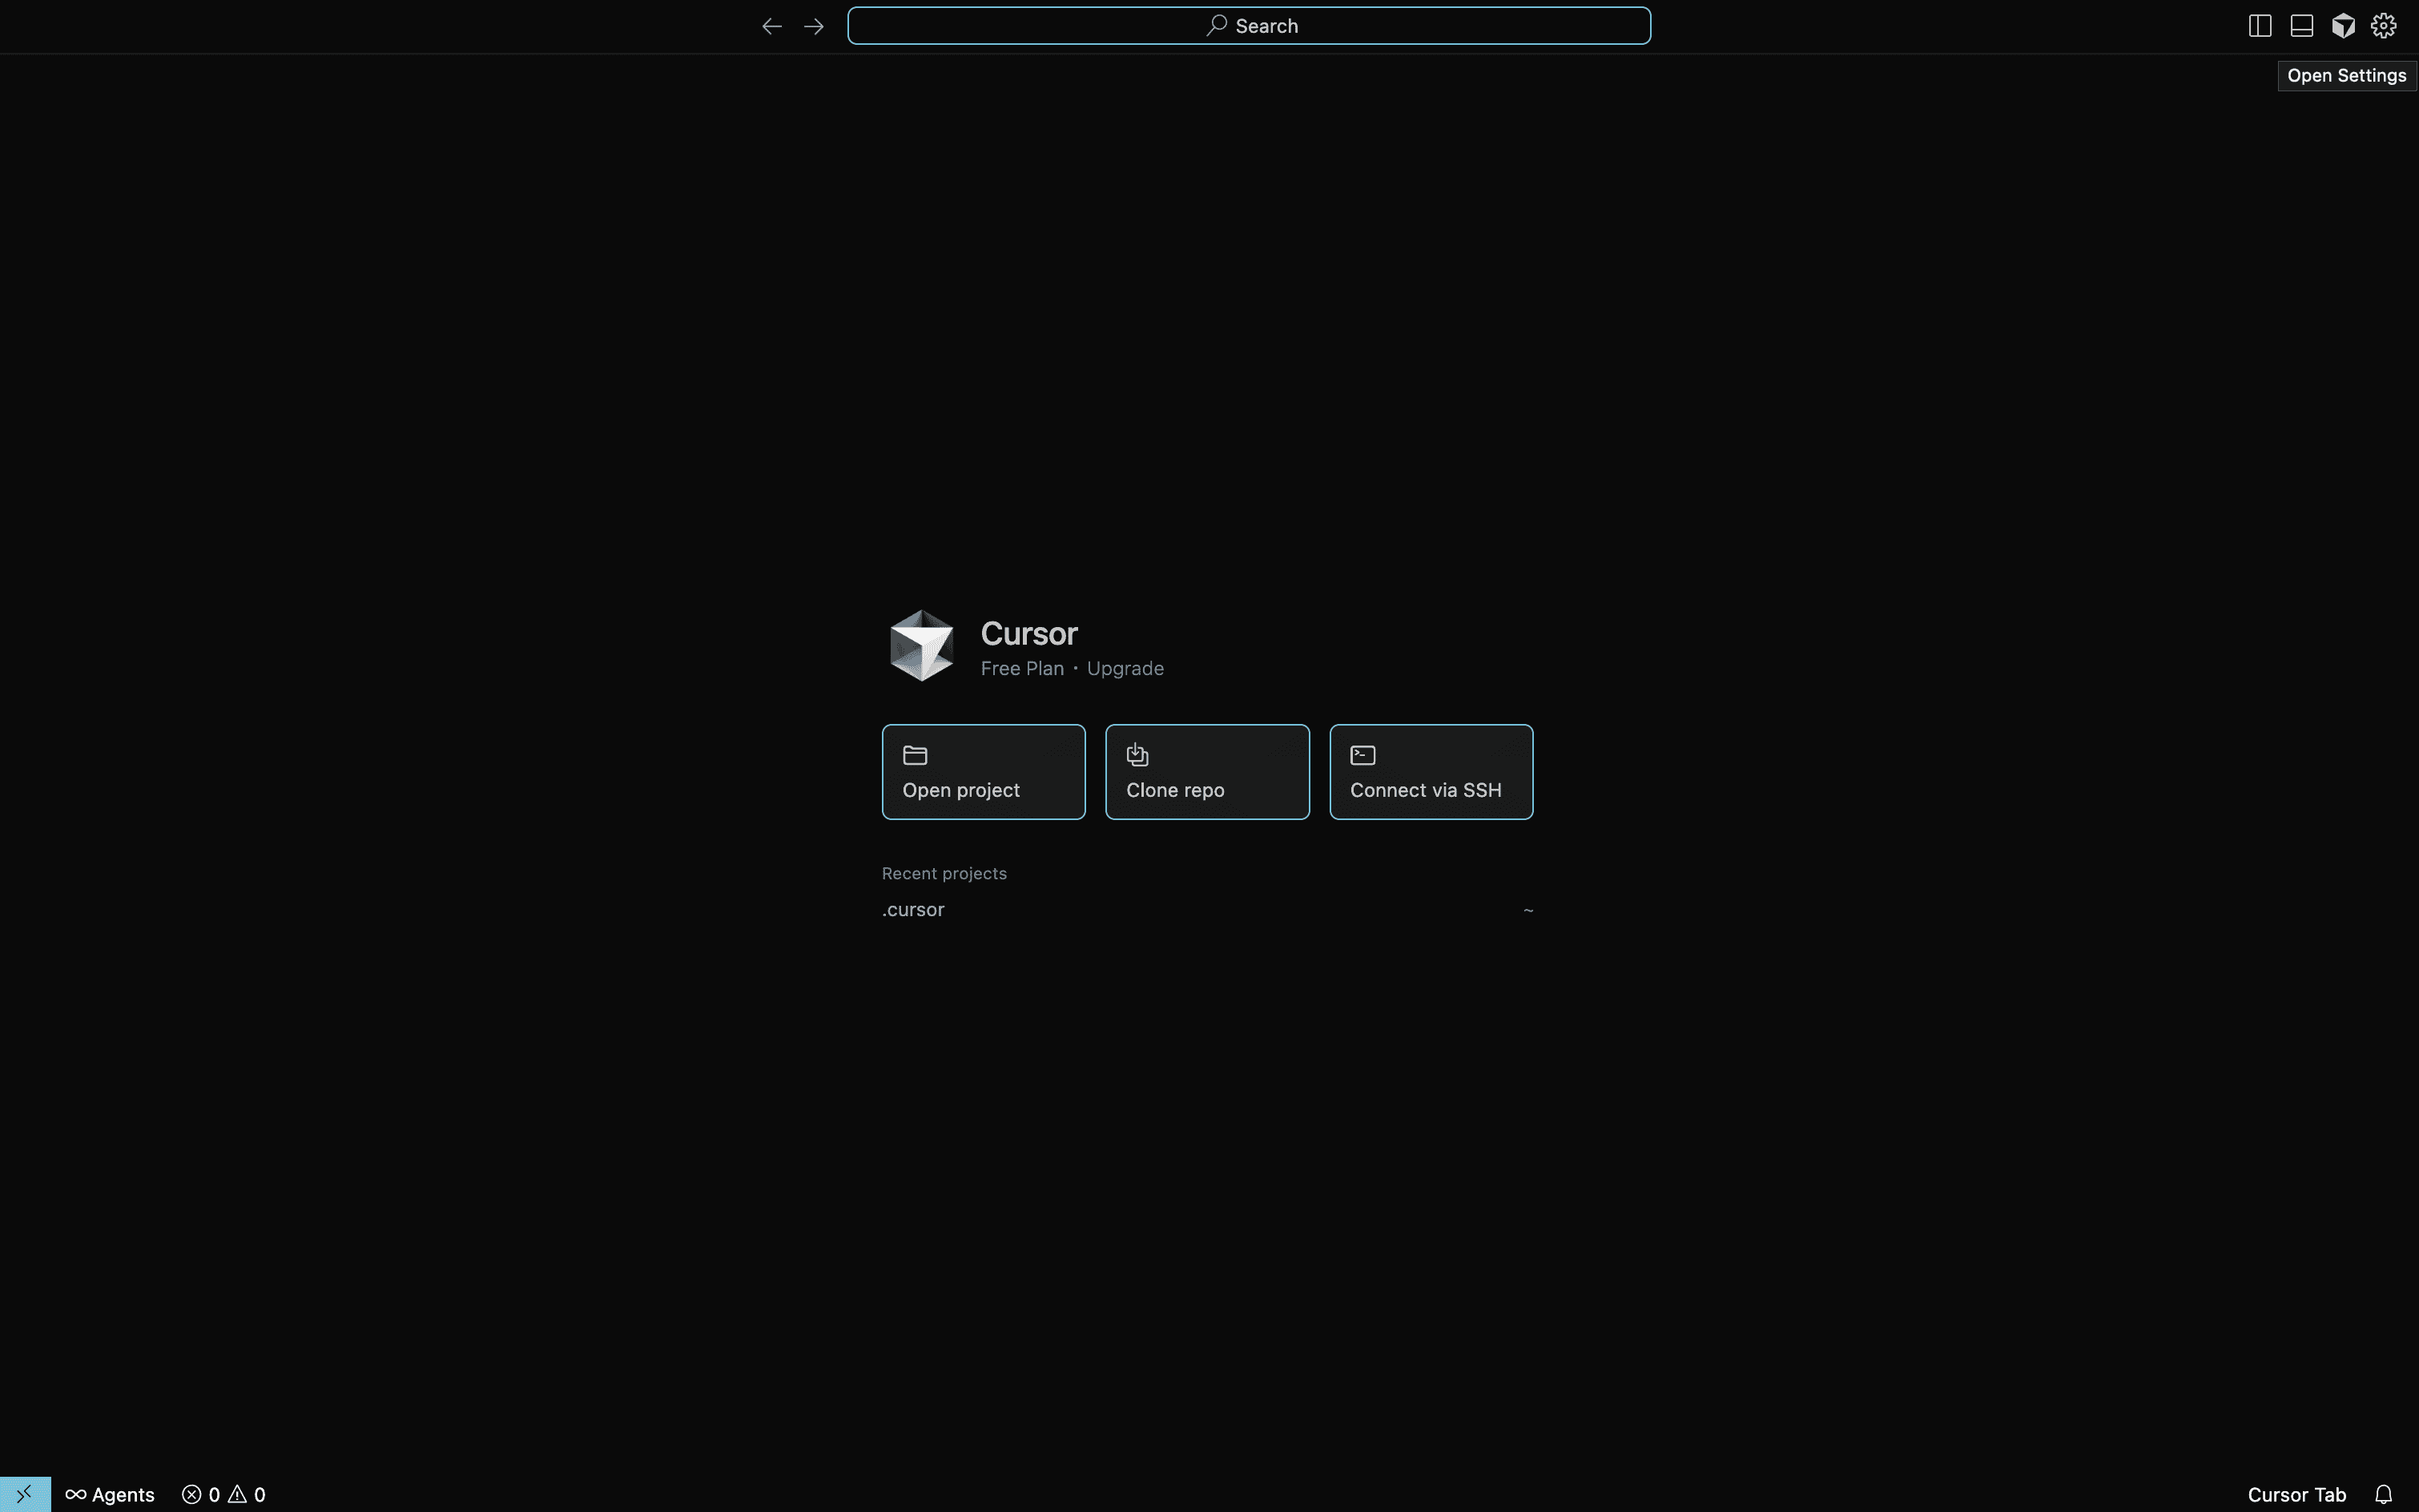
Open Cursor settings (⇧ + ⌘ + J on Mac, Ctrl+Shift+J on Windows or click the gear icon located in the top right corner).
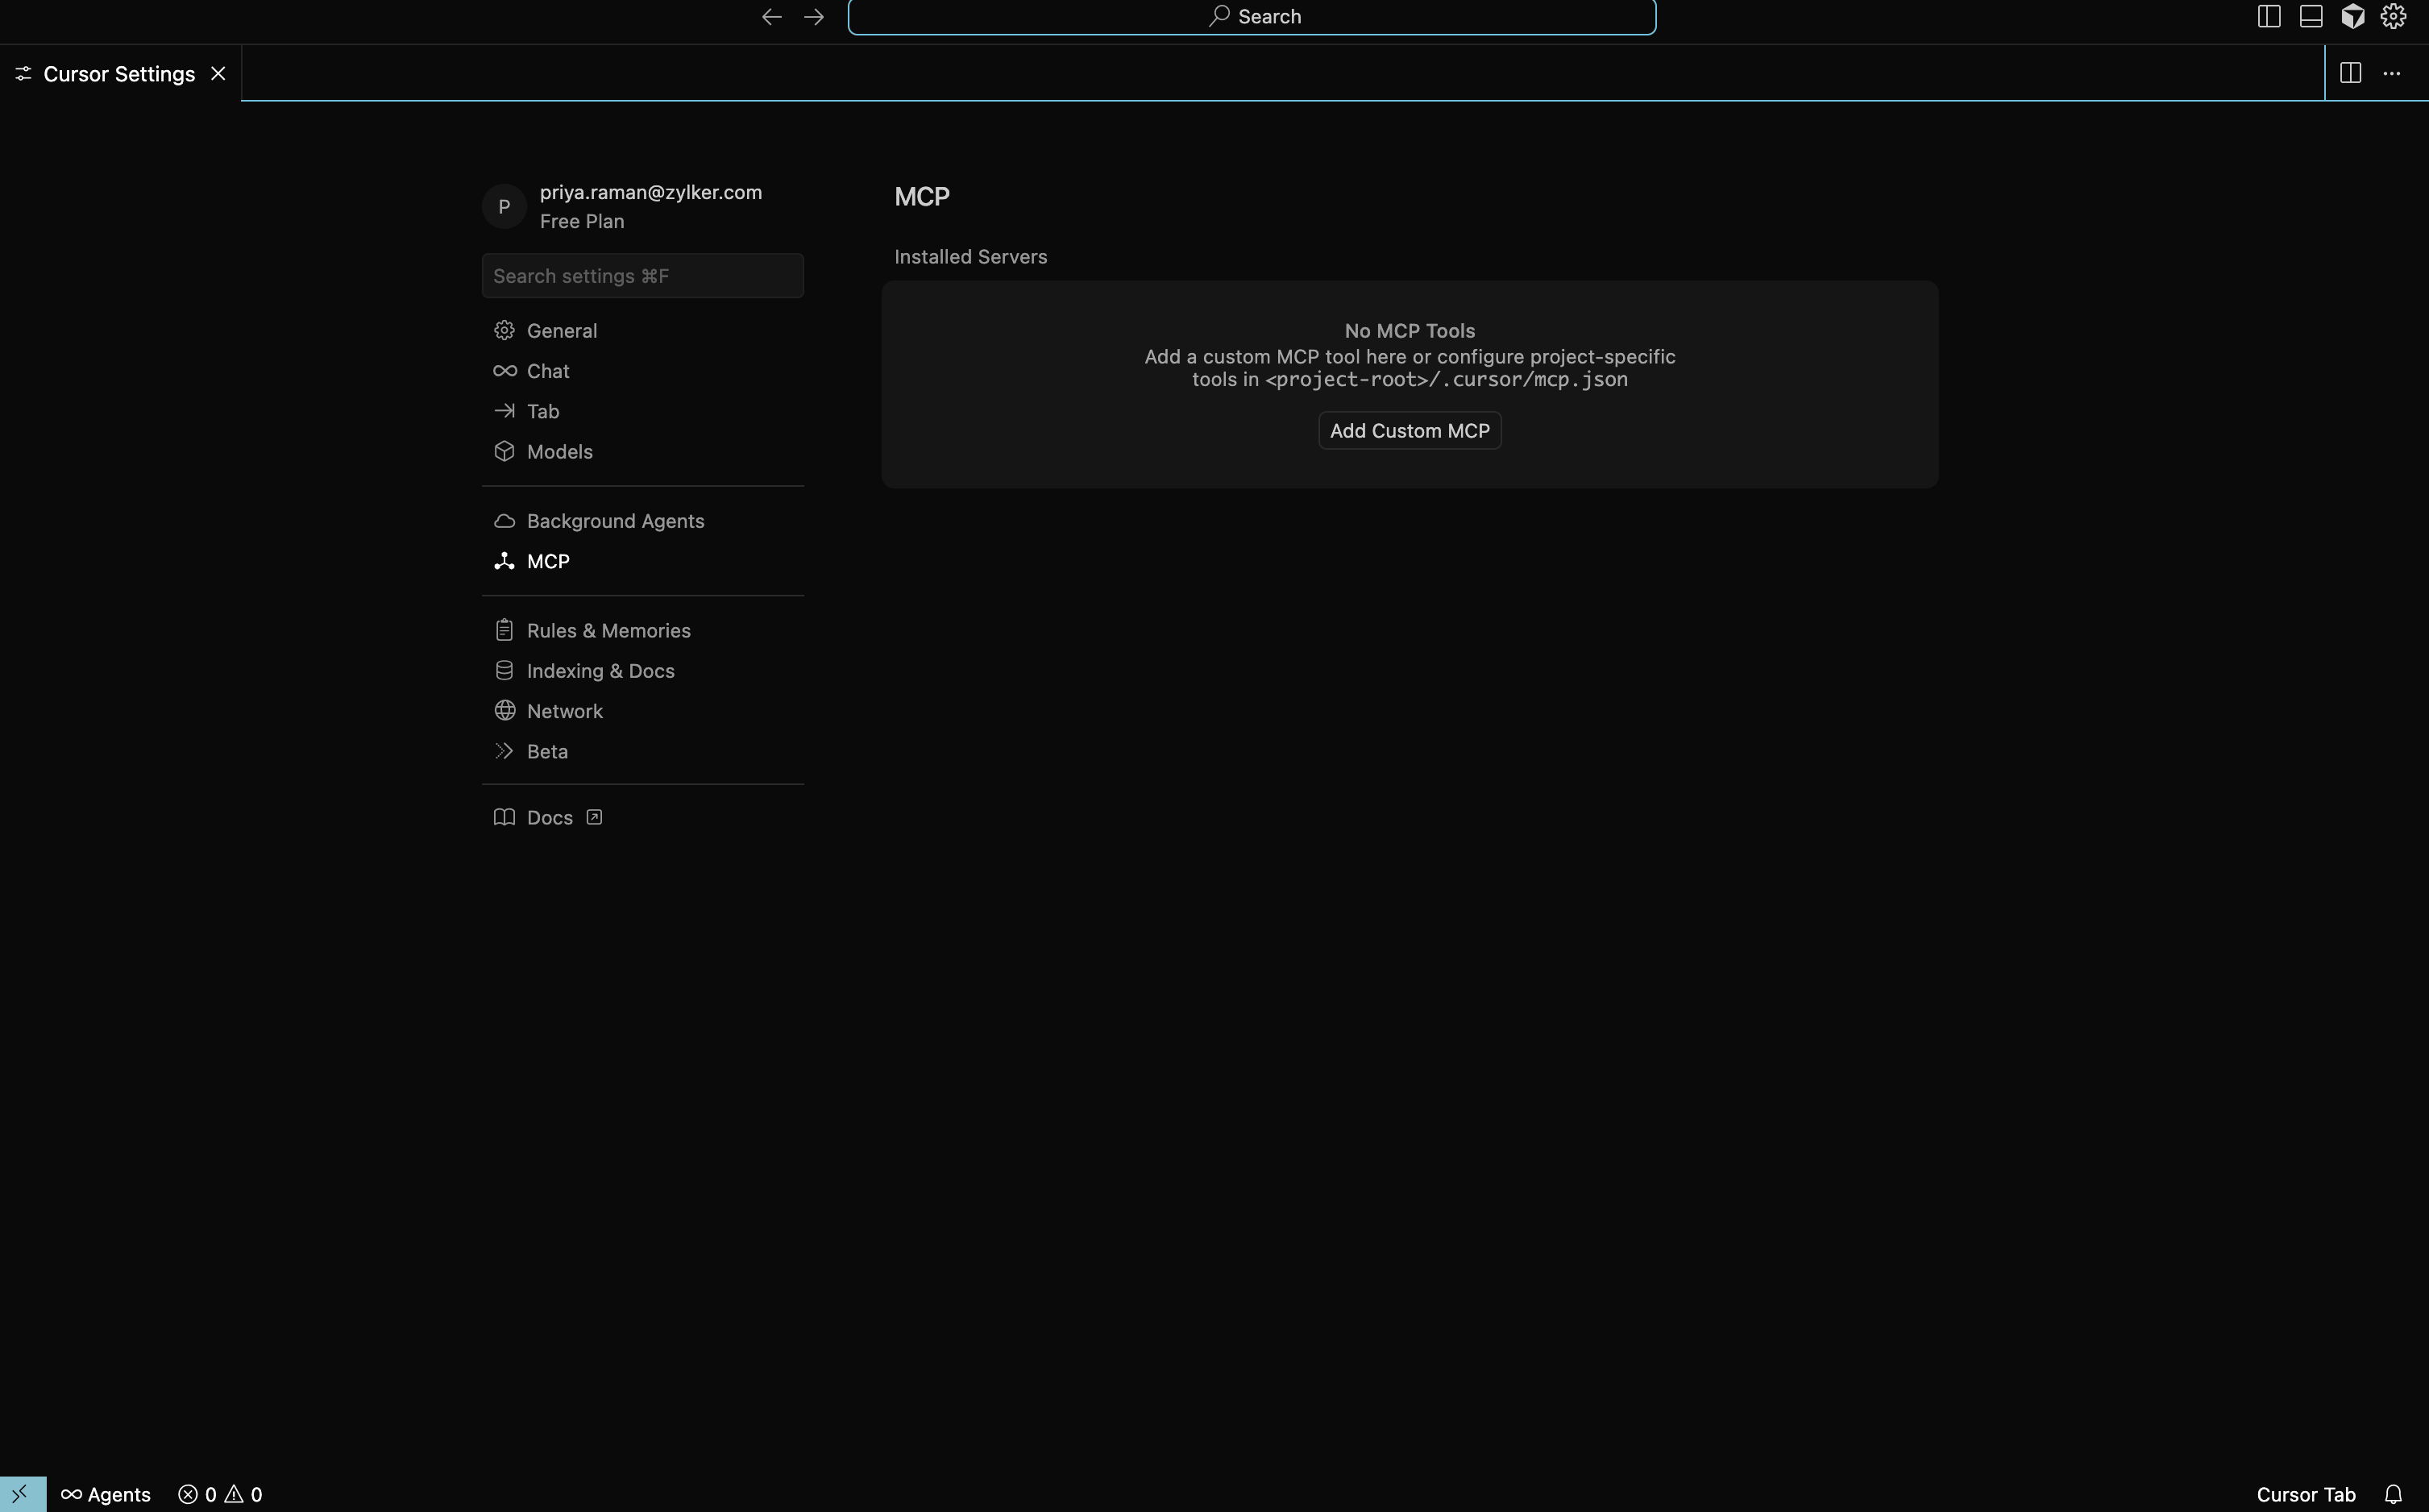
Go to the MCP section and click on Add Custom MCP. If there are existing entries, select New MCP Server.
- You will be directed to the `mcp_config.json` file. Copy and paste the JSON configuration from the MCP page into the file.
- Alternatively, replace YOUR_MCP_URL with your actual MCP endpoint in the configuration.
Save the file (Cmd + S on Mac, Ctrl + S on Windows).
- Click Save. You will be directed to the Zoho MCP authorization screen in your local host. Click Allow.
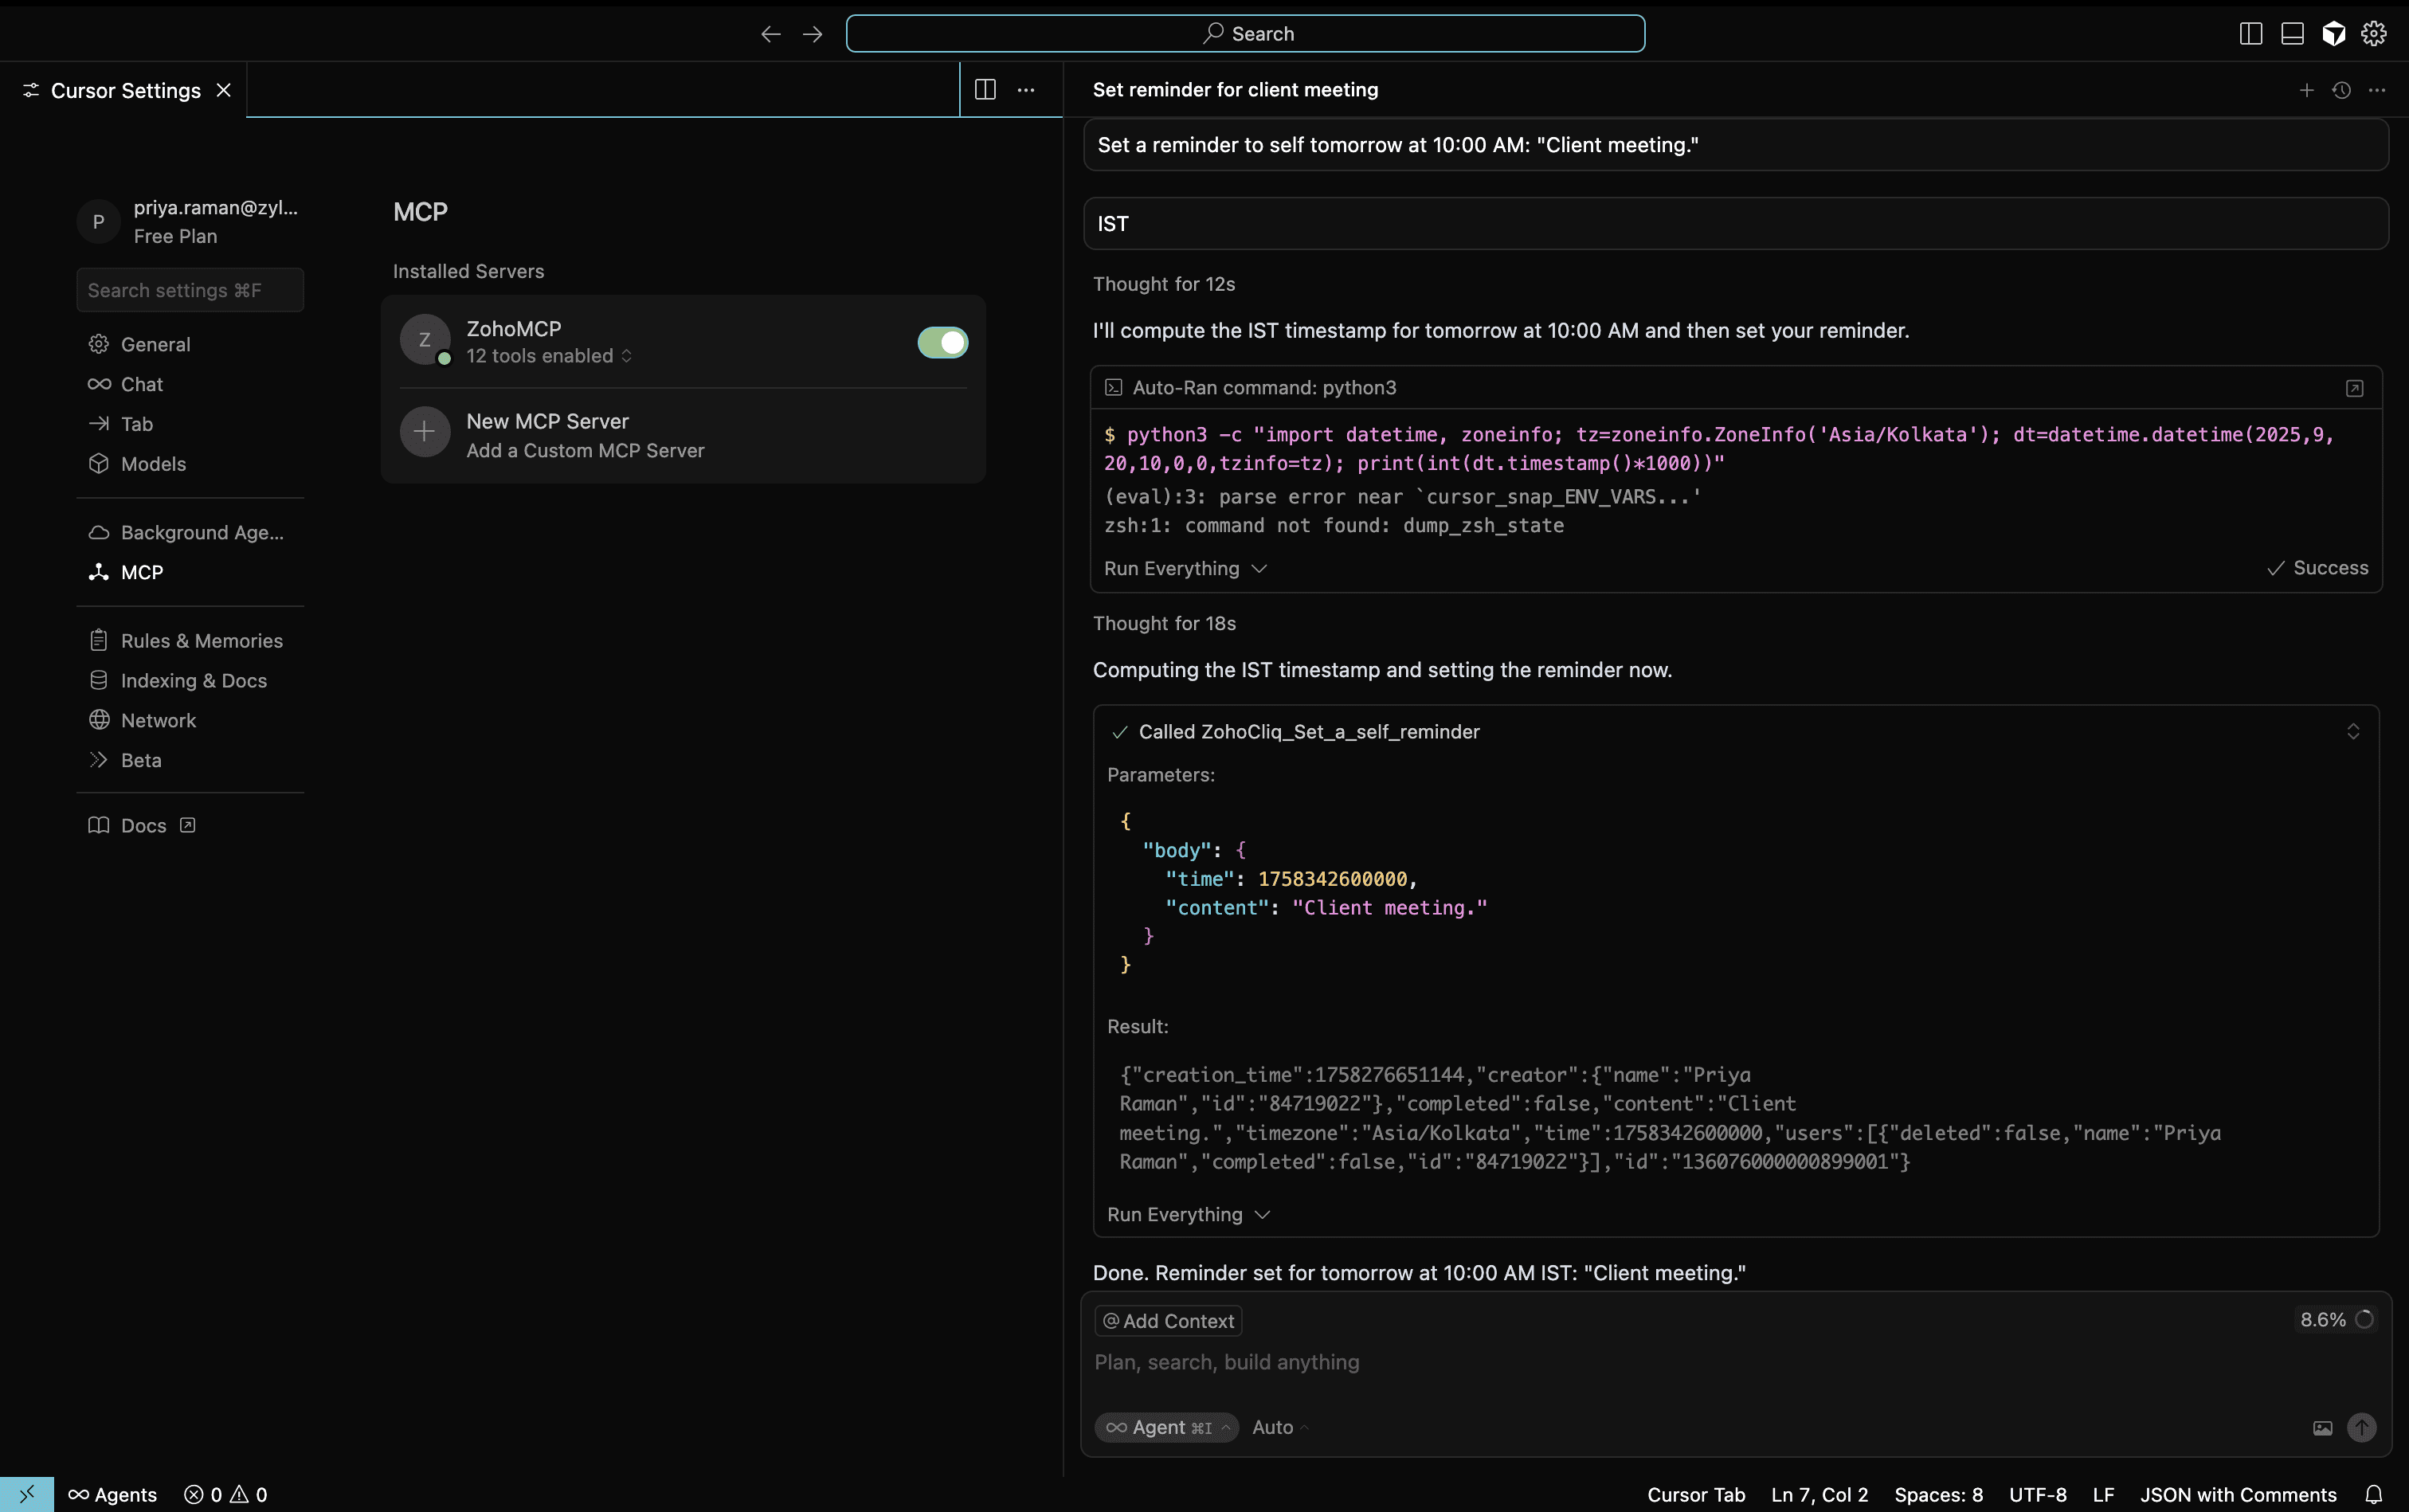
- Ensure the chat is set to Agent mode to access Zoho MCP tools within Cursor.


Accessing Zoho MCP Tools in VS Code
- Open the Cursor Chat panel and start a conversation with your AI assistant.
Start exploring. Call Zoho Cliq tools and Automate Dev Workflows in your prompt, such as post-build alerts, notify teammates, or fetch channel updates right from your IDE.