Using Zoho Campaigns on your Android Devices
App Dashboard
When you open the app the first thing you see is the app dashboard. The dashboard gives you an overall summary of your account activity in an easily digestible way.
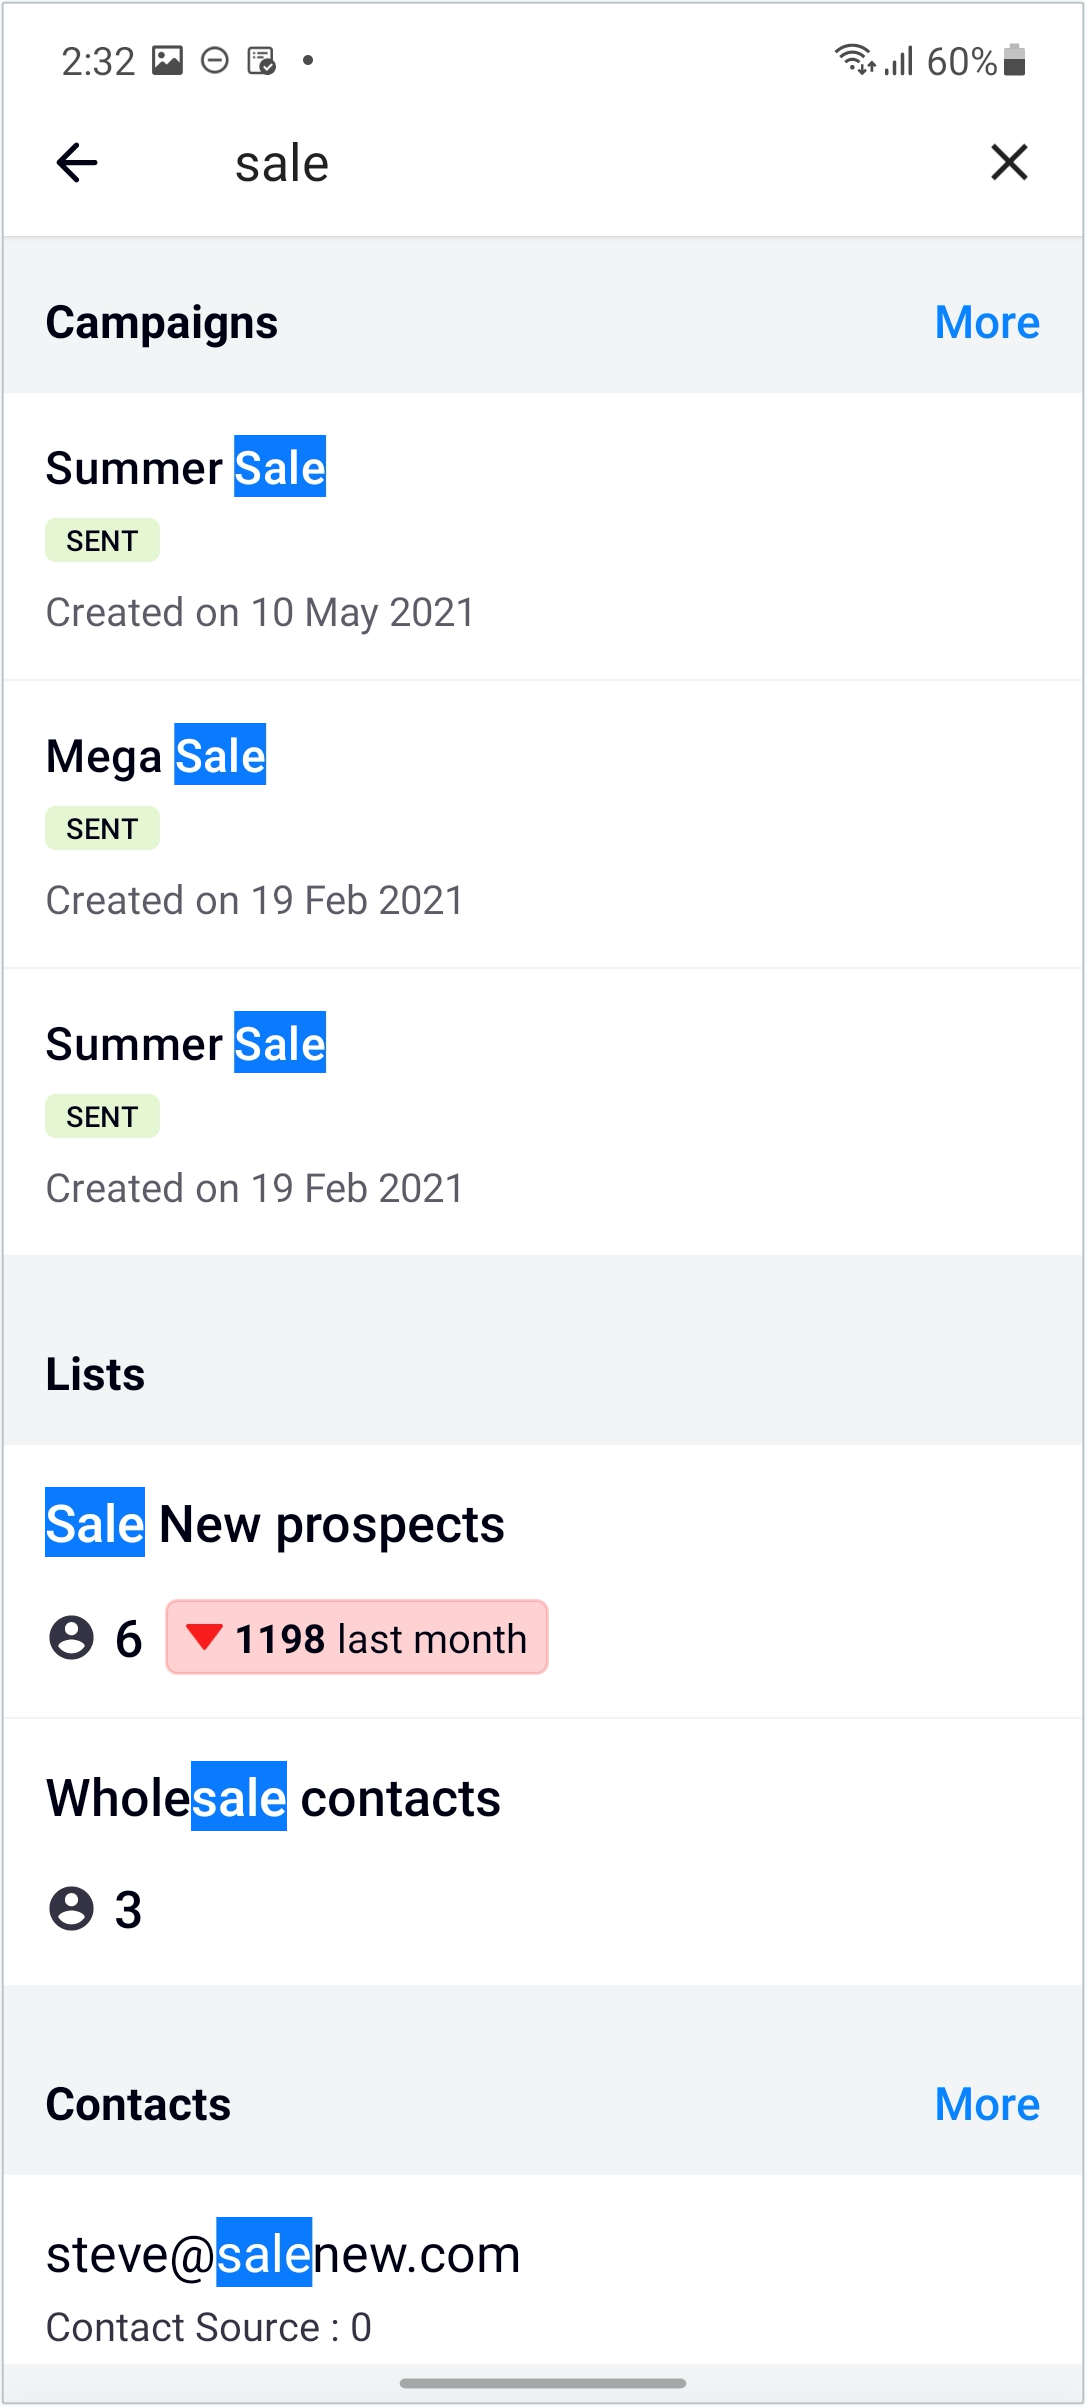
The Search bar is where you can search for a campaign, mailing list, or active contact in your org.
- The Settings icon is displayed in the bottom-right corner of the dashboard. This will take you to the App Settings.
- The More icon is displayed in the bottom-left corner of the dashboard. You can use it to navigate directly to various parts of the app.
- Select the Create icon on the dashboard to perform the following actions:
- Create a campaign
- Import contacts
- Import device contacts
- Scan business cards
- Add email addresses
Recent Campaigns
This section shows the performance of your recently sent and in-progress campaigns with metrics including the number of recipients, opens, and clicks. Tap a campaign to see an in-depth analysis of each email campaign.
Campaigns Status
The Campaigns section is where you can find the email campaigns you sent during a specific period of time. You can view the list of campaigns by tapping the chart in the Campaigns section of the dashboard.
Lists and Contacts
Here, you can find all your contacts and your "do not email" list. Tap Contacts in the Dashboard to go to the Contacts section. You can view your lists by tapping the chart in the Contacts section of the dashboard.
Contact management
Add contacts
You can add a maximum of 20 contacts at a time if you are adding manually. Else you can import any number of contacts within your subscription limit.
To create campaign from the dashboard:
- Open the application.
- Click Create icon.
- Click Import contacts, Scan business cards or Add email addresses option based on your requirement.
- Follow steps 5 to 8 as given below.
To add contacts:
- Select the Contacts module from the Dashboard.
- Tap the Add icon to add a contact.
- You can
- Add contacts manually by entering their email addresses or
- Import contacts from files stored on the device or
- Scan QR codes to add contacts
- To add contacts manually, enter their email addresses in the box. Tap the Return key to separate email addresses.
- Tap Select or Create List to create a new mailing list. This step is optional.
-
Select Subscription type for your contacts.
Subscription Type can be used to identify the current stand of contacts to decide if it is the right time to send them email campaigns, as well as whether they want to receive email campaigns. There are three types:
- Marketing: These contacts are ready to receive email campaigns and they have shown their interest in receiving email campaigns or expressed explicit consent to receive campaigns.
- Non-marketing: These customers have not subscribed to receive email campaigns.
- Unsubscribed: These contacts are no longer interested in receiving email campaigns. You can also manually add contacts to the Unsubscribed subscription type. You can retrieve/reactivate these contacts if required.
- Marketing: These contacts are ready to receive email campaigns and they have shown their interest in receiving email campaigns or expressed explicit consent to receive campaigns.
- Associate your contacts with topics.
- Click Upload once you are done.

Note:
- If you choose subscription type as Non-marketing or unsubscribed, then topics related options will not appear.
- It is mandatory to associate a contact with a topic to send email campaigns to the contact.
Filter mailing lists
- Select the Contacts module from the Dashboard.
-
Tap the Filter icon.
- You can filter lists based on the user who created it, the folder it's saved in, and choose to sort them alphabetically or in order of creation.
Note:
- Tap Clear in the top-right corner to clear the filter.
- The Sort option is next to the Search icon.
- You can change the appearance of the list using the Card size icon.
Contacts and list summary
The list summary provides an overview view of the number of contacts you have in each of your mailing lists and other important details such as:
- The number of unsubscribes
- The number of bounces
- Number of campaigns sent to the selected list
- Segments in the list
- List growth
To view the list summary, choose Contacts on the navigation toolbar and select the required list to see its summary.
List summary shows:
- User Agent Stats give you information about all the devices and software your recipients used to open your email campaign.
- Devices and Operating System provides information about all the devices (computer, tablet, and mobile) and operating systems (Android, Linux, Windows, and Apple) used to open your email campaigns.
- Email Clients gives you figures for the different email clients (such as Outlook, Lotus Notes, Thunderbird, and Apple Mail) used by contacts to receive your email campaigns.
- Web Browsers lists the web browsers (like Firefox, Chrome, Internet Explorer, Safari, Opera) used to access your email campaigns.
List Growth
This is a time-based graph which shows the number of contacts added to your mailing lists over a month or in the most recent timespan when contacts were added to the list.
Response
There is a separate Response tab which shows the location of the contacts on the select list who have responded to campaigns sent to them, with their contact classification and your campaign activity over the last 6 months.
Campaigns
Create an email campaign
You can either create campaign from the dashboard or under Campaigns module.
To create campaign from the dashboard:
- Open the application.
- Click Create icon.
- Select Create a campaign and follow steps 3 to 9 as given below.
To create campaign from the Campaigns module
- Go to the Campaigns module.
- Tap the Create icon.
- Enter the Campaign Name.
- Choose a topic to send campaign. It means this campaign will be sent to contacts associated with the selected topic.
- Choose a sender in the From section.
- Choose lists in the To section.
- Enter the subject and pre-header in the Subject section.
- Choose a template and edit the content according to your requirements.
- Click Send for review.
Note:
- You cannot edit or change the email template details of any campaigns created on the website.
- It is mandatory to associate a contact with a topic to send email campaigns to the contact.
Send a campaign for review
- Go to the Campaigns module.
- Select the email campaign draft that you'd like to send for review.
- Tap Send for review.
Notes: A draft campaign only can be sent for review once you have added its content and associated it with a mailing list.
Send a campaign
After your campaign is reviewed, you can choose to send your campaign immediately or schedule it to be sent at a convenient time. To send a campaign immediately after review:
- Go to the Campaigns module.
- Select the reviewed campaign that you would like to send.
- Tap the Send icon.
- Tap Send now.
Schedule a campaign
After your campaign has been reviewed, you can choose to send it immediately or schedule it to be sent at a convenient time.
To schedule a campaign:
- Go to the Campaigns module.
- Select the reviewed campaign that you would like to send.
- Tap Schedule.
- Select the time you want to send the campaign.
- You can choose to send your campaign:
- At a time based on the sender's time zone.
- At a time based on the recipient's time zone.
- At an optimal time when the recipients are most likely to open the email.
- After you have selected the time to be scheduled, tap Done in the top-right.
Reschedule a campaign
After you have scheduled a campaign to be sent based on the sender's time zone, you can choose to reschedule it and send it at a different time. You can only reschedule campaigns that are scheduled based on the sender's time zone.
To reschedule a campaign:
- Go to the Campaigns module.
- Select the campaign that you have scheduled.
- Tap Reschedule.
- Select the time you want to reschedule the campaign.
- Tap Done in the top-right.
Cancel a scheduled campaign
You can cancel a scheduled campaign at any time before its scheduled time.
To cancel a scheduled campaign:
- Select the scheduled campaign.
- Tap Cancel Schedule.
- Click Cancel Schedule in the pop-up that opens.
Pause an email campaign
You can pause an email campaign when it is in progress and being sent out to your contacts.
- Go to the Campaigns module.
- Select the campaign (with the status In Progress) that you want to pause.
- Tap Pause.
Resume a paused campaign
- Go to the Campaigns module.
- Select the paused campaign.
- Tap Resume.
Clone a campaign
- Go to the Campaigns module.
- Select the campaign that you want to clone.
- Tap the Clone icon in the top-right corner.
- Tap the Done icon in the top-right corner.
Filter campaigns
- Select the Campaigns module from the Dashboard.
- Tap the Filter icon in the bottom-left corner.
- You can filter campaigns based on:
- The users who created them
- The folders they are saved in
- Their status and type
- The time they were created
- You can also sort campaigns based on when they were created or when they were modified
Note:
- Tap Clear in the top-right corner to reset the filter.
- The Sort option is next to the Search icon.
Campaign Summary and Details
- Campaign Summary provides campaign-related real-time data.
- Sent Report shows the delivered percentage, bounce percentage, unsent percentage, unsubscribe percentage, and complaint percentage.
- Delivered Report shows the numbers and rates unique opens, clicks, and unopened emails and rates respectively.
- Click-to-Open Rate (CTOR) displays the ratio of how many contacts click on links in your email to the overall number who opened it. CTOR is calculated by dividing unique clicks by unique opens. This metric is an important indicator of your campaign's effectiveness.
User Agent Stats - This section gives you insights into the devices and applications used by your contacts to read your email campaigns. These insights will help you understand which platforms, devices, and email clients are most widely used by your contacts. This information will help you decide which platforms, devices, and email clients to focus on for future campaigns.
Devices and Operating Systems provides information about the devices (computer, tablet, and mobile) used. Tapping on the device count will show you information about the operating systems (Android, Linux, Windows, and Apple) used to open your email campaigns.
Email Clients gives you figures for all the email clients such as Outlook, Lotus Notes, Thunderbird, and Apple Mail, used by your contacts to receive your email campaigns.
Browsers lists the web browsers such as Firefox, Chrome, Internet Explorer, Safari, and Opera used to access your email campaigns.
Campaign Reach
This section provides insights into your campaign's overall reach through both email and social media (Facebook, Twitter, LinkedIn, Google+, Pinterest, and Tumblr).
Opens by Time
This graph highlights which times experience the highest number of opens. This information will help you decide the optimal time to send your email.

Tip:
Scheduling your email campaign to be sent out at the optimal time can have a huge impact on your open rate, increasing the effectiveness of your campaign.
Opens by Location
This graph shows the top five locations which have the most opens for your campaign. This data will help you understand the reach of your campaign in different parts of the world.
Note:
- Campaign details provides a preview of your campaign and gives you a quick rundown of the campaign, sender, and recipient details.
The campaign summary and reports for A/B tests or advanced campaigns have a corresponding tab in the Summary and Details section. The data on this tab depends on the type of campaign.
|
|
|
|
Settings
This section enables you to control certain aesthetic and functional properties of the Zoho Campaigns app.
To view your settings:
- Open the Campaigns application.
- Tap the Settings icon in the bottom-right corner of the Dashboard.
Account Information
View your current subscription plan here.
Portals
View the list of portals you are currently added to.
Workspaces
Workspace refers to a collection of teams, people, and resources within an organization portal. View the list of workspaces you are added to and also switch between workspaces whenever necessary.
Demo Mode
Use this option to explore the features and functions offered by the Campaigns application. You can get a head start on exploring the app in this mode.
Personalization
Choose the appearance of your app from auto, light, and dark mode.
Auto mode means the app will update the appearance of the app according to the appearance settings configured on your device.
Smart Action
Set and customize in-app notifications for important activities like Campaign paused, choose a winner and scheduled campaign launch and Campaign reviewed.
Card Size
Choose from of the following options to customize how you want to display campaign data in the app:
- Compact
- Cozy
- Comfortable
App Shortcuts
Use this option to add widgets for some important actions like Create campaign, add contacts and so on. Click on App Shortcuts and click on plus icon to add widget.
Notifications
Turn the Show Notification toggle on to get notifications and then customize the appearance of your notifications.
Privacy & Security
This section shows you a list of the app data which is shared with the server or the relevant device to enable additional features to function. You can enable or disable any feature in the list.
Import History
This section contains your contact import history. Tap on a particular import to see the following details:
- Current status of the import
- New contacts
- Re-added contacts
- Duplicate contacts
- Ignored contacts
- Contacts that were not imported
- Total contacts
- Associated mailing list
Reset Application
Tap this to delete all the data stored on the device and reset the app to its default settings.
Zoho CRM Training Programs
Learn how to use the best tools for sales force automation and better customer engagement from Zoho's implementation specialists.
Zoho DataPrep Personalized Demo
If you'd like a personalized walk-through of our data preparation tool, please request a demo and we'll be happy to show you how to get the best out of Zoho DataPrep.
- Zoho Workerly Home
- Forums
- Connect With Us:


- Zoho Recruit Home
- Forums
- Connect With Us:
You are currently viewing the help pages of Qntrl’s earlier version. Click here to view our latest version—Qntrl 3.0's help articles.
New to Zoho Survey?


Zoho Sheet Resources
Zoho Forms Resources
New to Zoho Sign?
Zoho Sign Resources
Sign, Paperless!
New to Zoho TeamInbox?
Zoho TeamInbox Resources
New to Zoho ZeptoMail?
Zoho DataPrep Resources
Design. Discuss. Deliver.
New to Zoho Workerly?
New to Zoho Recruit?
New to Zoho CRM?
New to Zoho Projects?
New to Zoho Sprints?
New to Zoho Assist?
New to Bigin?
Related Articles
Using Zoho Campaigns on your iOS devices
App Dashboard When you click on the app from the homepage, the app dashboard will appear. The dashboard gives you a simple overall summary of your account activity. iPhone iPad Search bar: You can search for a campaigns, mailing list or active ...Zoho Campaigns android app - Features
Overview Zoho Campaigns, the email marketing software from Zoho's suite of applications, allows you to plan and run email campaigns based on your business needs. From contact management to analyzing the reports of your email campaigns, the mobile app ...Explore the Components in Zoho Campaigns
This document walk you through the various components present in the navigation bar and title bar of Zoho Campaigns. Take a look at the screenshot below to see how each component is arranged in Zoho Campaigns. Navigation Toolbar – This toolbar on the ...How do my email look on desktop and mobile devices?
Zoho Campaigns offer a wide variety of templates to make your email campaigns interesting. All our templates are compatible for both desktop and mobile devices. You can also preview how your email template will look on desktop and mobile devices ...SMS Campaigns Sender Address
In Zoho Campaigns, we support sending SMS to US, Canada and India using the Zoho Campaigns SMS gateway. we support two kinds of sender address formats when you use our in-built SMS gateway, Long code Alphanumeric sender ID Apart from that, you can ...
New to Zoho LandingPage?
Zoho LandingPage Resources