Alternate solutions for autoresponders in Zoho Campaigns
How can I send emails to my contacts based on their signup without the signup based autoresponder feature?
Yes. You can set up a workflow to send emails to a closed group of contacts. Follow the steps below to set up a workflow:
- From the Navigation toolbar, select Automation and click Workflows.
- Click Create Workflow button the top-right and click Custom Workflow.
- Enter the name for the workflow and click Create.
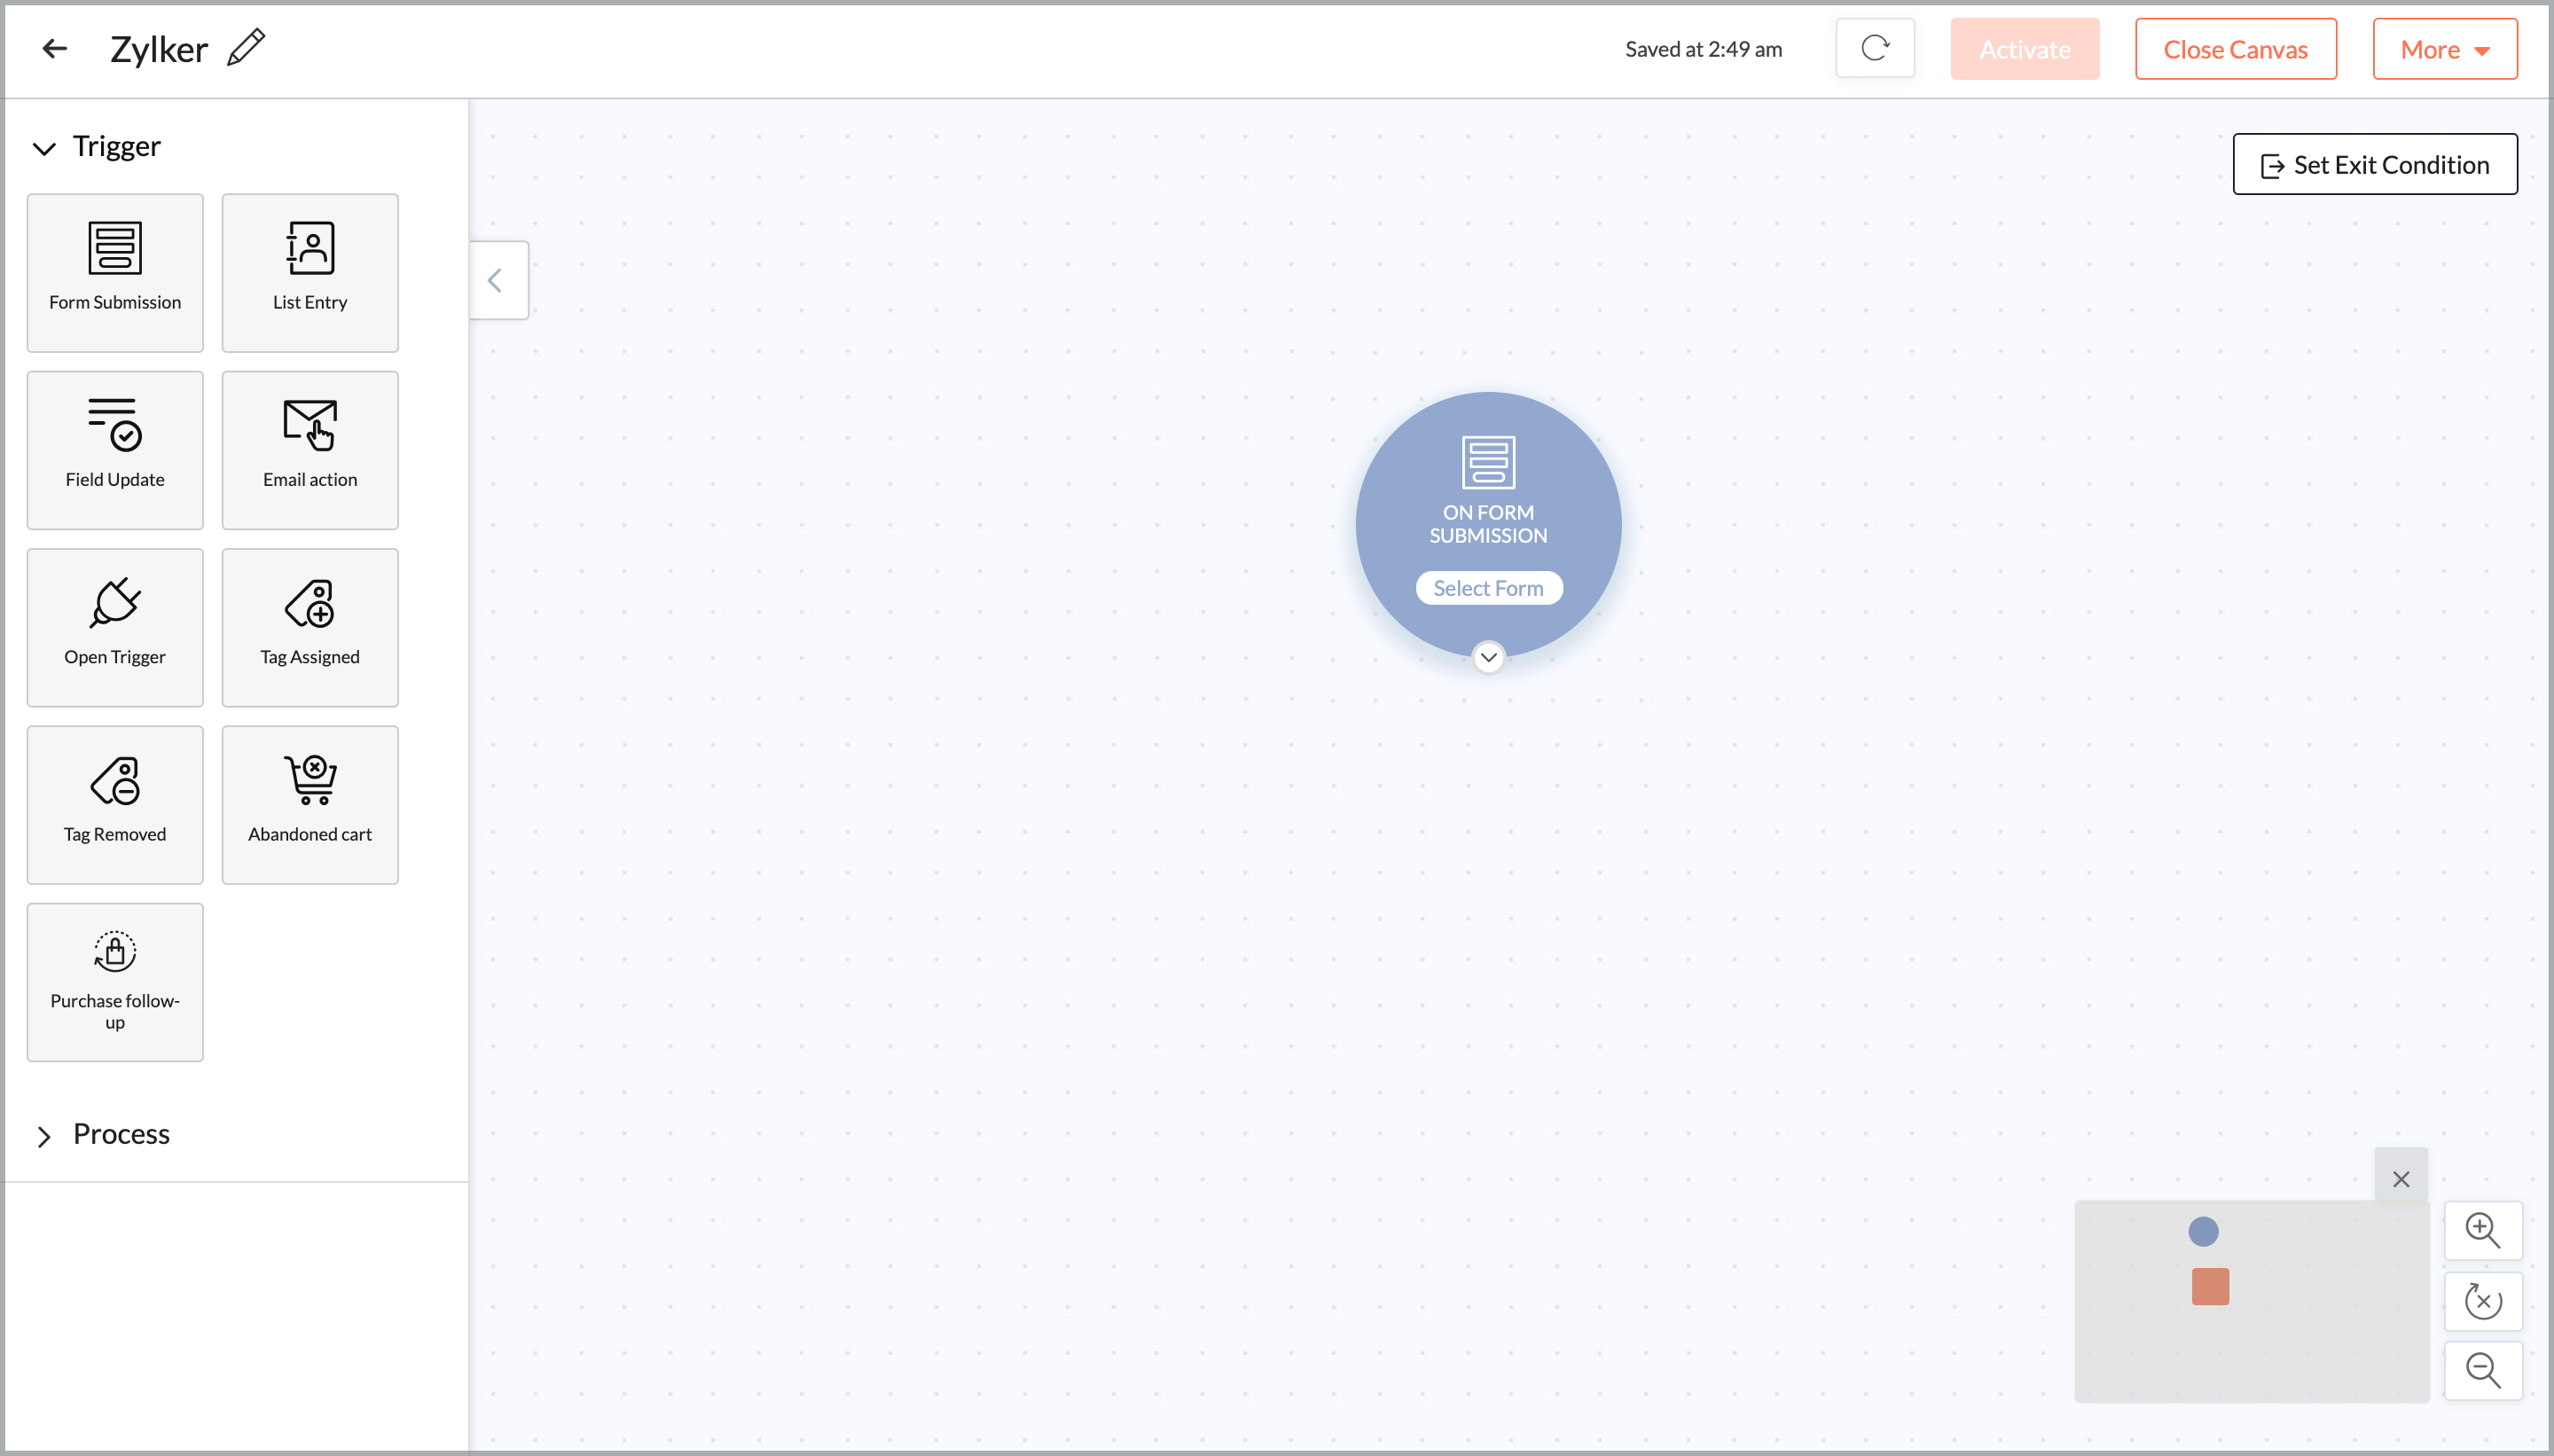
Drag the Form Submission trigger to the canvas.

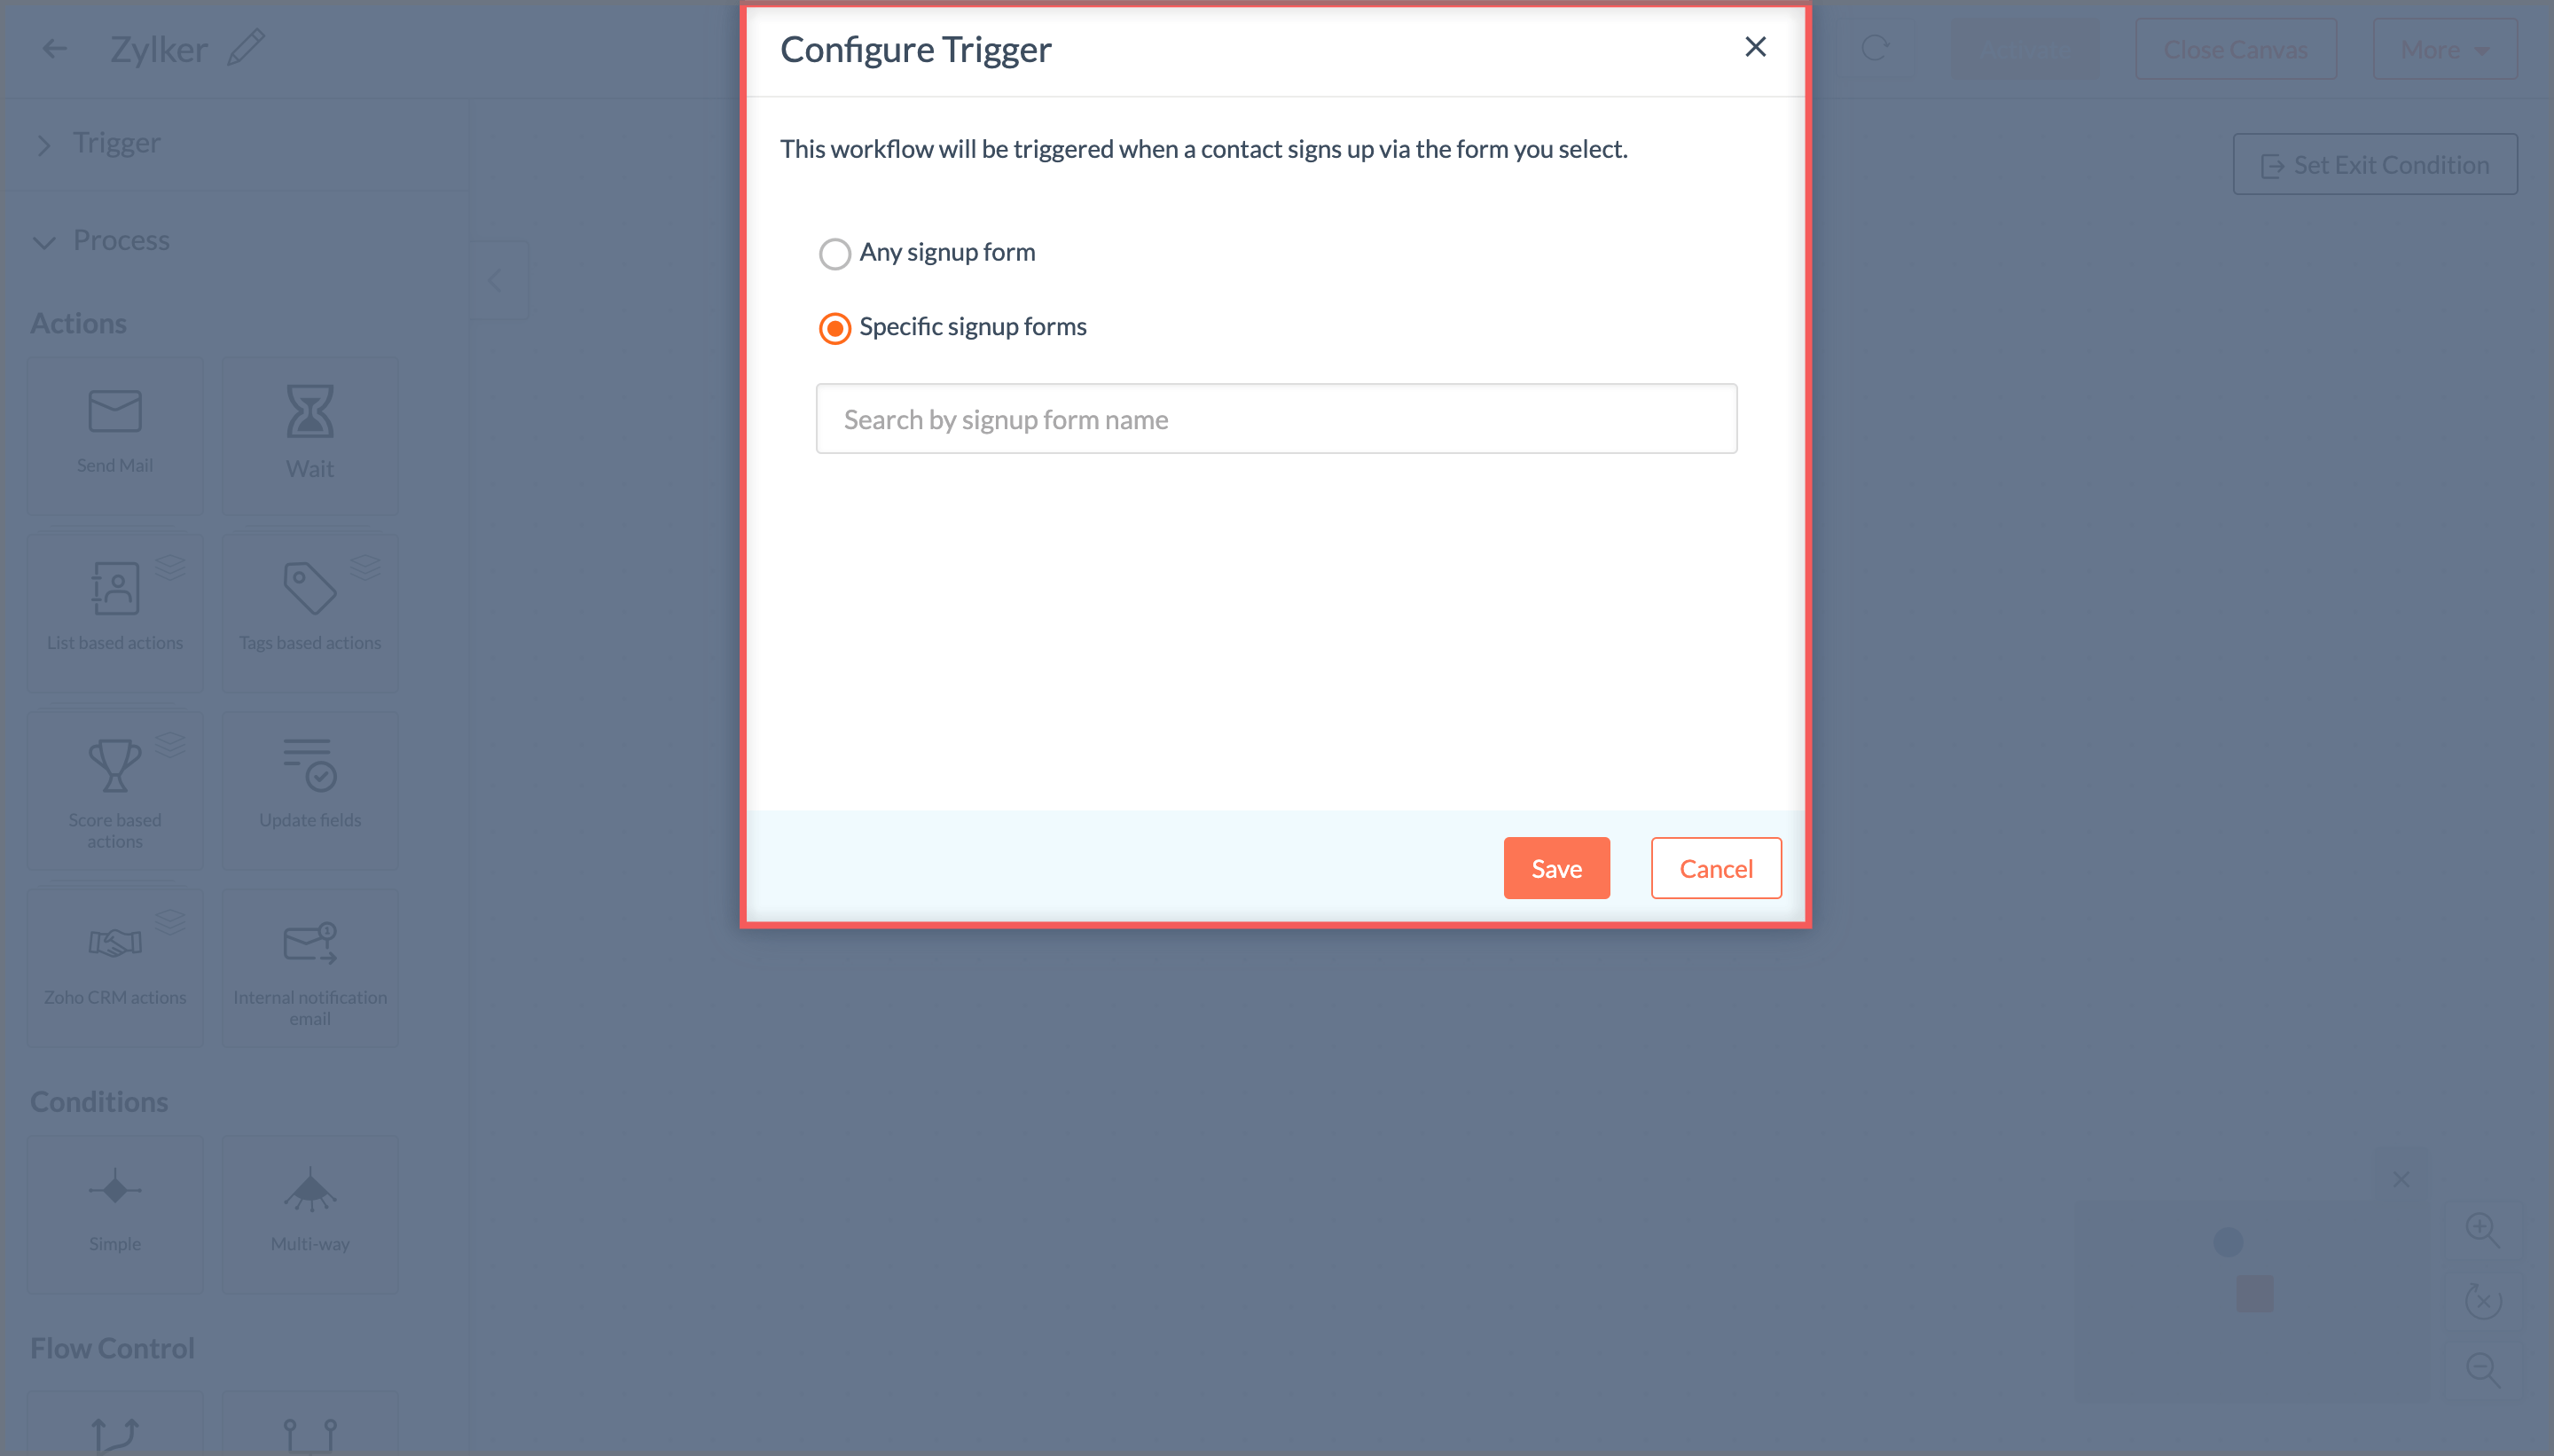
Select the signup form through which your contacts will subscribe for newsletters.
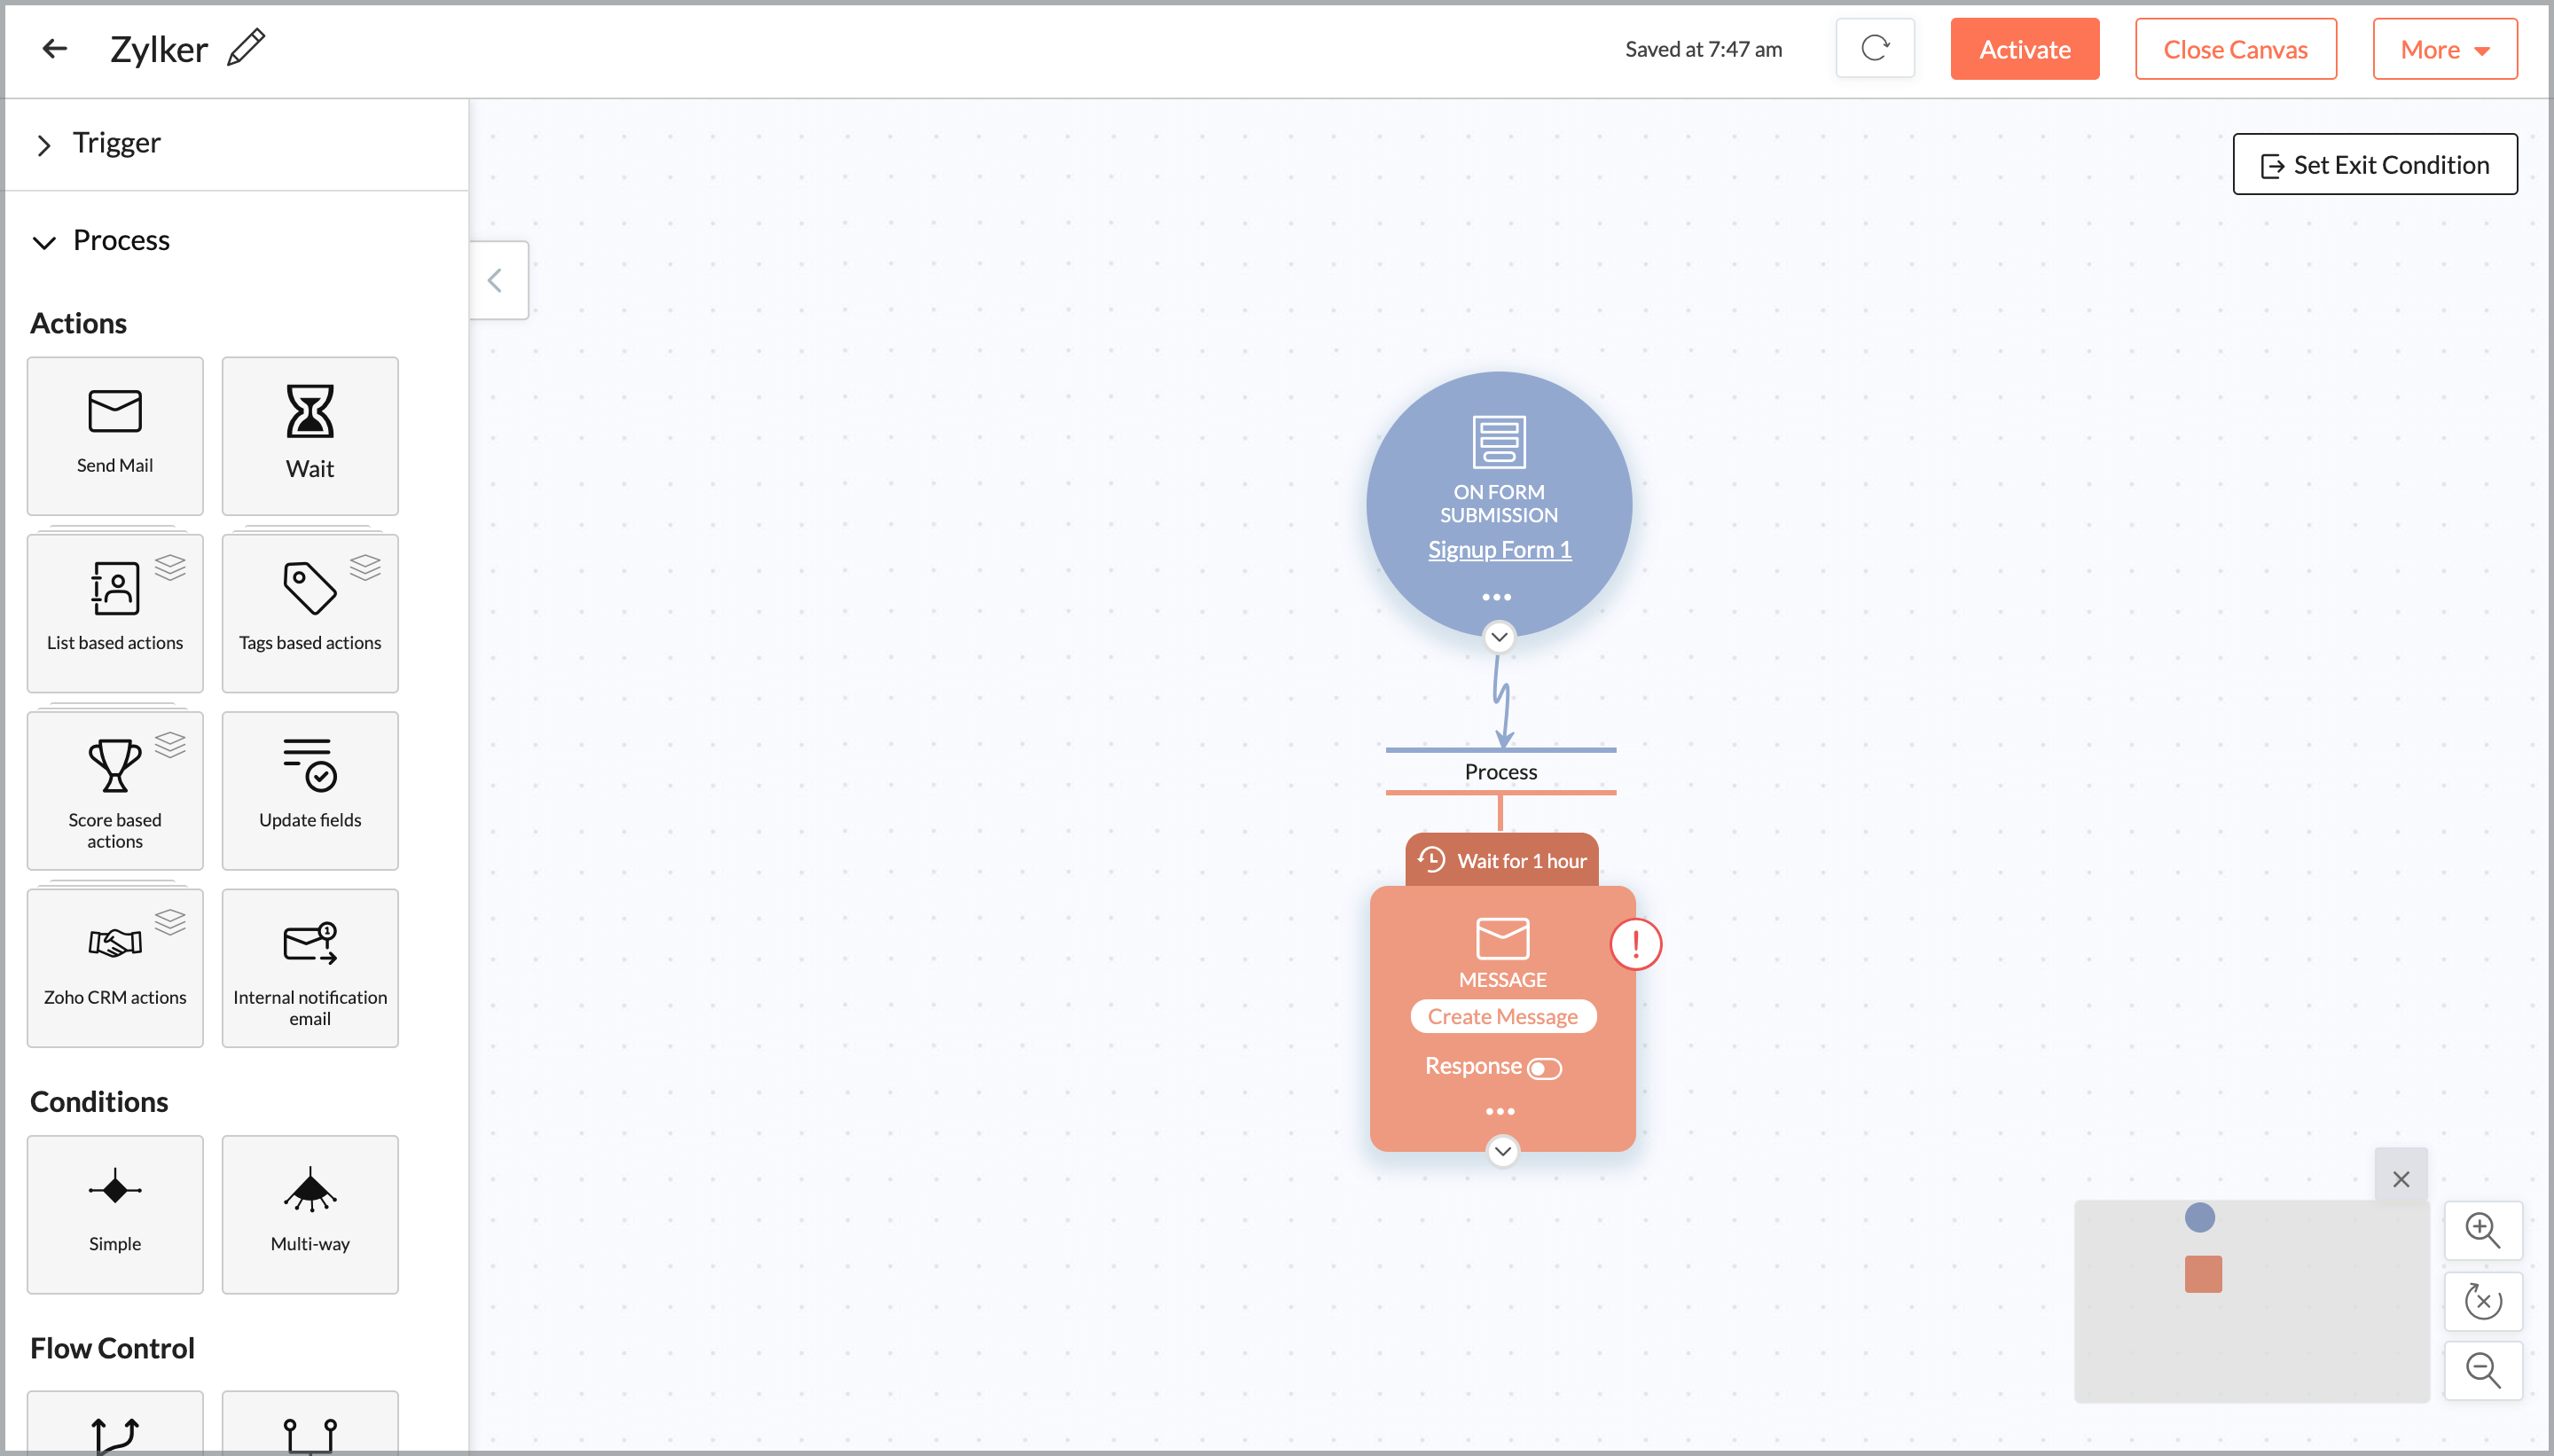
Drag the Send Email action onto the canvas and click Create Message to create an email message.
- Click Activate to send email messages to contacts who have signed up.
Can I send emails to a closed group of contacts in my mailing list?
Yes. You can set up a workflow to send emails to a closed group of contacts. Follow the steps below to set up a workflow:
- From the Navigation toolbar, select Automation and click Workflows.
- Click Create Workflow button the top-right and click Custom Workflow.
- Enter the name for the workflow and click Create.
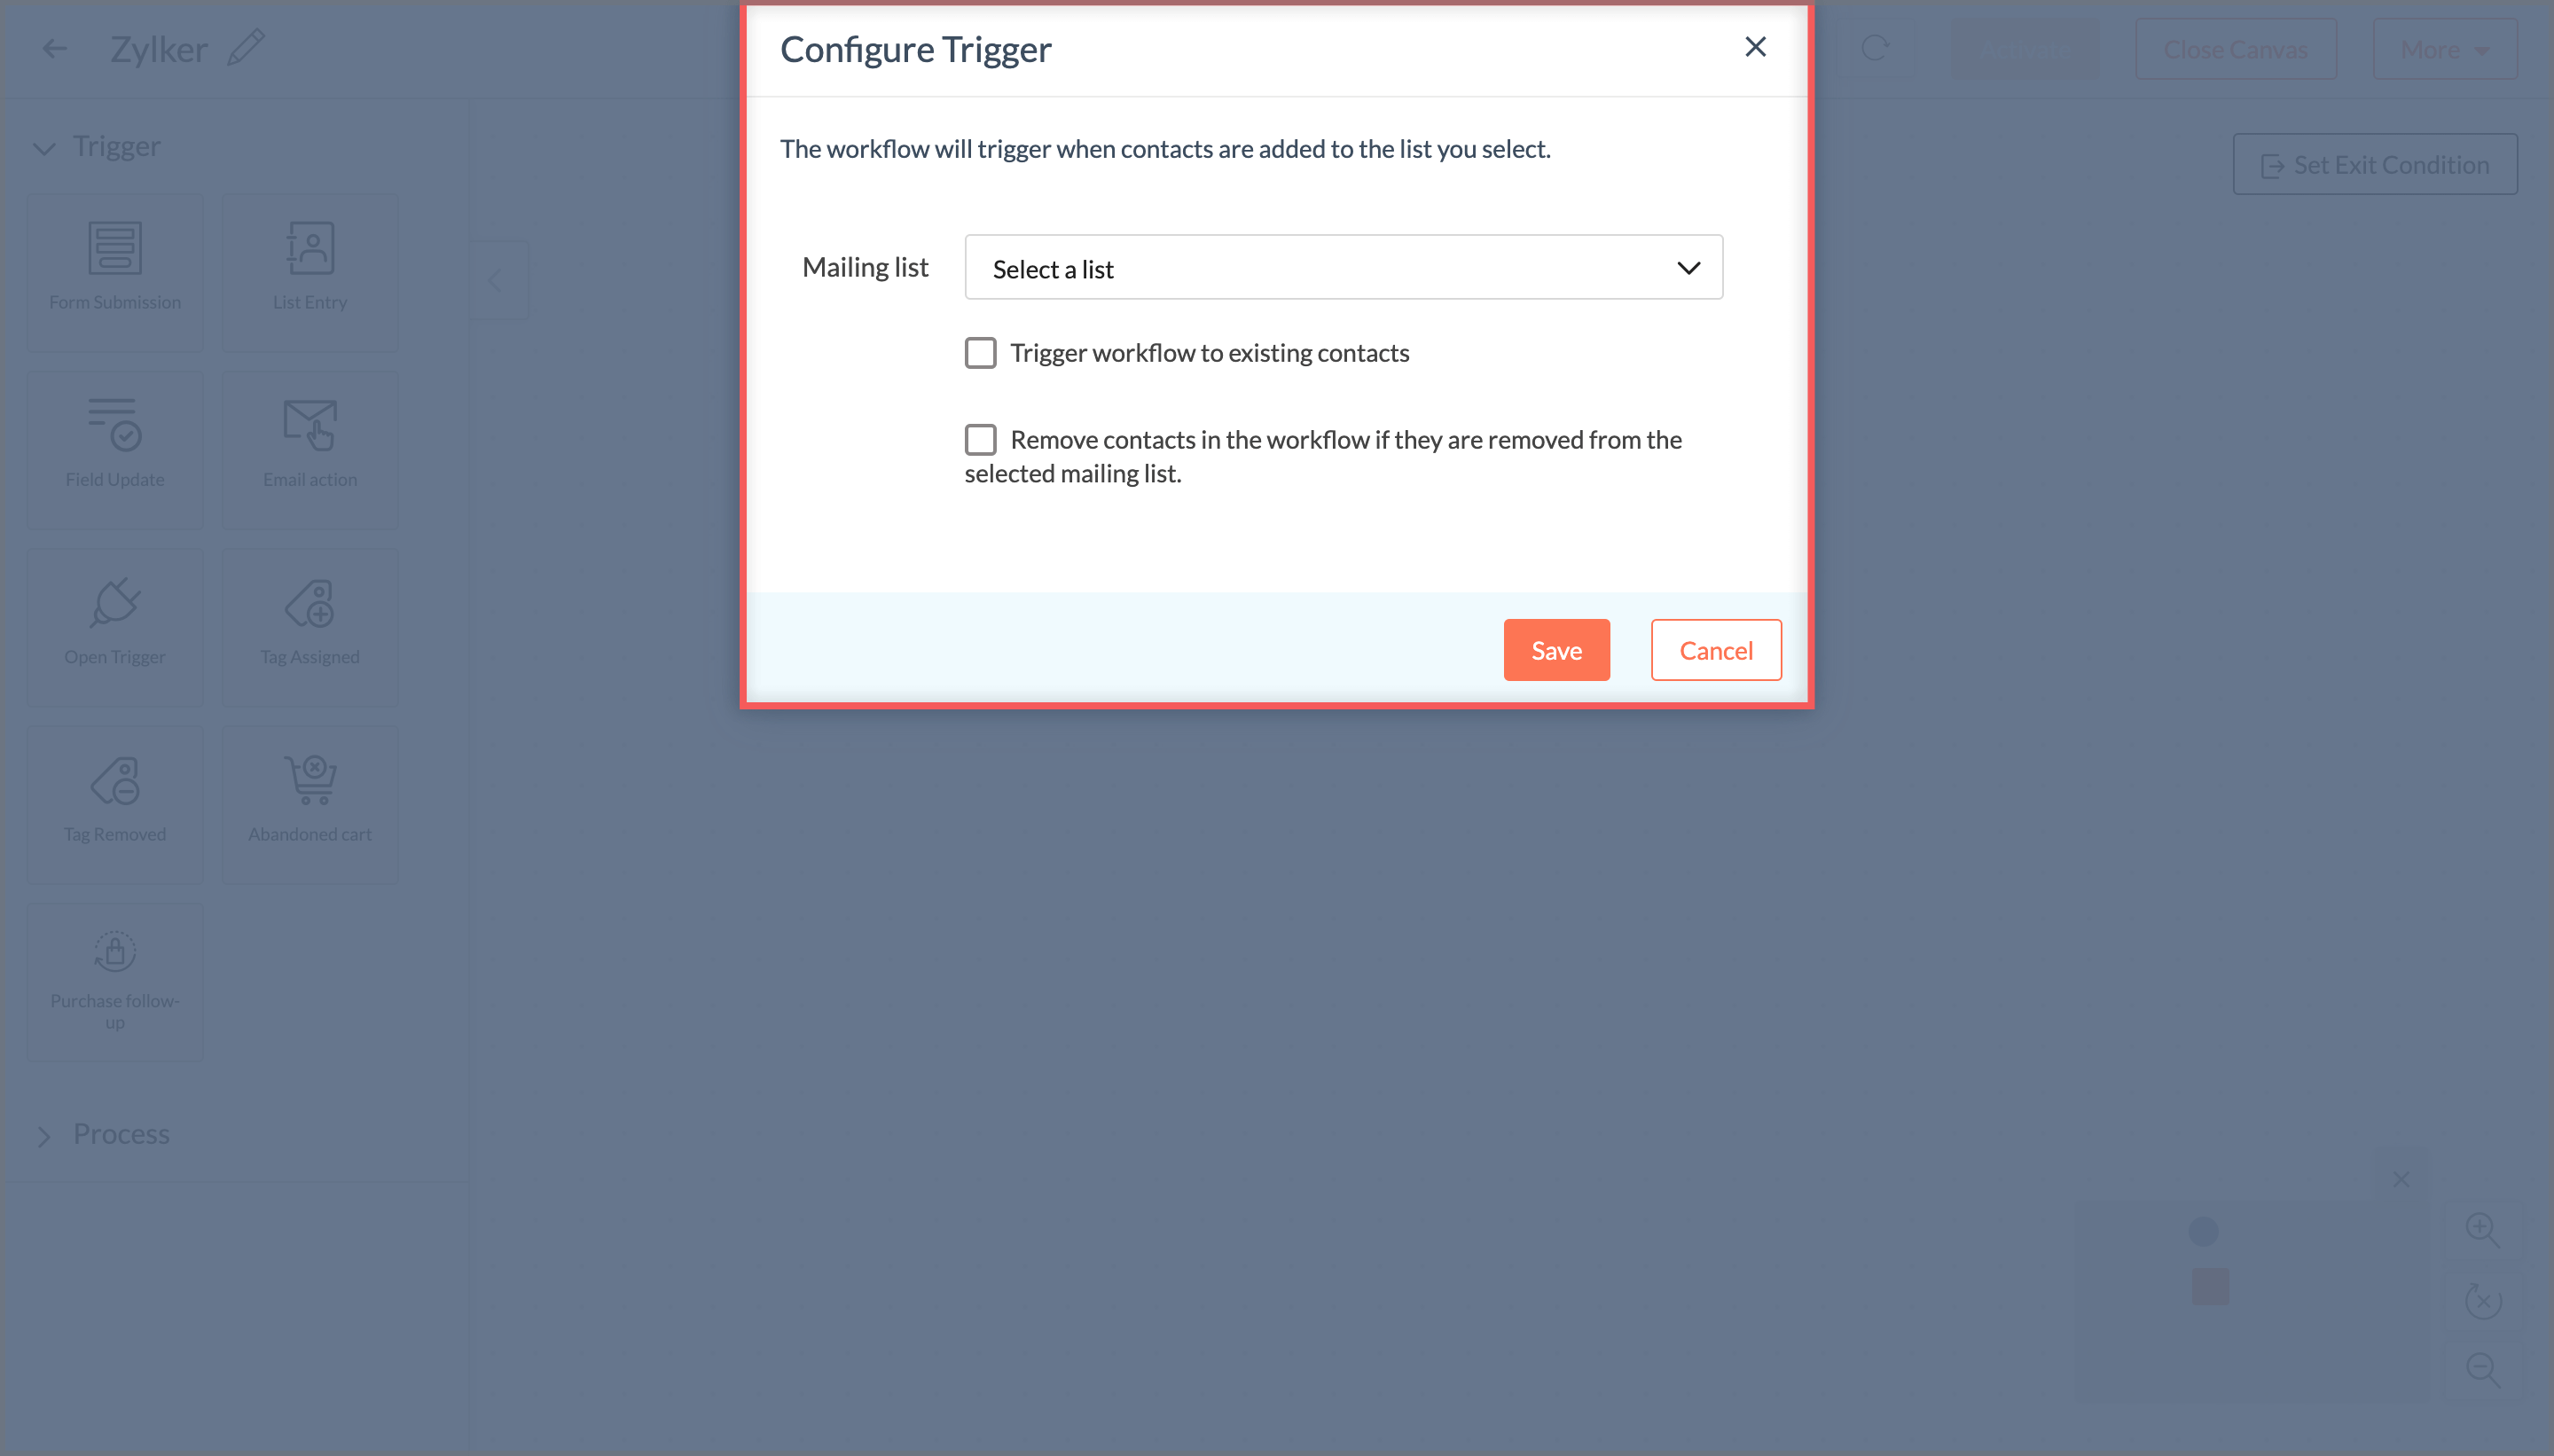
Drag the List Entry trigger to the canvas and click Select List.
Select the mailing list to which you want to send emails or you can create a mailing list with the contacts you want to send emails.
- Select if you want to trigger the workflow for existing contacts and if you want to remove contacts from the workflow if the contacts are removed from the mailing list.
- Click Save.
Drag the Send Email action onto the canvas and click Create Message to create an email message.
- Click Activate to send email messages to contacts in the mailing list.
Can I send calendar based emails to my contacts?
Yes. You can schedule an email campaign to be sent at a particular date and time. To schedule an email campaign based on particular dates follow the steps below:
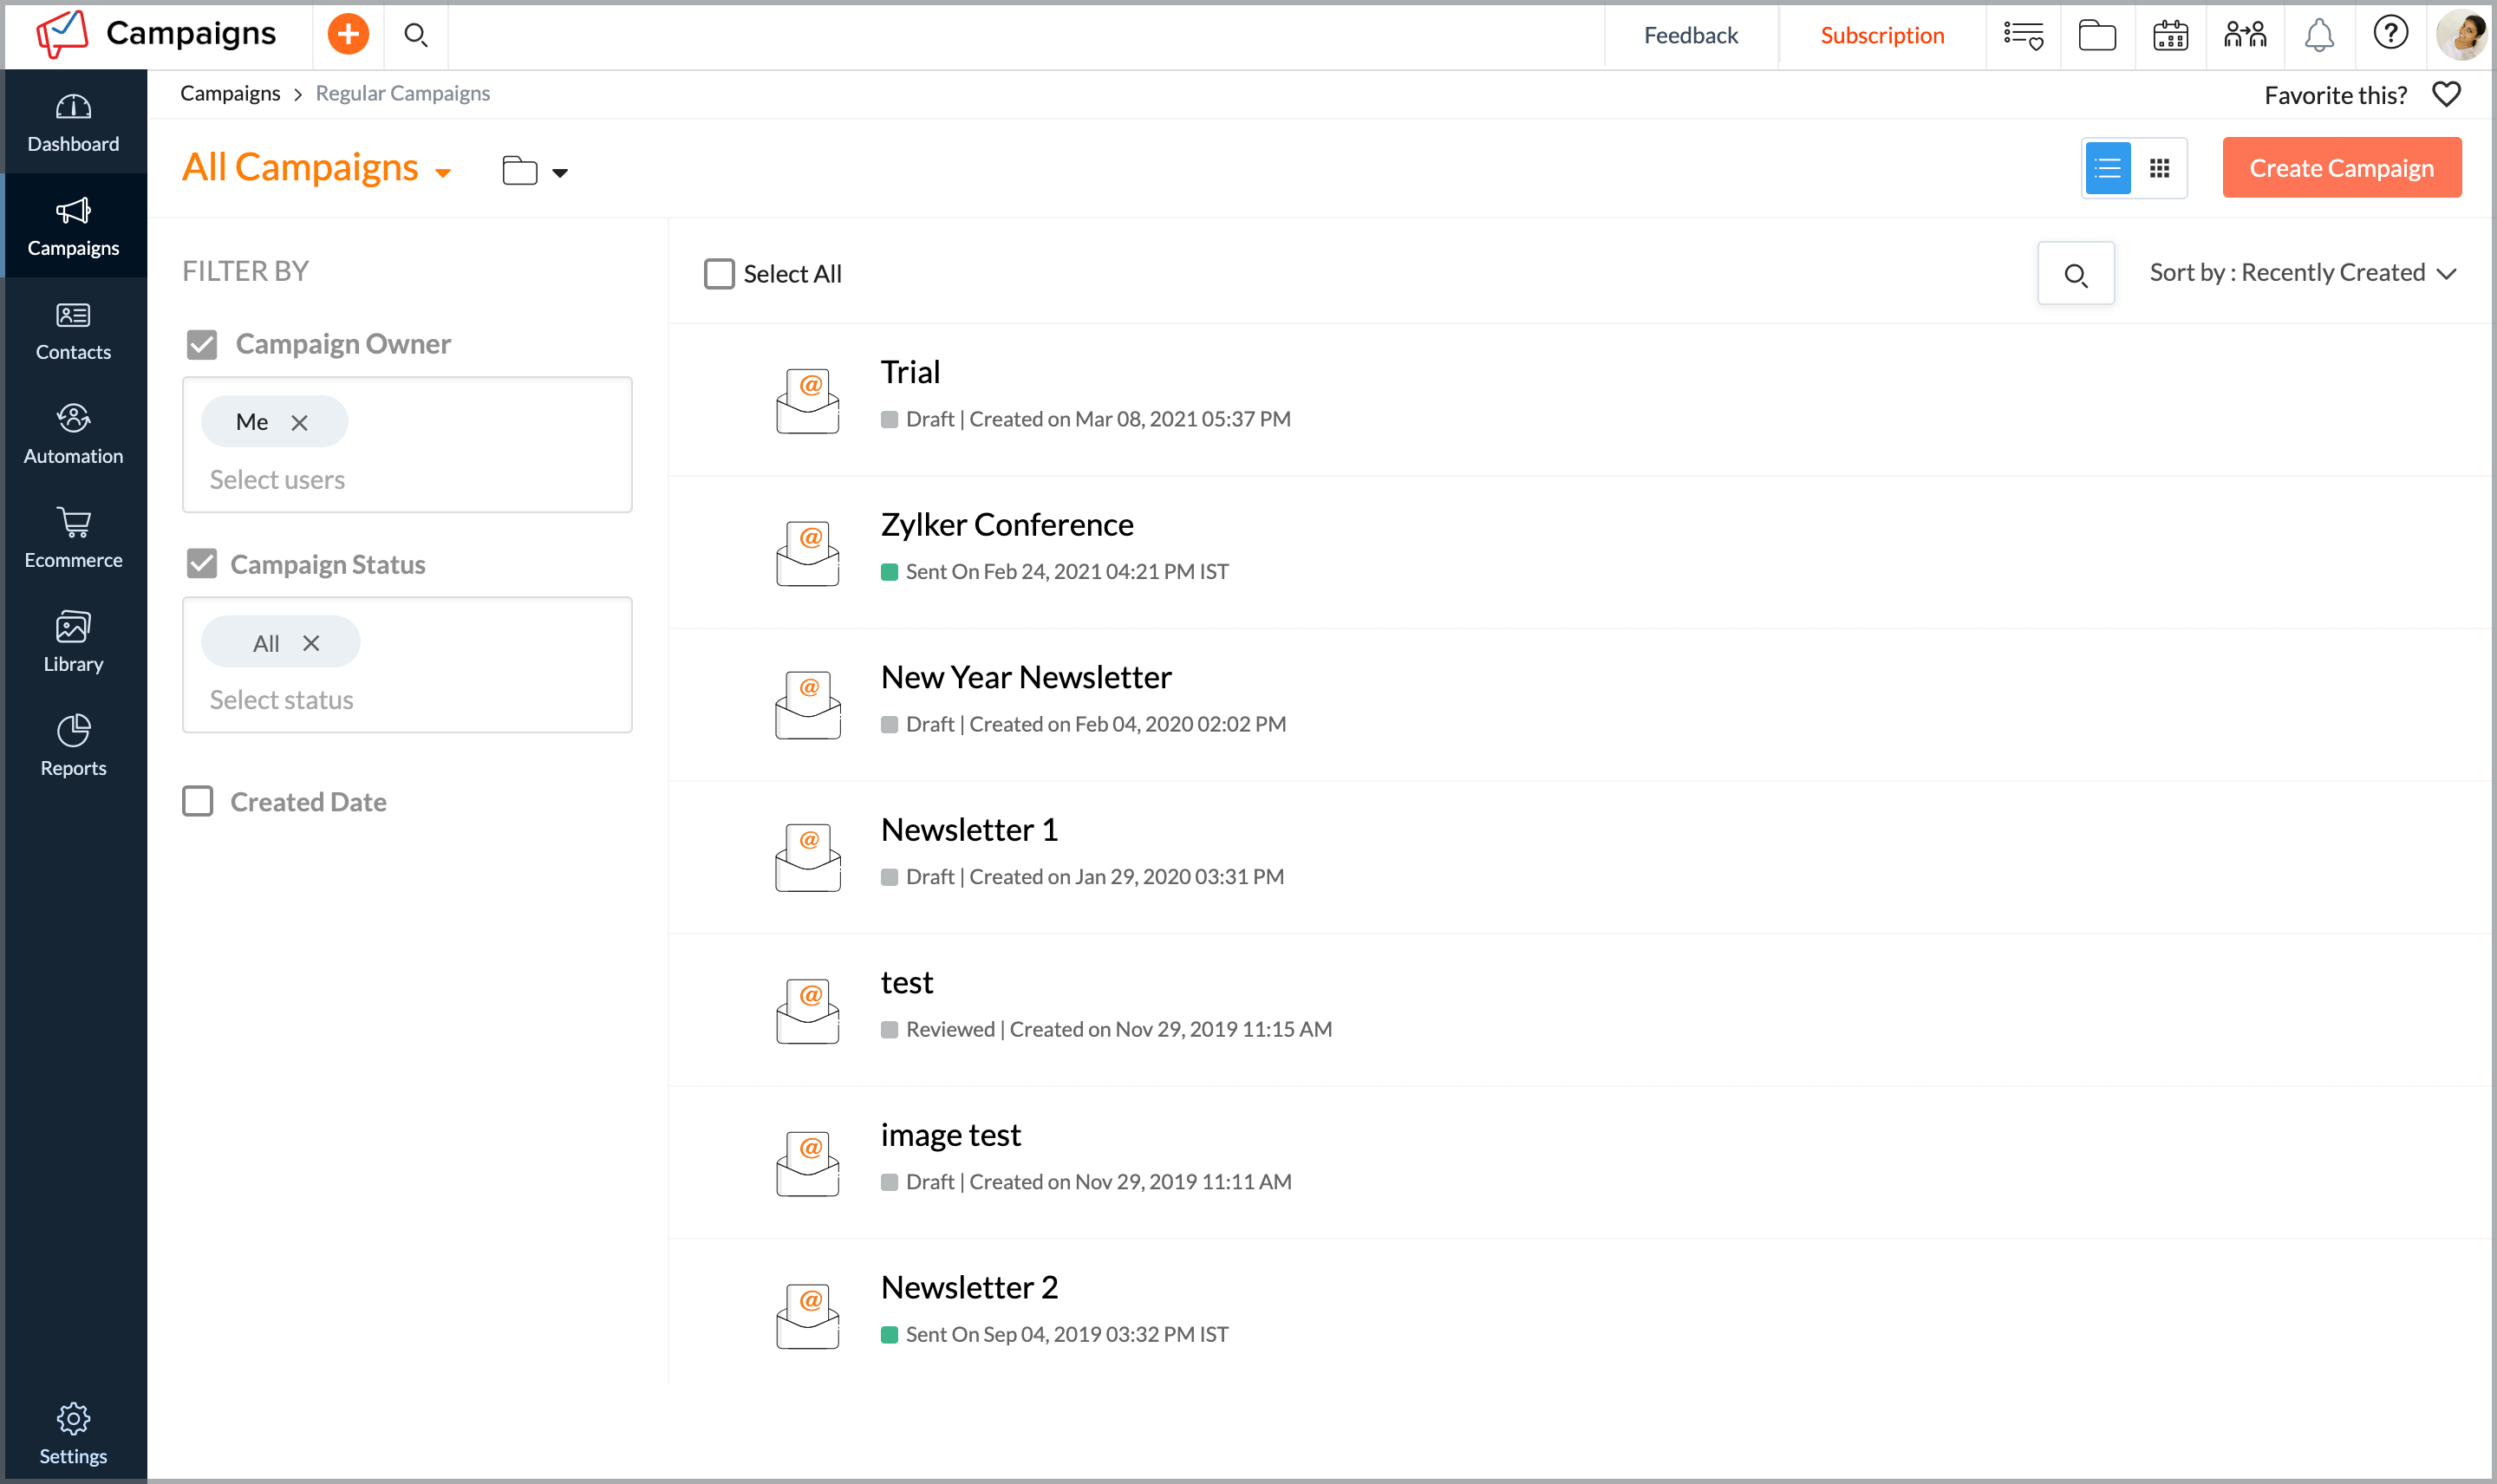
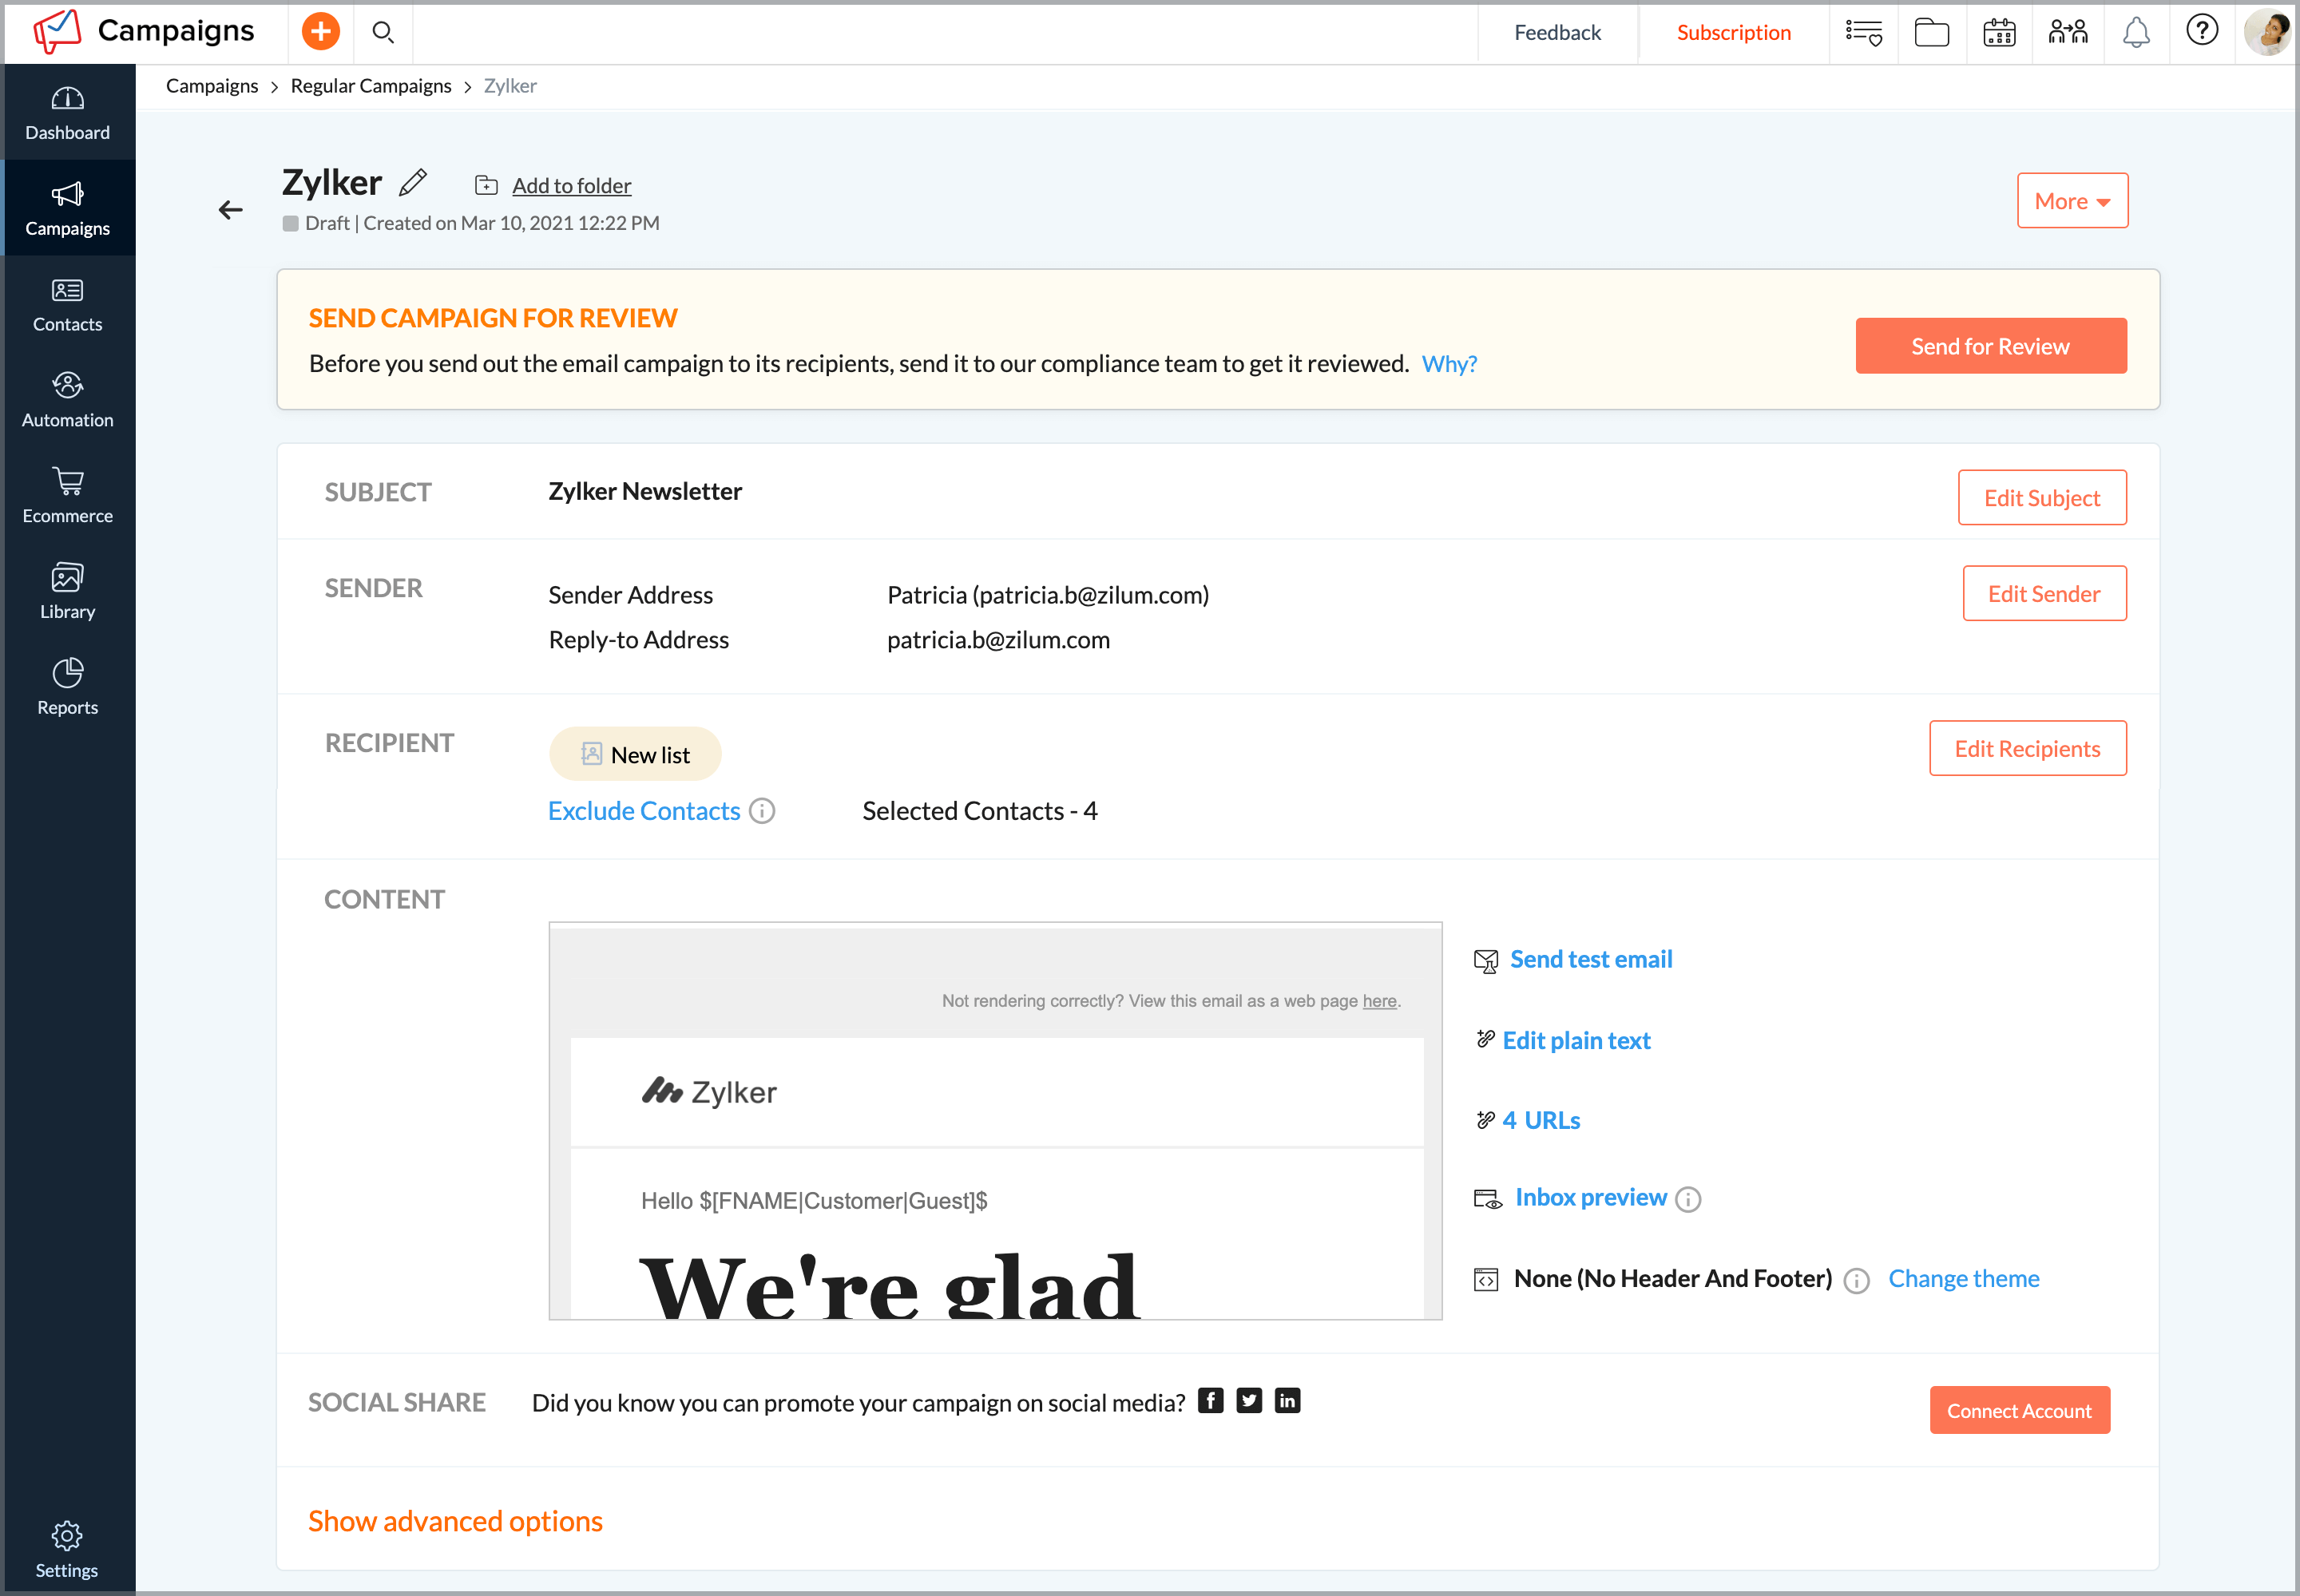
- From the Navigation toolbar, select Campaigns and choose Regular Campaigns.
Click Create Campaign on the top-right.
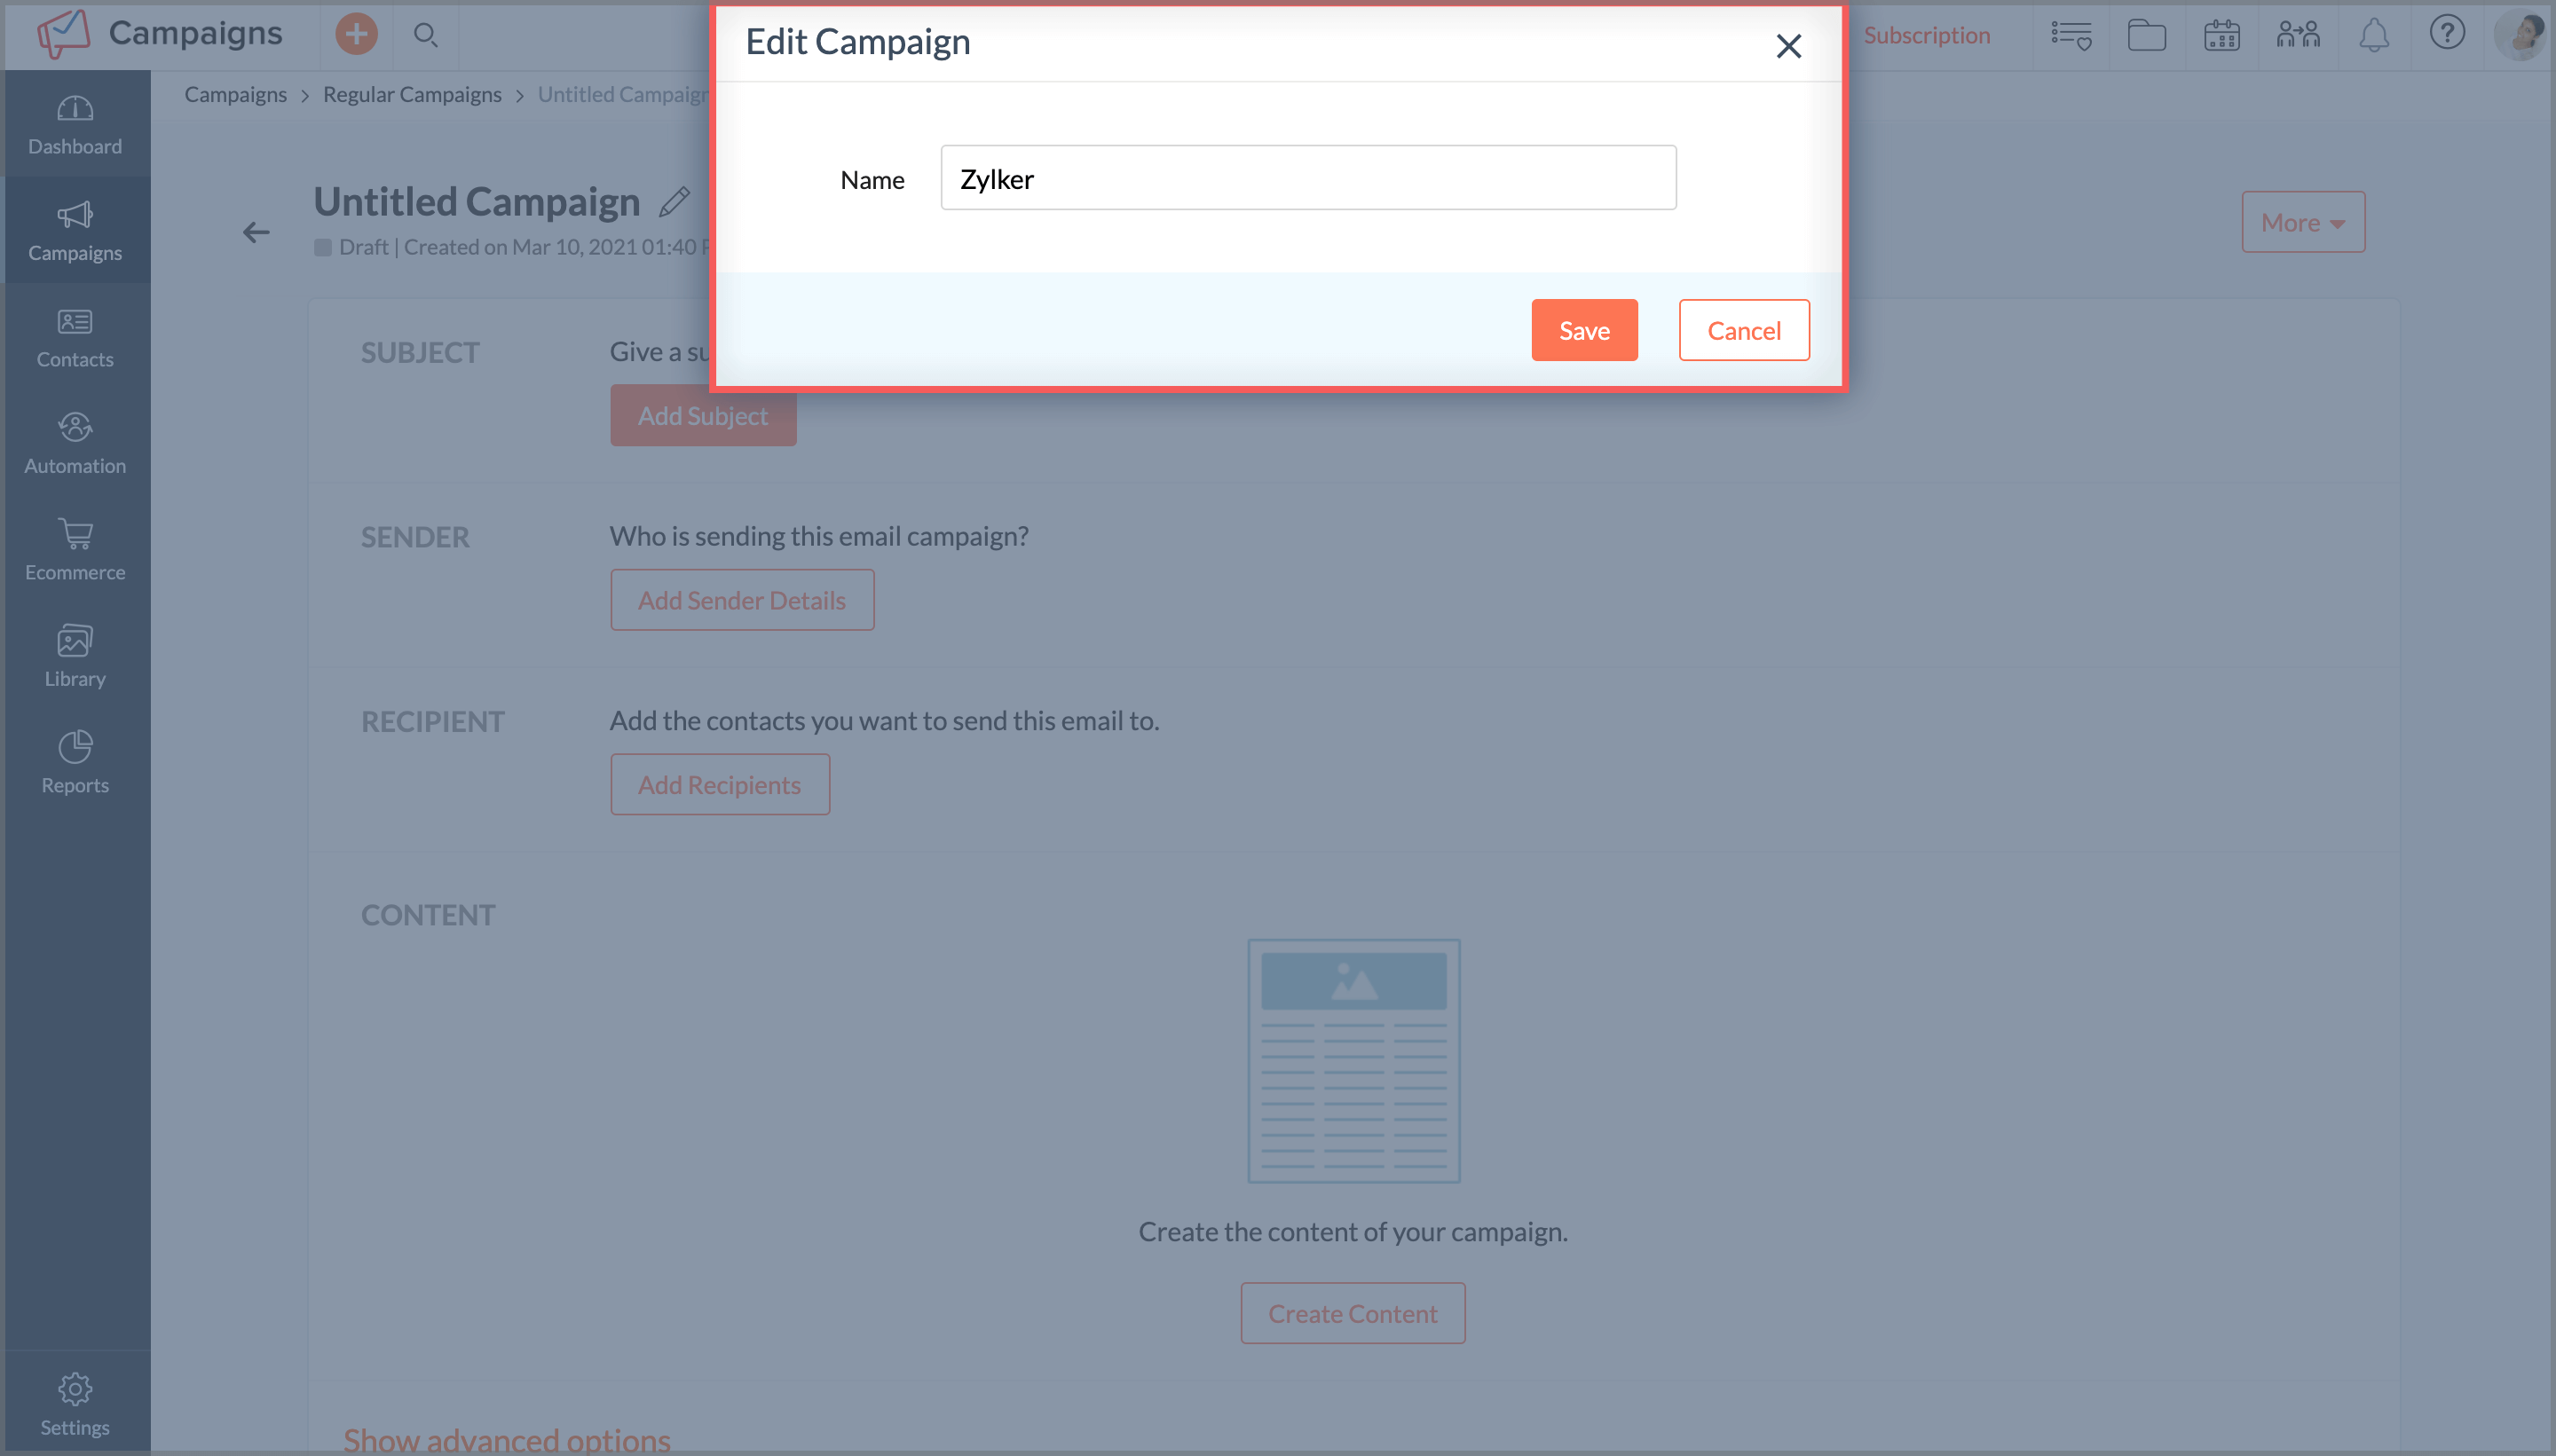
Click the Edit icon on the top-left to name your campaign. Click Add to Folder to add the campaign to a folder if you want.
Click Save after you enter the name.
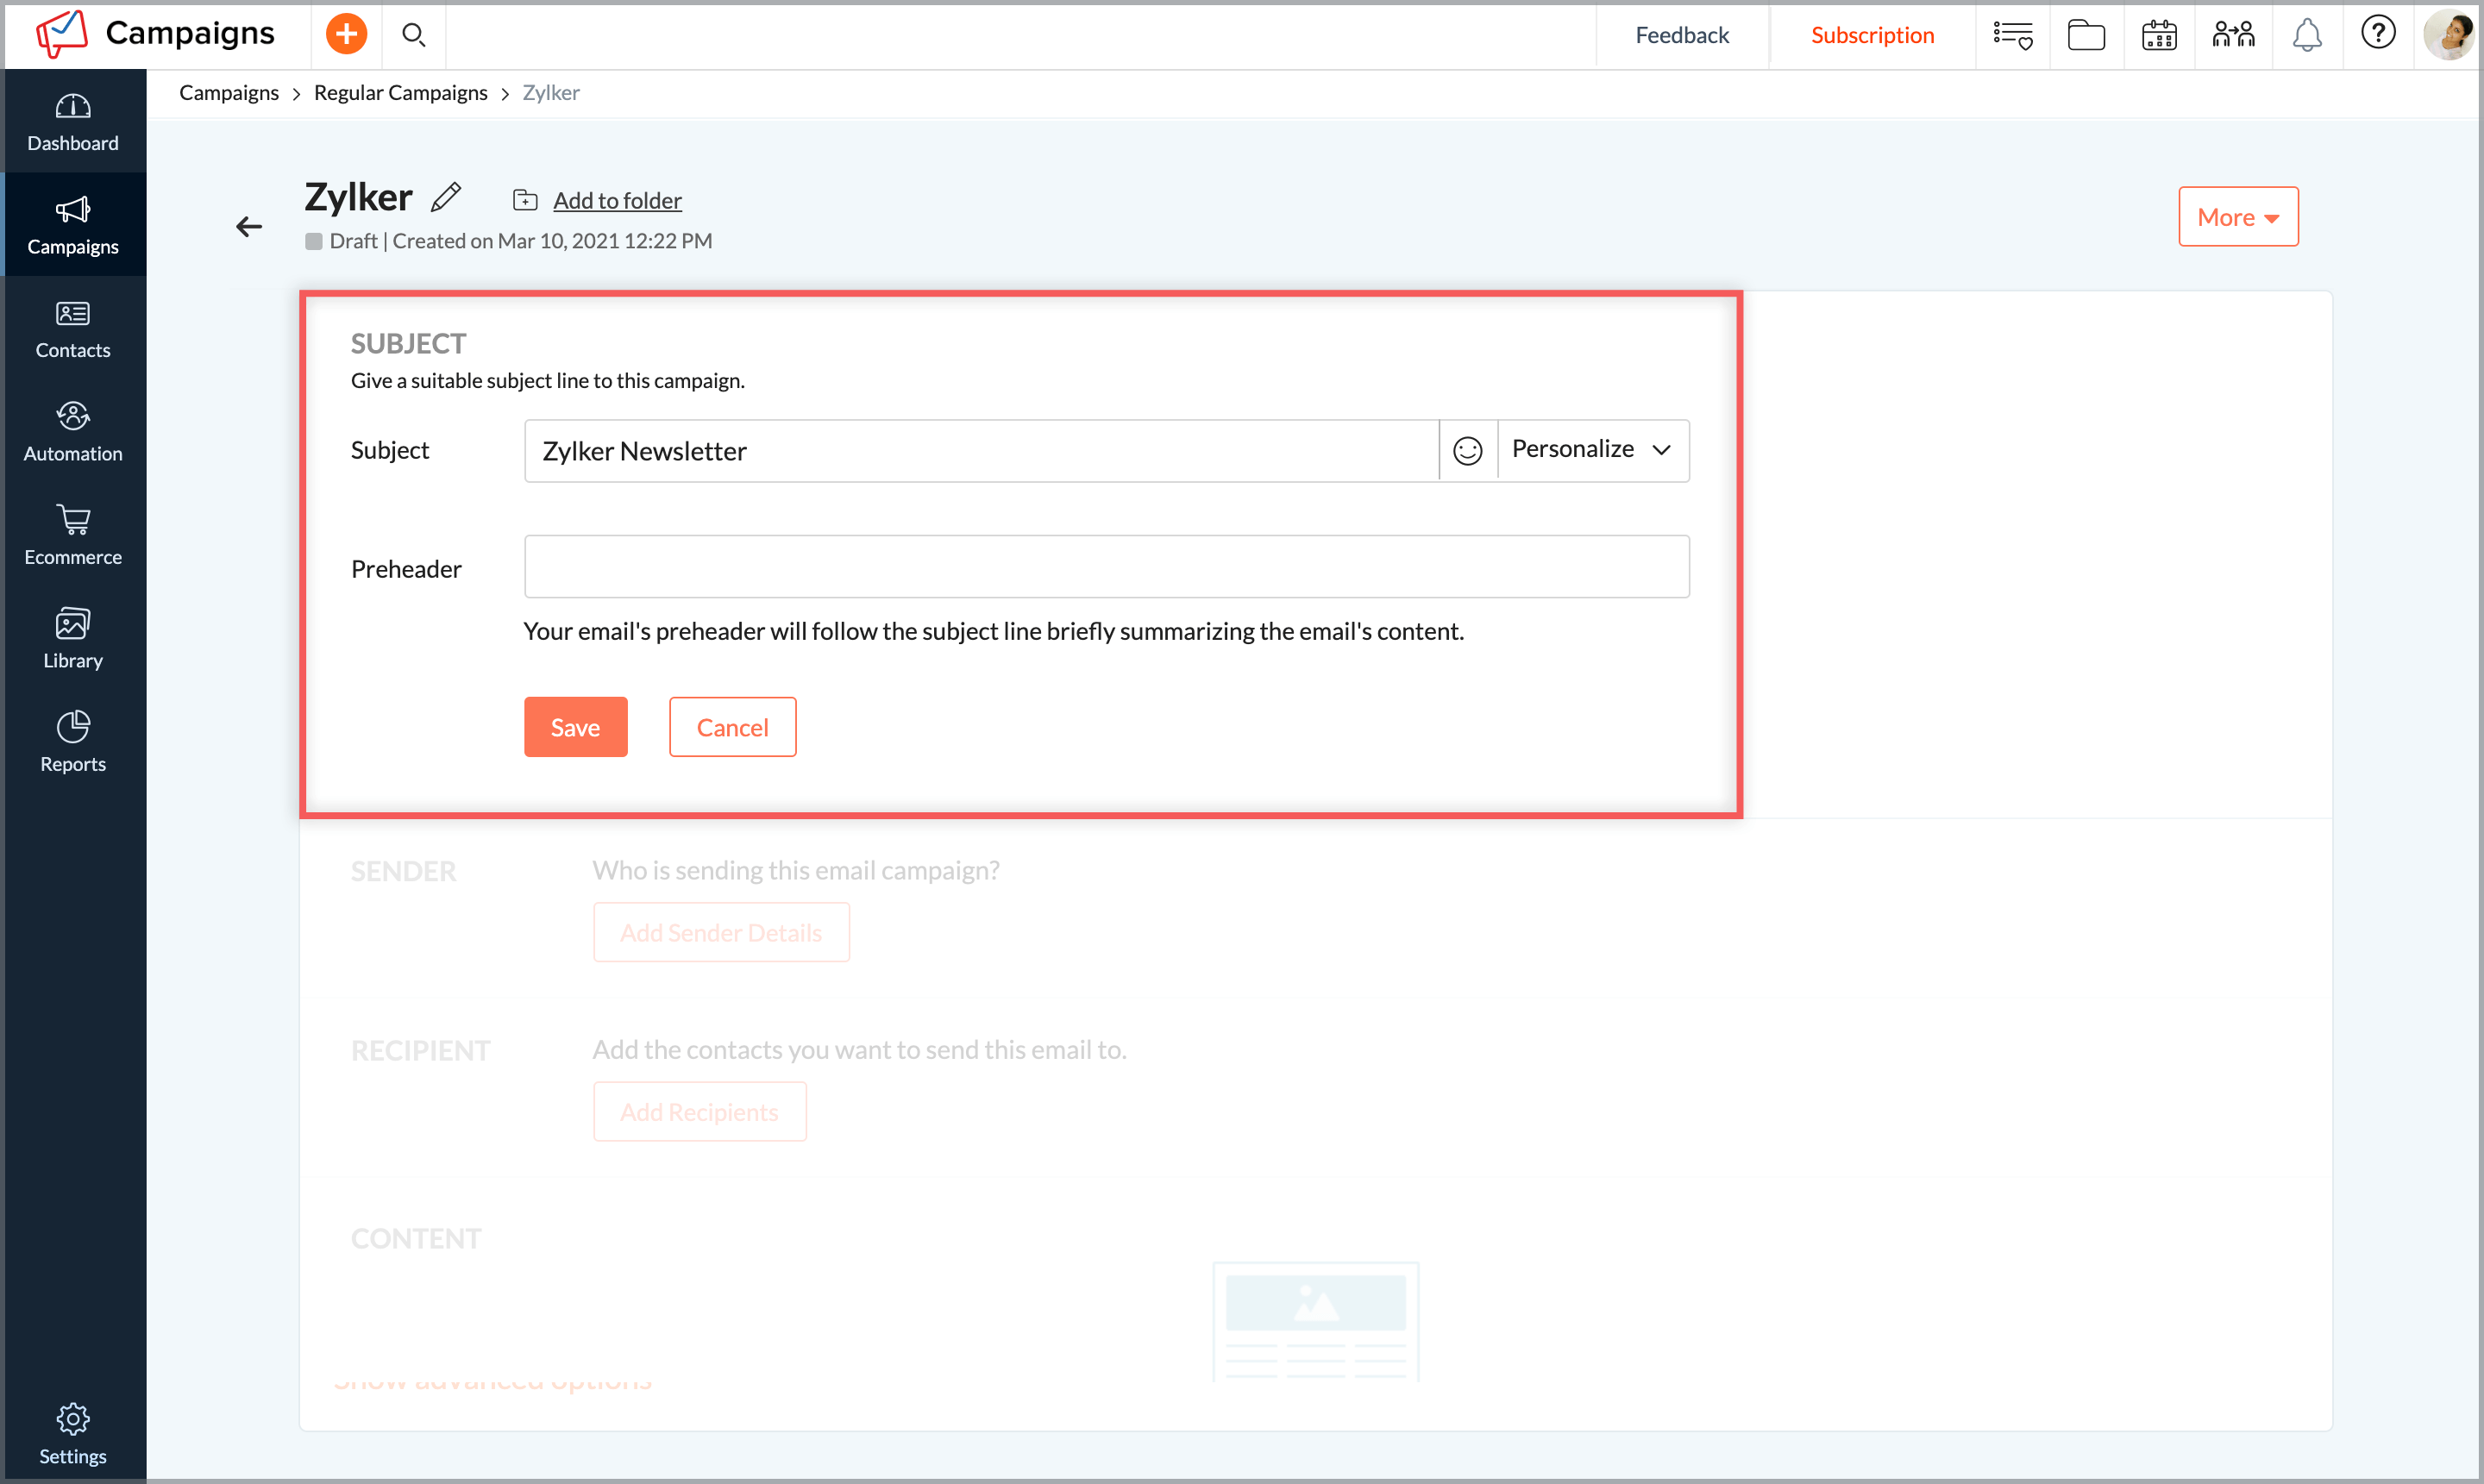
Click Add Subject. Enter the subject line and the pre-header text of the email and click Save.
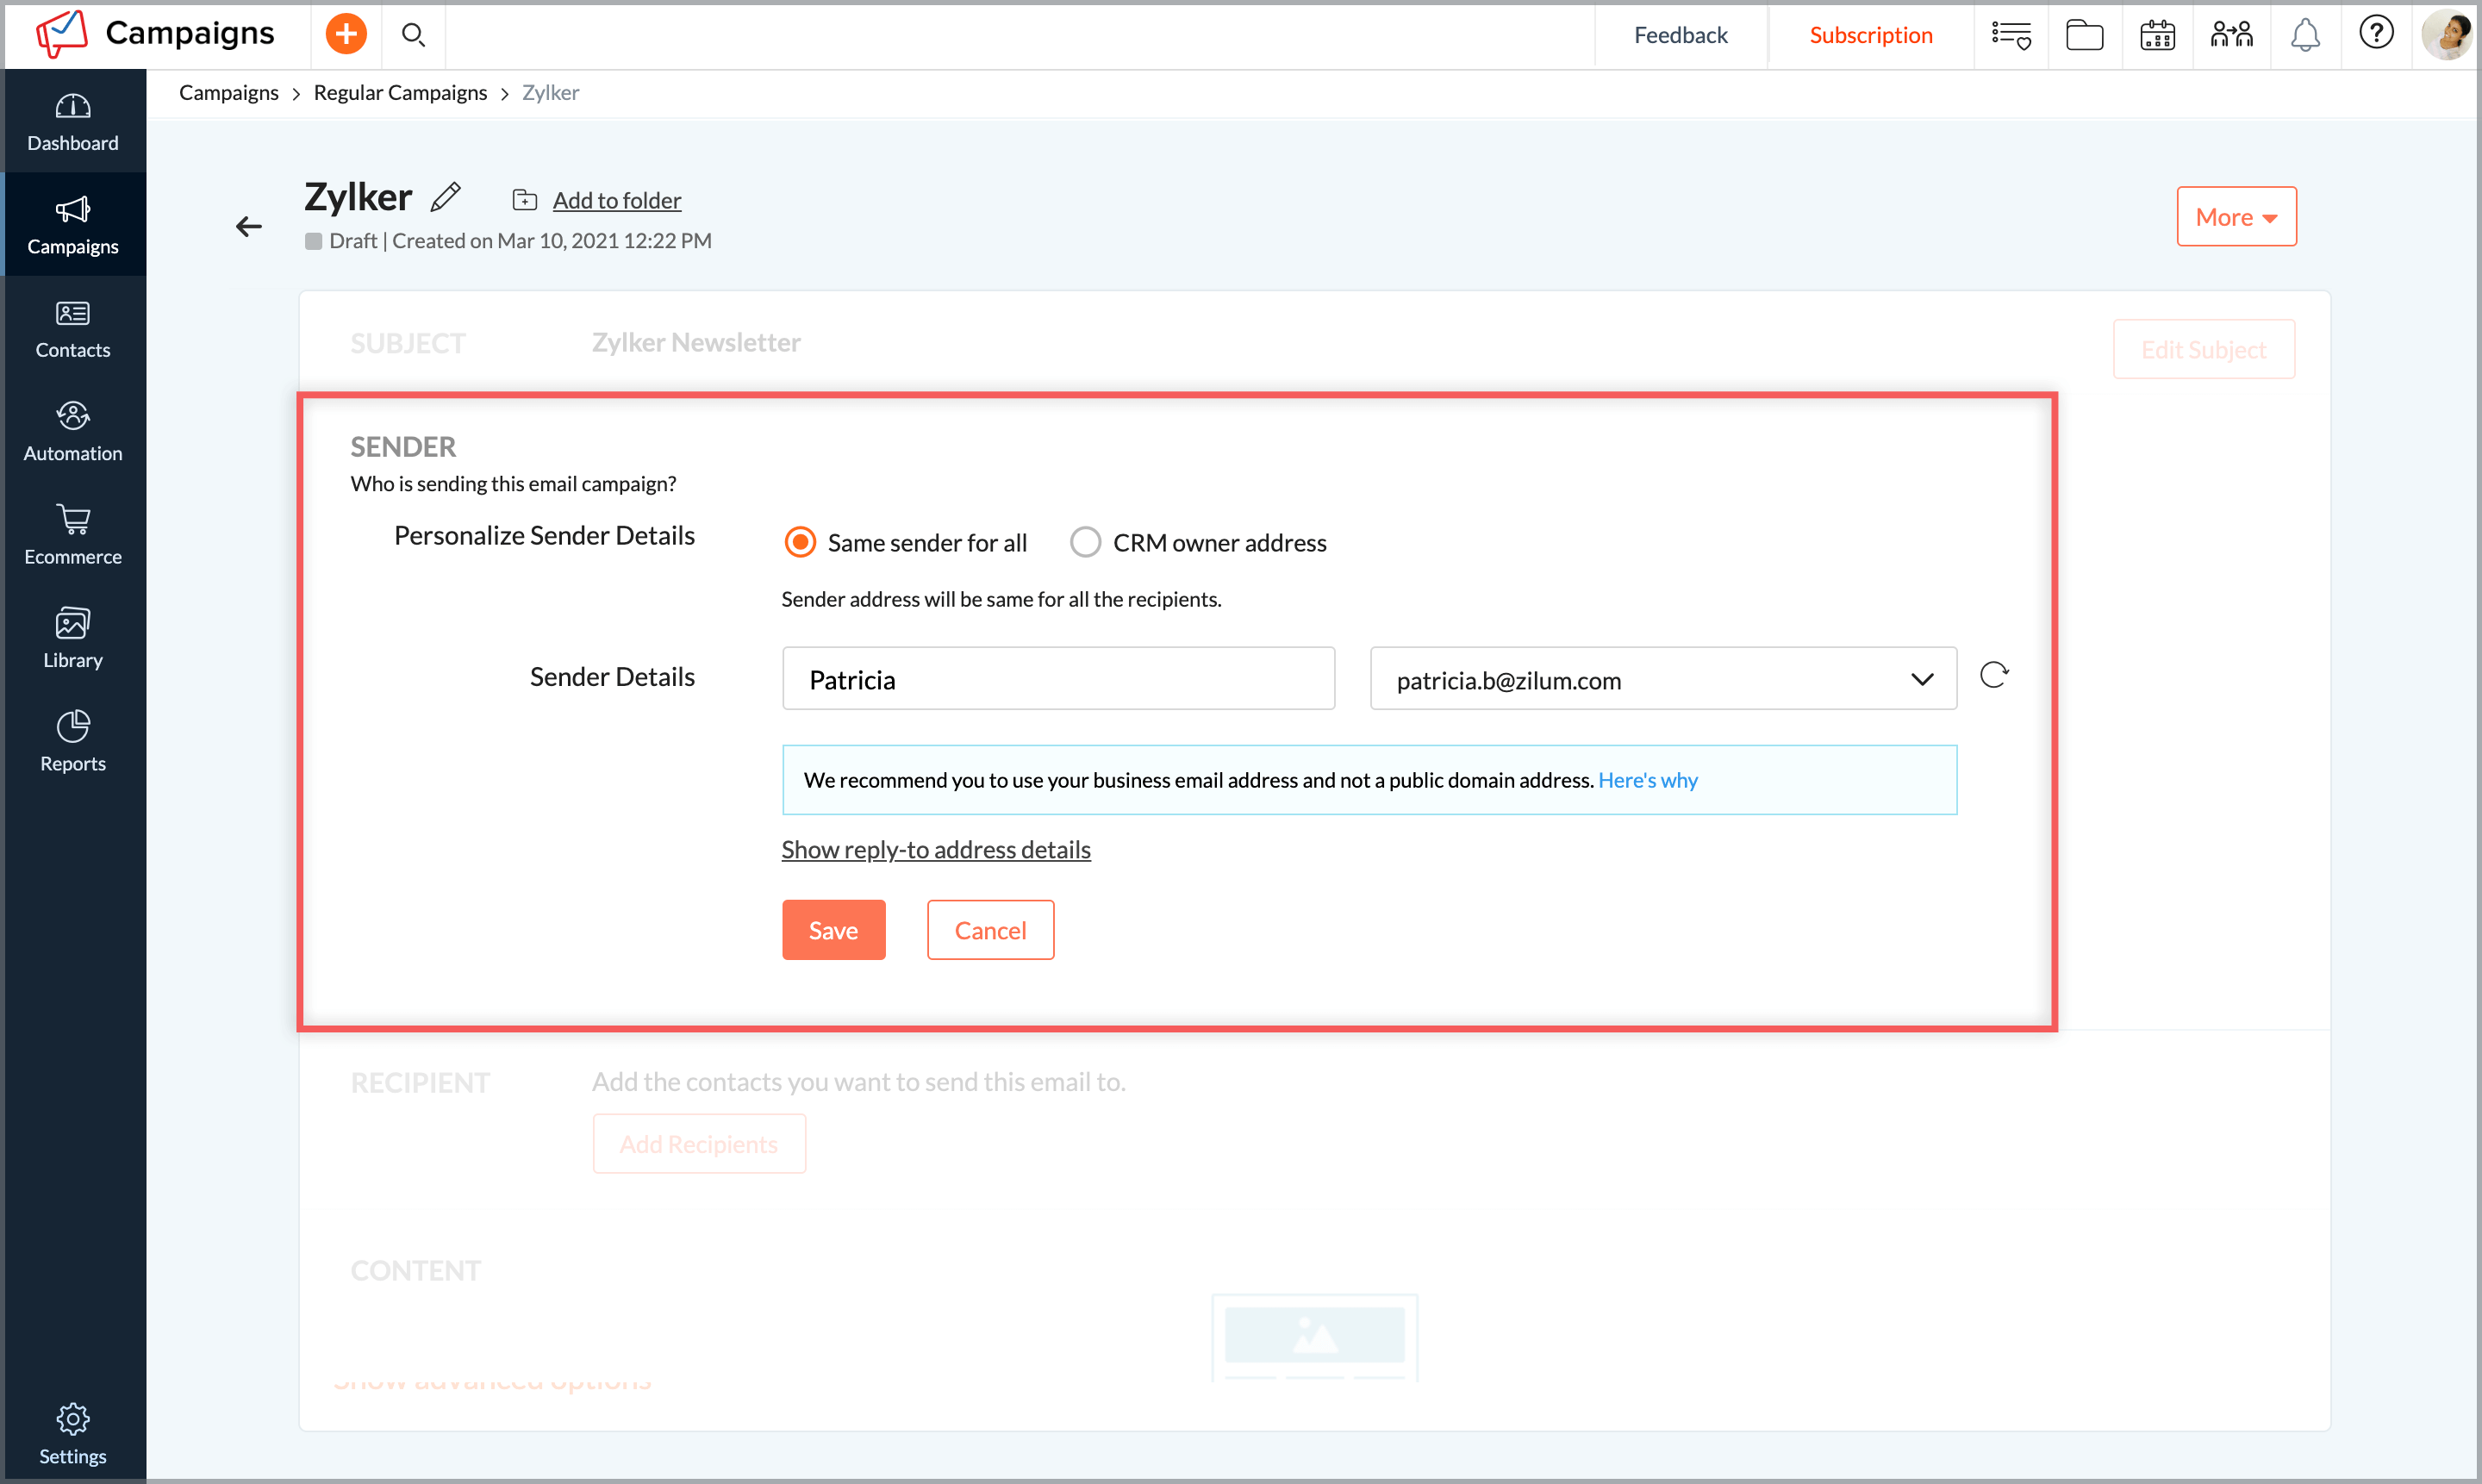
Click Add Sender Details and enter the sender name.
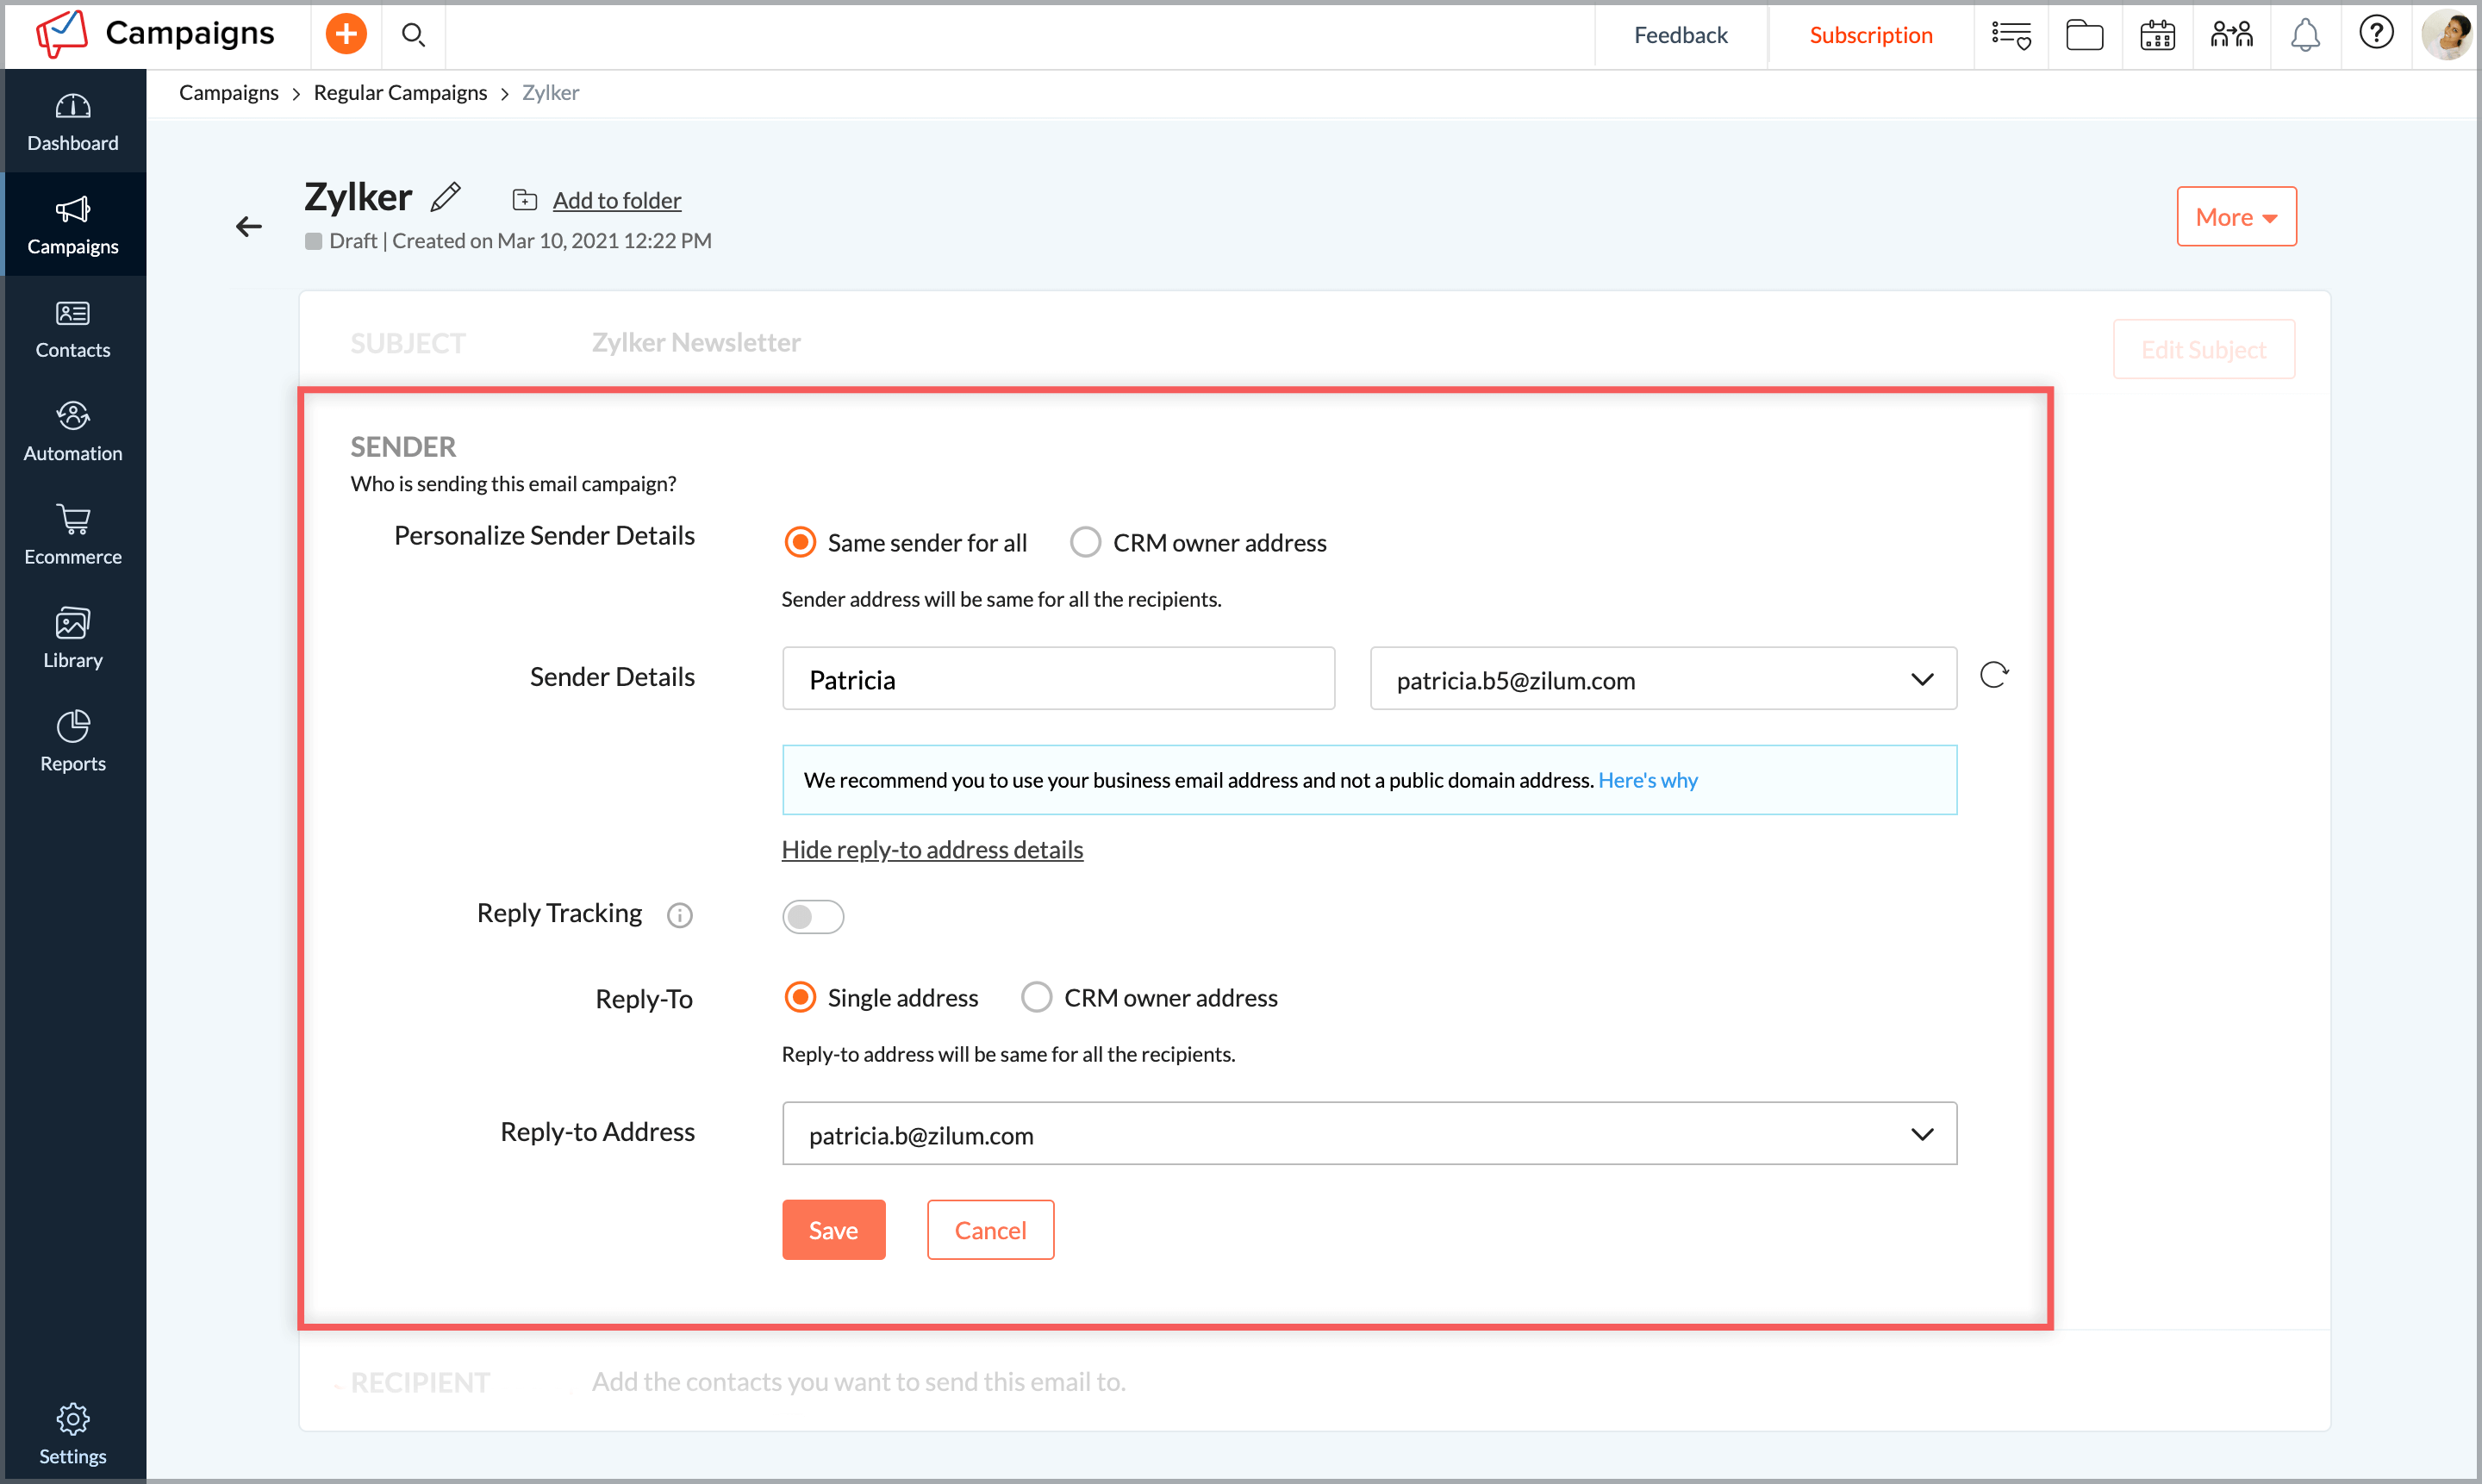
Click Show reply-to details. Enable reply tracking, enter a reply-to address and click Save.
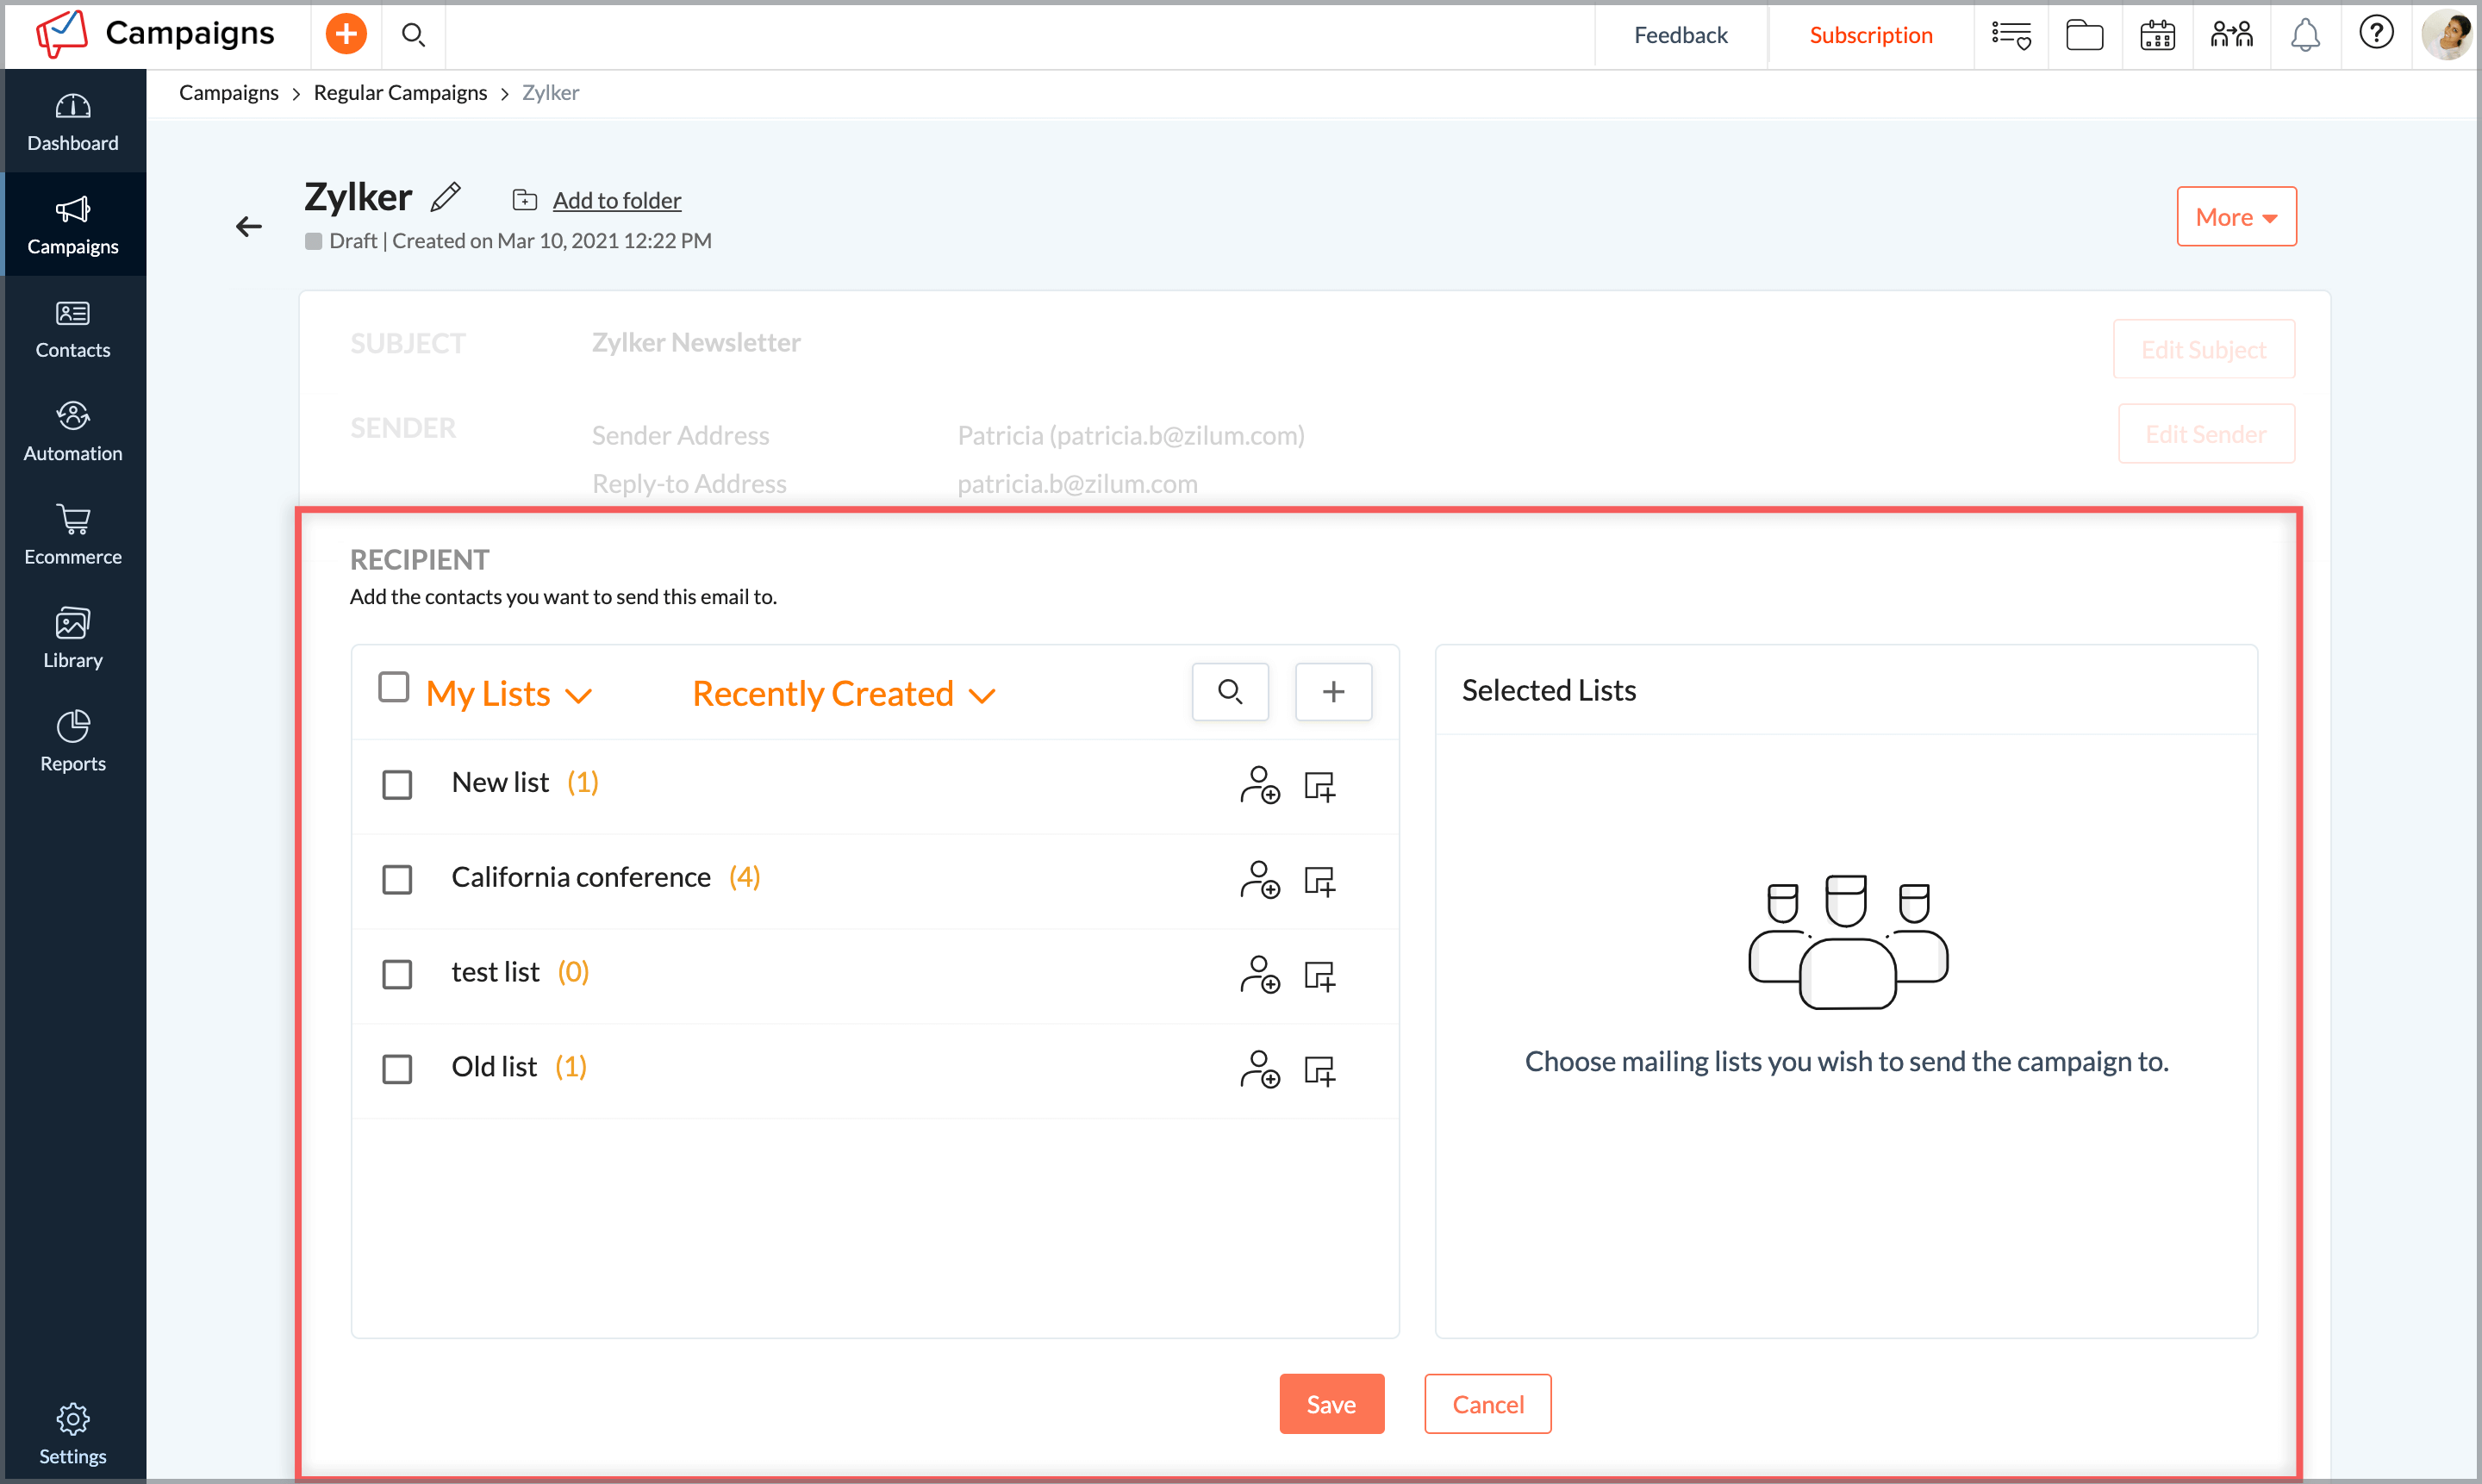
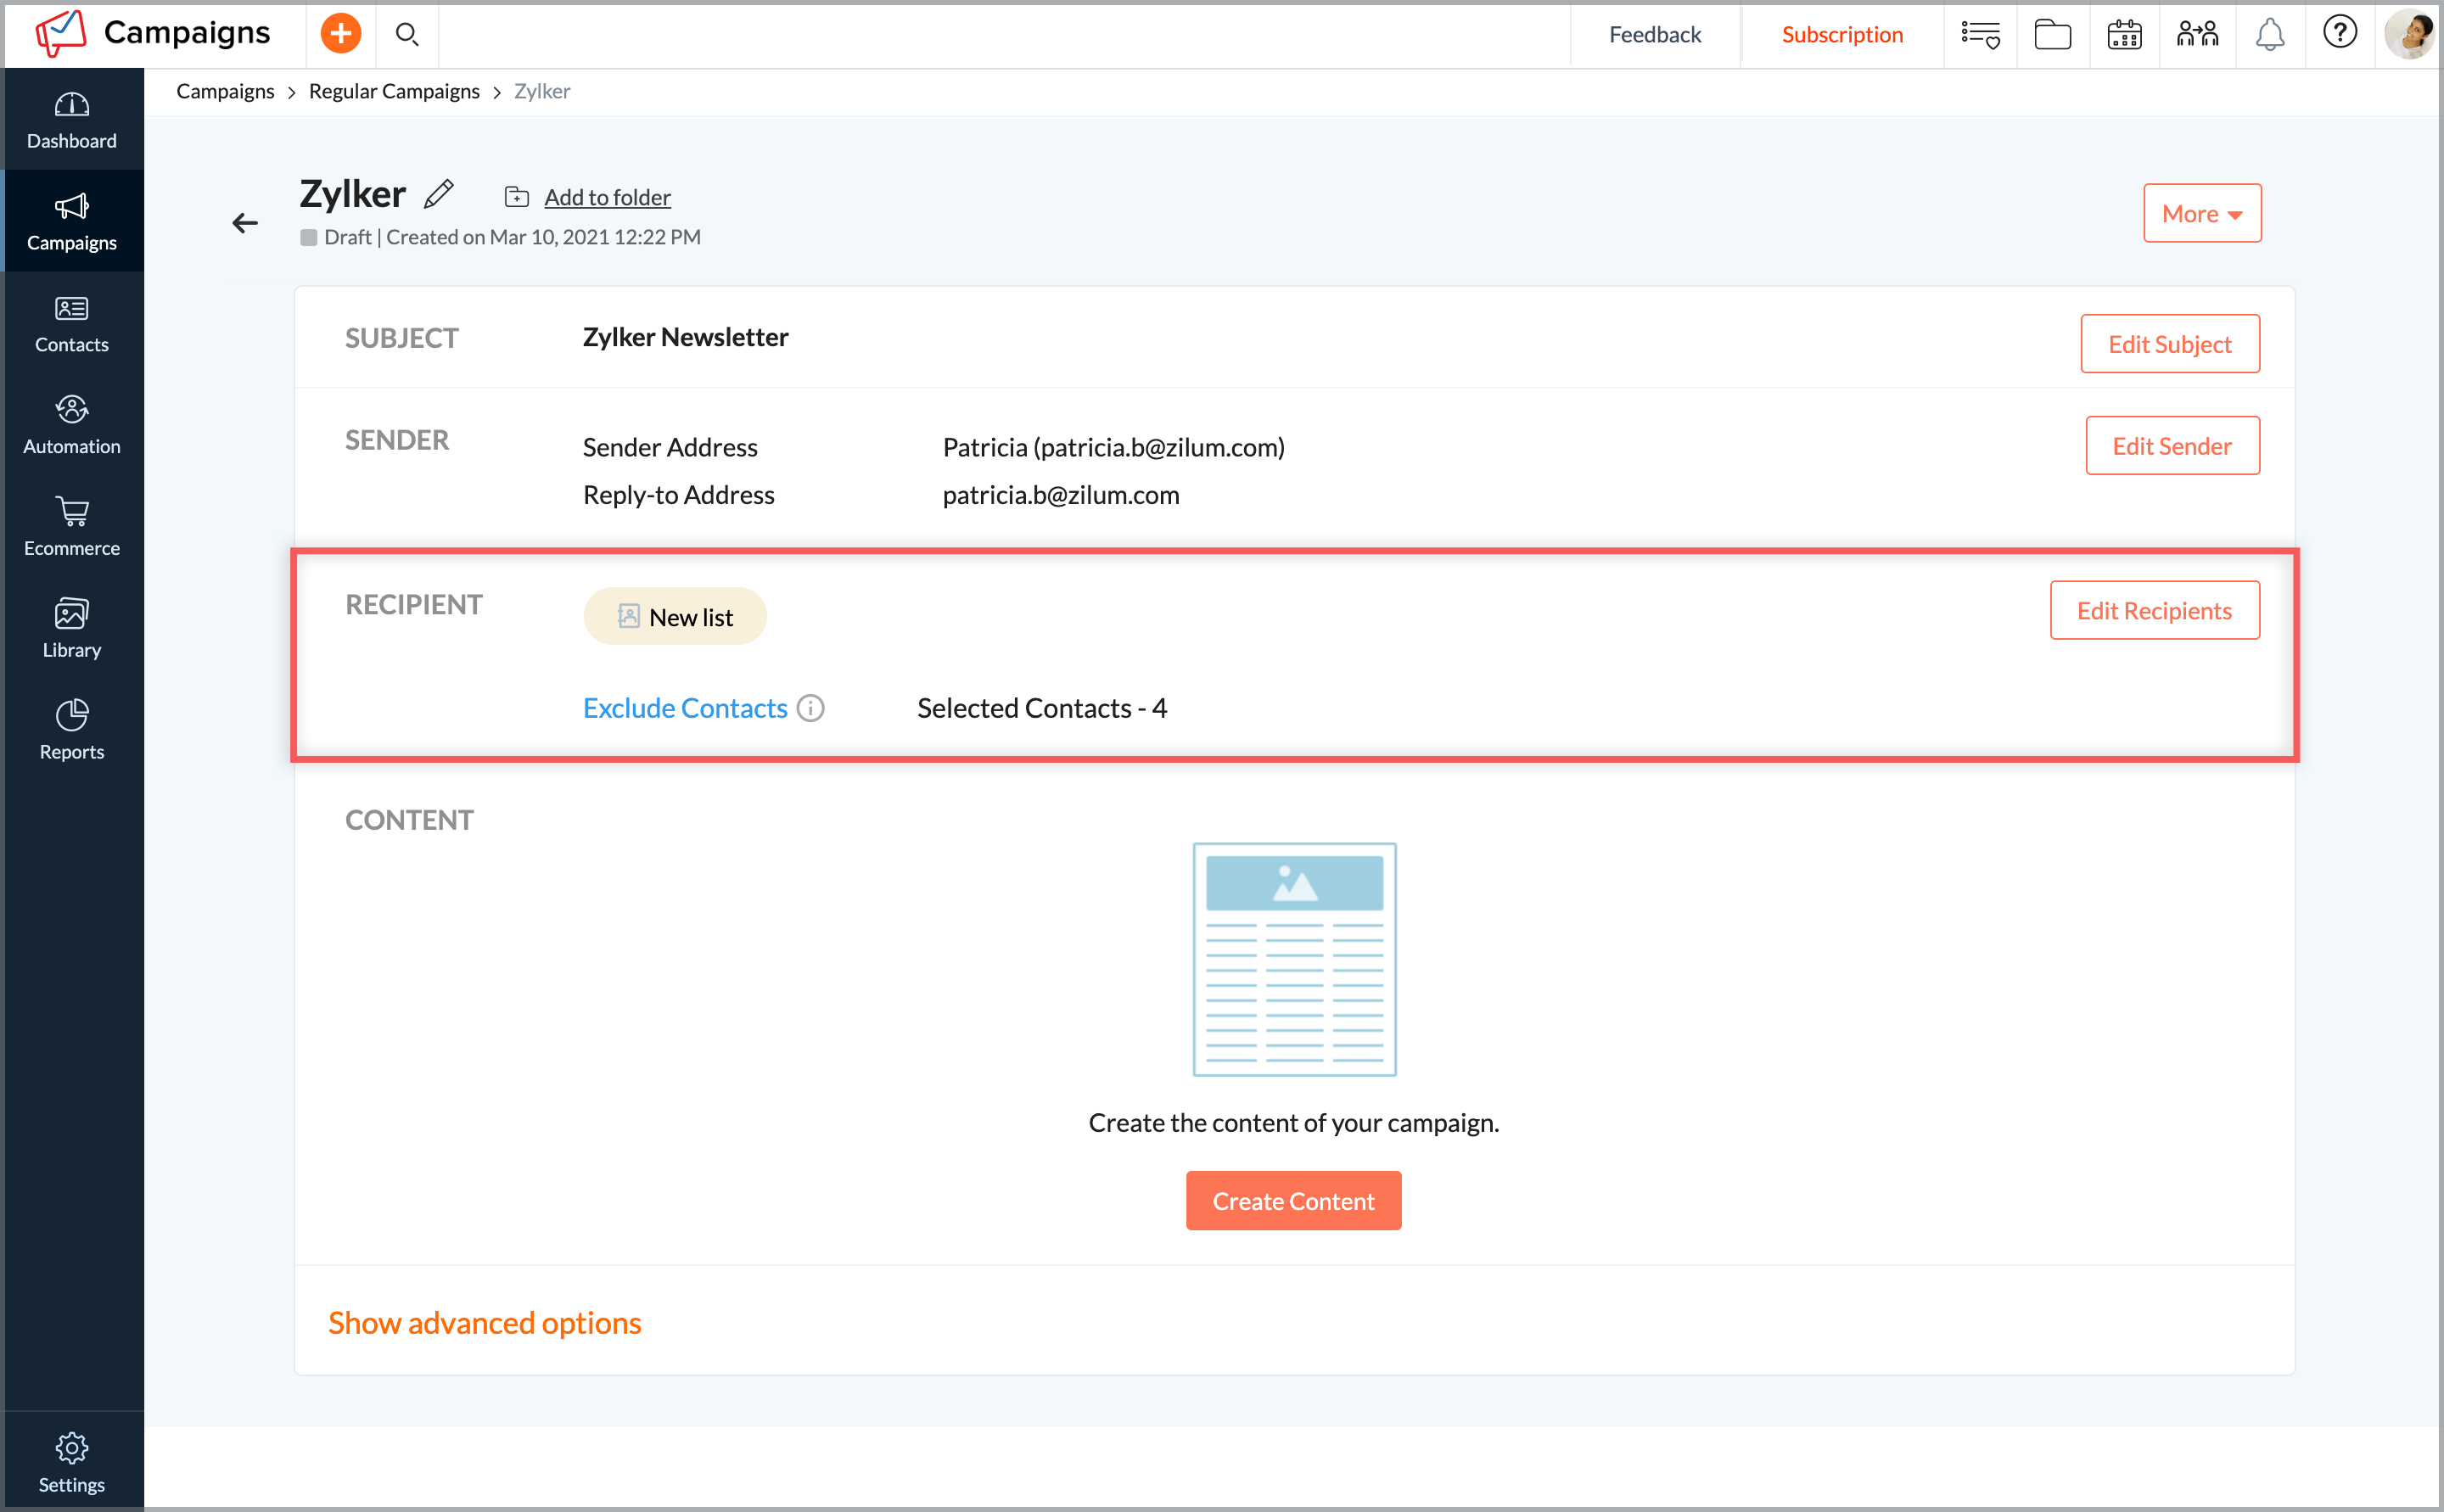
- Click Add Recipients to select the contacts who will receive this email campaign.
Select the mailing lists and click Save.
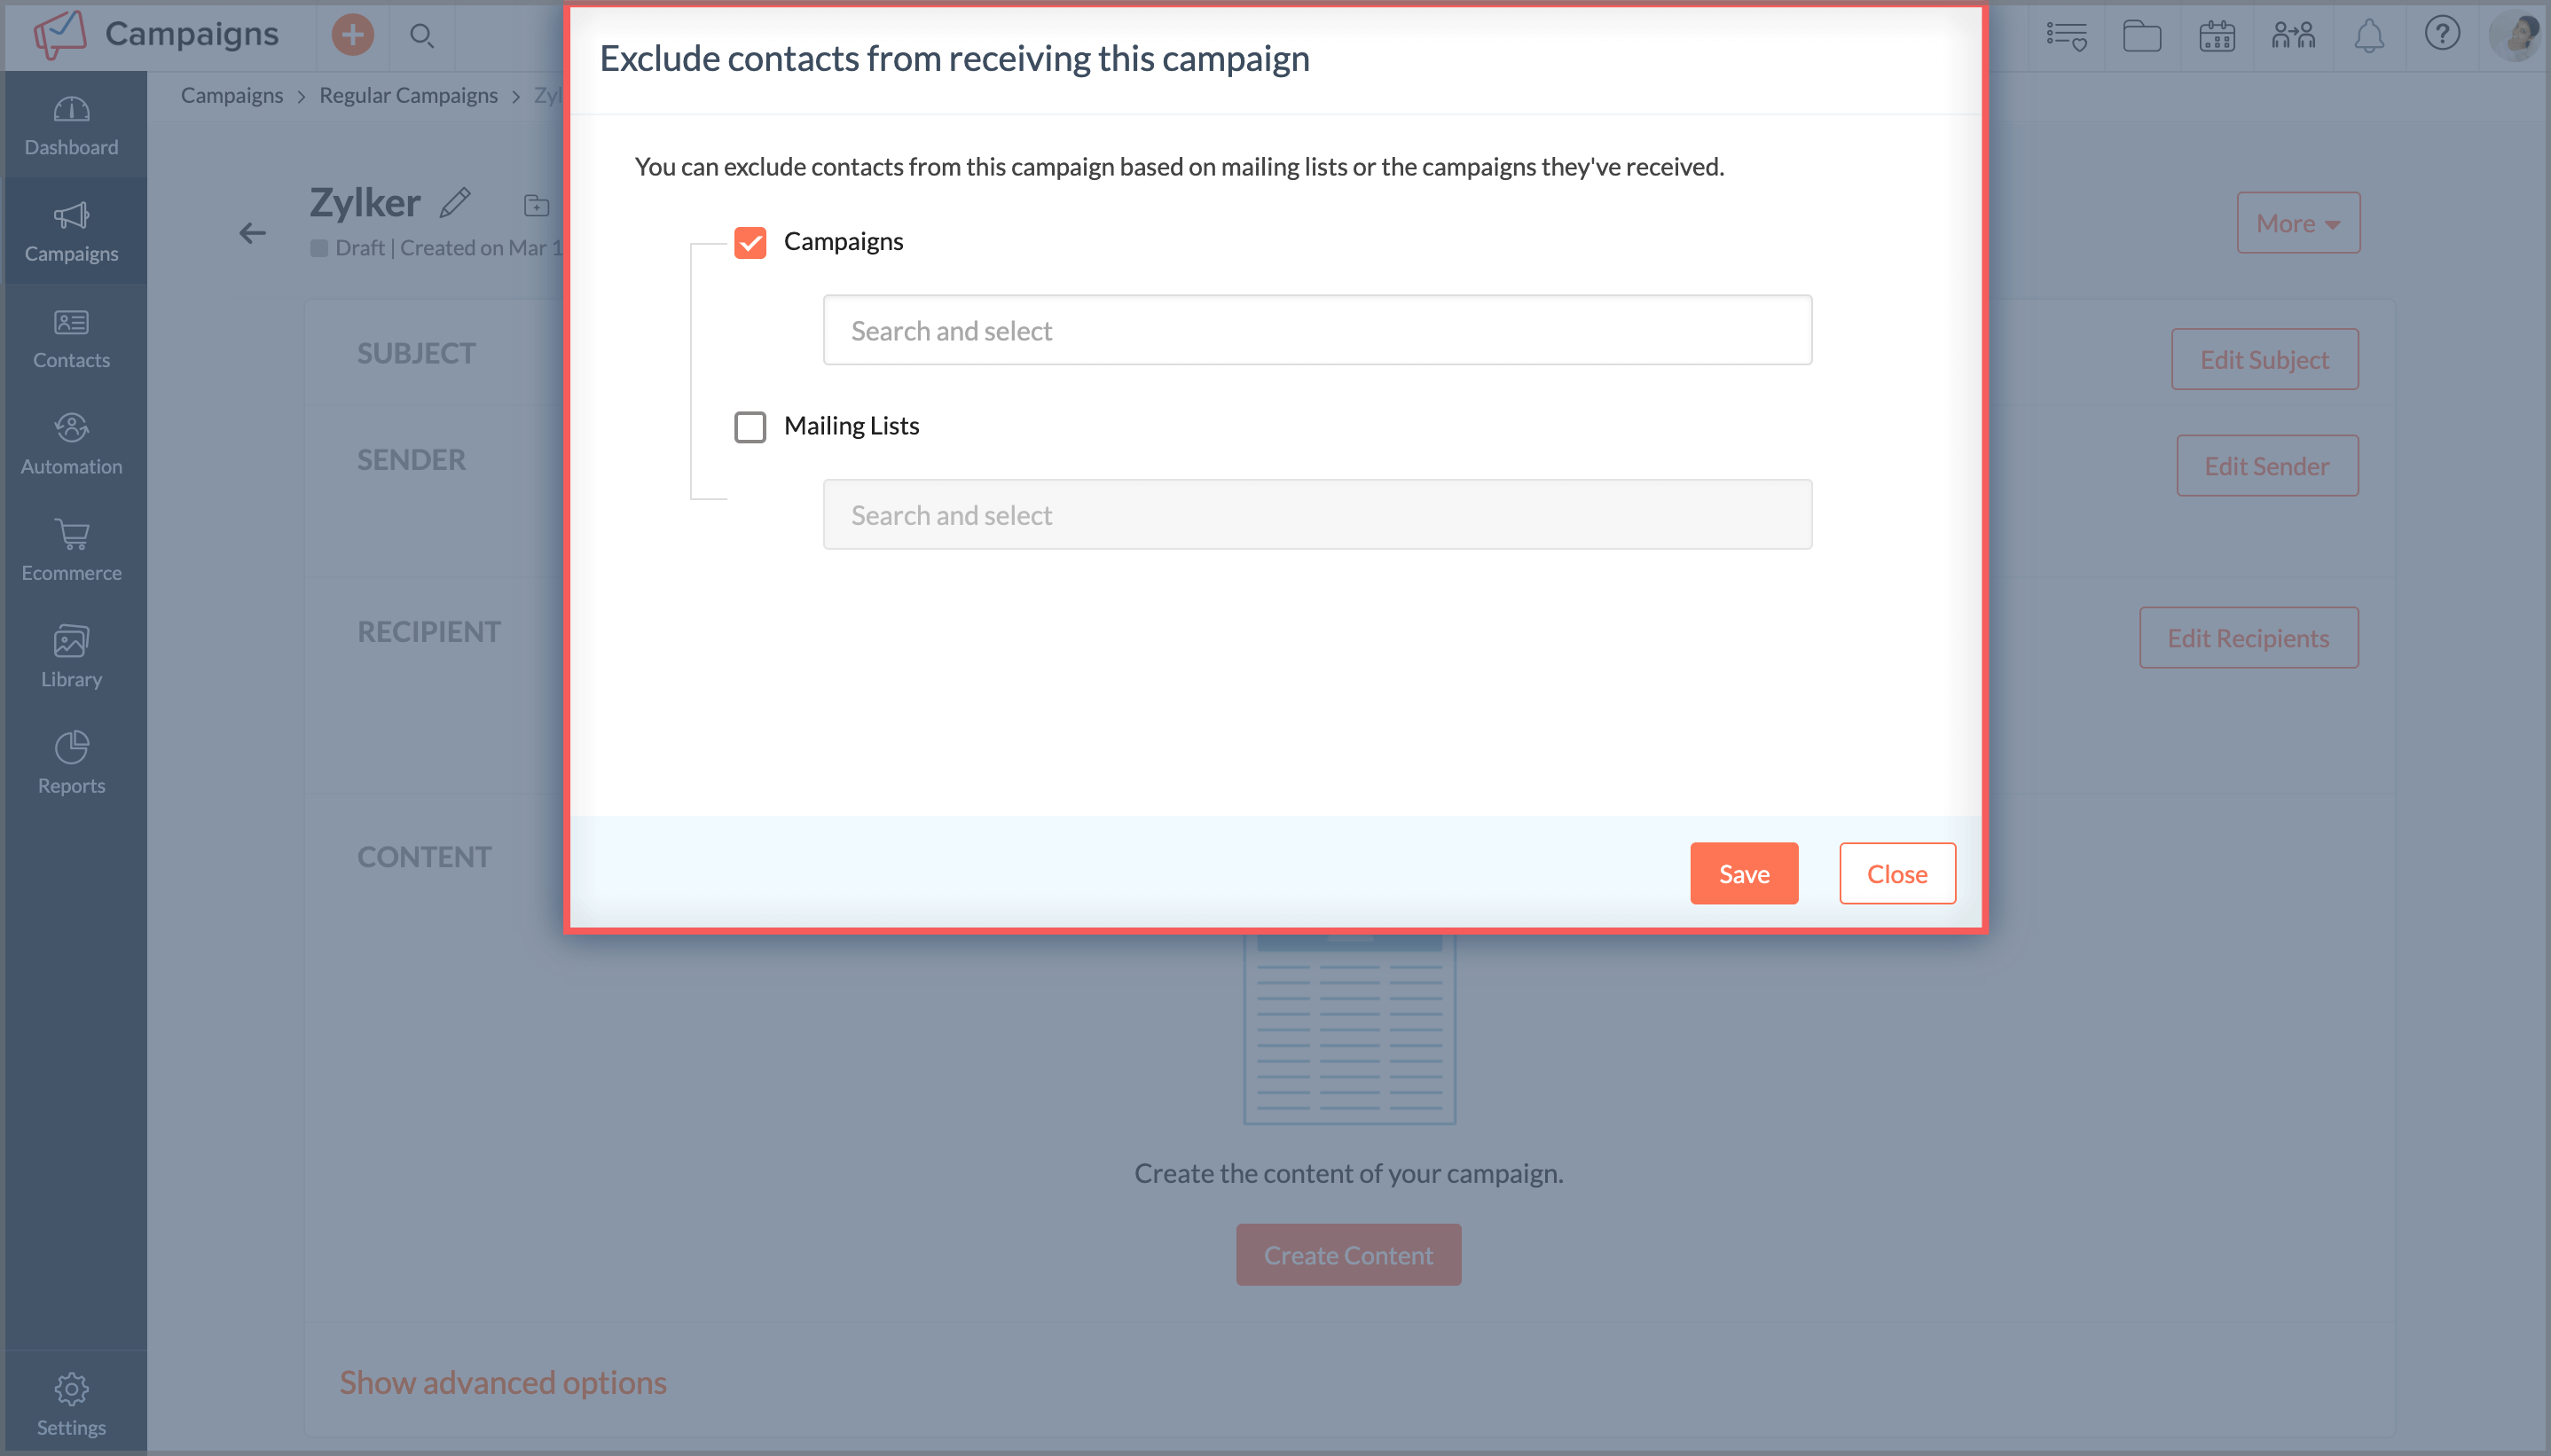
Click Exclude Contacts to exclude specific contacts from receiving the campaign.
You can exclude contacts based on a campaign that you've sent to them previously or the mailing list in which they are in. Select the email campaign and / or mailing list and click Save.
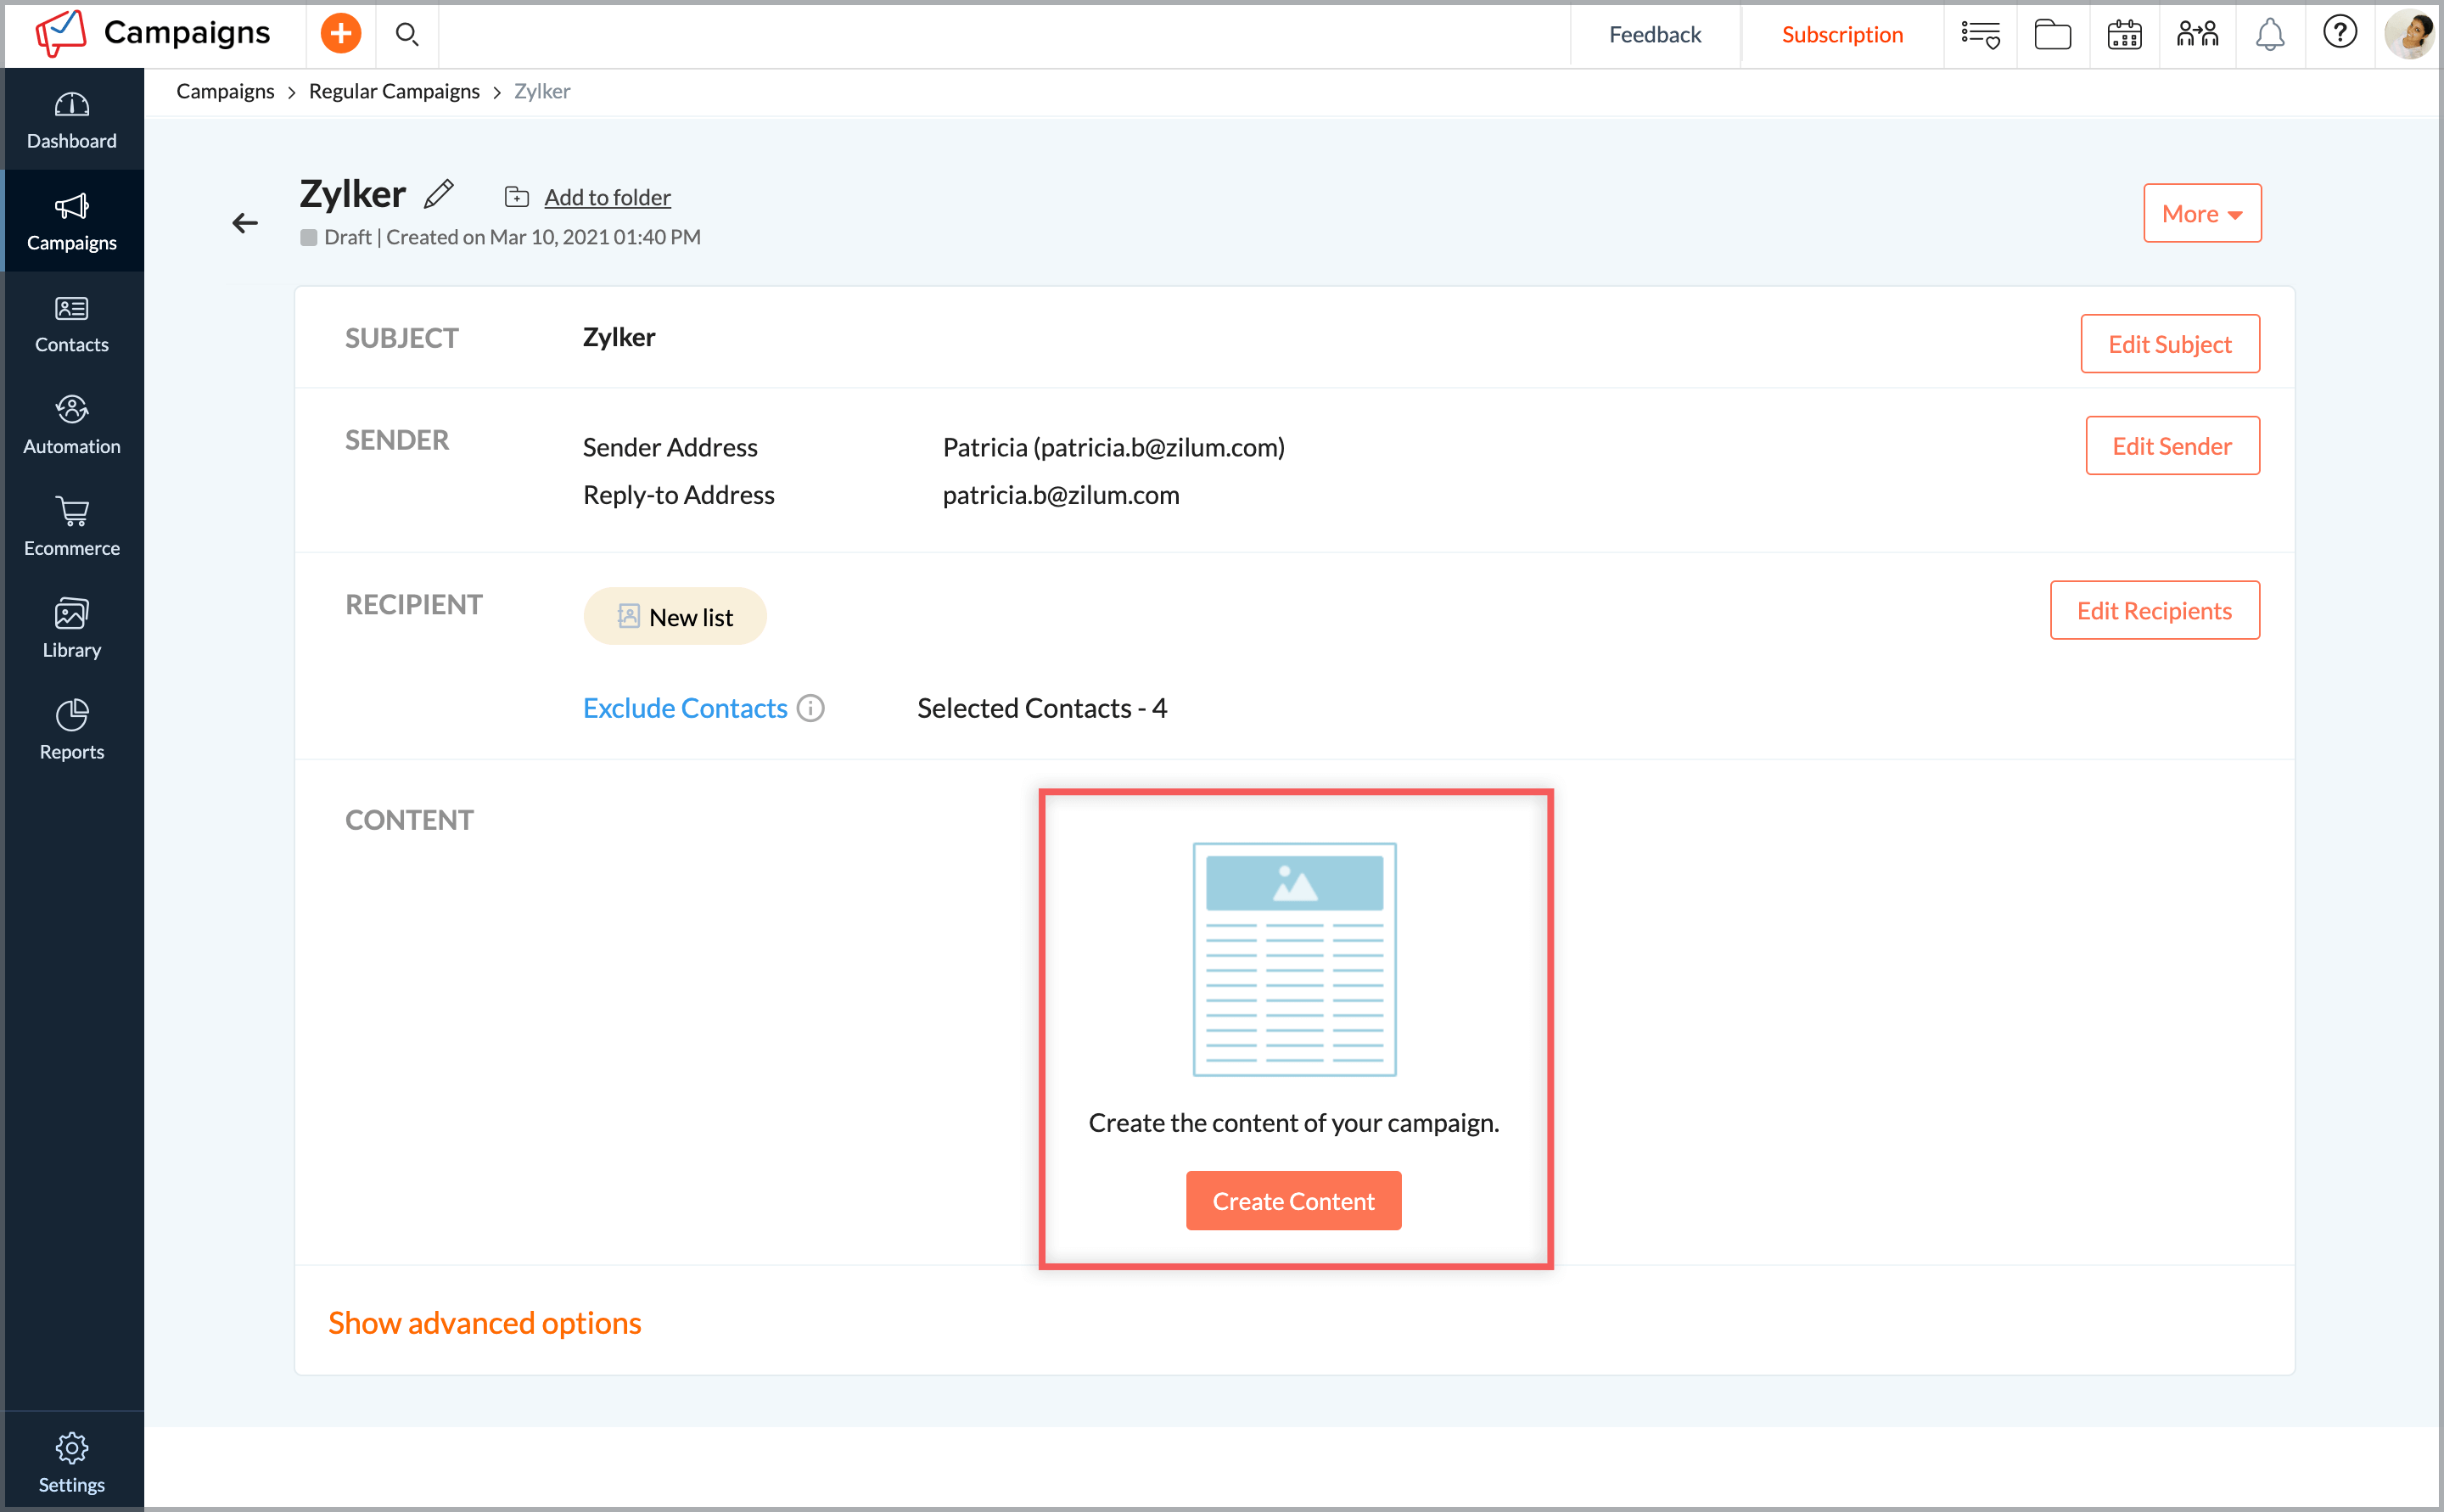
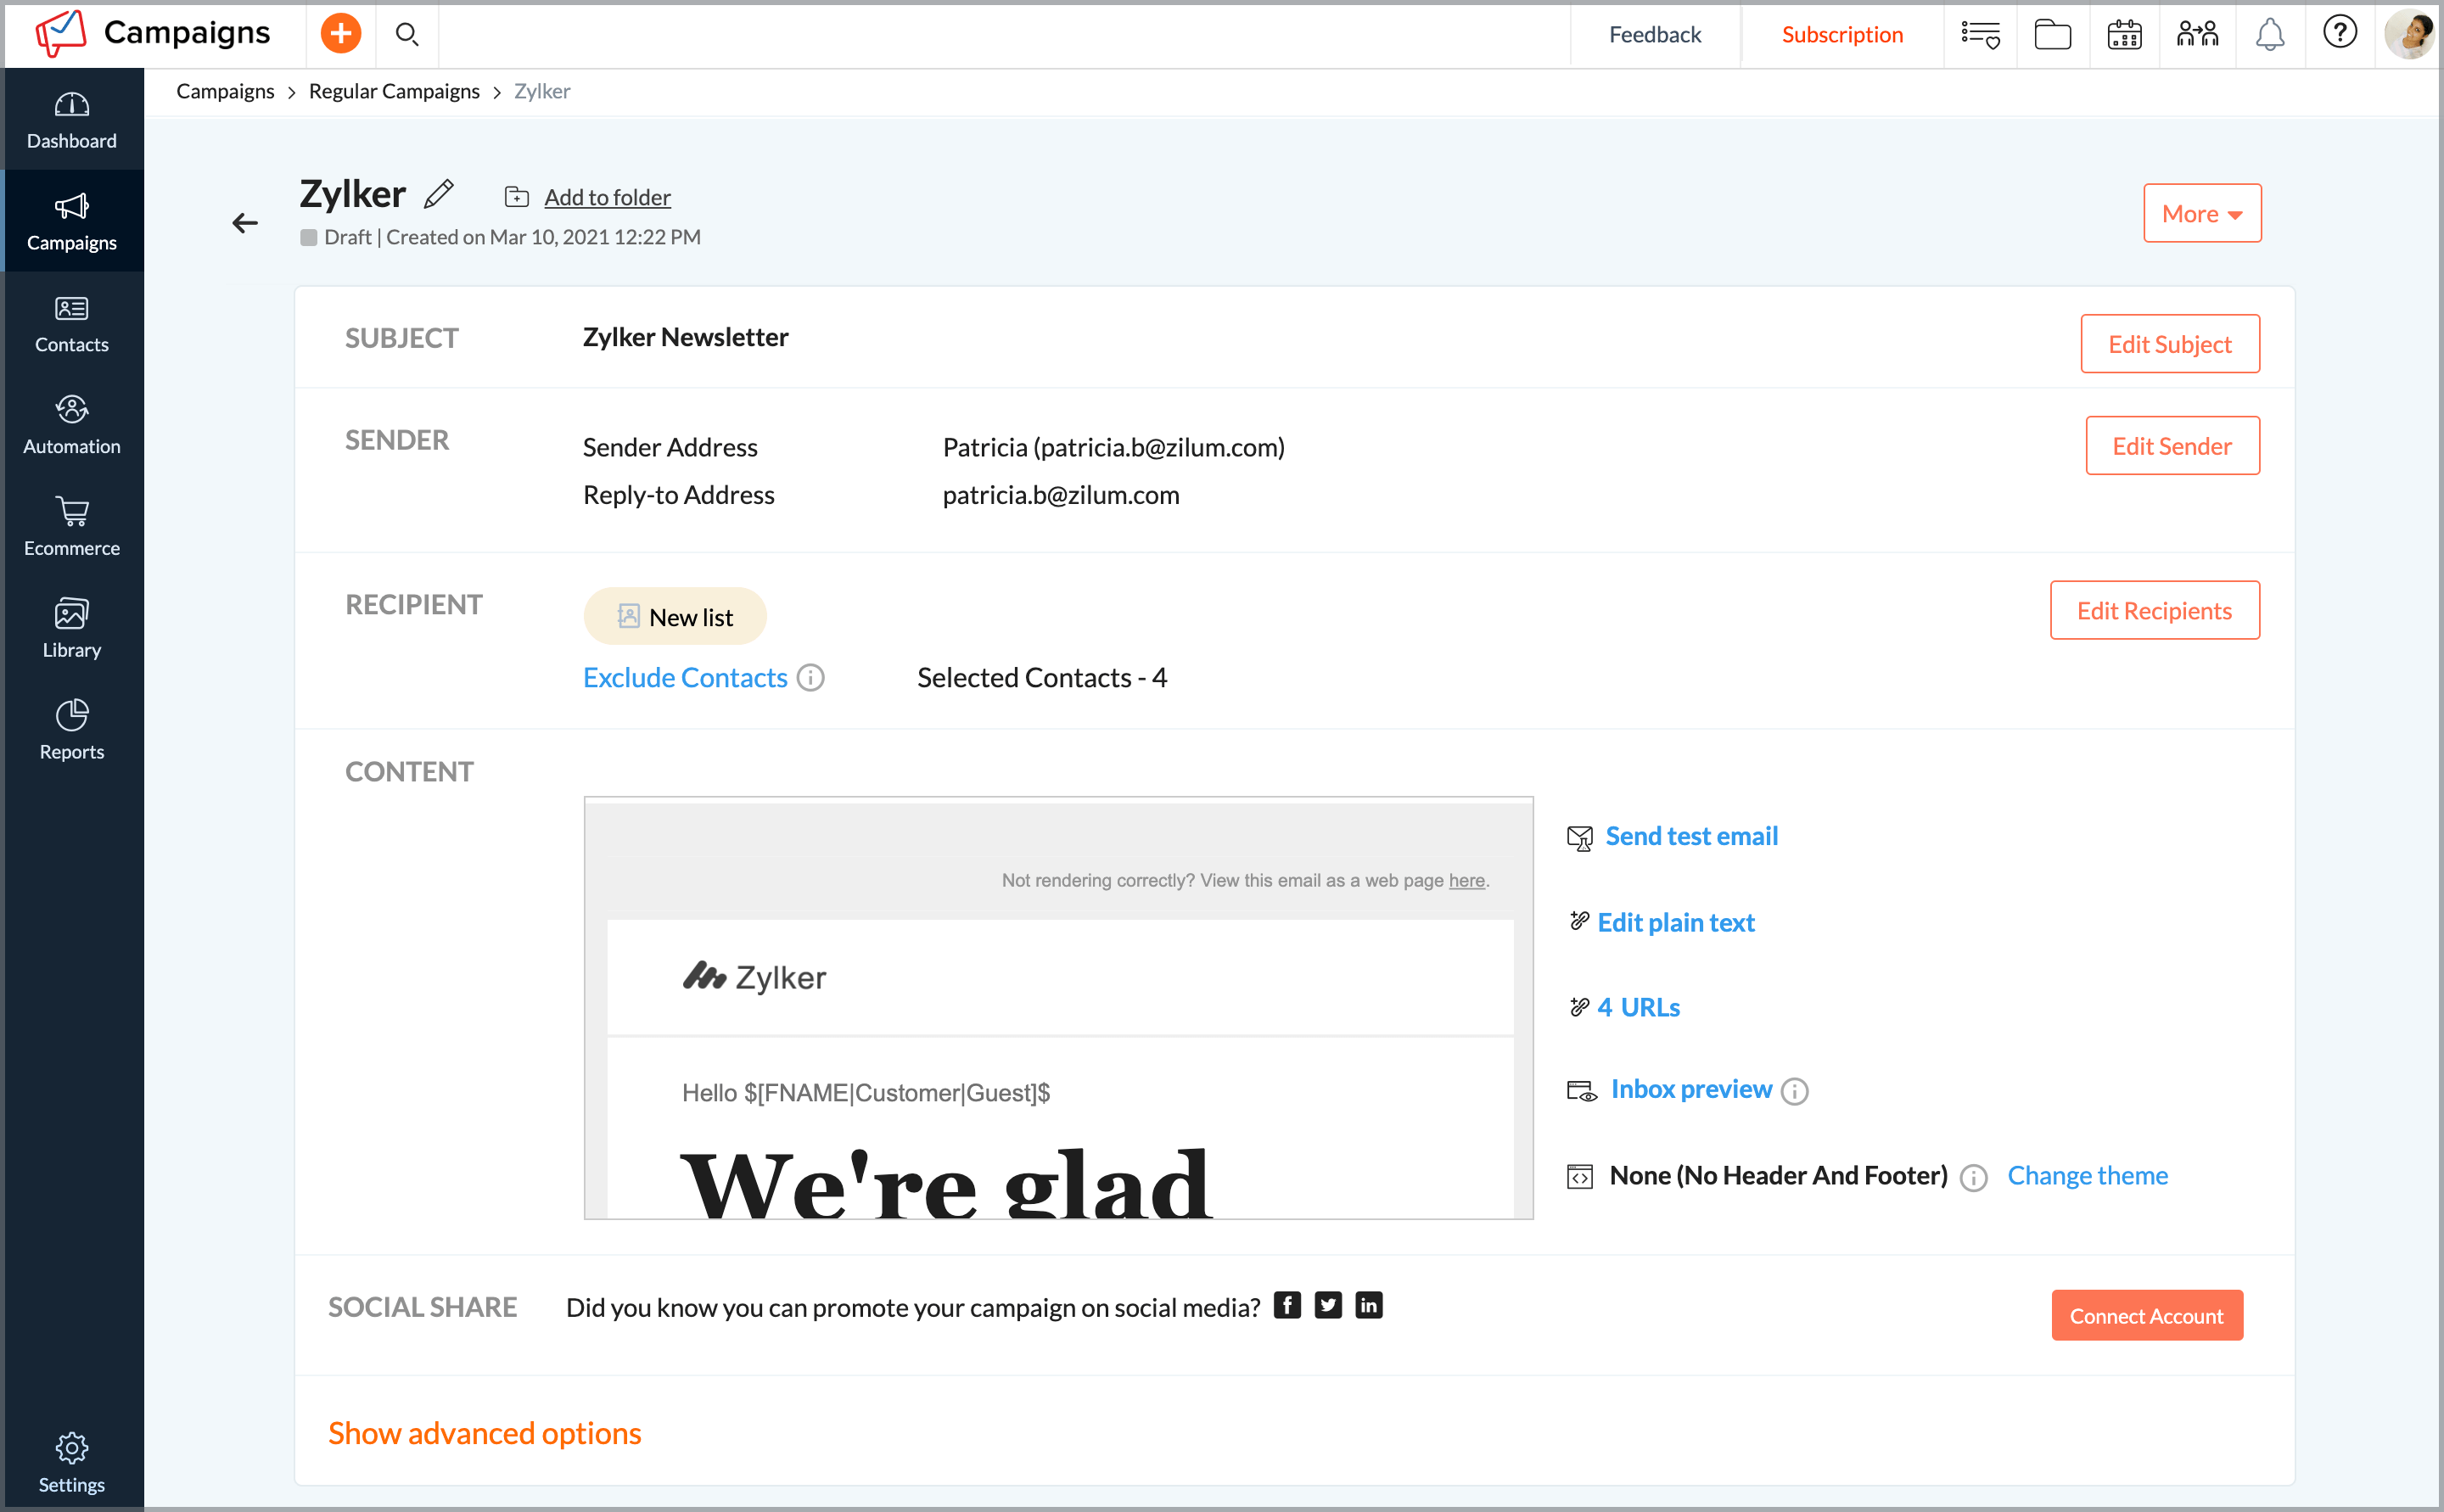
Click Create Content to design the content of your email campaign.
Select an email template and add your content and Click Save and Next.
- Click Show Advanced Options to configure tracking, integrations and calendar for your
- Click Configure to add this campaign as an event to your Office 365 Calendar.
Finally, send your campaign for review.
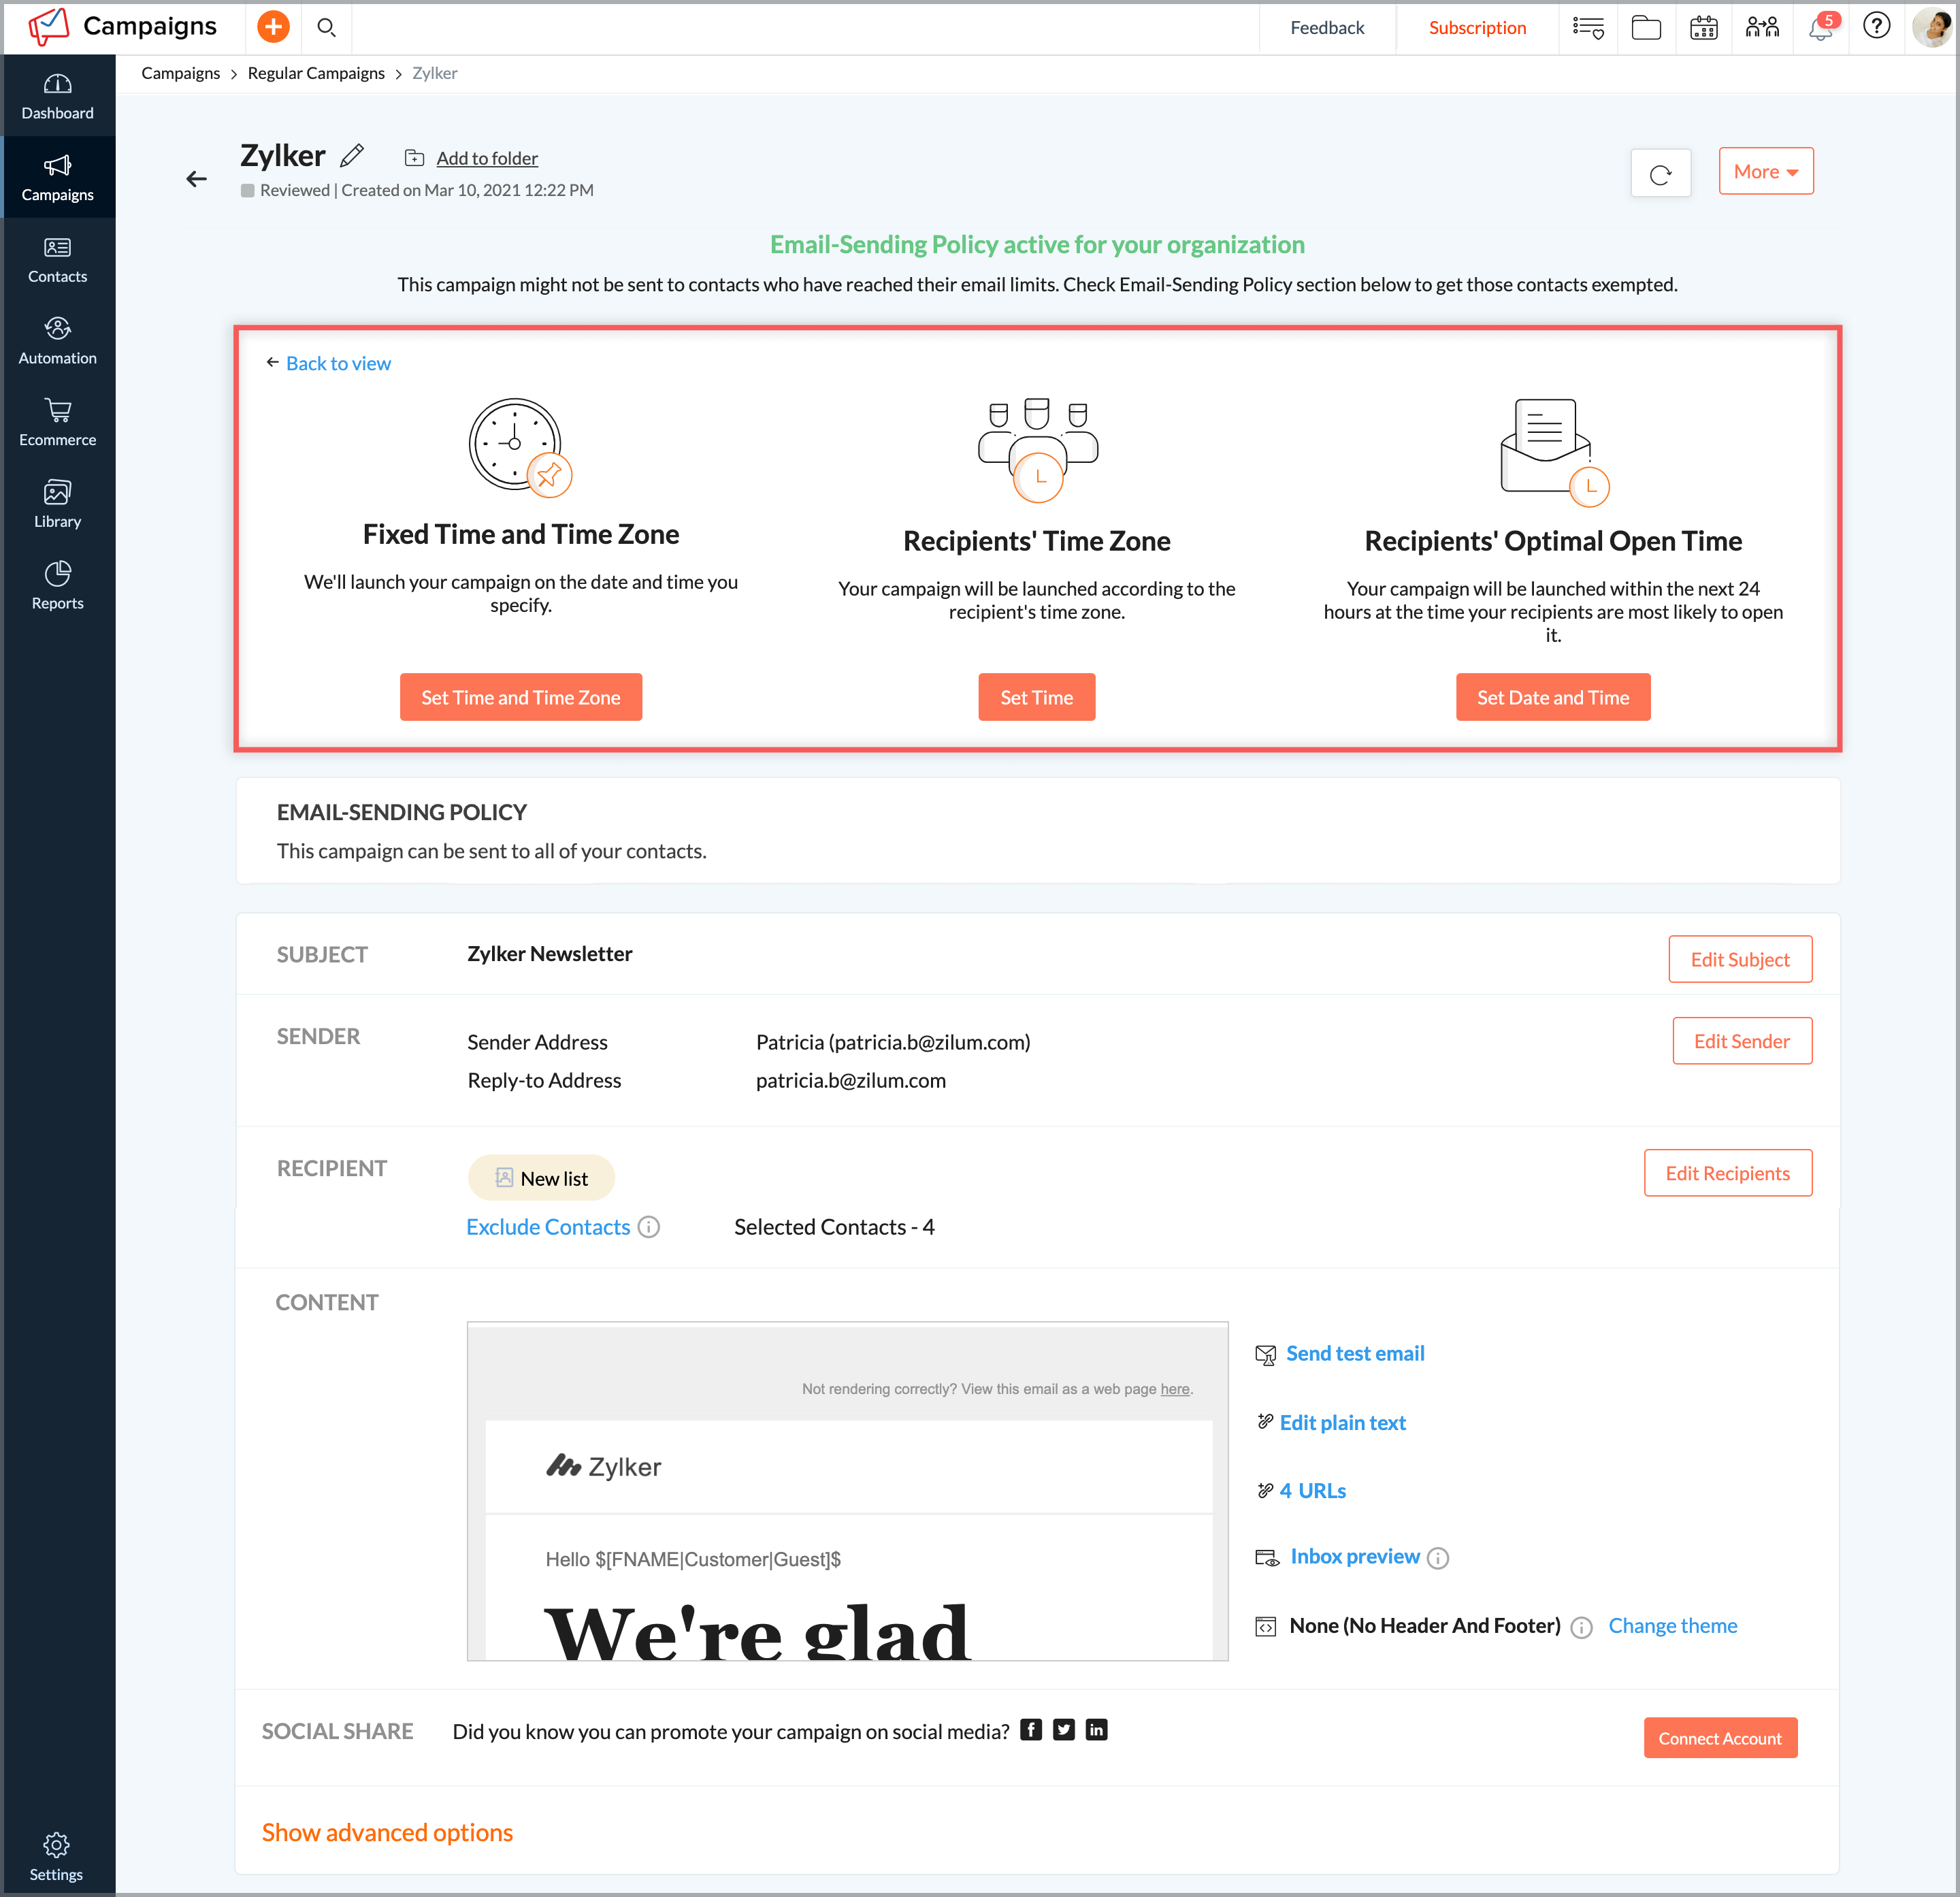
Once your campaign is reviewed you can schedule it to be sent at a later date. Click the Select a Schedule Type button.
You will be given three options to schedule your campaign.
- Select Set Time and Time Zone to send it at a fixed time and time zone
- Select Set Time to send it at your recipient's time zone
- Select Set Date and Time to send it at your recipient's optimal open time
Can I send email action based emails for contacts in my mailing list?
Yes. You can set up a workflow to send emails to contacts based on their response to the email campaign. Follow the steps below to set up a workflow:
- From the Navigation toolbar, select Automation and click Workflows.
- Click Create Workflow button the top-right and click Custom Workflow.
- Enter the name for the workflow and click Create.
Drag the Email Action trigger to the canvas and click Select Email.
- Select the email campaign. Select if you want to include contacts who have not opened the email, who have opened the email, who have clicked any link in the email or if they have clicked a specific link in the email.
Click Save.
Drag the Send Email action onto the canvas and create an email message for those contacts who have opened the email, not opened the email, clicked any link in the email and clicked specific links in the email.
- Click Activate to send email messages to contacts based on their email action.
Can I send smart series emails to my contacts?
Yes. You can set up a workflow to send smart series emails to your contacts. Follow the steps below to send a series of emails to your contacts:
- From the Navigation toolbar, select Automation and click Workflows.
- Click Create Workflow button the top-right and click Custom Workflow.
- Enter the name for the workflow and click Create.
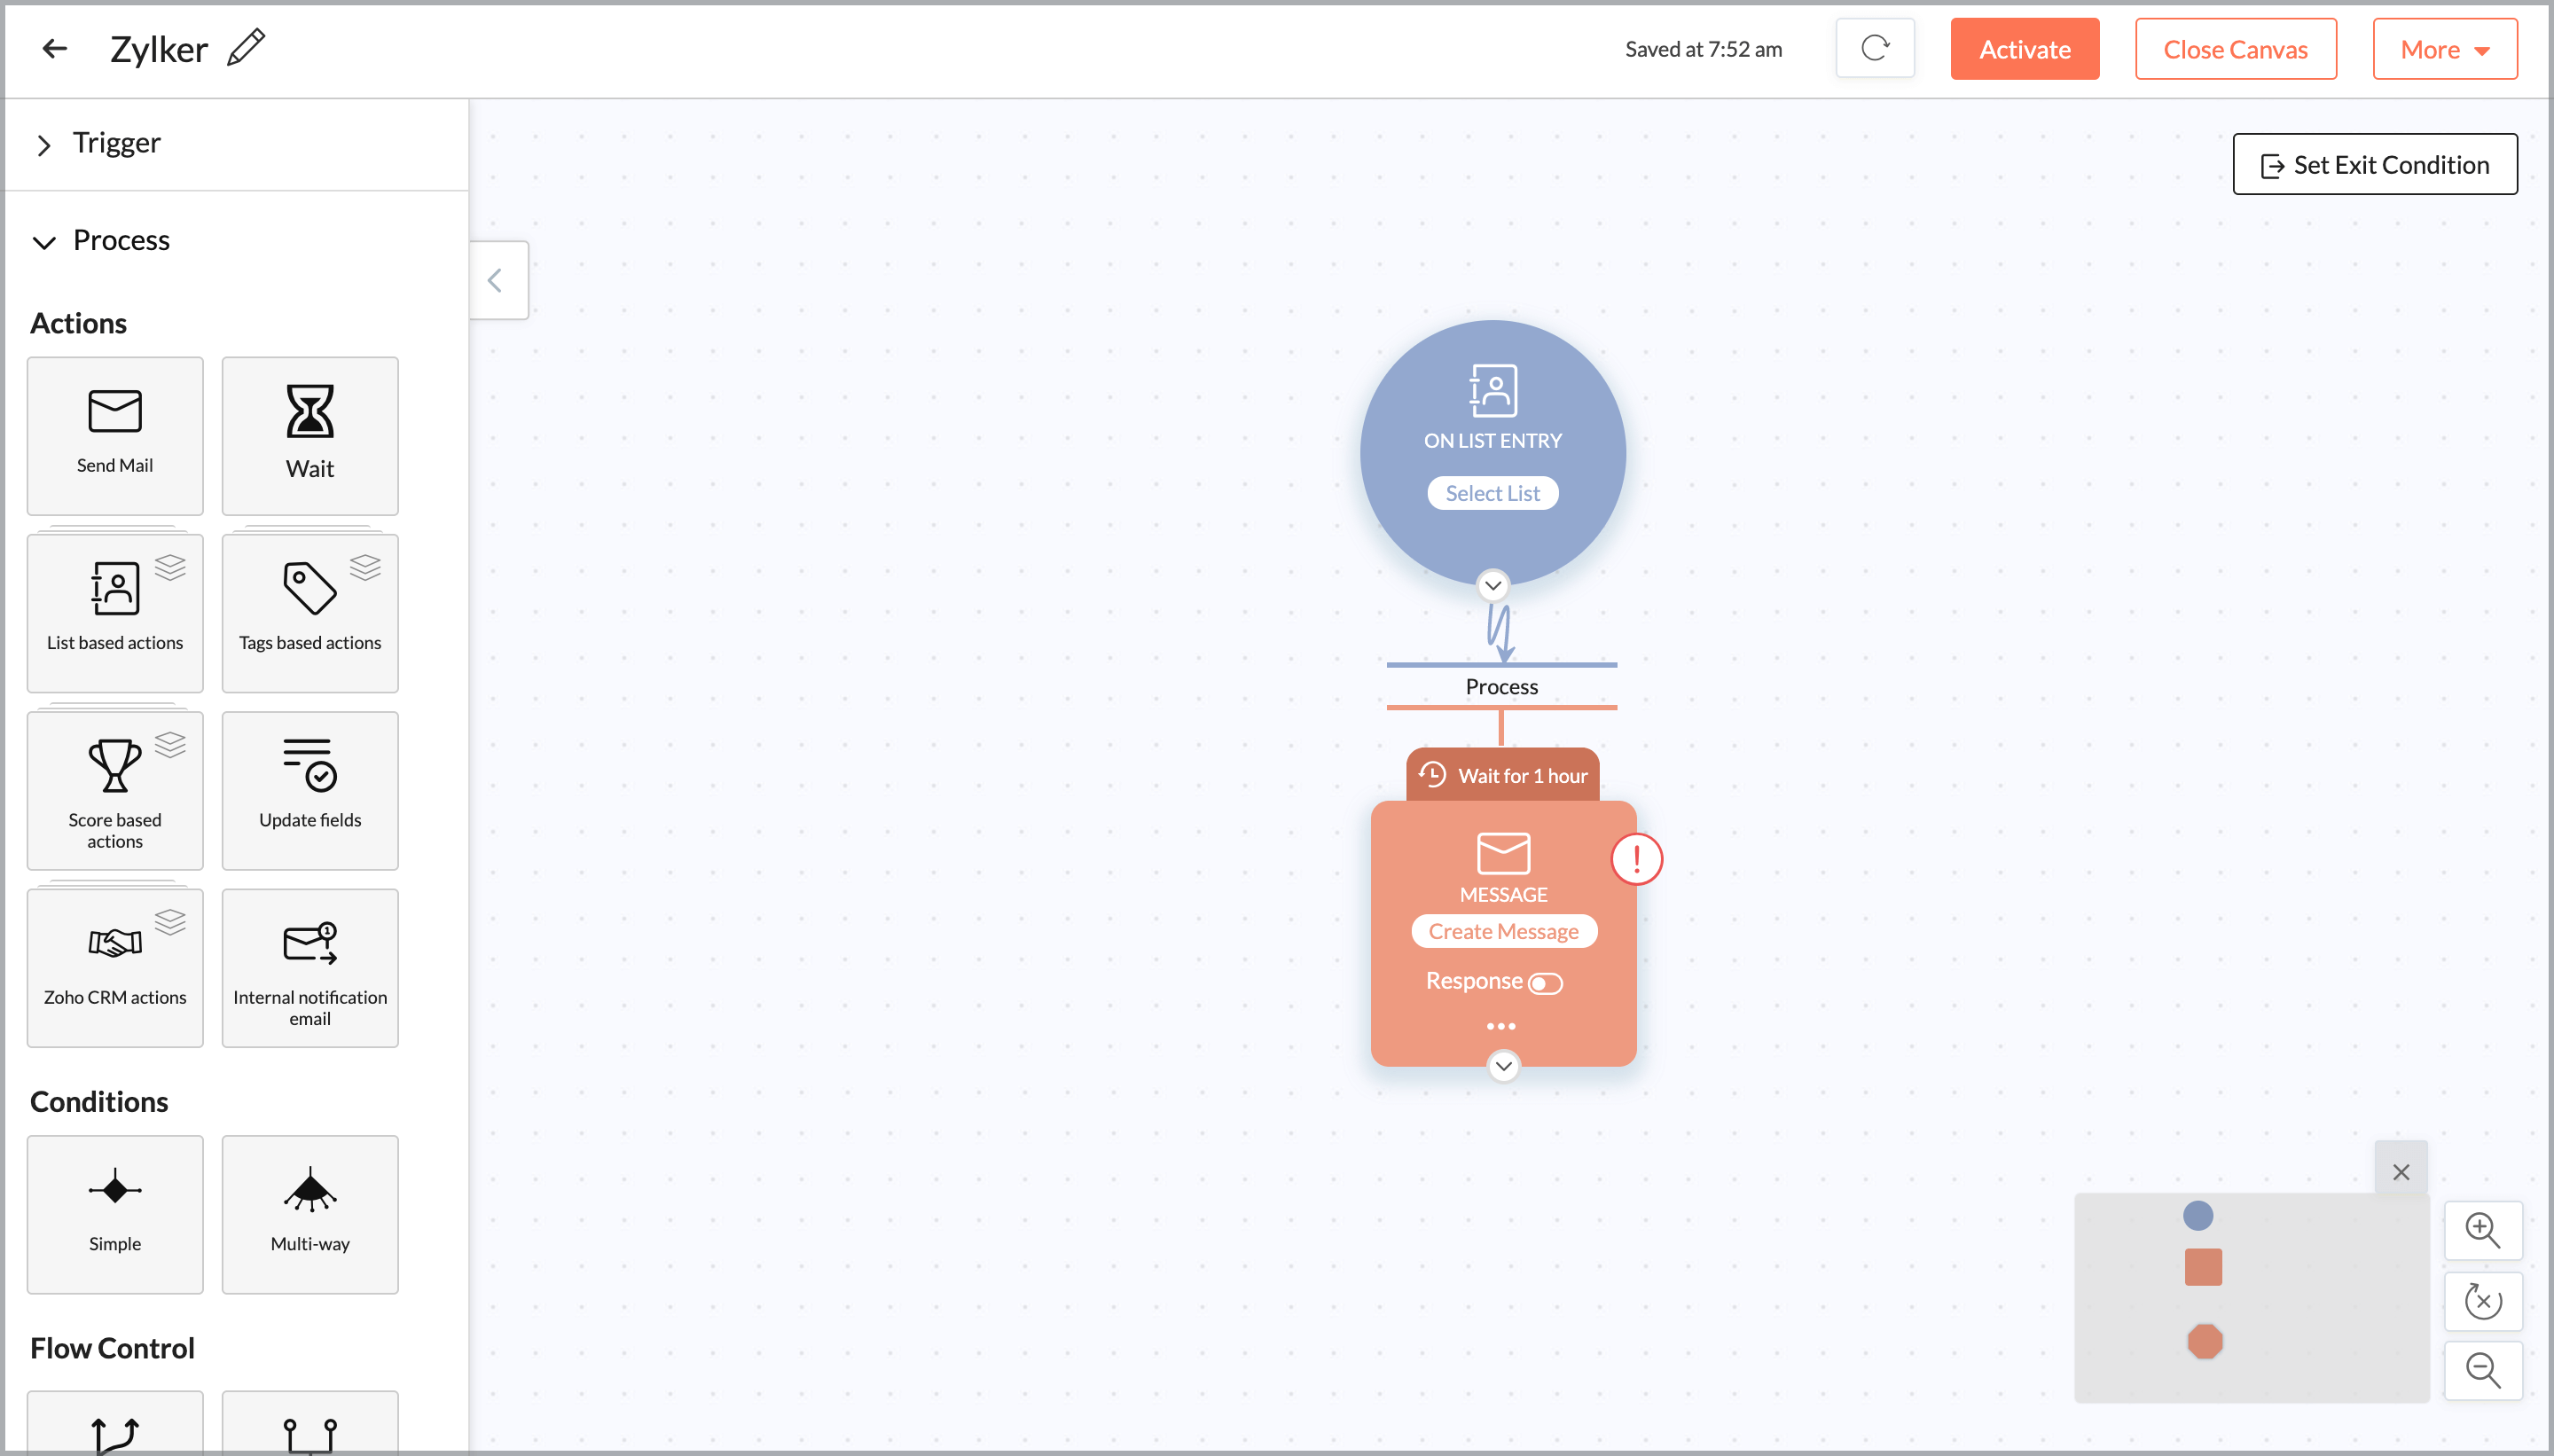
Drag the List Entry trigger to the canvas and click Select List.
- Select the mailing list to which you want to send emails or you can create a mailing list with the contacts you want to send emails.
- Select if you want to trigger the workflow for existing contacts and if you want to remove contacts from the workflow if the contacts are removed from the mailing list.
Click Save.
Drag the Send Email action onto the canvas and create an email message.
- Click Activate to send email messages to contacts in the mailing list.


Alternate solutions for workflow components that are being removed
What is the alternate solution for the reminder loop component in workflows?
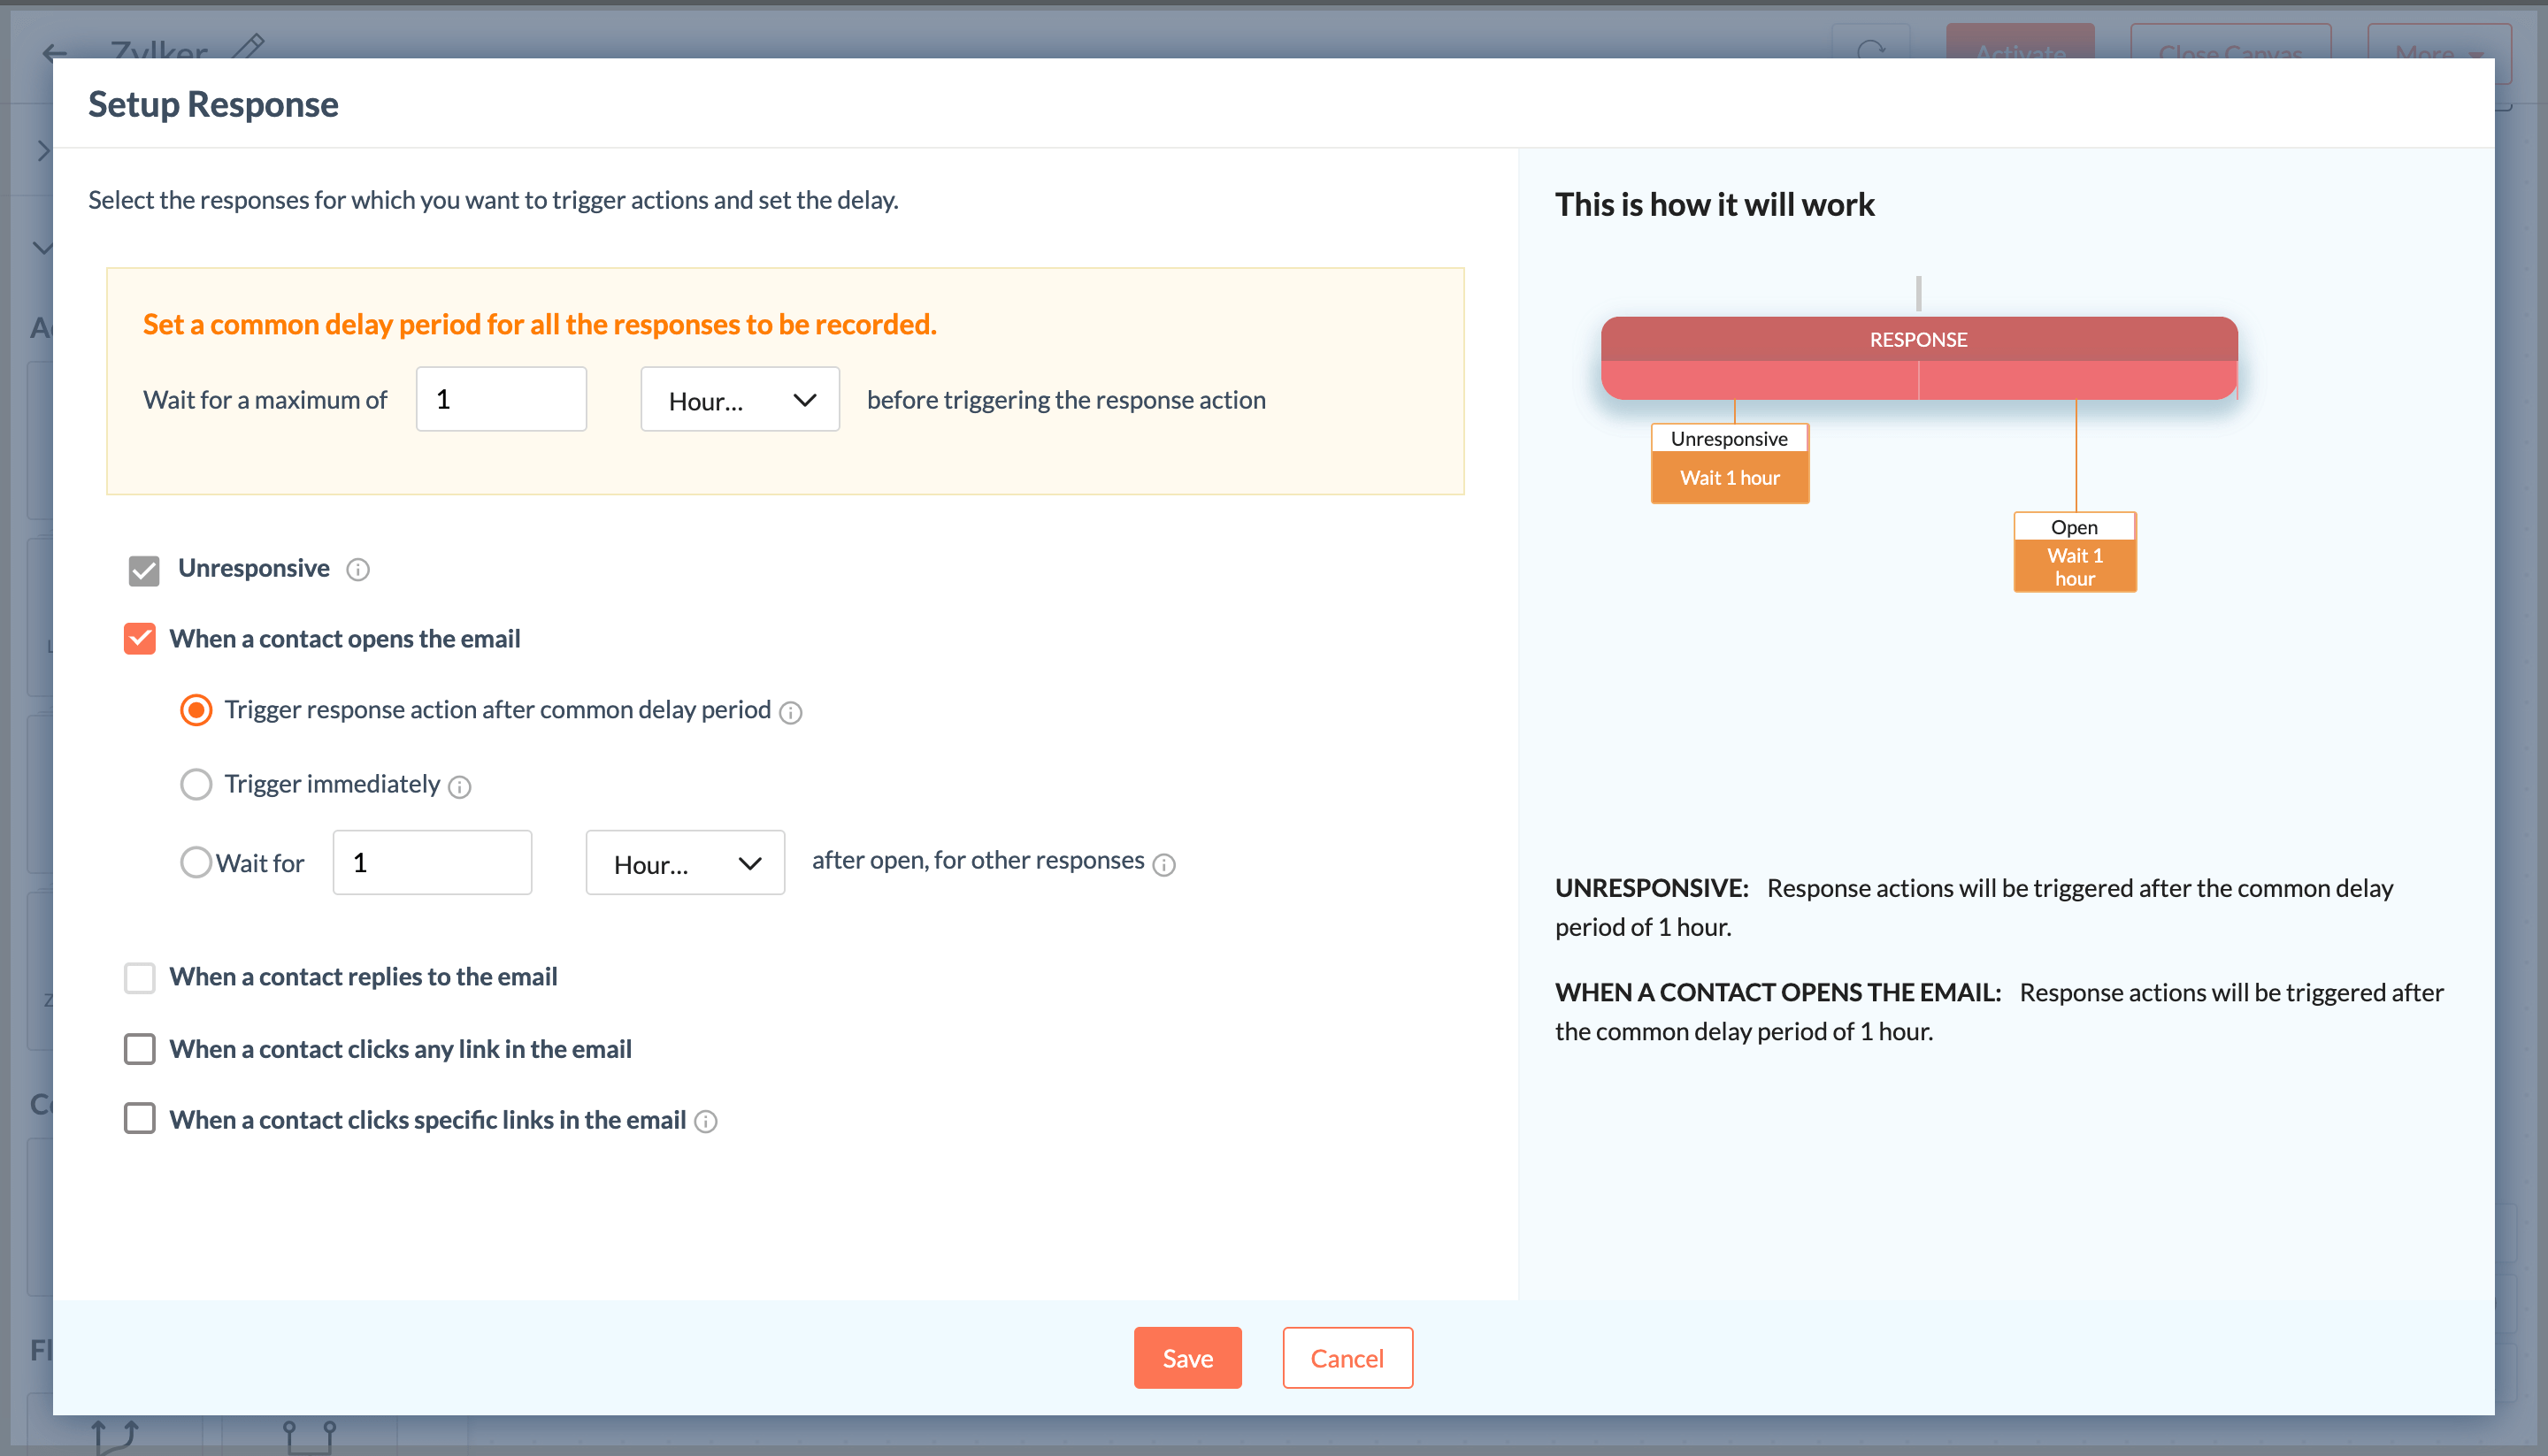
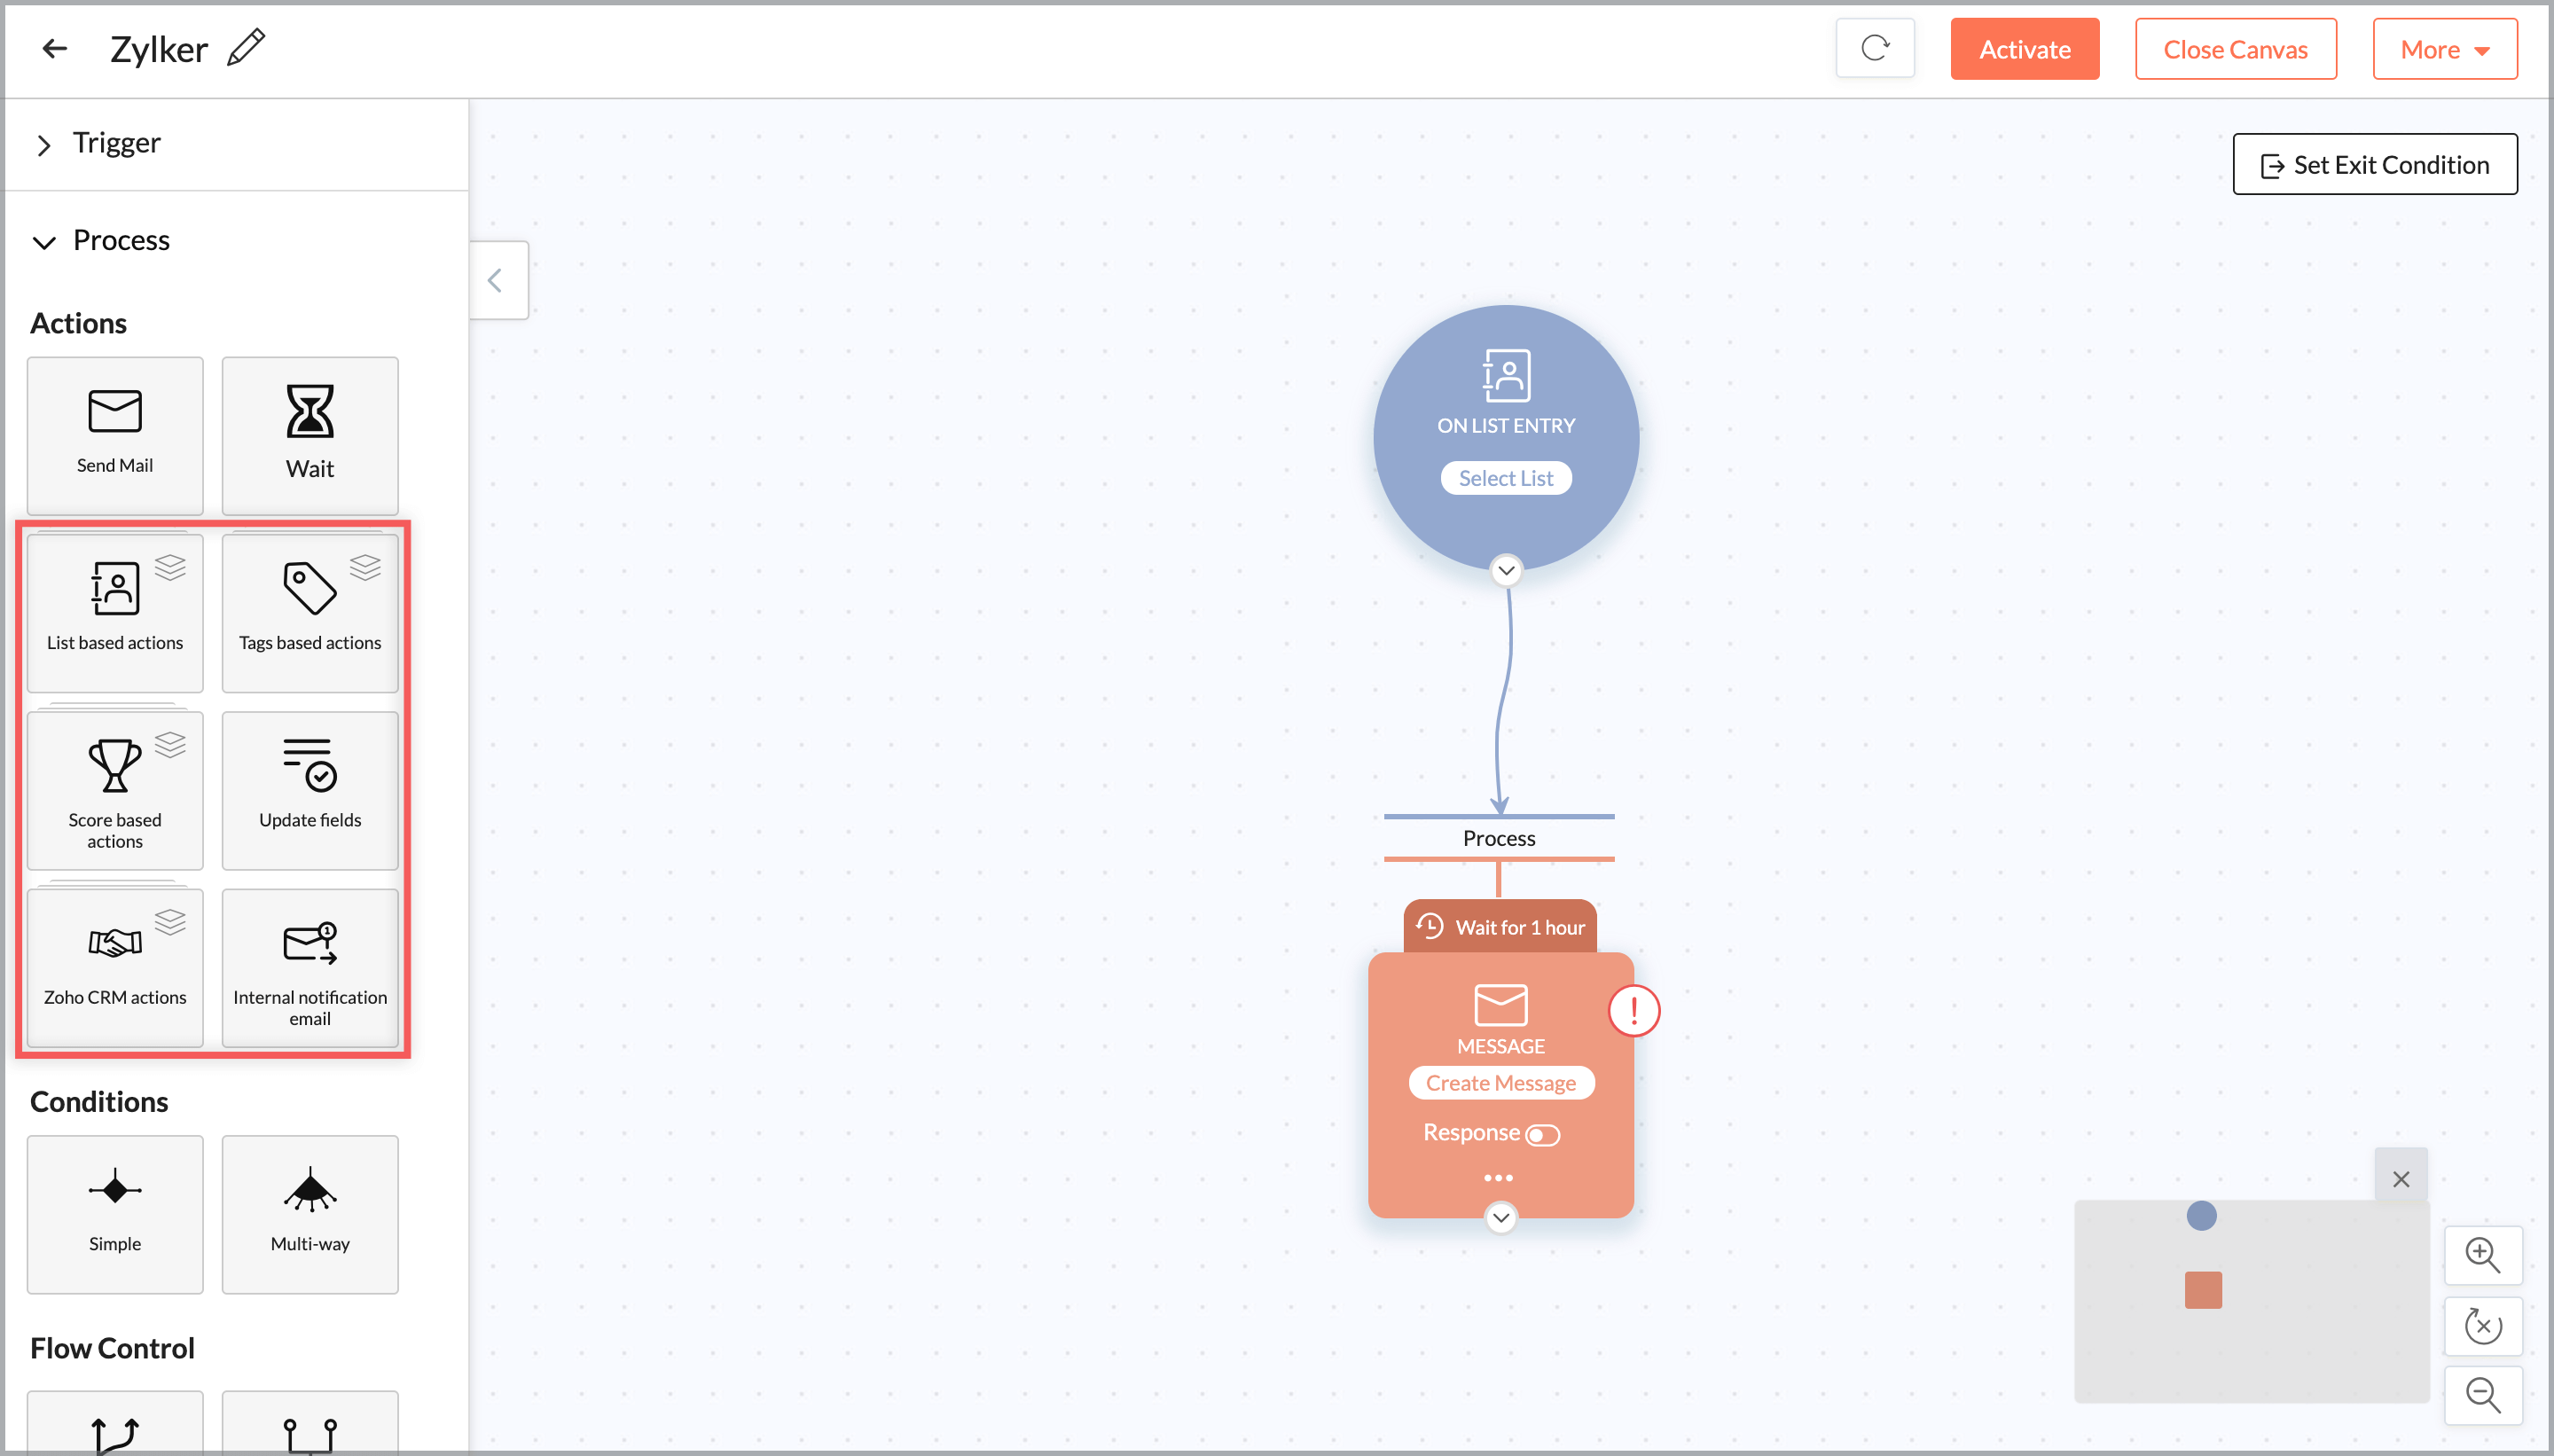
You can achieve the same functionality of the reminder loop action by using the response action component. This method is more direct and less time-consuming. To use response action component follow the steps below:
- From the Navigation toolbar, select Automation and click Workflows.
- Click Create Workflow button the top-right and click Custom Workflow.
- Enter the name for the workflow and click Create.
Drag the Email Action trigger to the canvas and click Select Email. Select the email campaign. Click Save.
Drag the Send Email action onto the canvas and create email messages for those contacts who have opened the email, not opened the email, clicked any link in the email and clicked specific links in the email.
- Add a response reaction to each component, in this case add another Send Email action to serve as a reminder to contacts.
Set up a Response action by enabling the toggle button. Define a common delay period.
- Select the actions and its trigger time for which response emails should be sent. Click Save.
- Click Activate to send email messages to contacts based on their email action.
Why is the End of Workflow actions being removed and how can I achieve this in the workflow ?
These actions are redundant in the workflow module and includes the same actions under the process module. Follow the steps below to achieve this:
- From the Navigation toolbar, select Automation and click Workflows.
- Click Create Workflow button the top-right and click Custom Workflow.
- Enter the name for the workflow and click Create.
Drag the List Entry trigger to the canvas and click Select List.
- Select the mailing list to which you want to send emails or you can create a mailing list with the contacts you want to send emails.
Select if you want to trigger the workflow for existing contacts and if you want to remove contacts from the workflow if the contacts are removed from the mailing list. Click Save.
Drag the Send Email action onto the canvas and create an email message.
Drag list based actions / tag based actions / score based actions / update fields actions / Zoho CRM actions / internal notification email to the canvas that would mark as the end of the workflow and configure them.
- Click Activate to send email messages to contacts in the mailing list.
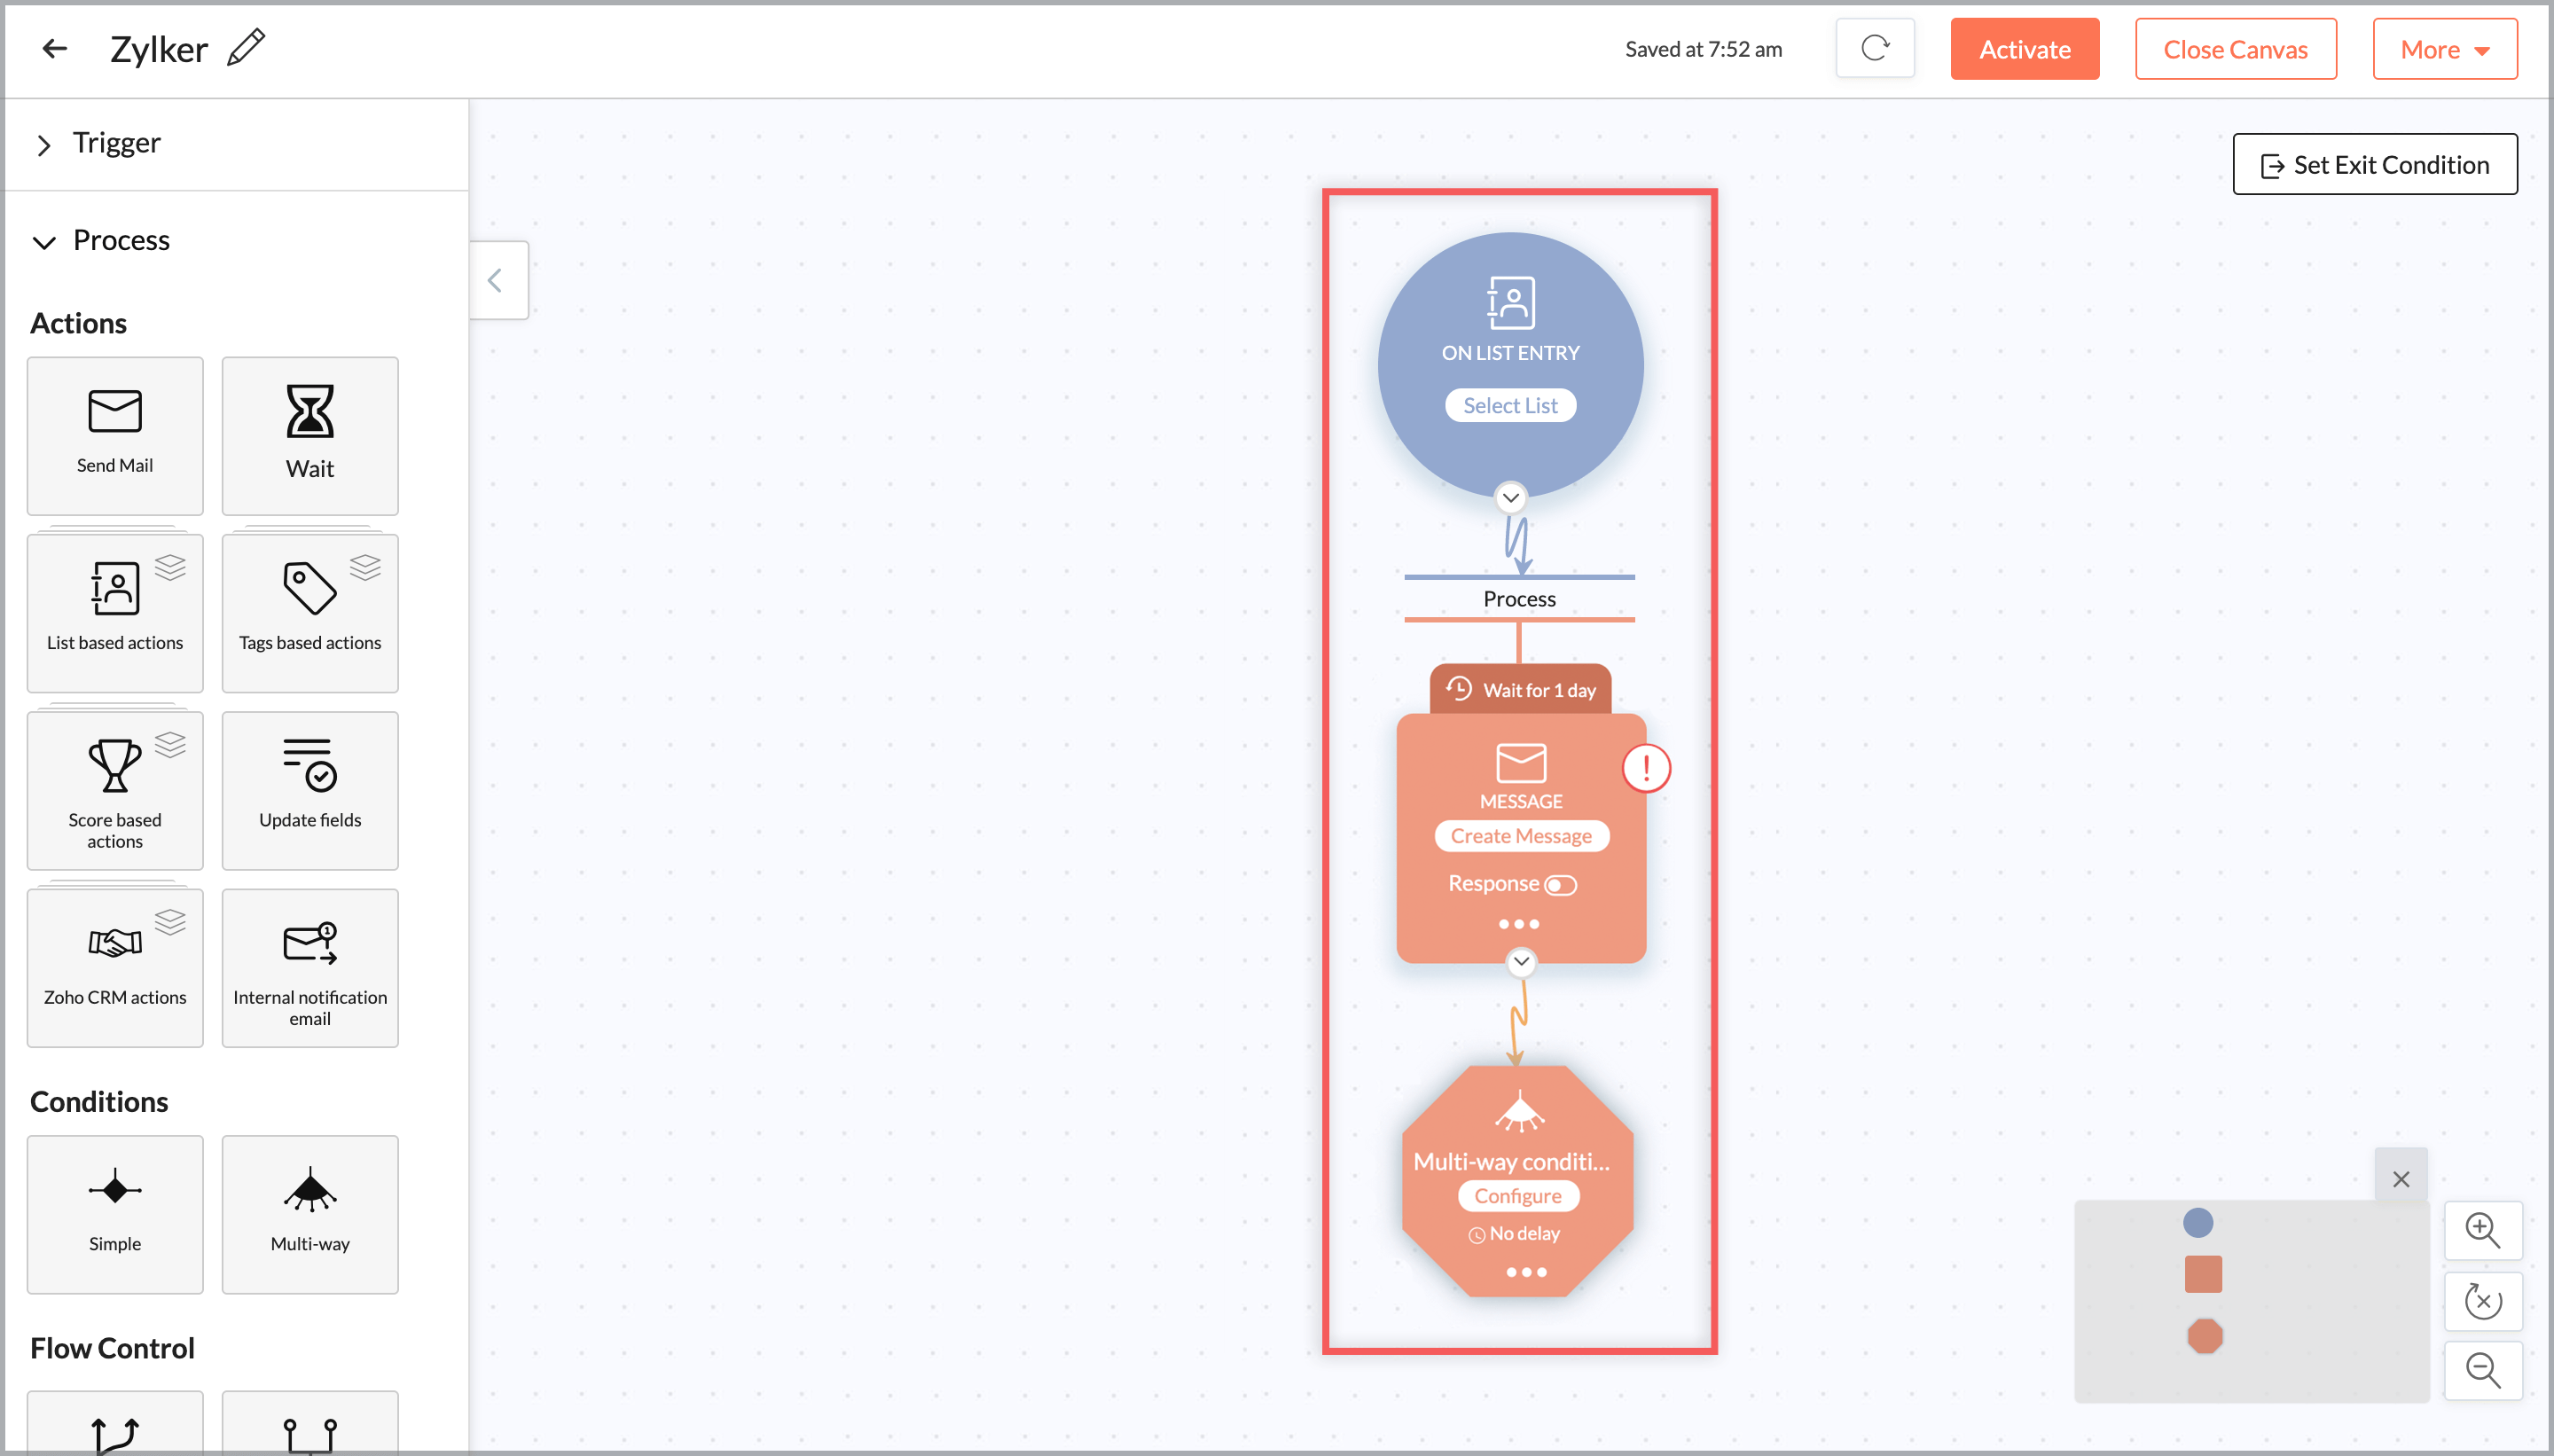
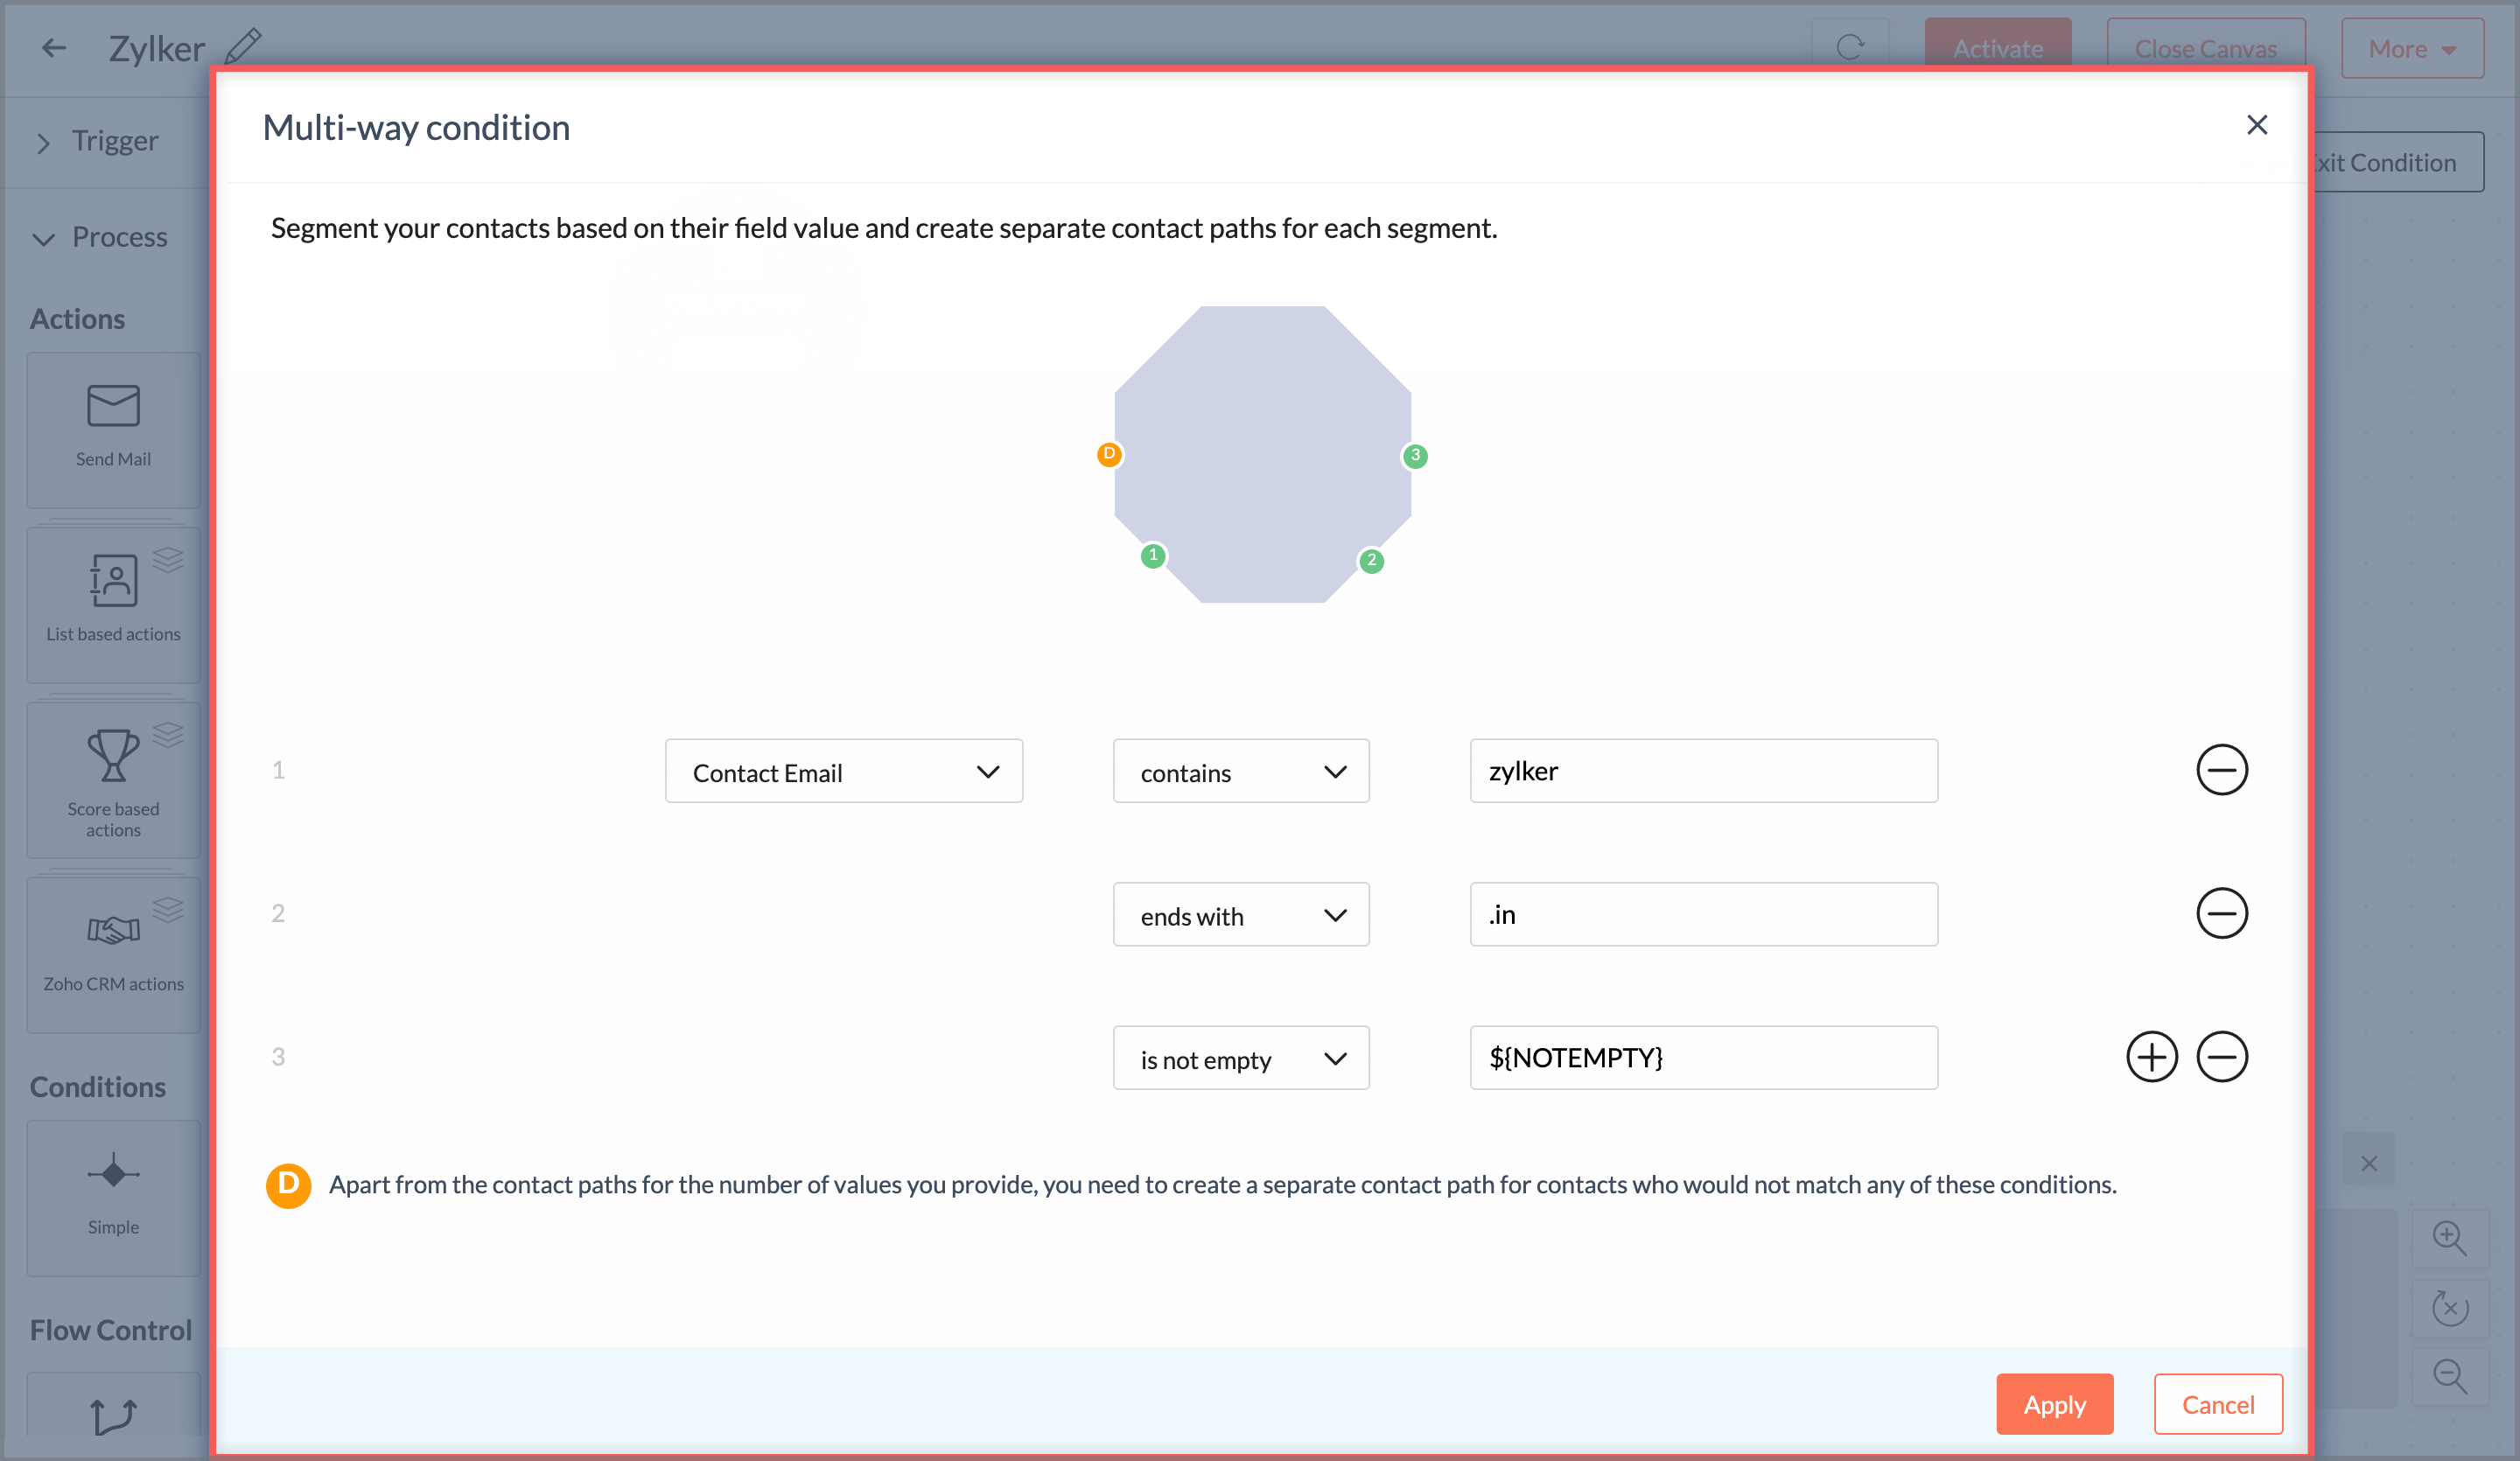
How can I achieve the three-way condition action in workflows?
You can use the multi-way condition component to achieve the same solution as three-way condition in workflows. To achieve three-way condition using multi-way condition component, follow the steps below:
- From the Navigation toolbar, select Automation and click Workflows.
- Click Create Workflow button the top-right and click Custom Workflow.
- Enter the name for the workflow and click Create.
Drag the List Entry trigger to the canvas and click Select List.
- Select the mailing list to which you want to send emails or you can create a mailing list with the contacts you want to send emails.
Select if you want to trigger the workflow for existing contacts and if you want to remove contacts from the workflow if the contacts are removed from the mailing list. Click Save.
Drag the Send Email action onto the canvas and create an email message.
Drag the Multi way condition component onto the canvas and click Configure.
Add your condition and click the + icon to add more conditions. Click Apply to add your three way condition.
- Click Activate to send email messages to contacts in the mailing list.