Event Settings
In Zoho Calendar, you can set default event settings which will be applied across your calendar.
Event Duration
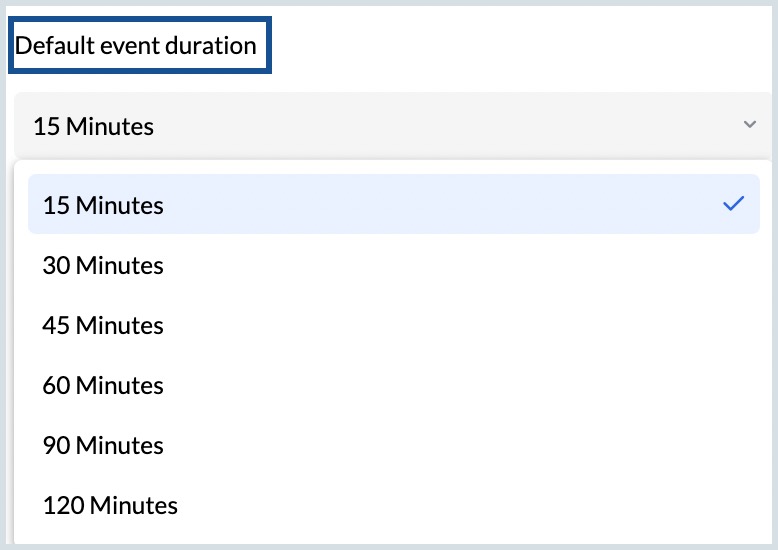
You can set a Default Event Duration which will be reflected in the event creation form across all your calendars. The chosen time duration will be set by default when you create an event. The duration can be changed by clicking the time field and picking the desired time for the event.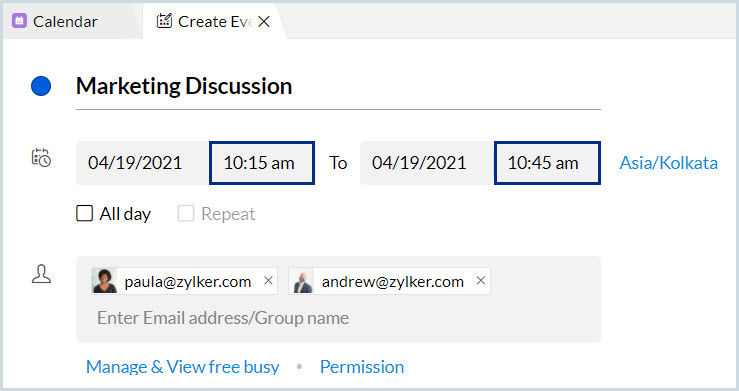
Steps to Set Default Event Duration
- Log in to Zoho Calendar.
- Go to Settings > Calendar > Event Settings.
- Click the drop-down menu under the Default event duration and pick the desired time duration.

Rapid meetings
Rapid meetings in the Zoho calendar help you to shorten your meeting duration by altering the default event duration. It helps to add a short buffer between back-to-back meetings by giving you time to take a quick break or prepare for the next meeting.
Once the rapid meetings check box is enabled, the default event duration list is altered. All meetings that are 45 minutes or less will be cut short by 5 minutes, while meetings that are above 45 minutes will be cut short by 10 minutes.
Steps to enable Rapid meetings
- Log in to Zoho Calendar.
- Go to Settings > Calendar > Event Settings.

- Select the check box near Rapid Meetings.
- Once enabled, the default event duration list gets updated for the rapid meeting.
- The updated default event duration (rapid meeting) drop list:
- 15 Min
- 20 Min
- 25 Min
- 40 Min
- 50 Min
- 55 Min
- 80 Min
- 110 Min


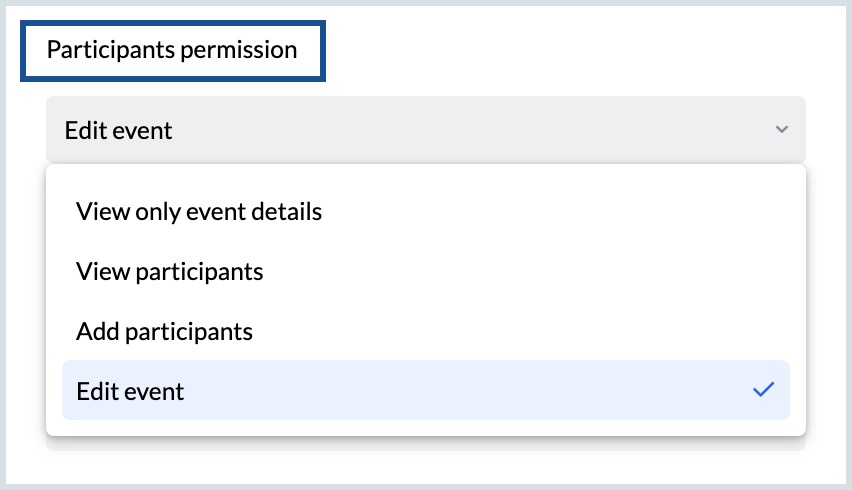
Participant Permissions
Participant permissions help the host of an event to limit the participant access to view, edit, delete or add participants to the event. You can set a default option in your calendar settings and that will be reflected when you create an event across any calendar. You can change your preference in the create event form when you want to change the participant permission.
Steps to Set Default Participant Permissions
- Log in to Zoho Calendar.
- Go to Settings > Calendar > Event Settings.
- Click on the drop-down under Participant permission and select your preferred permission from the options listed.

Conference
In Zoho Calendar, you can choose to add Zoho Meeting as your default conference option whenever you create any event. To choose your preference, log in to Zoho Calendar. Go to Settings > Calendar > Event Settings. Select the check box - 'Add Zoho Meeting video conferencing by default to events I create' field.
Similarly, you can choose to allow delegated users to add/modify the Zoho Meeting conference. To enable this option, log in to Zoho Calendar. Go to Settings > Calendar > Event Settings. Select the check box - 'Allow delegated users to add/modify Zoho Meeting conference' field.
Other Event Settings
Event Invitations
In Zoho Calendar, you can choose to allow or deny the automatic addition of meeting invites from your email. To choose your preference, log in to Zoho Calendar. Go to Settings > Calendar > Event Settings. Choose your preference from the drop-down under the 'Automatically add meeting invites from your email' field. 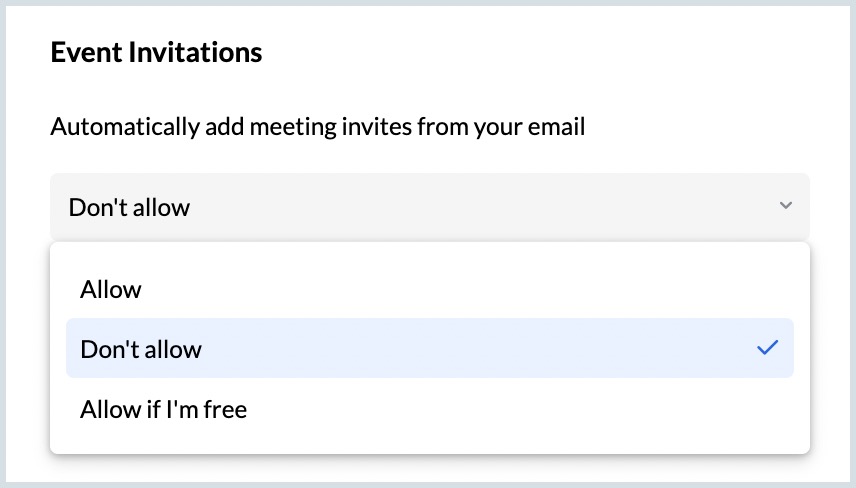
Likewise, you can choose to allow or deny the automatic addition of group invitations to your calendar. To choose your preference, log in to Zoho Calendar. Go to Settings > Calendar > Event Settings. Select the check box - 'Automatically add group invitations to personal calendar' to add your group invitations to your personal calendar automatically.
Events from Zoho Mail
Most of our day-to-day activities flow through our emails. From travel tickets to movie reservations, we receive a plethora of information in emails that we need to keep track of. The Events from Zoho Mail feature enables you to retrieve important information from your email and add it to your calendar.
To choose your preference,
- Go to Settings > Calendar > Event Settings.
- Select the checkbox- "show events automatically created by Zoho mail in calendar". All the events from Zoho mail will be added to the primary calendar.
- Select Proceed, in the 'Enable event addition from Zoho Mail' pop-up.
- You may also choose who can view these events from your calendar.
- Only me- You are the only one who can see the events in your primary calendar. Even if your calendar is delegated, the delegatee cannot view this event.
- Private- Anyone with access to your calendar can view that your calendar is blocked for the specified period. But they cannot view the event details.
- Default calendar permissions- Your default calendar permissions will be applied.

Events on Calendar view
You can also choose to display or hide the Denied/ Cancelled Events in your calendar grid. To enable/ disable this option login to Zoho Calendar. Go to Settings > Calendar > Event Settings. Click on the check box - the 'Display denied/ cancelled events in your calendar' option.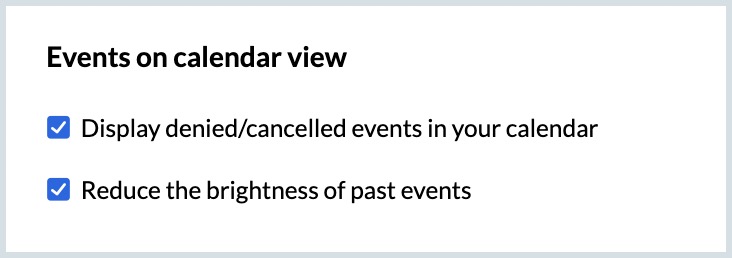
You can also choose to differentiate the past events and upcoming events by reducing the brightness of the past events. To choose your preference, log in to Zoho Calendar. Go to Settings> Calendar> Event settings. Click on the check box - 'Reduce the brightness of past events' option.
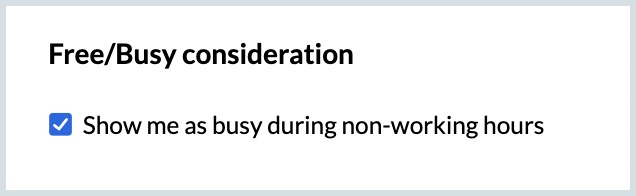
Free/busy consideration
You can enable the Free/ Busy consideration in your calendar to show yourself busy during non-working hours. This will be reflected when a host checks your free/ busy status of you while adding you to an event. To do this, log in to Zoho Calendar. Go to Settings> Calendar> Event settings. Click on the check box- "Show me as busy during non-working hours "