


Custom Module Record Operations
In this help document, you will learn how to manage the records of custom modules, including editing, cloning, downloading, printing, emailing, filtering, sorting, and deleting records.
Create Records
Once you’ve created a custom module and added the required fields and tables, you can start creating records.
To create a record:
- Click Admin View on the left sidebar.
- Go to Settings on the left sidebar.
(OR)
Click Settings in the top right corner of the page. - Select the custom module under Custom Modules.
- Go to the All [module_name] tab.
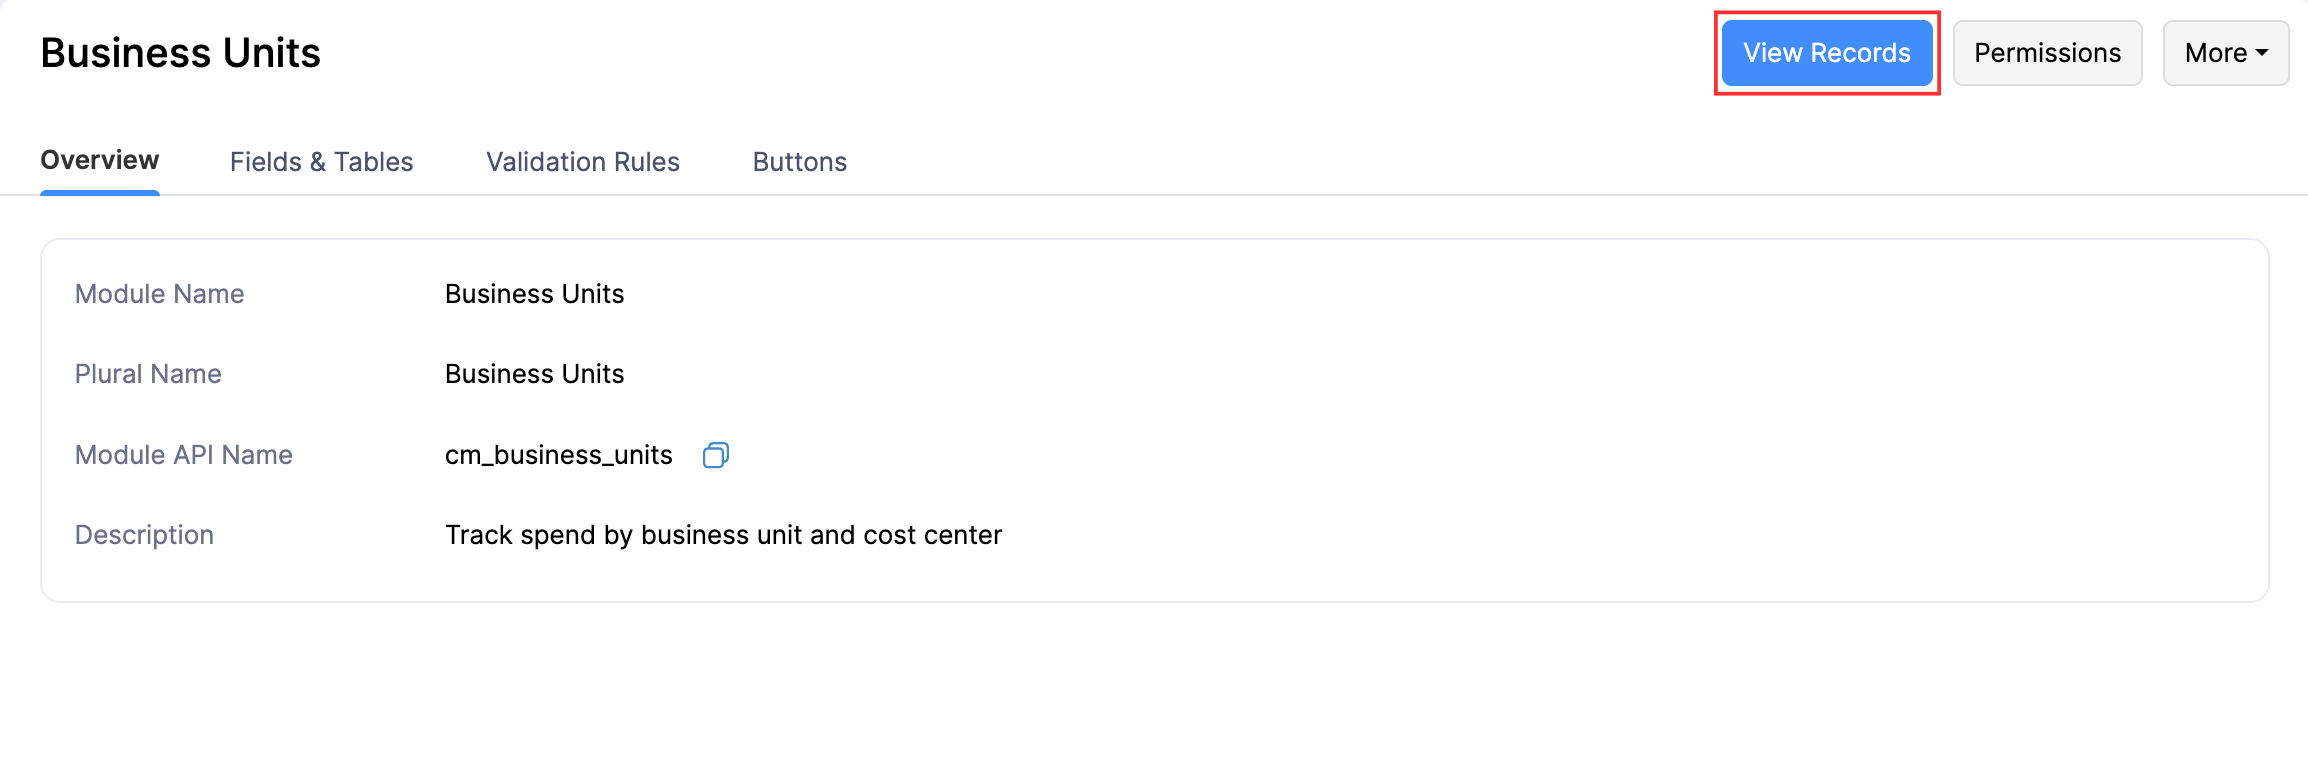
- Click View Records in the top right corner.
- Click + New in the top right corner.
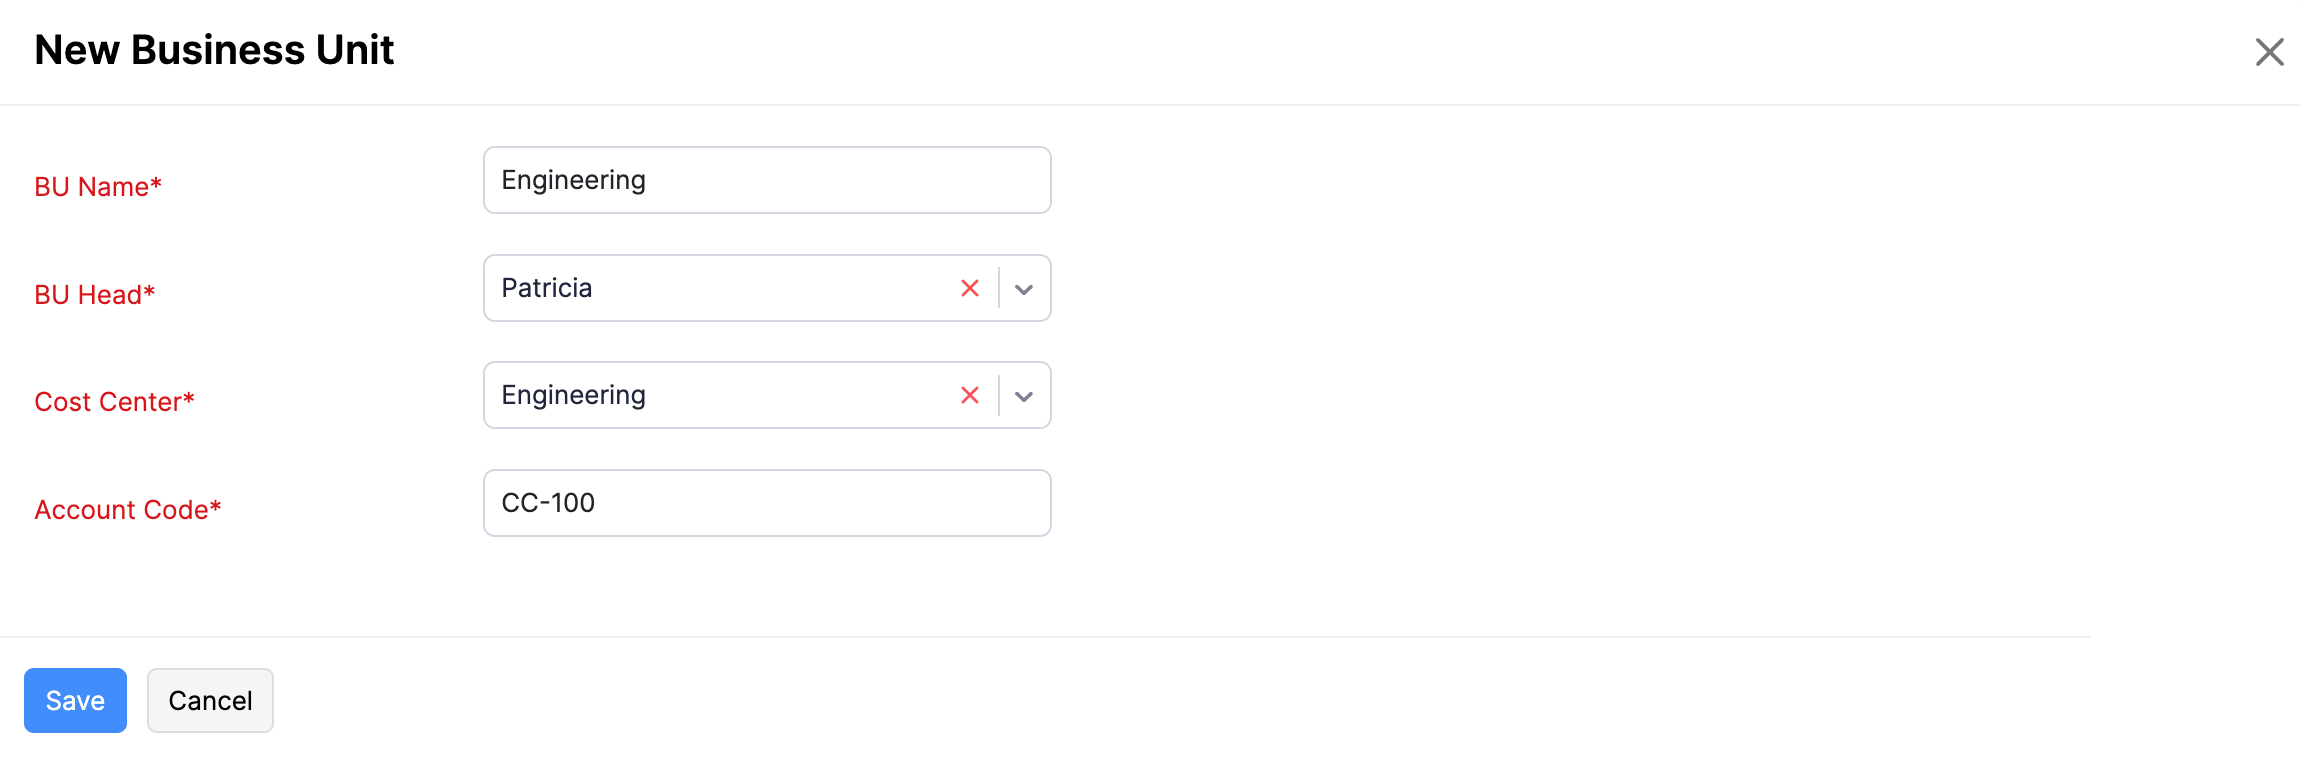
- Enter the necessary details.
- If you’ve created a table for this custom module, add entries to the table as line items.
- If you want to add more entries to the table, click + Add Line Item below the table.
- If you’ve added fields to the Table Summary section, add the required details.
- Click Save.
Edit a Record
To edit a record:
- Click Admin View on the left sidebar.
- Go to Settings on the left sidebar.
(OR)
Click Settings in the top right corner of the page. - Select the custom module under Custom Modules.
- Go to the All [module_name] tab.
- Click View Records in the top right corner.
- Select the record you want to edit.
- Click Edit at the top of the record’s Details page.
- Make the necessary changes and click Save.
Bulk Update Records
You can update fields for multiple records at once using the Bulk Update option. Here’s how:
- Click Admin View on the left sidebar.
- Go to Settings on the left sidebar.
(OR)
Click Settings in the top right corner of the page. - Select the custom module under Custom Modules.
- Go to the All [module_name] tab.
- Click View Records in the top right corner.
- Select the records that you want to update and click Bulk Update at the top.
- Select the field you want to update and its corresponding value.
- Click Update.
Clone a Record
If you want to create a record that has details similar to an existing record, you can clone it. Here’s how:
- Click Admin View on the left sidebar.
- Go to Settings on the left sidebar.
(OR)
Click Settings in the top right corner of the page. - Select the custom module under Custom Modules.
- Go to the All [module_name] tab.
- Click View Records in the top right corner.
- Select the record you want to clone.
- Click the More dropdown at the top of the record’s detail page and select Clone.
- Verify the details and make changes if necessary.
- Click Save.
Download a Record as a PDF
You can download the records of a custom module as a PDF. Here’s how:
- Click Admin View on the left sidebar.
- Go to Settings on the left sidebar.
(OR)
Click Settings in the top right corner of the page. - Select the custom module under Custom Modules.
- Go to the All [module_name] tab.
- Click View Records in the top right corner.
- Select the record that you want to download.
- Click PDF at the top.
- Click Save in the pop-up.
Print a Record
You can print the record of a custom module. Here’s how:
- Click Admin View on the left sidebar.
- Go to Settings on the left sidebar.
(OR)
Click Settings in the top right corner of the page. - Select the custom module under Custom Modules.
- Go to the All [module_name] tab.
- Click View Records in the top right corner.
- Select the record that you want to print.
- Click the dropdown next to PDF at the top and select Print.
- In the following pop-up, click Print again.
Send Records via Email
You can send the records of a custom module to users in your organization or to external recipients via email. Here’s how:
- Click Admin View on the left sidebar.
- Go to Settings on the left sidebar.
(OR)
Click Settings in the top right corner of the page. - Select the custom module under Custom Modules.
- Go to the All [module_name] tab.
- Click View Records in the top right corner.
- Select the record that you want to share.
- Click Send Email at the top.
- Enter the necessary details and click Send.
Delete a Record
Warning: Once a custom module record is deleted, it cannot be retrieved.
To delete a record:
- Click Admin View on the left sidebar.
- Go to Settings on the left sidebar.
(OR)
Click Settings in the top right corner of the page. - Select the custom module under Custom Modules.
- Go to the All [module_name] tab.
- Click View Records in the top right corner.
- Select the record you want to delete.
- Click the More dropdown at the top of the record’s detail page and select Delete.
- In the following pop-up, confirm your action by clicking Proceed.
Filter Records
You can filter records based on field values to quickly find the data you need.
To filter records:
- Click Admin View on the left sidebar.
- Go to Settings on the left sidebar.
(OR)
Click Settings in the top right corner of the page. - Select the custom module under Custom Modules.
- Go to the All [module_name] tab.
- Click View Records in the top right corner.
- Click the Filter icon at the top of the records list.
- Select the field, condition, and value to filter by.
- Click Apply.
Sort Records
You can sort the records of a custom module using different columns or fields. Here’s how:
- Click Admin View on the left sidebar.
- Go to Settings on the left sidebar.
(OR)
Click Settings in the top right corner of the page. - Select the custom module under Custom Modules.
- Go to the All [module_name] tab.
- Click View Records in the top right corner.
- Click a column name to sort records by that column. Click it again to change the sorting order (ascending or descending, as indicated by the arrows).
Customize Columns
You can choose the columns to be displayed on a custom module’s list page and the order in which they should be displayed by customizing the columns.
To customize columns:
- Click Admin View on the left sidebar.
- Go to Settings on the left sidebar.
(OR)
Click Settings in the top right corner of the page. - Select the custom module under Custom Modules.
- Go to the All [module_name] tab.
- Click View Records in the top right corner.
- Click the Customize Columns icon.
- In the Customize Columns pop-up:
- Check the columns that you want to display and uncheck the columns you want to hide.
- Rearrange the order of the columns by dragging and dropping the fields.
- Click Save.
Note: You will not be able to uncheck columns with the Lock icon next to them.
Refresh List
You can refresh a custom module to ensure that the latest records are displayed on its list page. Here’s how:
- Click Admin View on the left sidebar.
- Go to Settings on the left sidebar.
(OR)
Click Settings in the top right corner of the page. - Select the custom module under Custom Modules.
- Go to the All [module_name] tab.
- Click View Records in the top right corner.
- Click the More icon in the top right corner.
- Click Refresh List.
Custom Views
Custom views allow you to save filter criteria and display records based on specific conditions. All records in a custom module are displayed in a default view called All [Module Name]. You can create additional views for quick access to frequently filtered data.
Scenario: The admin at Zylker creates a custom view called Engineering BUs that filters Business Units records where the Cost Center field is CC-ENG. The finance team uses this view to quickly see all BUs under the Engineering cost center and check their ERP account codes.
To create a custom view:
- Click Admin View on the left sidebar.
- Go to Settings on the left sidebar.
(OR)
Click Settings in the top right corner of the page. - Select the custom module under Custom Modules.
- Go to the All [module_name] tab.
- Click View Records in the top right corner.
- Click the view dropdown at the top of the page (for example, All Business Units).
- Click + New Custom View.
- Fill in the following details:
Field Description Name Enter a name for the custom view. Select Mark as Favourite to quickly access this view. Criteria Set filter criteria based on the fields in the module. Click + Add Criteria to add multiple conditions. Choose Columns Select the fields to display in the custom view. Move fields from the Available list to the Selected list by clicking the + icon. Share This With Choose who can access this custom view. Only admins can share custom views. - Click Save.