
Overview - Vendor Credits
A Vendor Credit is the amount that your vendor owes you, given to you in the form of credit. This credit amount can be recorded and tracked in Zoho Inventory until it’s either paid, refunded or applied to bills from the same vendor.
Scenario 1: If you’ve made an advance payment to your vendor, and the final bill amount turns out to be lesser than the amount you had paid, the vendor can issue equivalent credits in your name for the amount they owe you. You can create a vendor credit for the this amount in Zoho Inventory, and apply it on future bills from the same vendor.
Scenario 2: You had ordered 10 boxes of phones from your vendor. But after receiving the goods you discover that two of those boxes contain damaged goods. To compensate for their shortcomings, your vendor issue a credit note towards the value of those two boxes which you can record in Zoho Inventory as a vendor credit for the value of those two boxes. You can later apply it on the future purchases from that vendor.
Record Vendor Credits
You can create a vendor credit in Zoho Inventory. Here’s how:
Go to Vendor Credits module in the left sidebar.
Click the + New button in the top right corner.
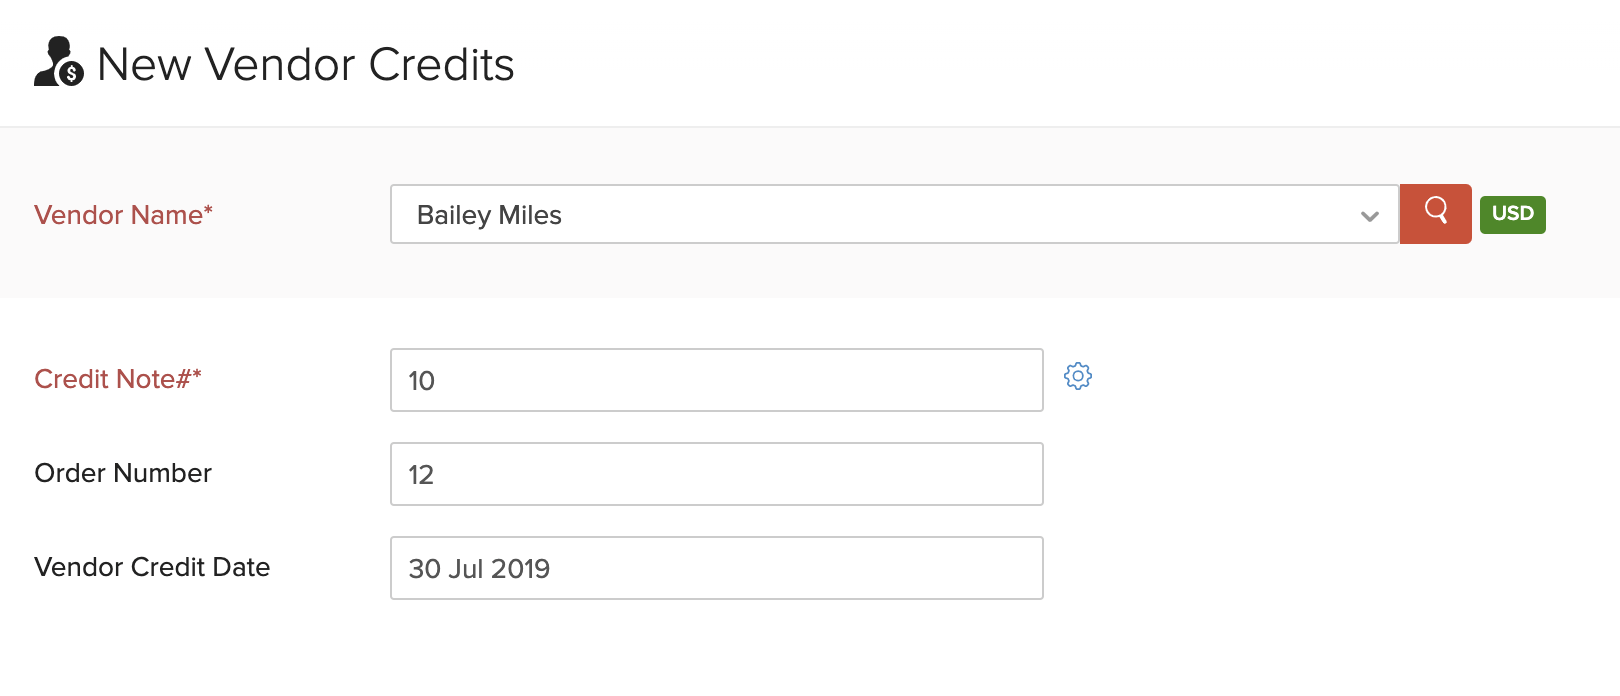
Select the vendor name and enter the credit note number issued by your vendor. Optionally, you can also enter the corresponding purchase order number and date on which the credit was issued.
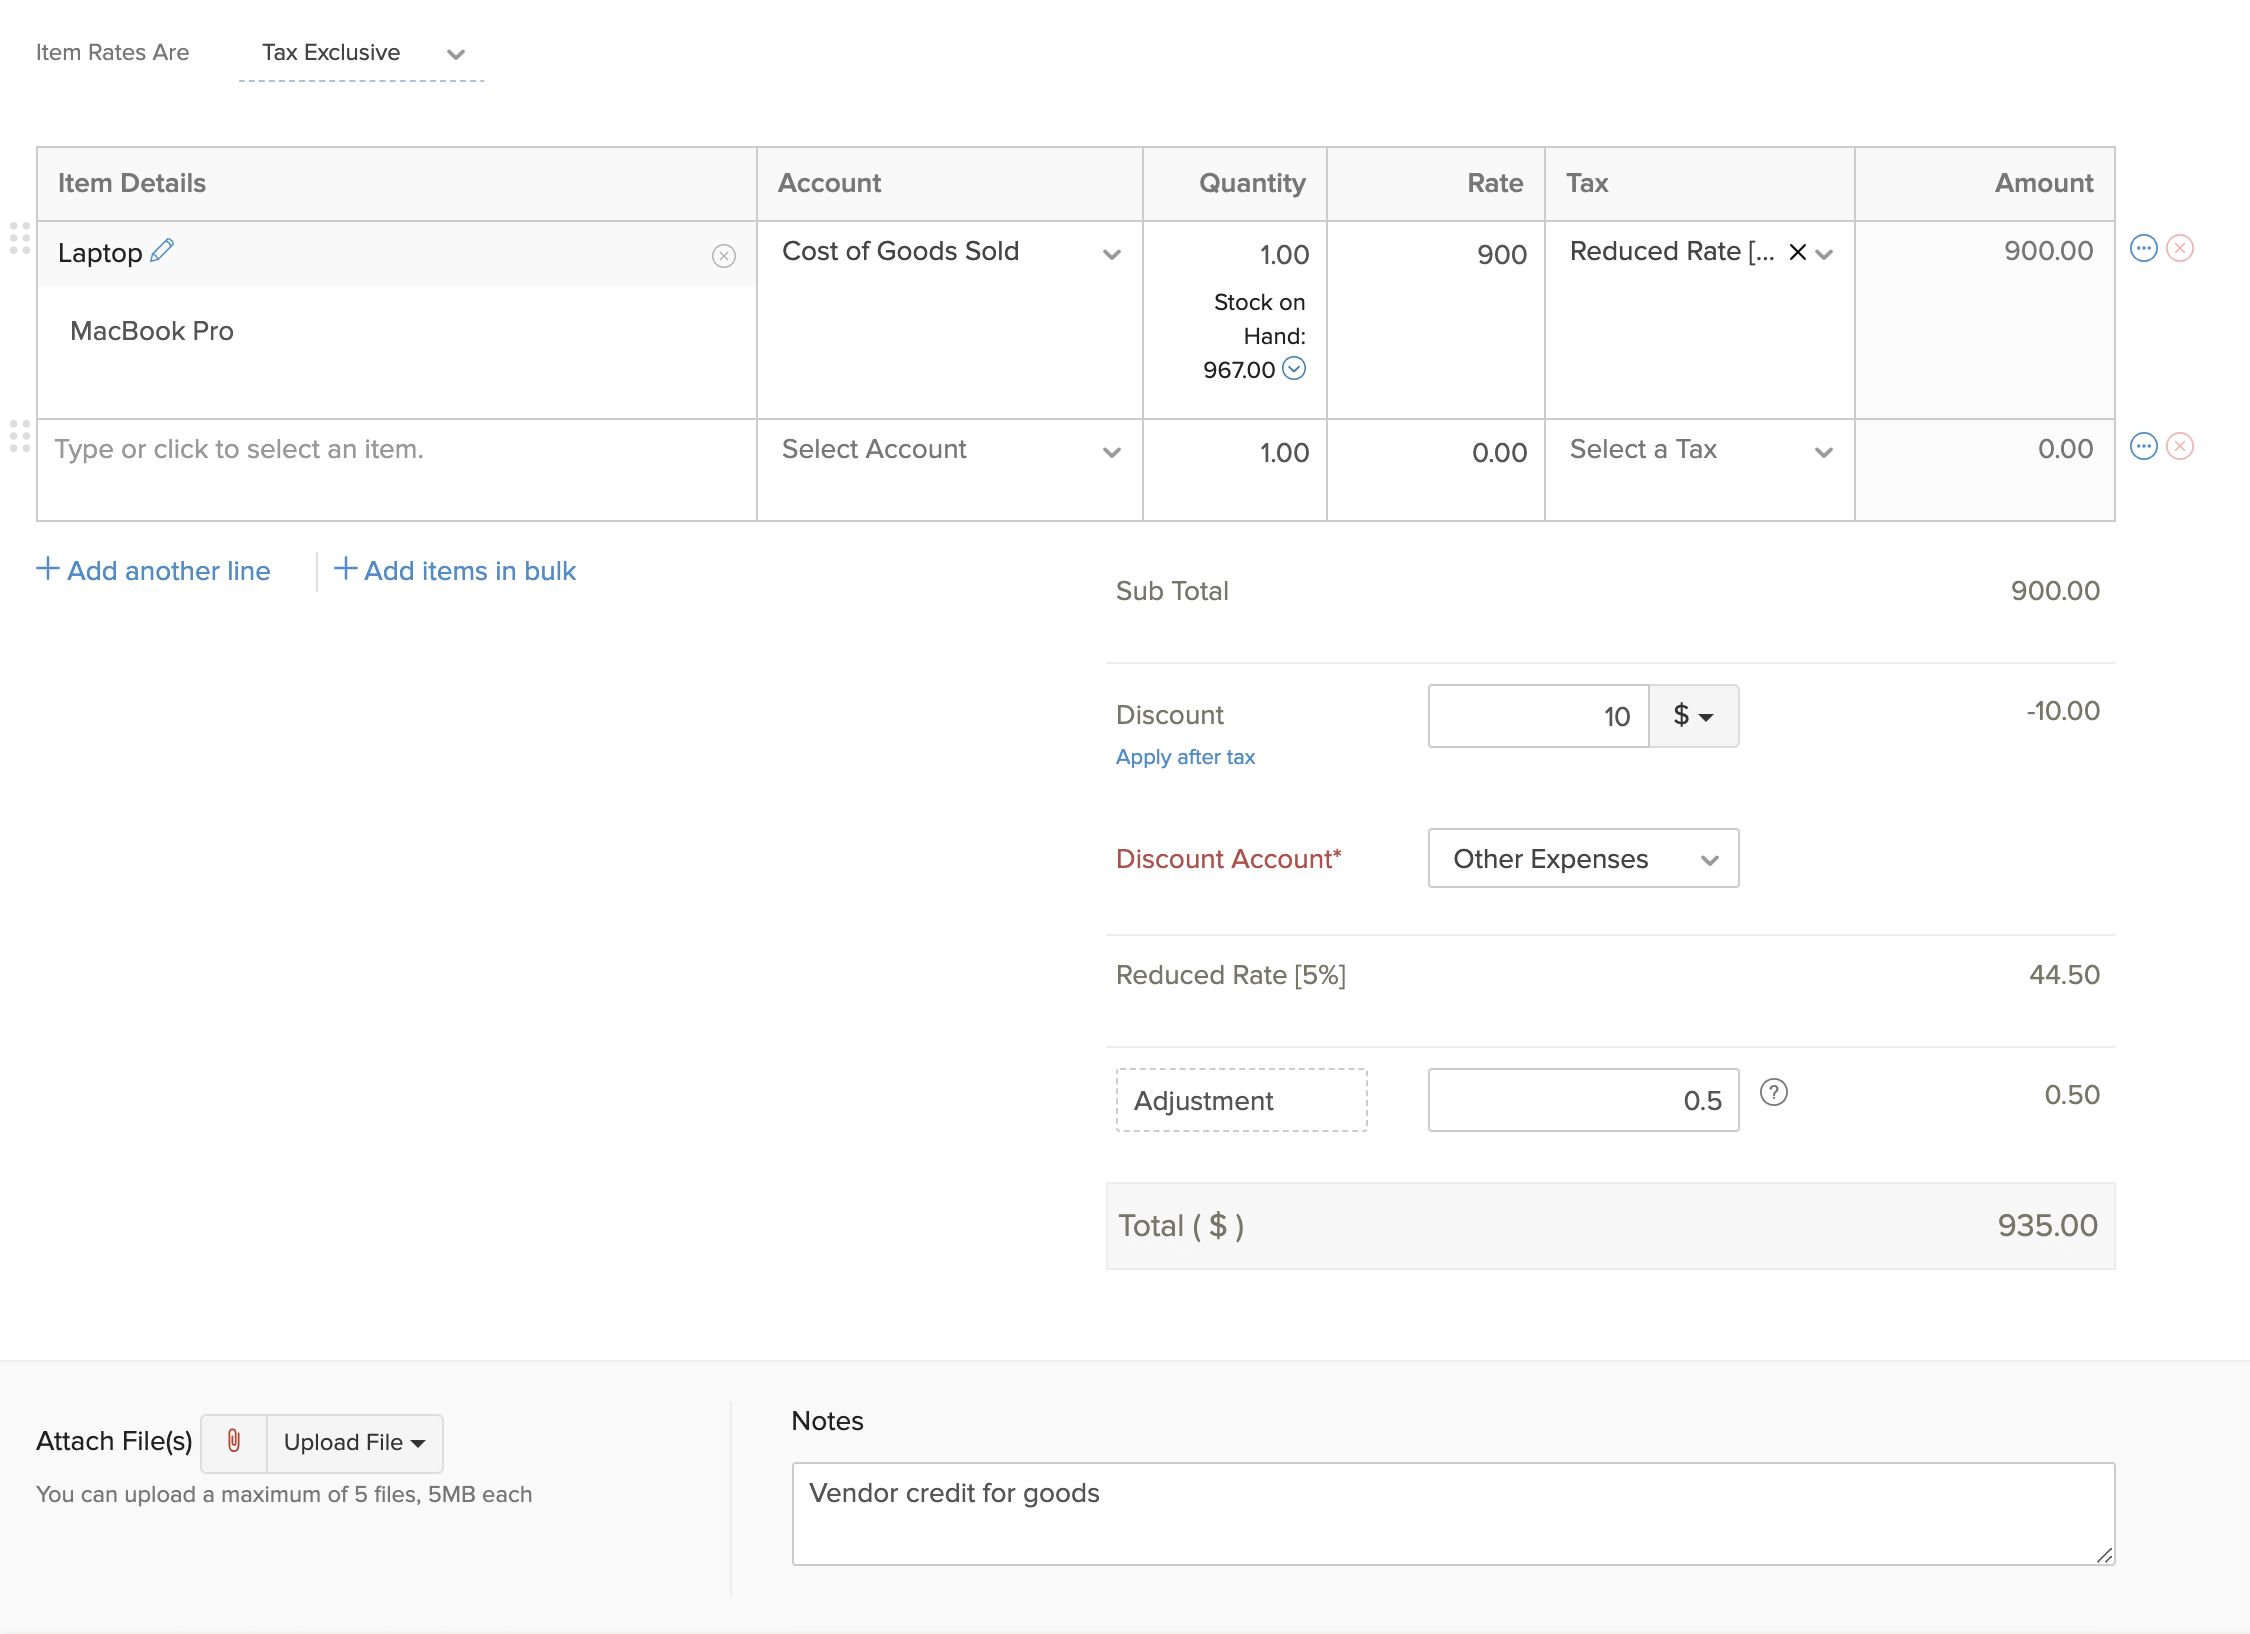
Select the items and enter the quantity for which credit was issued.
Add discounts and adjustments, if any. If you add a discount, choose the Discount Account which tracks it.
Click Save.
Import Vendor Credits
If you already have a list of credits from your vendors, you can import them into Zoho Inventory in CSV, TSV or XLS format.
To know the format of the import, i.e. the columns and data to be included in the import file, you can download the sample import file which we’ll be looking at in the steps below.
Go to the Vendor Credits module on the left sidebar.
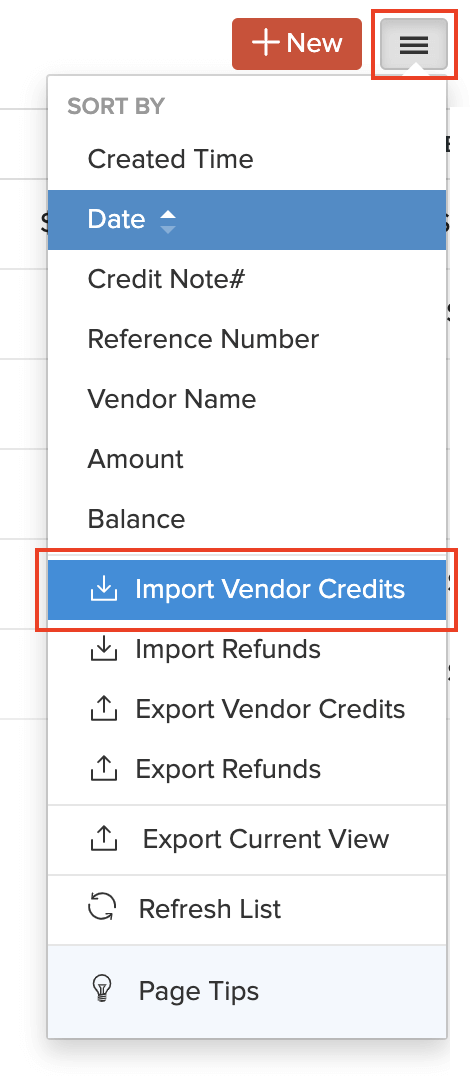
Click the
 icon.
icon.Click the Import Vendor Credits option.
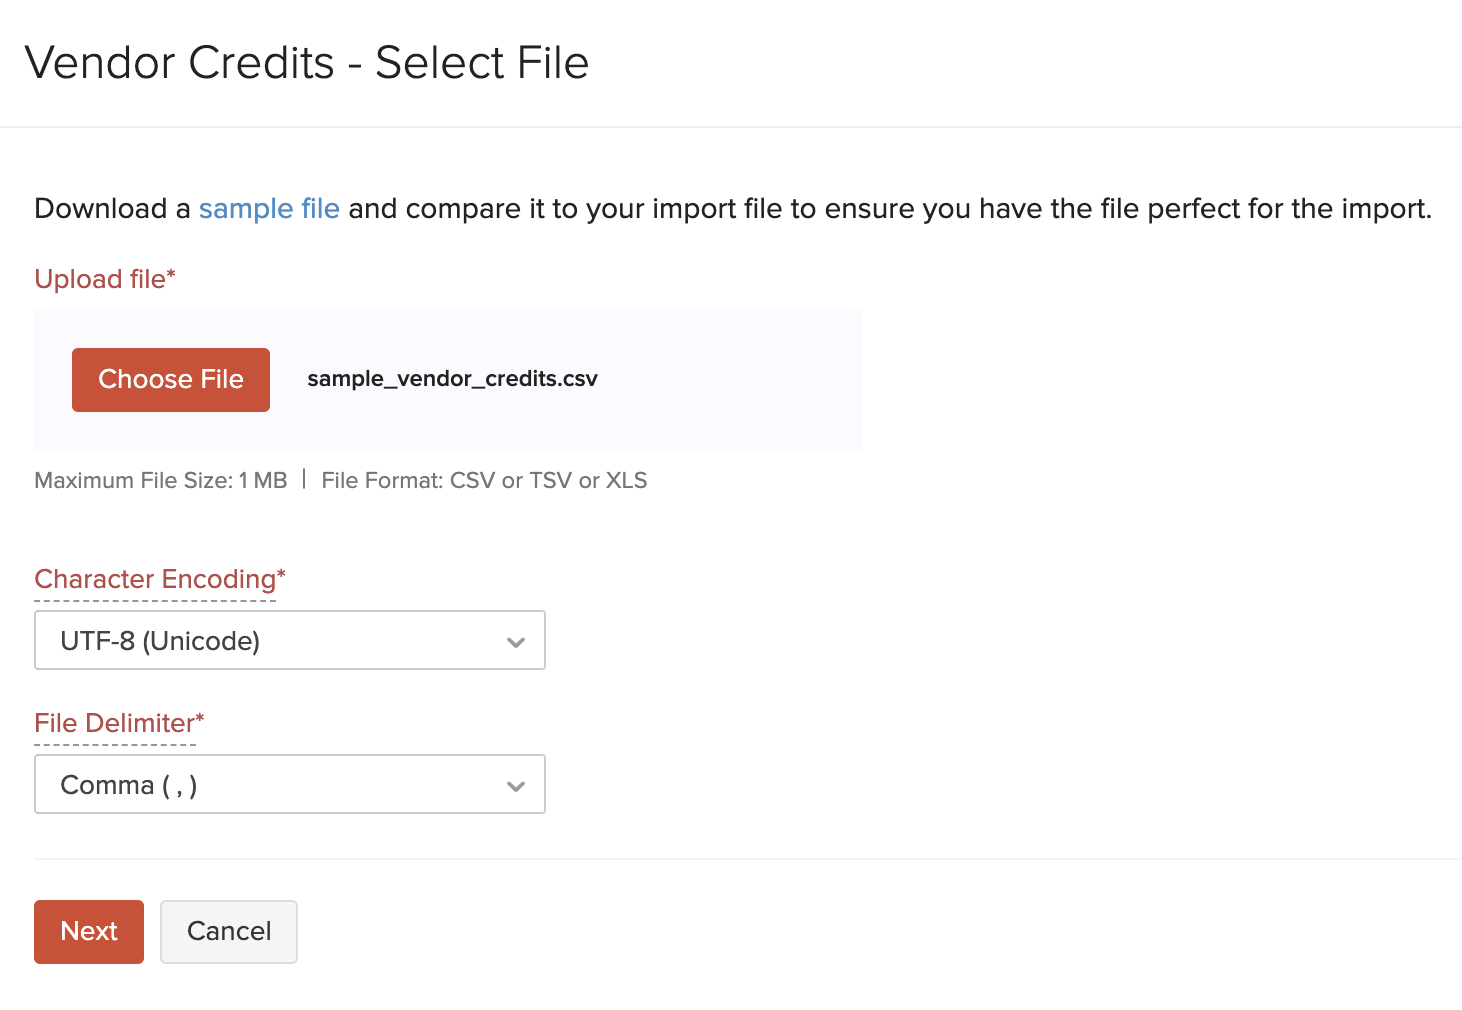
Click the Choose File button to browse and upload your import file. You can download the sample CSV or XLS file for your reference.
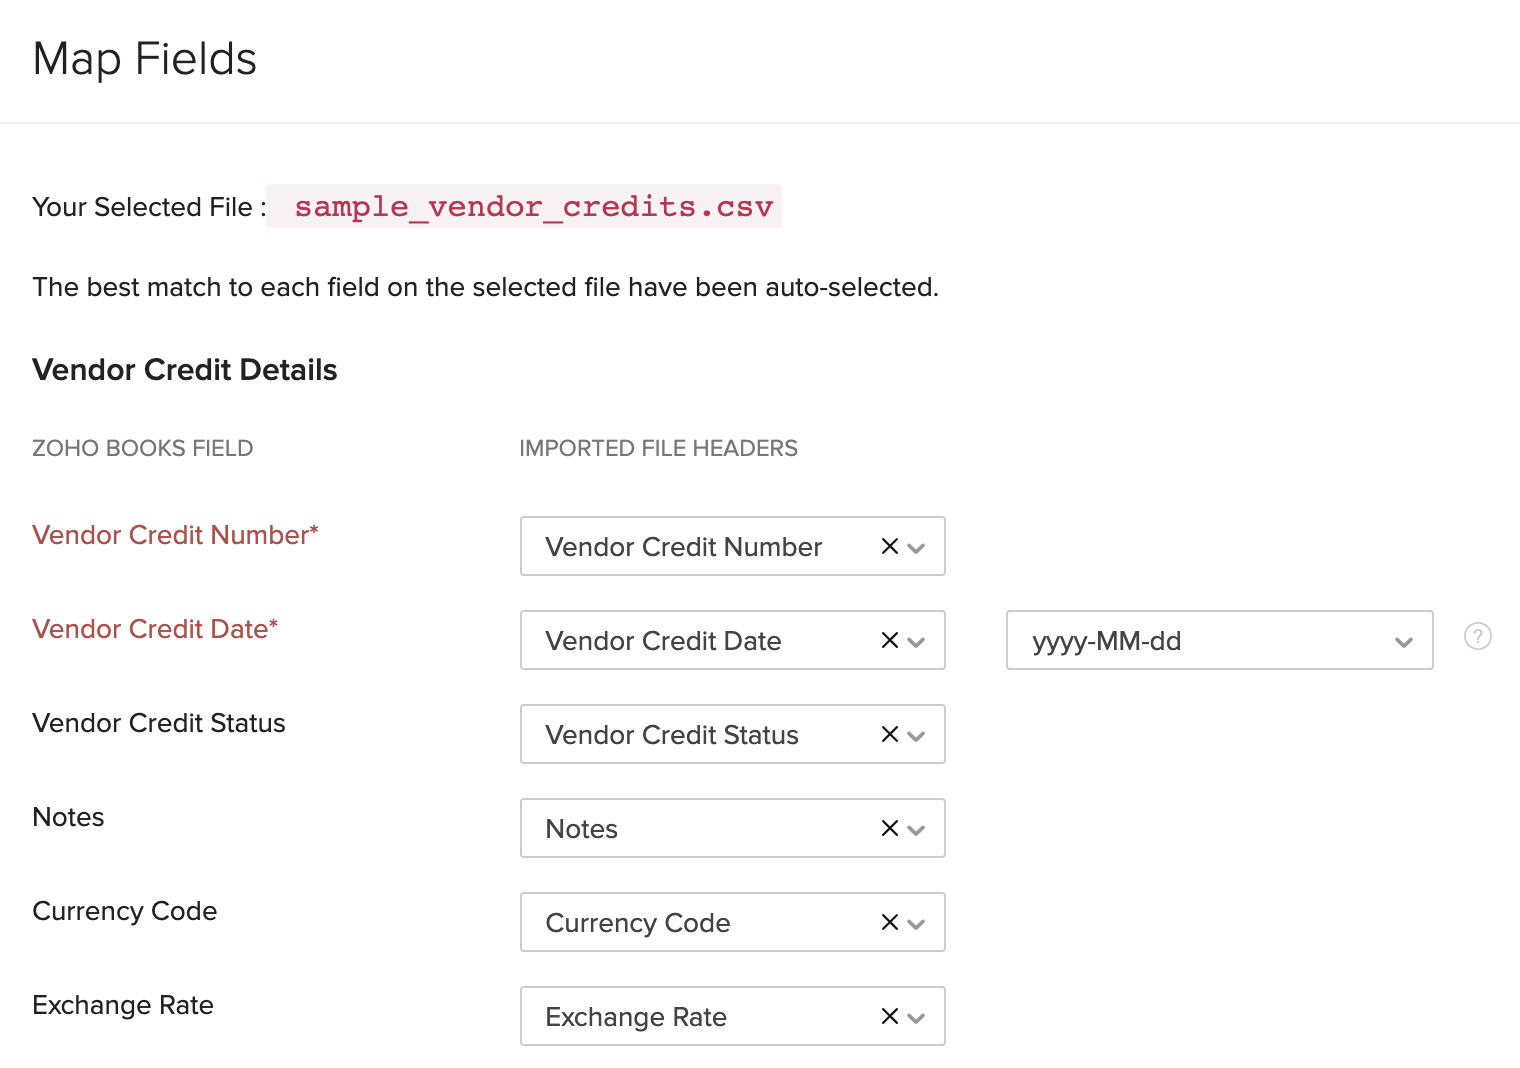
Click Next to proceed to the field mapping page.
Map the columns in Zoho Inventory with the appropriate column in your import file.
Click Next to proceed to the preview section.
Preview the summary of the records that can be imported.
Click Import if you’re ready, or else, click Previous if you need to make any changes.