
Basic Functions in Projects
Let us have a look at some of the basic functions in the projects module.
Enable Time Tracking
Before you can start creating projects, you will have to enable the Timesheet module. Here’s how you can do it:
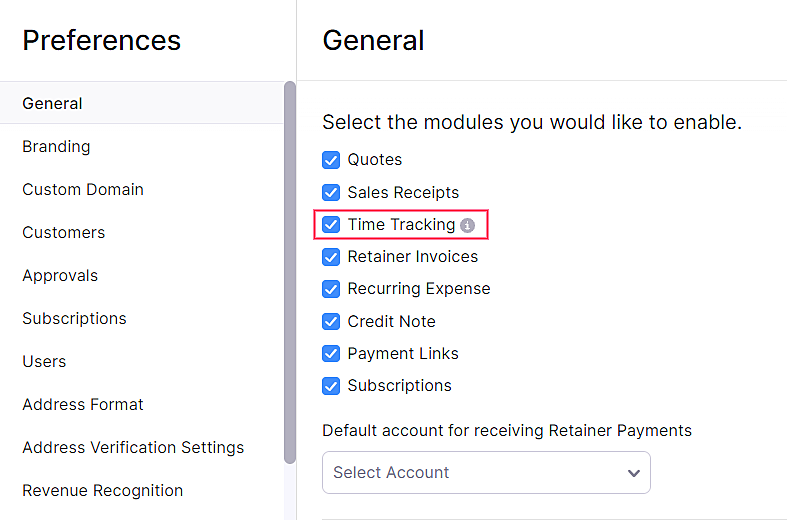
- Go to Settings > Preferences > General.
- Check the box near Time Tracking under Select the modules you would like to enable.
- Click Save at the bottom of the page.
Create Project
To create a new project in Zoho Billing:
- Go to Time Tracking > Projects.
- Click + New Project.

- Enter the name of the project in the Project Name field and provide a** Description**, if necessary.
- Select the customer from the Customer Name drop down.
- Click the Search icon next to the Customer Name to search for customers based on the name, phone number, email etc.
- Enable your customers to approve the time entries before you invoice them by marking the Enable Customer Approval for the time entires of this project checkbox.
- Select the Billing Method for the project from the drop down.
Billing Method
The billing methods that you can use are:
- Fixed Cost for Project
- Based on Project Hours
- Based on Task Hours
- Based on Staff Hours
- Based on Daily Rate
Fixed Cost for Projects
Fixed cost for projects sets a fixed rate for the project. The project will be invoiced for the amount set in this field.
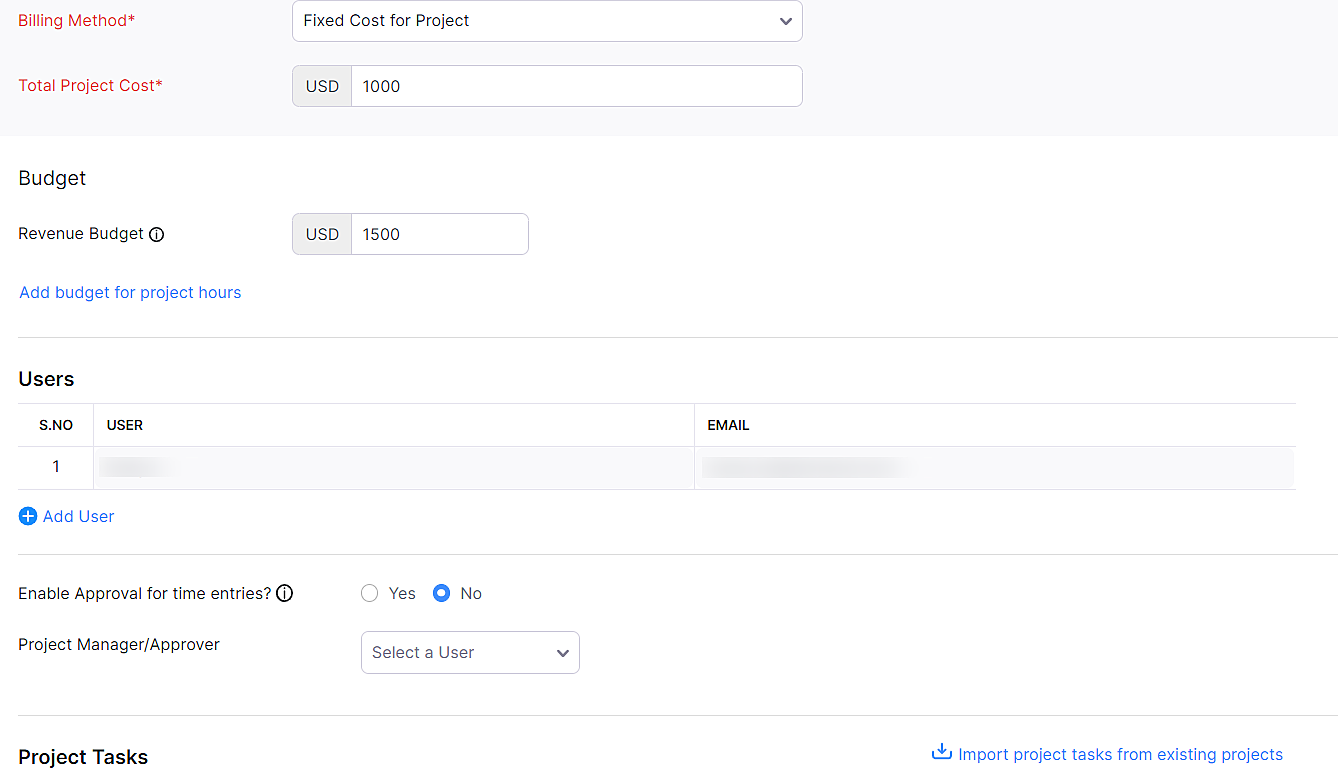
- Enter the Total Project Cost.
- Check the Add budget for this project checkbox if you wish to add a budget.
| Fields | Description |
|---|---|
| Total Project Cost | Enter the project’s total cost for which you will be billing your customer. |
| Users | Select a user to work on the project. You can also add an extra user by clicking + Add User. |
| Tasks | Enter the tasks that need to be done to complete the project. You can add more tasks by clicking + Add Task. |
| Tasks can also be created later for the project. |
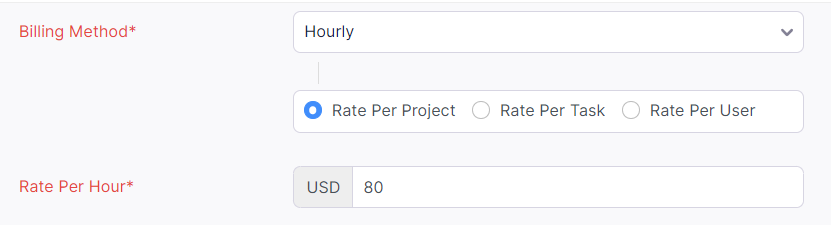
Based on Project Hours
This option will calculate the number of hours spent on a project and the customer will be invoiced accordingly.
- User and Task fields are the same as the above type.
- Enter the rate that will be charged for an hour of work that goes into this project in the Rate per hour field.
At the completion of the project, you can charge your customers based on the number of hours logged for the project.
Based on Task Hours
The project will be billed based on the hourly rates of the task and the customer will be billed accordingly.
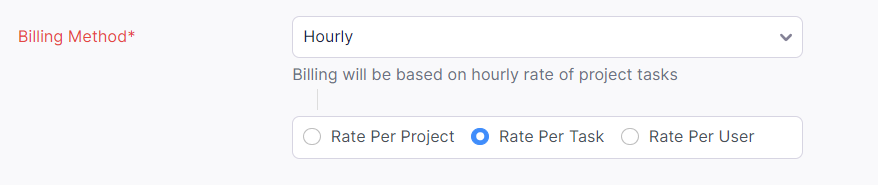
- User field is same as for the above sections.
- Enter the Tasks and the Rate Per Hour to finish that particular task.
- Marking the Billable checkbox will add this cost to the invoice and the customer will be billed for it.
At the completion of the project, you can charge your customer based on the tasks completed.
Based on Staff Hours
The project bill will be calculated based on the hourly rate of the staff and the customer will be invoiced accordingly.
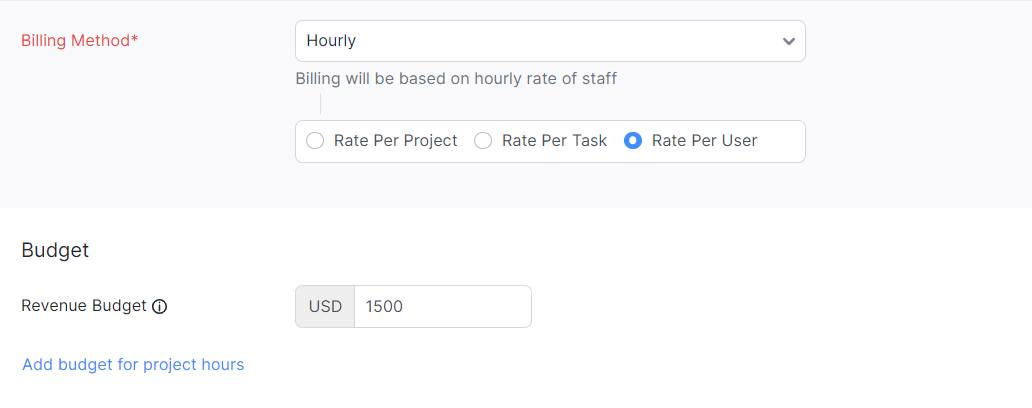
- User field is same as for the above sections.
- Enter the User Name, Email Address and the Rate Per Hour. You can add more users by clicking the + Add User option.
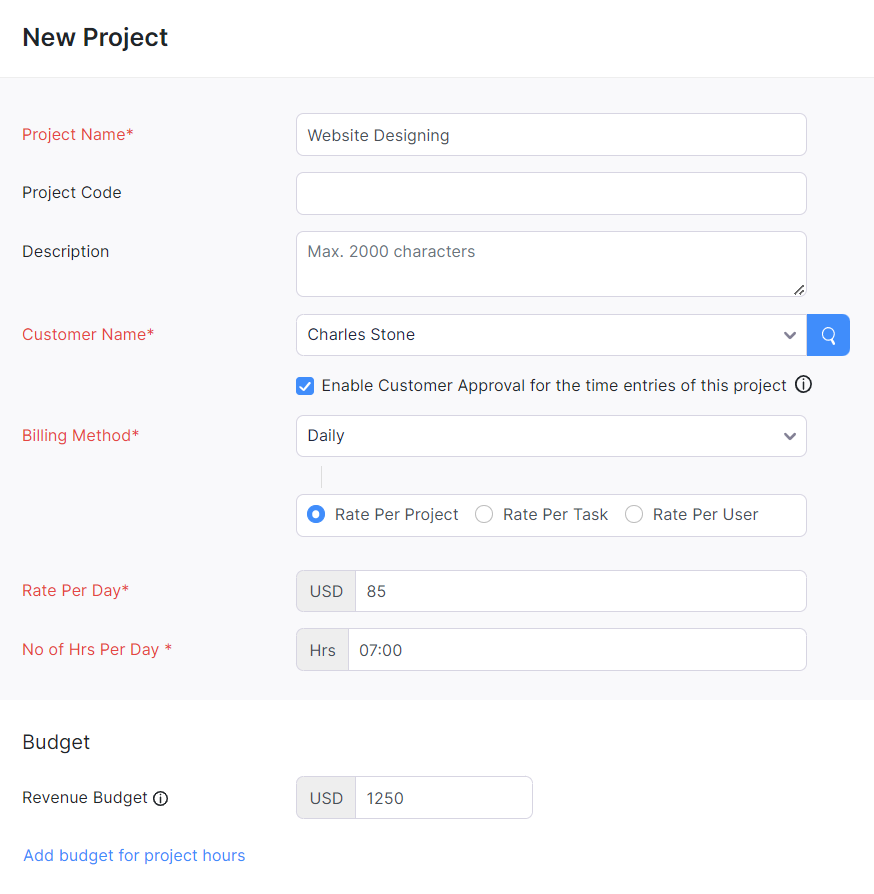
Based on Daily Rate
This option lets you bill the project based on a daily rate instead of hourly rates. Time entries for daily rate projects are recorded in days (Full Day or Half Day) and the customer will be invoiced with the quantity shown in days.
Scenario: Charles, a project manager at a consulting firm, assigns consultants to client projects on a per-day basis. His clients expect invoices that reflect the number of days each consultant worked, not granular hourly breakdowns. Charles creates a project in Zoho Billing with the Daily Rate billing method and selects Rate per User so each consultant has a different daily rate. His team logs time as Full Day or Half Day, and when Charles invoices the client, the quantity appears in days matching what the client expects.
Note:
- Once a project is created with the Daily Rate billing method, you cannot change it to Hourly Rate (or vice versa). Similarly, an Hourly Rate project cannot be converted to Daily Rate.
- Timesheets of Daily Rate projects cannot be invoiced together with timesheets of Hourly Rate projects.
When you select Daily as the billing method, you can choose one of three rate types:
- Rate per Project — The rate per day that applies to a project.
- Rate per Task — The rate per day that applies to each task.
- Rate per User — The rate per day that applies to each user.
Daily Rate per Project
- Select Rate per Project under the billing method.
- Enter the daily rate in the Rate Per Day field.
- Enter the number of hours that make up a working day in the Hours Per Day field (in HH:MM format).
| Fields | Description |
|---|---|
| Rate Per Day | The daily rate that will be charged for work on this project. |
| Hours Per Day | The number of hours that constitute one working day for this project. |
Daily Rate per Task
- Select Rate per Task under the billing method.
- Enter the number of hours that make up a working day in the Hours Per Day field.
- Under Project Tasks, enter the Task Name and the Rate Per Day for each task.
- Mark the Billable checkbox to include the task cost in the invoice.
Daily Rate per User
- Select Rate per User under the billing method.
- Enter the number of hours that make up a working day in the Hours Per Day field.
- Under Users, enter the Rate Per Day for each user assigned to the project.
Insight:
- For Daily Rate projects, only one time entry is allowed per user per day. Time entries are logged as either a full day or half day. A full day equals the configured hours per day, and a half day equals half of that value.
- If you log hours less than or equal to half the configured Hours Per Day, it counts as a half day. Anything greater than that counts as a full day. For example, if Hours Per Day is set to 08:00 and you log 3 hours, it will be recorded as a half day. If you log 5 hours, it will be recorded as a full day.
- While invoicing Daily Rate projects, the quantity on the invoice will be shown in days (not hours). However, in the Dashboard and reports, logged time will still be displayed in hours.
At the completion of the project, you can charge your customers based on the number of days logged for the project.
Budget
Entering a budget for your project will help you analyse the actual amount or time spent and revenue earned from the project compared to the estimated budgets.
| Budget Type | Description |
|---|---|
| Cost Budget | The total amount that you expect to spend on the project. |
| Revenue Budget | The total amount that you expect to receive from the client for the project. |
| Hours Budget | The number of hours that you expect to spend on the project. |
Here’s how you can add budgets to your projects:
Go to the Time Tracking module from the left sidebar and click Projects.
Click + New Project.
Enter the required details of your project.
Enter the cost and revenue budgets in the respective fields under Budget.

Click Add budget for project hours if you’d like to add the estimated number of hours you’ll spend on the project.
Select the type of budget you’d like to add from the Hours Budget Type dropdown. You can add estimated budget hours for projects, tasks or staff.

Total Project Hours (HH:MM)
You can allocate the total number of hours that will be needed for your project in the Total Budget Hours field that appears below.

Hours Per Task
You can allocate the number of hours for each task in the Budget Hours field under Project Tasks.

Hours Per Staff
You can allocate the number of hours each user will work on in the Budget Hours field that appears under Users.

You can track the actuals of your project against the budgeted hours in the Project Hours section of your project’s Overview page.

Tasks
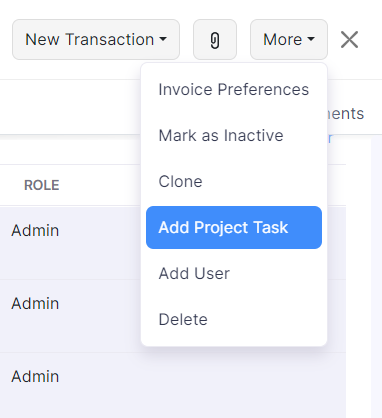
A project can comprise of a single or multiple tasks that need to be completed. You need a task associated to the project before you log time. To add a task:
- Go to Time Tracking > Projects.
- Select the project that you created.
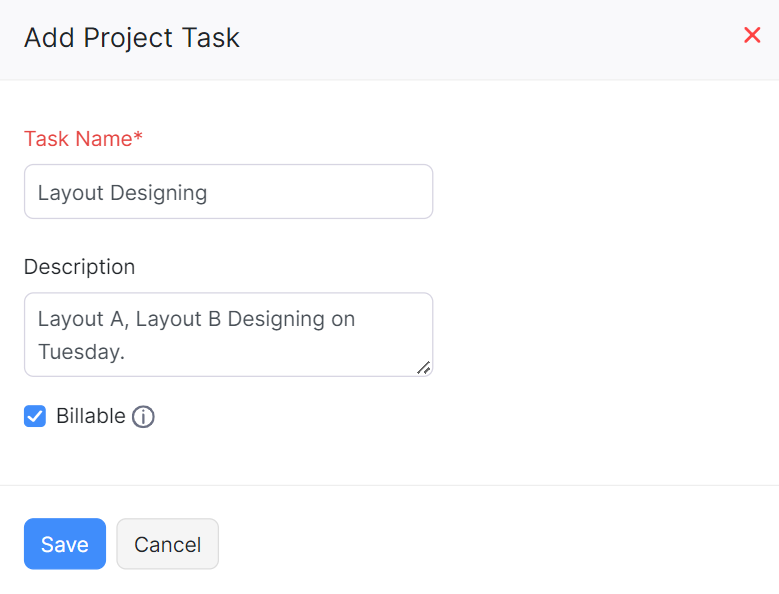
- Click More and select Add Project Task from the drop-down.
- Enter the Task Name and Description.
- Check the Billable box if you want to charge your customer for the task.
- Click Save.
Import Projects
If you already have a list of projects and tasks in your existing accounting system, you can import them into Zoho Billing in the CSV, TSV or XLS format.
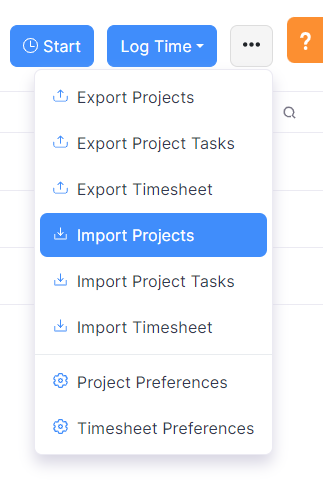
- Go to Time Tracking > Projects.
- Click the Gear icon in the top right corner of the page.
- Select Import Projects.
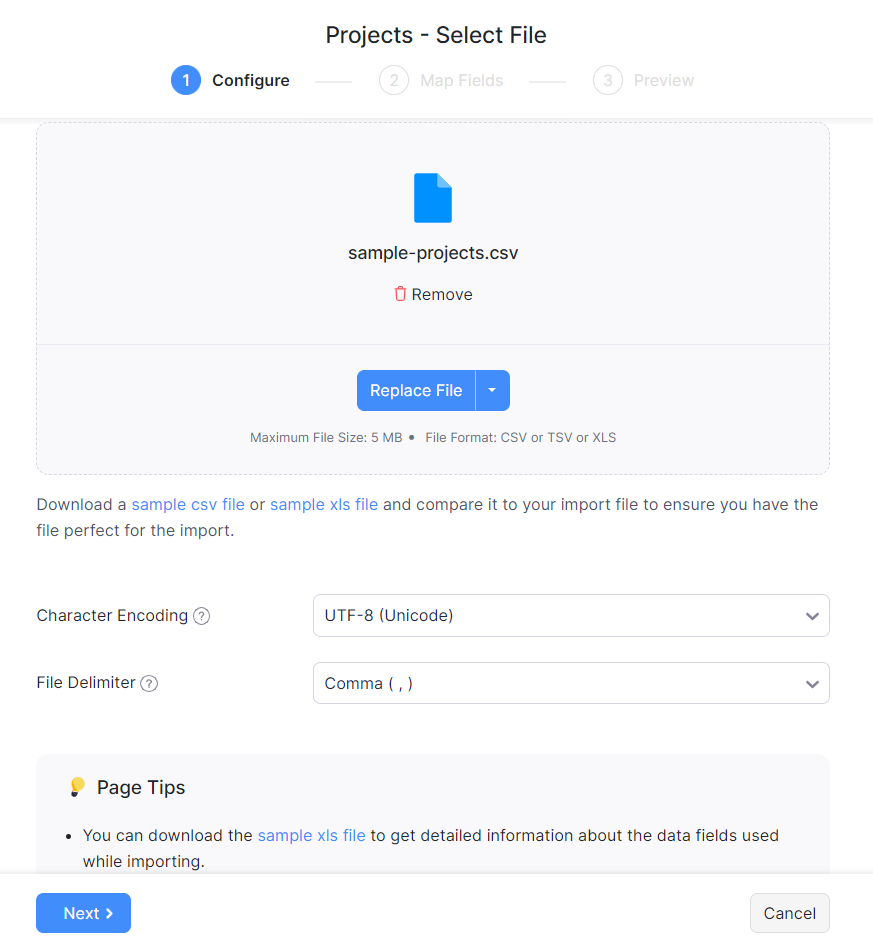
- Click the Choose File button next to Upload file. You can download the sample CSV file for your reference as well.
- Choose the Character Encoding and File Delimiter for your file.
- Character Encoding is used to pair numbers with characters. By default, the Unicode Transformation Format (UTF-8) encoding is used which supports a wide range of characters that go beyond 8 bits.
- The Field Delimiter is used to separate two values in a row. While importing vendor credits, the default file delimiter is comma (,).
- Click Next.
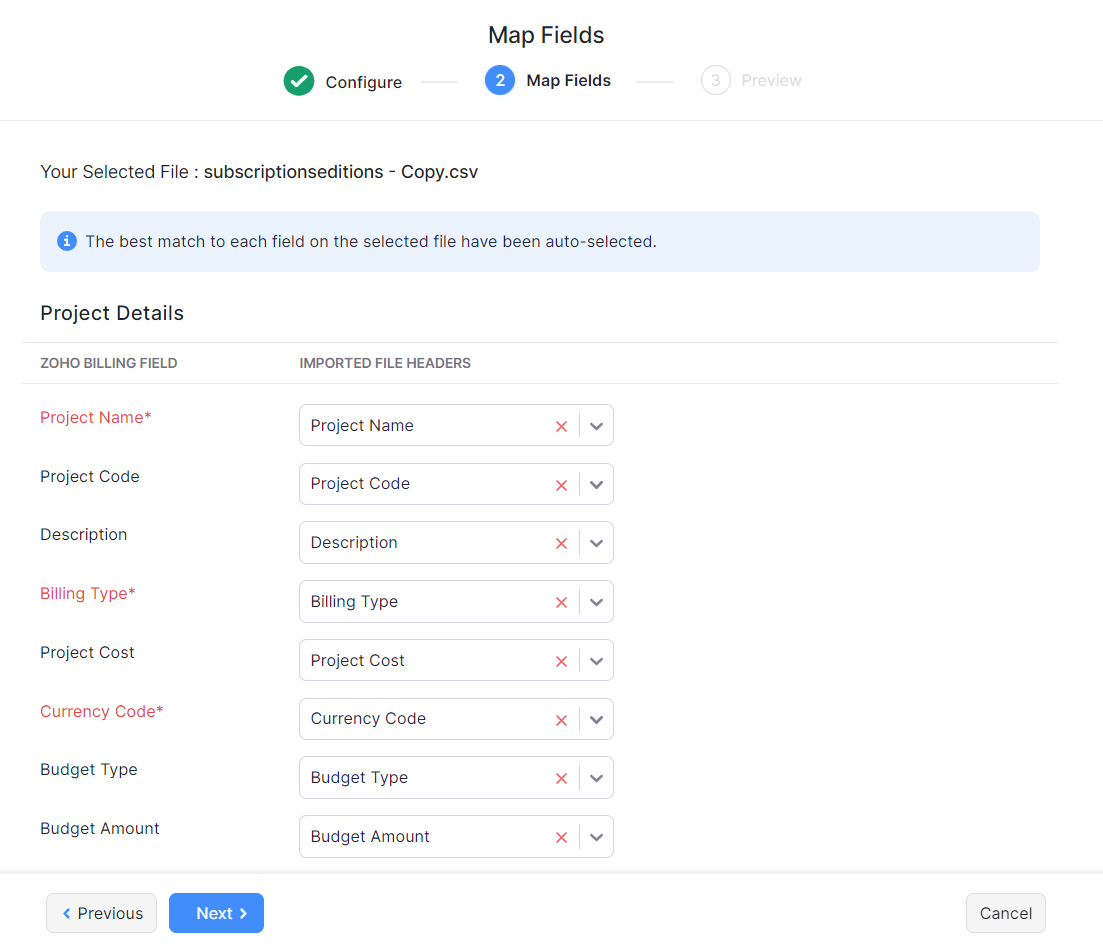
- Ensure that all the fields are mapped correctly in the Map Fields page.
- Mark the box Save these selections for use during future imports if you want to use a similar import format next time.
- Click Next.
- In the Preview page, click Import.
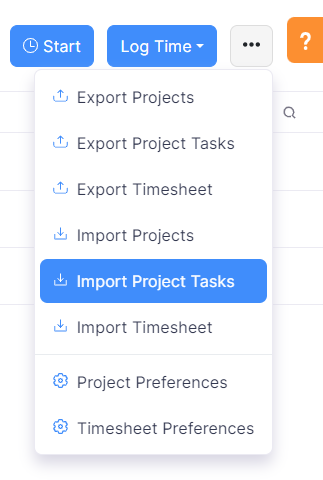
Similarly you can import tasks. Here’s how:
- Go to Time Tracking > Projects.
- Click the Gear icon.
- Click Import Tasks.
Next >
Functions in Projects
Related
 Yes
No
Yes
No
Thank you for your feedback!