Install Assist Unattended Agent using SCCM
System Center Configuration Manager (SCCM) is an intranet based high speed bulk deployment tool, capable of deploying software to all the computer system in the same intranet under the same domain. SCCM bulk deployment is done using Endpoint Configuration Manager.
Key Features:
- SCCM is primarily designed for deploying software in desktops and laptops.
- SCCM only supports Windows-based systems for bulk deployment.
- SCCM is an on-premises solution and is much faster and easier to deploy.
Steps to deploy Unattended Agent using SCCM:
Log in to Zoho Assist.
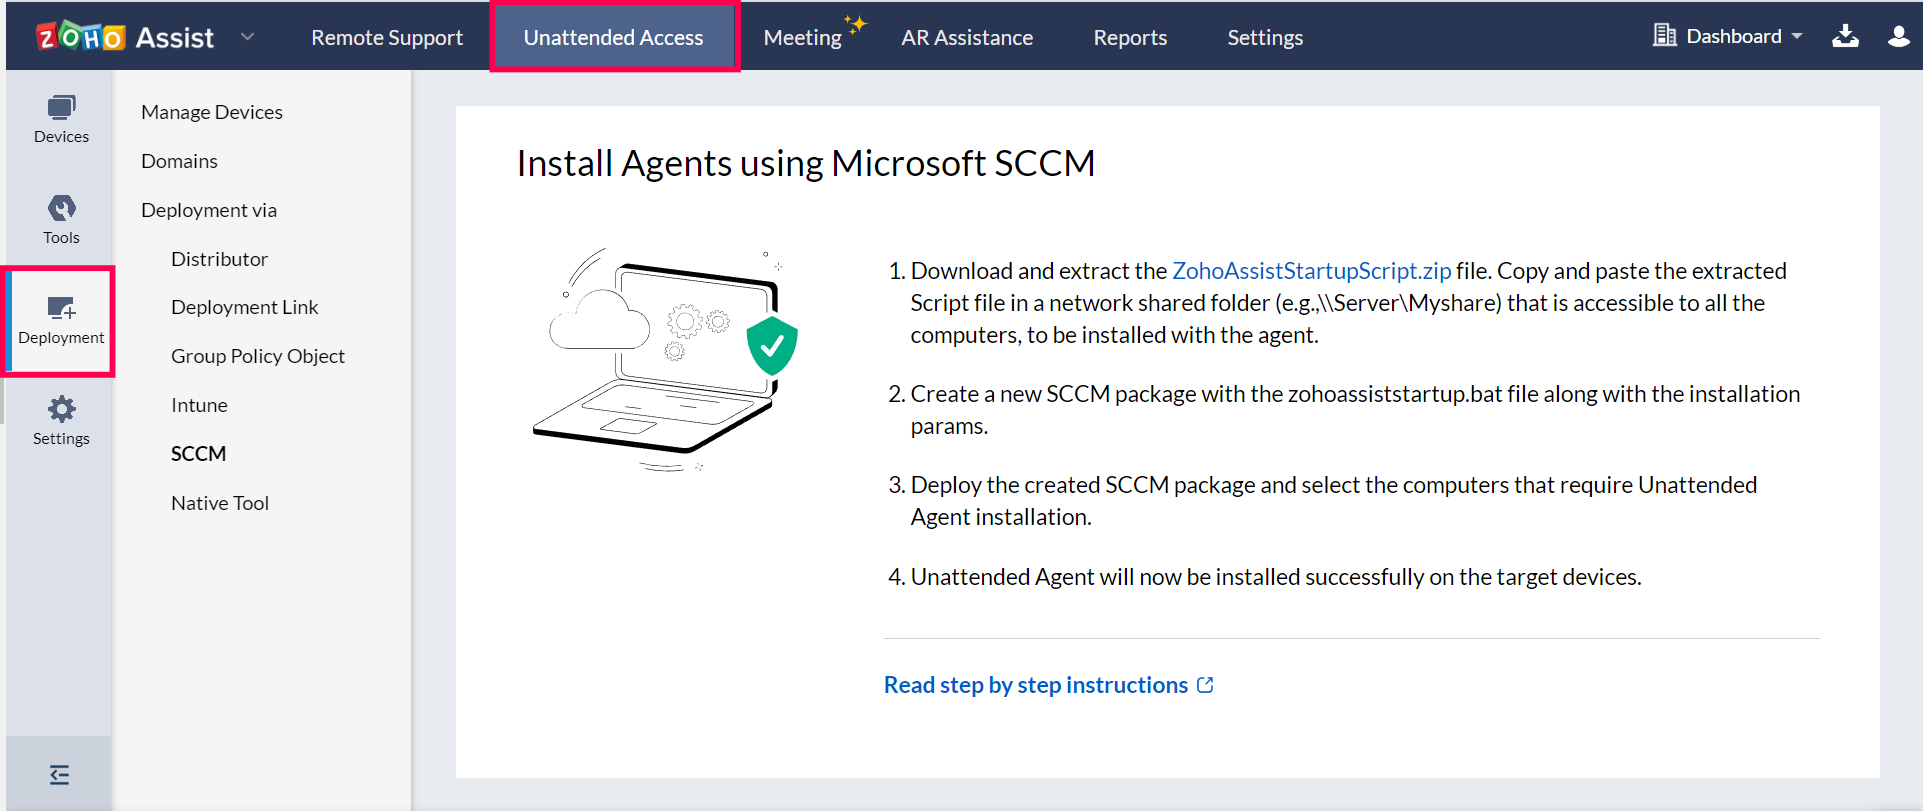
Navigate to Unattended Access->Deployment->SCCM and download ZohoAssistStartupScript.zip.
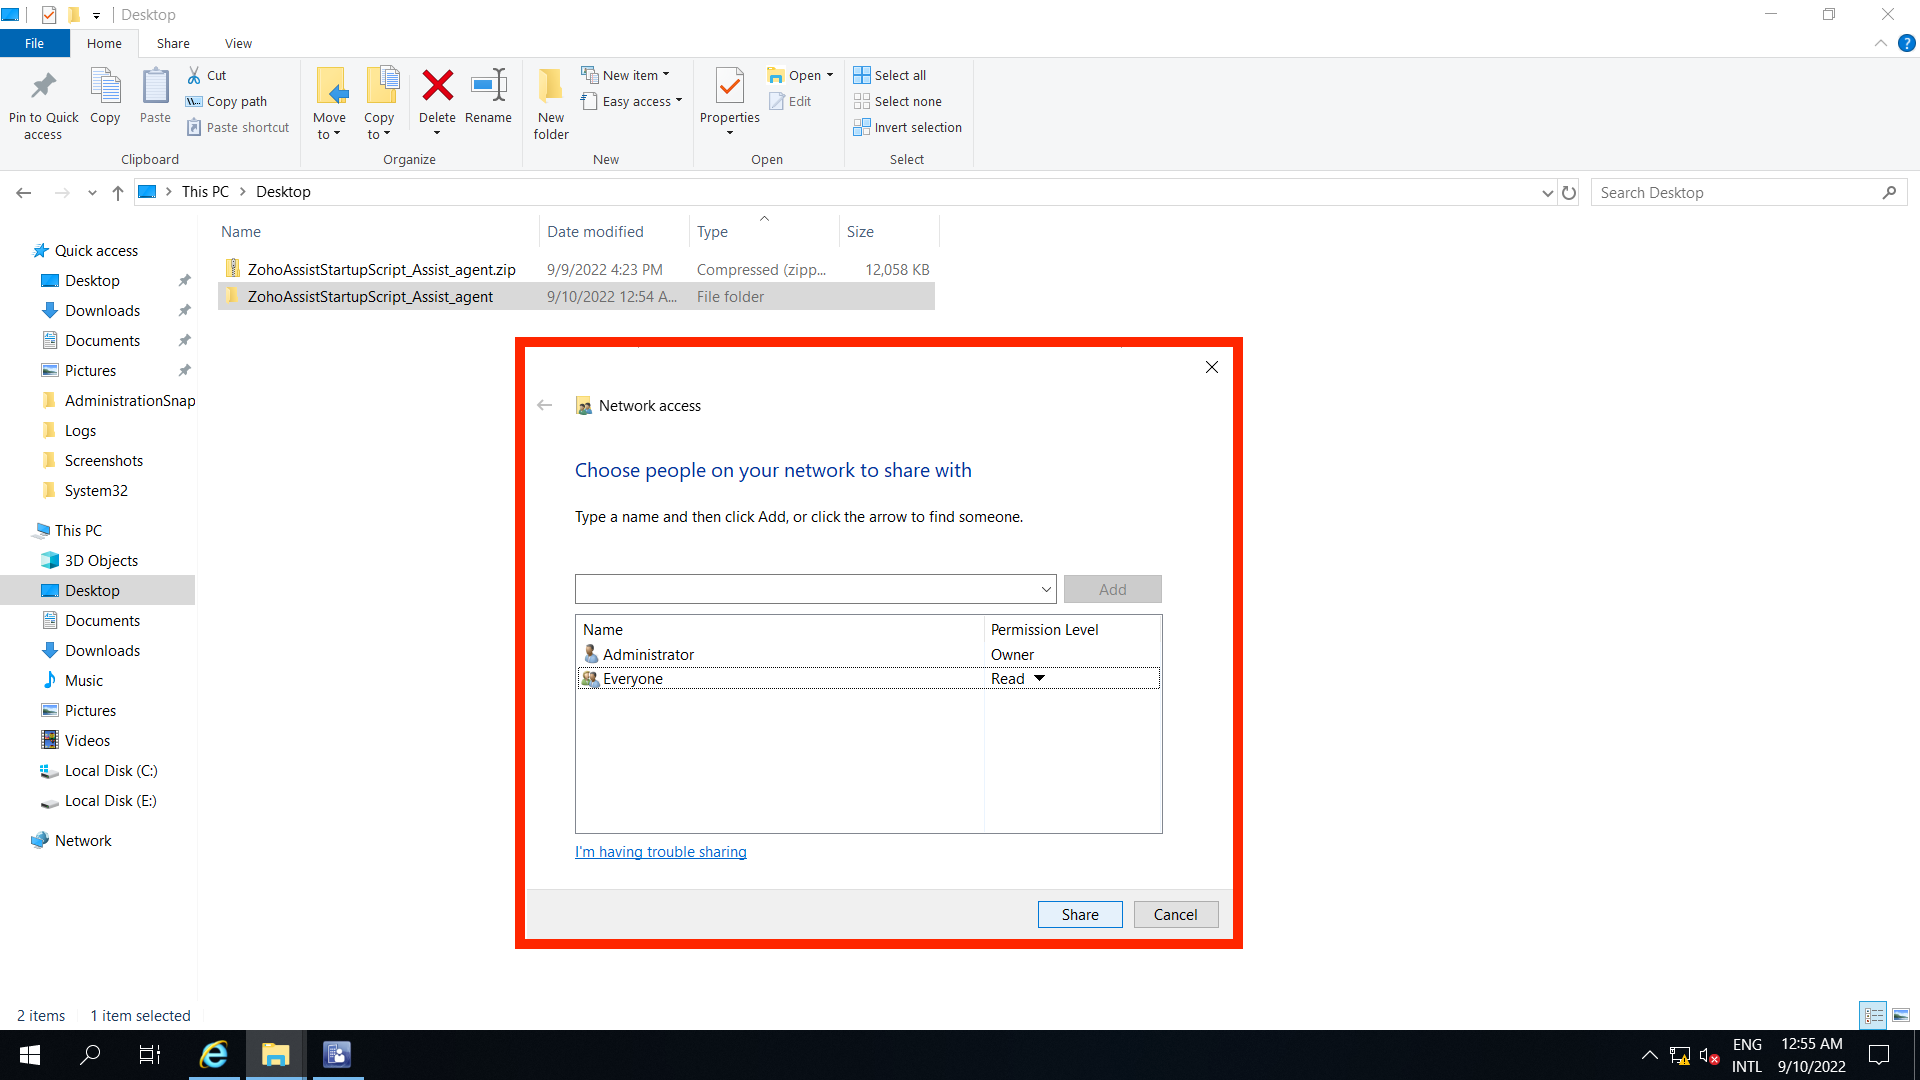
Extract ZohoAssistStartupScript.zip file and create a a shared path accessible by all the users and all computers you want to install the agent silently via SCCM.
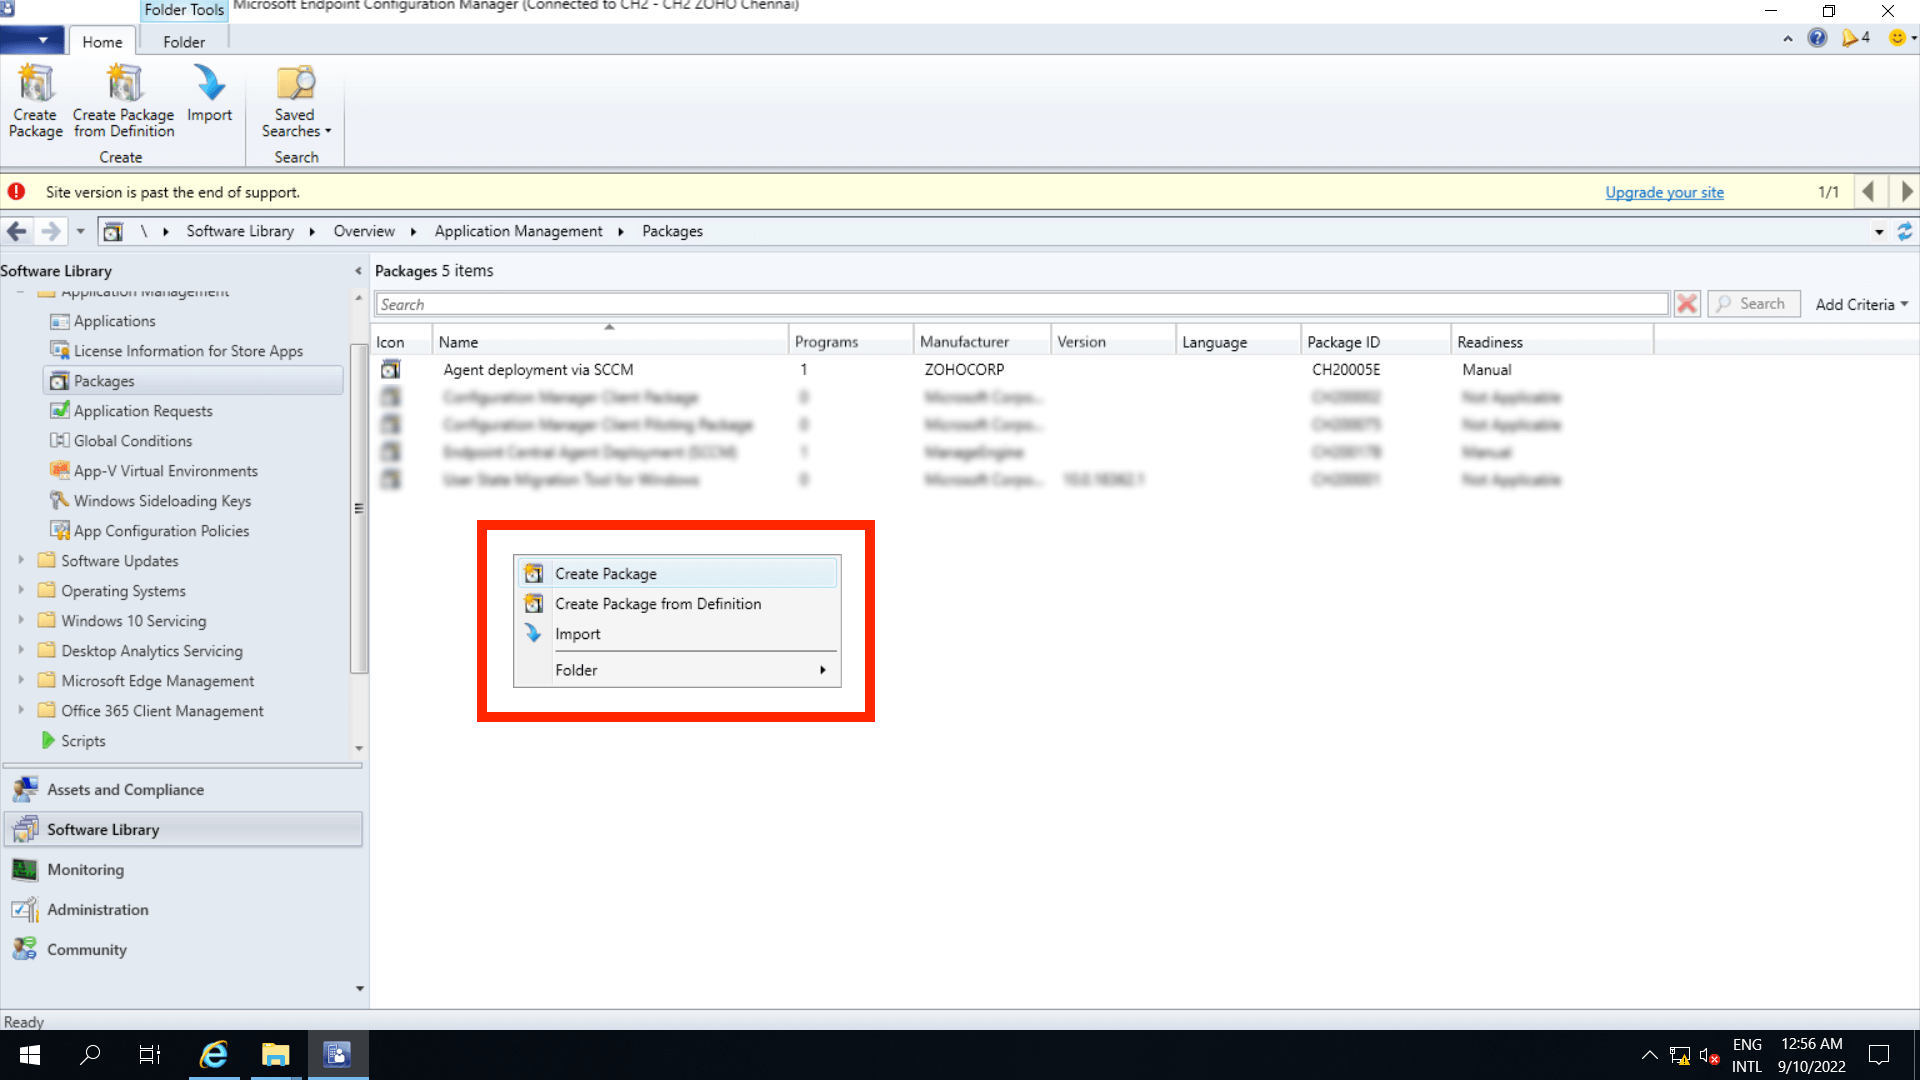
Navigate to Endpoint Configuration Manager Software Library -> Application Management -> Packages and right-click on the pane to create a new package.
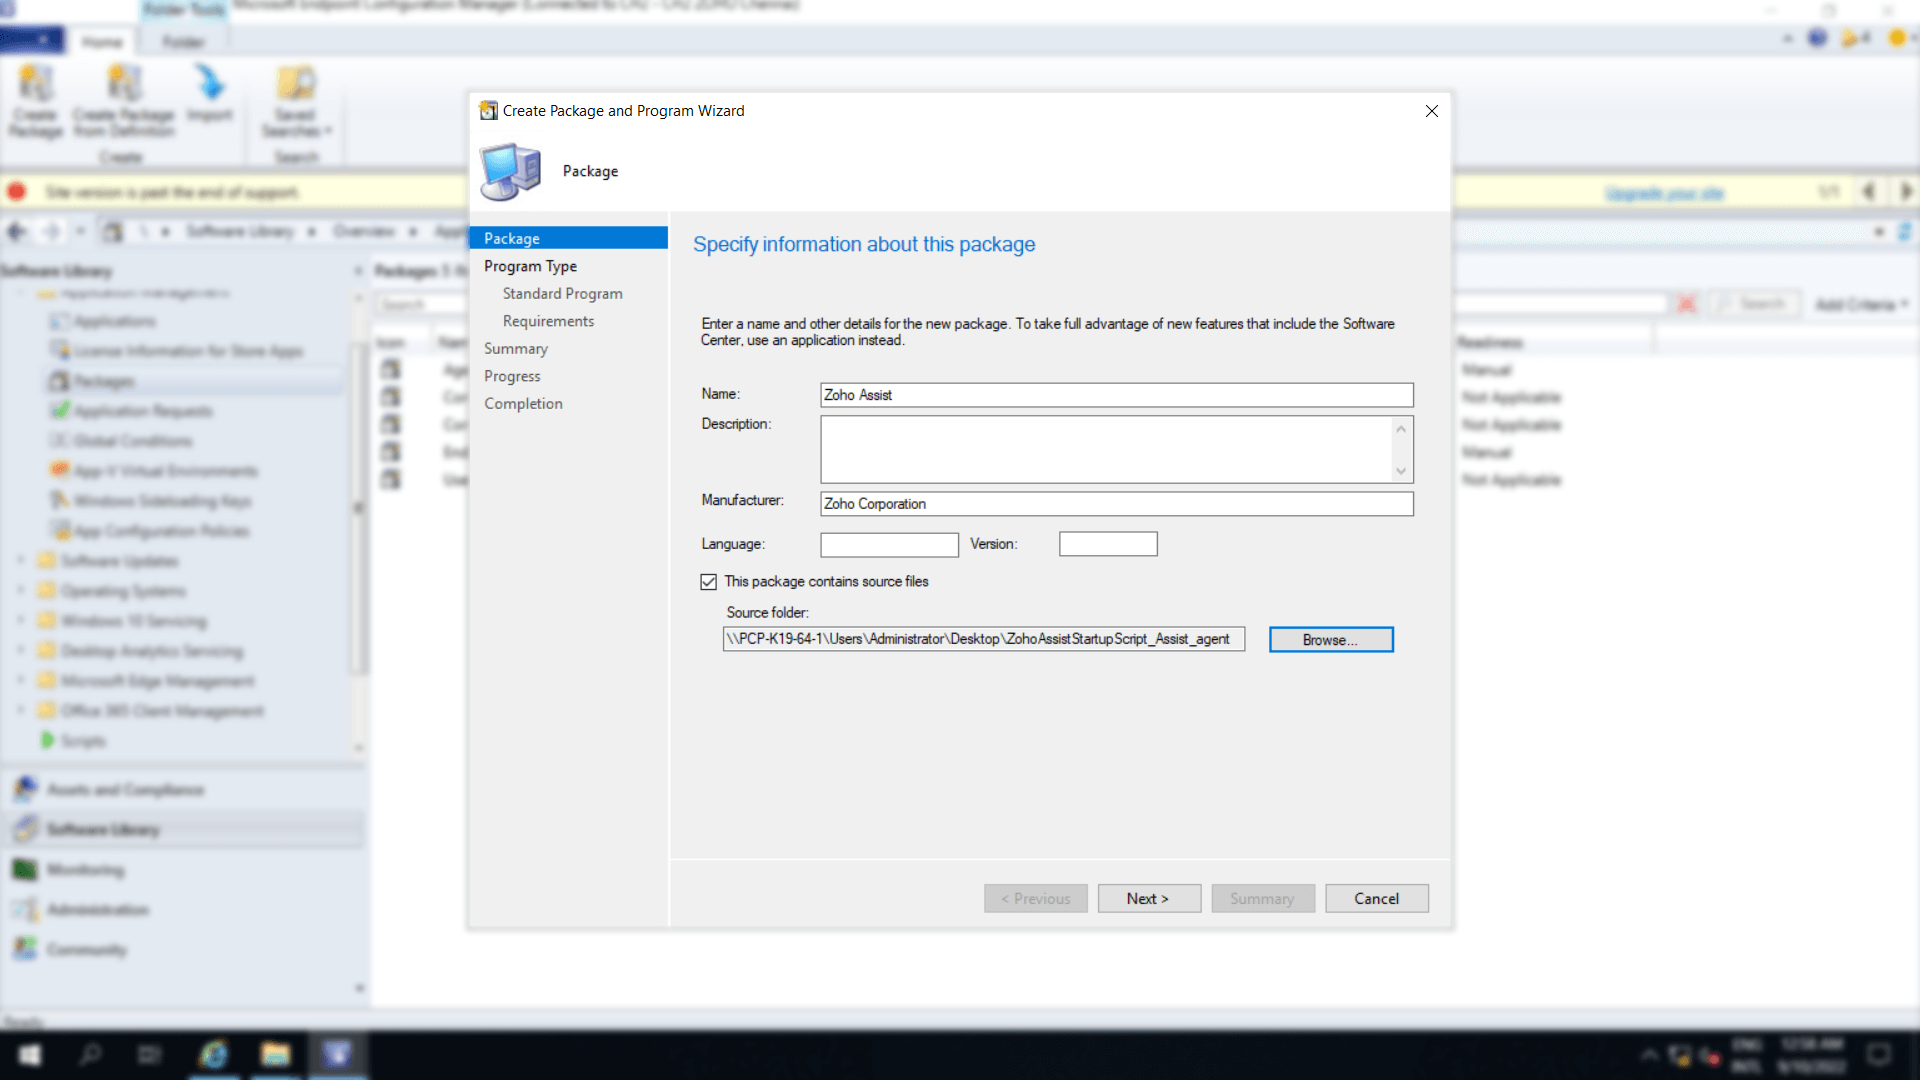
Specify information about the created package such as name, description, manufacturer, and the shared path of the file, as created in Step 3.
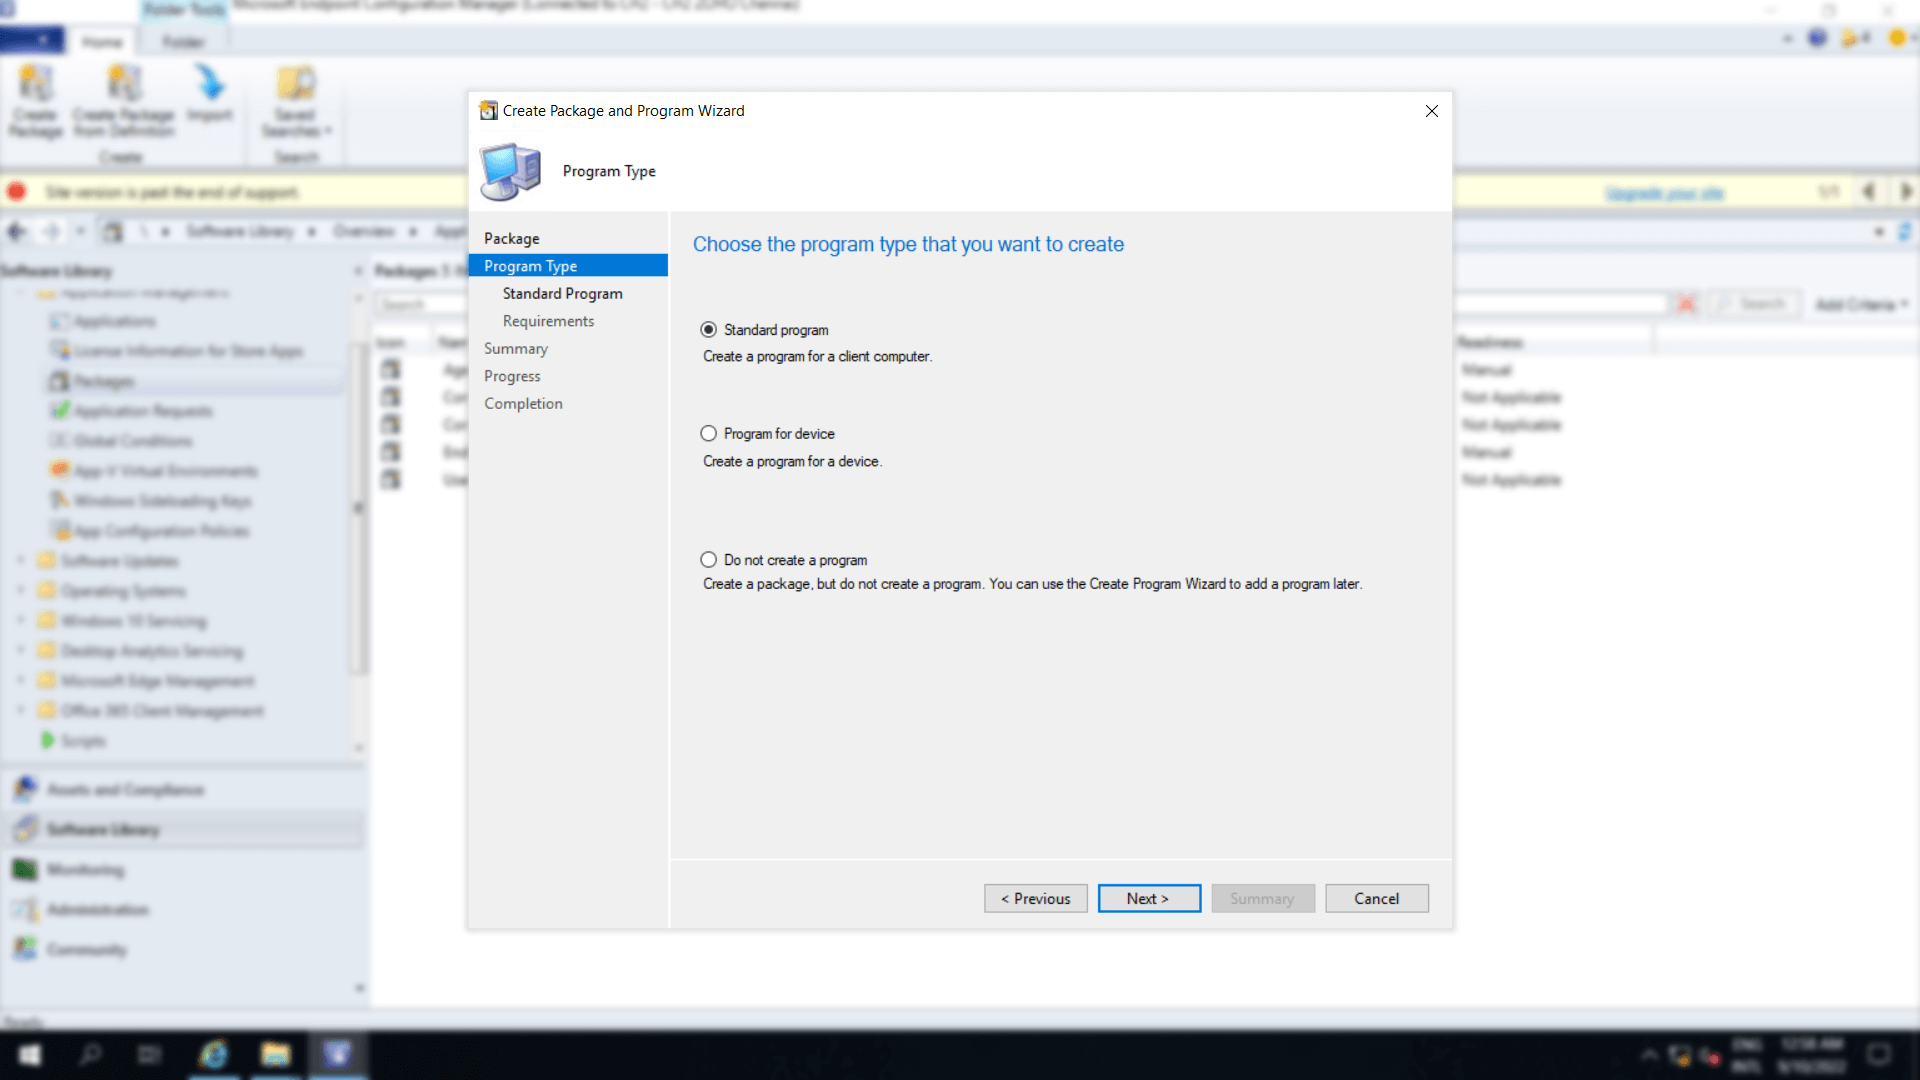
Choose the program type you want to create based on the need.
- Select either Standard program or Program for a device based on whether to create a program on a client device or on your own device respectively.
- To add a program later in the created package, select Do not create a program.
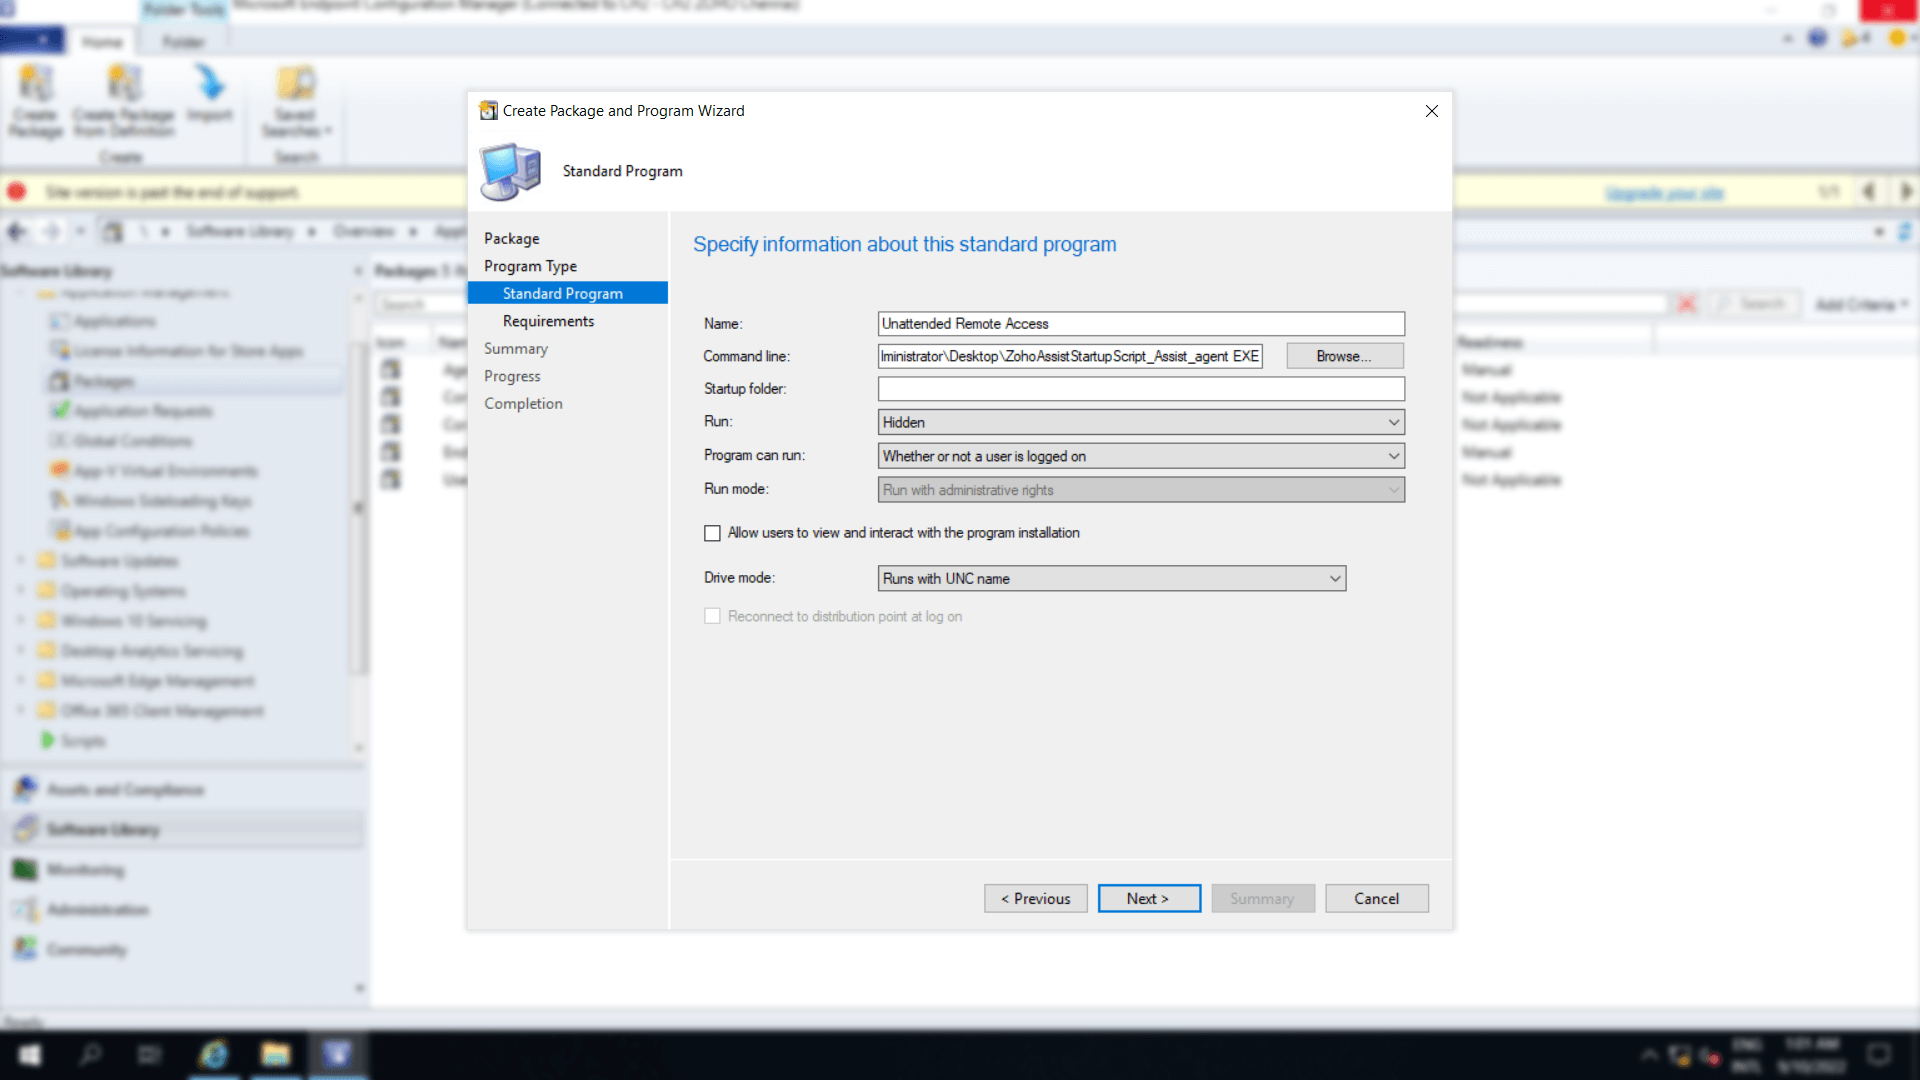
Name the software and specify the command line by the following order of ZohoAssistSetup.bat, space, shared path followed by the Installer type (i.e EXE, MS). For reference, the below samples are for EXE and MSI respectively.
Choose Hidden from the list of options under Run to install the program silently on the user's device and choose Whether or not a user is logged on under Program can run and click Next to install regardless of whether a user is signed in or not.
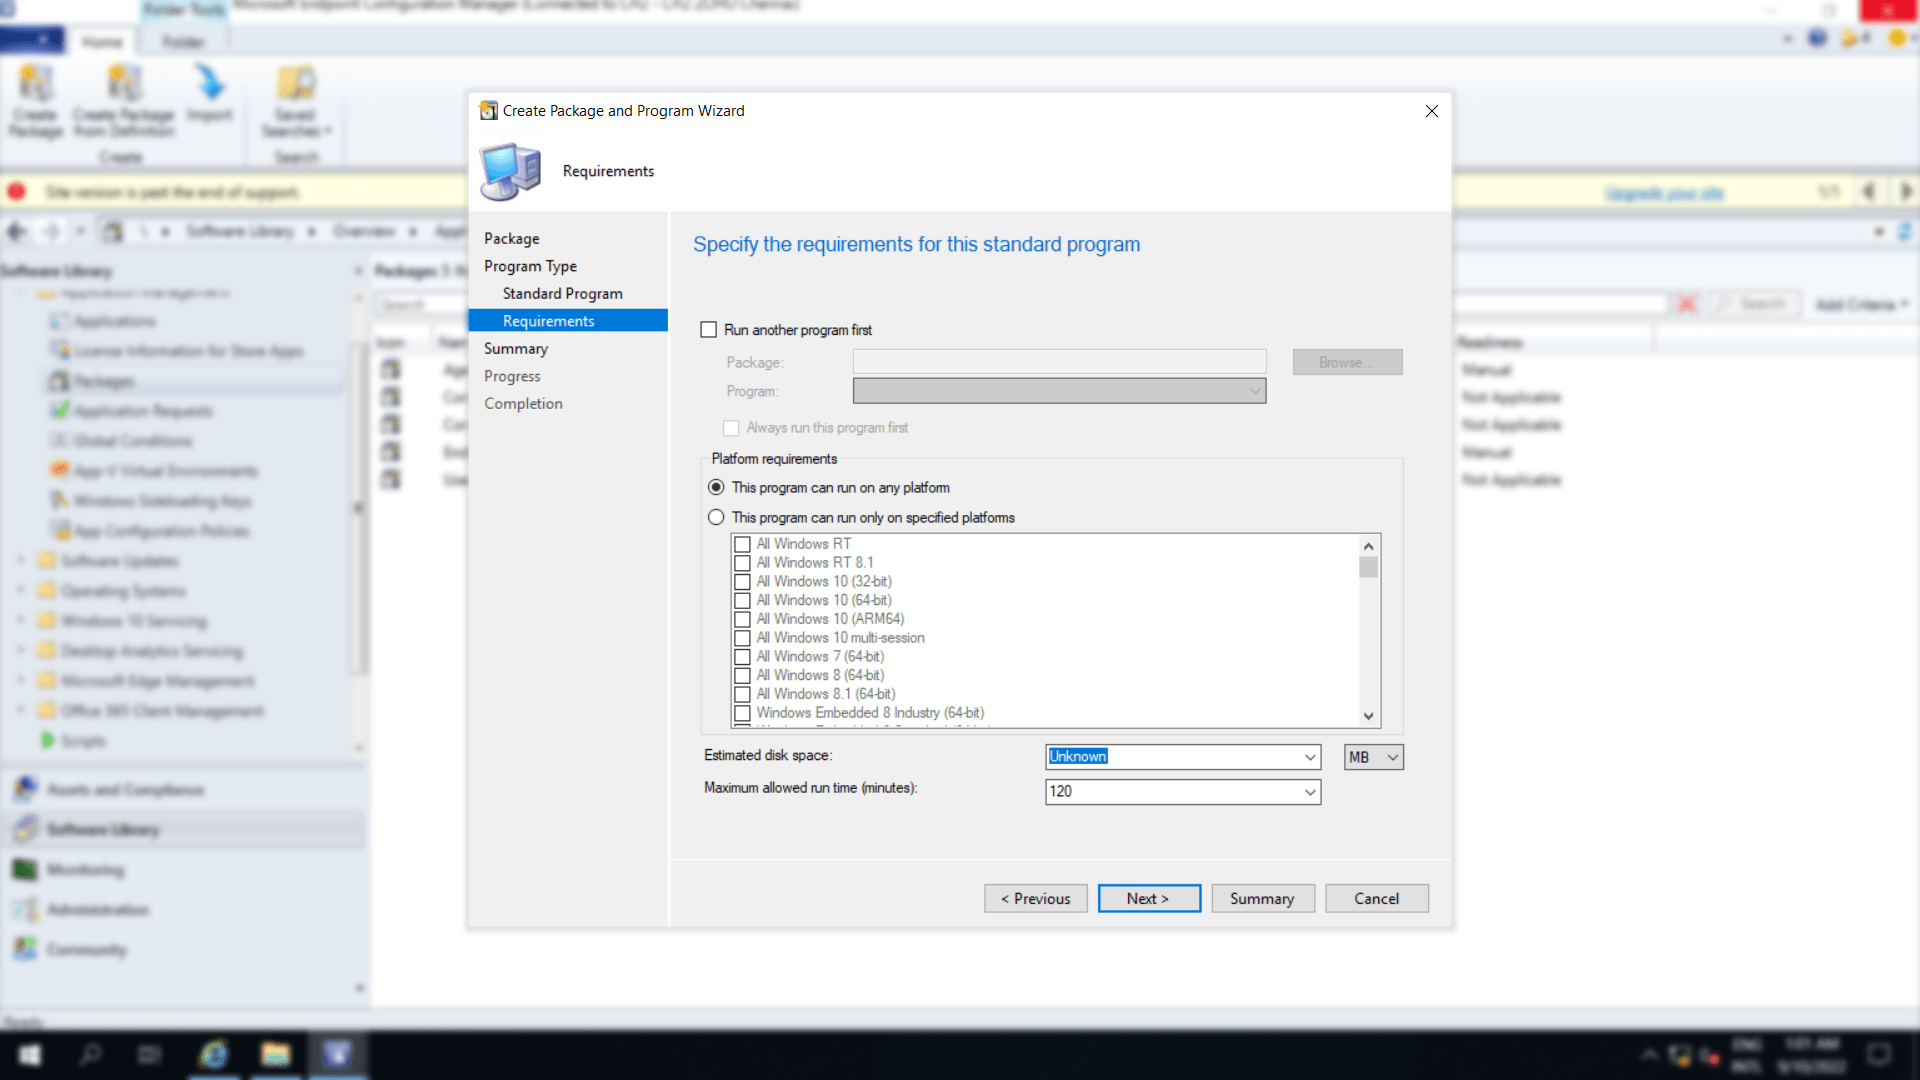
With the existing default estimated disk space and maximum allowed run time, click Next.
Confirm the settings in the summary and click Next.
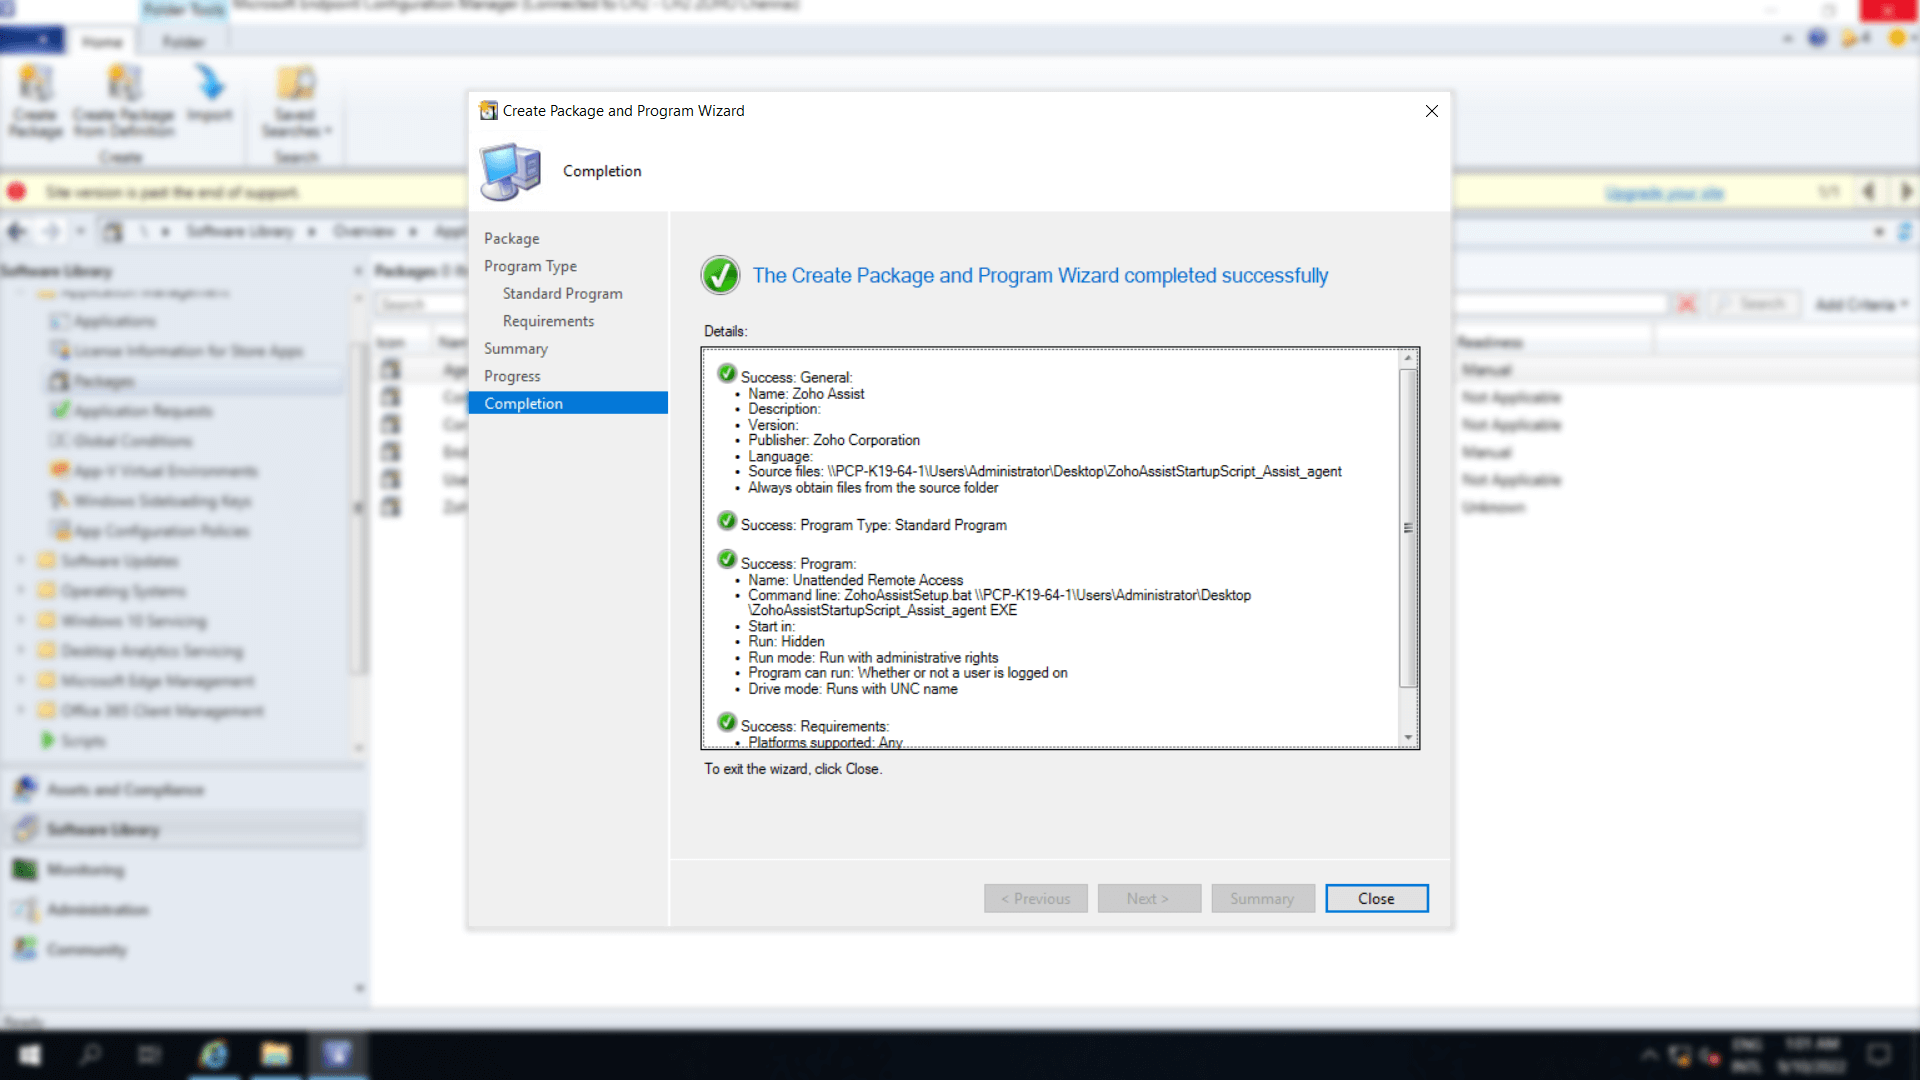
Complete the Create package and Program Wizard by clicking Next, then exit the wizard by clicking Close.
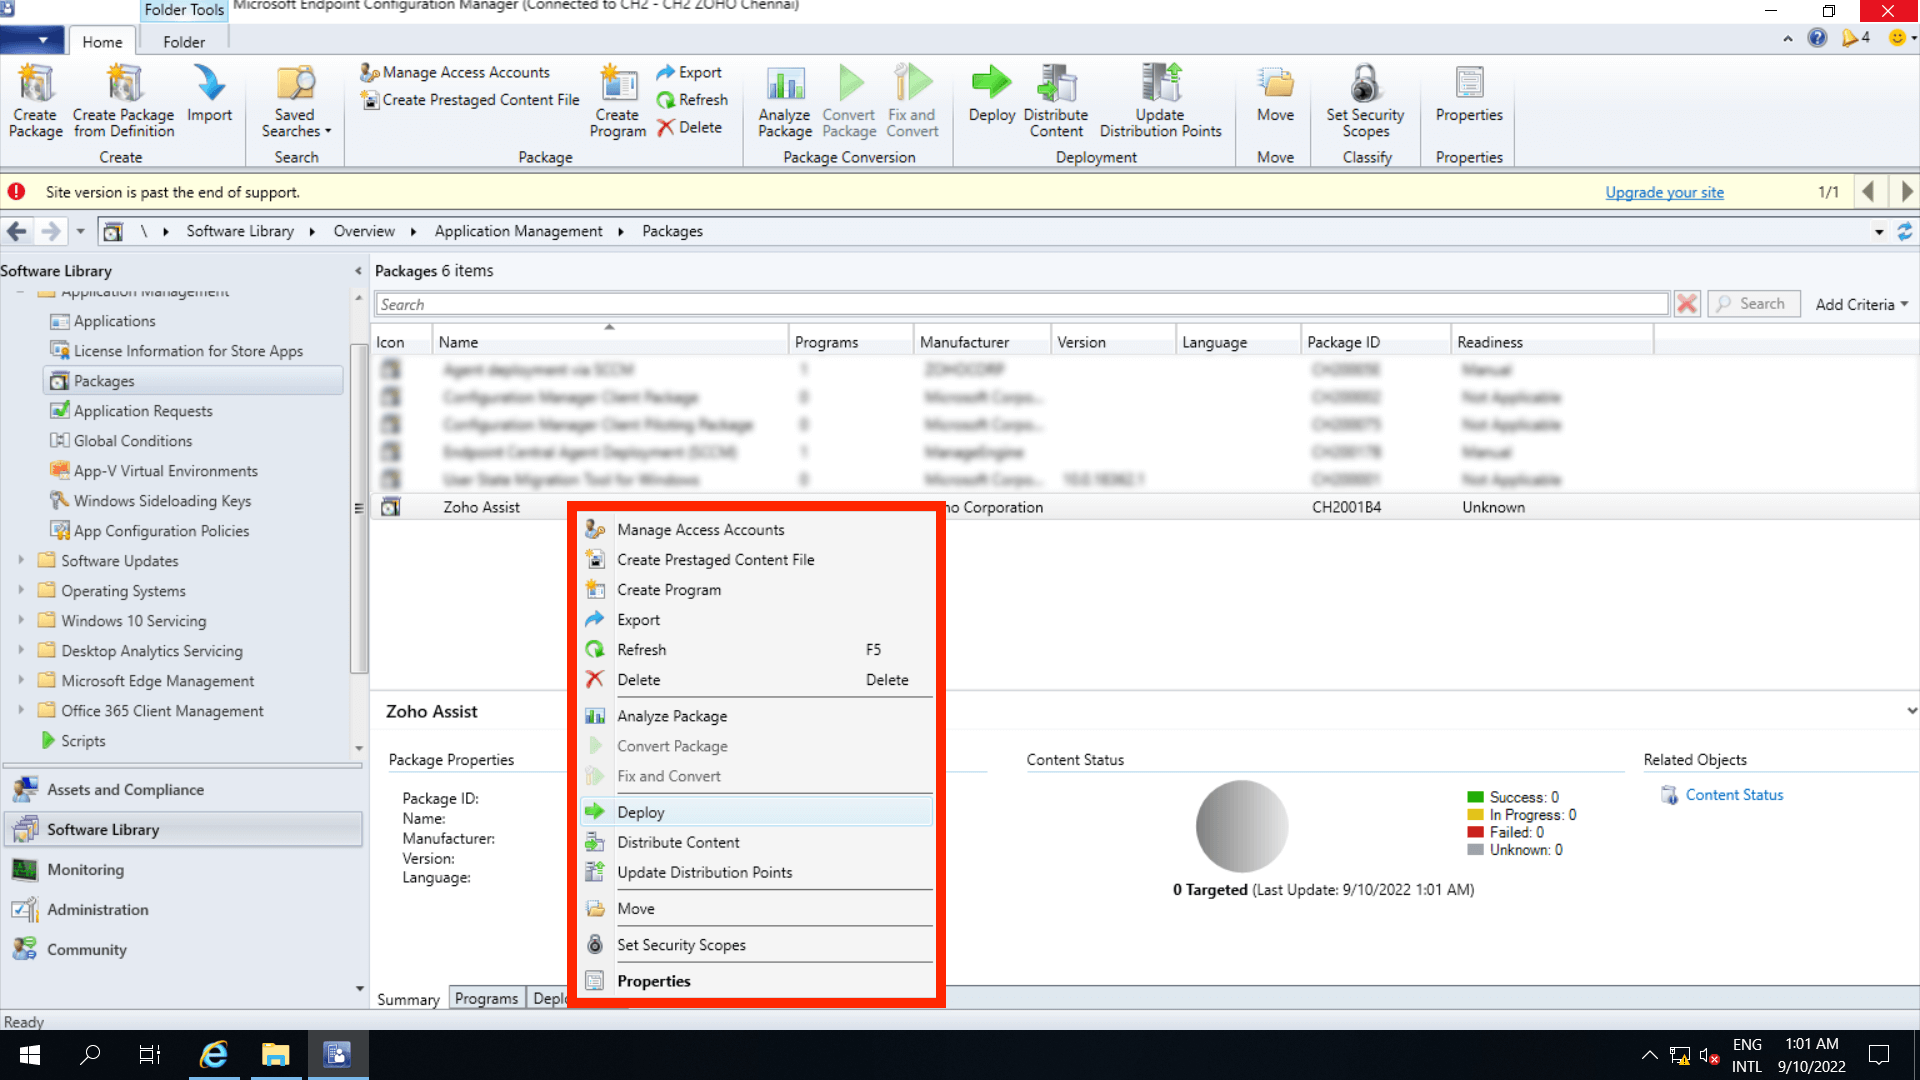
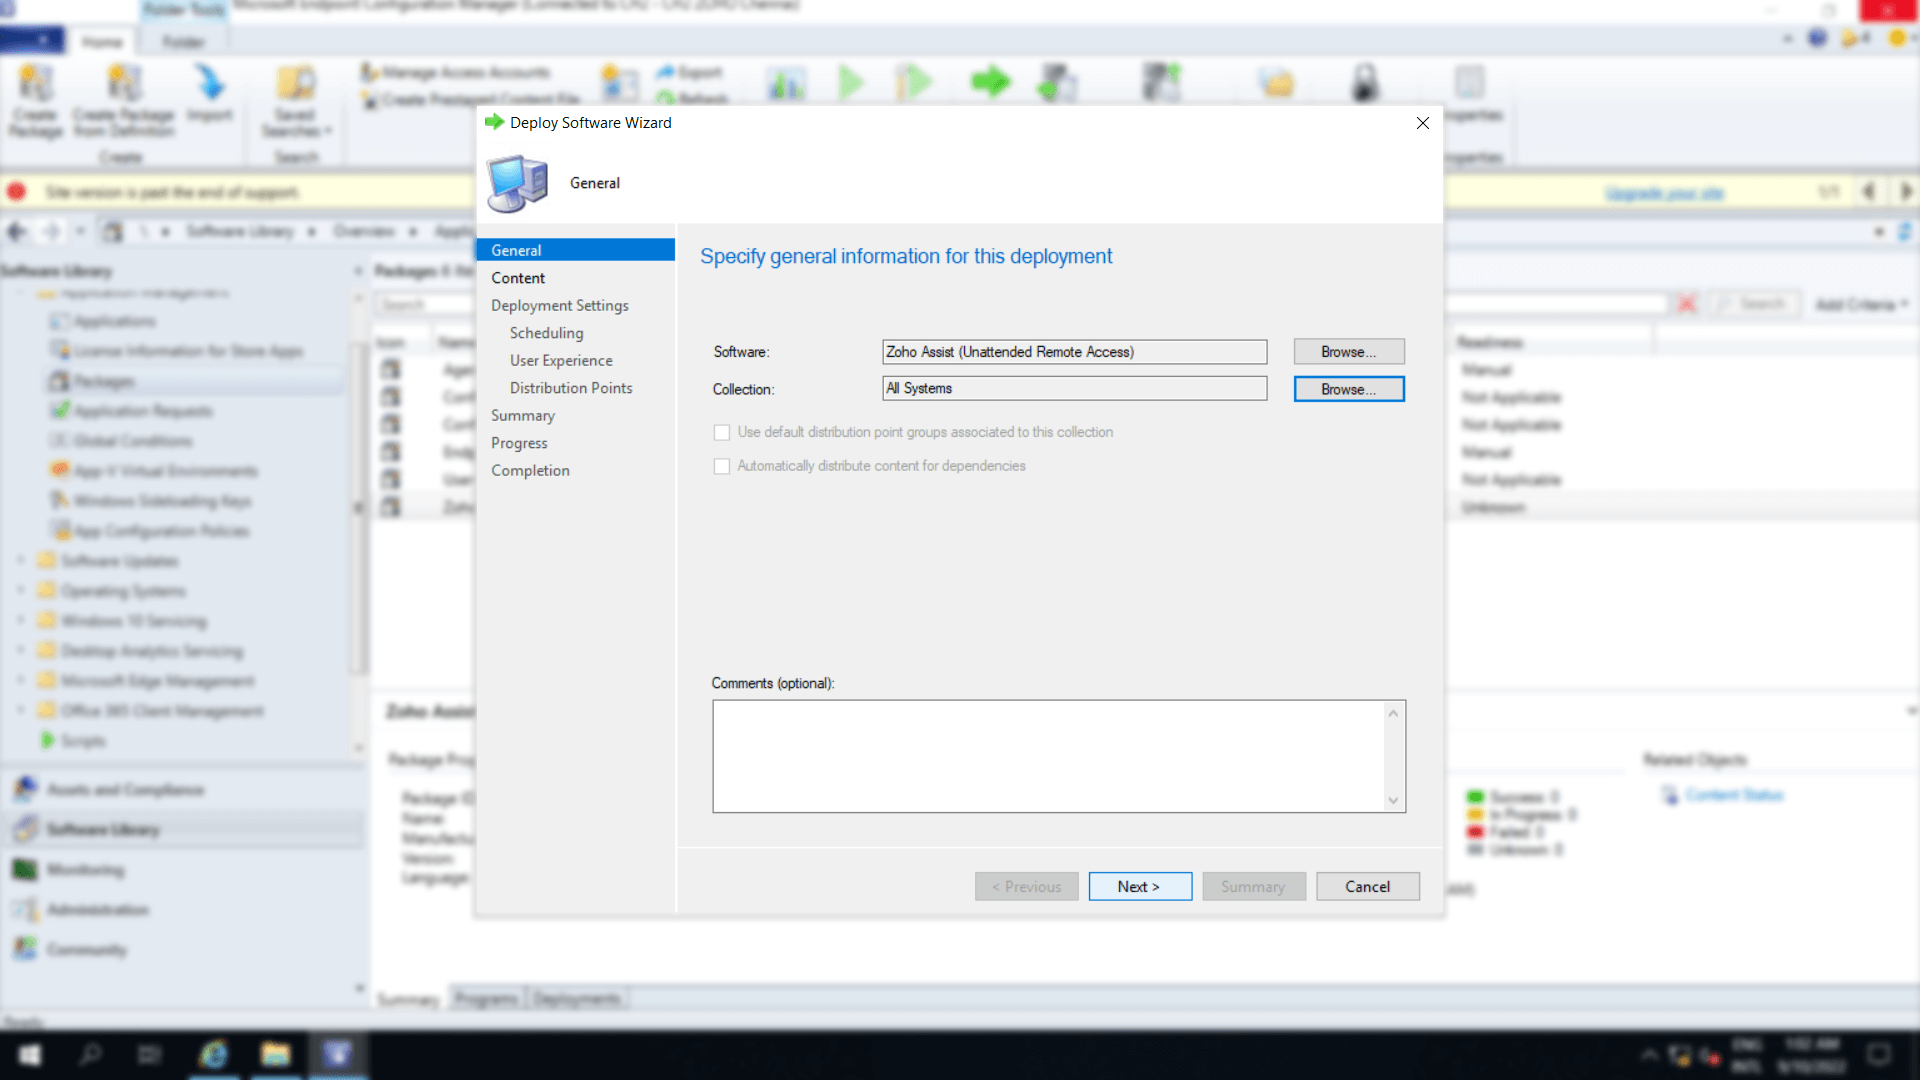
To deploy the package, right-click on the created package and choose Deploy.
Specify the general information for this deployment such as the name of the software and collection in which you want to deploy it and click Next.
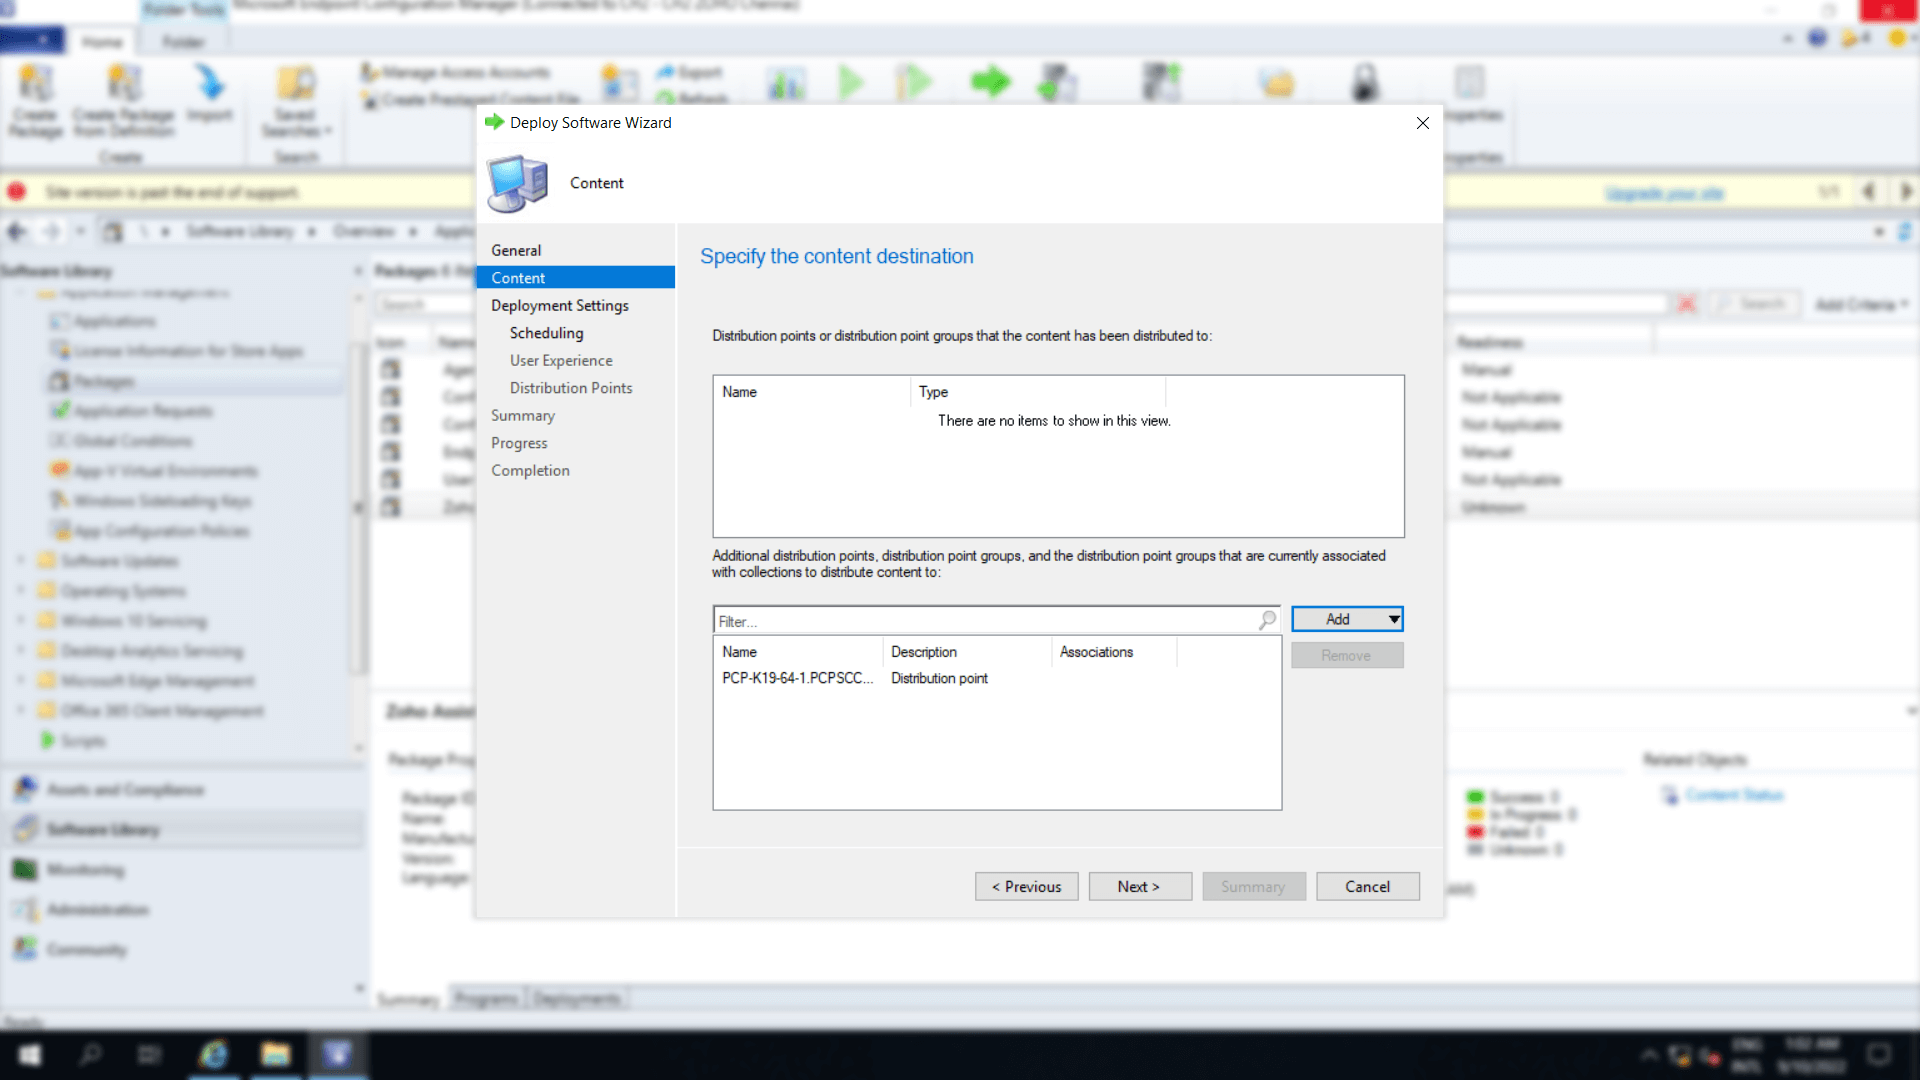
Add distribution point groups in the content destination and click Next.
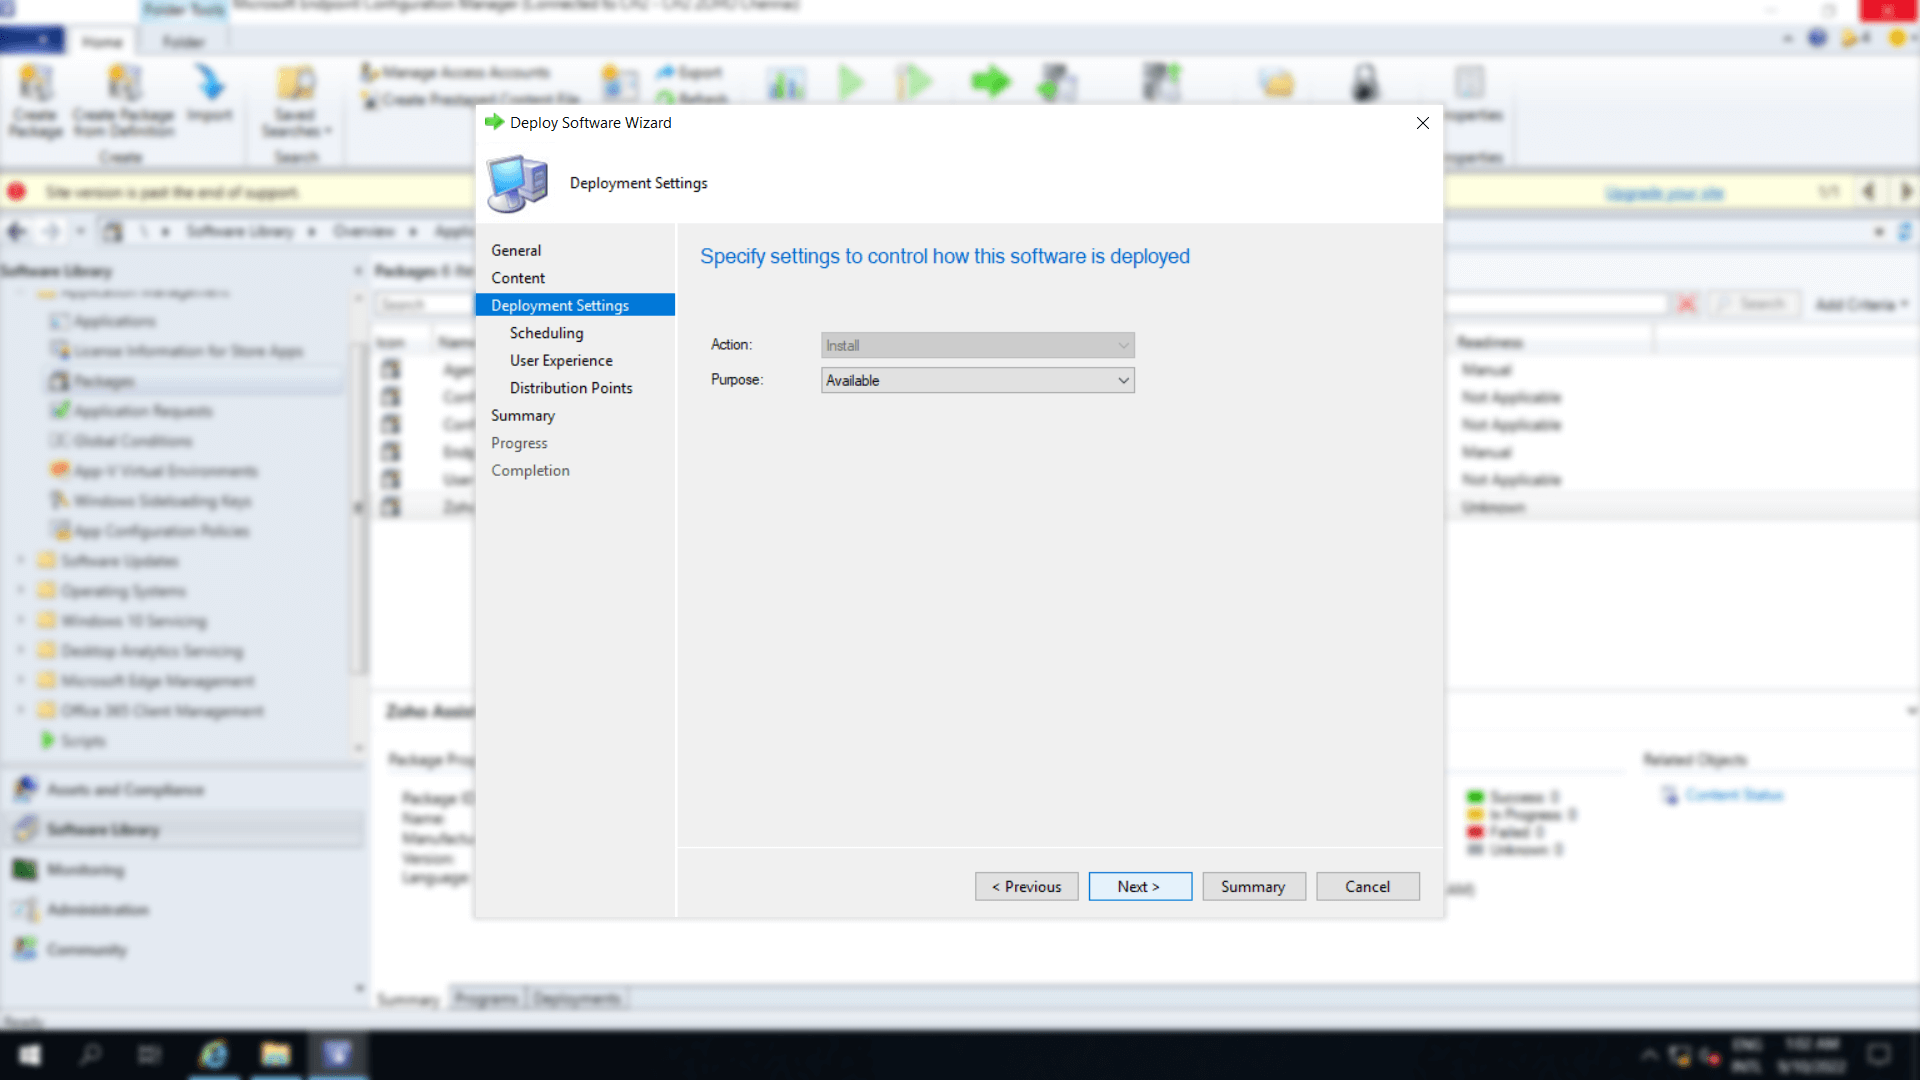
Set Purpose as either Available or Required in the Deployment settings based on your needs.
- Setting Purpose to Available will make the installer available in the Software Center and prevent it from automatic installation.
- Setting Purpose to Required will directly install assist in the domain systems.
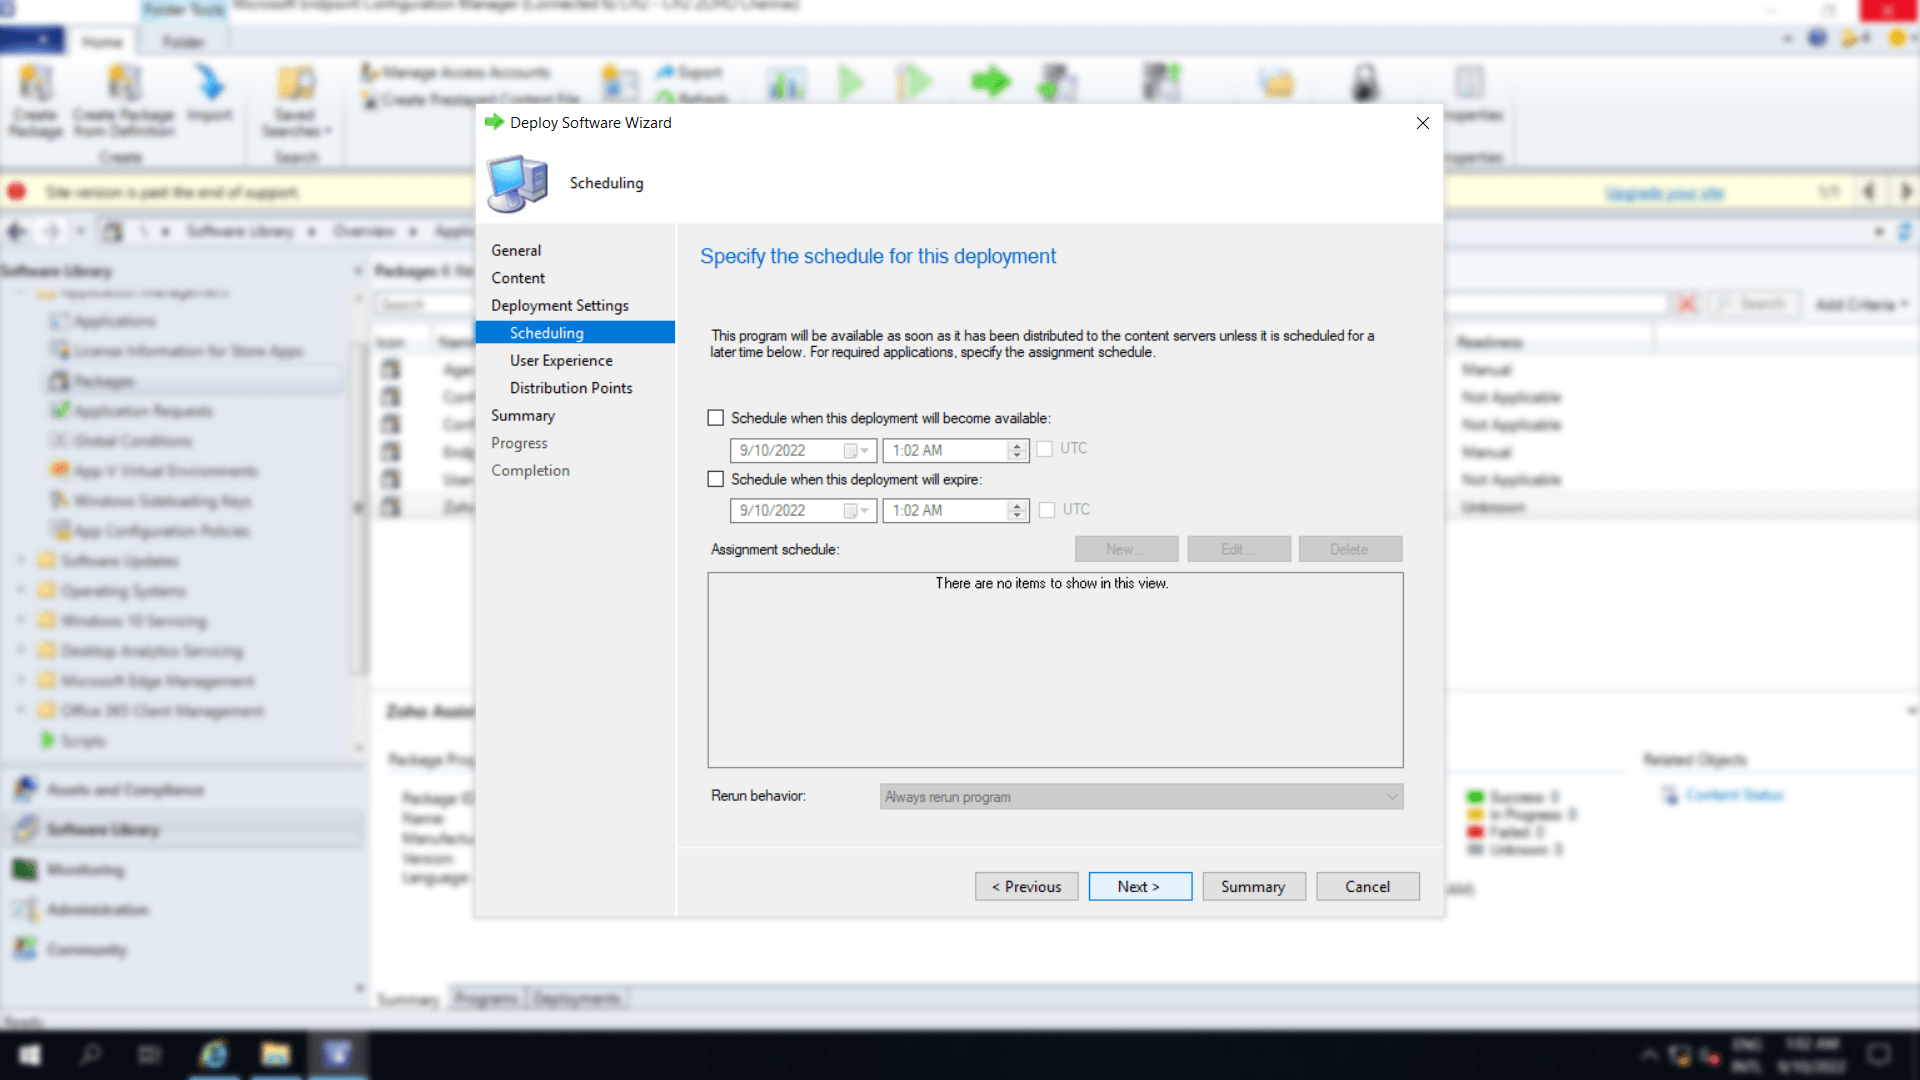
By default, the deployment will be initiated in the client's device after the policy period. To schedule the deployment, provide both start and end date time.
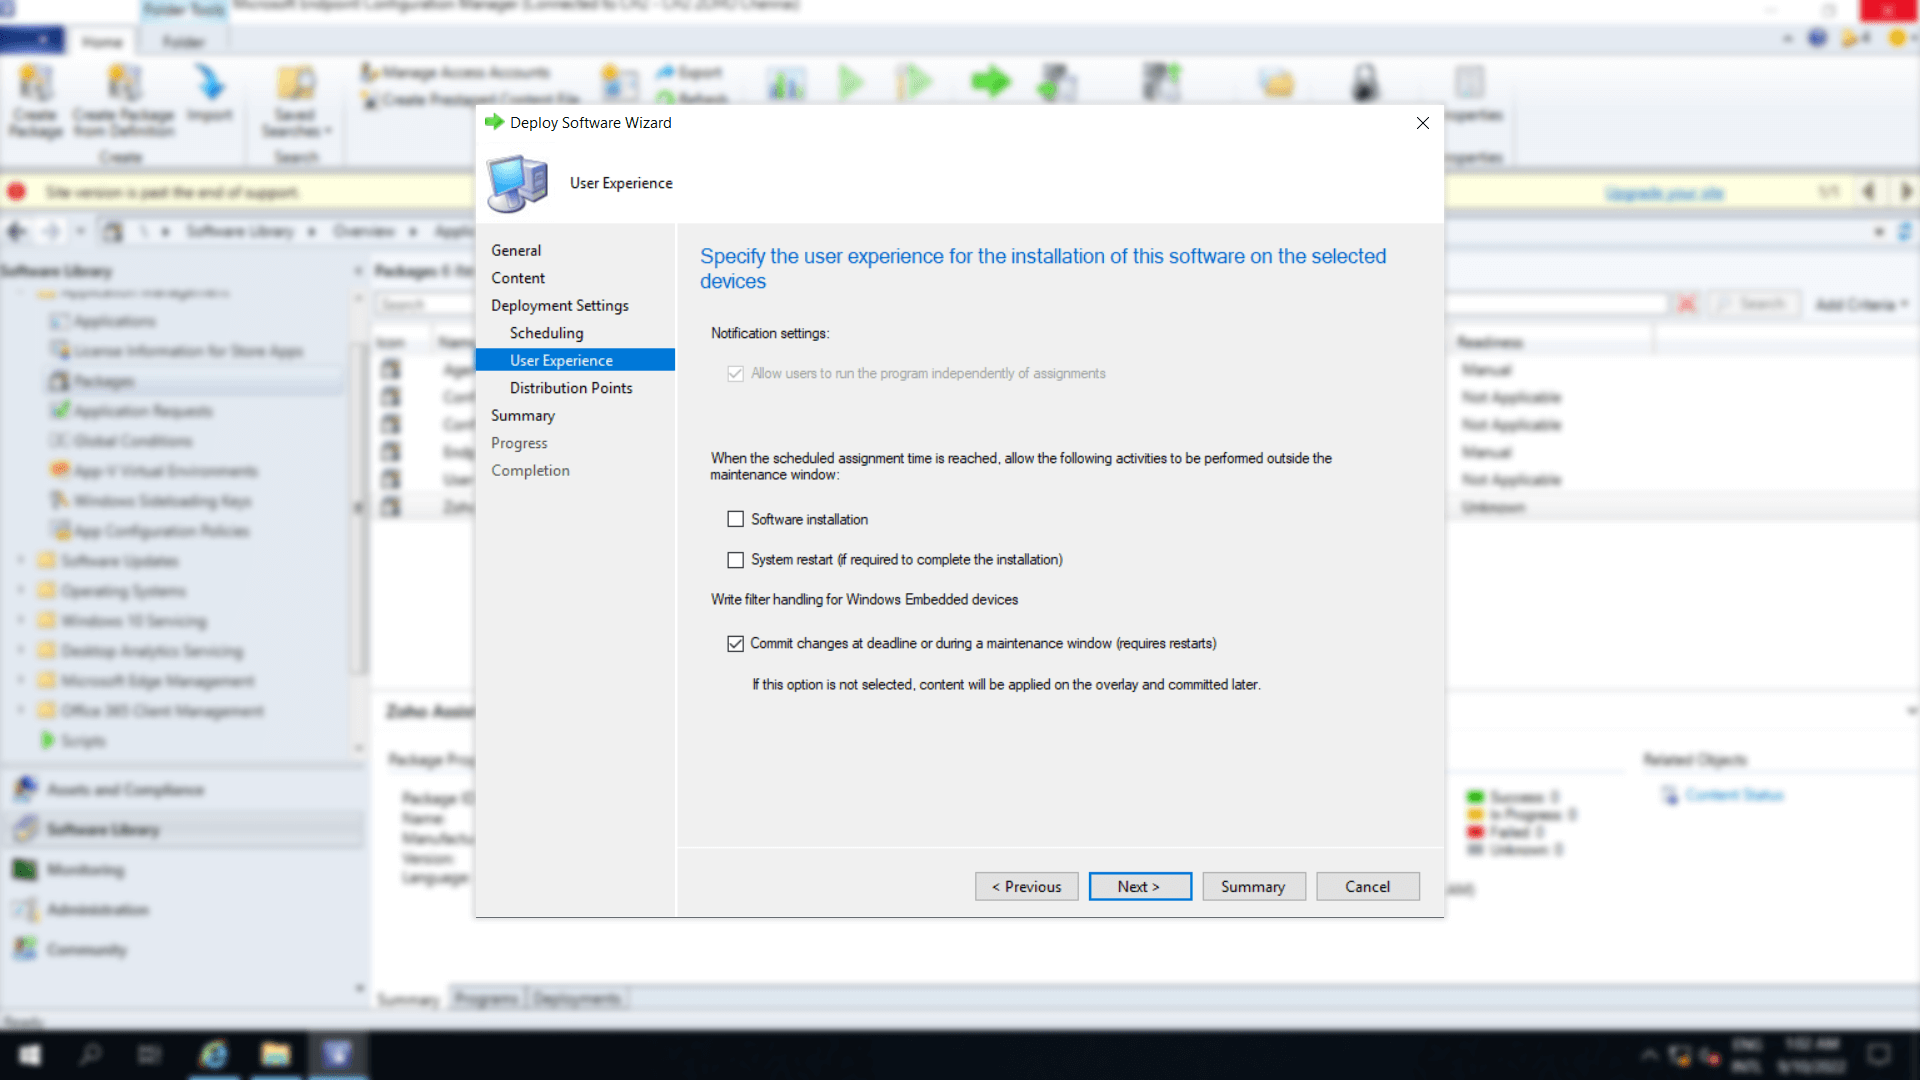
Specify the User experience for installation of this software on the selected devices.
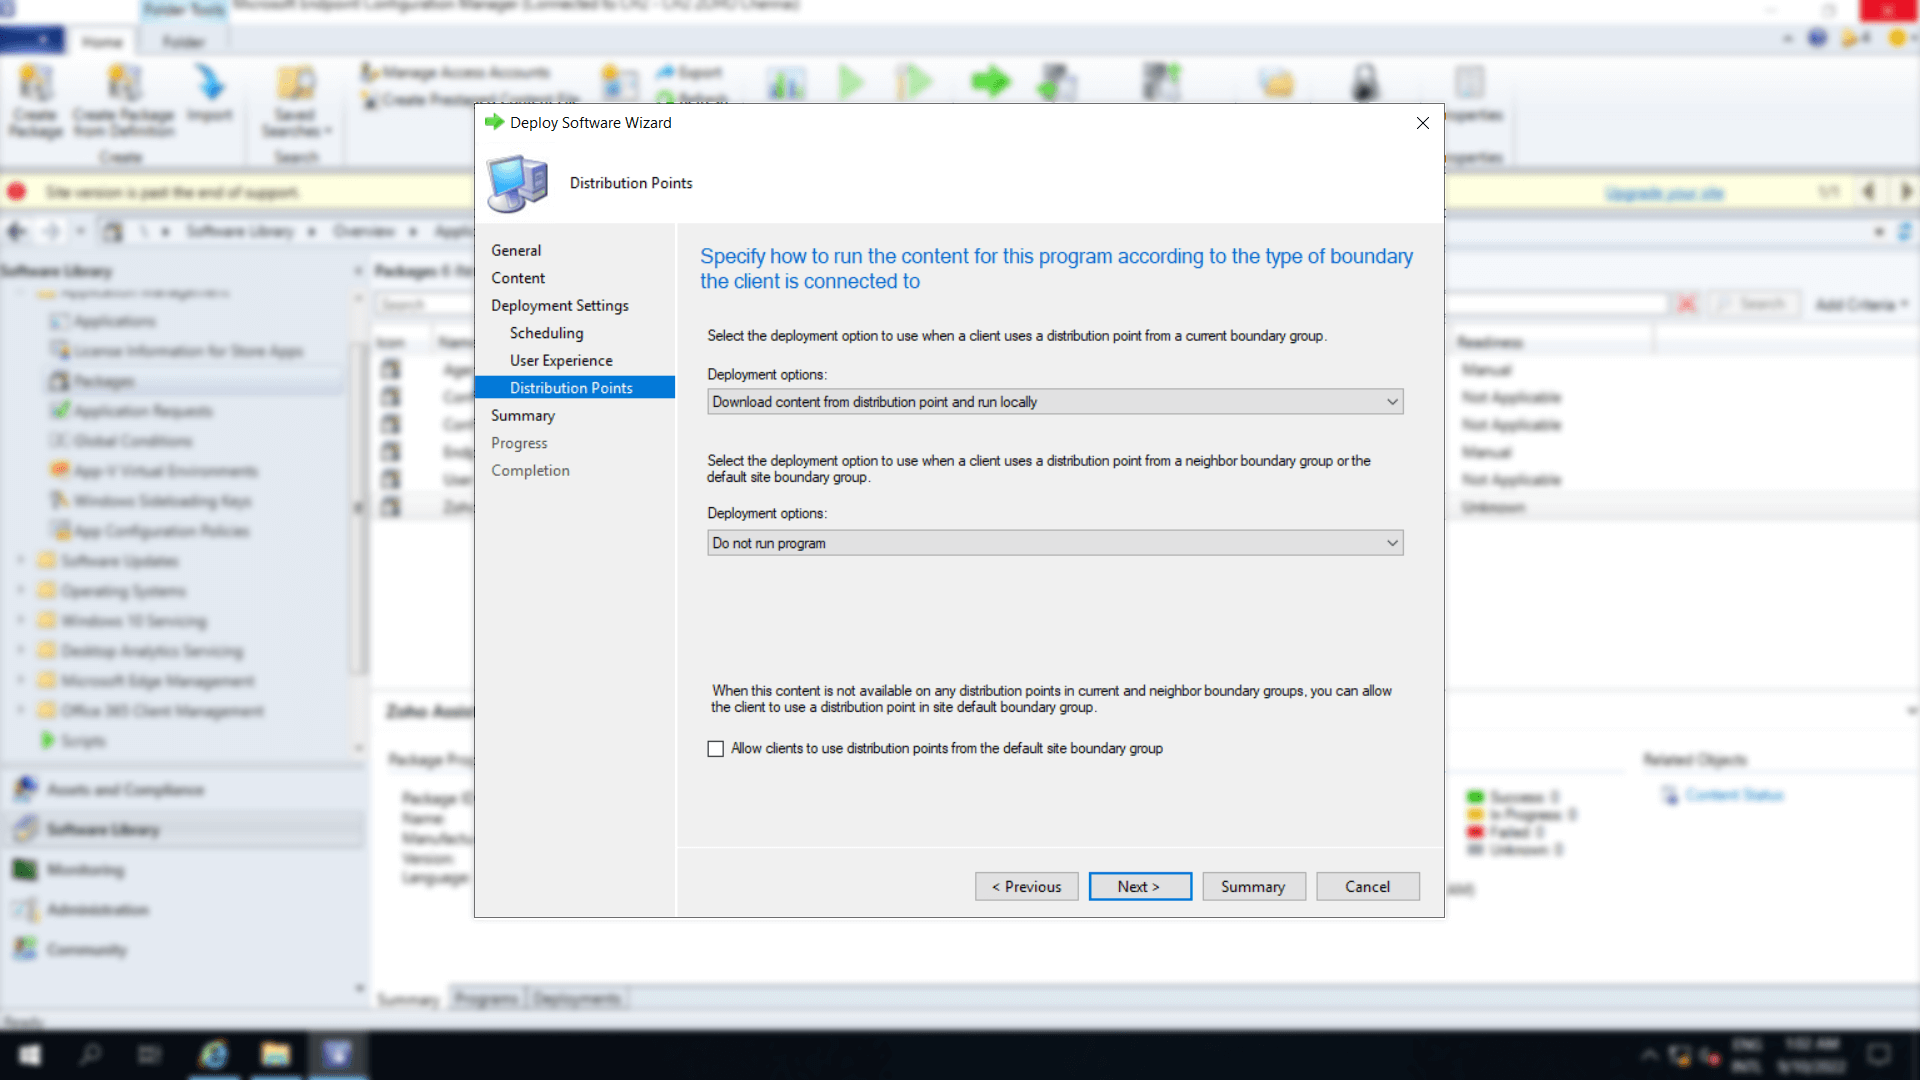
Specify how to run the context for the program according to the type of boundary the client is connected to in Distribution points and click Next.
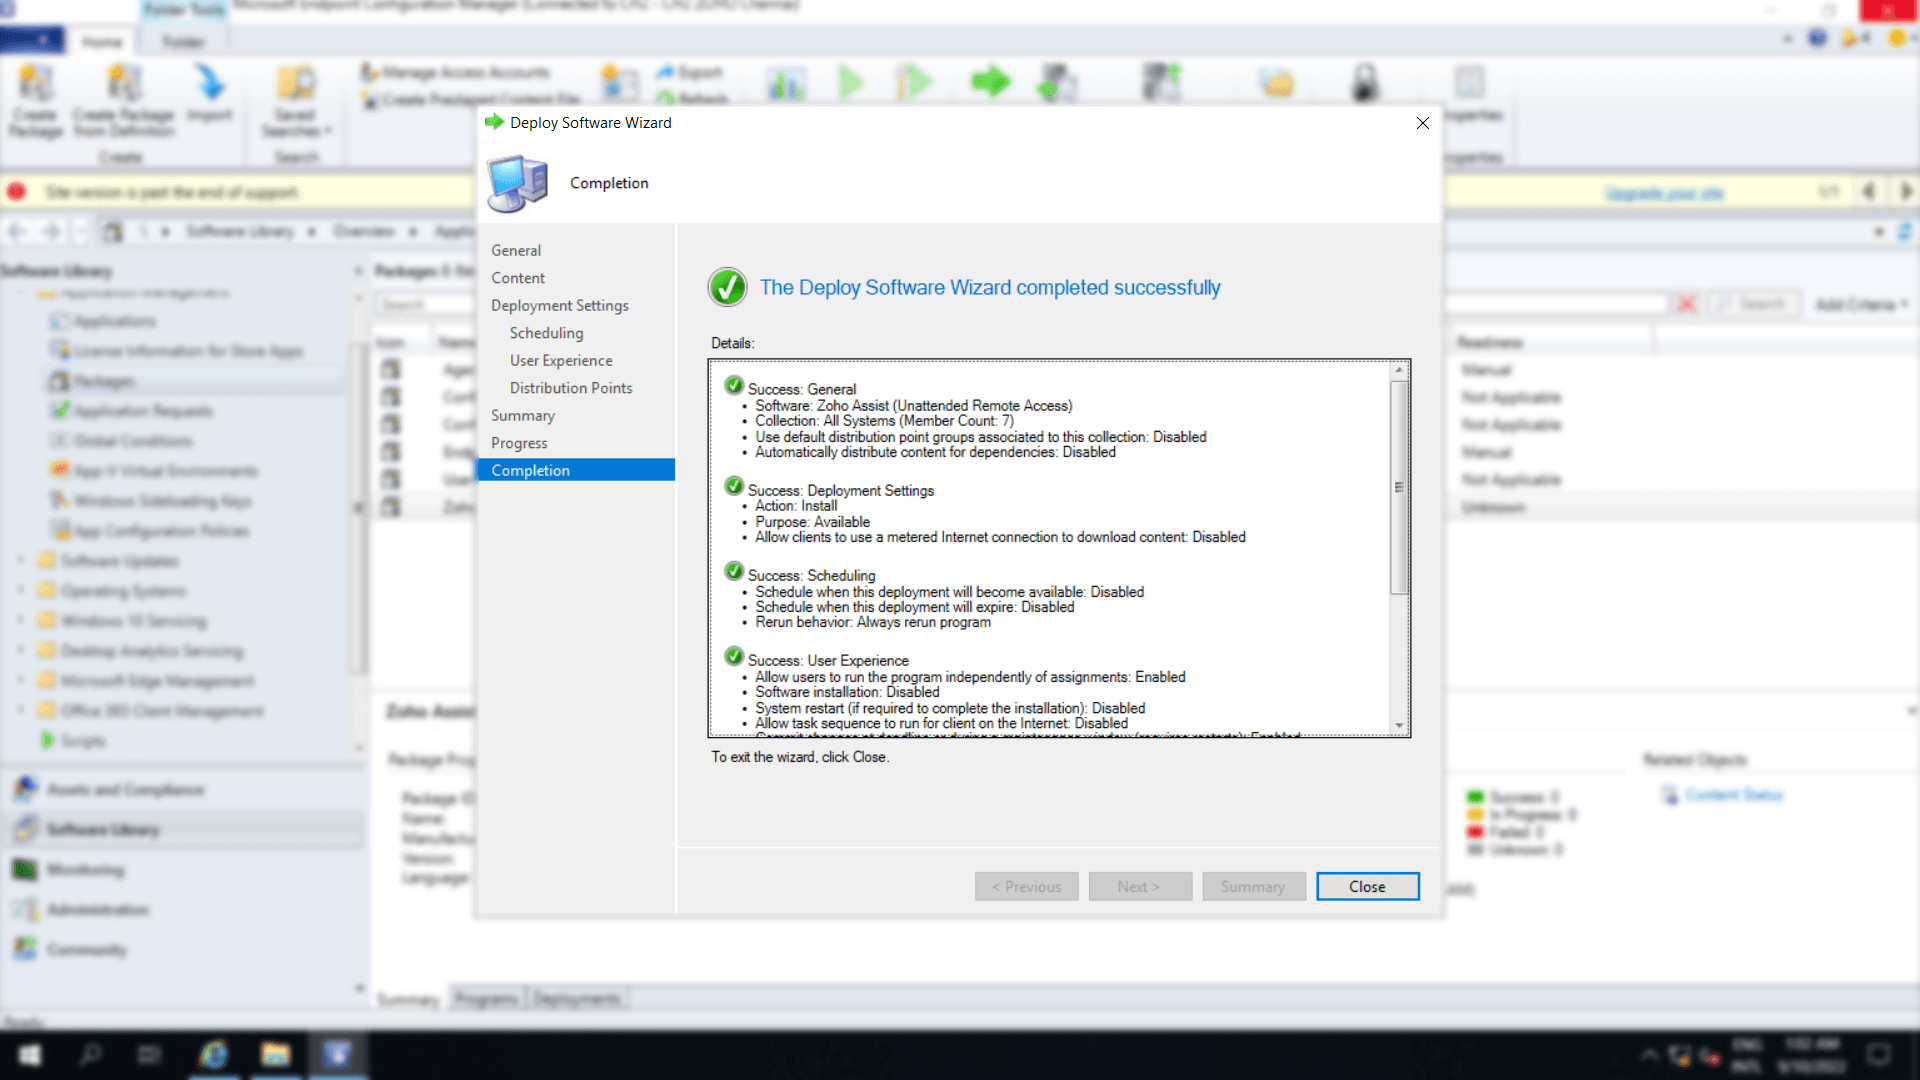
Confirm the settings for this deployment in Summary, Progress by clicking Next and click close after the Completion of Deployment.


Specify information to create the chosen program as follows.
ZohoAssistSetup.bat \\PCP-K19-64-1\Users\Administrator\Desktop\ZohoAssistStartupScript_Assist_agent EXE
ZohoAssistSetup.bat \\PCP-K19-64-1\Users\Administrator\Desktop\ZohoAssistStartupScript_Assist_agent MSI


