Quick Support
Zoho Assist’s Quick Support is a desktop plugin that allows customers to join remote sessions instantly or raise support requests directly from their device.
Note: This feature is supported on Windows, Mac, Linux and Raspberry Pi devices.
Business Use Case: Organizations can deploy the Quick Support plugin across customer devices to streamline how end users initiate remote support. Instead of relying on email threads or phone calls, customers can instantly join a session or raise a support request directly from their desktop reducing response time and improving support efficiency. IT teams can also brand the plugin with their organization's logo and messaging, ensuring a consistent and professional support experience across all customer touch points.
Easy Access: It enables customers to join an active remote support session right from their desktop.
Request Initiation: Customers can use the plugin to raise a support request directly with your support organization.
Branding: You can create a customized Quick Support plugin featuring your organization's logo, banner, and text to enhance brand recognition.
Creating a Custom Quick Support Plugin
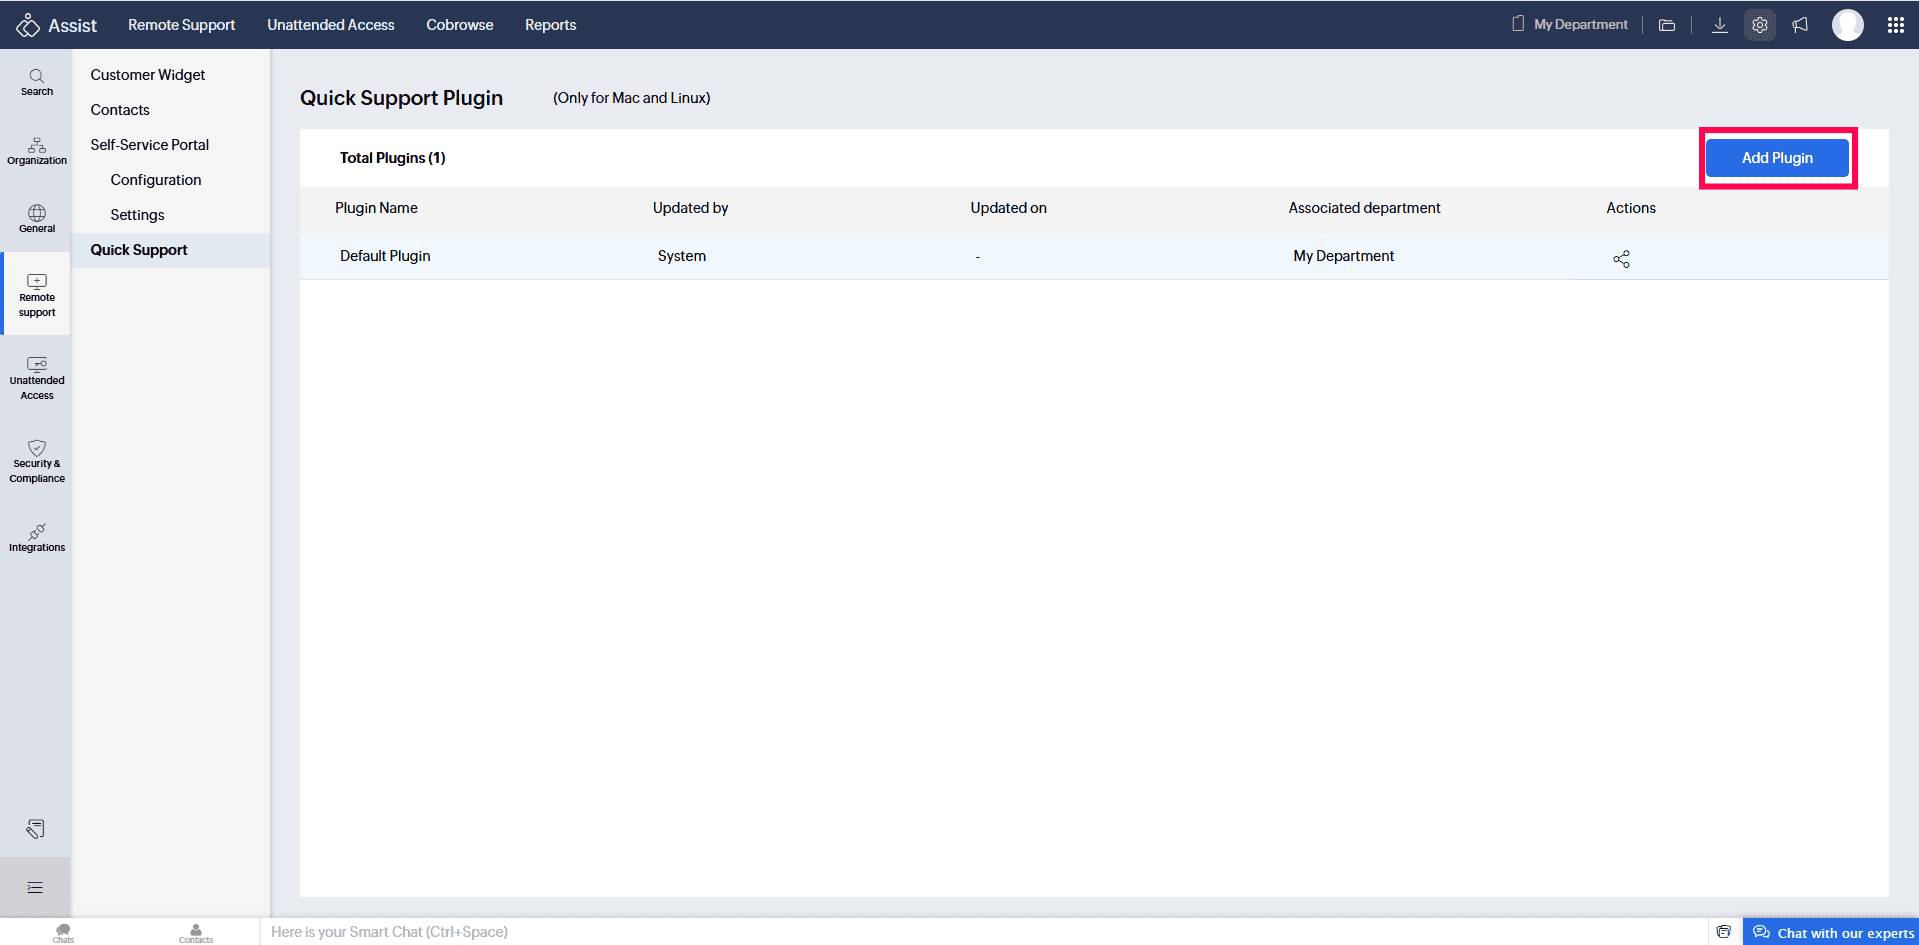
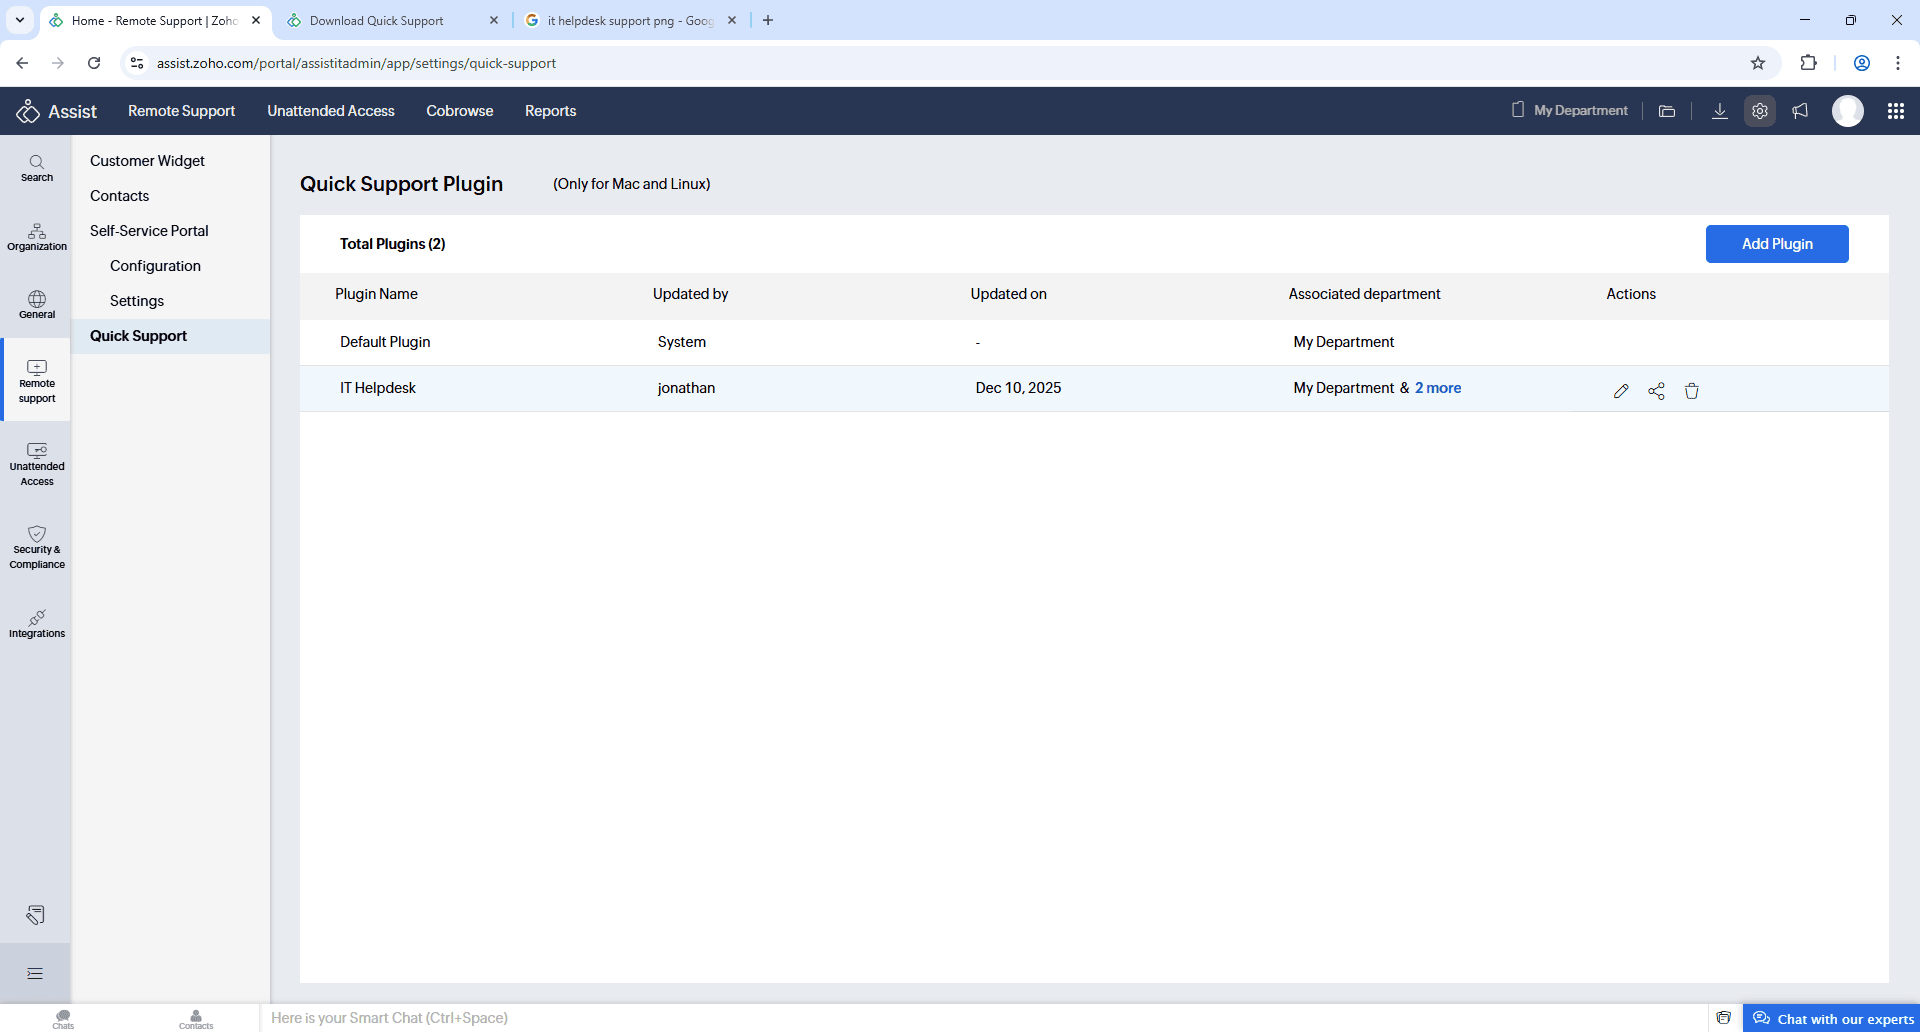
Go to Settings, under Remote support, click Quick Support
Click Add plugin to create custom quick support.
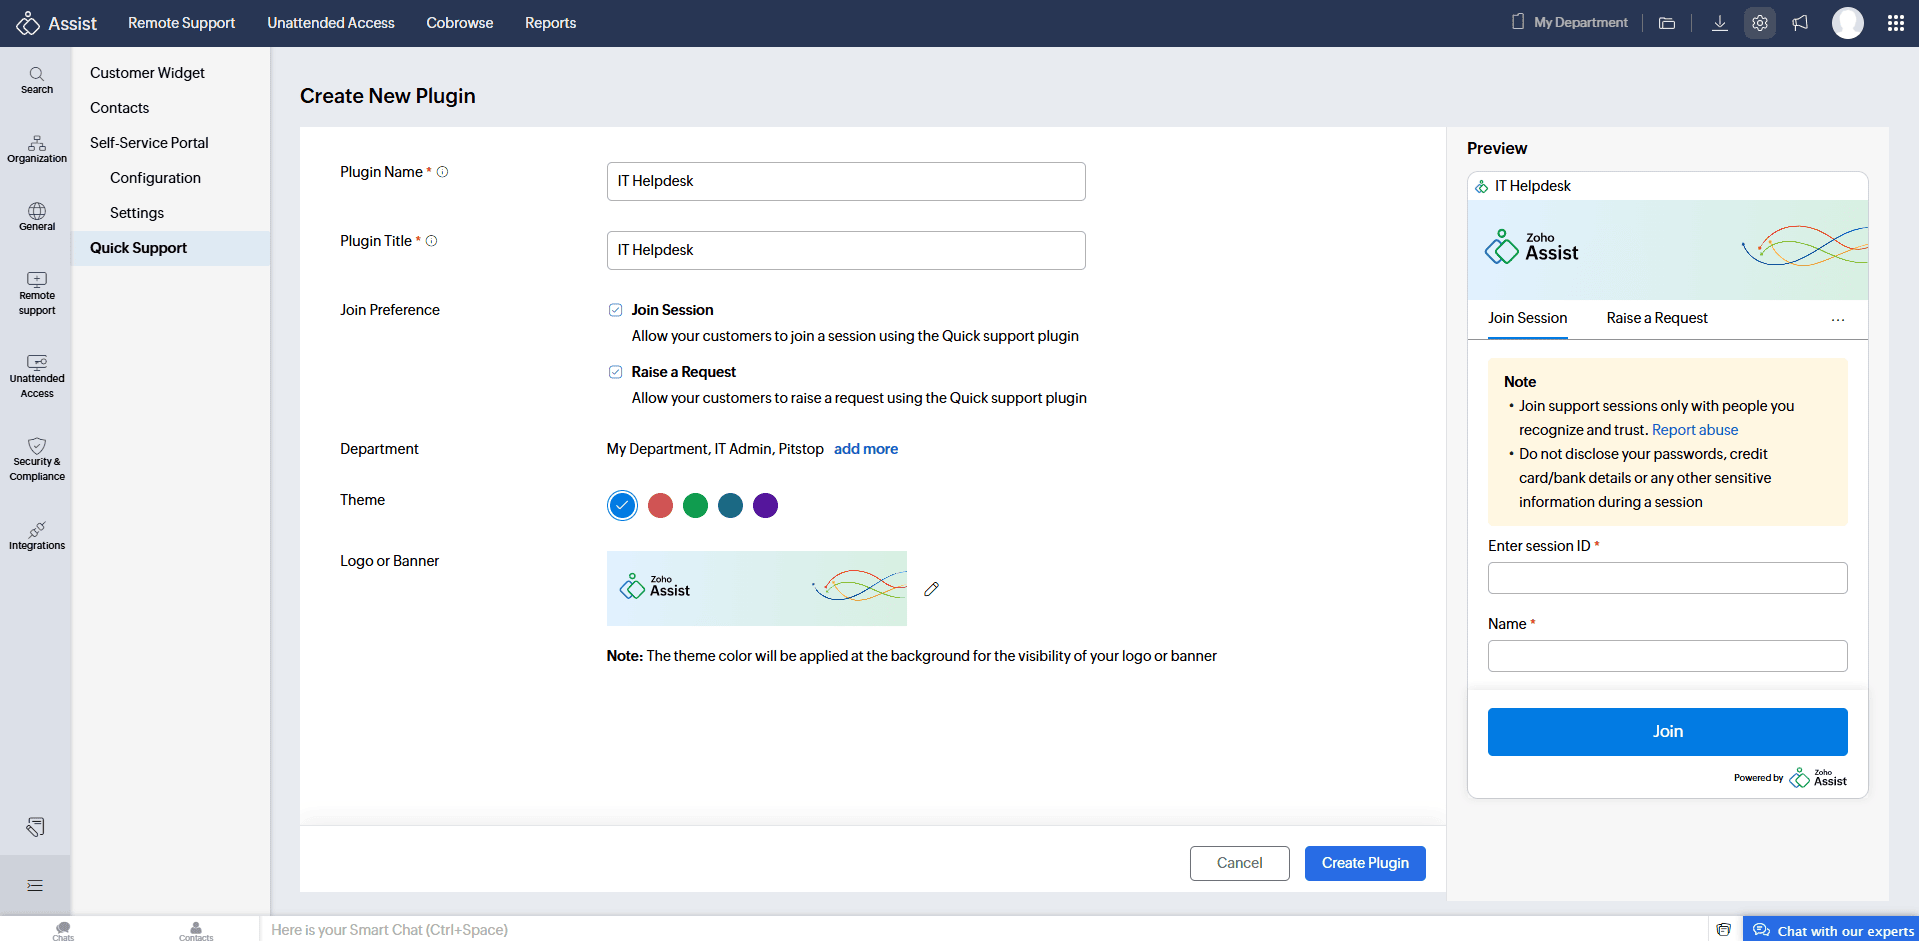
Customize the plugin according to your organization’s requirements:
Plugin Name and Plugin Title
Customer Join Preference: You can choose your customer's join preference, either join session or raise a request or both.
Join Session: Customers can join a session using the session key shared by the technician.
Raise a Request: Customers can submit an issue description and wait for a technician to accept.
Note : If Raise a Request is unavailable to select, ensure the Self-Service Portal is enabled. To enable, go to Settings > Remote Support > Self-Service Portal > Configurations and turn on the Self-Service Portal toggle.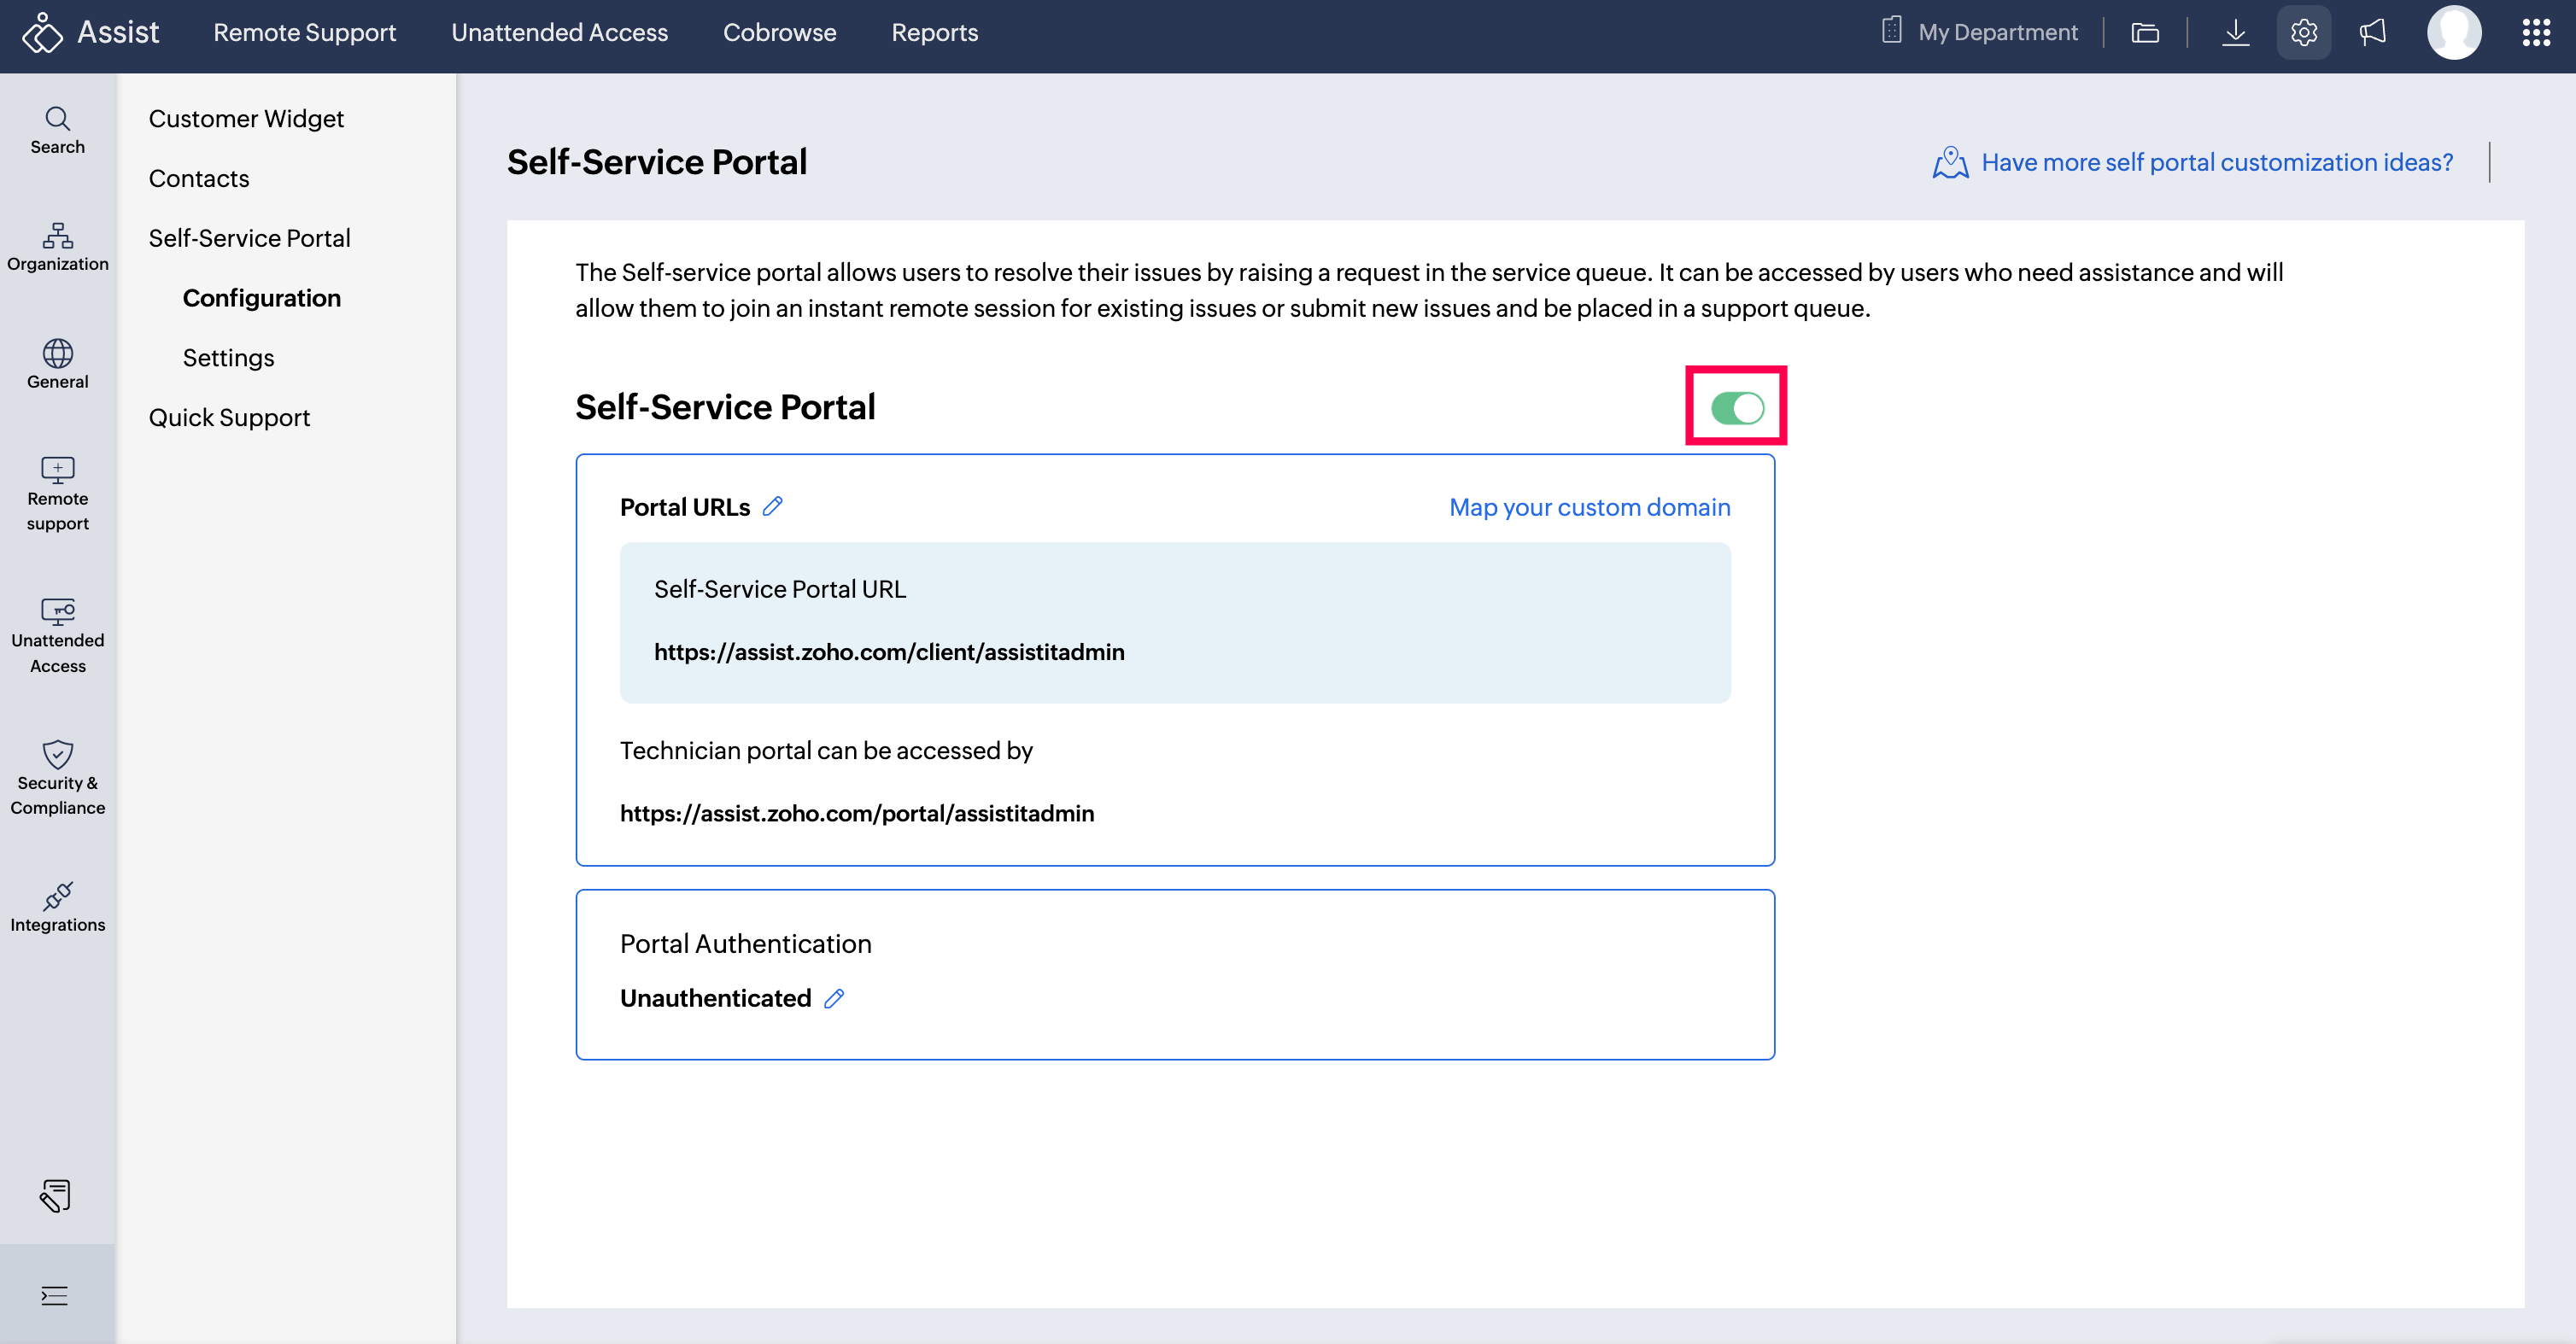
Departments: You can configure one or more departments for the quick support plugin. Configured department will be listed on the plugin, Customers can select a department when raising a request.
Theme Color: Theme color can also be customised.
Banner/Logo: You can upload an image (JPG/JPEG/PNG), under 5 MB, with file names containing only letters, numbers, spaces, periods, hyphens, or underscores.
You can use the Preview panel on the right to view the customization in real time.
Click Create Plugin to generate your custom Quick Support plugin.
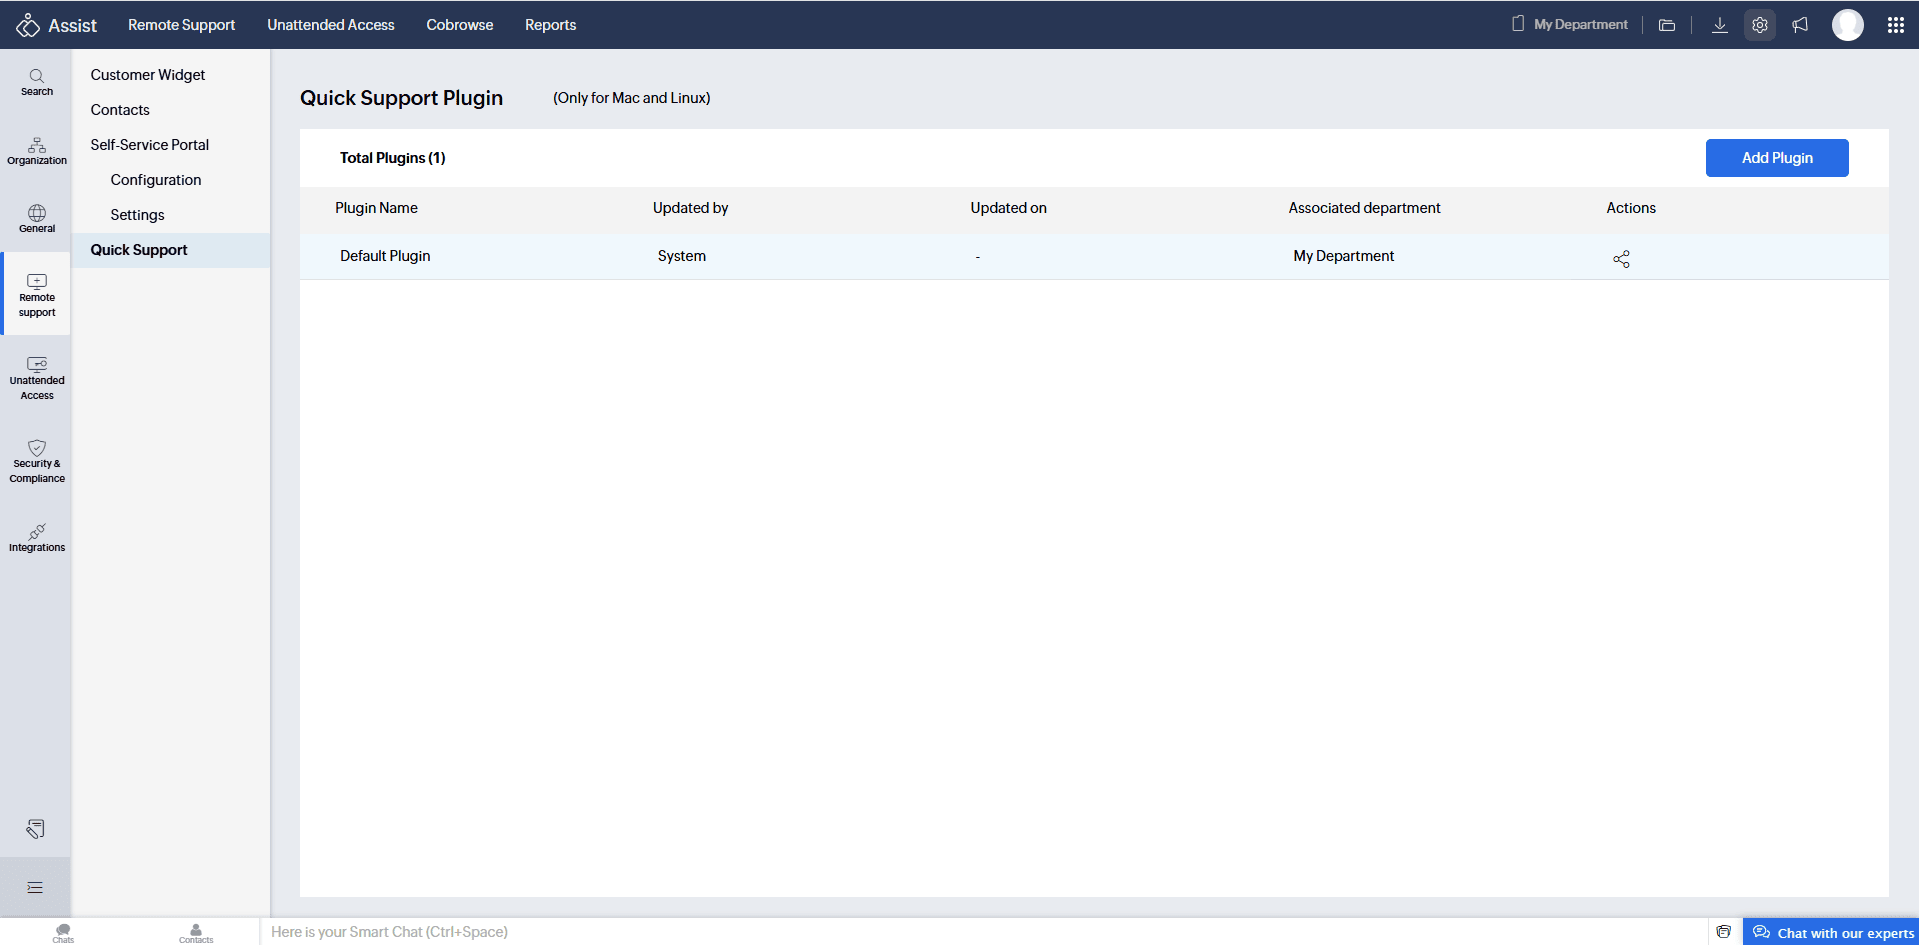
Once created, the plugin will appear in the Quick Support list, where you can edit or delete it at any time.


Sharing and Downloading the Quick Support Plugin
A default plugin linked to your department will be displayed. Click the Share icon to copy or email the Plugin link to customers.
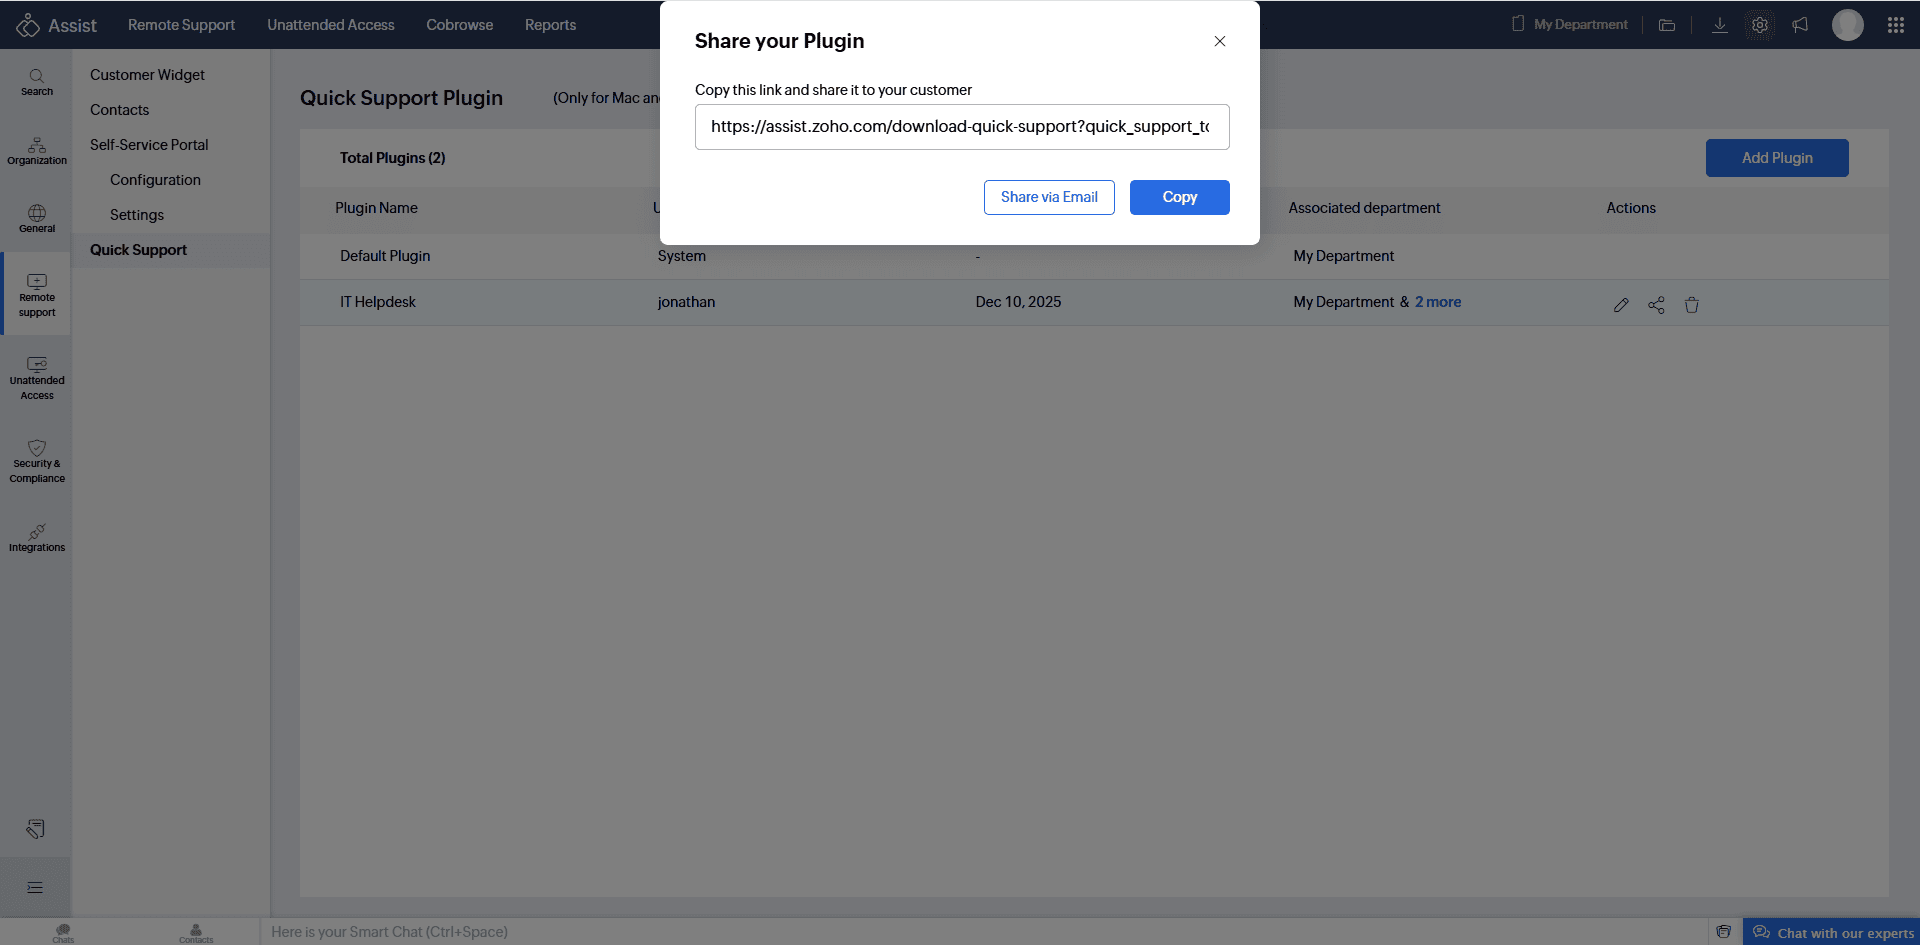
Alternatively, click Share next to the created plugin to generate a unique download URL.
Share this download link via email or just copy the link and share it to the customer to enter the same on their browser.
When customers open the URL link in the browser, the Quick Support Installer page will appear with your organization details.
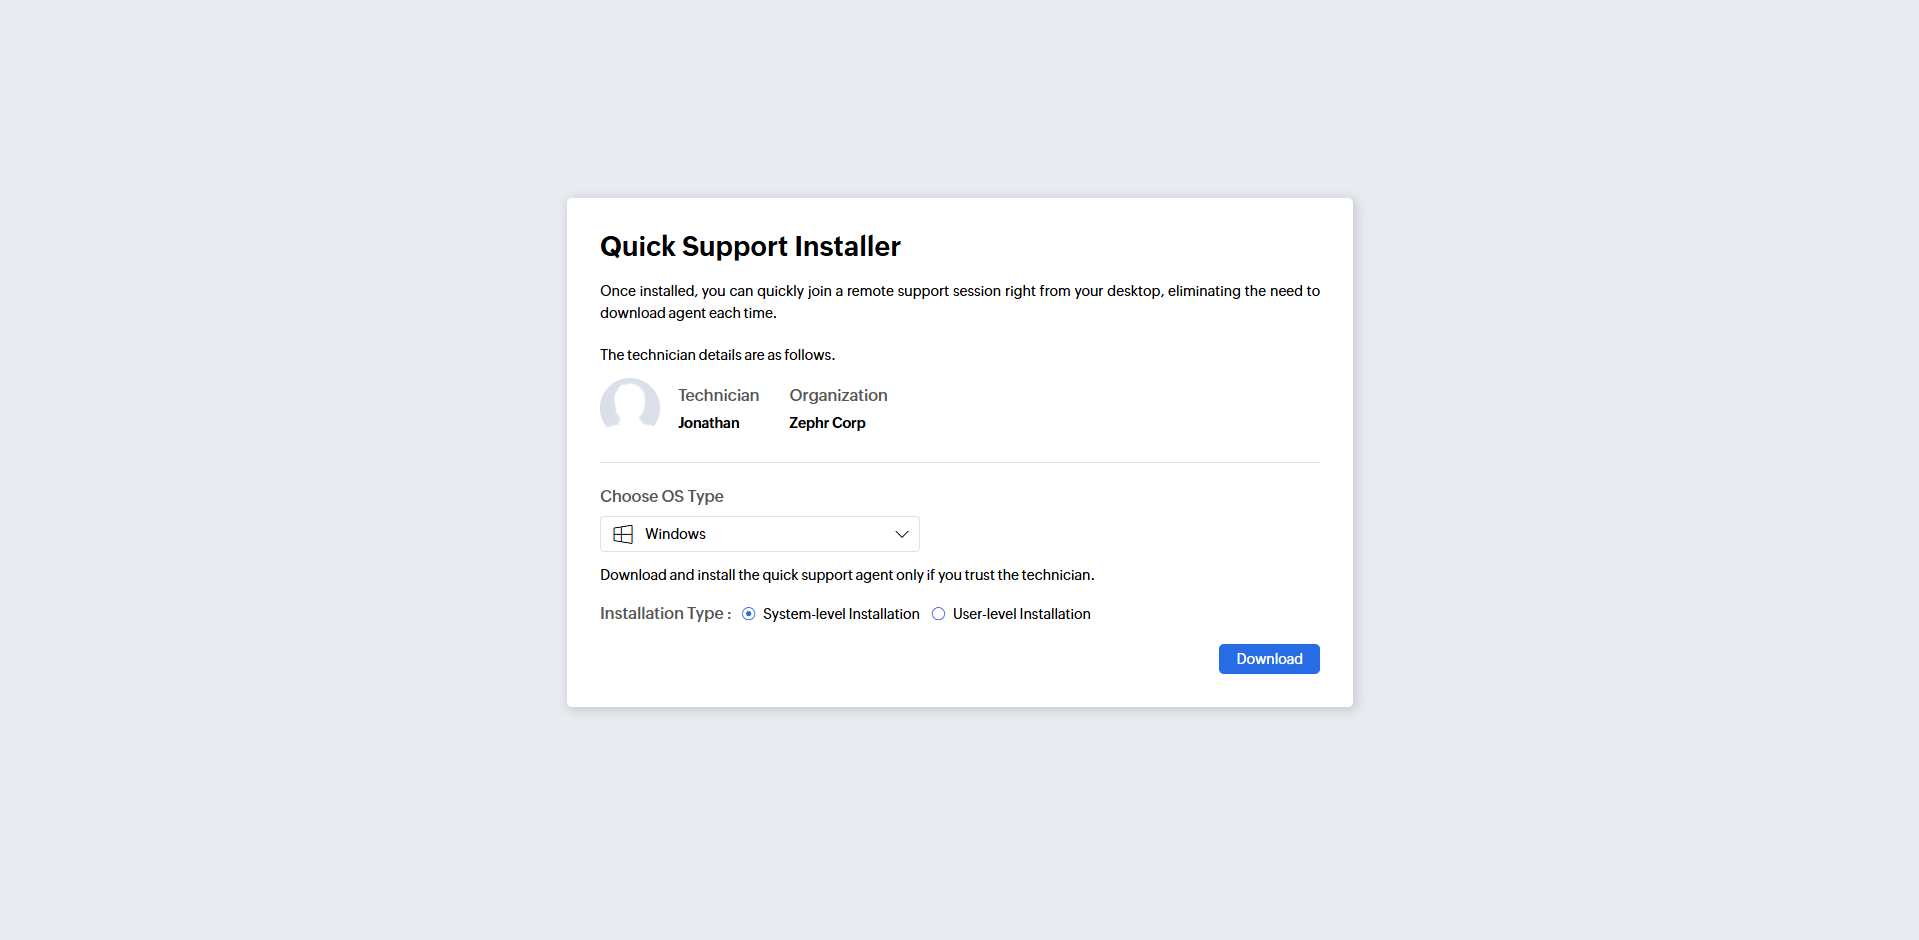
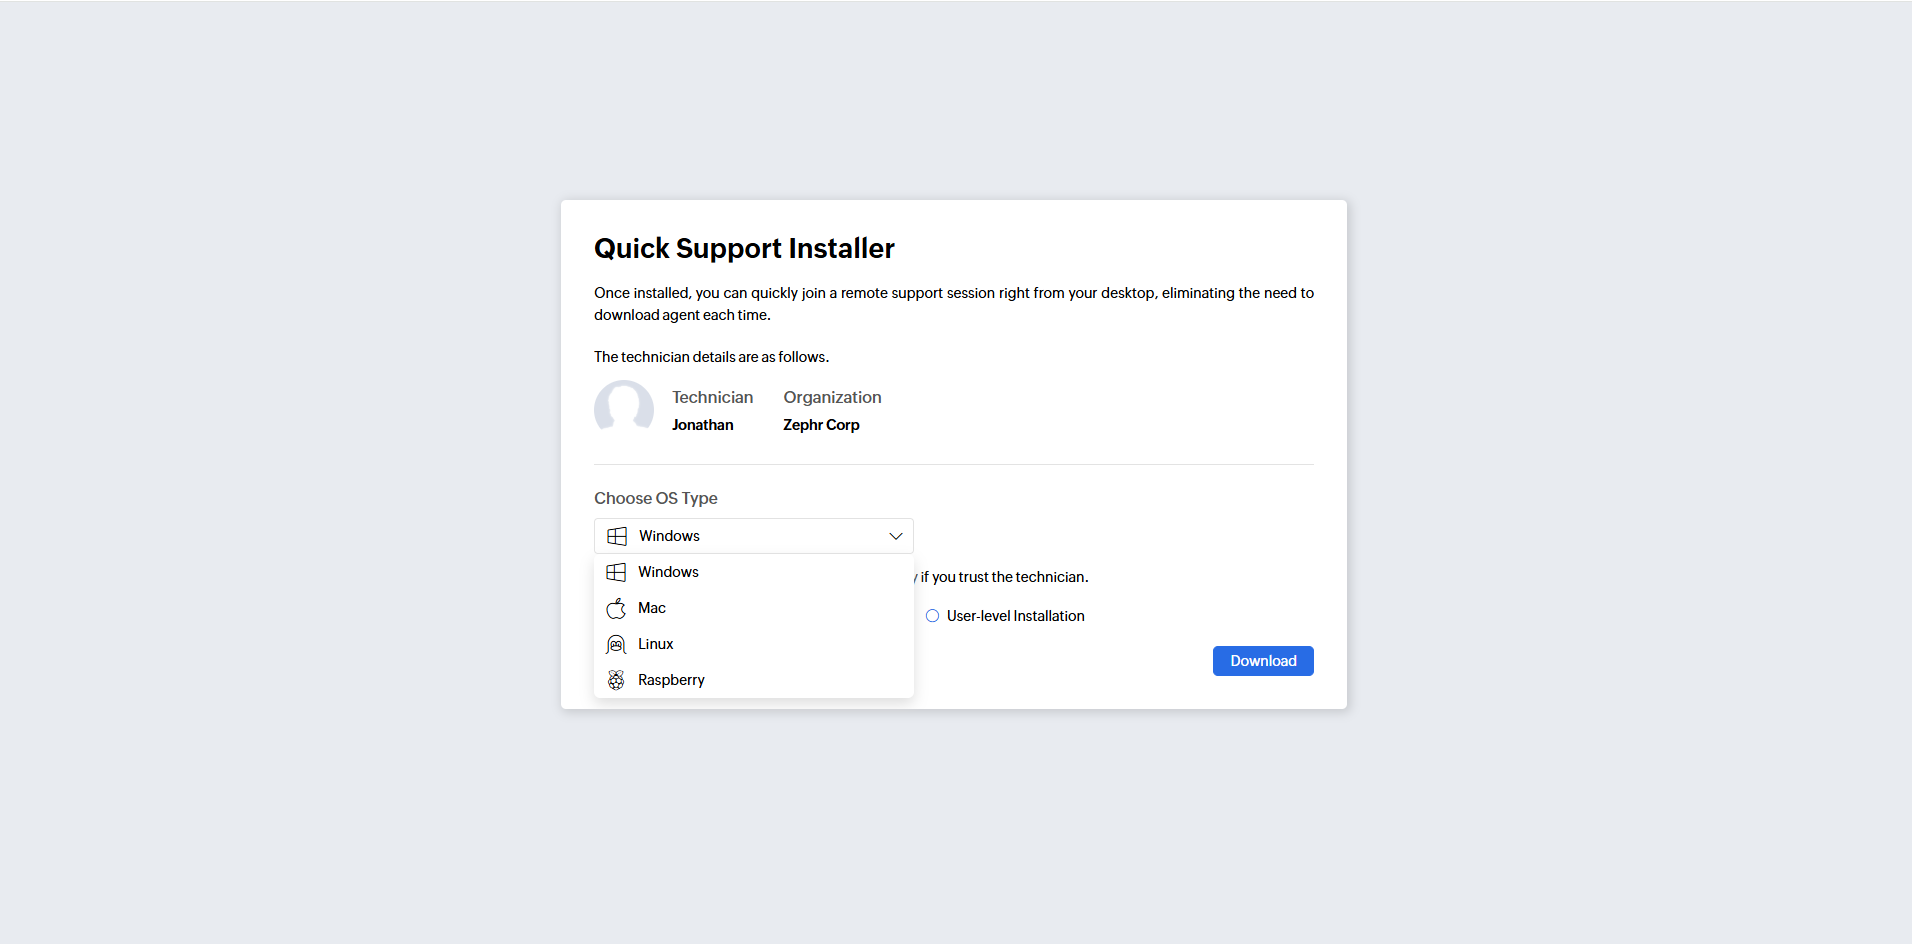
Customers should choose their device's OS type from the drop menu and click Download.
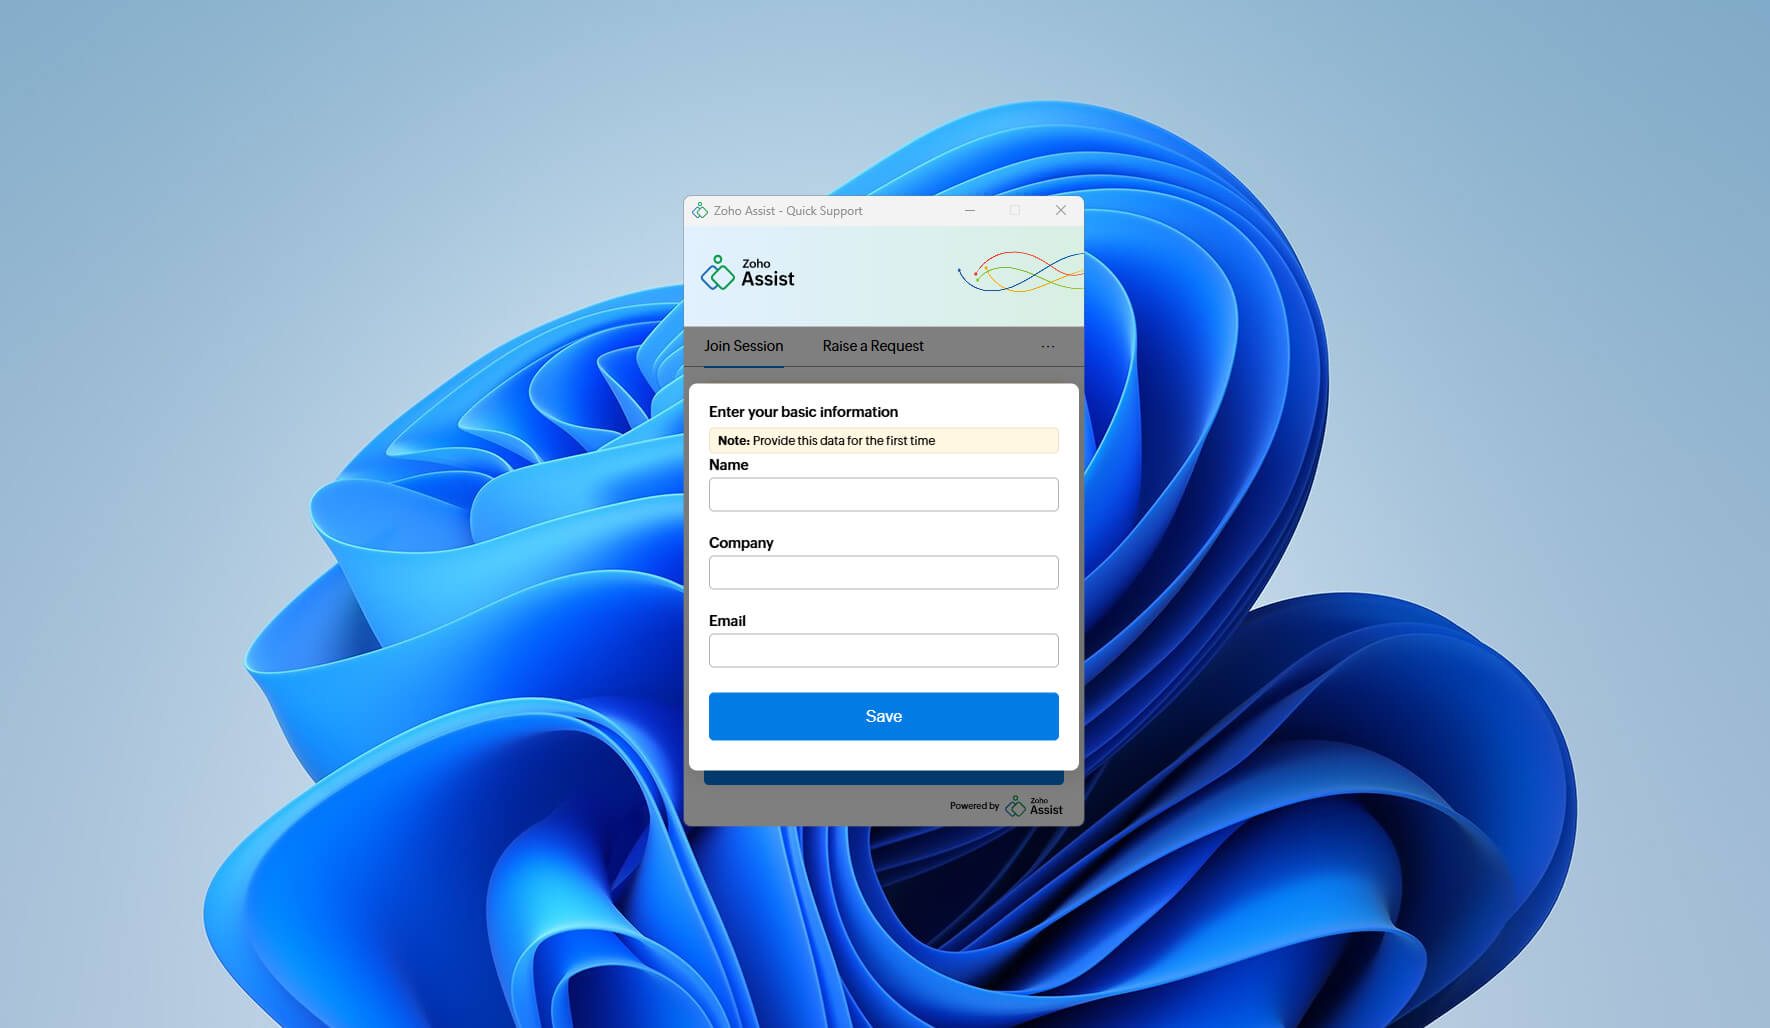
After downloading, they can run the installer. A dialog will appear, double-click the icon to open the Quick Support plugin. For first-time installations, customers will be prompted to enter basic information such as Name, Company, and Email ID, then click Save.
The plugin will now be available on their device to join sessions or raise support requests.


You can also download and install the plugin manually by clicking the Download icon. Choose Customer (Remote Support) under Desktop Apps and select Mac or Linux.
Joining a Session Using Quick Support
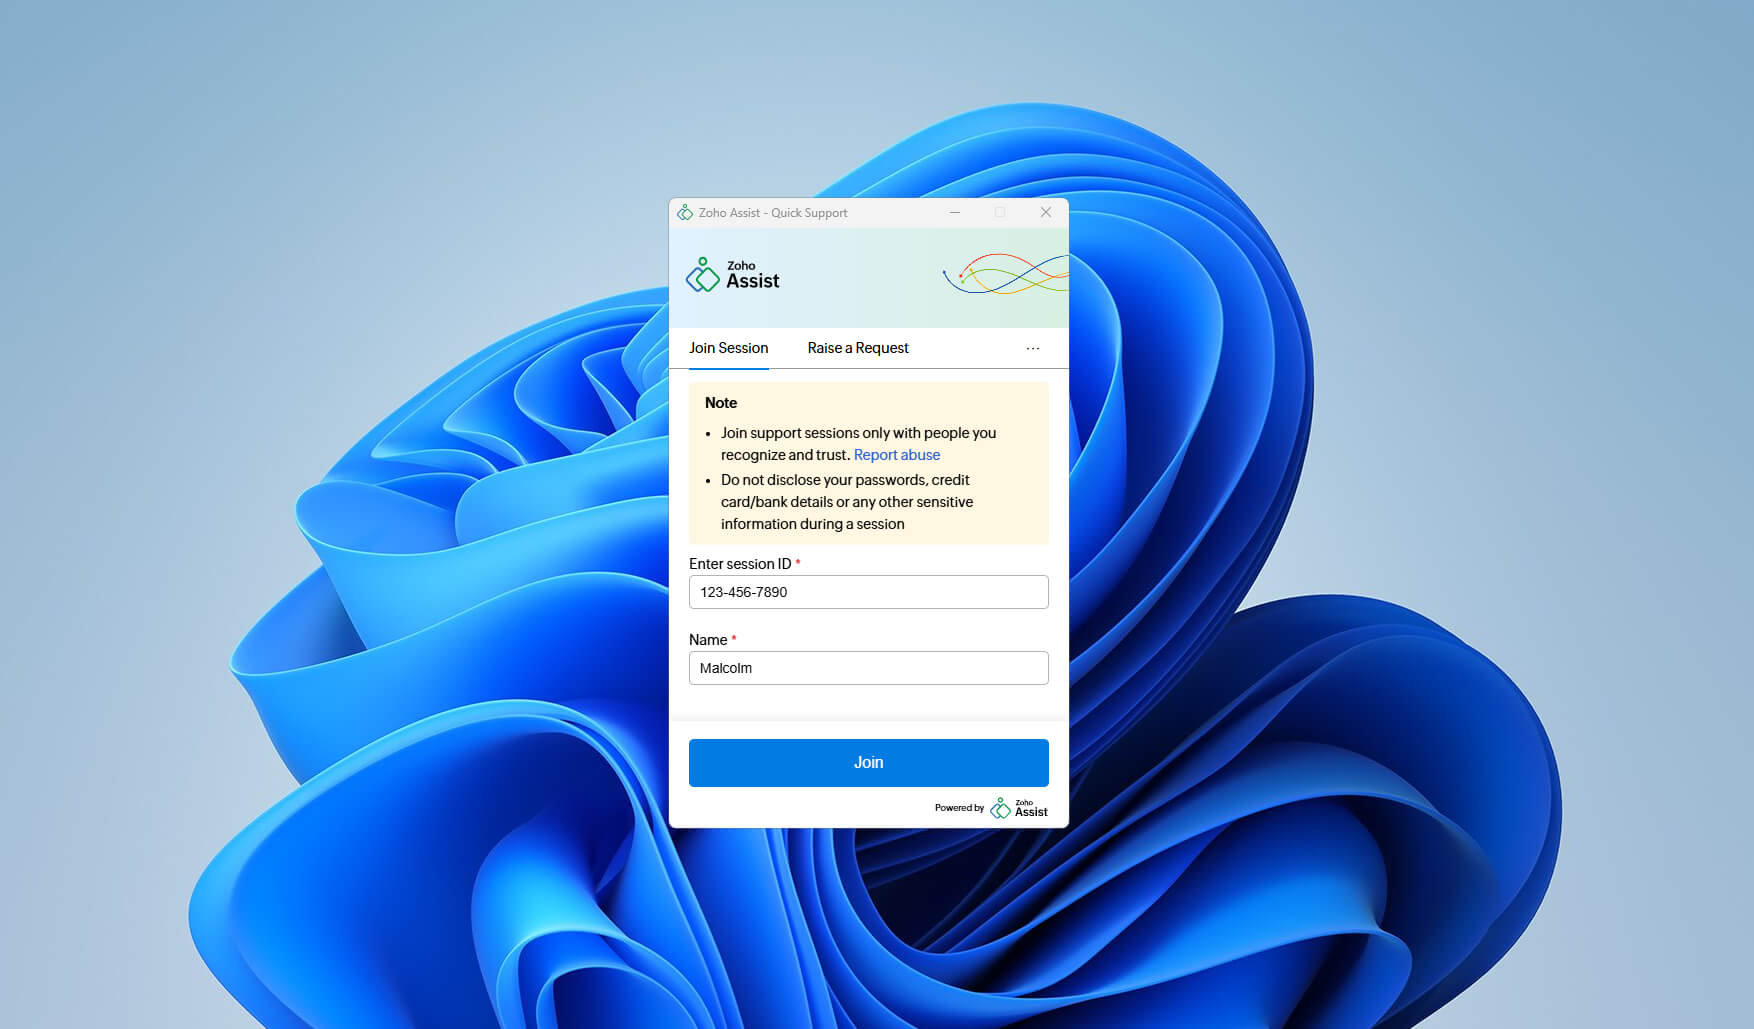
Open the Zoho Assist – Quick Support plugin.
Select the Join Session tab.
Enter the Session ID shared by the technician and your Name.
Click Join.
Raising a Support Request Using Quick Support
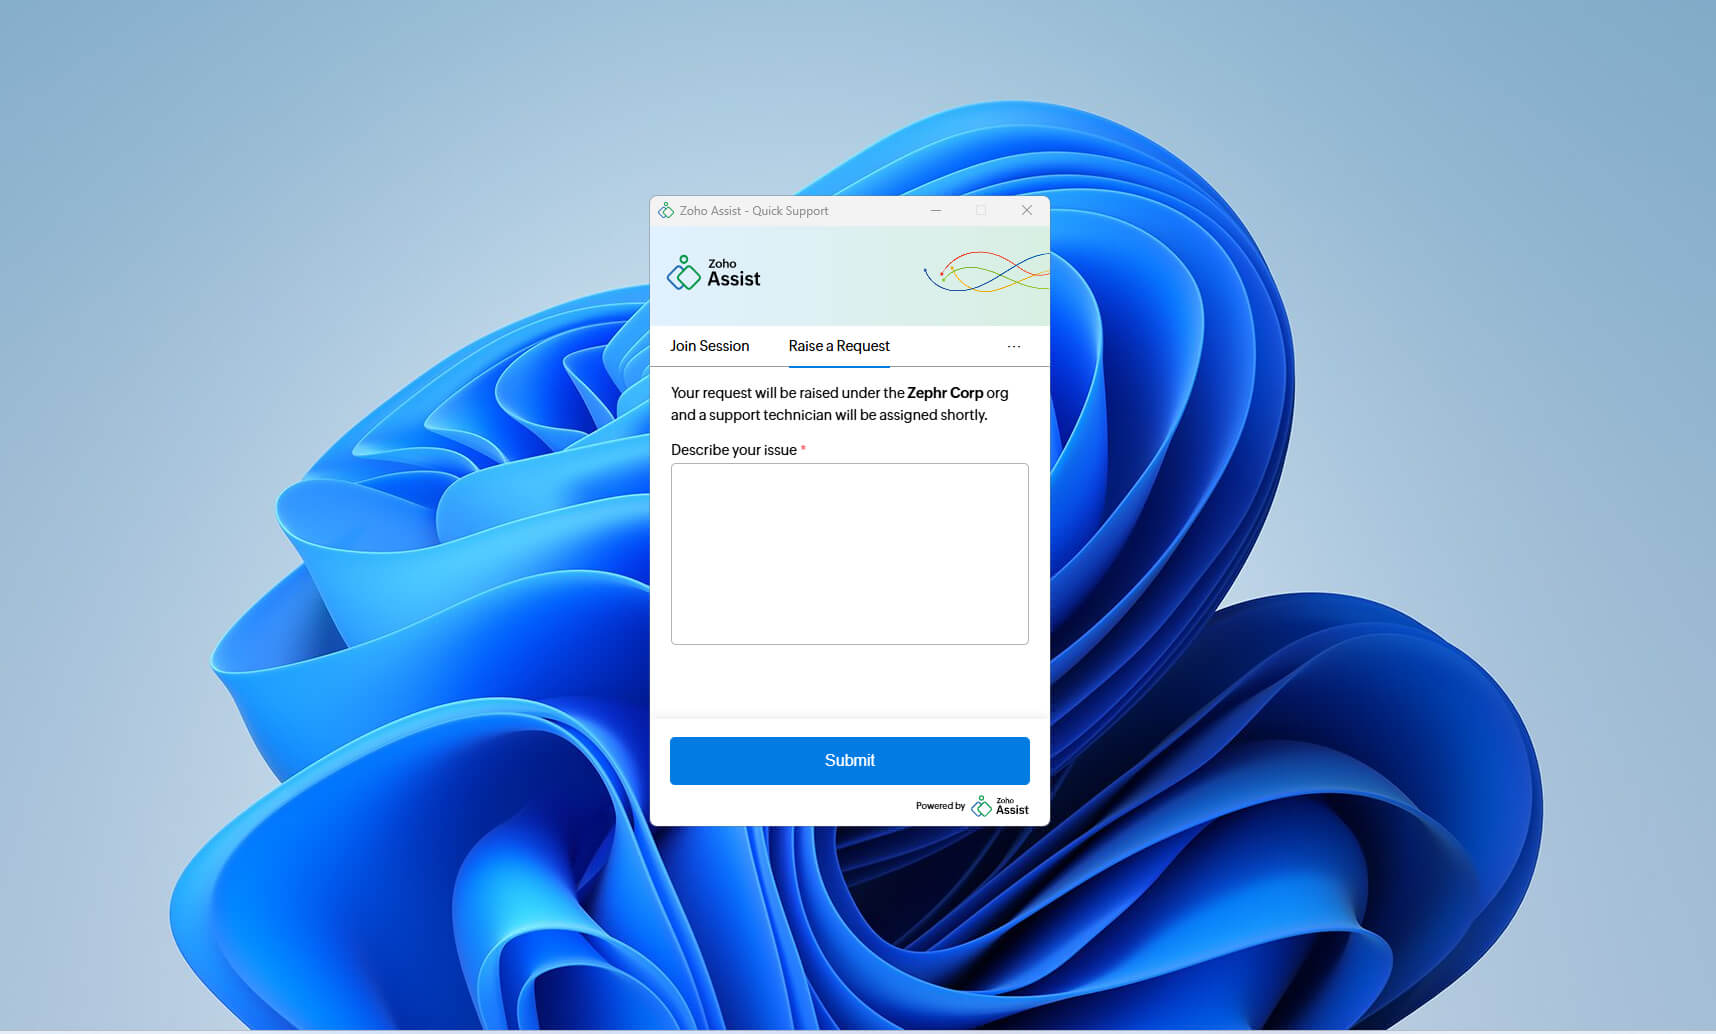
Open the Zoho Assist – Quick Support plugin.
Go to the Raise a Request tab.
Choose the Department, describe your issue, and click Submit.

Once submitted, the request will land in the Service Queue. An admin can assign the request to a technician, or a technician can pick it up directly by clicking Accept.

Once the technician accepts the request, a confirmation prompt will appear on the customer’s device. After the customer confirms, the remote support session will begin.